Surviving A Thorny, Briar Patch
Introduction
Hello there! @Saydie here, playing Splinterlands everyday!
I'm here for this week's Battle Mage Secrets with the featured rule set Briar Patch. It is a rule set that gives Thorns ability to all monsters.
The Battle that I will show to you this week was from bltzr-wizard-726 which is the scholar account awarded to me by Balthazar guild that has max level Chaos Legion deck and is currently playing on the Diamond League for both game format but before I show you the battle, let us learn more about this rule set.

 BRIAR PATCH
Abilities to Consider:
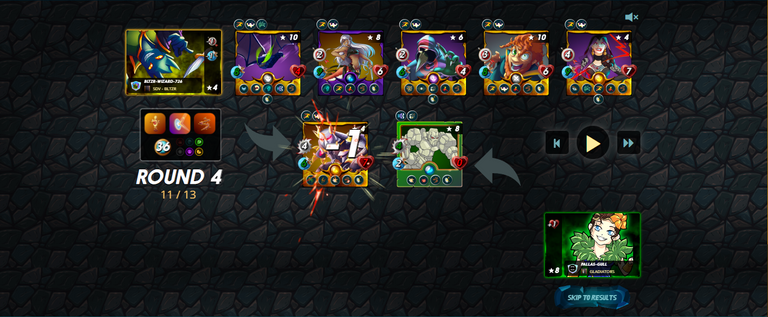
Revealing Battle Conditions and Team Lineup
Rule Set
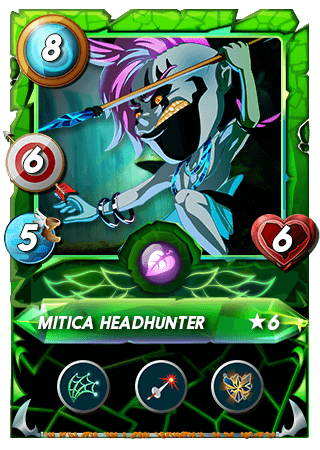
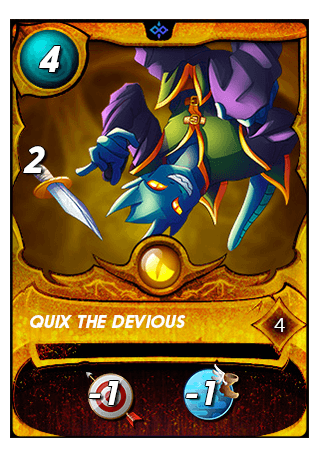
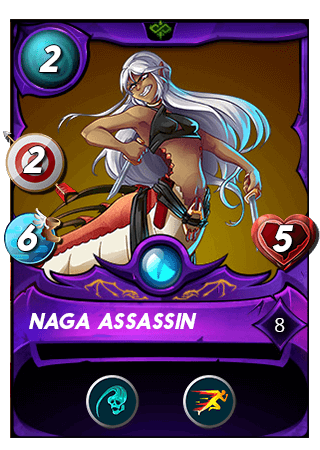
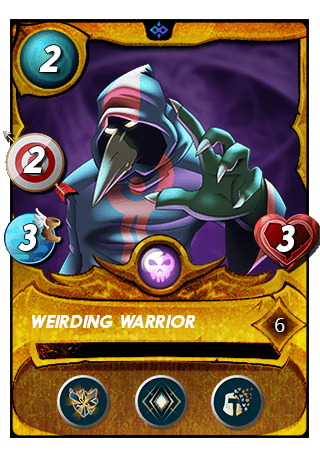
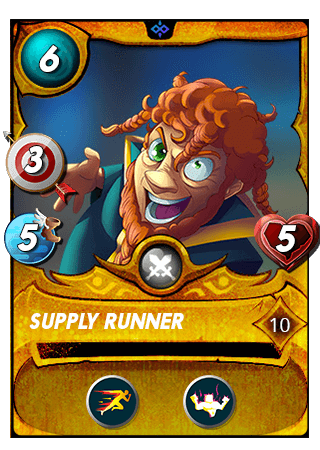
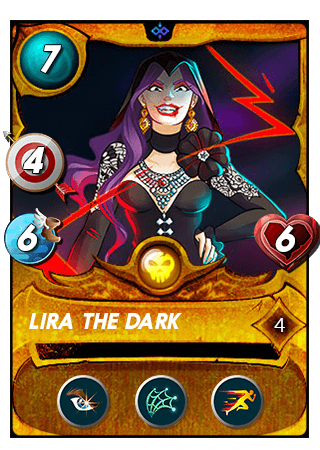
Opponent's Line- up
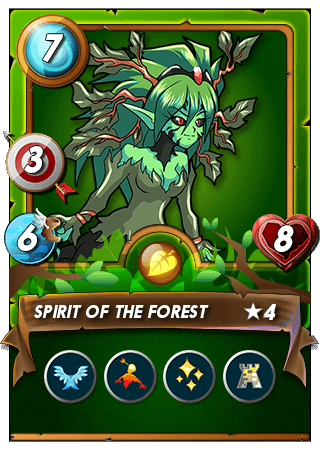
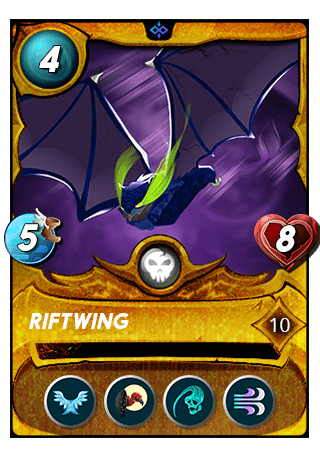
My Team
Conveniently rent or buy this team with my Peakmonster's Decks Lineup Link.
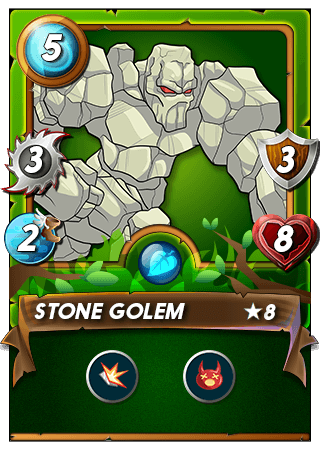
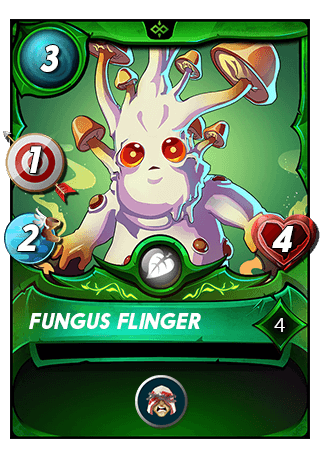
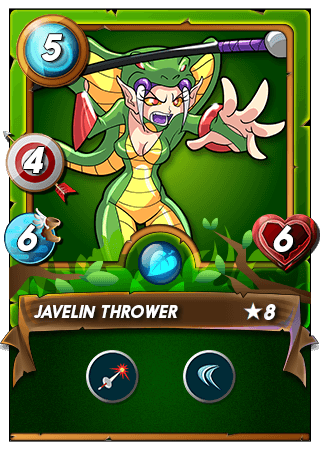
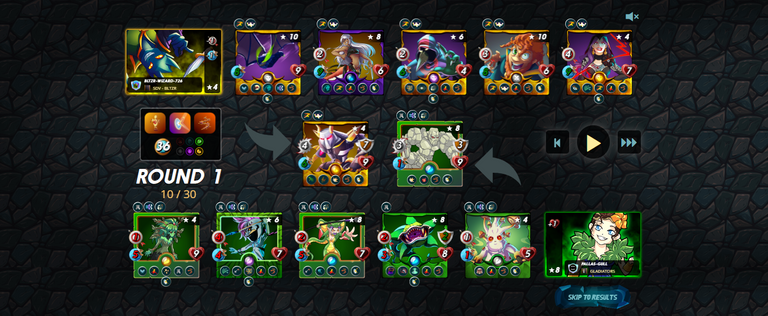
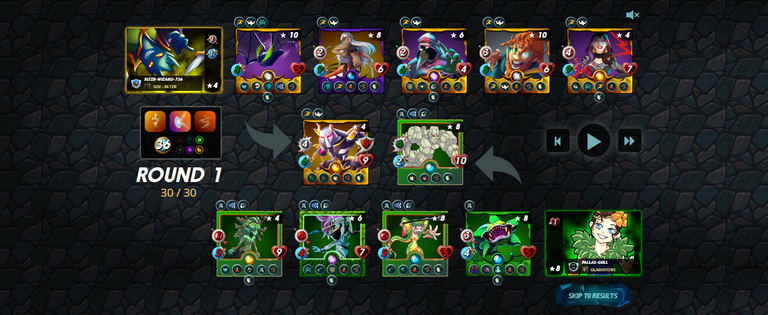
For this battle, we have the featured rule set Briar Patch which makes melee monsters get damage when they attack as well as Counterspell that deals reflected damage to magic monsters. We also have Target Practice which makes melee and range monsters to have the Snipe ability. Given this conditions, I choose the following line- up:
Revealing Battle Secrets
Pre- battle Phase: Applying ability buffs and de- buffs
Round 1:
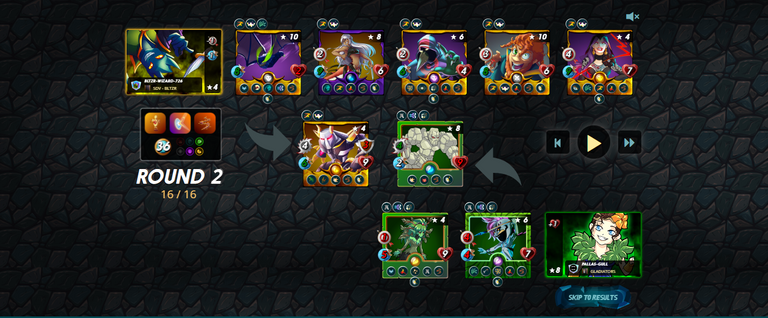
Round 2:
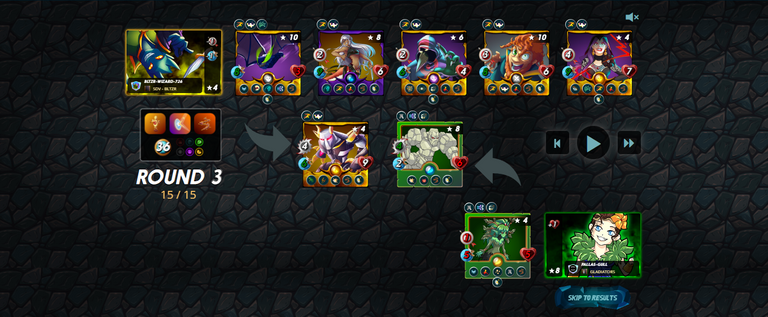
Round 3:
Final 4:
Battle RecapHere is a replay of the battle which at you can watch at 3speak or in Splinterlands.
Did your Strategy Work?Since I know that the opponent would find it hard to use both melee and magic monsters, I focus my team on range monsters while also nerfing the damage of his monsters using my summoners' ability and the use of Headwind while I boosted my team with so much speed that it would be hard for the opponent to hit the card that they will attack and will be punished if they missed with Backfire. Although I use a melee monster, it is a card that got the Shield ability so it also reduced the damage I can get and the last part of my strategy was the use of Amplify which further increases the damage my opponent takes from Thorns. All in all, this was a very good anti- melee and anti-range and anti magic strategy.
Previous Battles
To read previous articles, just click on the image of the article that you want to read.
All the image that I edited here belongs to Splinterlands. All the battle links provided comes from my personal accounts and from the scholar account that I am using from Balthazar Guild. Card abilities and rulesets from Splintercards Thank you for reading my post. If you're interested to play Splinterlands, you can join by clicking this the images below and follow me on Twitter and 3Speak for timely Splinterlands updates.
|


 Death,
  Earth,
  Dragon


Thanks for the support
https://twitter.com/1365116763730448388/status/1644001602095947777
The rewards earned on this comment will go directly to the people( @saydie ) sharing the post on Twitter as long as they are registered with @poshtoken. Sign up at https://hiveposh.com.
Hey @saydie!
Actifit (@actifit) is Hive's flagship Move2Earn Project. We've been building on hive for almost 5 years now and have an active community of 7,000+ subscribers & 600+ active users.
We provide many services on top of hive, supportive to both hive and actifit vision. We've also partnered with many great projects and communities on hive.
We're looking for your vote to support actifit's growth and services on hive blockchain.
Click one of below links to view/vote on the proposal:
Thanks for sharing! - Underlock#8573

Thanks!