Hello reader friends, today I come to show you how to make a beautiful flower arrangement is quite easy to do, the materials are very easy to get and inexpensive, stay with me until the end of the post and enjoy every step I will take to get to get this lovely arrangement.
Hola amigos lectores, el día de hoy les vengo a mostrar cómo realizar un hermoso arreglo floral es bastante fácil de hacer, los materiales son muy fáciles de conseguir y económicos, quédate conmigo hasta el final del post y disfruta de cada paso que daré para llegar a obtener este encantador arreglo.
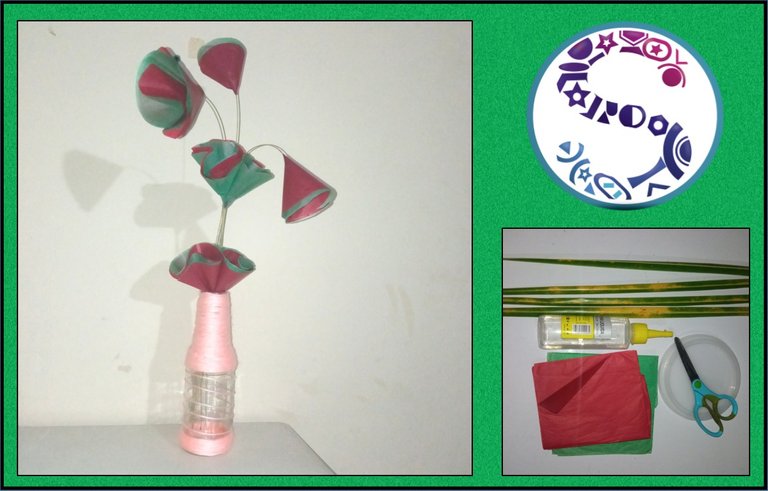
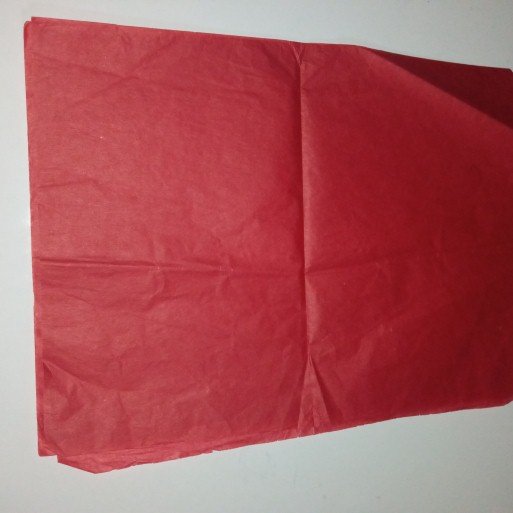
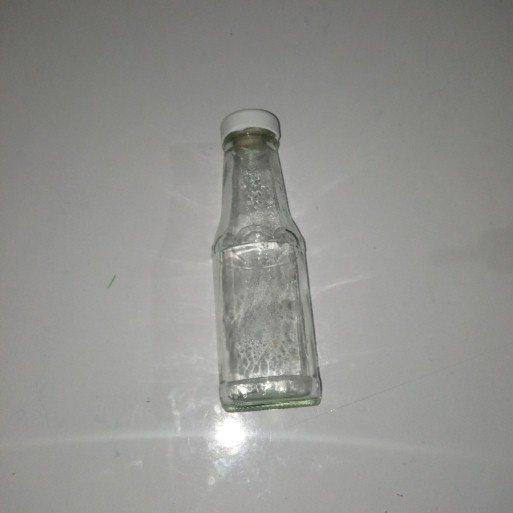
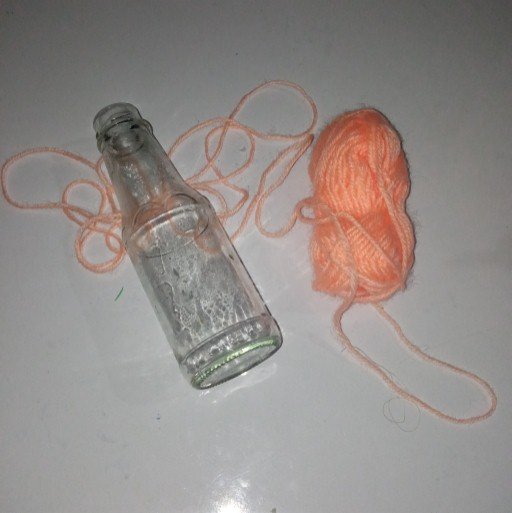
The materials I used were the following: tissue paper, palm leaves, liquid silicone, scissors, compasses or a container to mark a circle, glass bottle and yarn.
Los materiales que utilice fueron los siguientes: papel de seda, hojas de palmeras, silicón líquido, tijeras, compas o algún envase para marcar un círculo, botella de vidrio y estambre.

I hope this floral arrangement is to the liking of each reader, it is always important to make changes in the home and put new and striking things, so today I decided to make this nice arrangement to decorate a space in the house.
Espero que esté arreglo floral sea del agrado de cada lector, es importante siempre hacer cambios en el hogar y poner cosas nuevas y llamativas, por eso hoy decidí hacer este lindo arreglo para adornar un espacio de la casa.

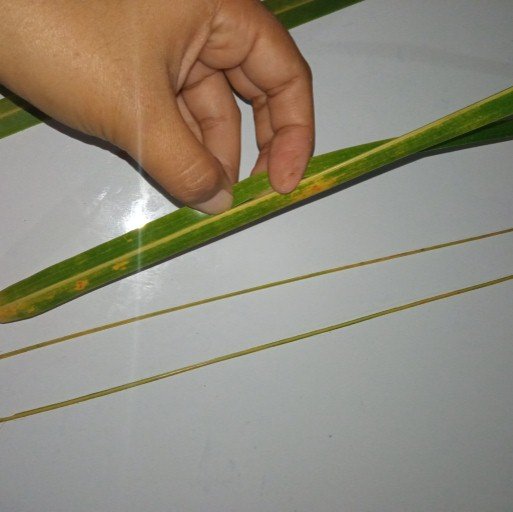
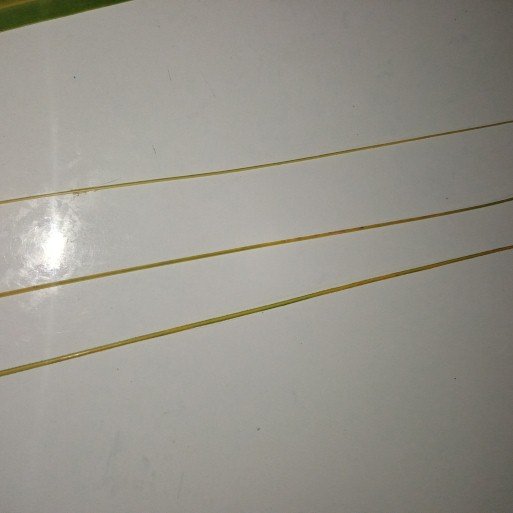
The first thing to do is to grab the palm fronds and pull out the rod in the middle.
Lo primero que se hace es agarrar las hojas de palmeras y sacar la varilla que tiene en todo el medio.
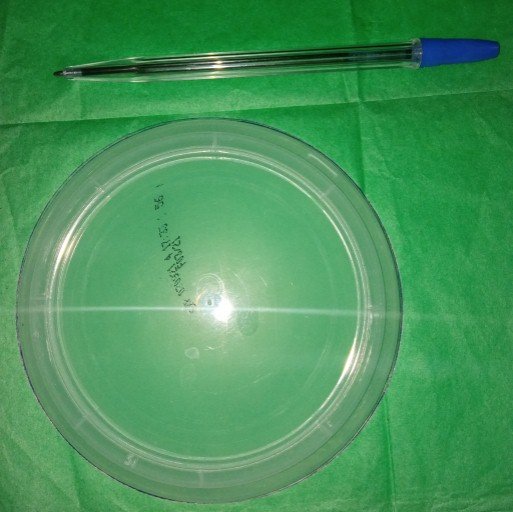
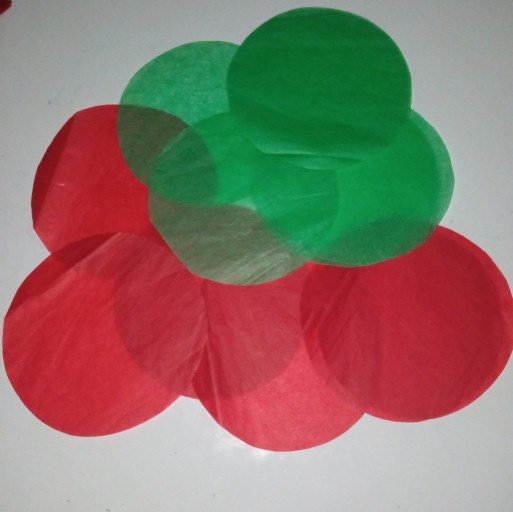
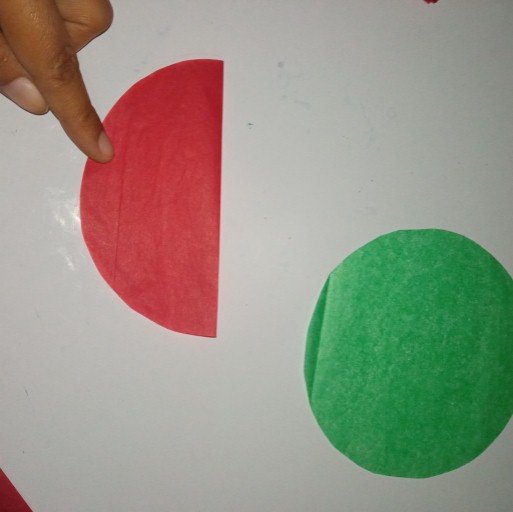
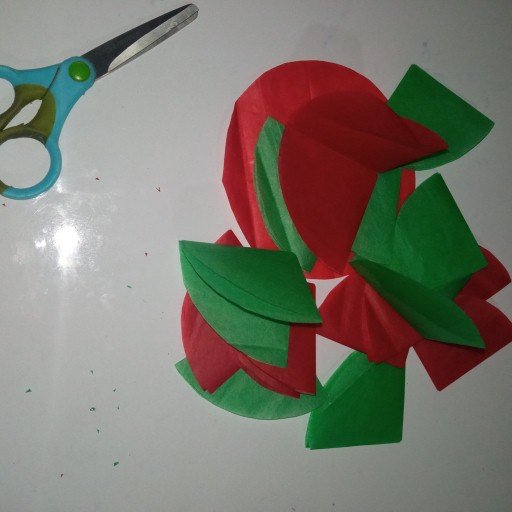
Here the circles are marked on the tissue paper and then cut out.
Aquí se marca en el papel de seda los círculos y luego se procede a recortar.
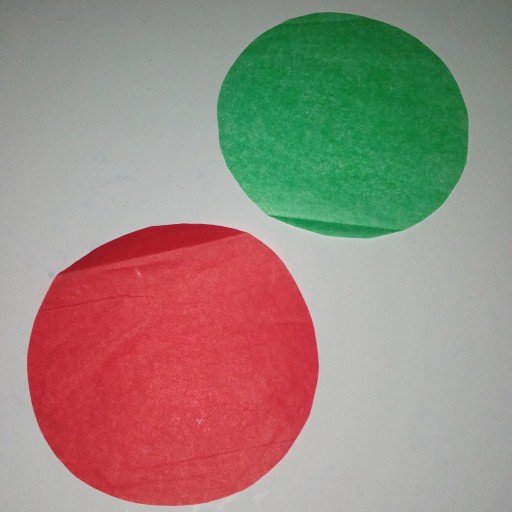
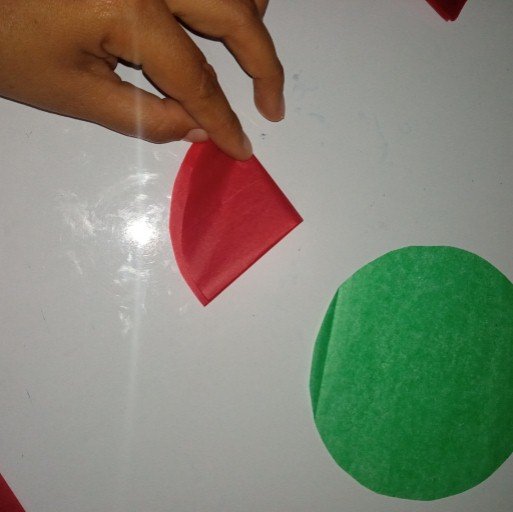
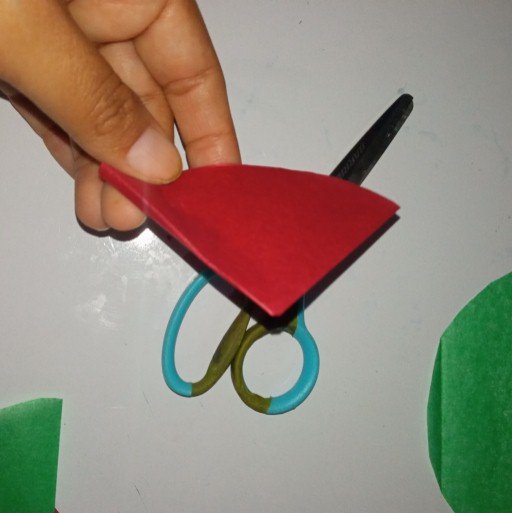
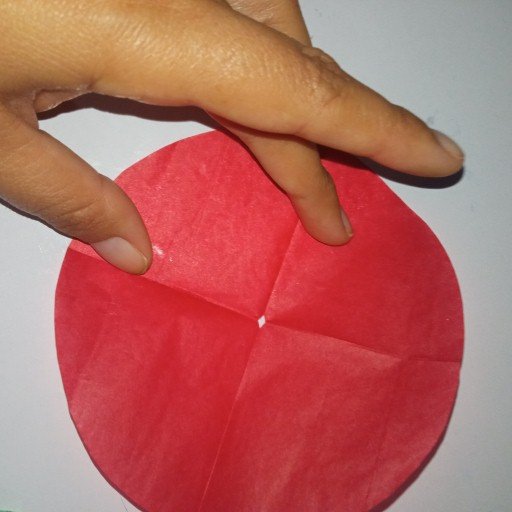
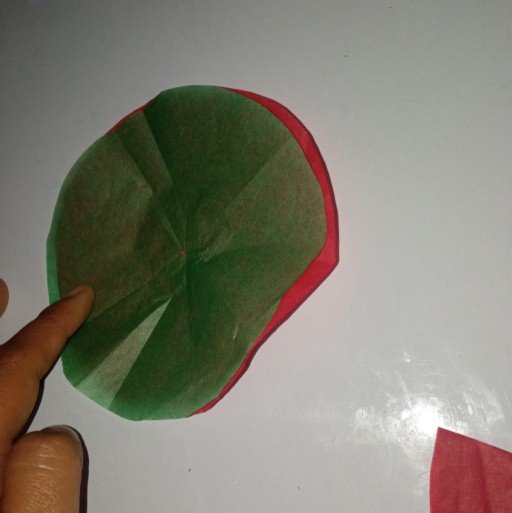
Once the circles are ready, each one is folded in half and then folded again forming a triangle and with the scissors we cut a little the lower tip, as shown in the images.
Luego de tener los círculos listos se doblan cada uno por la mitad y luego se doblan nuevamente formando un triángulo y con la tijera le cortamos un poco la punta inferior quedando como muestro en las imágenes.
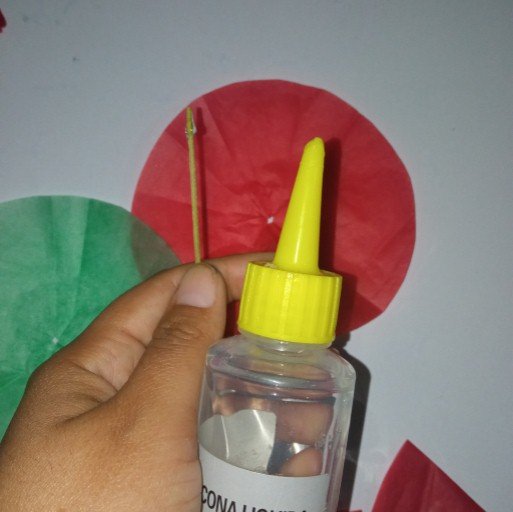
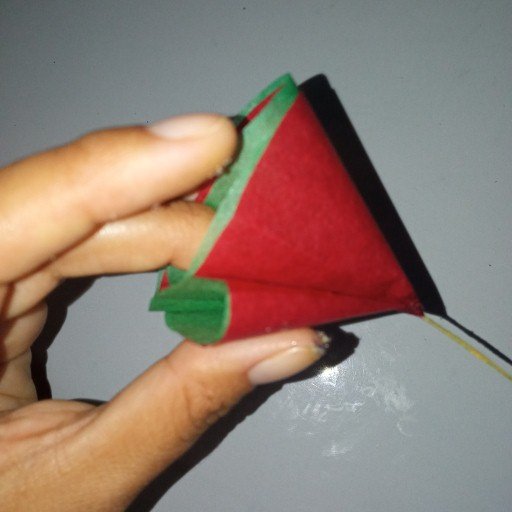
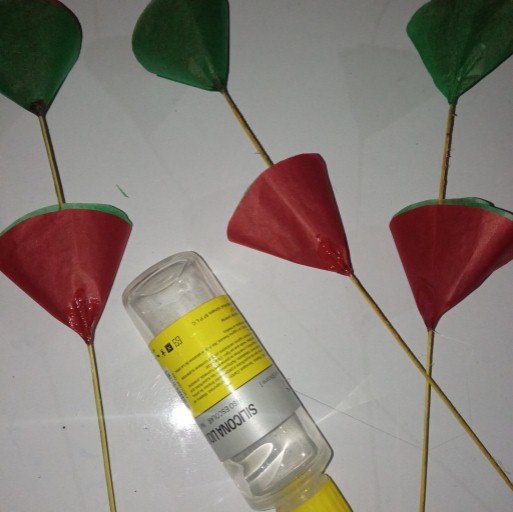
In this step we place one circle on top of the other and on the rod we place a little silicone and proceed to glue and then in the middle of the circle we place a little more silicone and form the rosette.
En este paso se coloca un círculo encima del otro y en la varilla le colocamos un poco de silicón y procedemos a pegar y luego en todo el medio del circulo le colocamos un poco más de silicón y formamos la roseta.
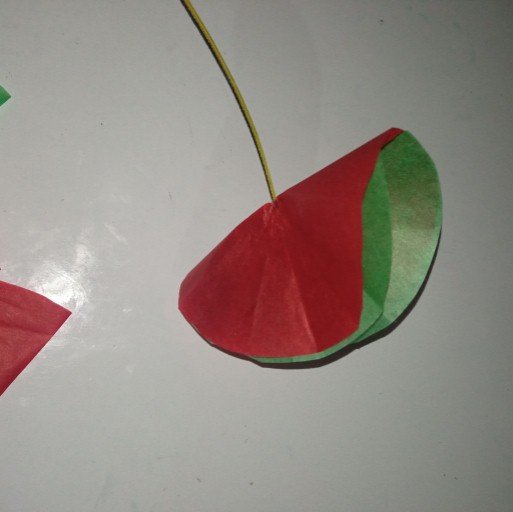
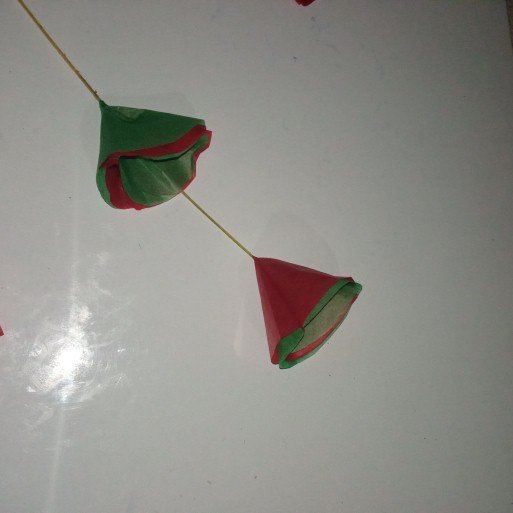
Then the process is repeated and we obtain the desired number of rods, in my case I only wanted three rods with rosettes.
Luego se repite el proceso y obtenemos las que se deseen, en mi caso quería solo tres varillas con rosetas.
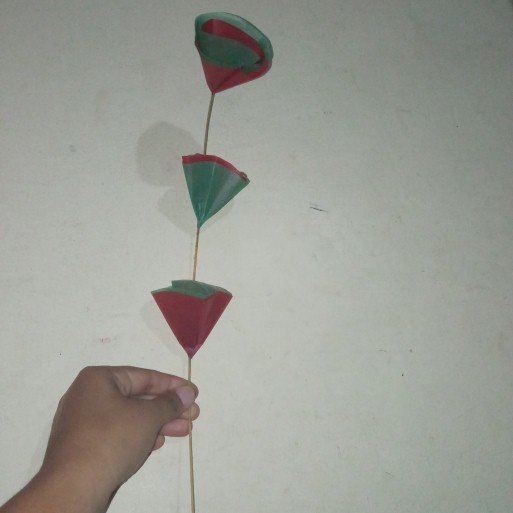
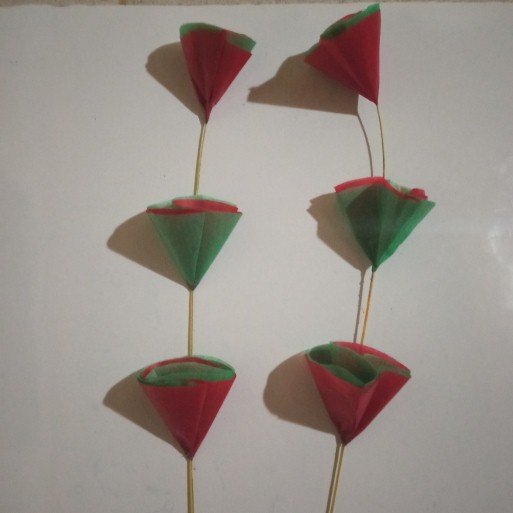
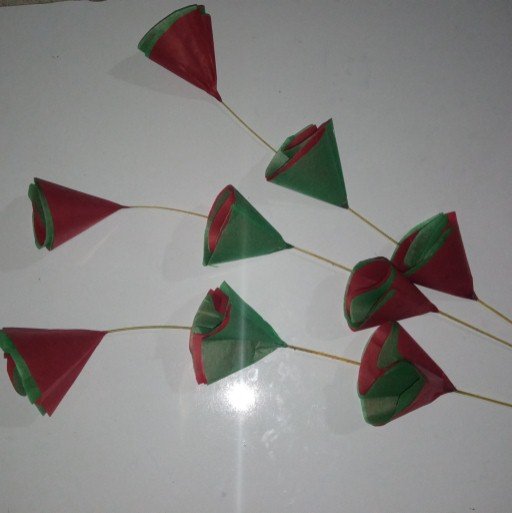
Ready the three rods with the rosettes we place silicone as shown in the image forming a single floral bouquet and with the top of the rosette we do the same procedure leaving loose only the top of the arrangement.
Listas las tres varillas con las rosetas le colocamos silicón así como muestro en la imagen formando un solo ramo floral y con la parte de arriba de la roseta se hace el mismo procedimiento dejando suelta solo la parte de arriba del arreglo.
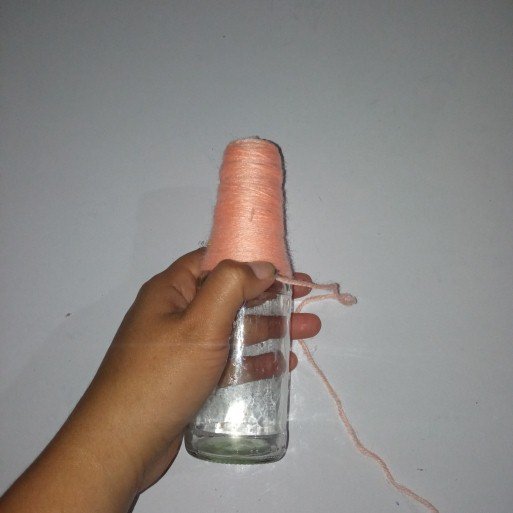
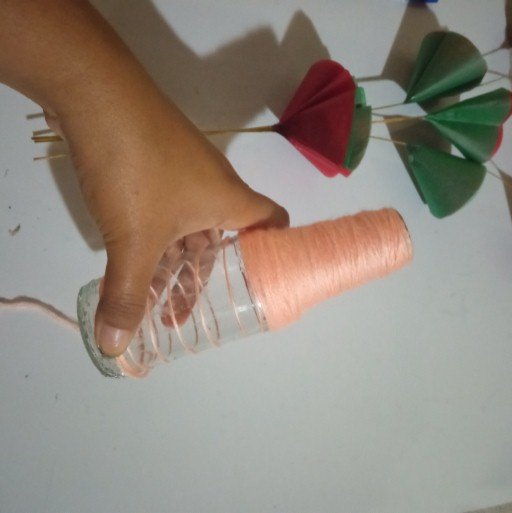
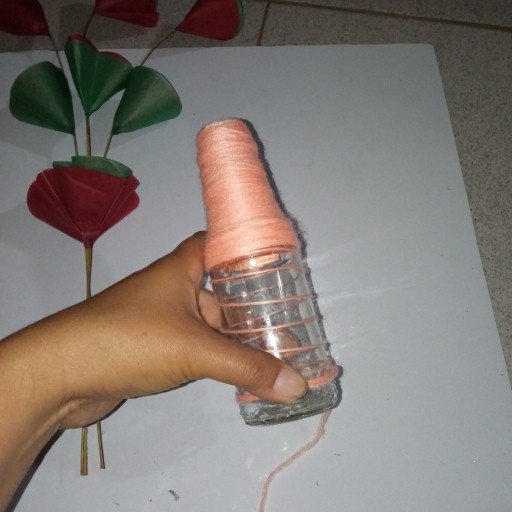
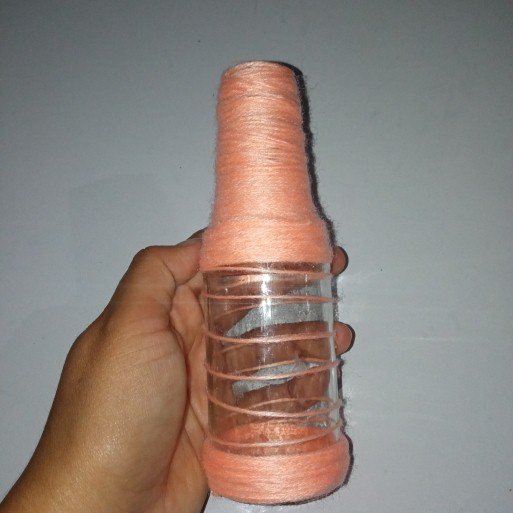
Here we proceed to decorate the bottle with yarn and silicone, in the part of the nozzle of the bottle is placed a little silicone and begins to cover with the yarn until the middle of the bottle, then we make a spiral shape leaving separation in the yarn and at the end is where we return to cover the bottom of the bottle being so beautiful.
Aquí se procede adornar la botella con estambre y silicón, en la parte de la boquilla de la botella se le coloca un poco de silicón y se comienza a cubrir con el estambre hasta la mitad de botella, seguidamente hacemos forma de espiral dejando separación en el estambre y al final es donde volvemos a cubrir la parte de abajo de la botella quedando así de hermosa.
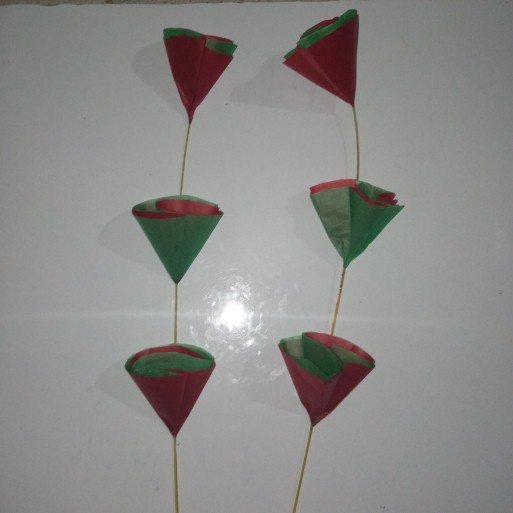
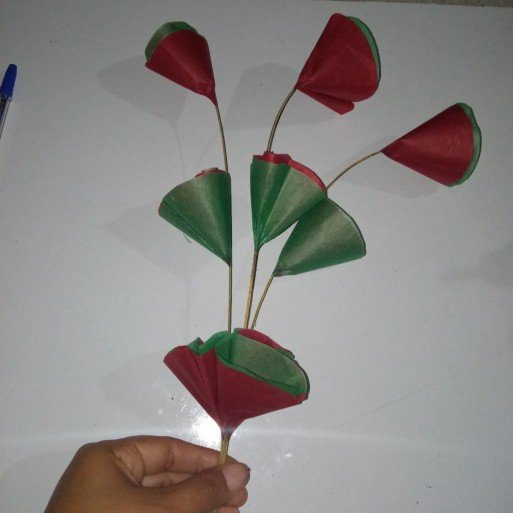
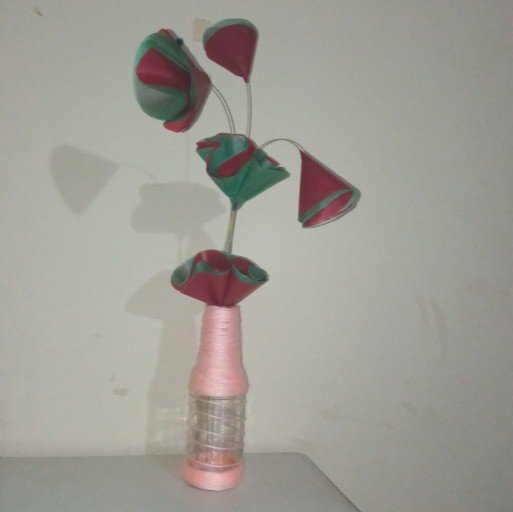
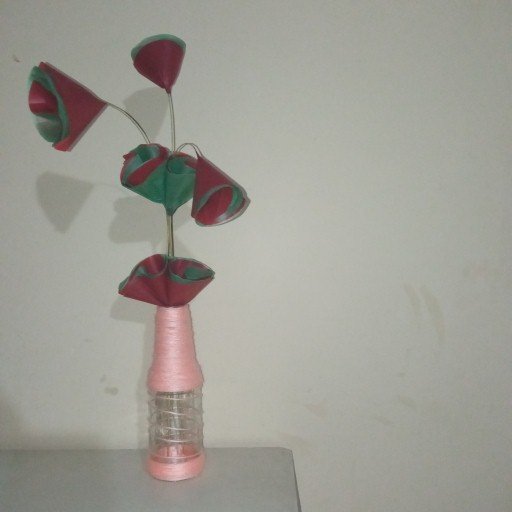
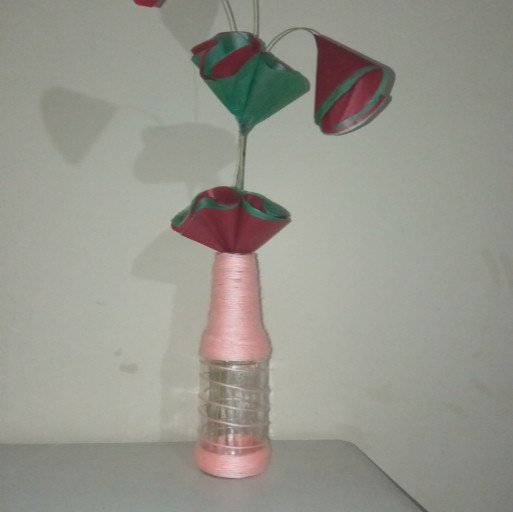
As always I leave you with some beautiful images of the final result of this craft.
Como siempre les dejo unas hermosas imágenes del resultado final de esta manualidad.
Without more to say and hoping that this post will be of pleasure and useful for the day to day work we do, I say goodbye with a big hug @ shirahoshi.
Sin más que decir y esperando que este post sea de agrado y de utilidad para el día a día que desempeñamos me despido con un gran abrazo los quiere @ shirahoshi.
The photographs are my own and were taken by me with a Redmi 9 and were edited in powerpoint.
Las fotografías son de mi autoría y fueron tomadas por mí con un Redmi 9 y se editaron en powerpoint.
The Step by Step Gif was made by me in AdobePhotoshop CC2014.
El Gif de Paso a Paso fue realizado por mi en AdobePhotoshop CC2014.
The logo was designed by me in Adobe Illustrator CC 2015 and its animated version was made in After Effects CC 2017.
El logo fue diseñado por mí en Adobe Illustrator CC 2015 y su versión animada la realice en After Effects CC 2017.
Language corrector used Deepl.
Corrector de idioma utilizado Deepl.
Remember that you can purchase these beautiful pieces of art made and tokenized by me at Nftshowroom at an excellent price. Link to the gallery here

You can ignore this, but your going to wish you didnt soon. This is happening whether you believe it or not. https://ecency.com/fyrstikken/@fairandbalanced/i-am-the-only-motherfucker-on-the-internet-pointing-to-a-direct-source-for-voice-to-skull-electronic-terrorism