[ENG-ESP] Making an Electronic Heart Necklace. // Haciendo un Collar de Corazón electrónico.
Making an Electronic Heart Necklace.
Haciendo un Collar de Corazón electrónico.
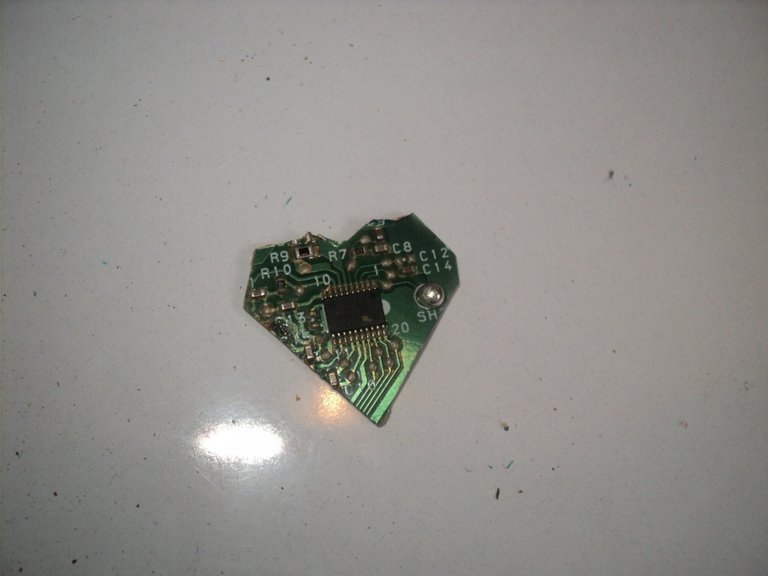
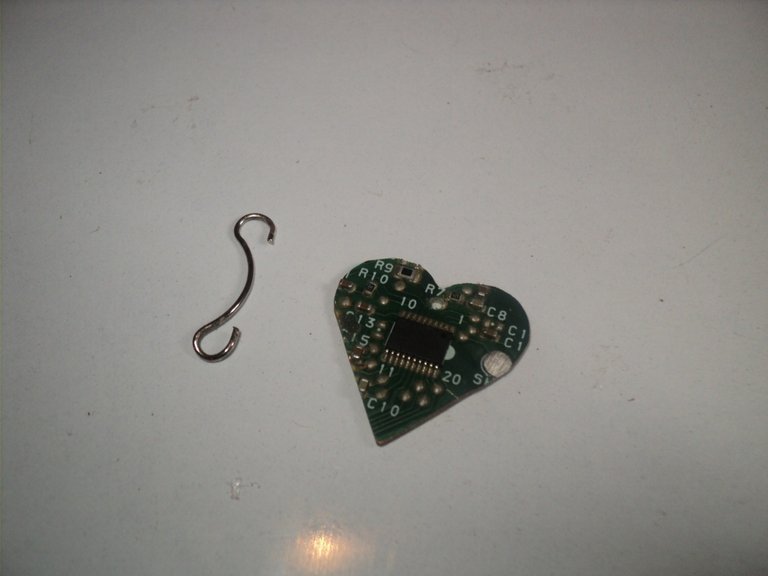
Greetings my dear friends, today I want to present you a beautiful do-it-yourself project, which will consist in reusing a piece of plate from an old floppy disk drive, transforming it into a beautiful heart-shaped necklace.
Saludos mis queridos amigos, el día de hoy quiero presentarles un hermoso proyecto de bricolaje, el cual consistirá en reutilizar un trozo de placa de una antigua unidad de disquete, transformarlo en un precioso collar con forma de corazón.
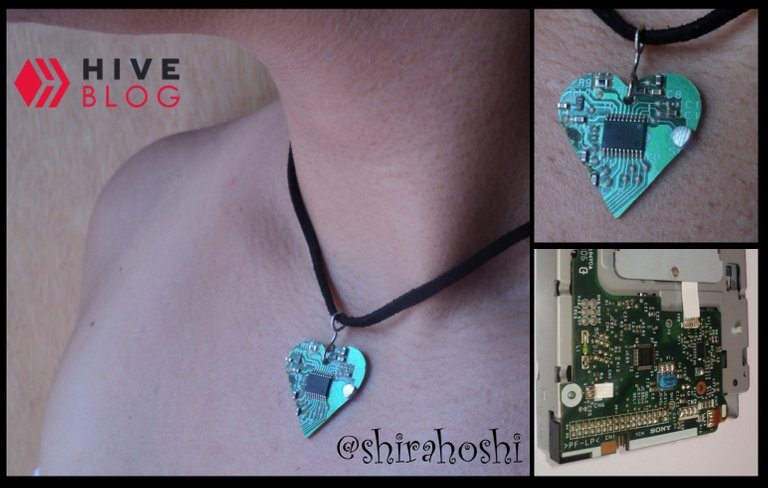

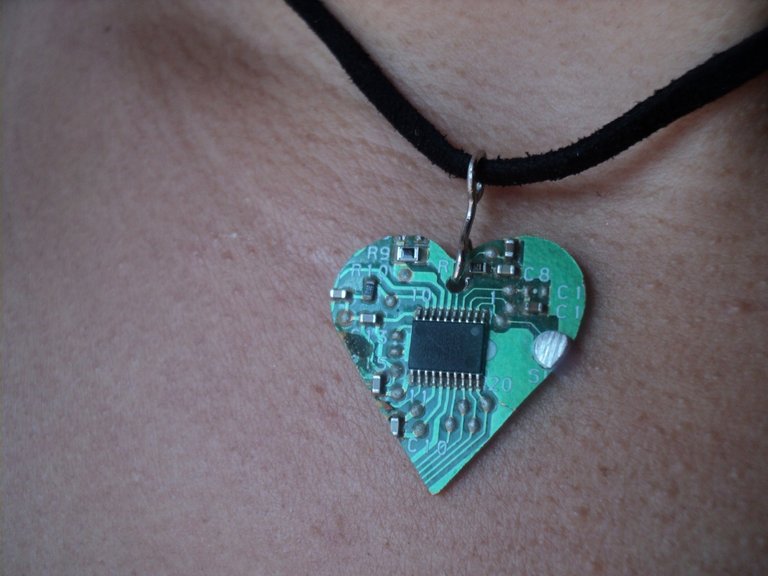
As you can see the result is really beautiful and quite casual, allowing you to wear this style of necklace with any outfit and it will always make your neck look amazing!
Como aprecian el resultado es realmente hermoso y bastante casual, lo que permite usar este estilo de collar con cualquier ropa y siempre hará lucir el cuello ¡increíble!
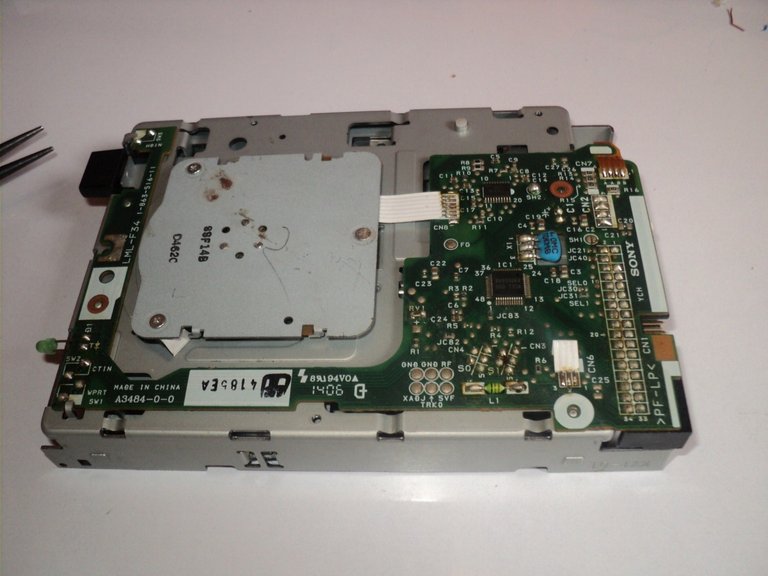
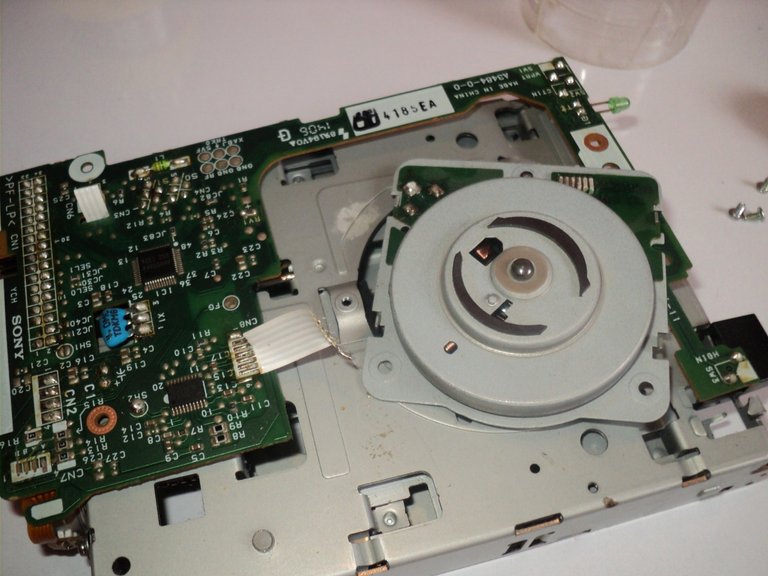
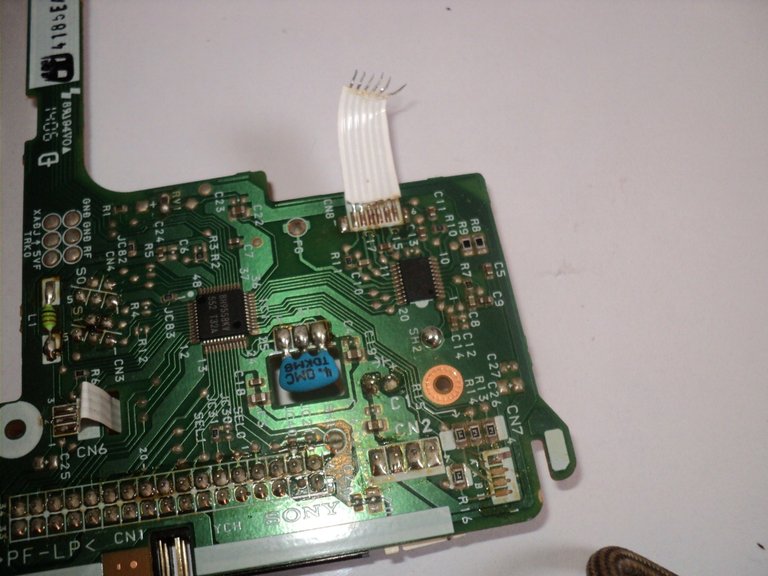
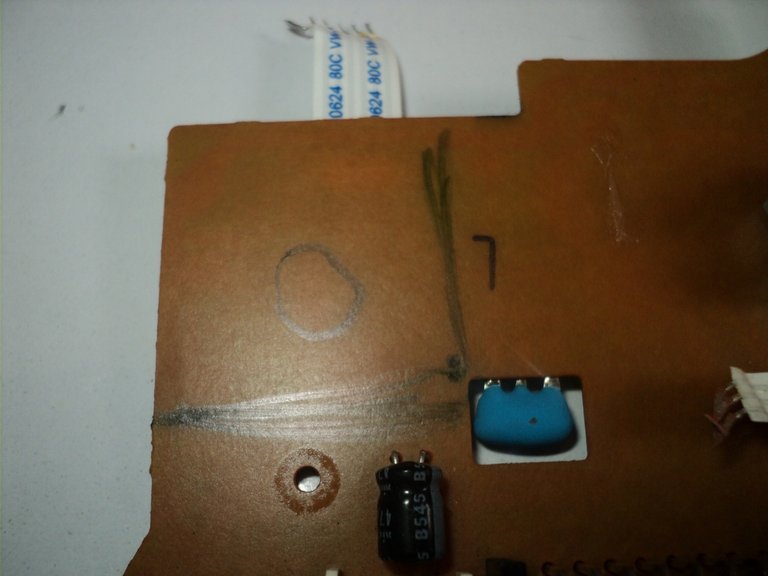
- Board (circuit) of any electronic component in this case of a floppy disk drive.
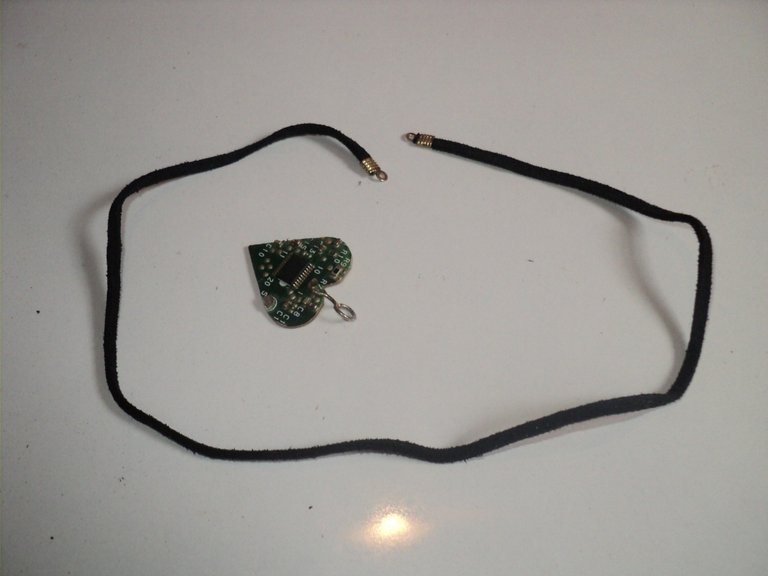
- A leather cord.
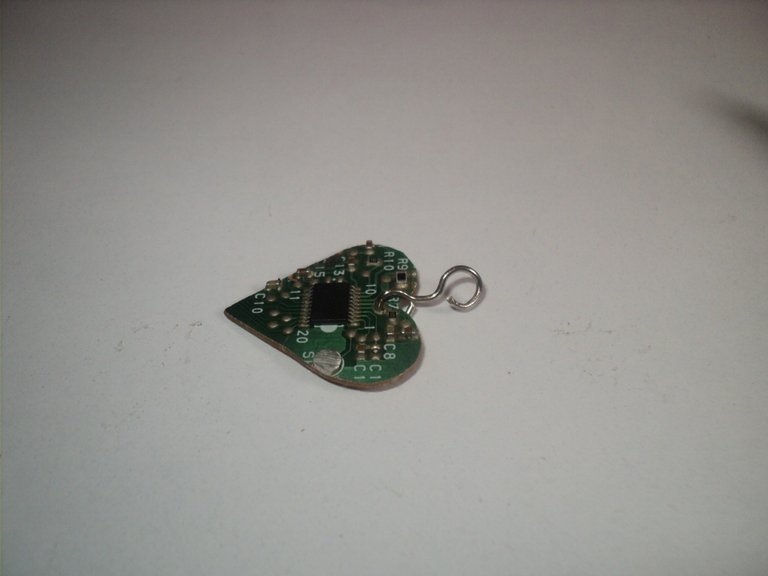
- A small piece of galvanized wire or of your preference.
- 2 small staples and a threaded lock.
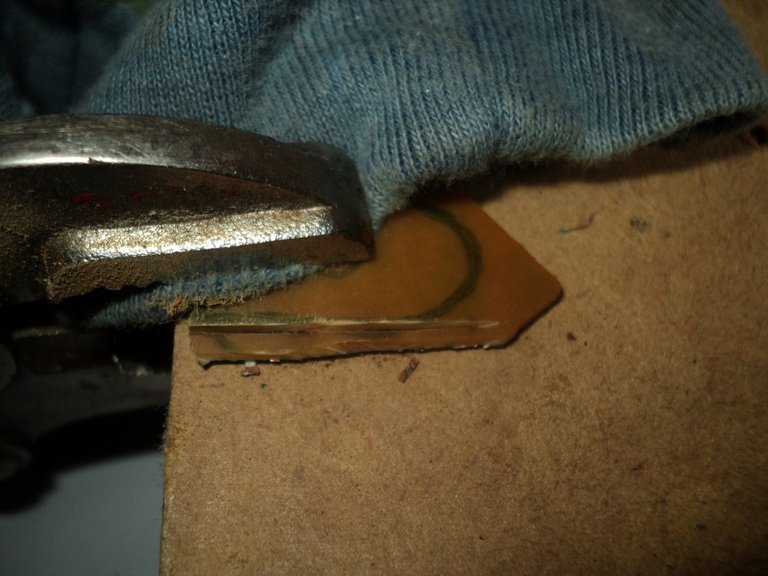
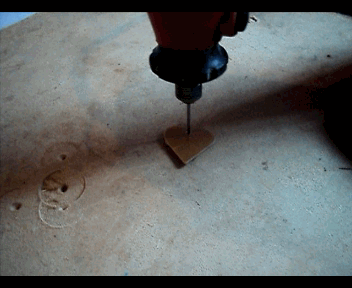
As tools we will use a cutting tool (I used one similar to dremel), in addition to sandpaper, a pliers and pickaxe.
- Placa (circuito) de cualquier componente electrónico en este caso de una unidad de disquete.
- Un cordón de cuero.
- Un trozo pequeño de alambre galvanizado o de su preferencia.
- 2 grapas pequeñas y una tranca con rosca.
Como herramientas usaremos una herramienta para cortar (yo utilice una parecida a dremel), además de lija, un alicate y piqueta.

---------- English ---------------------Español ----------


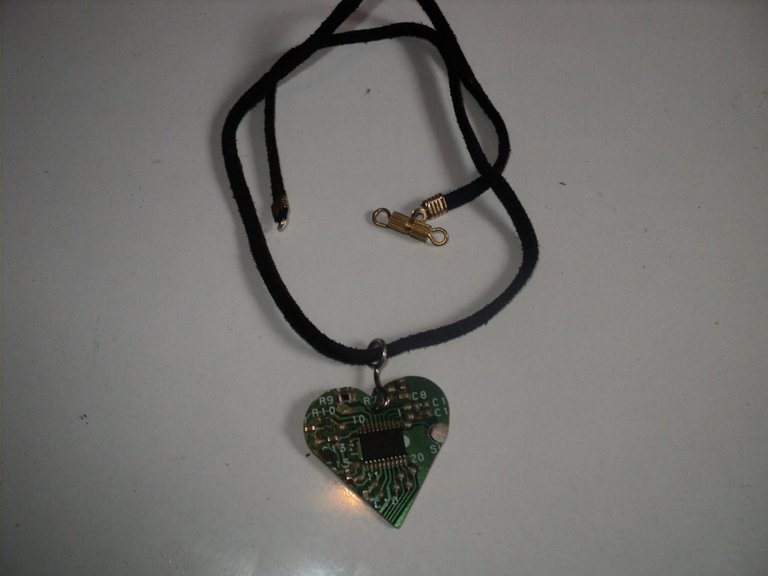
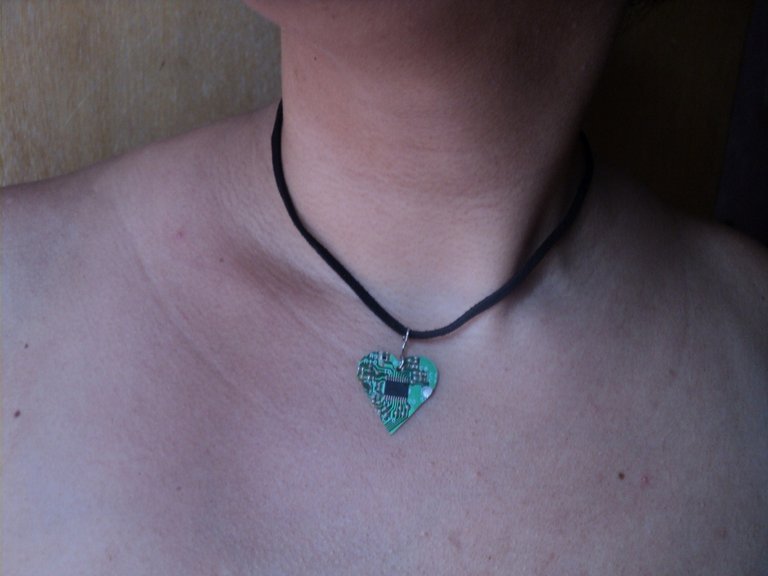
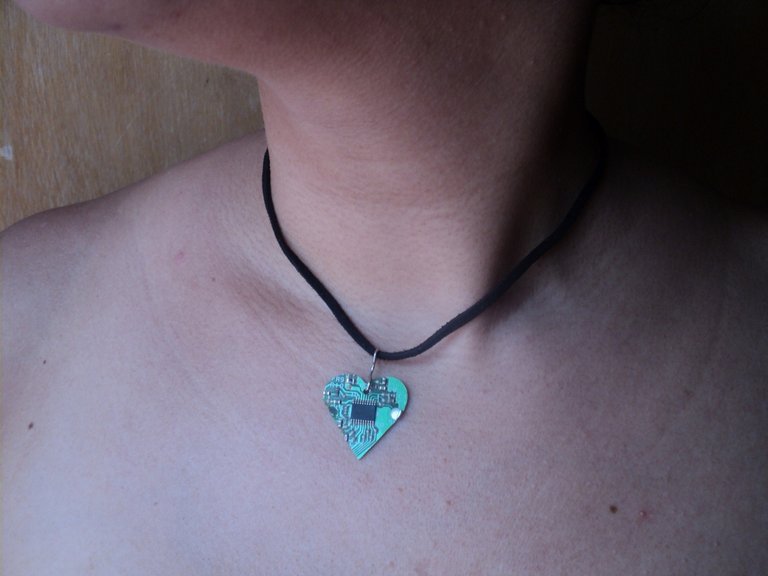
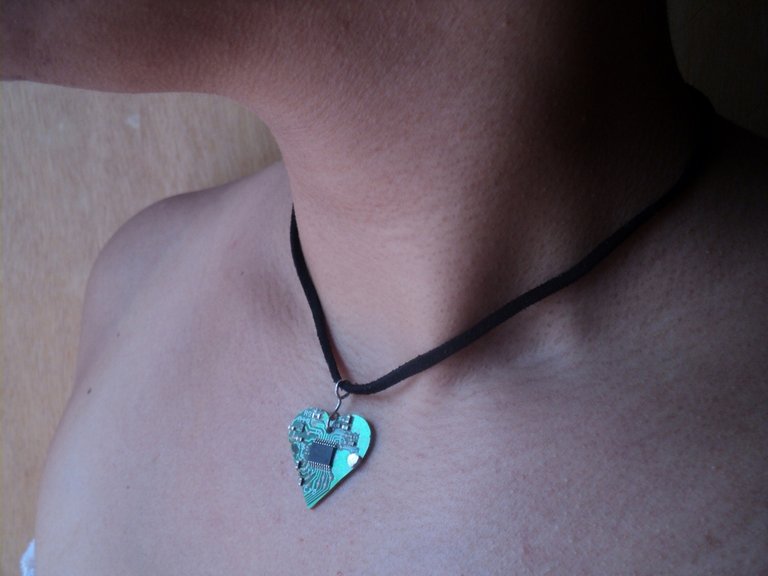
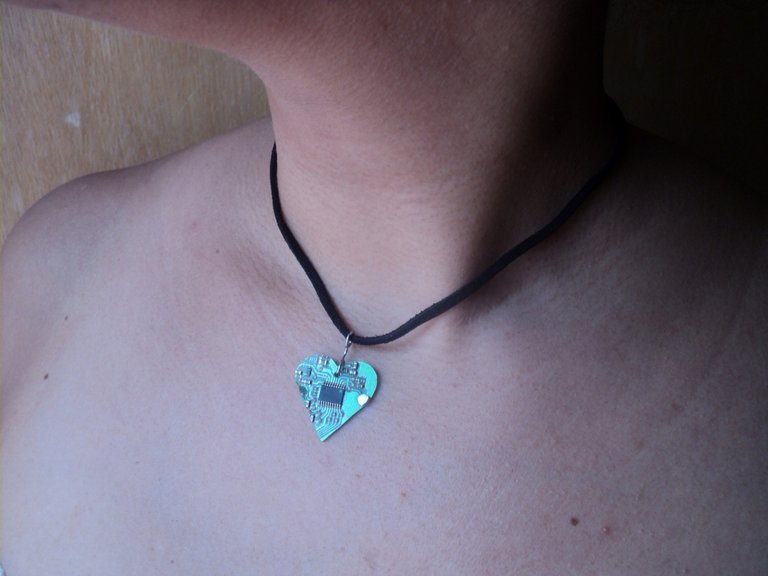
It is ready! This wonderful necklace is complete so I leave you with a small sample of how it would look if we want to wear it ;-) .
Esta listo! Este maravilloso collar está completo así que los dejo con una pequeña muestra de cómo se vería si deseamos lucirlo ;-) .
Many times we can bring some things that are useless back to life and give them a fresh and very modern look as it was in this case. I hope you enjoyed this little do-it-yourself.
Muchas veces podemos con algunas cosas que son inservibles volverlas a la vida y darle un aspecto fresco y muy moderno como fue en este caso. Espero que disfrutaras de este pequeño bricolaje.
I want them @shirahoshi and I wait for them in my next post.
Los quiere @shirahoshi y los espero en mi próximo post.
The photographs are my own and were taken by me with a sony cybershot DSC-S2000 and were edited in powerpoint.
Las fotografías son de mi autoría y fueron tomadas por mí con una camara sony cybershot DSC-S2000 y se editaron en powerpoint.
The Step by Step Gif was made by me in AdobePhotoshop CC2014.
El Gif de Paso a Paso fue realizado por mi en AdobePhotoshop CC2014.
The image of HIVE used on the cover (initial image) was taken from here:
La imagen de HIVE usada en la portada (imagen inicial) fue tomada de acá:

Buena la creatividad, te quedo hermoso
Muchísimas gracias @yolimarag , es bastante lindo y además es muy casual.
https://twitter.com/shiraho47800990/status/1304926978118623232