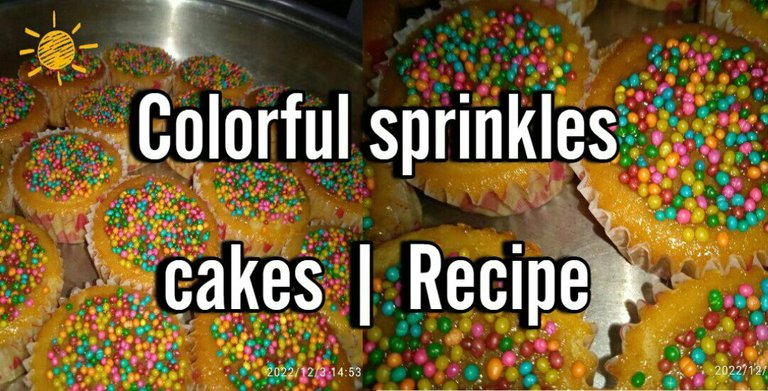
Colorful sprinkles cakes | Recipe [ENG/ESP]
Hola a toda la comunidad de #Foodiesbeehive, espero se encuentren muy bien teniendo un lindo comienzo de semana, el día de hoy les traigo una receta de unos ponques de vainilla con chispas de colores, son demasiado fáciles de hacer, además tienen un sabor muy rico jsjjs.
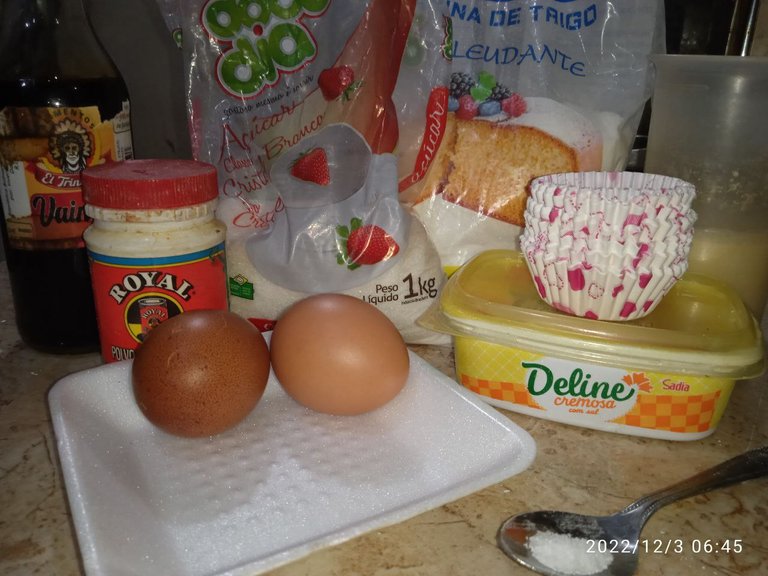
Ingredients:
- 250g of flour
- 180g of sugar.
- 160g of milk.
- 100g of butter or oil.
- 2 eggs.
- One teaspoon of baking powder.
- A tablespoon of vanilla.
- Pinch of salt.
- Cups.
Ingredientes:
- 250g de Harina
- 180g de Azúcar.
- 160g de Leche.
- 100g de mantequilla o aceite.
- 2 huevos.
- Una cucharadita de polvo de hornear.
- Una cucharada de vainilla.
- Pizca de sal.
- Capacillos.
Preparation:
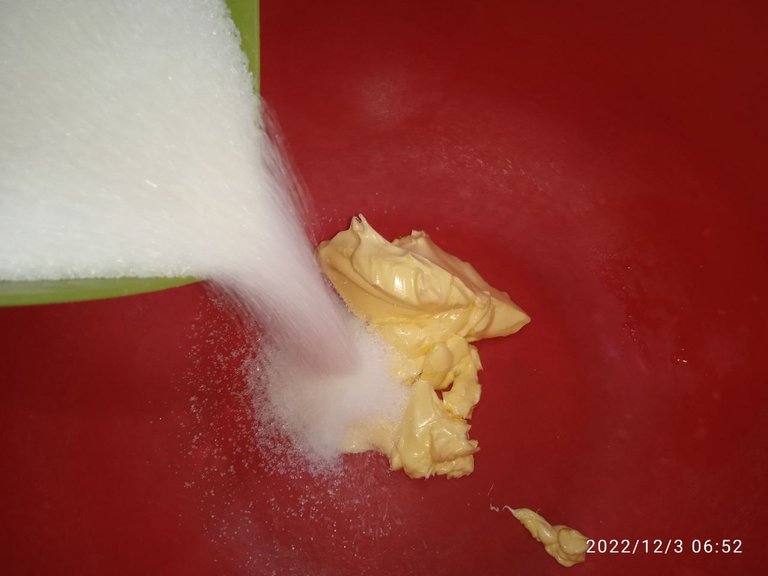
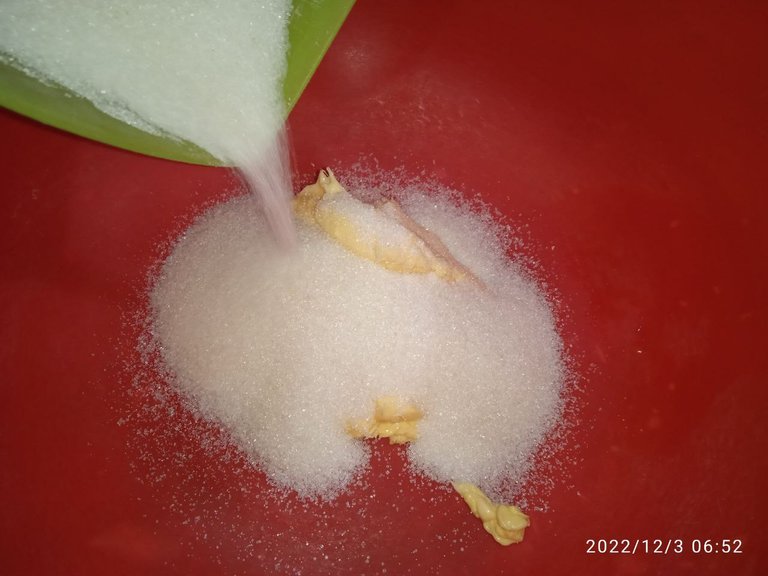
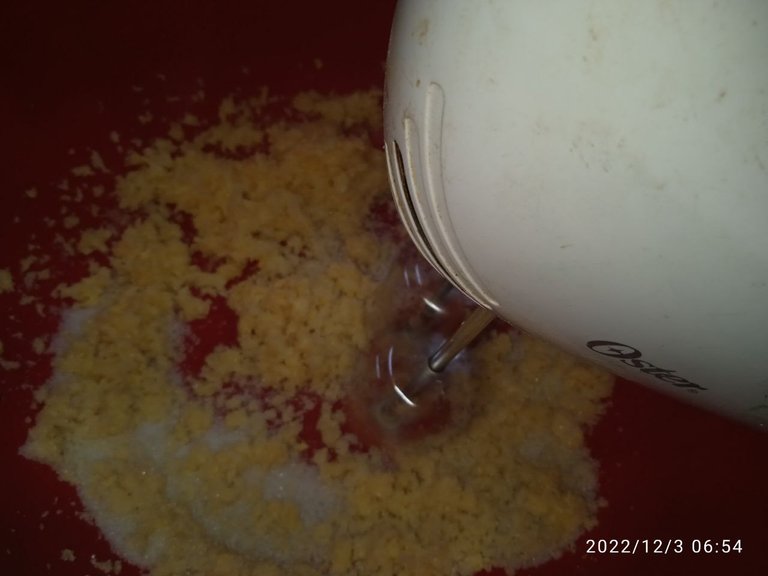
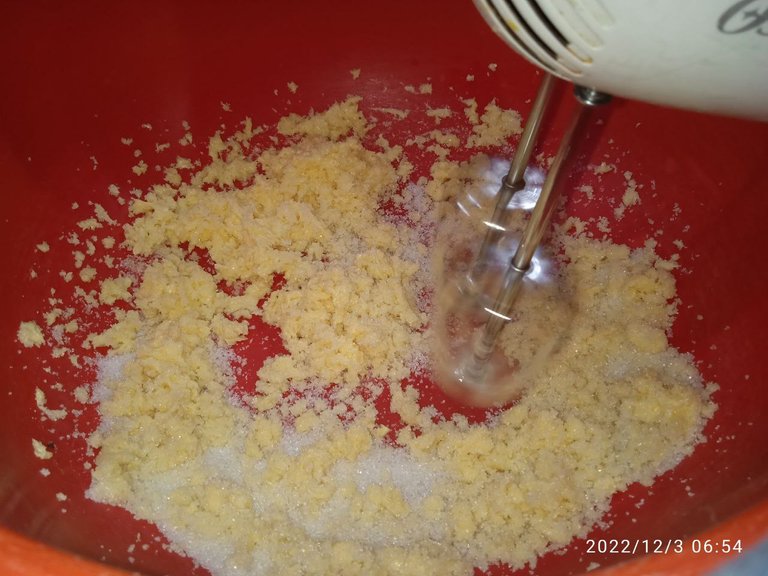
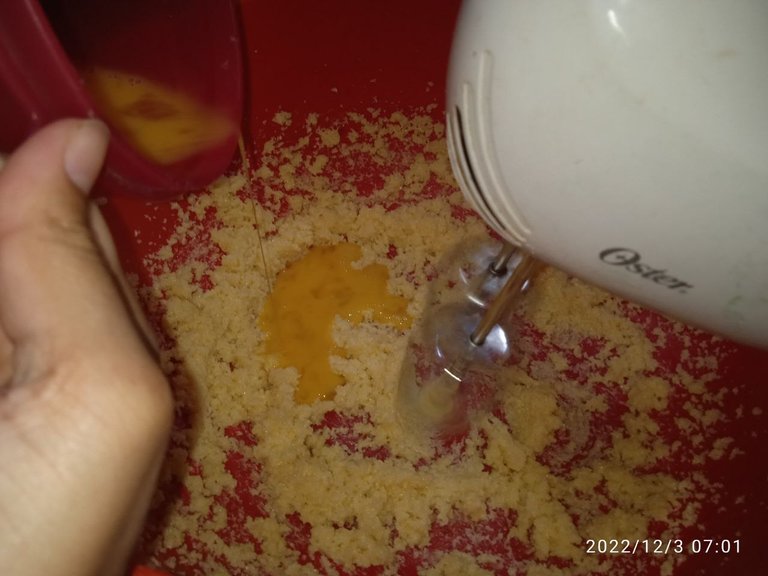
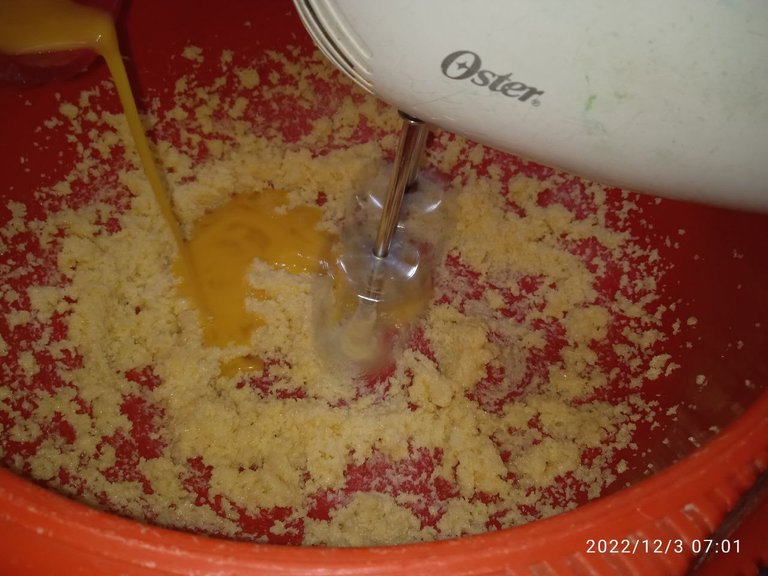
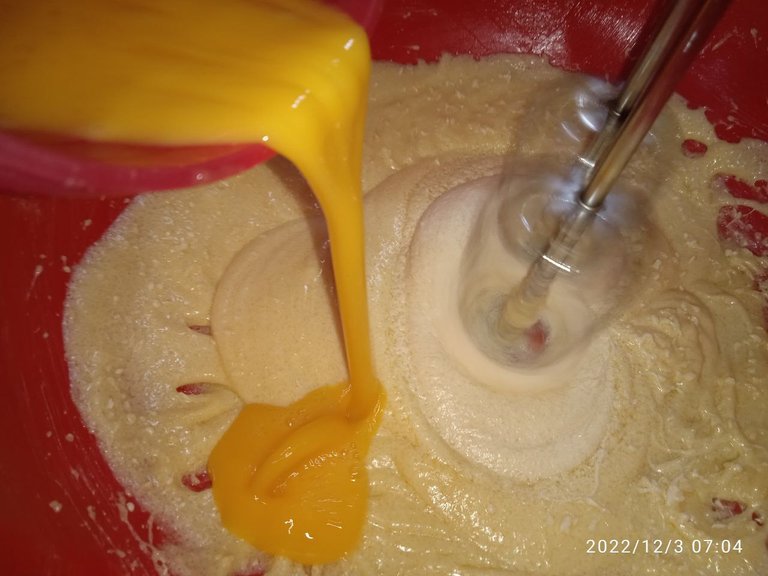
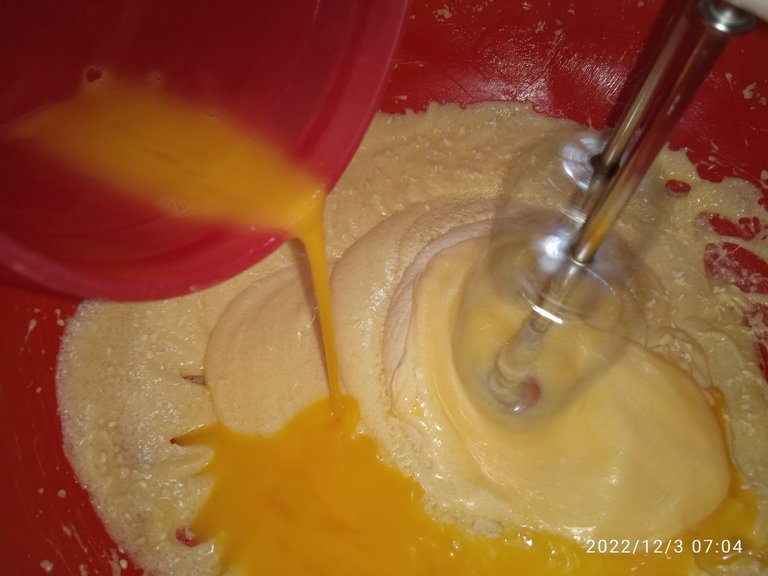
The first step to make these rich ponques will be to start beating the butter with the sugar (this step can be done with the help of a pastry paddle or with an electric mixer), always remembering that the ingredients must be at room temperature (because if the butter is cold it will make us some lumps difficult to dissolve also this helps not to uncontrol the growth of our ponques at the time of baking them), beat until the mixture has a creamy consistency, then in a separate bowl break the eggs and beat them with the help of a fork or whisk (remember that these have to be at room temperature), after this step we proceed to add it in equal parts until it is integrated.
Preparación:
El primer paso para realizar estos ricos ponques será empezar a batir la mantequilla con el azúcar (este paso se puede realizar con la ayuda de una paleta repostera o con una batidora eléctrica), recordando siempre que los ingredientes deben de estar a temperatura ambiente (ya que si la mantequilla está fría se nos harán unos grumos difíciles de disolver además esto ayuda a no descontrolar el crecimiento de nuestros ponques al momento de hornearlos), batimos hasta que la mezcla tenga una consistencia cremosa, luego en un recipiente aparte partimos los huevos y los batimos con la ayuda de un tenedor o batidor (recuerden que estos tienen que estar a temperatura ambiente), luego de este paso procedemos agregarlo en partes iguales hasta que se integre.
 |  |
|---|
 |  |
|---|
 |  |
|---|
 |  |
|---|
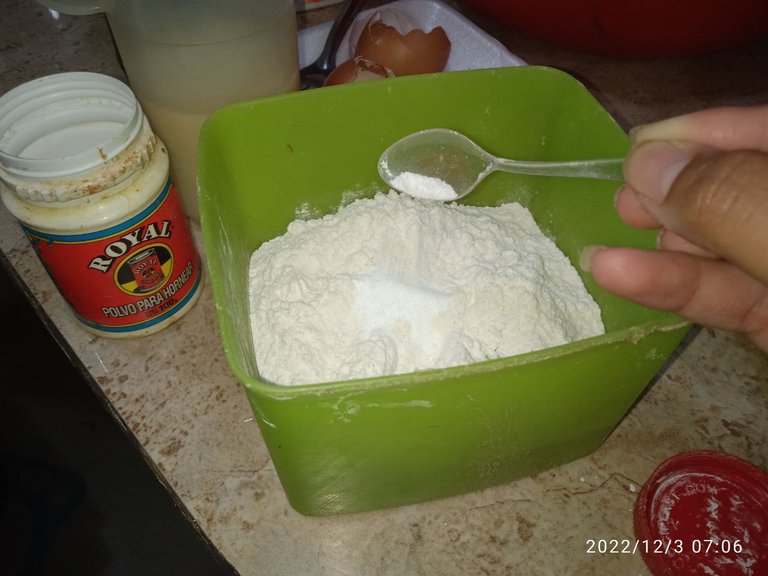
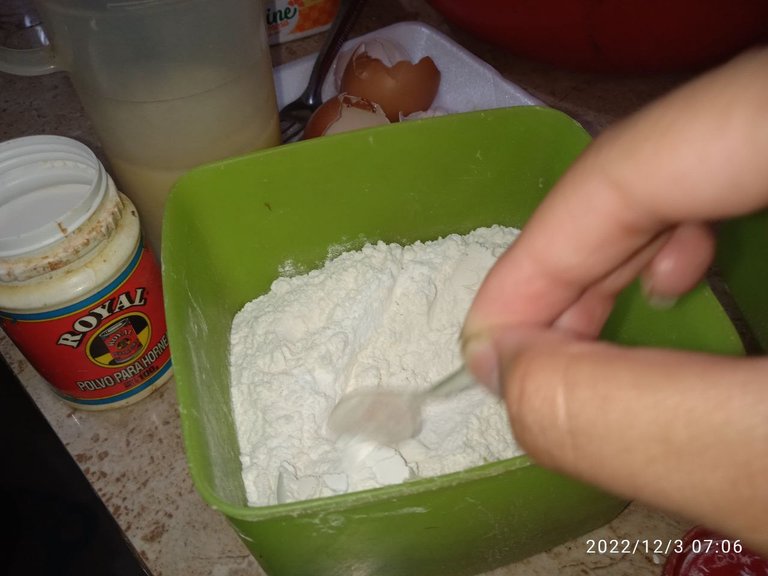
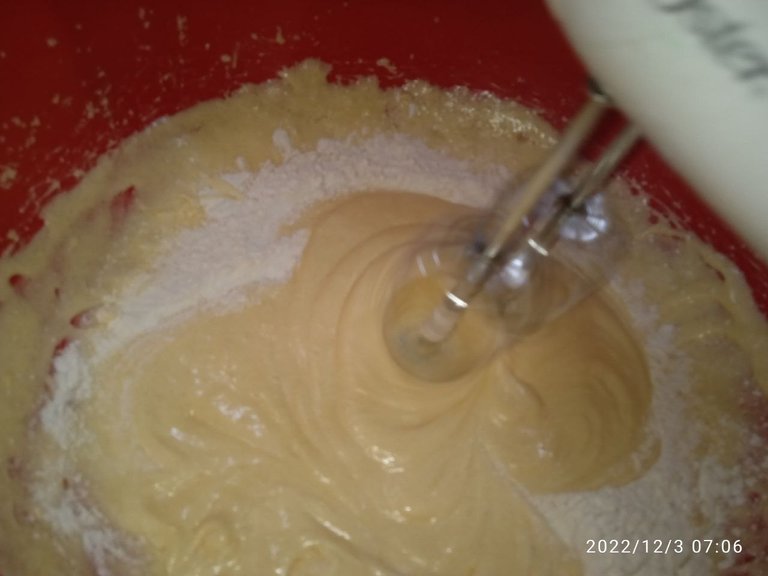
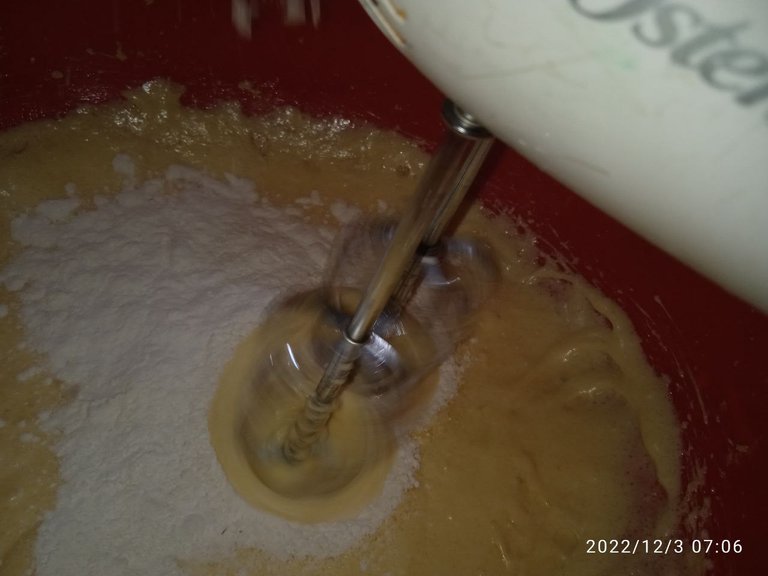
Once we have well integrated the above ingredients, we proceed to sift the flour with the help of a sieve and once sifted we add the tablespoon of baking powder (remember that sifting the flour is important, because if it is not done it is likely that our mixture will be lumpy), then we proceed to add our flour in parts so as not to make a mess, in this step we will set the speed of our mixer to the minimum (this step is very important, because if it is not done we will have a much more compact and dense cake and this is not what we want, we want softness and air inside it). In this step we also add the pinch of salt.
Una vez que tengamos bien integrado los ingredientes anteriores, procedemos a tamizar la harina con la ayuda de un colador y ya tamizado le agregamos la cucharada de polvo de hornear (recuerden que tamizar la harina es importante, ya que si no se realiza es probable que quede con grumos nuestra mezcla), luego procedemos agregar nuestra harina en partes para no hacer un reguero, en este paso colocaremos la velocidad de nuestra batidora en lo más mínimo (este paso es muy importante, ya que si no se realiza nos quedará un ponque mucho más compacto y denso y esto no es lo que queremos, queremos suavidad y aire dentro de él). En este paso también incorporamos la pizca de sal.
 |  |
|---|
 |  |
|---|
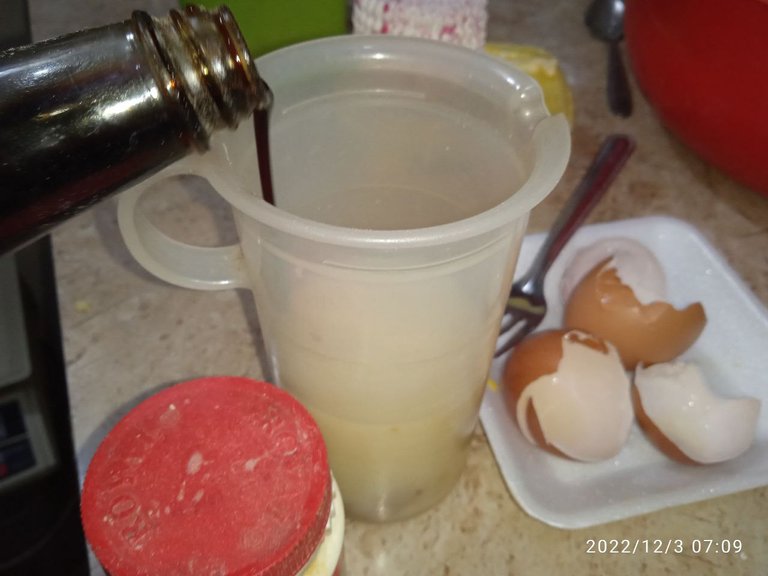
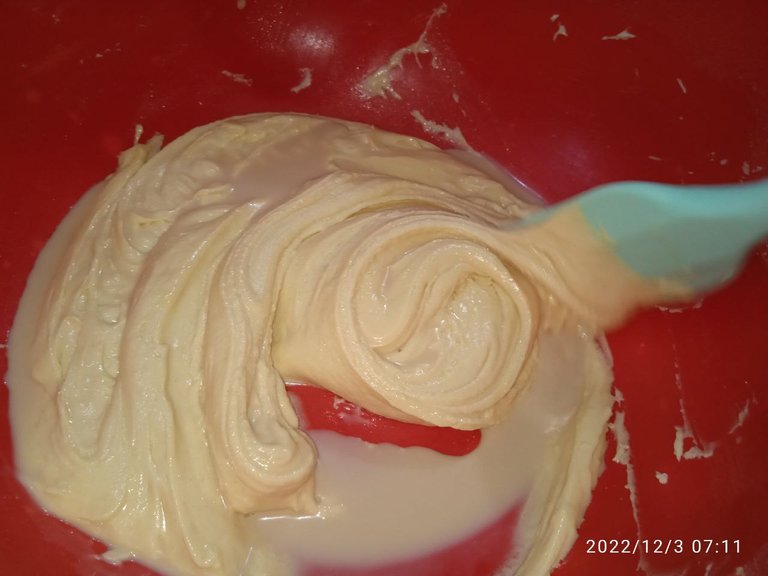
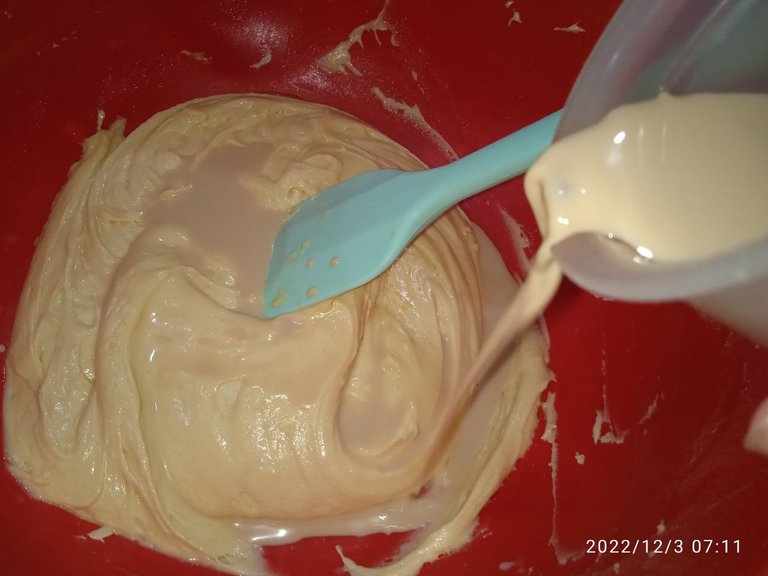
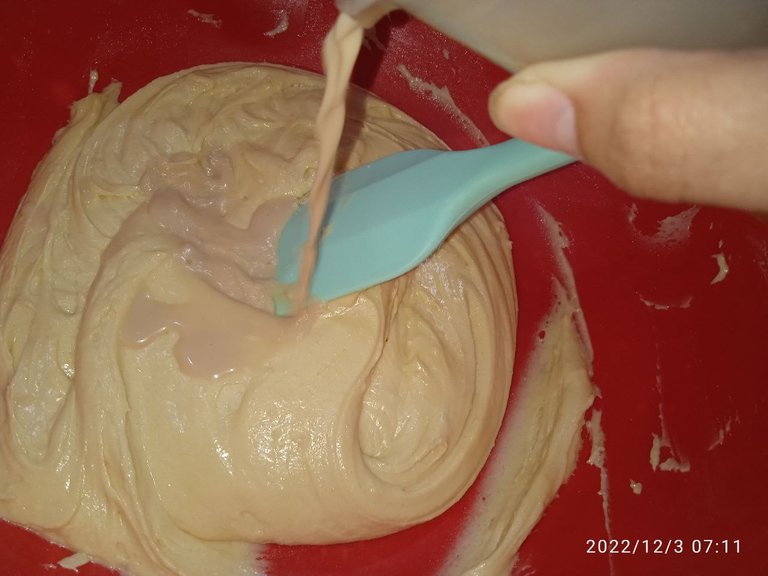
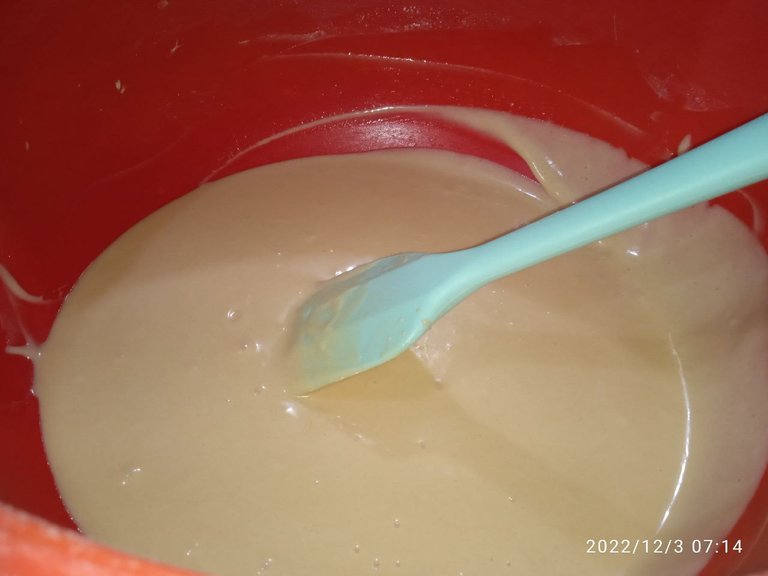
Once we have our ingredients well incorporated, we proceed to integrate the milk with the vanilla and then incorporate it to our mixture (this step is carried out in this way so that the flavors combine much better) also remember to incorporate it with the help of a pastry paddle (with enveloping movements) and not with the electric mixer, since we do not want to overbeat our mixture.
Una vez tengamos nuestros ingredientes bien incorporados procedemos a integrar la leche con la vainilla para luego incorporarla a nuestra mezcla (este paso se lleva a cabo de este modo para que los sabores se conjuguen mucho mejor) también recuerden incorporarla con la ayuda de una paleta repostera (con movimientos envolventes) y no con la batidora eléctrica, ya que no queremos sobrebatir nuestra mezcla.
 |  |
|---|
 |  |
|---|
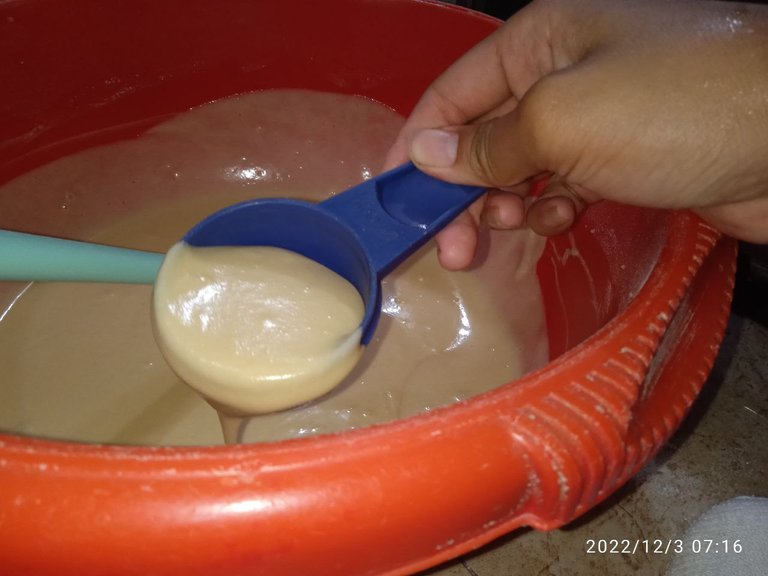
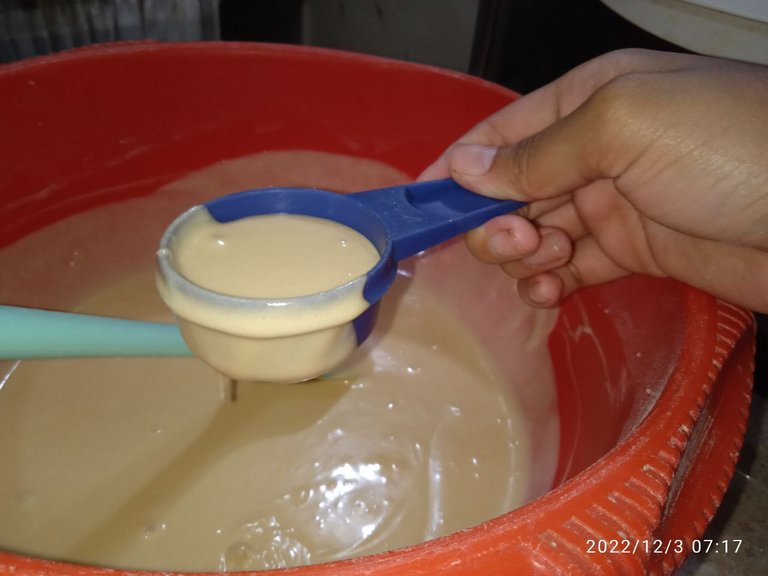
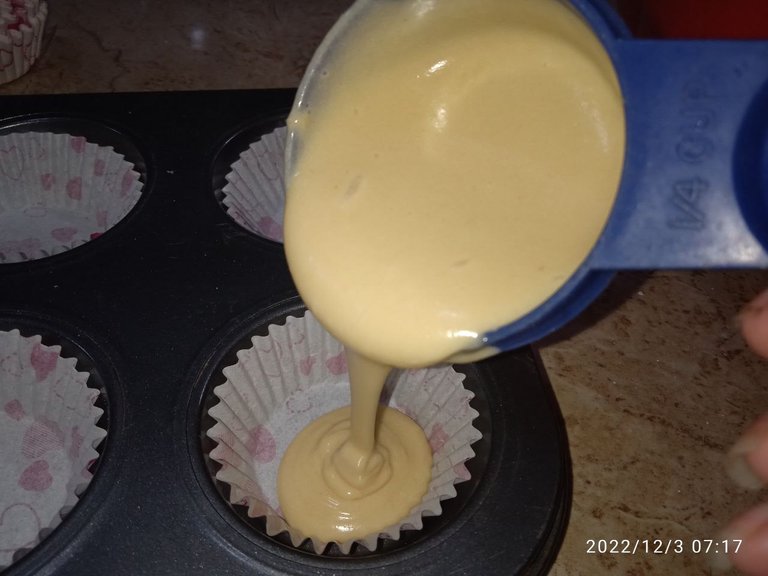
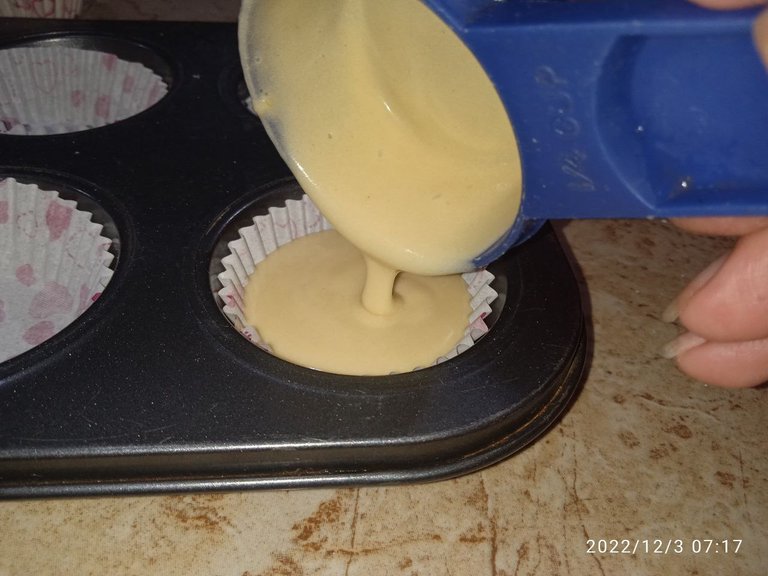
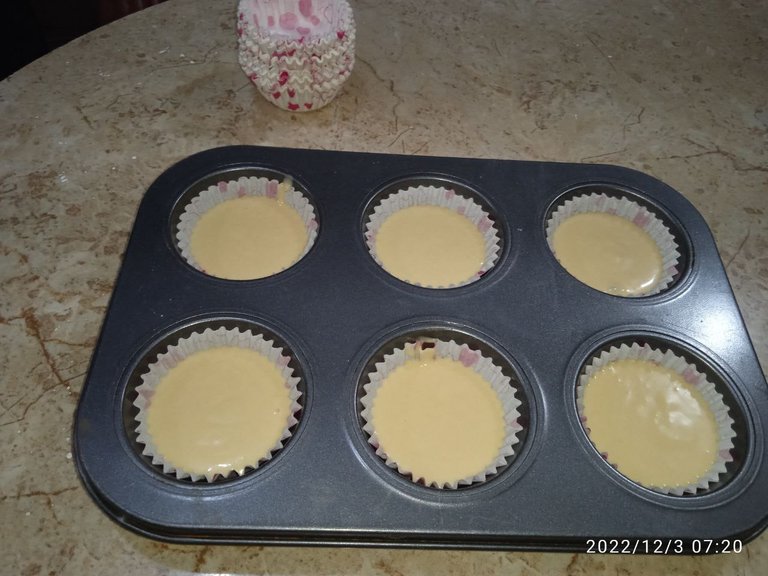
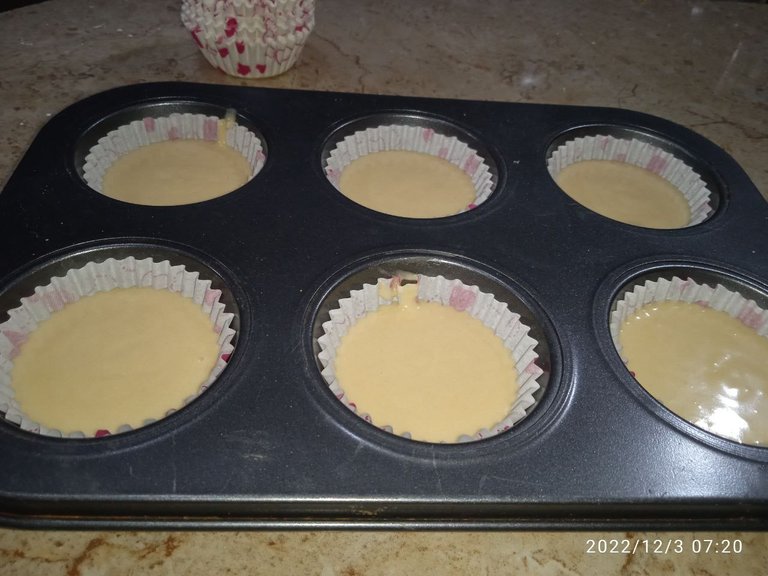
Once we have our mixture we can start filling our layercillos (I used a layercillos of 8 centimeters, you can also do it with another measure of layercillo, but remember that if they are larger they will be less than the recipe I am sharing and are smaller they will be smaller), in this step I used a cup of measures (1/4) to fill our molds (you can also do it with an ice cream scoop or a spoon, as it is easier for you jsjsjs).
When pouring the mixture into the layer remember to leave 1 centimeter of difference so it does not expand and become a volcano JSKSJSK.
We will put the oven at 170ºC and leave them there for about 25-30 minutes.
Ya teniendo nuestra mezcla podemos empezar a llenar nuestros capacillos (yo utilice unos capacillos de 8 centímetros, también lo pueden hacer con otra medida de capacillo, pero recuerde que si son más grandes saldrán menos que la receta que les estoy compartiendo y son más pequeños saldrán tomando en cuenta que serán más pequeños), en este paso yo utilice una taza de medidas (1/4) para rellenar nuestros moldes (también lo pueden hacer con una sacabolas de helado o con una cuchara, como se les haga más fácil jsjsjs).
Al momento de echar la mezcla en los capacillos recuerda dejar 1 centímetro de diferencia para que no se expanda y queden como un volcán JSKSJSK.
El horno lo pondremos a 170ºC y los dejaremos ahí por alrededor de unos 25-30 minutos.
 |  |
|---|
 |  |
|---|
 |  |
|---|
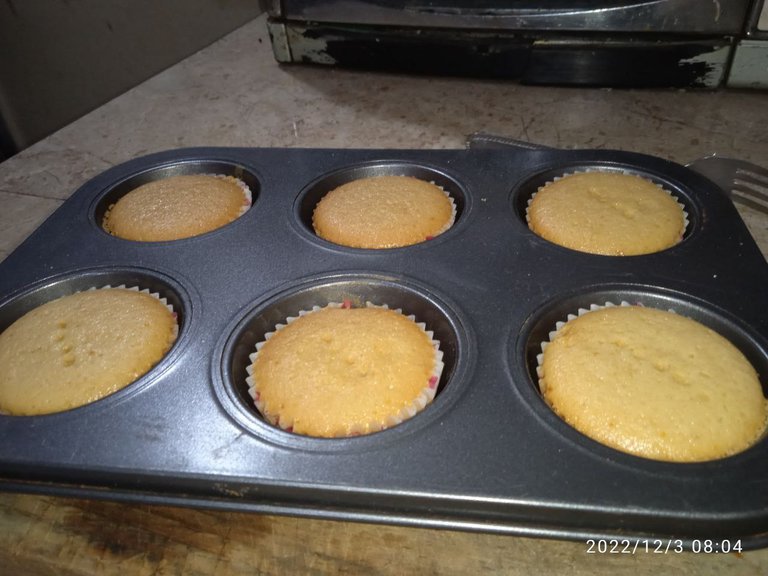
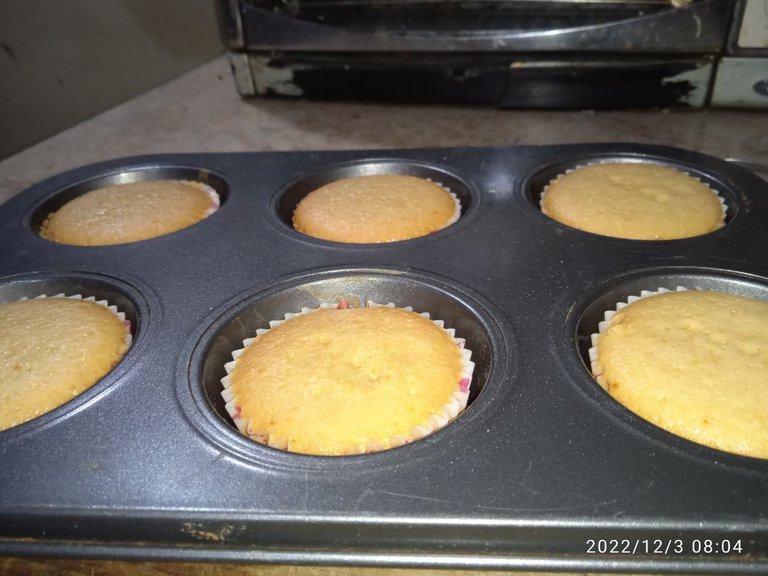
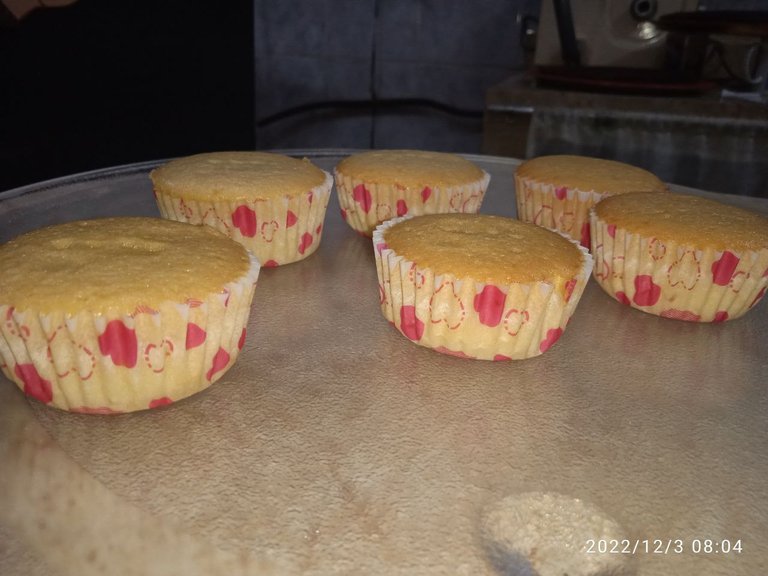
To know that our cakes are ready we will only have to look at the color they will have after those 25-30 minutes or you can also know by poking it with a stick and if it comes out clean our cakes will be ready.
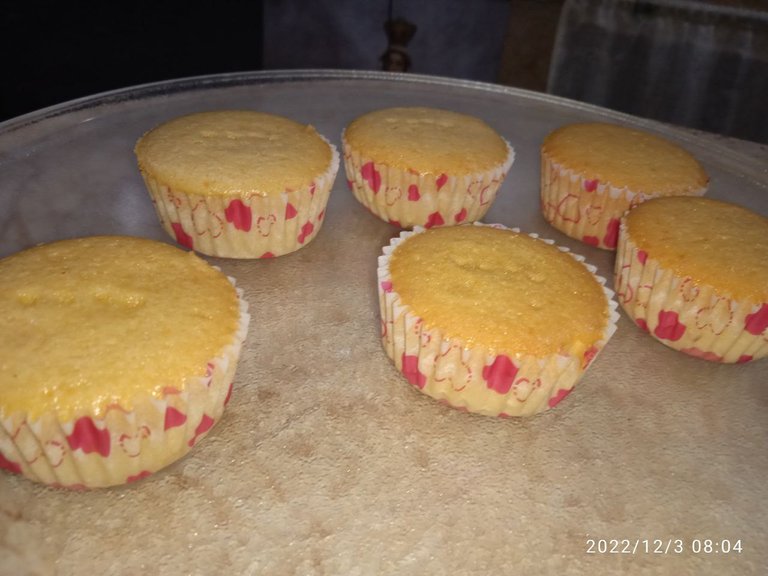
Let them rest for 5 minutes in the pan before putting them on a cooling rack.
Para saber que nuestros ponques están listos solo tendremos que fijarnos en el color que tendrán al paso de esos 25-30 minutos o también se puede saber pinchándolo con un palito y si sale limpio nuestros ponques estarán listos.
Déjalos reposar 5 minutos en la bandeja, antes de ponerlos en una rejilla enfriadora.
 |  |
|---|
 |  |
|---|
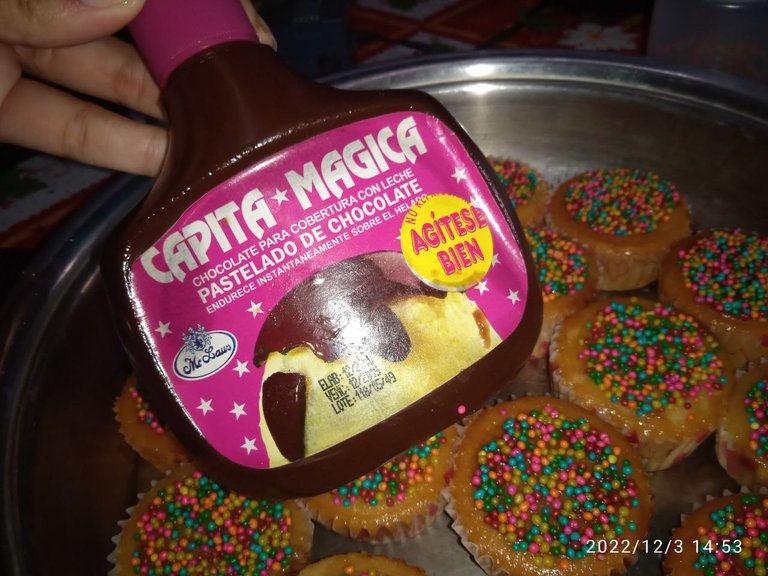
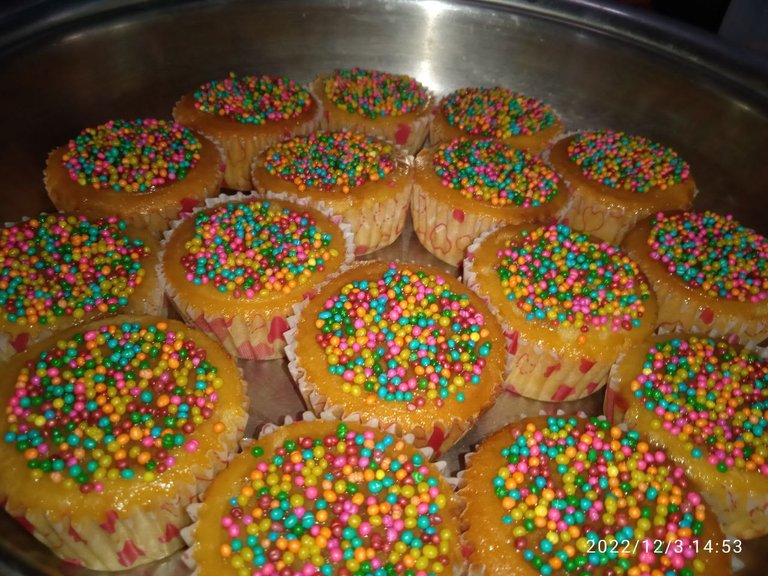
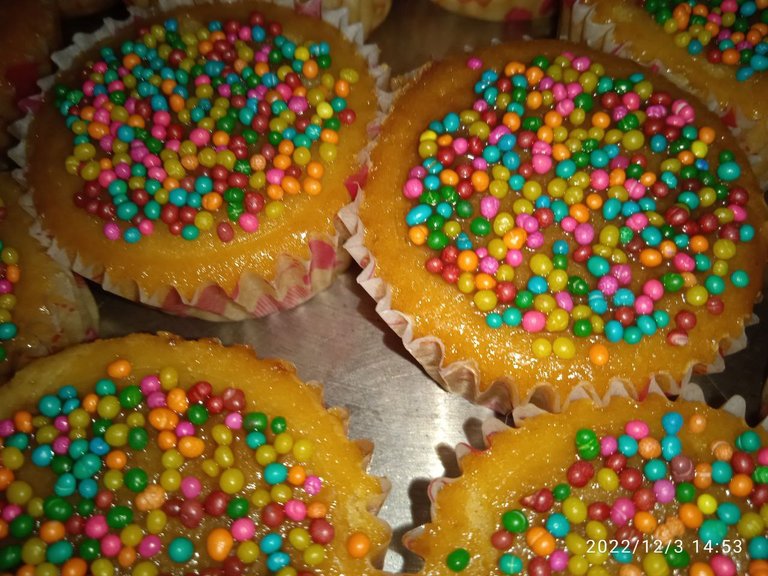
For the decoration there are multiple options, you can decorate it with whipped cream or french meringue, and put any kind of topping either crumbled cake, sprinkles, dried fruits or candies. In my case I put a very simple decoration, without any cream, to replace the cream I added a chocolate syrup and on top of it some colored sprinkles, it is easy and simple jsjksj.
Para la decoración hay múltiples opciones, pueden decorarla con crema batida o merengue francés, y colocarles cualquier tipo de topping ya sea torta desmoronada, chispas, frutas secas o dulces. En mi caso yo les coloqué una decoración muy sencilla, sin ninguna crema, para sustituir la crema les agregué un sirope de chocolate y arriba de este unas chispas de colores, queda fácil y sencillo jsjksj.
 |  |
|---|
 |  |
|---|
I hope you liked my way of making these delicious ponques, I really enjoyed explaining the step by step and teaching you my tips when making them. Thank you for having come this far, I wish you a nice evening, bye.
Espero les haya gustado mi manera de hacer estos ricos ponques, me gusto mucho explicar el paso a paso y enseñarles mis tips al momento de hacerlos. Gracias por haber llegado hasta aquí, les deseo una linda noche, Chauu.
Credits:
- Pictures taken by my dad's phone a Xiaomi Redmi 9C.
- The banner was edited with PicsArt.
- Fotografías tomadas por el teléfono de mi papá un Xiaomi Redmi 9C.
- El banner fue editado con PicsArt.
Congratulations @solecitosalazar! You have completed the following achievement on the Hive blockchain And have been rewarded with New badge(s)
Your next target is to reach 30 posts.
You can view your badges on your board and compare yourself to others in the Ranking
If you no longer want to receive notifications, reply to this comment with the word
STOPTo support your work, I also upvoted your post!
Check out our last posts:
Support the HiveBuzz project. Vote for our proposal!
Que receta tan completa! Los tips estan perfectos para no cometer errores en la preparación, y de paso se ve que tus ponquesitos quedaron muy ricos con el sirope y las chispas.
Holiii amigue, me hubiera gustado hacerles crema para decorar, pero la verdad no tenia mucho tiempo sjkajs, sin duda los ponquesitos quedaron muy ricos con el sirope, no sé que sabía mejor, si los ponques o el sirope, creo que entre los dos hacen una muy buena combinación jsksjsk.
Gracias por tu comentario<3
Holaaa Jsjs, te entiendo, igual el sirope es un detallazo que da muy buen sabor, y se ve que ese era muy rico si no sabes si te gustaba más entre eso y los ponquesitos JAJAJAJ, así que fue buena idea combinarlos.
https://twitter.com/1422413915275812864/status/1605587633643540480
https://twitter.com/305691731/status/1607667153729212417
The rewards earned on this comment will go directly to the people( @mariajcastro28, @stemng ) sharing the post on Twitter as long as they are registered with @poshtoken. Sign up at https://hiveposh.com.
Me gusta que cuando hagas tus recetas también compartas tips que son útiles para que la receta salga bien, esos ponquecitos se ven demasiado sabrosos, quisiera probarlos, además de que se ven muy lindos, coloridos jejejejej. Saludos Sol!
La verdad es que al principio no sabía si mis tips eran buenos, que tal si era "suerte que me quedaran asi", pero no, intente hacerlos sin esos tips y me quedaron como una piedra ToT, bueno tal vez no tan duros pero me entiendes jsksjs. Creeme que quedaron muy sabrosos, ahora cuando haga una receta te llevo para que pruebes los mejores postres del mundo JSKSJSKSJSK. Gracias por tu lindo comentario, no vemos en la nocheeeee chemip!!!!!!!!!!!!!!!!!!!!!!!!!!!!!!!!!!
hola, muy colorido, se ven muy deliciosos, gracias por compartir tu receta, cuando la pruebe te diré como me salieron, sigue adelante...!
Holaaa, sin duda quedaron muy coloridos, me alegra mucho que te haya gustado mi post, espero que la pruebes y la compartas aquí jsjsj. Gracias por tu comentario<3
Que ricos ponquesitos solecito, se me antojaron mucho.. excelente toda la explicación, eres muy creativa y principalmente muy detallista he higiénica en cada paso de la preparación.. éxitos
Holiii, si, me quedaron muy ricos jskdjdk, me alegra mucho que te haya gustado todo, los siguientes que hare seran para ti jskdjd, gracias por tu comentario<3
Delicious
Completamente de acuerdo sjskjdkds. Saludos!!!