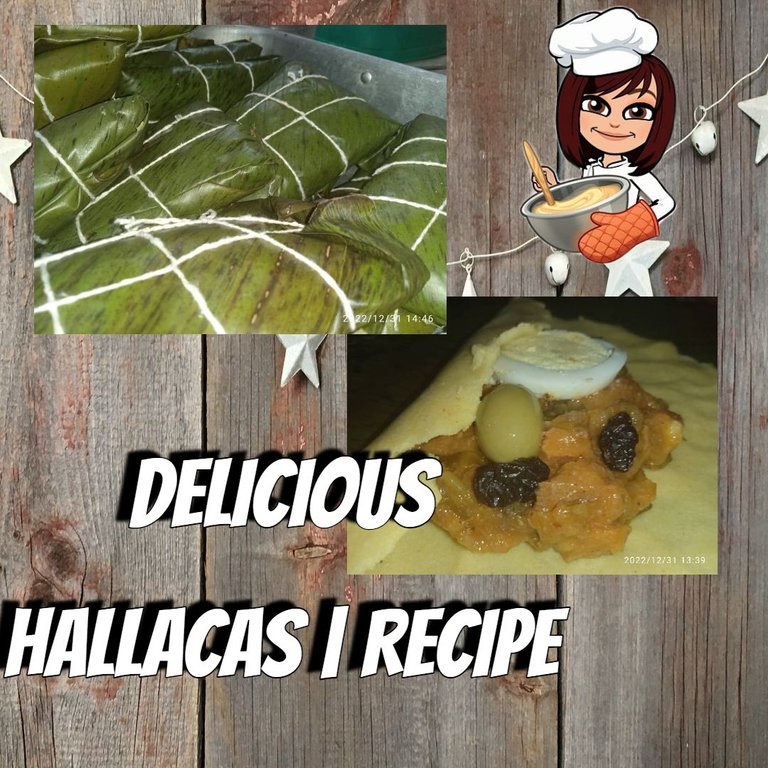
Hello to all my dear hivers, I hope you are feeling wonderful, today I bring you the preparation of some delicious hallacas, for those who are not from my country (Venezuela) hallacas are the main dish of every table at Christmas, of course with other side dishes like salad, baked pork, ets... I wanted to publish the recipe for a while, but lately I do not get out of bed ToT.
For the first time in 14 years I had to make the stew for the hallacas OMGGGGGGGGGGG, of course my dad was checking on me, porcia caso JSKJDJDJDK, it's funny because I wasn't going to make the stew, normally my job is to tie them or clean the leaves, I know what you are thinking why those steps if you could do more? The truth is let's just say that stuffing them doesn't come out very well for me, the stuffing would come out for some strange reason sjdkdjdjdkjd, so I was content with whatever work they gave me sjskjddk.
Now, join me to see this delicious recipe.
Hola a todos mis queridos hivers, espero que se encuentren de maravilla, el día de hoy les traigo la preparación de unas ricas hallacas, para los que no son de mi país (Venezuela) las hallacas son el plato principal de todas las mesas en navidad, claro con sus otros acompañantes como la ensalada, el cochino al horno, ets… Hace un tiempo que quería publicarles la receta, pero últimamente no me despego de la cama ToT.
Por primera vez en 14 años me tocó hacer el guiso de las hallacas OMGGGGGGG, claro mi papá me estaba chequeando, porcia caso JSKJDJDK, es gracioso porque yo no iba a hacer el guiso, normalmente mi trabajo es amarrarlas o limpiar las hojas, sé lo que están pensando ¿Por qué esos pasos si pudieras hacer más? La verdad es que digamos que rellenarlas no me sale muy bien, se me salía el relleno por alguna extraña razón sjdkdjdkjd, así que me conformaba con el trabajo que me dieran sjskjddk.
Ahora sí, acompáñame a ver esta rica receta.
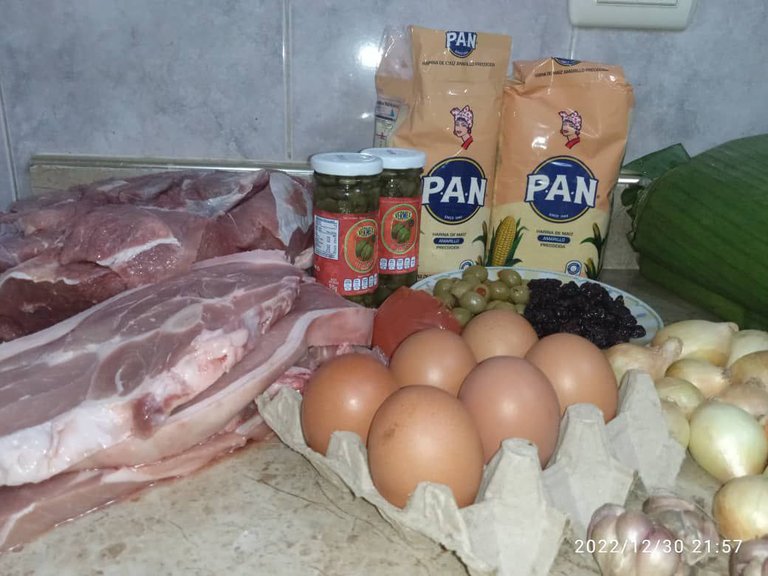
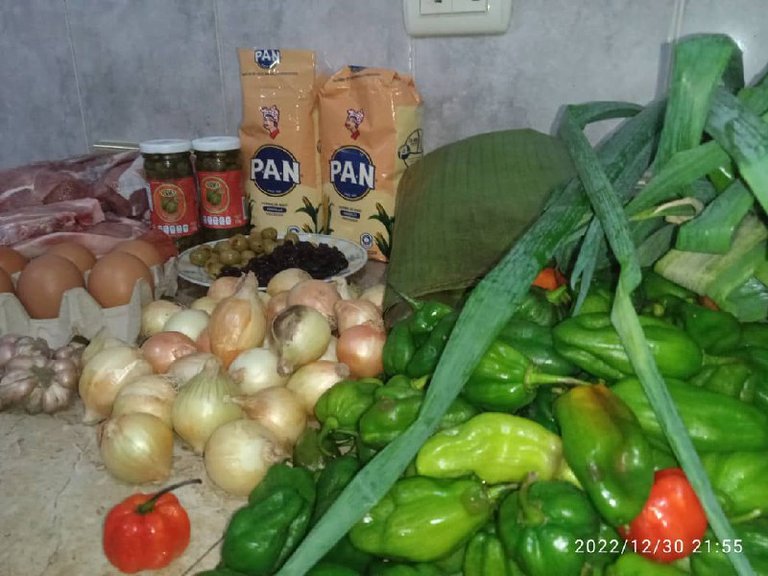
Ingredients:
- P.A.N. flour (yellow).
- Onions.
- Chives.
- Sweet chili.
- Plantain leaves.
- Eggs.
- Garlic.
- Stuffed olives.
- Raisins.
- Capers.
- Onoto powder.
- Diced.
- Coriander.
- Oregano.
- Salt.
- Beef.
- Pig meat.
- Wick.
Ingredientes:
- Harina P.A.N (amarilla).
- Cebollas.
- Cebollín.
- Ají dulce.
- Hojas de plátano.
- Huevos.
- Ajos.
- Aceituna rellena.
- Pasas.
- Alcaparra.
- Onoto en polvo.
- Cubitos.
- Culantro.
- Orégano.
- Sal.
- Carne de res.
- Carne de cochino.
- Pabilo.
Preparation of the stew.
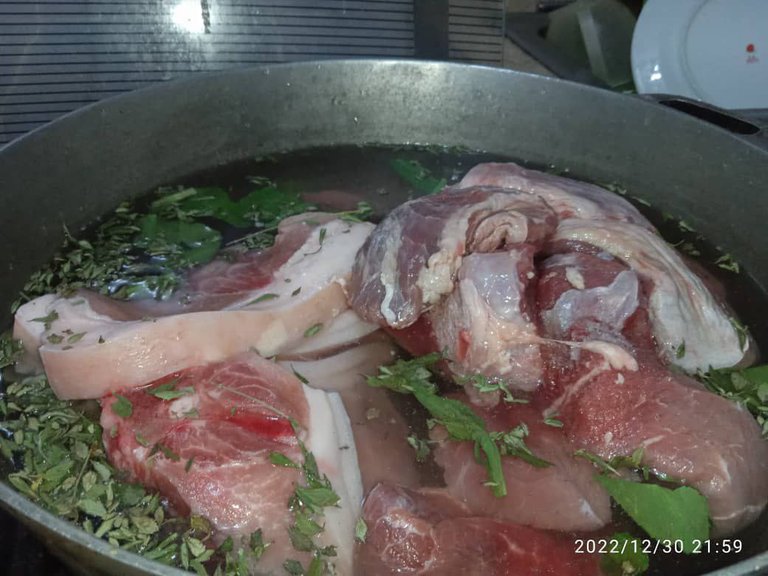
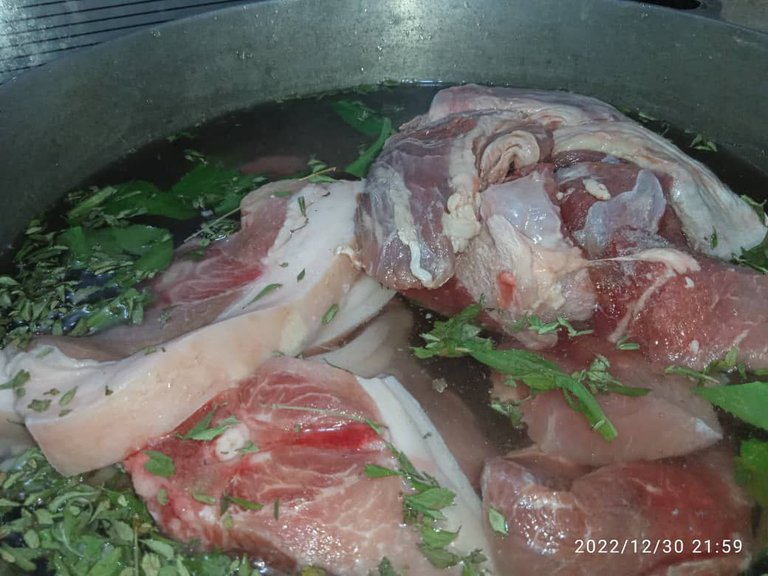
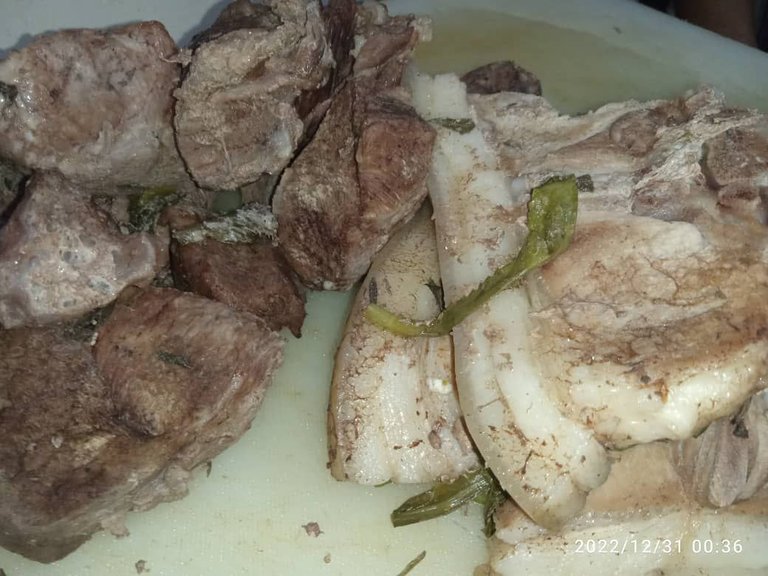
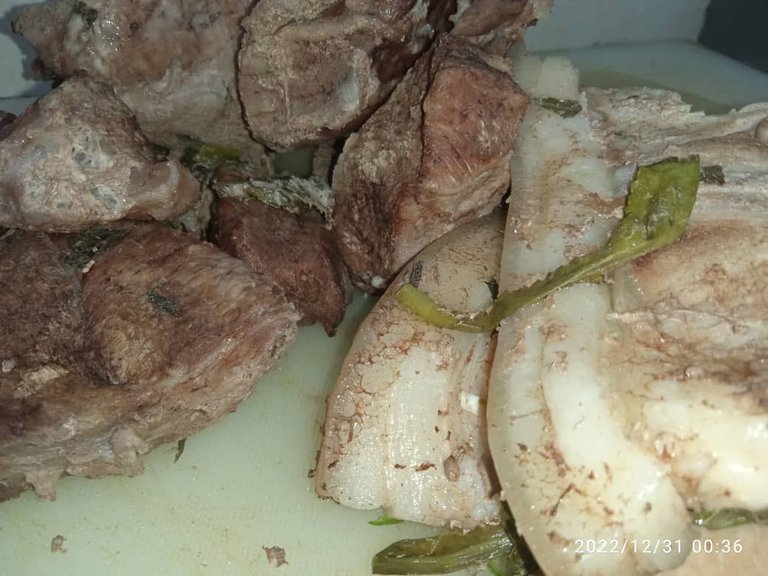
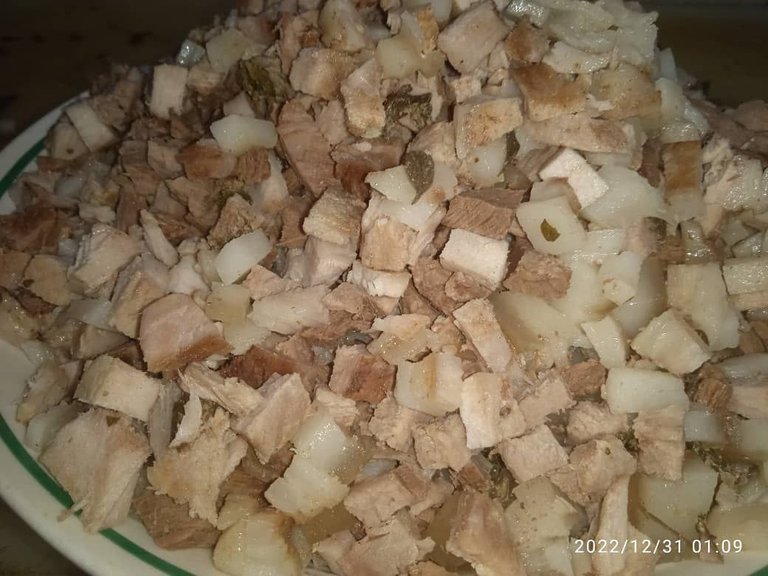
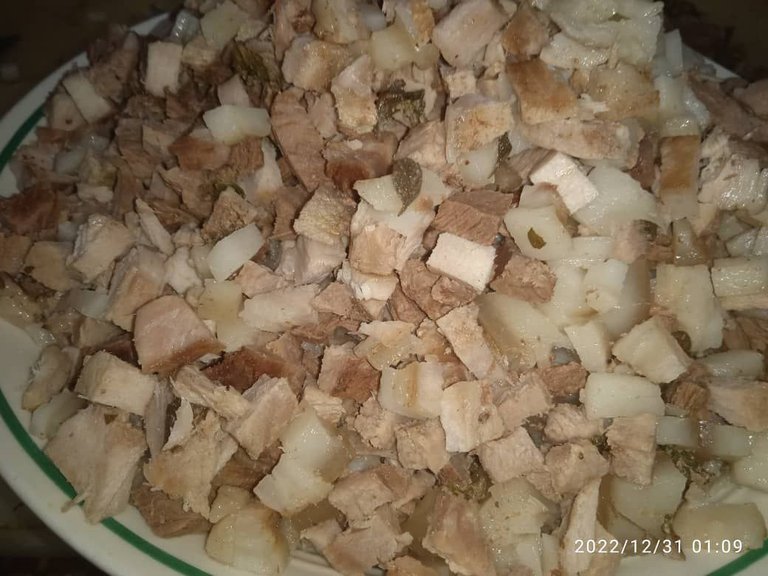
The first step we will do is to cook our meat, we will put it in a pan in which we will add a lot of water and some spices such as oregano, coriander and salt. Once our meat is cooked we will take it out of the water where it was boiled and we will put it to cool, once it is cold or warm we can start chopping it in small cubes, once we have them all chopped we will reserve them for later.
Preparación del guiso.
El primer paso que realizaremos será cocinar nuestra carne, la colocaremos en una paila en la cual agregaremos mucha agua y algunas especies como el orégano, el culantro y la sal. Una vez nuestra carne se haya cocido la sacaremos del agua donde fue sancochada y la colocaremos enfriar, ya teniéndola fría o tibia la podemos empezar a picar en cubos pequeños, una vez los tengamos todos picados los reservamos para después.
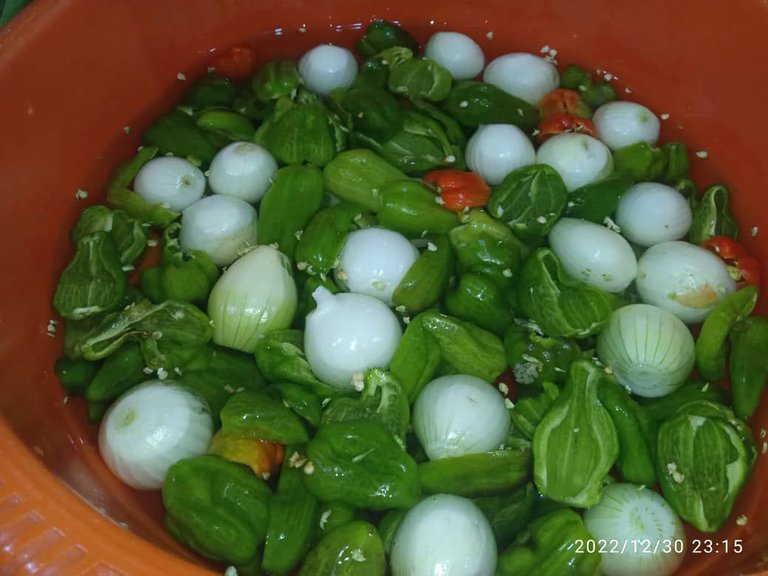
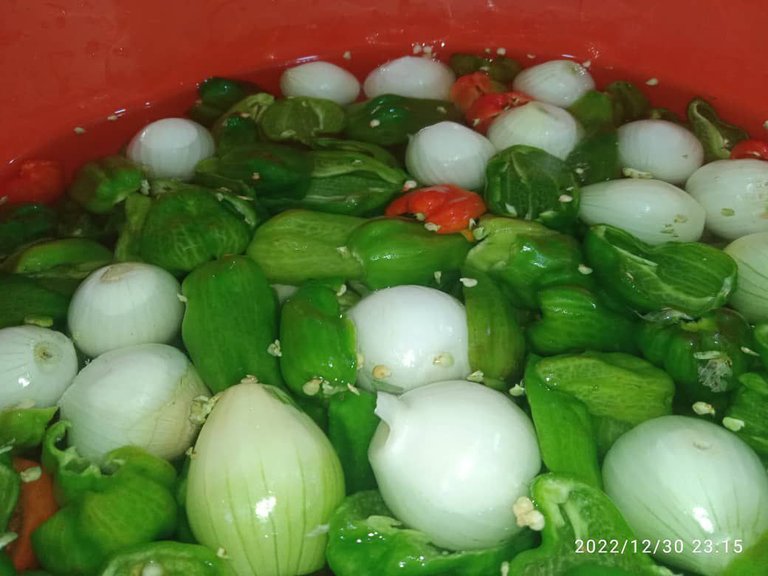
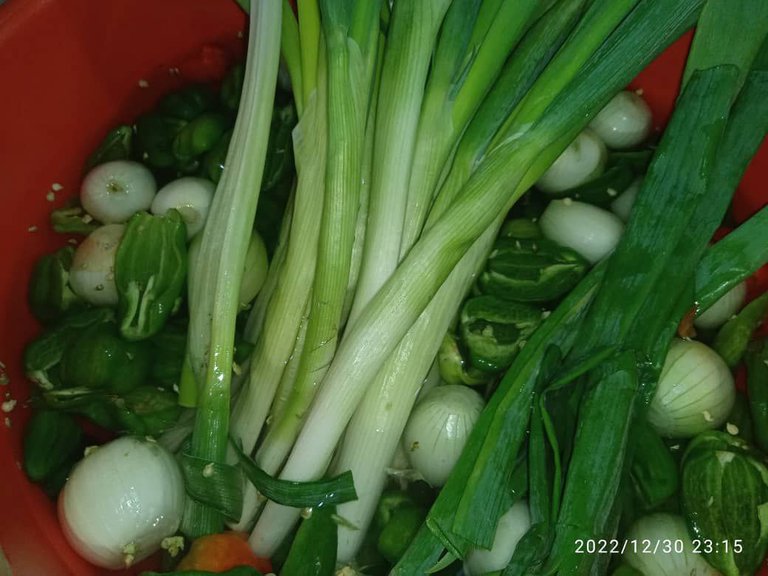
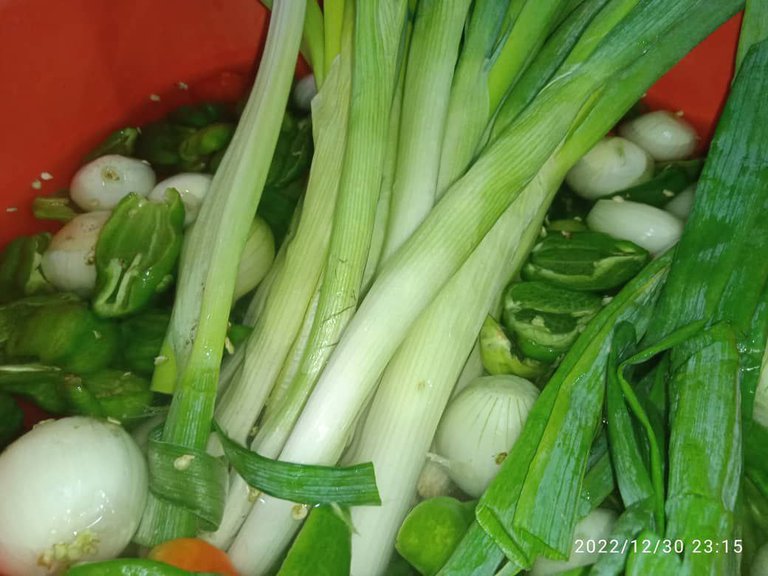
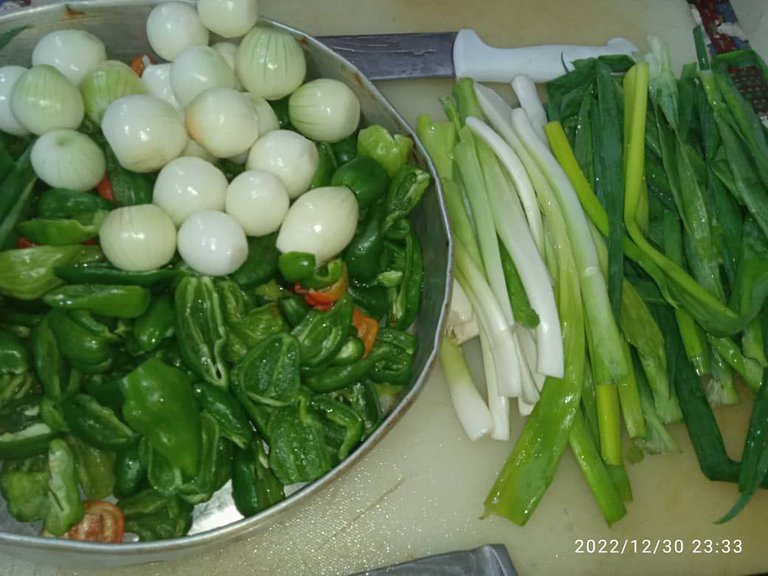
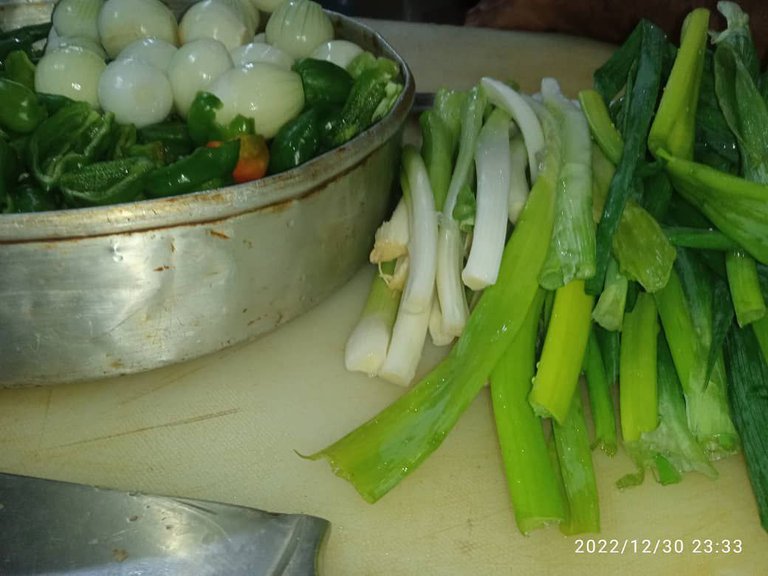
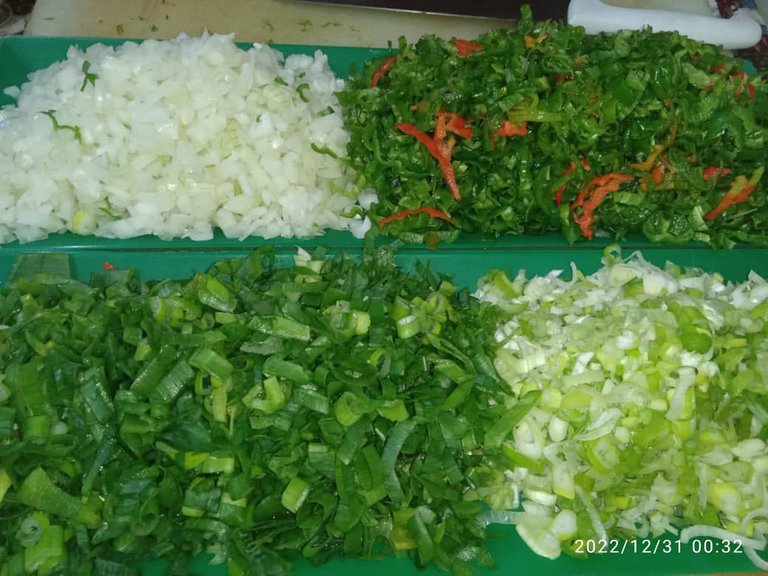
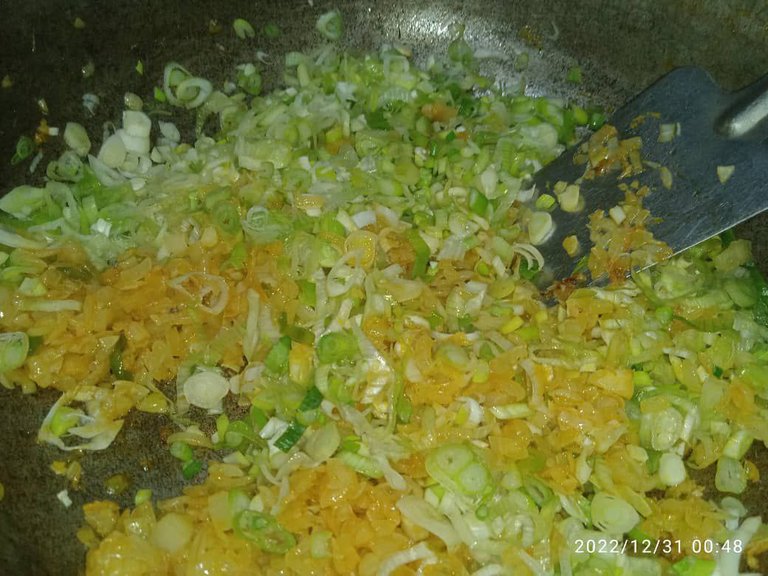
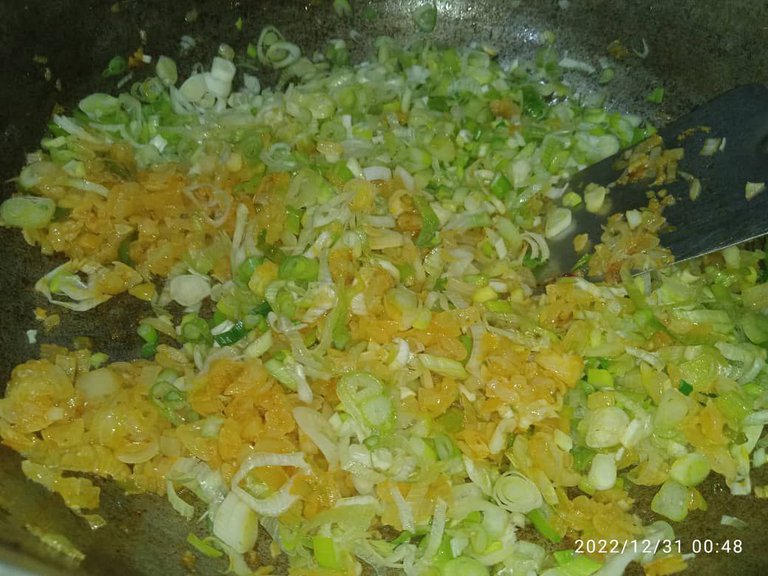
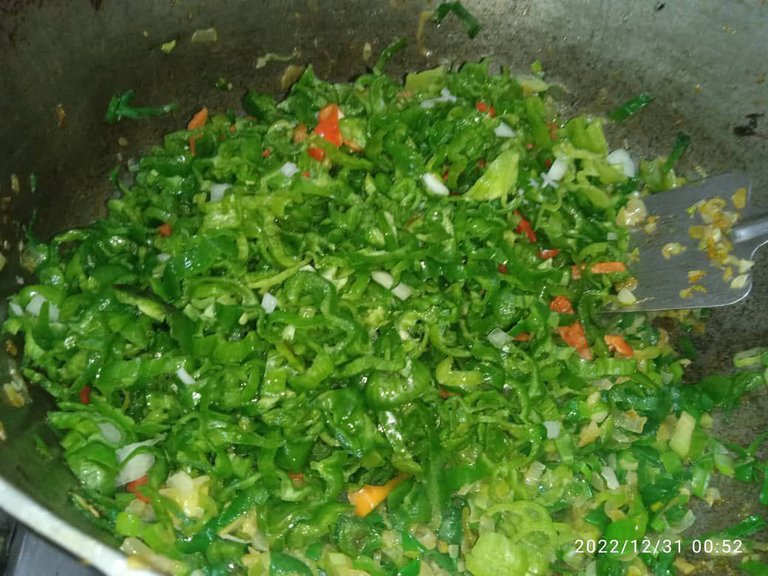
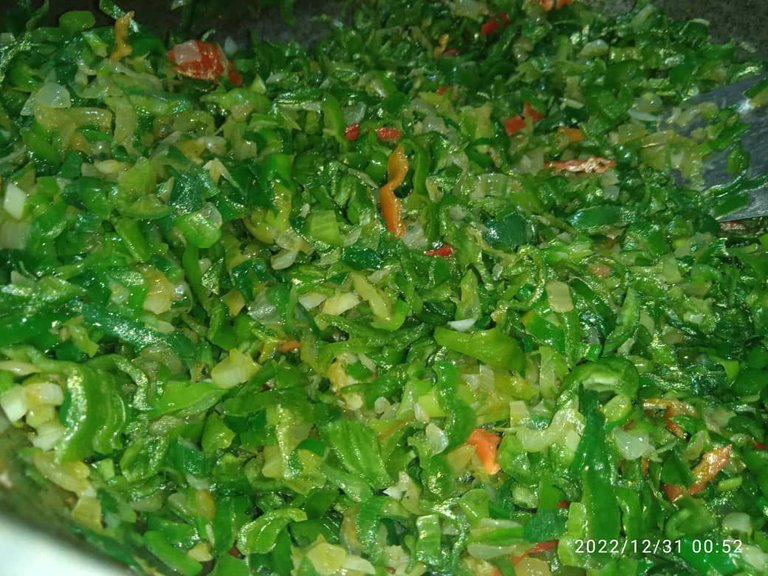
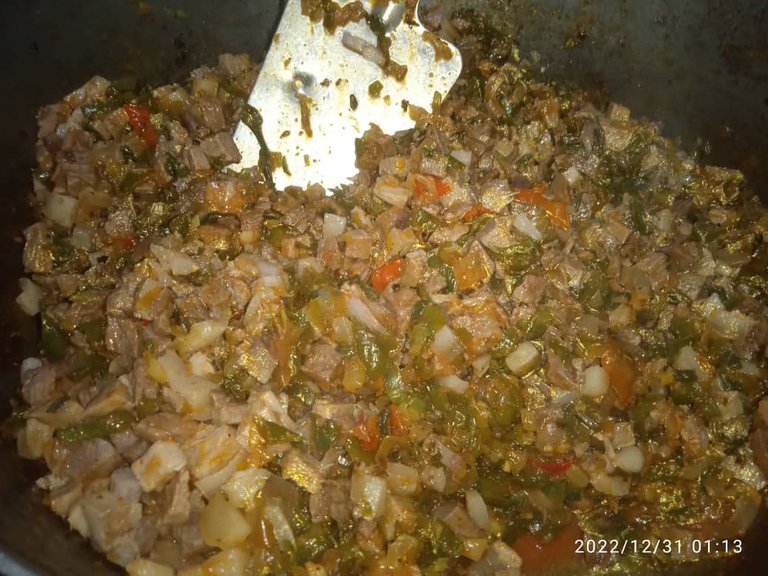
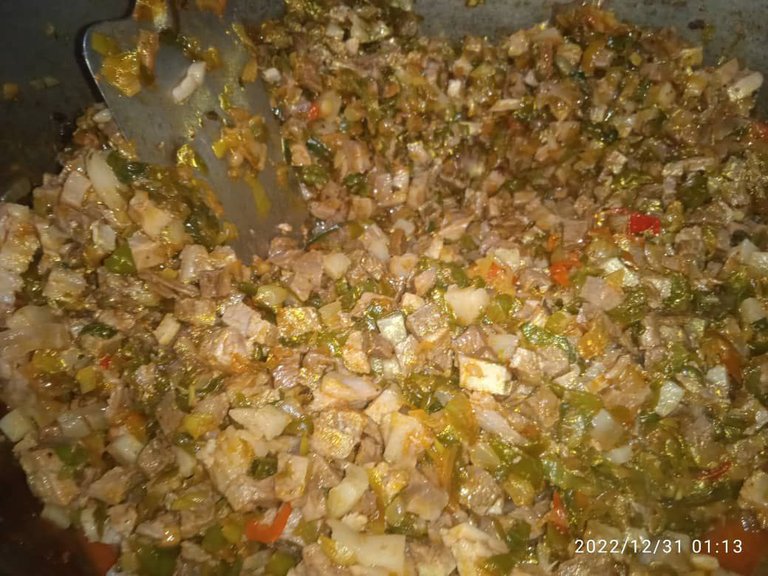
Once the meat is chopped, we proceed to chop the seasonings. The first thing we will do is wash them very well and remove all their roots and then chop them finely (remember not to mix them, since each one has its own time to be used!)
Ya teniendo la carne picadita procedemos a picar los aliños. Lo primero que haremos será lavarlos muy bien y sacarles todas sus raíces para luego cortarlos bien finito (recuerden no mezclarlos, ya que cada uno tiene su momento para echarse!!).
 |  |
|---|
 |  |
|---|
 |  |
|---|
 | |
|---|
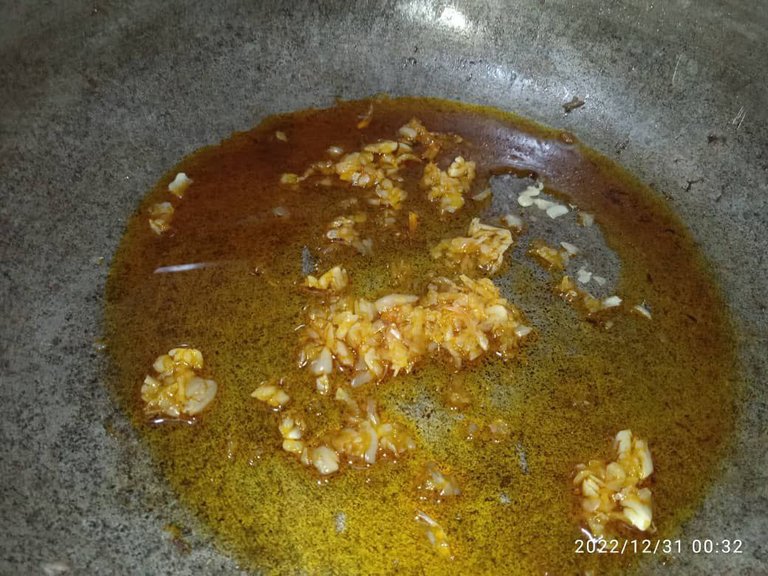
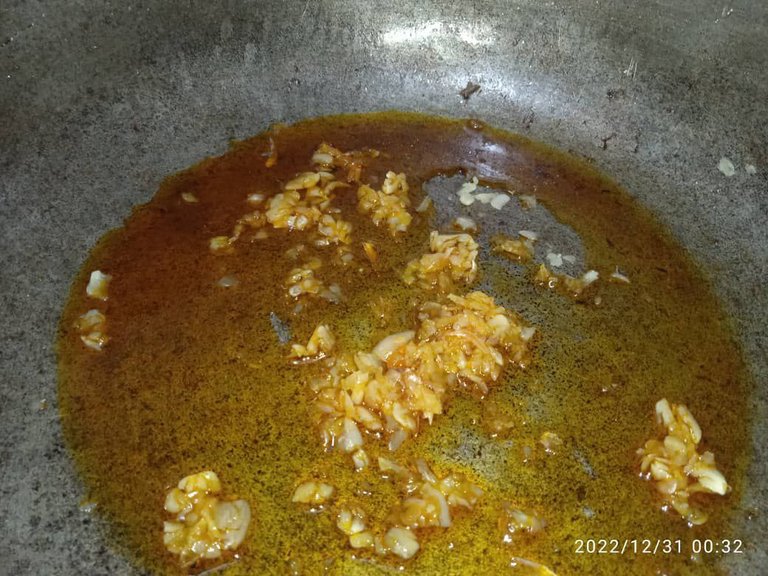
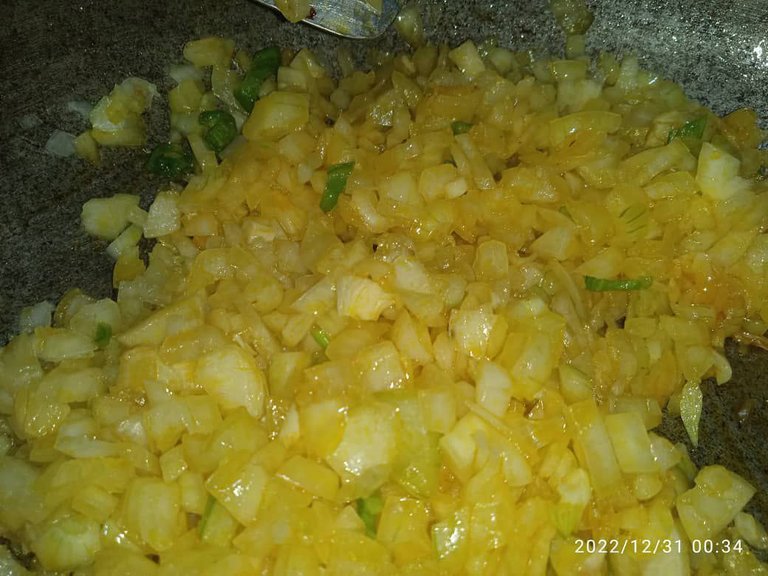
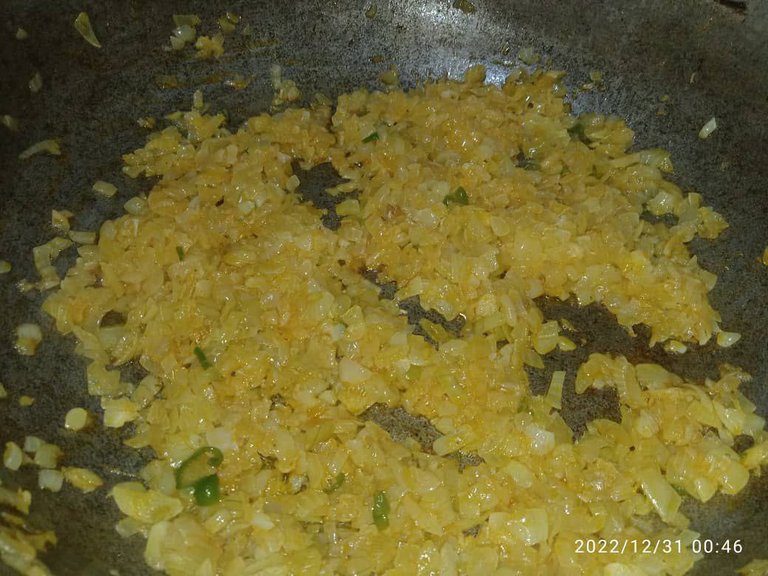
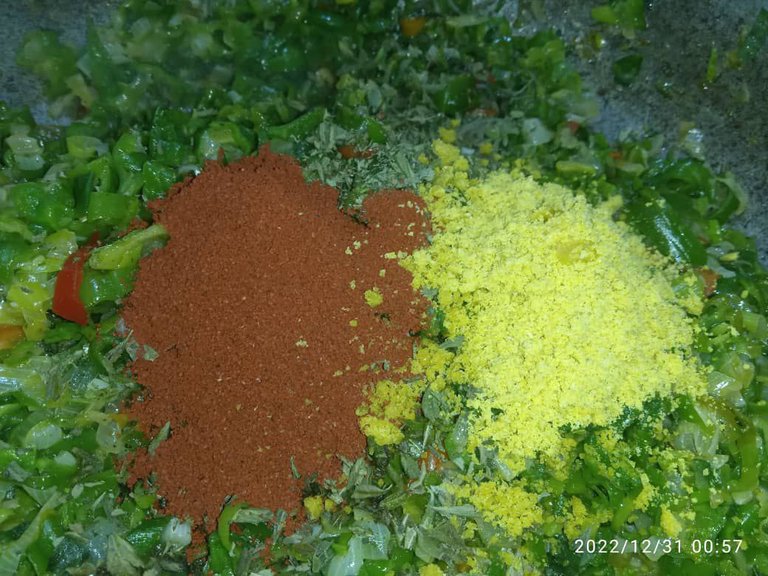
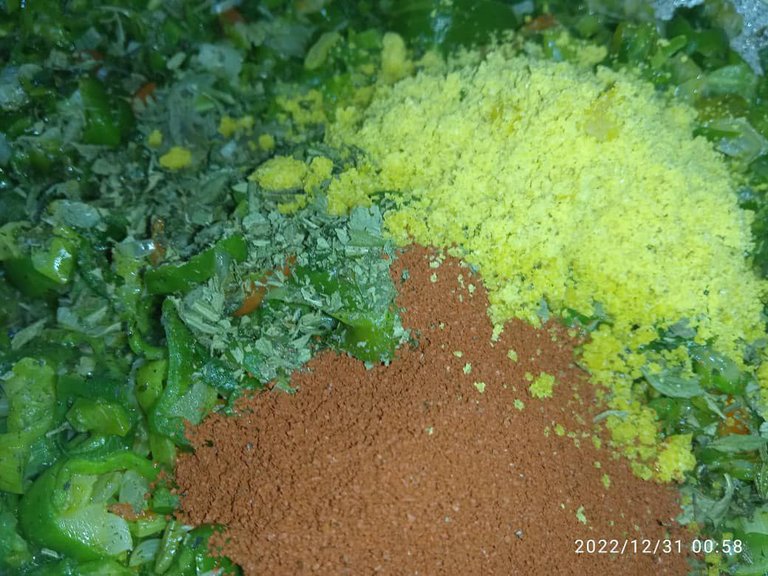
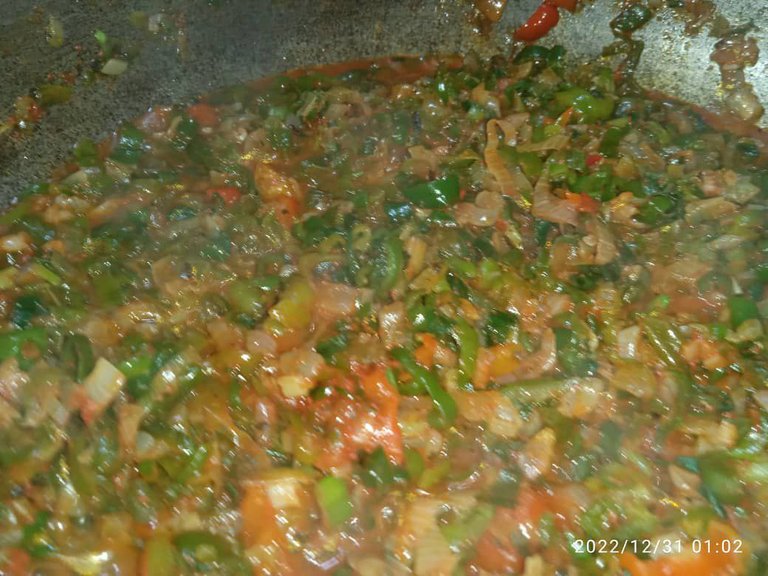
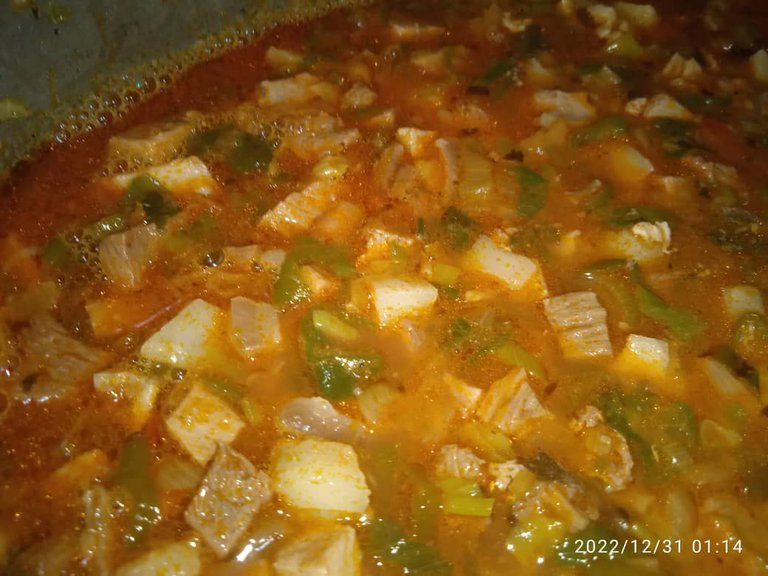
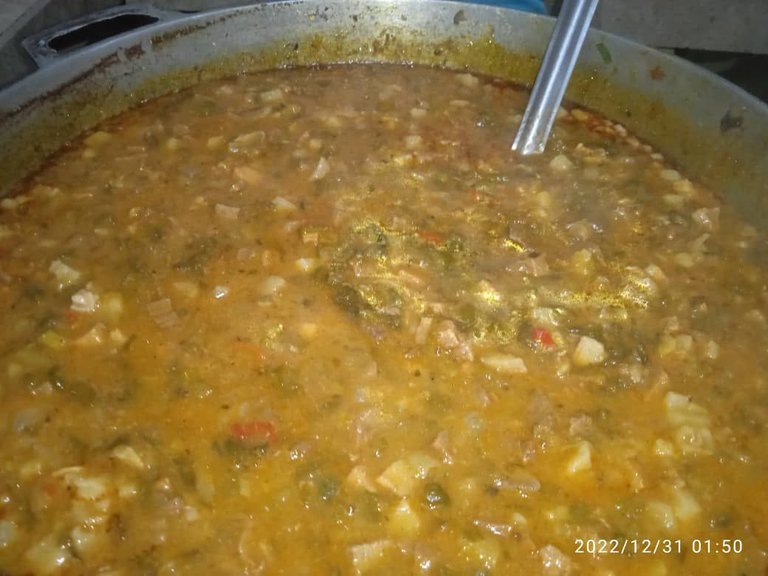
Once we have the two previous steps done we can start cooking everything. For this step you will need a very large pan for everything to fit, in this one we will crush a head of garlic and fry it with onoto oil for about 2 minutes, then add the onion and wait for it to caramelize (this step makes it much more flavorful), Once the onion has caramelized we add the chives and let it fry for 2 more minutes and then we add the chili along with the spices such as onoto powder, cube, oregano and a lot of amorrr, stir and add a little of the meat broth and cover for about 5 minutes. Once these 5 minutes have passed we can add the meat and all the broth that we had left and we leave it there for about 10 minutes. Then we will taste it to know if it has the right amount of salt, in my case the broth had the necessary amount, but if it was the other way around I would have added a little more.
Una vez tengamos los dos pasos anteriores hechos podemos empezar a guisar todo. Para este paso necesitarán una paila bien grande para que todo entre, en esta pisaremos una cabeza de ajo y lo sofreímos con aceite de onoto por alrededor de 2 minutos, luego agregamos la cebolla y esperamos a que se caramelice (este paso hace que quede con mucho más sabor), una vez la cebolla haya caramelizado le agregaremos el cebollín y lo dejamos sofreír por 2 minutos más y luego le agregamos el ají junto con las especies como onoto en polvo, cubito, orégano y mucho amorrr, removemos y le agregamos un poco del caldo de las carnes y tapamos por unos 5 minutos. Una vez hayan pasado esos 5 minutos podemos agregar la carne y todo el caldo que nos había quedado y lo dejamos ahí por unos 10 minutos. Luego lo probaremos para saber si está bien de sal, en mi caso el caldo tenía la cantidad necesaria, pero si fuera al contrario le hubiera agregado un poco más.
 |  |
|---|
 |  |
|---|
 |  |
|---|
 |  |
|---|
 |  |
|---|
 |  |
|---|
 |  |
|---|
 |  |
|---|
 |  |
|---|
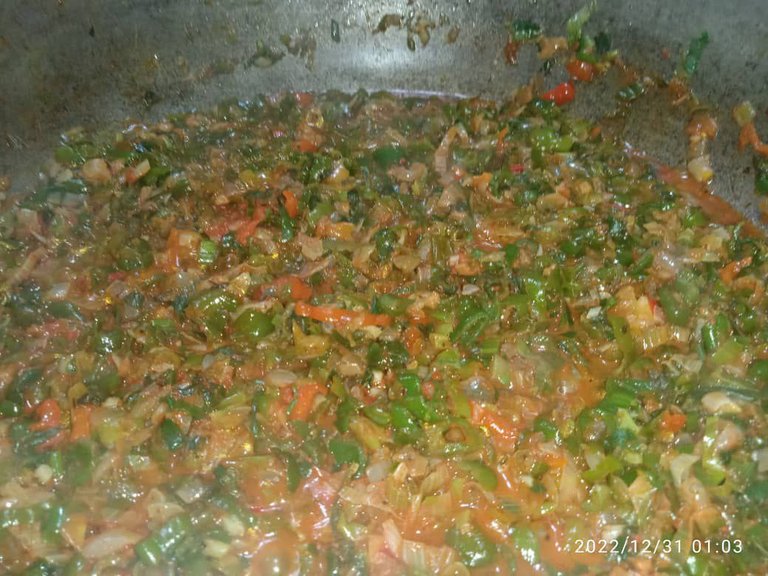
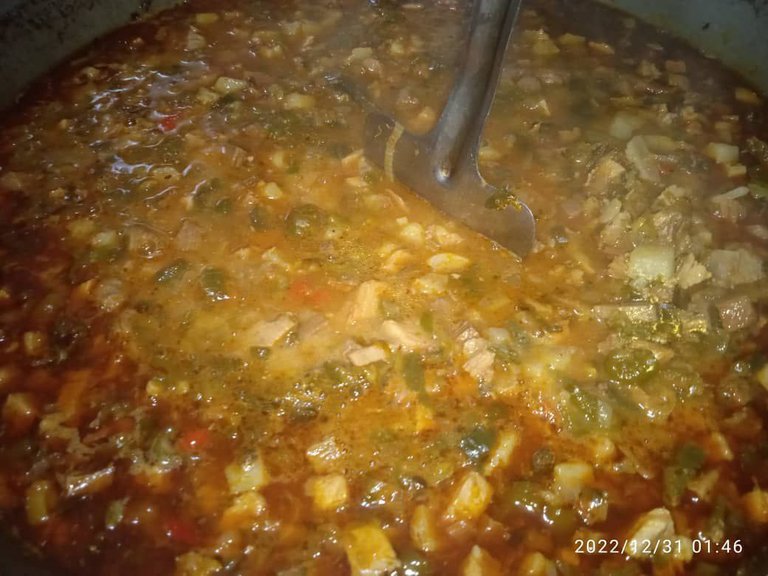
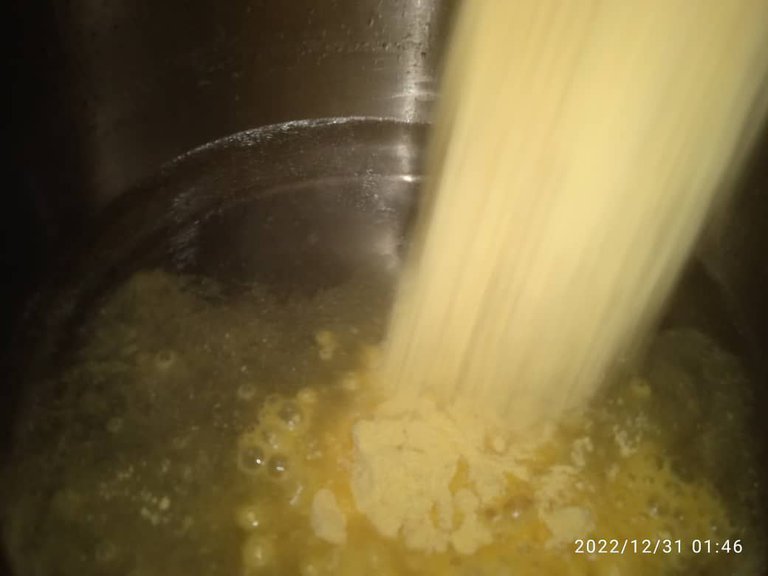
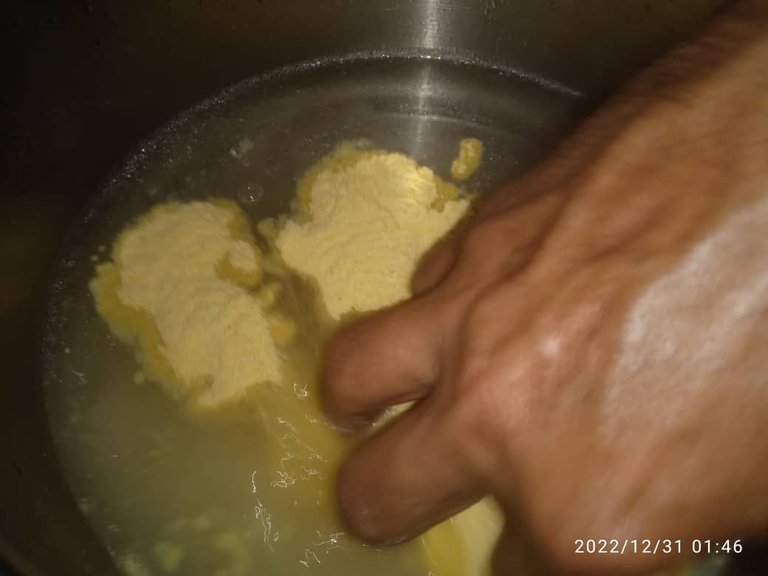
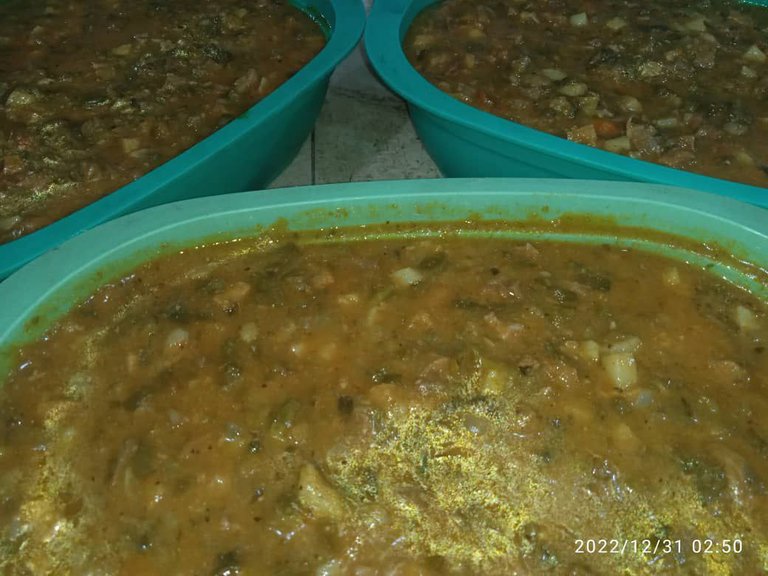
After the prolonged time has elapsed, add a little P.A.N. flour dissolved in water to thicken it and then turn it off and let it rest. Once it has cooled down, put it in the refrigerator overnight or for at least 5 hours so that it takes consistency.
Transcurrir el tiempo prolongado le agregaremos un poco de harina P.A.N disuelta en agua para que espese y luego la apagaremos y dejaremos reposar. Una vez haya enfriado la mandaremos al refrigerador por toda la noche o al menos una 5 horas para que agarre consistencia.
How to make the hallacas.
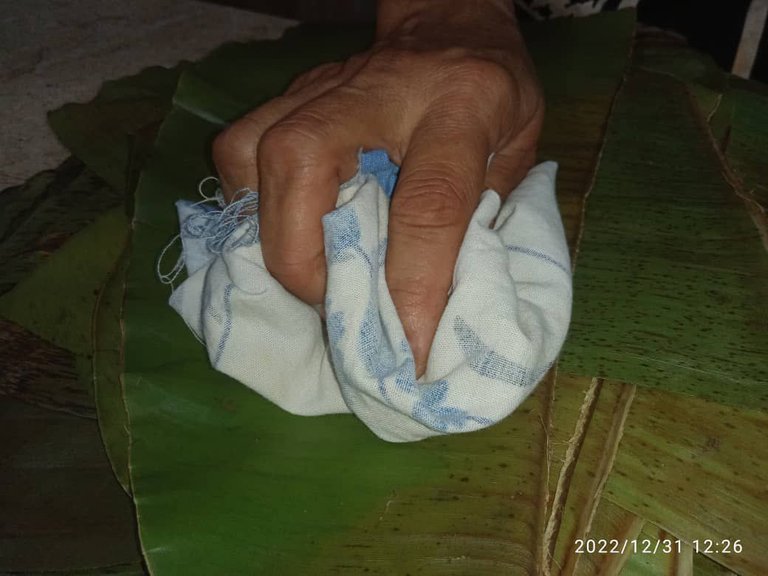
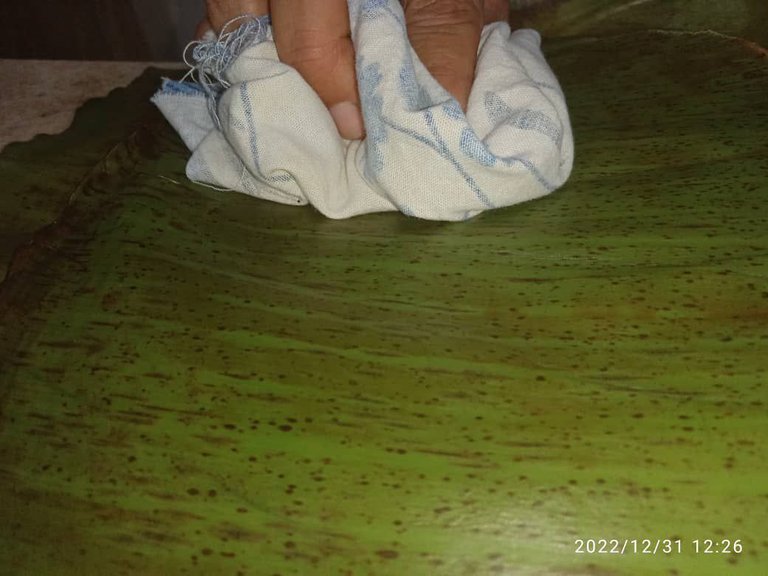
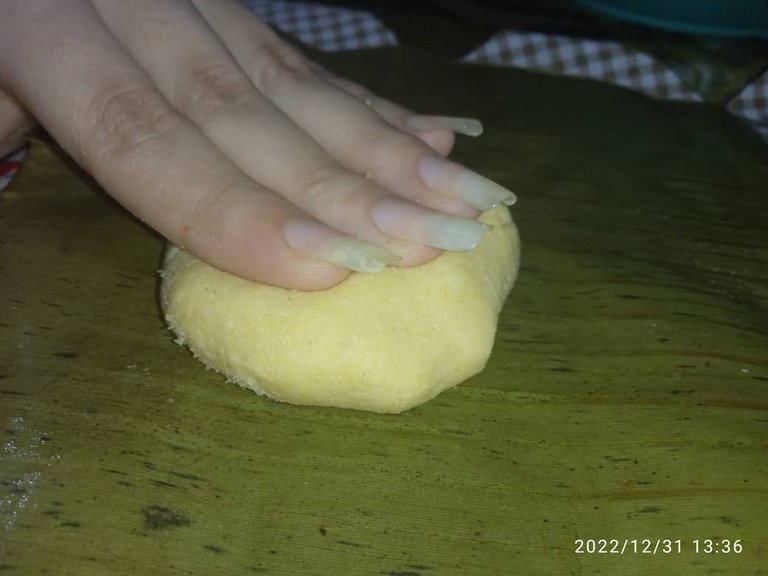
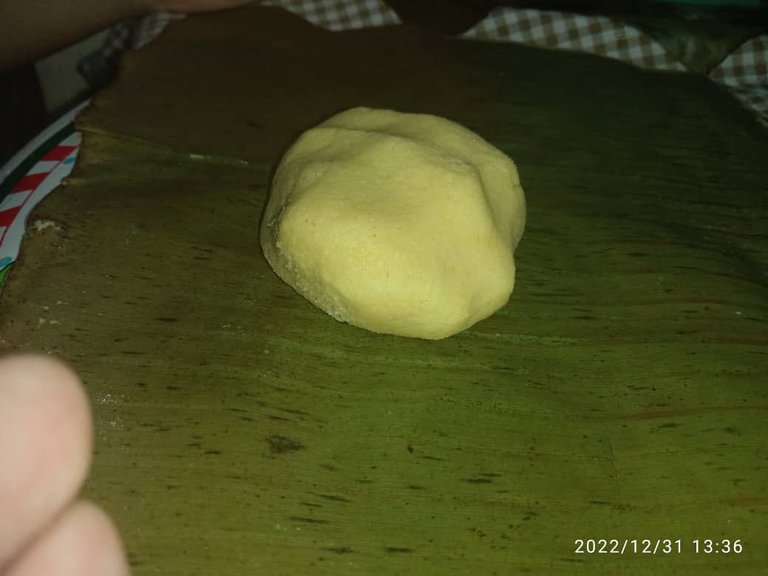
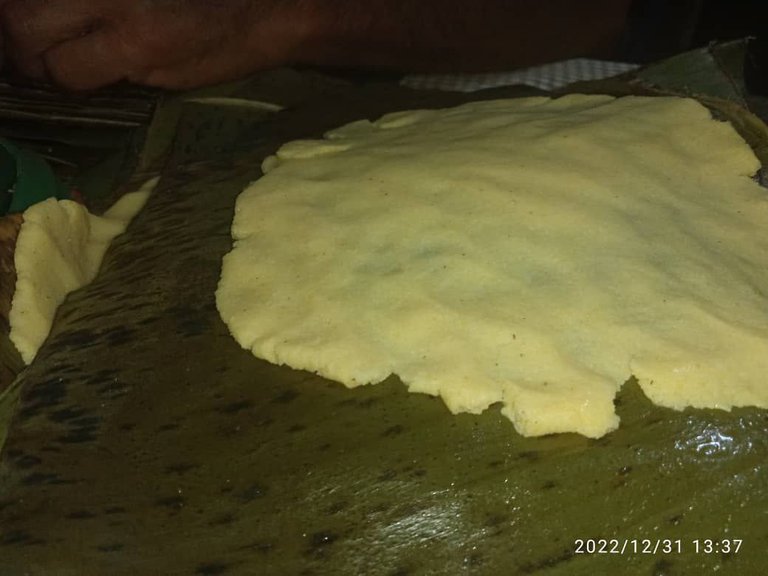
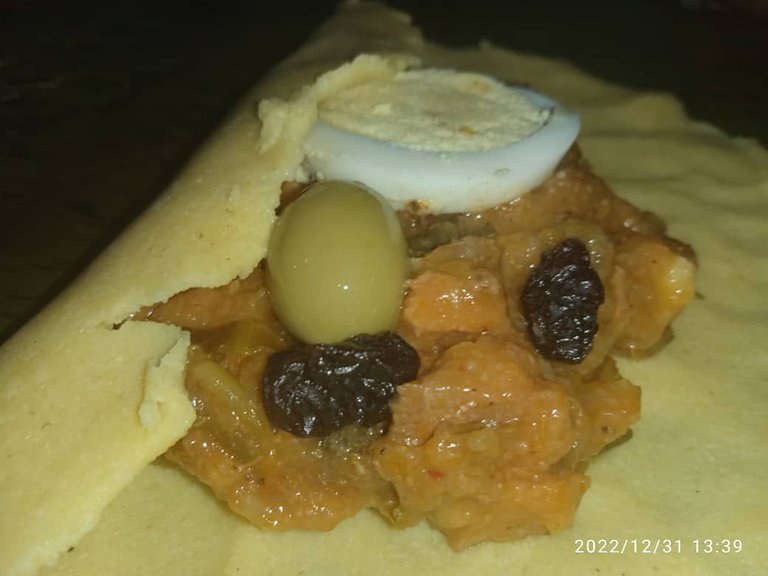
In this step we will clean the banana leaves, that looking at it well that people who have never eaten a hallaca will think when they say that it is rolled in a banana leaf JSKDJDJDKDJDJDJDJK, I do not know from another perspective sounds like weird jdjkdjdkdkd. As you know I always have to clean the leaves ToT although my mom helped me a little. For the dough we knead P.A.N. flour and then we make little balls and flatten them against the banana leaf with the help of a little onoto oil, then we add the filling that should be very firm, along with the raisins, the olive and the egg.
Then you make a roll with the banana leaf that I have no idea how to explain, but take into account that the sides to the inside and then fold all the corners to the inside, the same thing happened with another banana leaf to have a better resistance. Then it's time to tie it up, practically it's a lot of twists and turns until you have a hallaca that approves of everything jddkjd.
Como hacer las hallacas.
En este paso pasaremos a limpiar las hojas de plátano, que viéndolo bien que pensaran las personas que nunca han comido una hallaca cuando le dicen que está enrollada en una hoja de plátano JSKDJDKDJDJK, no sé desde otra perspectiva suena como raro jdjkdjdkd. Como ya saben siempre me toca limpiar las hojas ToT aunque mi mamá me ayudo un poco. Para la masa amasamos harina P.A.N y luego hacemos bolitas y las vamos aplastando contra la hoja de plátano con la ayuda de un poco de aceite de onoto, luego le agregamos el relleno que debe estar bien firme, junto con las pasas, la aceituna y el huevo.
Luego se hace un enrollamiento con la hoja de plátano que no tengo idea de cómo explicar, pero tomen en cuenta que los laterales para dentro y luego doblan todas las equinas para dentro, ese mismo pasó con otra hoja de plátano para que tenga una mejor resistencia. Después viene la hora de amarrar, prácticamente son vueltas que se le dan alrededor hasta tener una hallaca aprueba de todo jddkjd.
 |  |
|---|
 |  |
|---|
 |  |
|---|
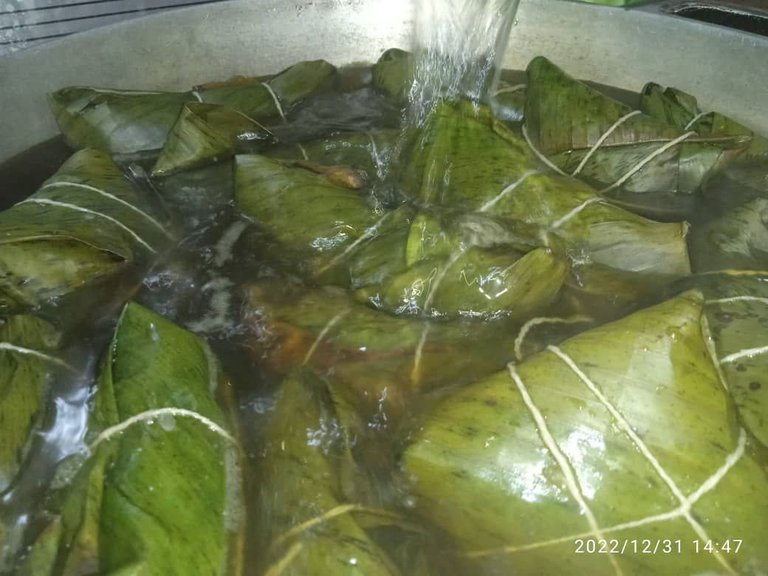
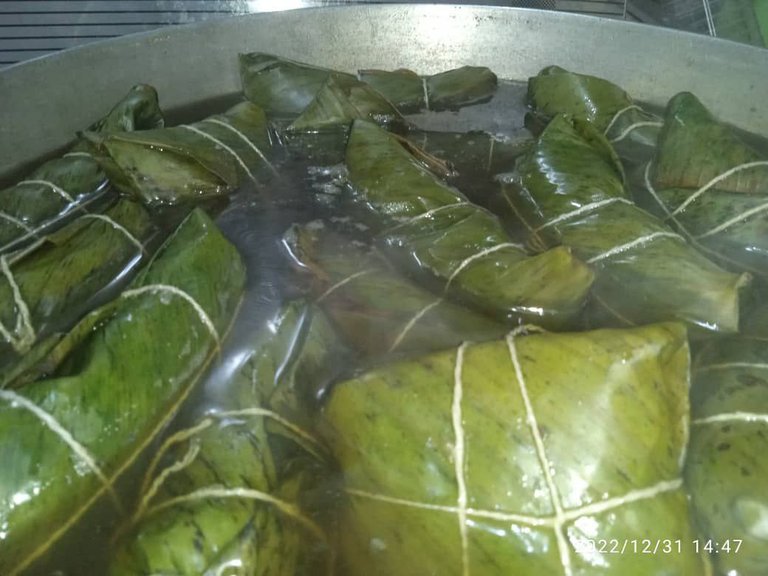
Once we have the hallacas ready we proceed to parboil them, you can do this in batches as I did or do it all at once depending on the amount of hallacas you get. Once they are parboiled we can enjoy this delicious dish, mentally I have no photo of the hallaca chopped because we all ate it and forgot that step JSDKCDJDDKDDJ, but believe me they were delicious, I hope you have a nice night. Chauuu.
Una vez tengamos las hallacas lista procedemos a sancocharlas, esto lo pueden hacer por tandas como lo hice yo o lo hacen de una sola vez dependiendo de la cantidad de hallacas que les salga. Una vez estén sancochadas podemos degustar de este rico platillo, la mentalmente no tengo ninguna foto de la hallaca picada porque nos la comimos todas y se olvidó ese paso JSDKCDJDKDJ, pero créanme que quedaron riquísimas, espero que tengan una linda noche. Chauuu.
Credits
- Pictures taken by my dad's phone a Xiaomi Redmi 9C.
- The banner was edited with PicsArt.
- Fotografías tomadas por el teléfono de mi papá un Xiaomi Redmi 9C.
- El banner fue editado con PicsArt.
https://twitter.com/1535612769915088909/status/1613502550988230657
The rewards earned on this comment will go directly to the people( @darthsauron ) sharing the post on Twitter as long as they are registered with @poshtoken. Sign up at https://hiveposh.com.
Feliz y bendecido día, me fascina comer hallacas con pan y refresco, el culantro me gusta agregar a la comida porque su olor y sabor es espectacular.
Querida que tengas salud y prosperidad en el alma
Feliz noche, me alegra mucho que disfrutes este platillo tan exquisito, en cuanto al culantro es perfecto para cualquier comida y le aporta un sabor riquísimo. Gracias por su comentario.
Amen igualmente para usted. Saludos!<3
Estoy segura de que quedaron deliciosas las que hacen con adornos son realmente las mejores y la verdadera hallaca tradicional te felicito gracias por compartir mucho éxito para ti
Hola querida amiga @yackelynher estoy de acuerdo con usted las que hacen con adornos son realmente las mejores. Gracias por su comentario.
¡Saludos!<3
I keep saying I'm going to try hallacas out one day, but no way I can find plantain leaves in my country. Not even plantains to be honest.
However, I like how you described the process and the photos are nice.
GUAO, you really can't find banana leaves or plantain trees in your country?
Literally in my country you can find them in any green area, they reproduce very fast jsjksj. I hope someday you manage to find plantain leaves so you can taste how delicious they are. Thanks for your comment.
Greetings! <3