Restoring decorative fountains [Eng+Spa]
English
Happy greetings to the Hive Diy community, I hope you are in the best possible situation. Finally, I have been able to keep up with the publication, they have been interesting days, and quite busy.
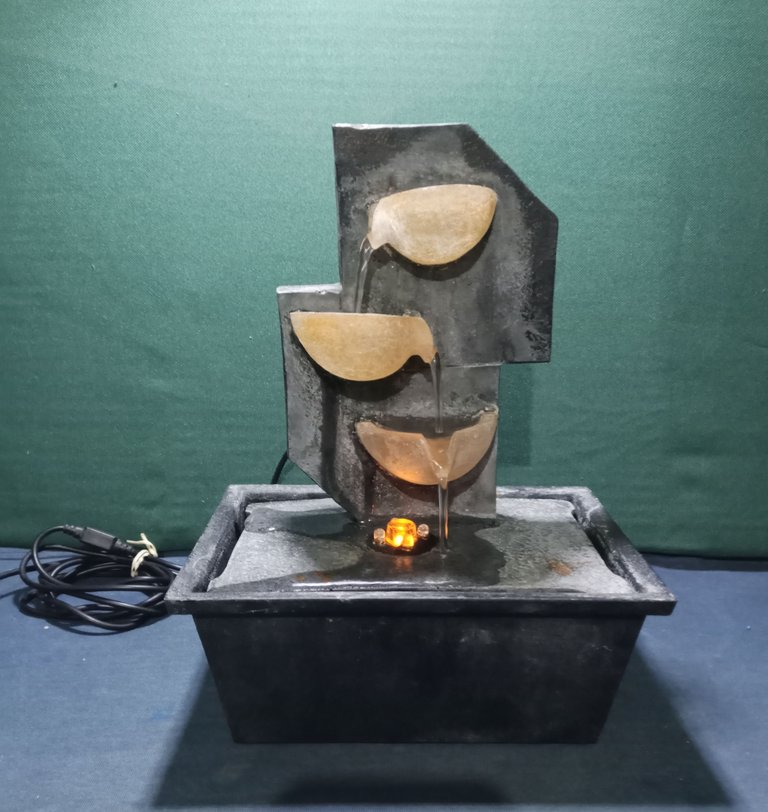
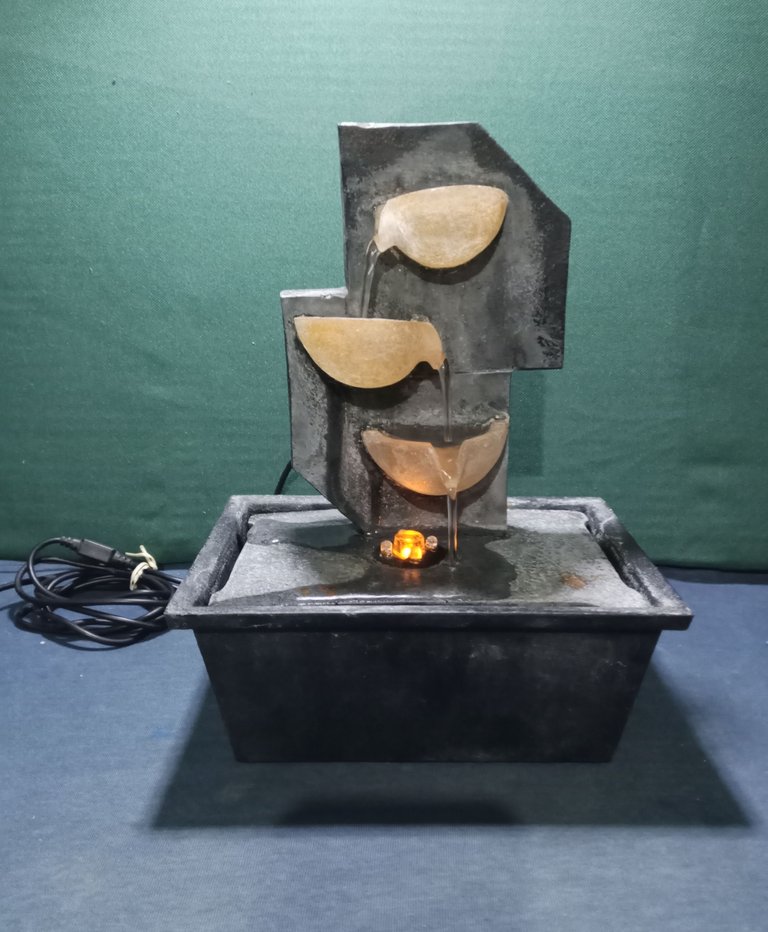
On this occasion I share with you a simple restoration that I did on some abandoned decorative table fountains, which I managed to take to the workshop table.
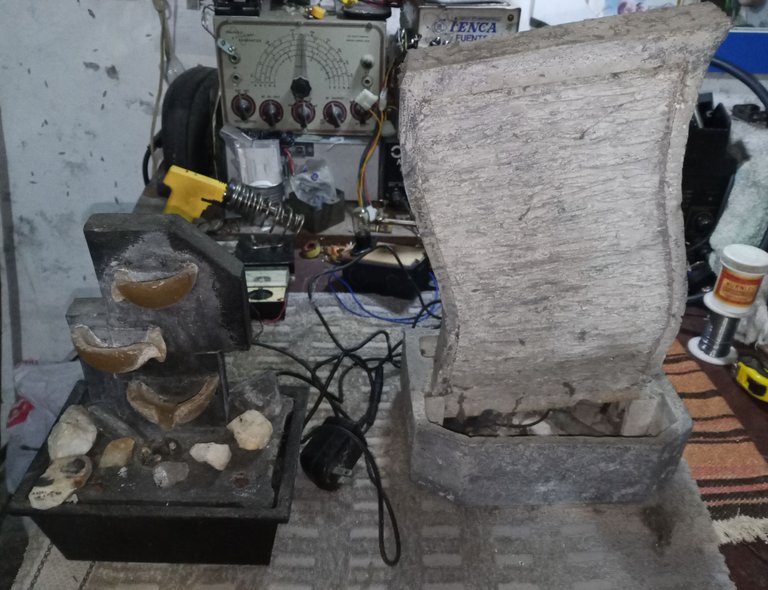
In order not to be too long in the publication, I will focus on the work of the smaller fountain, the large fountain had a damaged water pump, so I will need a slightly longer publication, just for it.

I don't know how long the fountains were stored in a corner carrying dust, but soon it will be a thing of the past.

First of all, I dedicated myself to giving them a good cleaning, they are large pieces, it is easy to manipulate them.
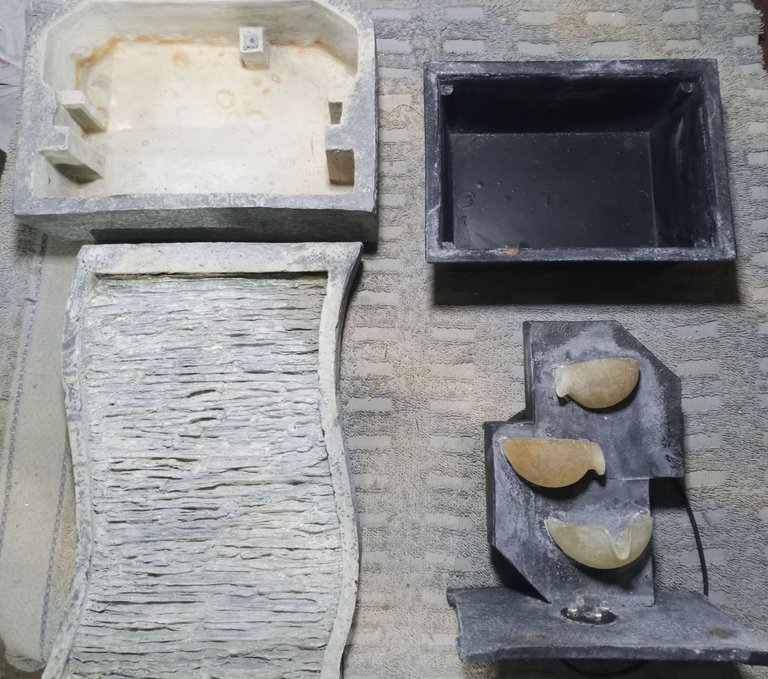
Both water pumps were out of service, but the damage to the smaller fountain was easier to resolve.
As always in these jobs, we try to solve the easiest things first, to be able to make the best use of our time.
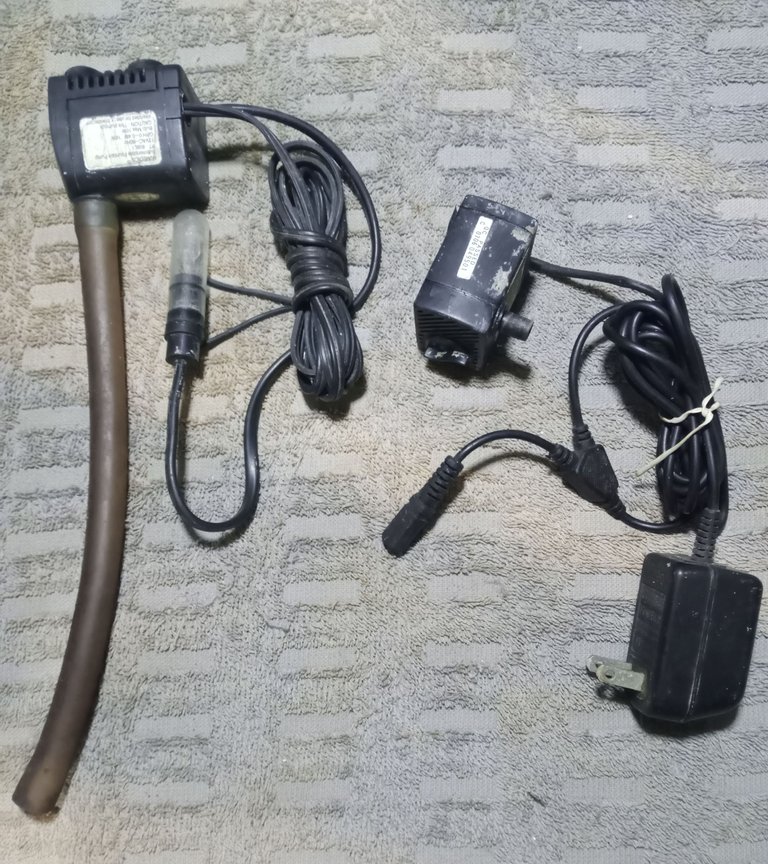
The water jet in the small fountain worked normally, but the decorative LEDs did not work and when trying to measure them they were shorted.
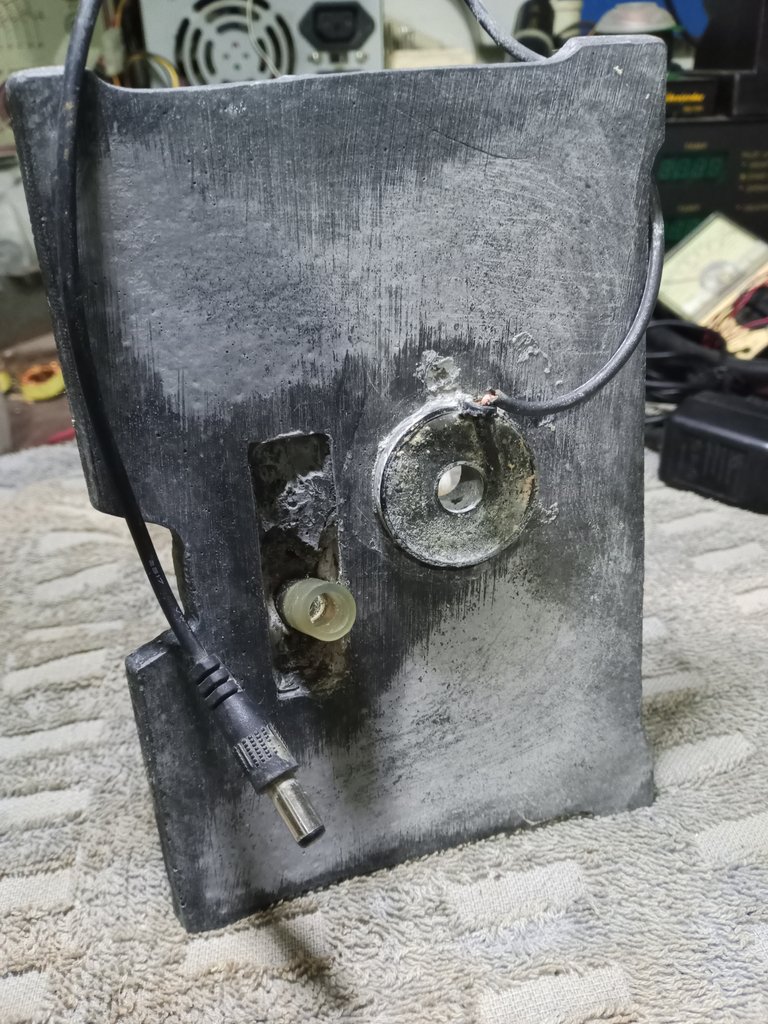
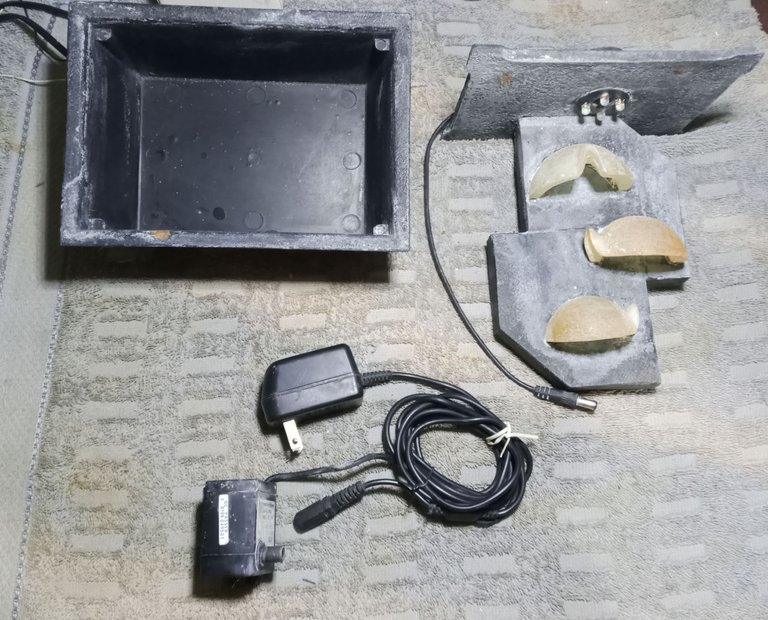
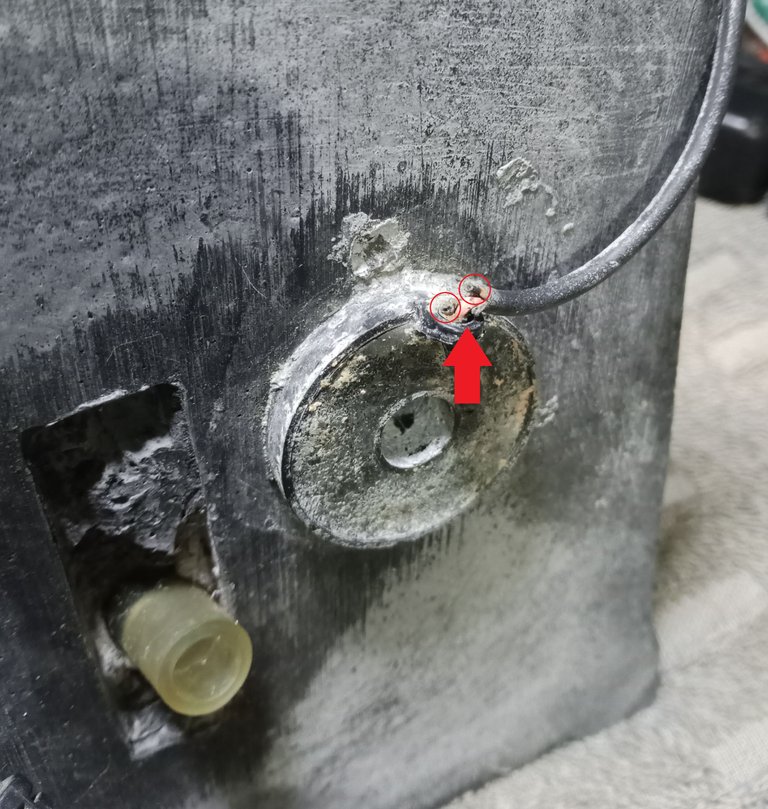
The direct current supply could not reach the LEDs, at some point the power cable was interrupted.
I had to measure by taking the broken cable.
I can make the circular piece with the LEDs and replace the damaged one, but I run the risk of the base cracking or breaking.
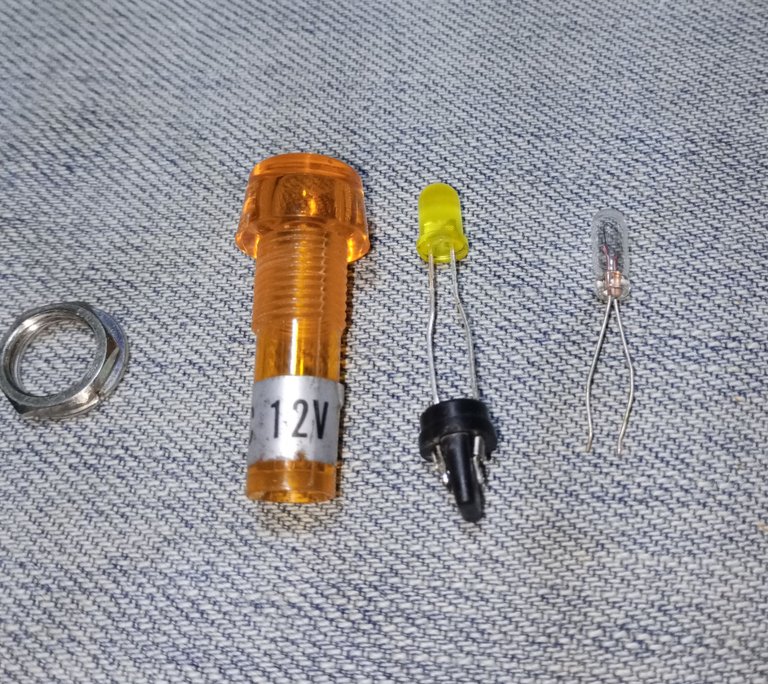
I am going to recycle a damaged 12 volt indicator light, which I had in the recycling bin, to be able to give the lighting effect.

Since I don't have 12 volt lamps, I will place an LED with a 1 Kohm resistor in series with the electricity supply.
Fix the lamp in the hole in the center of the LED circle with the silicone stick gun, it fit right into the space. I also insulated the electrical parts and the resistance with more hot silicone.
I tested the operation and was quite satisfied.
Now I have to run the fountain with a mixture of vinegar and distilled water for a couple of days, with this I will ensure that all the calcification is removed, which will greatly improve the presentation.
I do not consider painting it, the paint would end up peeling off and would give the fountain a bad appearance. I prefer to keep the condition of the stone as original as possible.
I wanted to take advantage of a small space to show a technique that I had mentioned to my friend @darknapol, when he has to disassemble telephone transformers or laptop power supplies.

When we want to disassemble and give the best possible presentation, when we reassemble the parts, I usually use this method.
It looks a little rustic the first time you look at it, but actually if done carefully, the result is quite good.
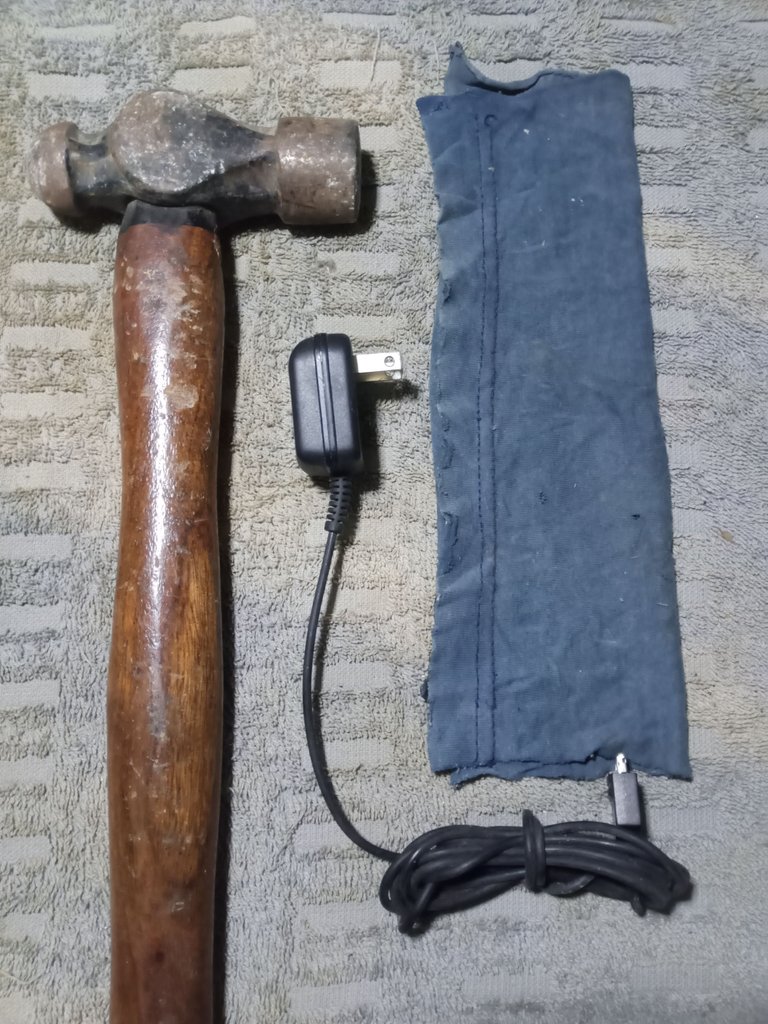
You will only need a ball hammer and a rag, with which we surround the joint contour of the plastic casing of the transformer.
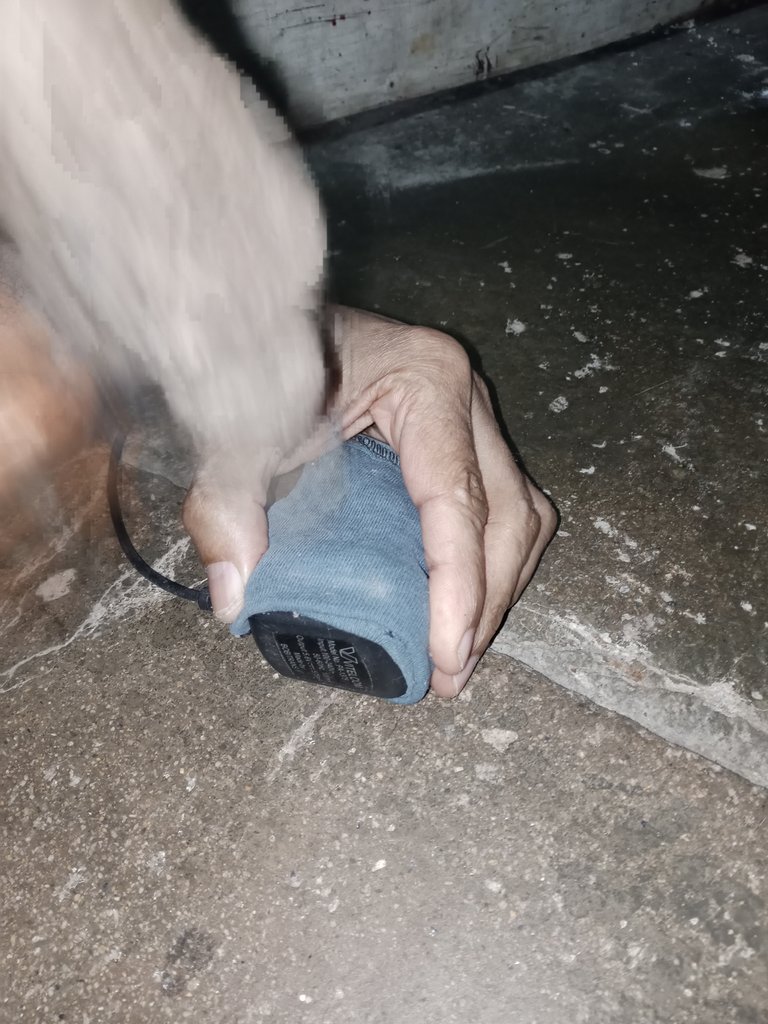
With the ball of the hammer we carefully hit the joint of the plastic covers.
It doesn't take much effort, just a little patience and care.
In about two or three passes along the contour of the joint of the plastic casing they will come off on their own.
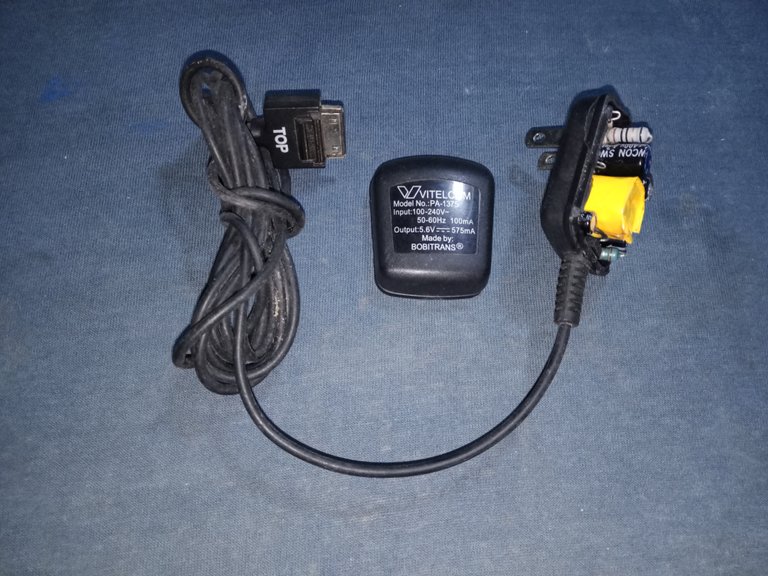
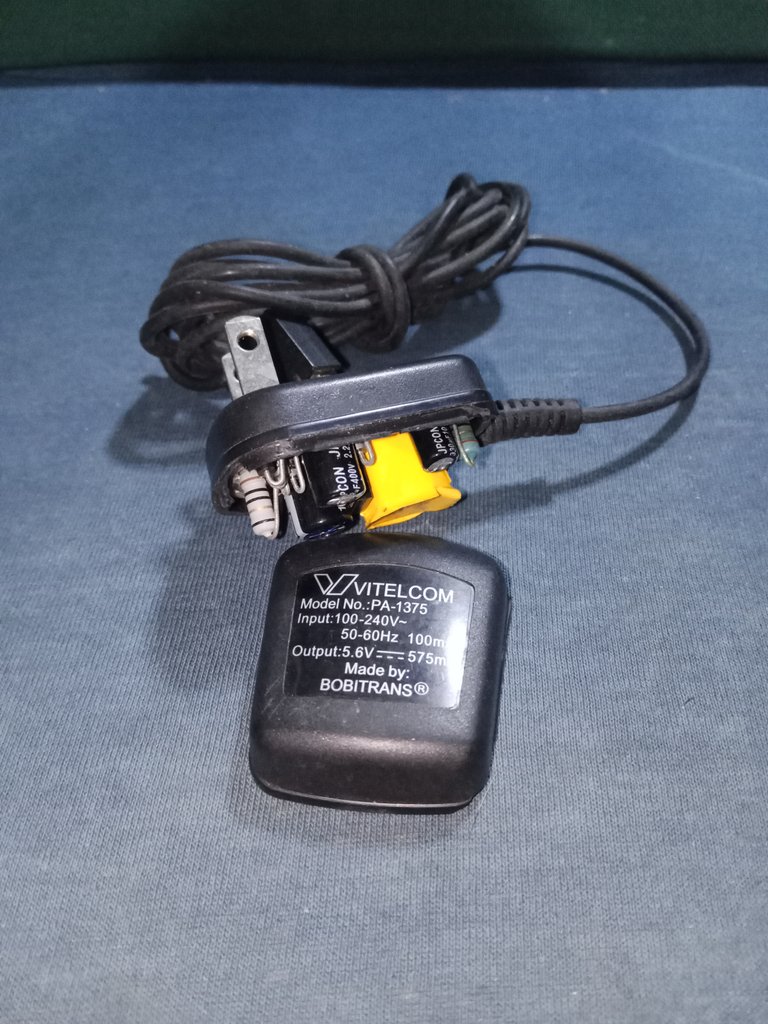
There are no bump marks or scratches left, due to the cloth with which we wrapped the case.
It is true that I left a small detail in one corner, but I still have problems with my arm, generally there are no details left that are noticeable.

Thank you for spending a moment and reading me.
I have been longing to return.
Have an excellent week.
Peace.
I have used Google translator for the English language.
Images, unless noted, are snapshots of shop work.
Español
Alegres saludos a la comunidad de Hive Diy, espero que estén en la mejor situación posible. Finalmente, he podido estar al día con la publicación, han sido días interesantes, ajetreados y bastante atareados.
En esta ocasión les comparto una restauración sencilla que hice en unas fuentes decorativas de mesa abandonadas, que logre llevar hasta la mesa del taller.
Para no alargarme mucho en la publicación me centraré en el trabajo de la fuente más pequeña, la fuente grande tenía dañada la bomba de agua, así que necesitaré una publicación un poco más larga, solo para ella.
No sé cuanto tiempo las fuentes estuvieron arrumadas en un rincón llevando polvo, pero pronto será cosa del pasado.
Primero que nada, me dedique a darles una buena limpieza, son piezas grandes, es fácil manipularlas.
Las dos bombas de agua estaban fuera de servicio, pero el daño de la fuente más pequeña era más fácil de resolver.
Como siempre en estos trabajos, procuramos resolver lo más fácil primero, para poder aprovechar el tiempo mejor.
El chorro de agua en la fuente pequeña, trabajaba con normalidad, pero los leds decorativos no llegaban a funcionar y al tratar de medirlos estaban en corto.
El suministro de corriente continua no podía llegar hasta los leds, en algún momento el cable de alimentación eléctrica se interrumpió.
Tuve que medir tomando el cable roto.
Puedo hacer la pieza circular con los leds y sustituir la dañada, pero corro con el peligro de que la base se agriete o se rompa.
Voy a reciclar una lamparita indicadora de 12 volts dañada, que tenía en el depósito de reciclaje, para poder dar el efecto de iluminación.
Como no tengo lámparas de 12 volt, colocaré un led con una resistencia de 1 Kohm en serie al suministro de electricidad.
Asegure en el agujero del centro del círculo de leds con la pistola de silicona en barra, quedaba justo en el espacio. También aislé las partes eléctricas y la resistencia con más silicona caliente.
Probé el funcionamiento y quede bastante conforme.
Ahora tengo que hacerla funcionar la fuente con una mezcla de vinagre y agua destilada por un par de días, con esto voy a lograr que toda la calcificación sea removida, lo que mejorara mucho la presentación.
No considero pintarla, la pintura terminaría por irse desprendiendo y le daría un mal aspecto a la fuente. Me gusta más mantener el estado de la piedra lo más original posible.
Quería aprovechar un pequeño espacio, para mostrar una técnica que le había comentado al amigo @darknapol, cuando toca desarmar los transformadores de teléfonos o las fuentes de laptops.
Cuando queremos desarmar y dar la mejor presentación posible, cuando vuelves a ensamblar las partes, suelo emplear este método.
Parece un poco rústico la primera vez que se observa, pero en verdad si se hace con cuidado, el resultado es bastante bueno.
Solo se va a necesitar un martillo de bola y un trapo, con el que rodeamos el contorno de unión de la carcasa plástica del transformador.
Con la bola del martillo vamos dando golpes cuidadosamente, sobre la unión de las cubiertas plásticas.
No se necesita hacer mucho esfuerzo, solo un poco de paciencia y cuidado.
En unas dos o tres pasadas por el contorno de la unión de la carcasa plástica se desprenderán solas.
No quedan marcas de golpes ni rayaduras, por el trapo con que envolvimos a la carcasa.
Cierto que me quedo un pequeño detalle en una esquina, pero es que aún tengo problemas con mi brazo, por lo general no suelen quedar detalles que se noten.
Gracias por pasar un momento y leerme.
He estado largo tiempo deseando volver.
Que tengan una excelente semana.
Paz.
He usado el traductor de Google para el idioma inglés.
Las imágenes, a menos que se indique, son capturas del trabajo en taller.
Cierto que el método del martillo parece como que un poco extremo, pero si funciona :)
!BBH !PGM !LOLZ
!ALIVE
@soltecno! You Are Alive so I just staked 0.1 $ALIVE to your account on behalf of @ pedrobrito2004. (6/10)
The tip has been paid for by the We Are Alive Tribe through the earnings on @alive.chat, feel free to swing by our daily chat any time you want, plus you can win Hive Power (2x 50 HP) and Alive Power (2x 500 AP) delegations (4 weeks), and Ecency Points (4x 50 EP), in our chat every day.

lolztoken.com
He said nothing.
Credit: reddit
@soltecno, I sent you an $LOLZ on behalf of pedrobrito2004
(1/4)
NEW: Join LOLZ's Daily Earn and Burn Contest and win $LOLZ
¡Felicidades! Esta publicación obtuvo upvote y fue compartido por @la-colmena, un proyecto de Curación Manual para la comunidad hispana de Hive que cuenta con el respaldo de @curie.
Si te gusta el trabajo que hacemos, te invitamos a darle tu voto a este comentario y a votar como testigo por La Colmena.
Si quieres saber más sobre nuestro proyecto, te invitamos a acompañarnos en nuestro servidor de Discord.
Muchas gracias a @la-colmena por apoyar mi trabajo.
Me ayuda a seguir progresando.
Que tengan una excelente semana.
Hermoso trabajo. Te felicito...
!diy
!discovery 40
Gracias, aprecio mucho que le haya gustado.
Son bonitas decoraciones, me parecía una pena no traerlas de vuelta.
👏 Keep Up the good work on Hive ♦️ 👏
❤️ @gaboamc2393 suggested sagarkothari88 to upvote your post ❤️
Many thanks to @gaboamc2393 and asagarkothari88, thanks to the hivecurators team, for the support.
I appreciate it quite a bit.
Have an excellent week.
@soltecno, you are most welcome!
Here is !ALIVE token gift for you
@soltecno! You Are Alive so I just staked 0.1 $ALIVE to your account on behalf of @ hivecurators. (4/10)
The tip has been paid for by the We Are Alive Tribe through the earnings on @alive.chat, feel free to swing by our daily chat any time you want, plus you can win Hive Power (2x 50 HP) and Alive Power (2x 500 AP) delegations (4 weeks), and Ecency Points (4x 50 EP), in our chat every day.

You can query your personal balance by
!DIYSTATSThanks for the detail @dayadam, I really appreciate the support.
Que bien hermano, esa restauracion ha quedado de maravilla, y la fuente se ve muy bien. Respecto al método que me comentas se ve efectivo y ciertamente el resultado final es más estético pues se pude ensamblar nuevamente como estaba antes de desarmar. La próxima vez que tenga que abrir este tipo de fuente lo haré como describes en el post a ver qué tal me va.Saludos hermano
Me alegro de que pudiera apreciar la técnica, pero aunque necesita practicar un poco, es fácil de dominar.
Cuando me la mostraron la primera vez me costó un poco.
This post was shared and voted inside the discord by the curators team of discovery-it
Join our Community and follow our Curation Trail
Discovery-it is also a Witness, vote for us here
Delegate to us for passive income. Check our 80% fee-back Program
Many thanks to the @discovery-it community for supporting my post.
I wish you a peaceful and productive week.
a community encouraging first-hand content, and each individual living their best life.
I am very grateful to @dayadam, for his support, he encourages me to keep going.
Have a great week, with health and peace of mind.
Saludos @soltecno querido que bien que estés de vuelta que te sientas mejor con un poco más de tiempo para que hayas podido hacer estás gran restauración de la fuente, veo que quedo en perfectas condiciones operativas.😃💪
Me alegra poder publicar nuevamente, gracias por el apoyo.
This post has been manually curated by @bhattg from Indiaunited community. Join us on our Discord Server.
Do you know that you can earn a passive income by delegating to @indiaunited. We share more than 100 % of the curation rewards with the delegators in the form of IUC tokens. HP delegators and IUC token holders also get upto 20% additional vote weight.
Here are some handy links for delegations: 100HP, 250HP, 500HP, 1000HP.
100% of the rewards from this comment goes to the curator for their manual curation efforts. Please encourage the curator @bhattg by upvoting this comment and support the community by voting the posts made by @indiaunited.
Greetings, I thank you very much for the support.
Have a good and productive week.
You did an excellent job with it. I like the outcome.
I'm glad you liked it.
Thank you very much for reading and commenting.
https://twitter.com/hivediy47901/status/1783039794488000785
Buenisimo el post!!
!BEER
Gracias, celebro que le gustara.
Espero pronto poder hacer algo más complejo.
View or trade
BEER.Hey @soltecno, here is a little bit of
BEERfrom @nupulse for you. Enjoy it!Learn how to earn FREE BEER each day by staking your
BEER.Gracias por el detalle amigo @nupulse.
Congratulations @soltecno! You have completed the following achievement on the Hive blockchain And have been rewarded with New badge(s)
Your next target is to reach 13000 upvotes.
You can view your badges on your board and compare yourself to others in the Ranking
If you no longer want to receive notifications, reply to this comment with the word
STOPCheck out our last posts:
As always, it is nice to meet you again and greet you.
Have a good end of the week.
Thank you @soltecno. Have a nice weekend too.
BTW, support and vote for our witness.
You will get one more badge and may get bigger upvotes from us when we notify you.
@soltecno, thank you for supporting the HiveBuzz project by voting for our witness.
Click on the badge to view your board.
Once again, thanks for your support!
Check out our last posts:
!SBI status