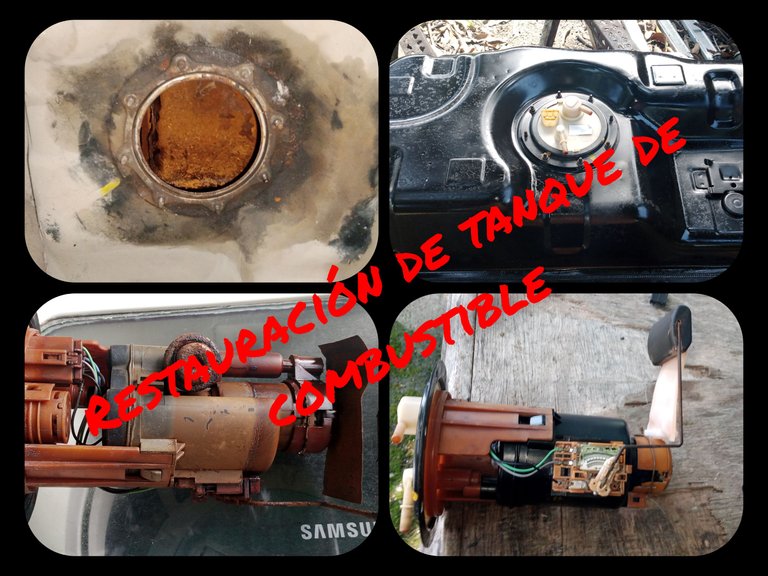
Fuel tank refurbishing
Greetings,
Dear friends, the date has arrived where everyone wants their car operational, so the tasks in the workshops is increasing and one thinks that these days do not end.
But this doesn't stop me from starting to reactivate my project on pause that I told you about some time ago.
As well as the clients I also have the desire to see my car running for this december, that's why I set aside a capital to devote to it and with respect to the time although it is little I'm devoting every free second I get to restore each of the essential parts of the car.
Before installing the engine that I have already restored and assembled a 3/4, I started by doing maintenance from the rear to the front which is where there is a little more work.
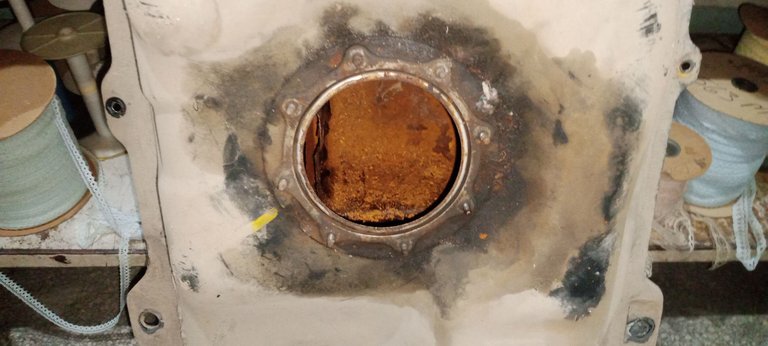
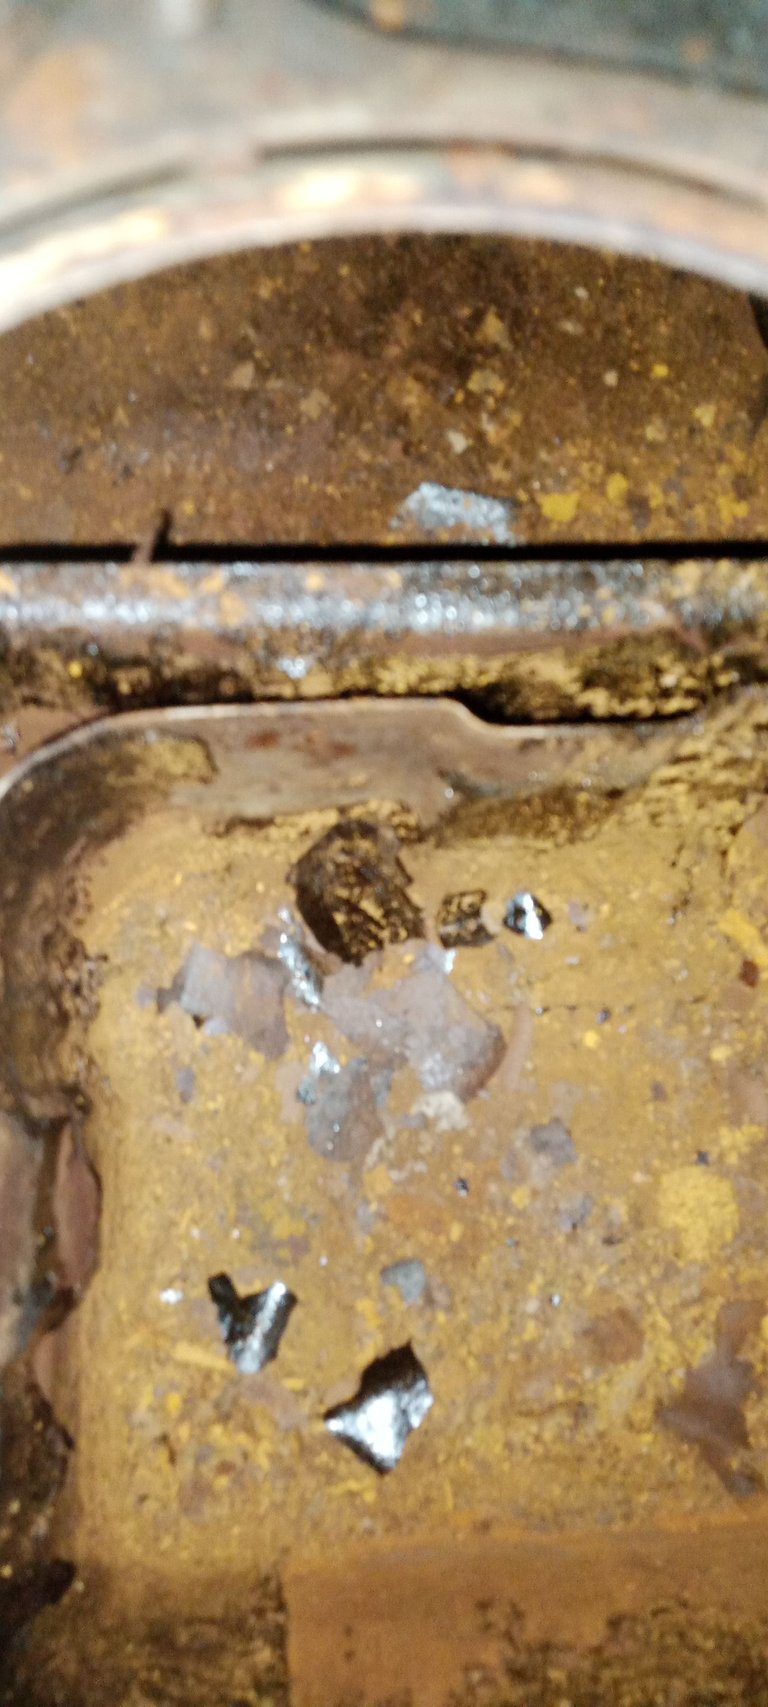
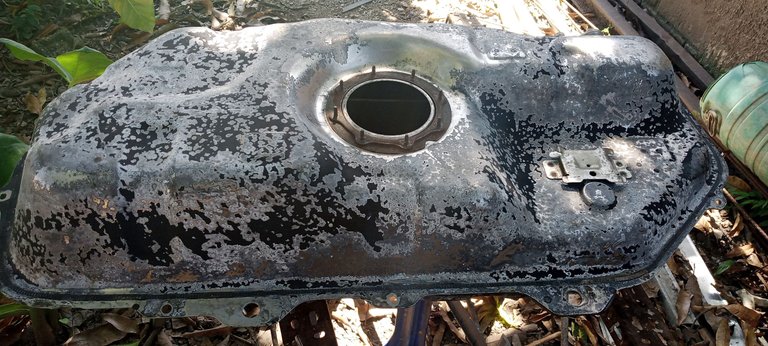
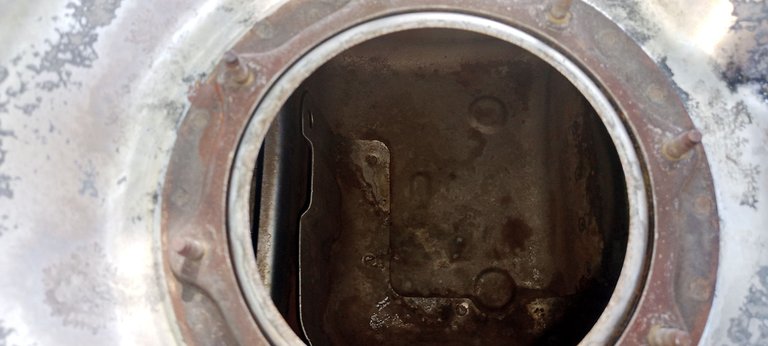
This time the maintenance that I am going to describe is the fuel tank, the tank for the years that has the car stopped with the little fuel that was generated a great humidity with the vapors and this is created a large layer of rust on all its walls.
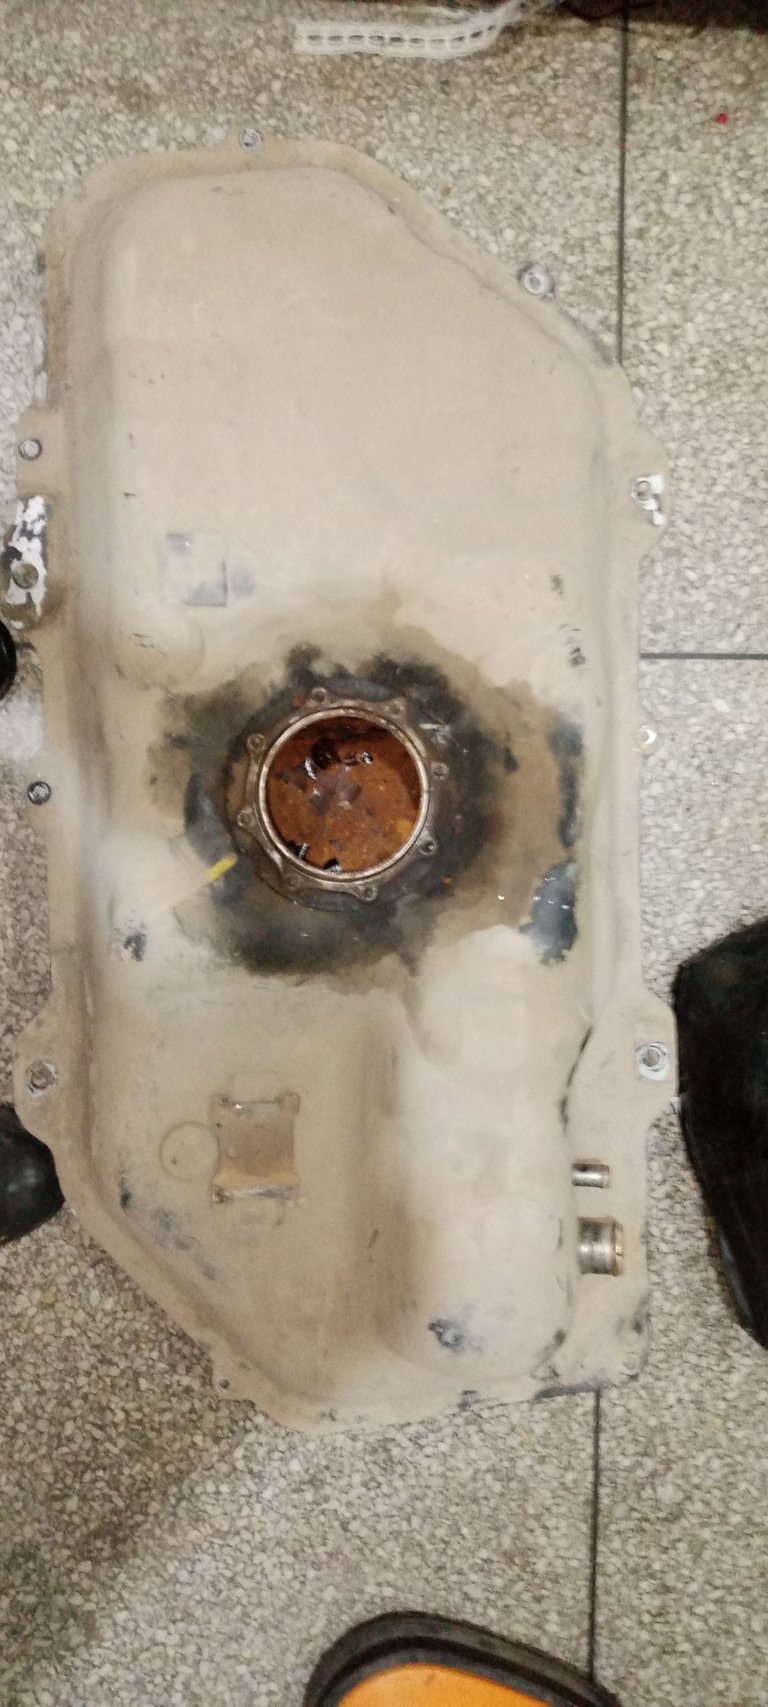
Once disassembled the fuel tank I remove the pump assembly and all accessories such as hoses, gas filter and protectors, to take to the chemical bath.
Many people in some workshops do not apply the chemical bath and choose to chop the tank at the top and wash with pressurized water and weld again, but I do not like this type of work, first because the car loses originality and value and secondly because if a welding point is wrong is a latent danger with fuel leaks besides the odors can enter the cabin being that annoying.
The chemical bath process lasts from one to two days and the tank is submerged in a pool of acid where it removes all agents added to the metal of the tank.
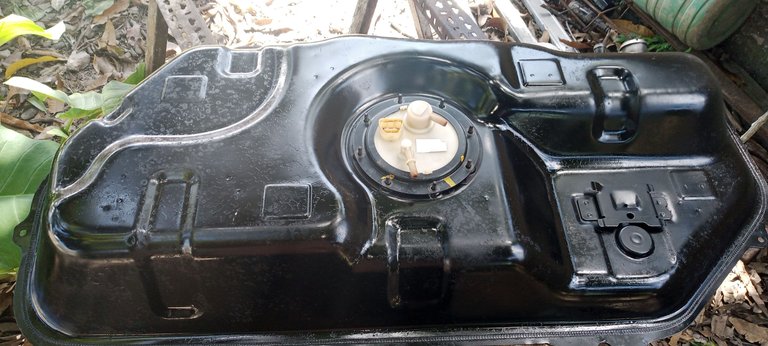
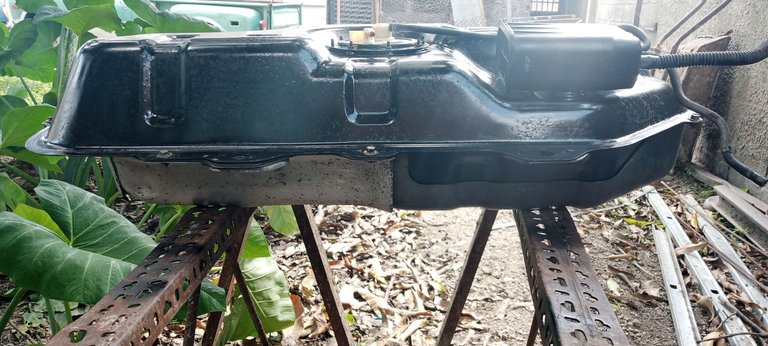
This is how the tank comes out of the chemical bath
As you can see in the pictures all the rust is gone which greatly extends the life of the fuel filter, but you can also see that the external appearance is also greatly affected so before mounting the protectors and accessories process to paint it.
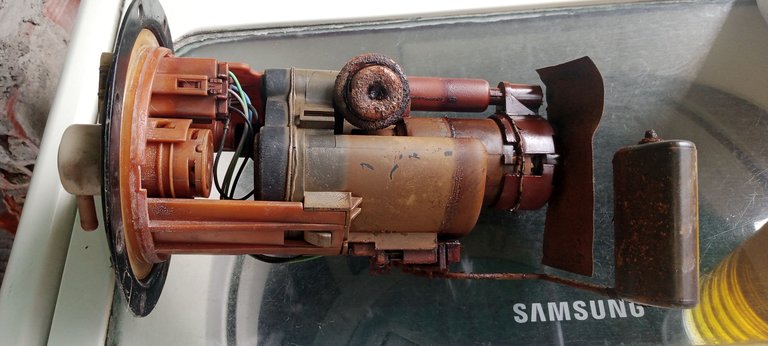
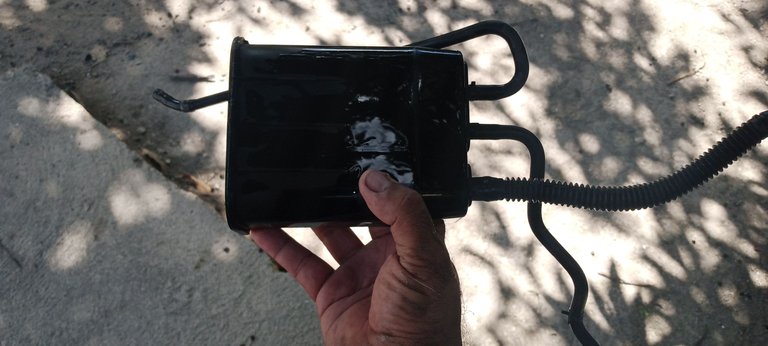
On the other hand I show you the process of cleaning and assembling the fuel pump.
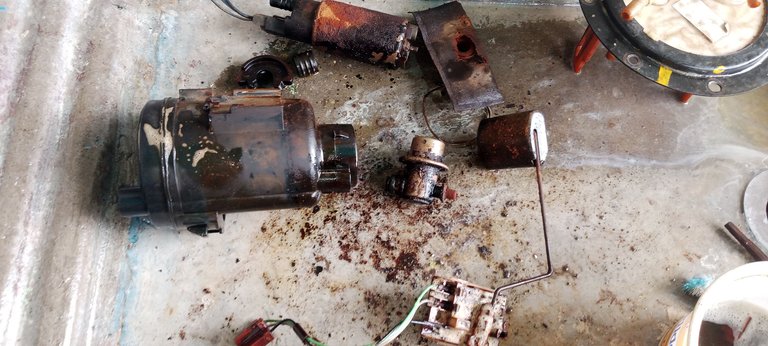
The pump assembly was also affected by moisture and old fuel inside the tank remaining in the following state.
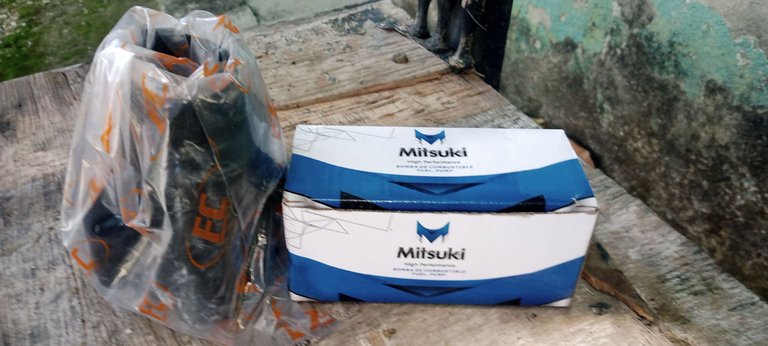
This model of car the fuel line filter is part of the pump assembly is also known as battery holder in colloquial words of the country, this filter I discard and replace it with a new one as well as the pump or fuel cell.
While the rest of the parts I dipped them in degreaser including the float which is in charge of giving the reading on the dashboard of how much fuel we have available.
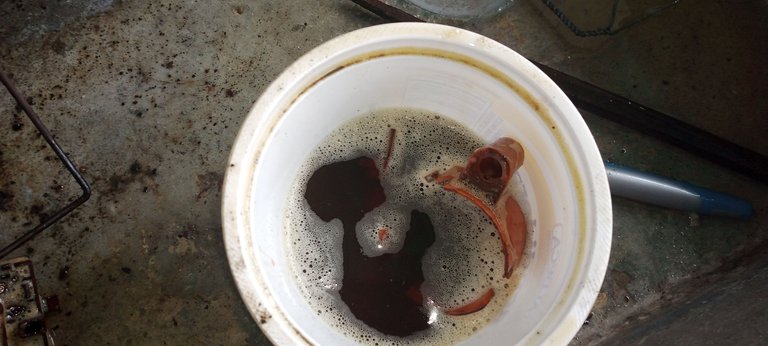
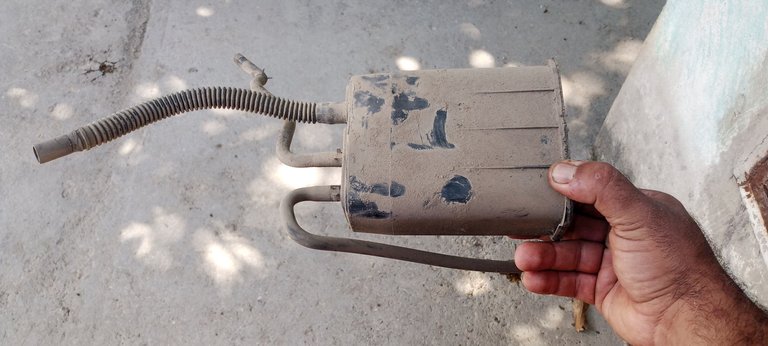
After a few hours and enough brushing all the parts start to stay in their original shape and working perfectly, so I assembled the whole thing again to install it in the tank so it is all sealed to avoid contamination again.

Already assembled the set I install in the tank along with all the accessories removing all dirt that have some components for being located in places where they can never be washed to be installed in the car.
Now everything is clean and installed, all that is left is to follow the process.
So far I show you the progress of my project, I'm already working on the brakes, doing maintenance to the cylinders, drums and bands to finish the rear of the car.
As advice I can give you that if you have a car that the fuel filter gets dirty very fast and more with the fuel we are supplying in the country I invite you not to be afraid to perform this work of deep cleaning in chemical bath to remove headaches and bad times on the road for the short life of the fuel pumps.
Thank you for reading my lines I hope they have been helpful and may God bless you greatly.
All photos are my property taken with the Infinix Hot 10 i cell phone.
SPANISH
Saludos,
Queridos amigos llegó la fecha donde todo el mundo quiere su auto operativo, así que las tareas en los talleres va en incremento y uno piensa que estos días no acaban.
Pero esto no me impide empezar a reactivar mi proyecto en pausa del que les hable hace un buen tiempo.
Así como los clientes tengo también las ganas de ver mi auto en marcha para estas fechas decembrinas, es por ello que aparte un capital para dedicarlo a él y con respecto al tiempo aunque es poco estoy dedicando cada segundo libre que consigo para restaurar cada una de las partes escenciales del auto.
Antes de instalar el motor que ya lo tengo restaurado y armado un 3/4, empecé por ir haciendo mantenimientos desde la parte trasera hasta llegar a la parte frontal que es donde hay un poco más de trabajo.
En esta oportunidad el mantenimiento que les voy a describir es el del tanque de combustible, dicho tanque por los años que tiene el auto parado con el poco combustible que quedó se generó una gran humedad con los vapores y este se creo una gran capa de óxido en todas sus paredes.
Una vez desmontado el tanque de combustible retiro el conjunto de la bomba y todos los accesorios como mangueras el filtro de gases y los protectores, para llevar al baño químico.
Muchas personas en algunos talleres no aplican el baño químico y optan por picar el tanque por la parte superior y lavar con agua a presión y soldar de nuevo, pero a mí este tipo de trabajo no me gusta, primero porque el auto pierde originalidad y valor y segundo porque si un punto de soldadura queda mal es un peligro latente con fugas de combustible aparte de que los olores pueden ingresar a la cabina siendo eso molesto.
El proceso de baño químico dura de uno a dos días y el tanque es sumergido en una piscina de ácido dónde remueve todo agente agregado al metal del tanque.
Así sale el tanque del baño químico
Cómo pueden observar en las imágenes ya todo el óxido dejo de existir lo que nos alarga mucho la vida del filtro de combustible, pero también pueden observar que la apariencia externa también se ve muy afectada por lo que antes de montar los protectores y los accesorios proceso a pintarlo.
Por otra parte les muestro el proceso de limpieza y ensamblaje de la bomba de combustible.
El conjunto de la bomba también se vio afectado por la humedad y el combustible viejo dentro del tanque quedando en el siguiente estado.
Este modelo de auto el filtro de línea de combustible es parte del conjunto de la bomba también se le conoce como porta pila en palabras coloquiales del país, este filtro lo descarto y lo reemplazo por uno nuevo al igual que la bomba o pila de combustible.
Mientras que el resto de partes las sumergí en desengrasante incluyendo al flotante que es quien se encarga de dar la lectura en el tablero de cuánto combustible tenemos disponible.
Después de unas horas y bastante cepillo todas las partes empiezan a quedar en su forma original y funcionando perfectamente, así que ensambló todo el conjunto nuevamente para instalarlo en el tanque y así quede todo sellado para evitar que se contamine de nuevo.
Ya armado el conjunto instalo en el tanque junto a todos los accesorios quitando toda suciedad que tienen algunos componentes por estar situados en lugares donde nunca se pueden lavar al estar instalado en el auto.
Ya todo limpio e instalado solo queda seguir el proceso.
Hasta aquí les muestro los avances de mi proyecto, ya estoy trabajando en los frenos, haciendo mantenimiento a los cilindros, tambores y bandas para finalizar la parte trasera del auto.
Cómo consejo les puedo dar que si tienen un auto que el filtro de combustible se ensucia muy rápido y más con el combustible que estamos surtiendo en el país los invito a qué no teman en realizar este trabajo de limpieza a profundidad en baño químico para que se quiten dolores de cabeza y malos ratos en la via por la corta vida de las bombas de combustible.
Gracias por leer mis líneas espero que hayan servido de ayuda y que Dios les bendiga grandemente.
Todas las fotos son de mi propiedad tomadas con el celular Infinix Hot 10 i.
https://twitter.com/1388439908650455040/status/1595511788182900750
The rewards earned on this comment will go directly to the people( @soychalbed ) sharing the post on Twitter as long as they are registered with @poshtoken. Sign up at https://hiveposh.com.
Excelente 🥳🥳
Y para ese baño químico lo llevas a un lugar especial o ¿lo haces tú mismo? Yo he visto esos que los parten en dos para lavarlos, pero es una práctica que no me gusta
Quedó perfecto,como nuevo.
El baño quimico lo mando a la rectificadora a hacerlo para eso mismo para evitar partir el tanque
Excelente... así aprendo más 😇😇😇
¿Que acido es el usado en estos baños quimicos? Esa es mi unica duda, tremenda publicacion, saludos :)
Yo lo llevo al baño químico de la rectificadora de motores creo que en gran parte es soda cáustica
Interesante, gracias por la información.