Tire replacement process for my car
Greetings,
Dear friends this is a rather simple publication for the ones I dream to show.
It is about the emergency replacement of the tires of my car.
Months ago I told you that I did a job for a friend's customer I will leave you the publication by here in the publication I explain that I do not charge but that my friend made a barter with the customer in which he supplied me the front axle for my car.
It's been about three months since that job but he still hasn't installed it because they haven't shipped the front shocks which is one of the most damaged parts I have.
In that waiting time I did not notice and one of the front tires deteriorated very fast, despite being a mechanic I did not notice the major damage to the rubber but in a period of three days.
These tires are installed since 2019 should last longer but we already know that a bad front end shortens the life, but what really surprised me was that the car never lost balance I only felt it three days before the replacement.
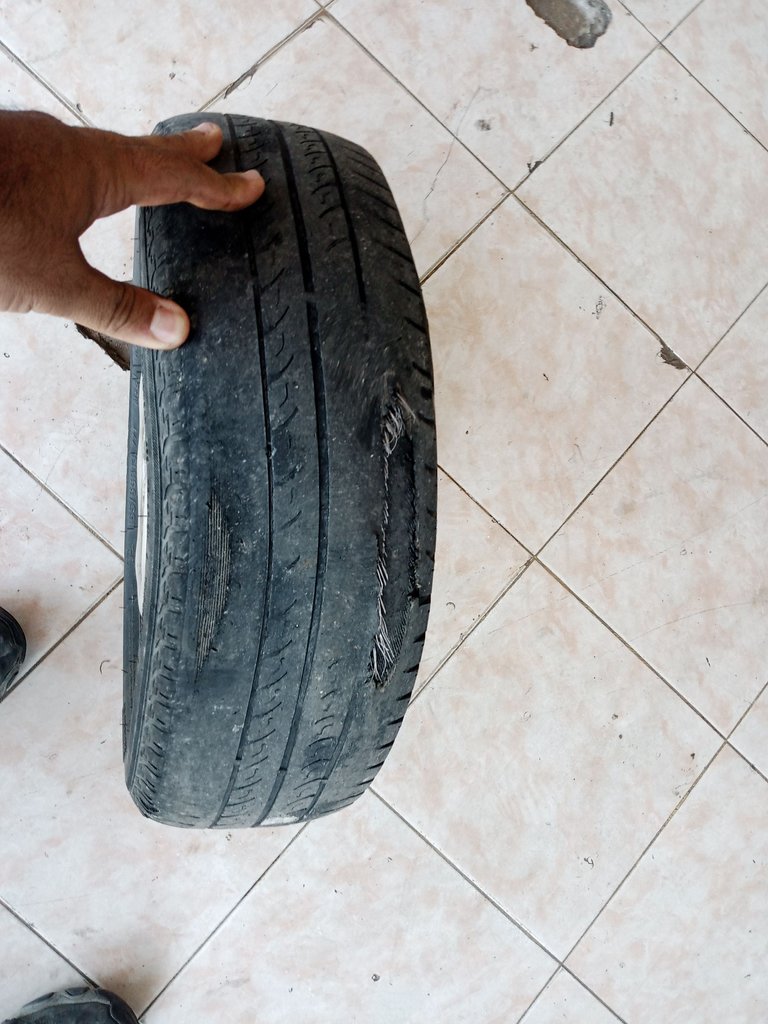
The first day I felt the tire failure I checked and noticed that it was already serious with part of the mesh uncovered so the search for offers to change them began.
Through Instagram I got offers of $ 27 per tire installed, balanced and with new valve, but this offer was in another city although nearby I had neither the time nor the conditions to move there, so with that reference I started the search for prices in the stores of my city.
Really crazy the price difference, I started getting at $ 35 and with last year's manufacture date, in another place $ 38 and even $ 42; I had only one option left and it was the winner 😁 since I got the tire at $ 31 but if I took two or more it was $ 30 so for $ 3 difference if it was more reasonable since for $ 6 in both tires could be paid due to the risk of mobilizing to the other city plus $ 3 that could consume in fuel there was almost no difference.
The process is quite simple or so makes it look like the practice of technicians plus the equipment used.
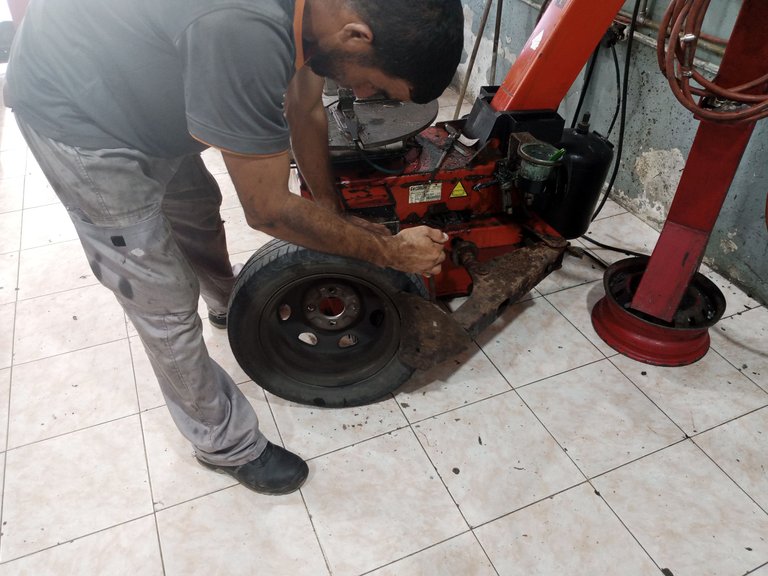
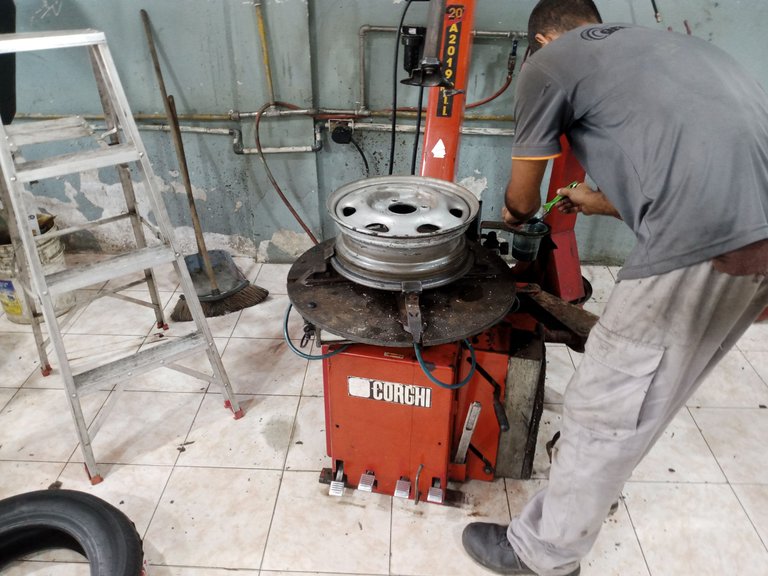
In the pictures above is the whole process of disassembling the old tire and having the bare rim they proceed to replace the valve before installing the new tire.
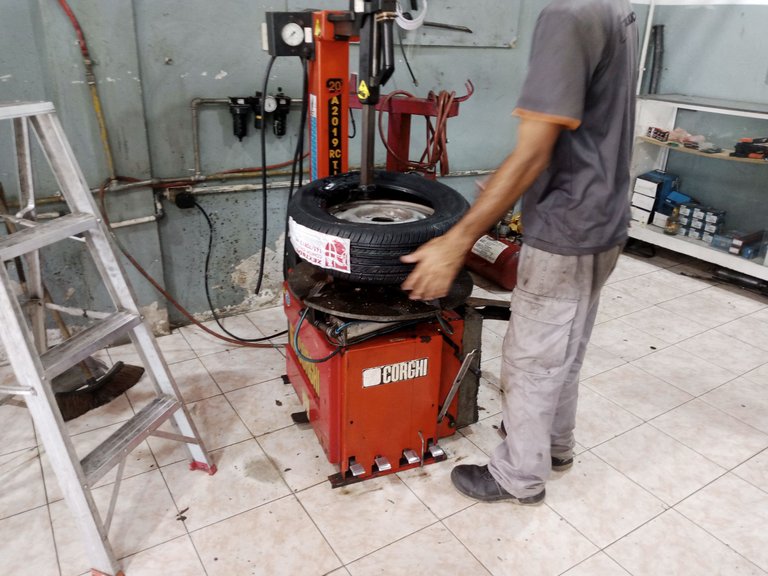
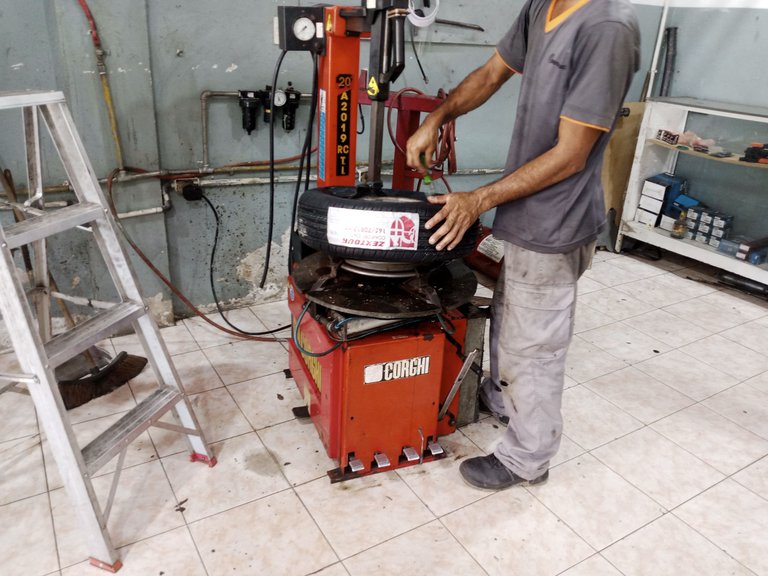
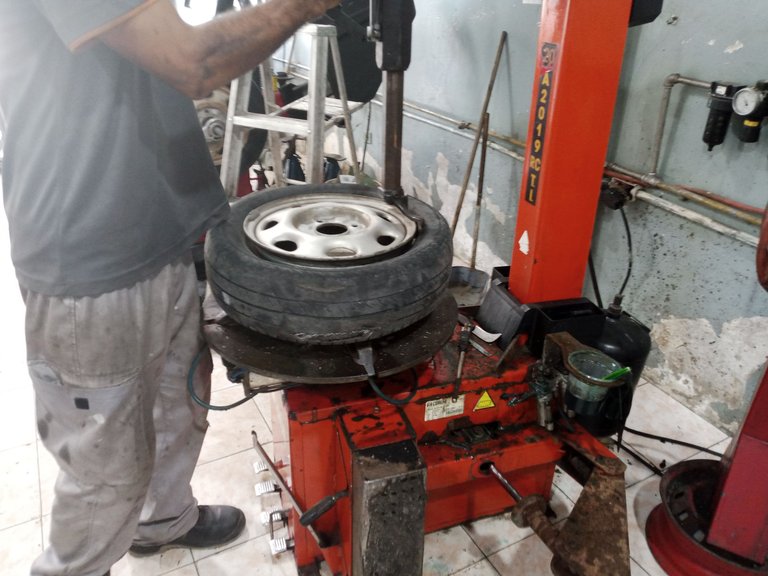
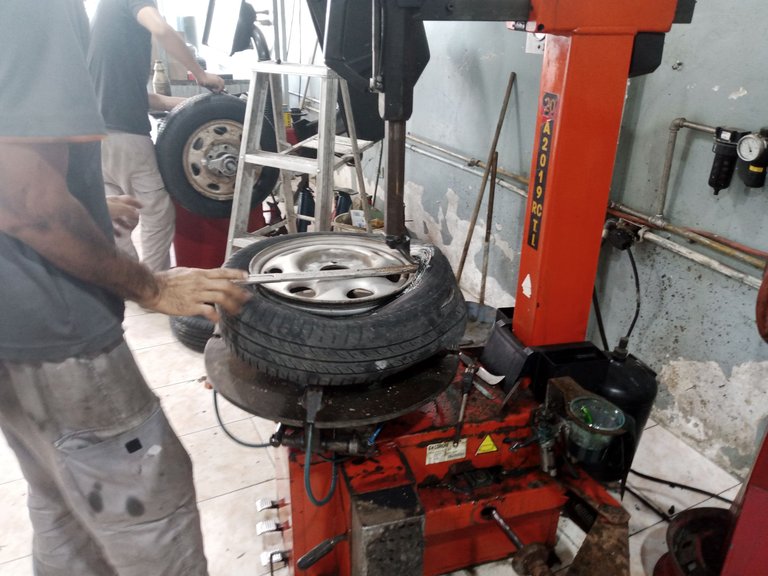
To install the new tire they lubricate the flange so it doesn't break, in this case they used marine formula, I have seen other shops that use water with soap and in the worst case they use old oil but this last one makes the flange stick to the metal of the rim and when it spikes and you have to repair it you can damage the flange so be very careful when they apply this technique.
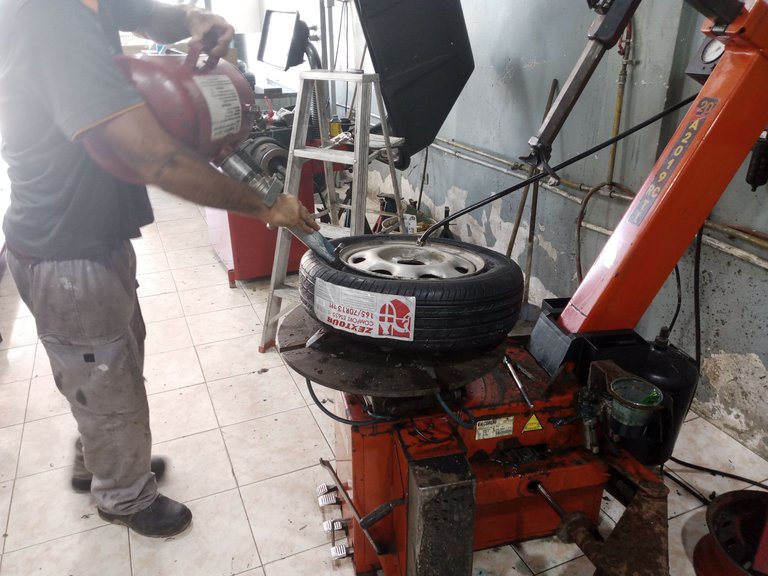
Once installed and loaded with air the tire goes to the balancing machine, the balancing is the one that guarantees the comfort since it levels the imperfections of the rim with lead weights inside and outside the rim, the weight used is told by the machine when rotating the tire at a certain speed, it calculates the weight needed to level.
After placing the weights the machine is run again until the values are zero on both sides, when this is so it is ready to be installed on the car.

At that point I installed 2 new tires and played around by putting the two bad ones up front to have a longer period of time to wait for the shocks.
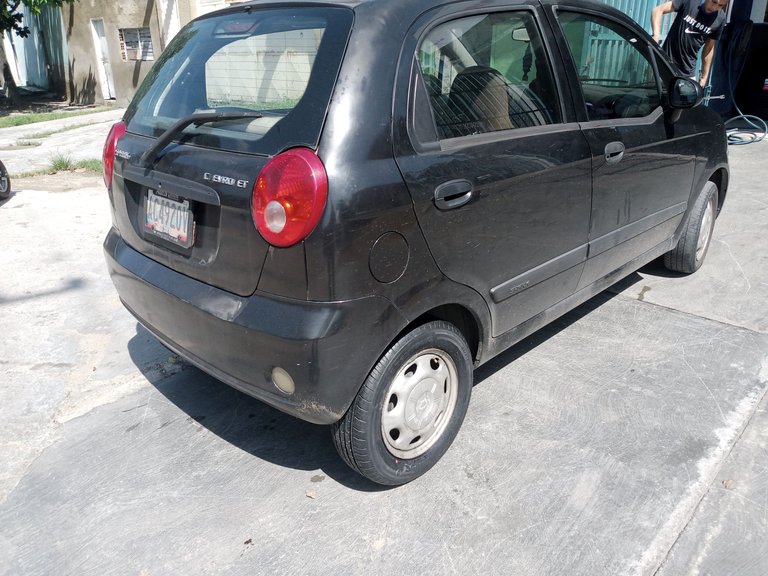
And this is how the new tires were installed on the car.
I hope to show you soon the process of repairing the complete front end and other maintenance I have pending with the car when I make a two day stop for that.
Thank you for joining me in this publication and God bless you greatly, the photos are my property taken with the Infinix Hot 10 i cell phone.
SPANISH
Saludos,
Queridos amigos está es una publicación bastante sencilla para las que sueño mostrar.
Se trata de el reemplazo de emergencia de los neumáticos de mi auto.
Hace meses les comente que hice un trabajo al cliente de un amigo les voy a dejar la publicación por aquí en la publicación explico que no cobre pero que mi amigo hizo un trueque con el cliente en el que me surtió el tren delantero para mí auto.
Ya han pasado unos tres meses de ese trabajo pero aún no lo instaló porque no han despachado los amortiguadores delanteros que es una de las piezas más dañadas que tengo.
En ese tiempo de espera no me di cuenta y uno de los cauchos delanteros se deterioro muy rápido, a pesar de ser mecánico no note el mayor daño del caucho sino en un lapso de tres días.
Estos cauchos están instalados desde el 2019 debían durar más pero ya sabemos que un tren delantero en mal estado le acorta la vida, pero lo que de verdad me sorprendió fue que el auto nunca perdió el balanceo solo lo sentí tres días antes del reemplazo.
El primer día que sentí la falla del neumático revise y note que ya estaba grave con parte de la malla descubierta así que empezó la búsqueda de ofertas para cambiarlos.
Por Instagram conseguí ofertas de 27 $ por neumático instalado, balanceado y con la válvula nueva, pero está oferta era en otra ciudad aunque cercana no tenía ni el tiempo ni las condiciones de trasladarme hasta allá, así que con esa referencia inicie la búsqueda de precios en las tiendas de mi ciudad.
De verdad que una locura la diferencia de precios, empecé consiguiendo en 35$ y con fecha de fabricación del año pasado, en otro lugar 38$ y hasta 42$; me quedaba una sola opción y fue la ganadora 😁 ya que conseguí el neumático en 31$ pero si llevaba dos o más quedaba en 30$ así que por 3$ de diferencia si era más razonable ya que por 6$ en ambos neumáticos se podía pagar debido al riesgo de movilizarme a la otra ciudad más 3$ que podía consumir en combustible no había casi diferencia.
El proceso es bastante simple o así lo hace ver la práctica de los técnicos más los equipos utilizados.
En las imágenes anteriores está todo el proceso de desmontado del neumático viejo y al tener el rin desnudo proceden a reemplazar la válvula antes de instalar el nuevo neumático.
Para instalar el neumático nuevo lubrican la pestaña para que no se rompa, en este caso utilizaron fórmula marina he visto otros talleres que utilizan agua con jabón y en el peor de los casos utilizan aceite viejo pero este último hace que la pestaña se pegue al metal del rin y cuando se espicha y toca repararlo se puede dañar la pestaña así que tengan mucho cuidado cuando le aplican está técnica.
Una vez instalado y cargado de aire el neumático pasa a la máquina de balanceo, el balanceo es el que nos garantiza el confort ya que nivela las imperfecciones del rin con pesos de plomo interna y exteriormente del rin, el peso que utiliza lo dice la máquina al girar la llanta a cierta velocidad ella calcula el peso necesario para nivelar.
Luego de colocada las pesas la máquina se hace funcionar de nuevo hasta que los valores sean cero de ambos lados, cuando esto es así ya está listo para ser instalado en el auto.
En ese momento instale 2 neumáticos nuevos y jugué colocando adelante los dos más malos para tener un periodo más de tiempo para esperar los amortiguadores.
Y así quedaron instalados los neumáticos nuevos en el auto.
Espero ya pronto mostrarles el proceso de reparación del tren delantero completo y otros mantenimientos que tengo pendientes con el auto cuando le haga una parada de dos días para eso.
Gracias por acompañarme en esta publicación y que Dios les bendiga grandemente, las fotos son de mi propiedad tomadas con el celular Infinix Hot 10 i.
Congratulations @soychalbed! You have completed the following achievement on the Hive blockchain And have been rewarded with New badge(s)
Your next target is to reach 350 posts.
You can view your badges on your board and compare yourself to others in the Ranking
If you no longer want to receive notifications, reply to this comment with the word
STOPTo support your work, I also upvoted your post!
Espero que puedas solucionar pronto el tren delantero y todos esos pequeños detalles que van saliendo con el tiempo...
Así es amiga
Tengo un desafío similar, un amortiguador o tren delantero defectuoso acaban rápido con un caucho, cuando ví el estado de tu caucho me recordó el mío que casi me mato si explota, que bueno que ya pudiste comprar, ahora hacer los cambios para que duren.
Si espero pronto resolver
De seguro que si
Wow, que buen proceso, es extraordinario lo bien que se trabaja cuando se tinen las herramientas y equipamiento necesario para realizar las reparaciones. Acá en ese tipo de reparaciones no siempre se cuenta con el equipamiento necesario como los que muestras, es una felicidad cuando se cuánta con ellos. Espero puedas reparar pronto tu tren delantero. Saludos.
Gracias por la visita si las herramientas ayudan mucho
Saludos excelente @soychalbed encontraste un buen precio, lo que pasa es que estamos en tiempos de utilidades y el comercio se vuelve loco con los precios, así es aquí en mi país Venezuela.
Hola, a mi me pasó algo similar, me habían chocado unos meses atrás y el golpe lo recibió prácticamente el caucho derecho y me doblo la rótula además de reventarme el caucho, el cuál tuve que vulcanizar y colocarlo atrás, le cambié la rotula y unas semanas manejando empezaron a chillar los cauchos y cuando reviso el caucho izquierdo estaba desgastado que se le veía la malla, tenía el muñón malo de ese lado y se comió el caucho y tuve que comprar otro, eso sí reemplace el muñón y lo lleve a alinear. Espero que lleguen tus amortiguadores y no termines desgastando los cauchos que colocaste adelante, saludos.
Si Dios mediante debo resolver esta semana
This is my first time of seeing this machine. The process look easy and simple to follow up. Weldone
!diy
You can query your personal balance by
!DIYSTATSCongratulations @soychalbed!
You raised your level and are now a Minnow!
Check out our last posts: