Making Bohemian Pots with Air Dry Clay | Do it Your Self! 💪
Hello.
Recently, I bought air-drying clays from the market. My provincial experience with clay has been to make candle holders. Playing with clay was a lot of fun so I wanted to continue this and decided to make a flower pot that I saw in the videos. I share the details with you below.
Merhabalar.
Geçtiğimiz günlerde marketten hava ile kuruyan killerden almıştım. Kil ile il deneyimim mum tutucu yapmak olmuştu. Kil ile oynamak çok zevkliydi bu yüzden buna devam etmek istedim ve videolardan gördüğüm bir saksıyı yapmaya karar verdim. Detaylarını sizlerle aşağıda paylaşıyorum.
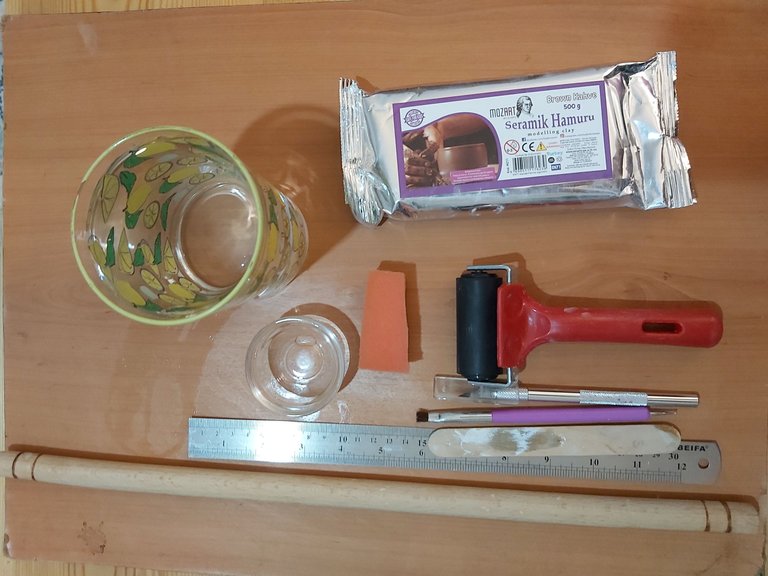
Tools;
- Air Dry Clay
- Ruler
- Square Knife
- Mini Roller
- Ice Cream Stick
- Two sized water bowls
- Mini Brush
Malzemeler;
- Air Dry Kil
- Cetvel
- Kretuar Bıçağı
- Mini Merdane
- Dondurma Çubuğu
- İki boy su Kabı
- Mini Fırça
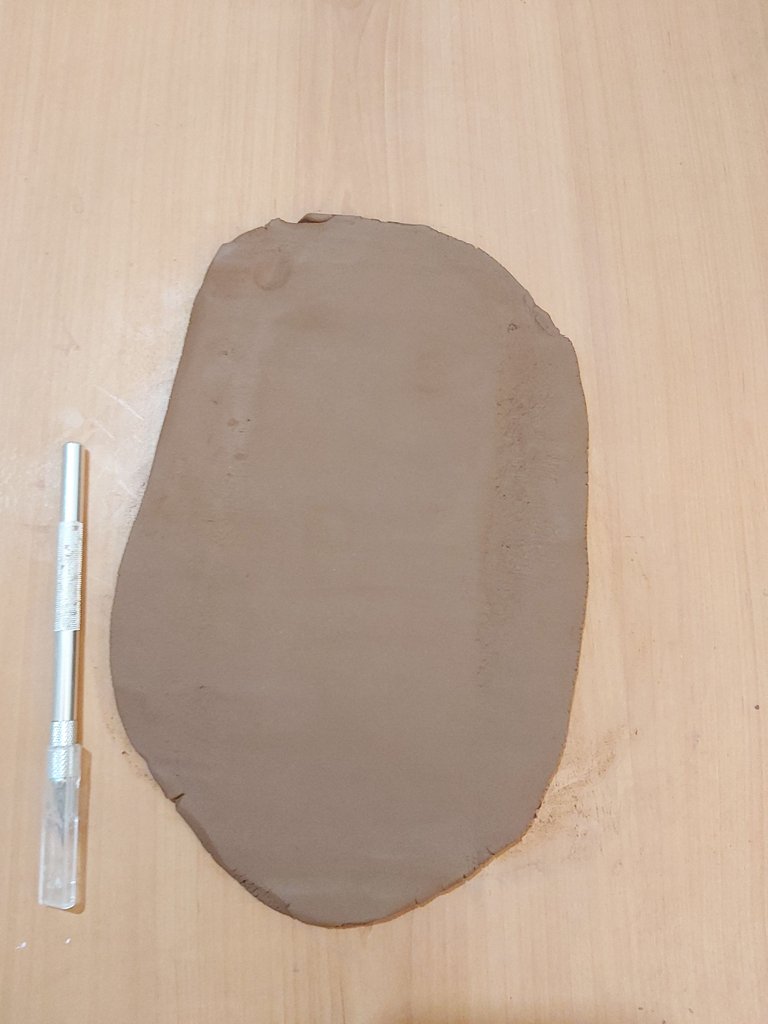
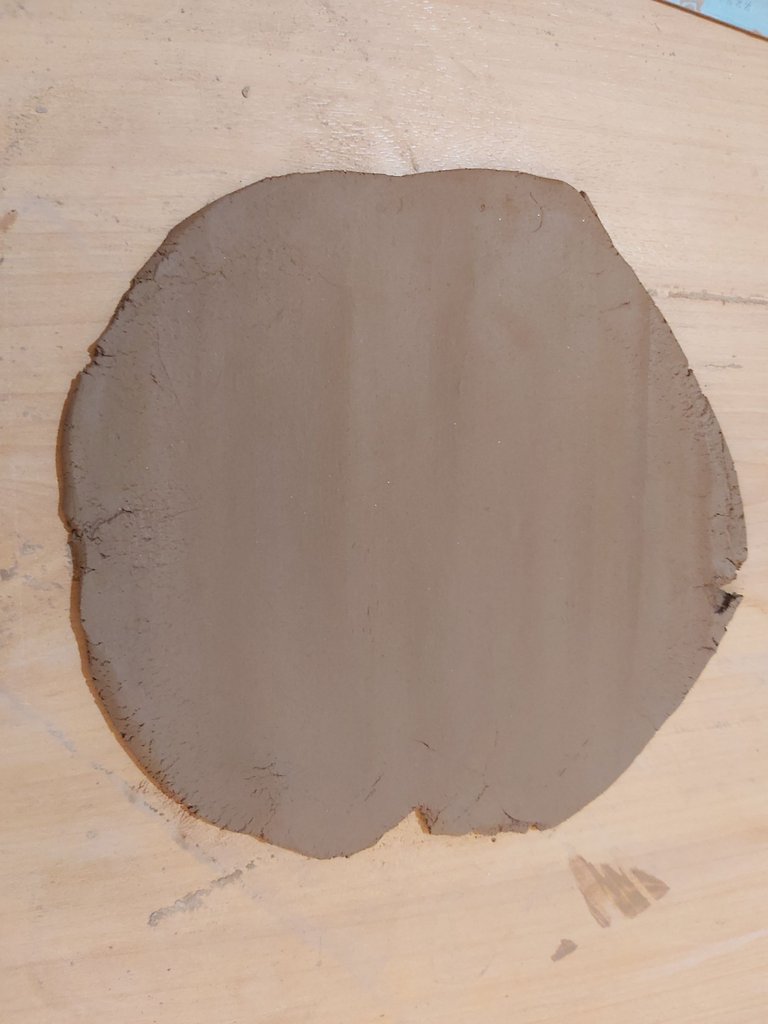
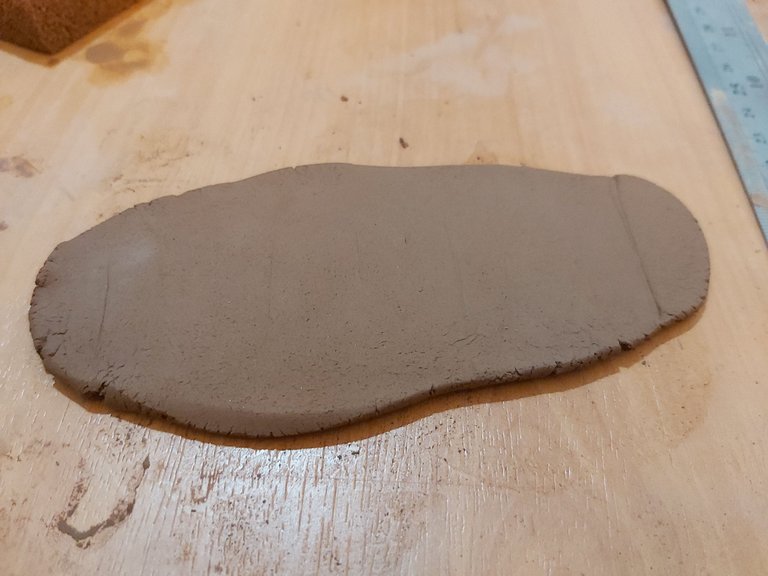
After kneading the dough for a while, I rolled it out with a rolling pin. I cut the dough by measuring the size of the plant pot I will make later.
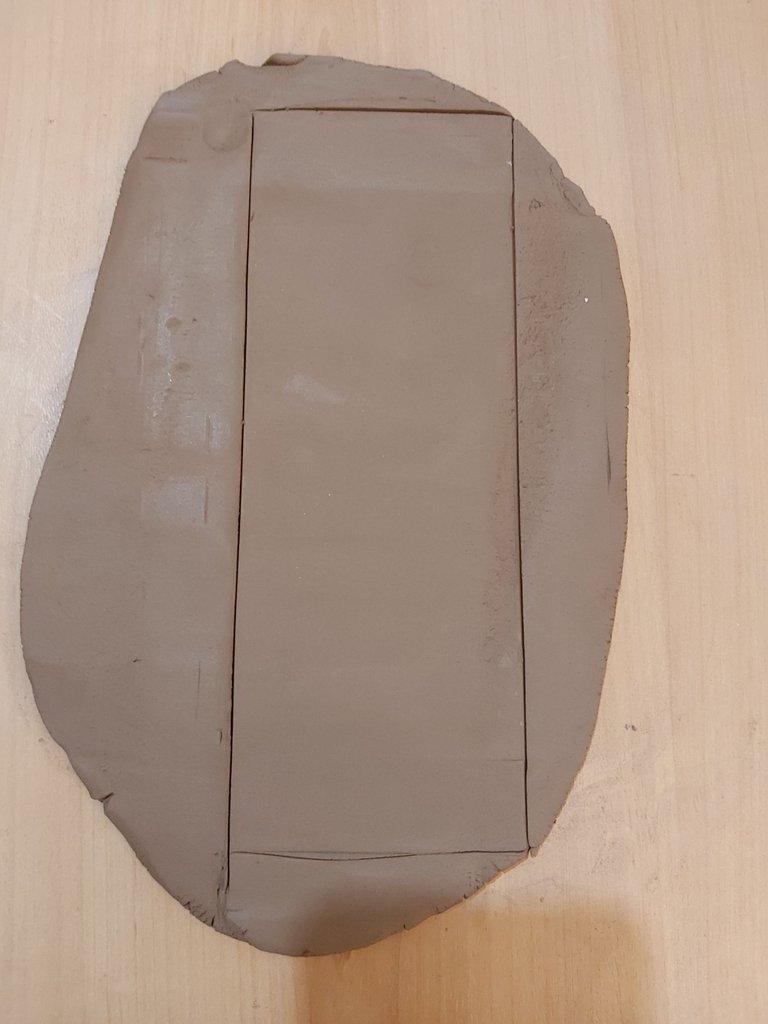
Hamuru elimizde bir süre yoğurduktan sonra onu merdane ile açtım. Daha sonra yapacağım bitki saksının boyunu ölçerek hamuru kestim.
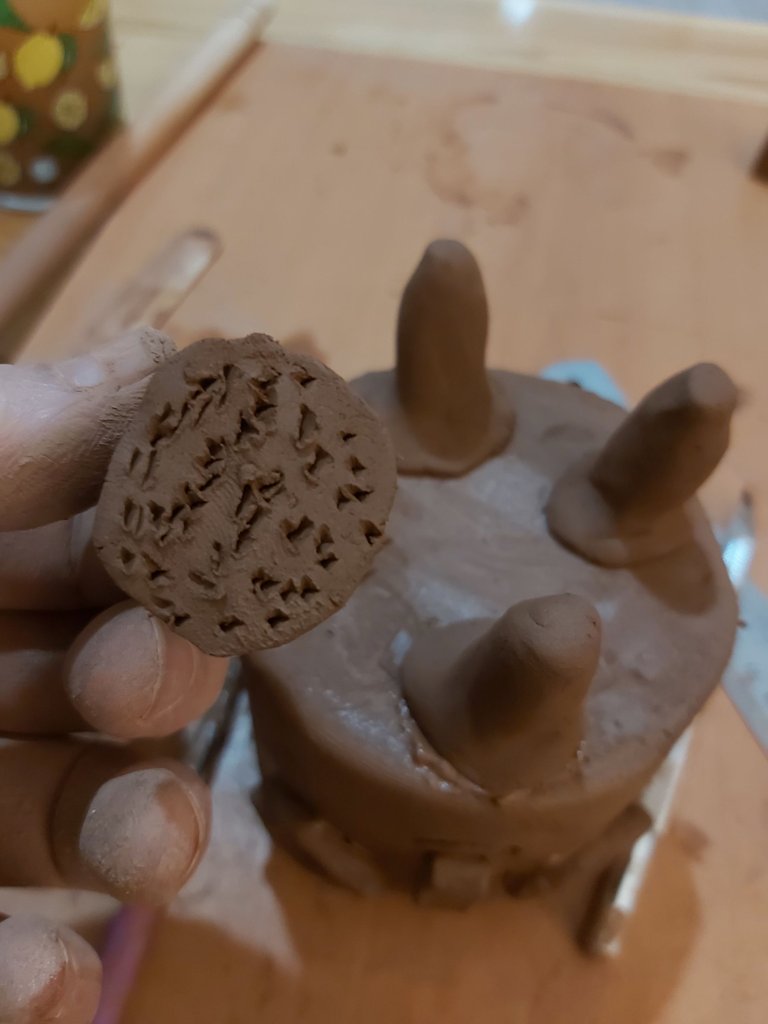
Before I started potting, I prepared a clay paste for myself. This will be very useful for us in the merge phase. Like me, you have to prepare it first. A piece of clay and some water is enough for this.
Saksıya başlamadan önce kendime kilden macun hazırladım. Bu birleştirme aşamasında çok işimize yarayacak. Benim gibi önce onu hazırlamalısınız. Bunun için bir parça kil ve biraz su yeterli.
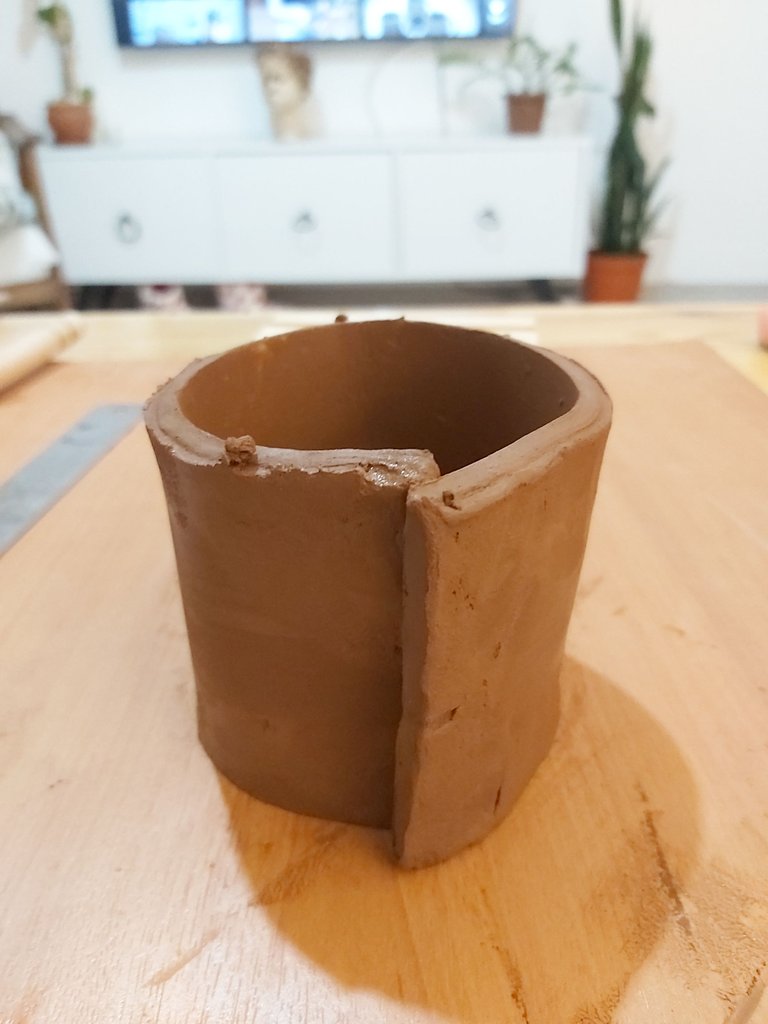
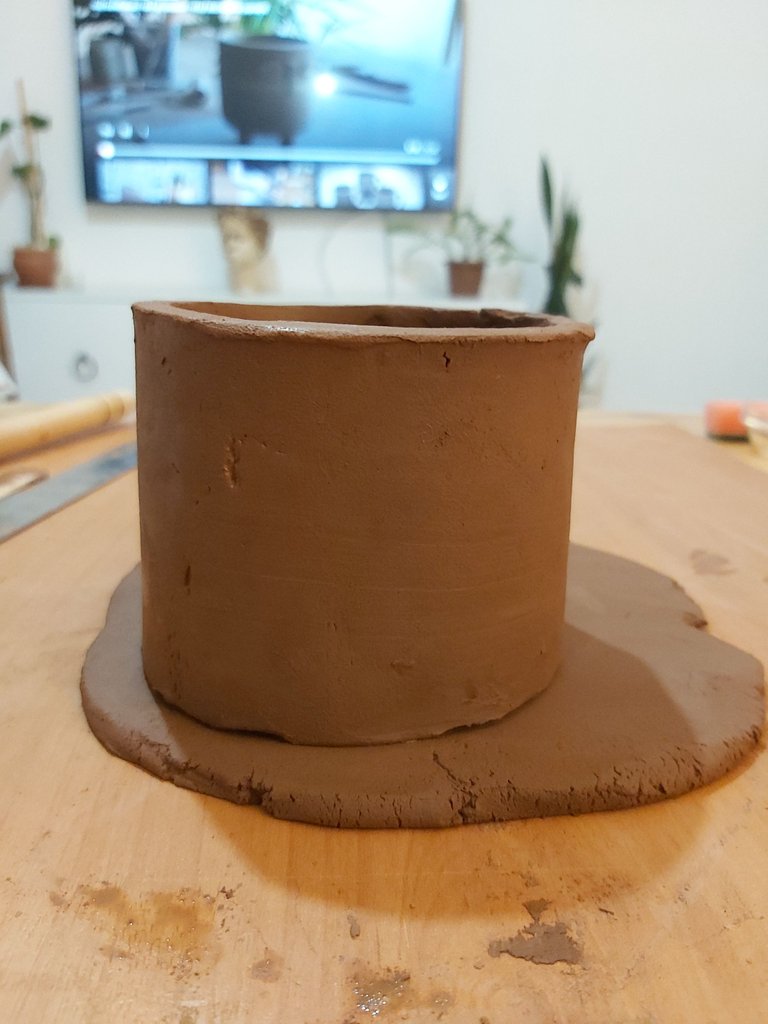
I made the dough I cut into a ring shape and cut it for the last time from the joints according to the size. And by making scratches on the joints, I applied the paste I prepared and joined them together.
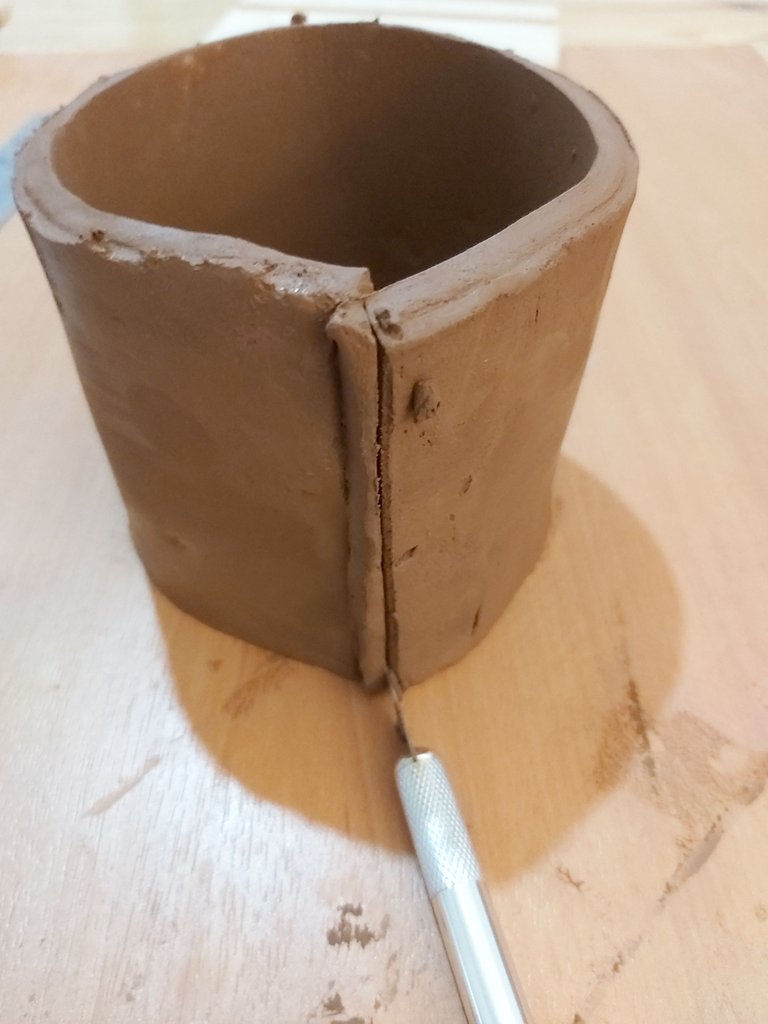
Kestiğim hamuru halka şekline getirip ölçüsüne göre birleştirme yerlerinden son kez kestim. Ve birleştirme yerlerine çizikler atarak hazırladığım macunu sürerek birbirine birleştirdim.

After merging I destroyed the joint with the ice cream stick.

Birleştirdikten sonra dondurma cubuğu ile birleşim yerini yok ettim.
Then I started making the bottom base of the pot. I cut the dough that I opened in a round shape according to the size of my flower pot.
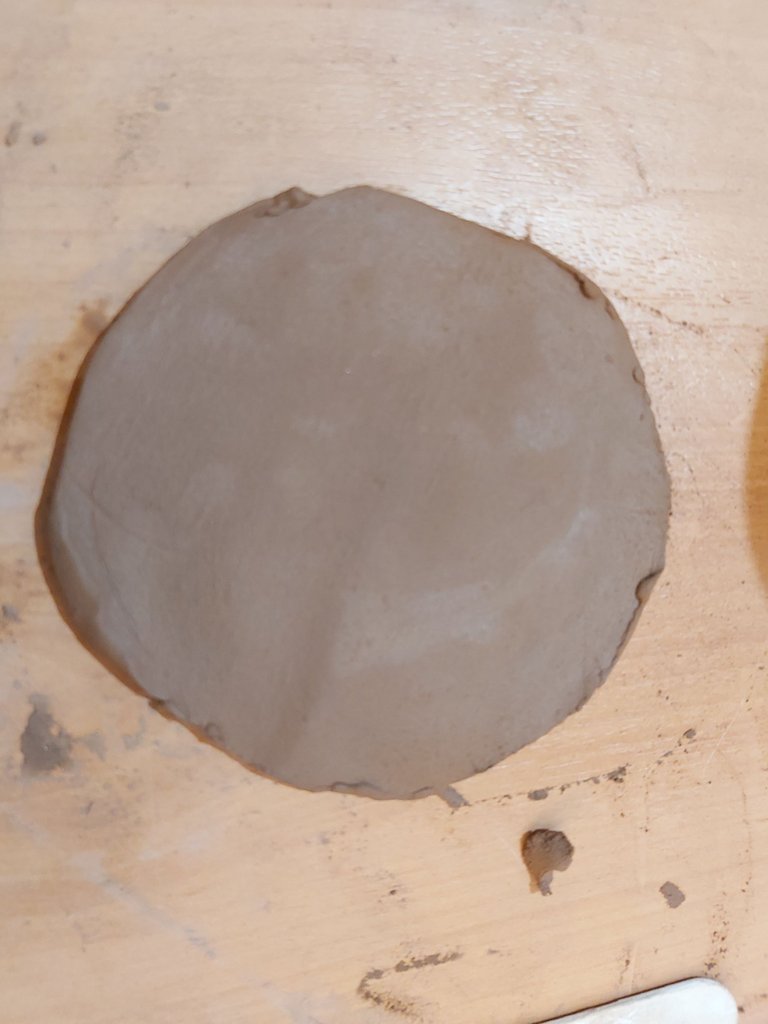
Ardından saksının alt tabanını yapmaya başladım. Yuvarlak açtığım hamuru saksımın ölçüsüne göre kestim.
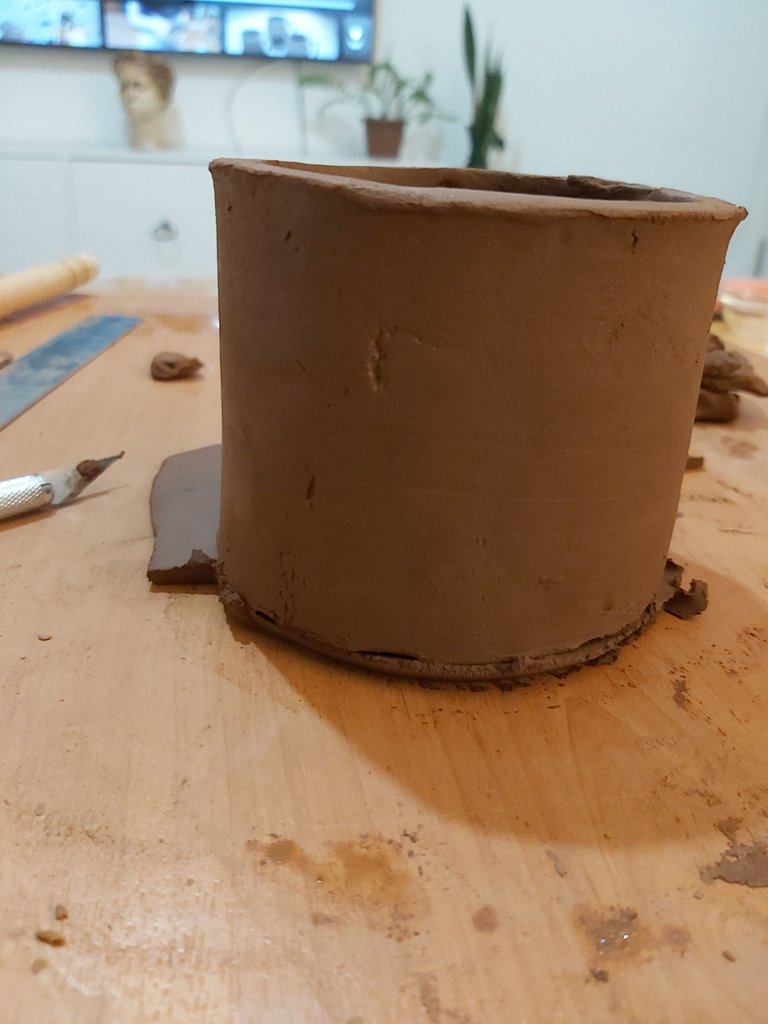
After I cut the bottom of the plant pot, I started to assemble it. Before I put it together, I made tiny cuts on it with a cutting tool to hold it securely.
Bitki saksısının tabanını kestikten sonra birleştirmeye başladım. Birleştirmeden önce sağlam şekilde tutunması için ona kesici alet ile minik kesikler attım.
Then I put putty where I made the cuts. So they will be very firmly joined.
Ardından kesikler attığım yere macun sürdüm. Böylece çok sağlam şekilde birleşecekler.
I gently smoothed the edges with my fingers.
Nazik şekilde parmaklarımla kenarlarını düzelttim.

Then I turned it upside down and smoothed the edges with an ice cream stick.
Ardından ters çevirerek dondurma çubuğu ile kenarlarını düzleştirdim.
Then I dipped the sponge into the water and wrung out the excess water and continued to smooth out the rough parts of the clay.
Sonra süngeri suya sokup fazla suyunu sıkarak kilin pürüzlü yerlerini düzeltmeye devam ettim.
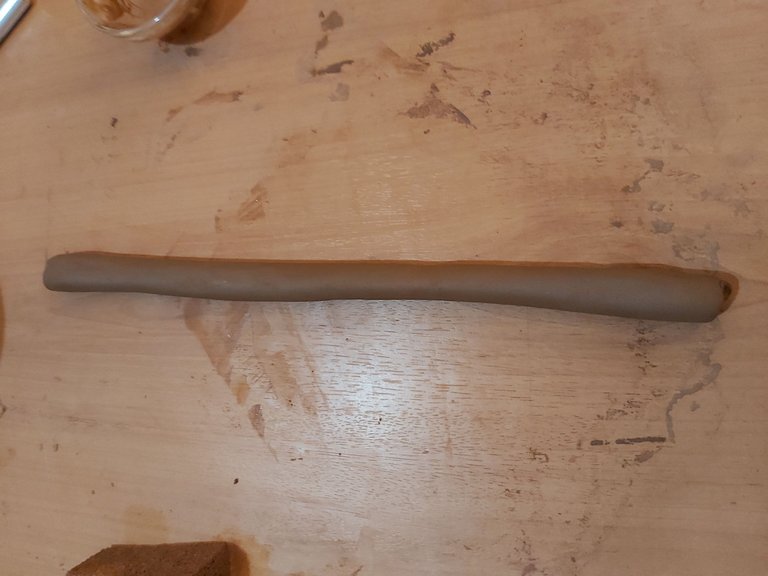
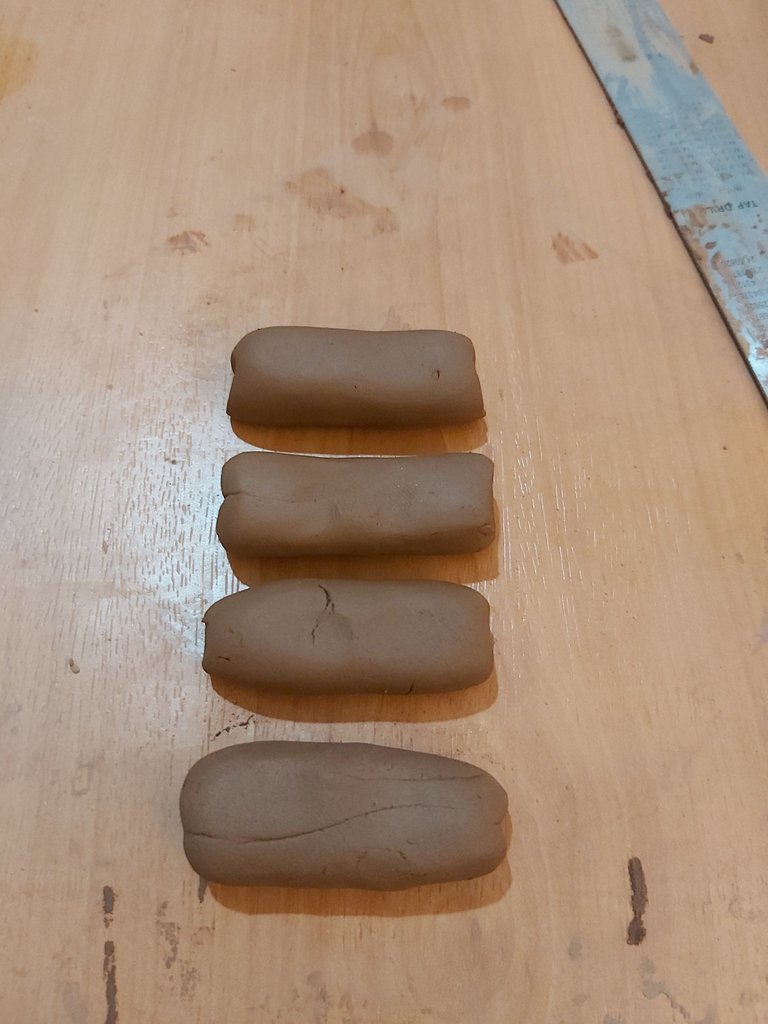
I started making the legs of the plant pot. I took some clay and formed it into a tubular shape and cut it into four parts.
Bitki saksısının ayaklarını yapmaya başladım. Bir miktar kil alıp onu boru şekline getirdim ve dört parçaya ayırdım.
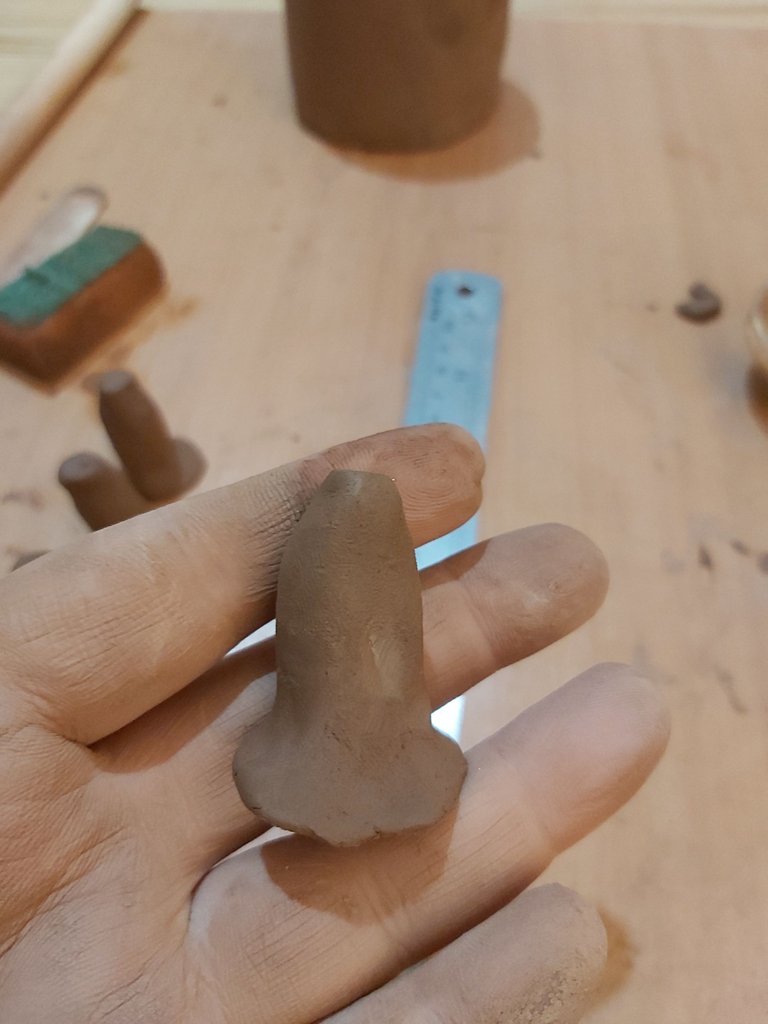
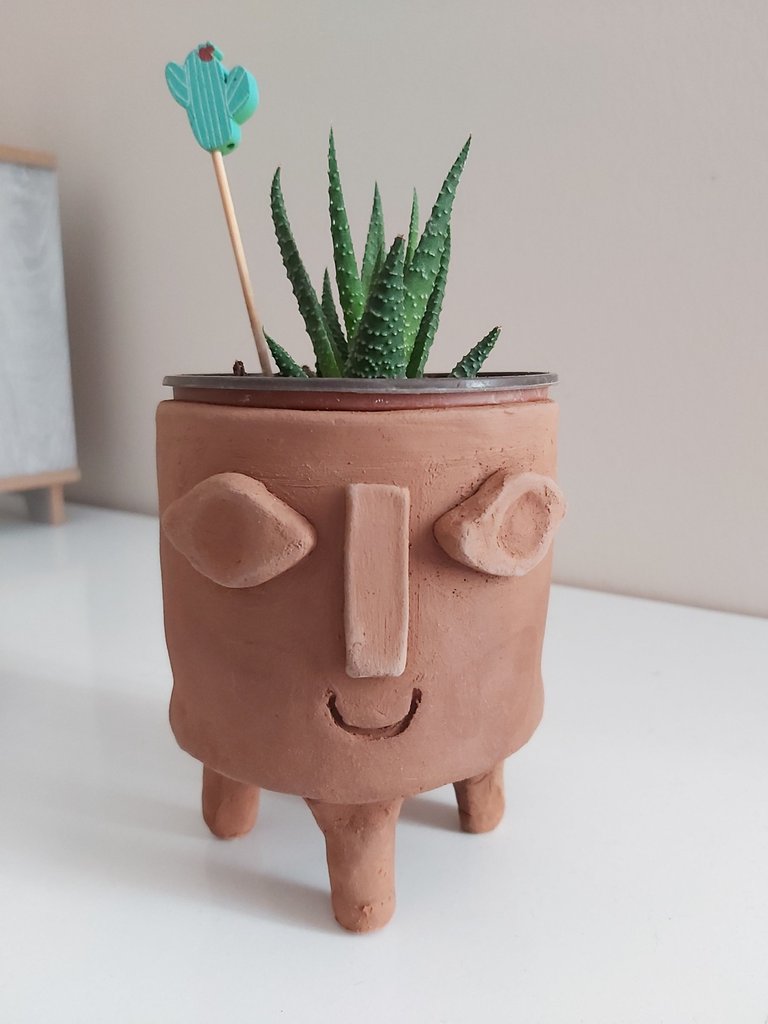
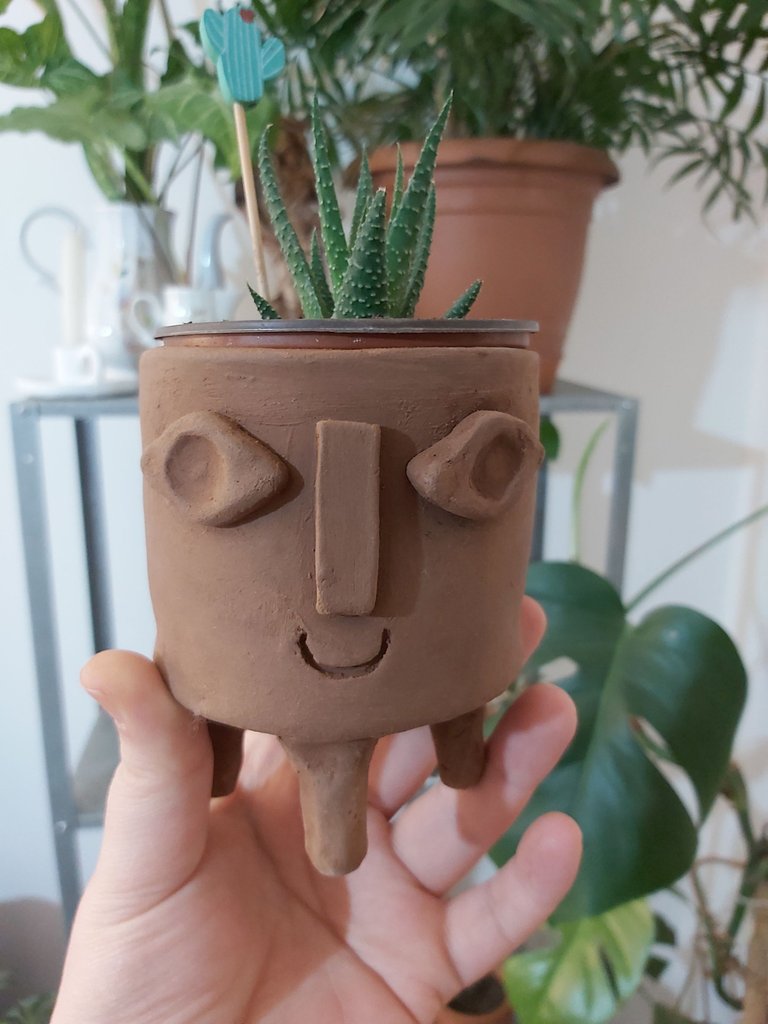
We will add a figure to reflect the bohemian style on the flower pot. For this, I need to make an eye and nose shape. I opened some clay with a medium thickness and drew the shapes that I would put on it.
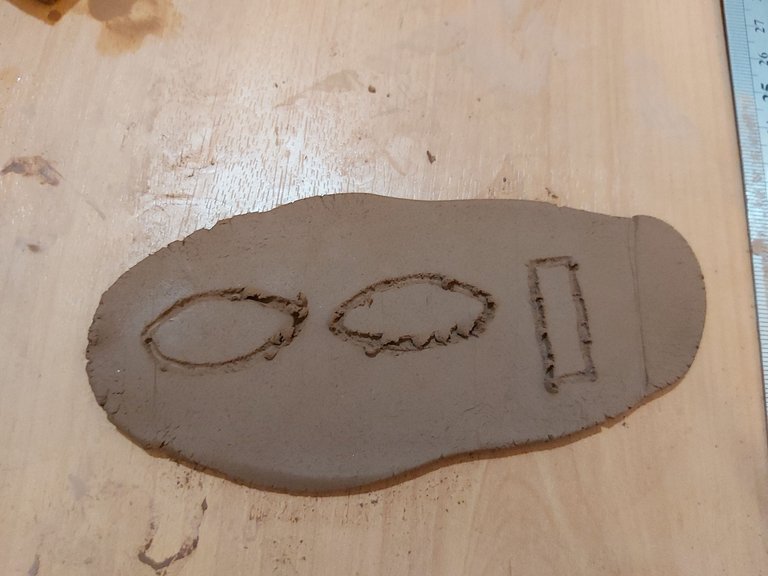
Saksı üzerine bohem tarzını yansıtacak figür ekleyeceğiz. Bunun için göz ve burun şekli çıkartmam gerekiyor. Bir miktar kili merdane ile orta kalınlıkta açarak üzerine çıkartacağım şekilleri çizdim.

I corrected the eyes a little with my hands and pressed the middle of the eye with the back of the knife to add depth to the inner part of the eye.
Gözleri ellerimle biraz düzelttim ve göz iç kısmına derinlik katmak için ortasına bıçağın arkası ile baskı yaptım.

Before gluing the eyes, I make good cuts.
Gözleri yapıştırmadan önce iyice kesikler atıyorum.
I put putty on the cuts and gently made it stick to the pot.
Kesik yerlere macun sürerek nazik şekilde onu saksıya yapışmasını sağladım.
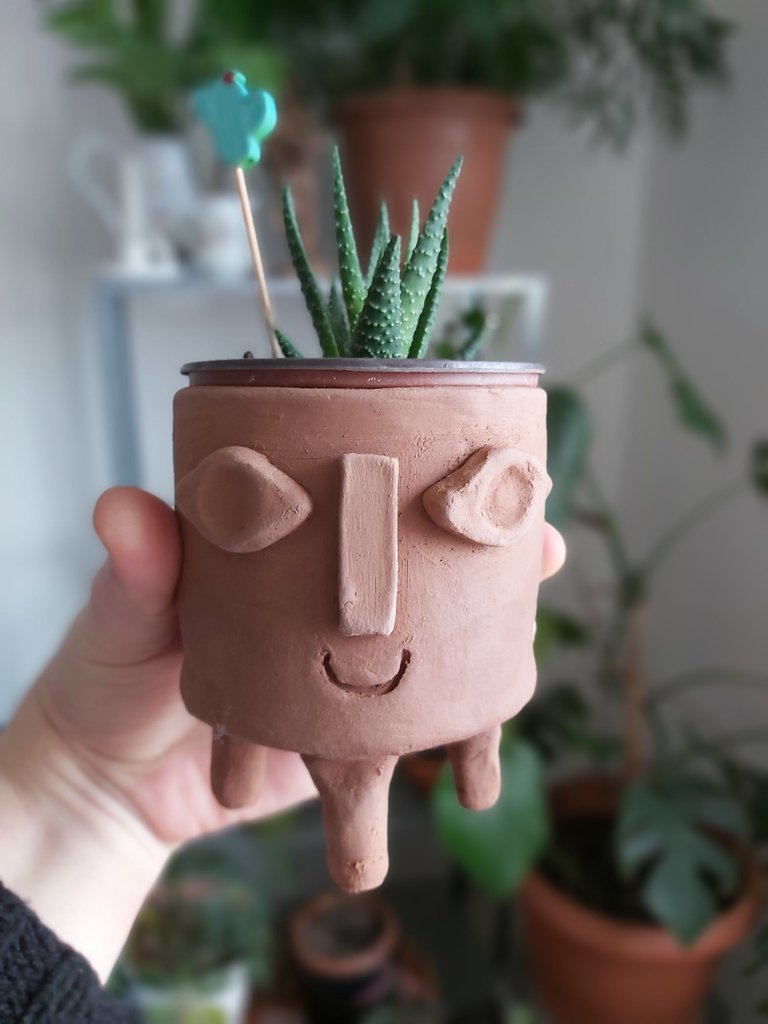
Not without drawing lips! Do not forget to add a small smile. And now all that's left is to put on your feet.
Dudak çizmeden olmaz! Minik bir gülümseme eklemeyi unutmamak gerekiyor. Ve artık geriye ayaklarını takmak kaldı.
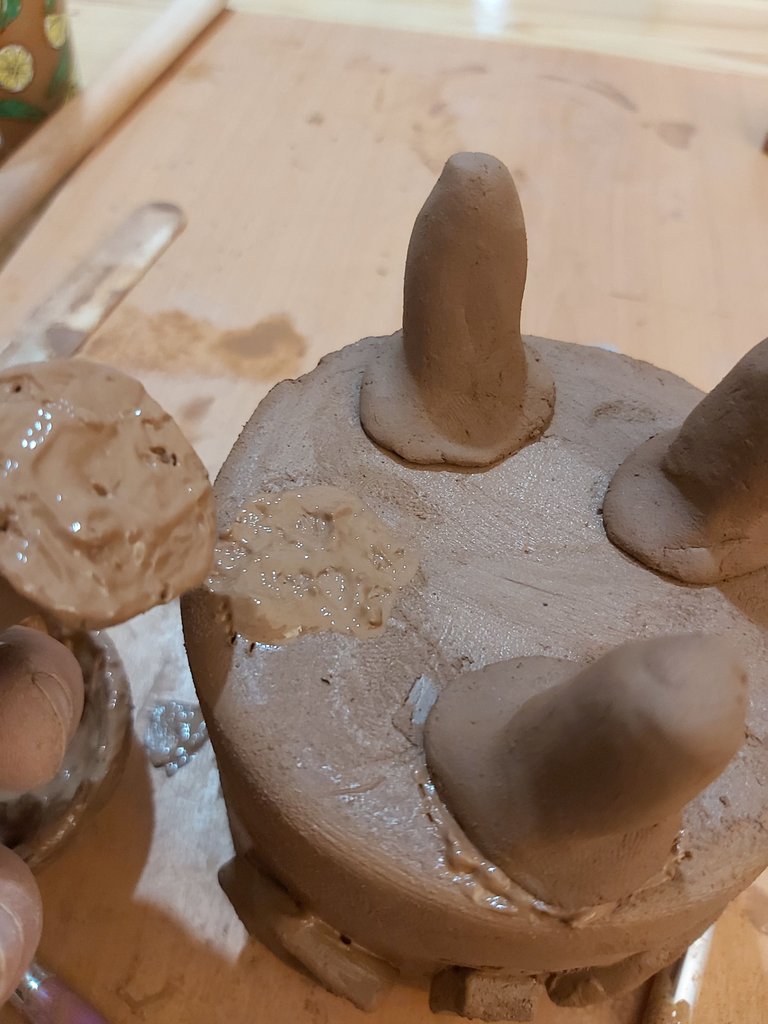
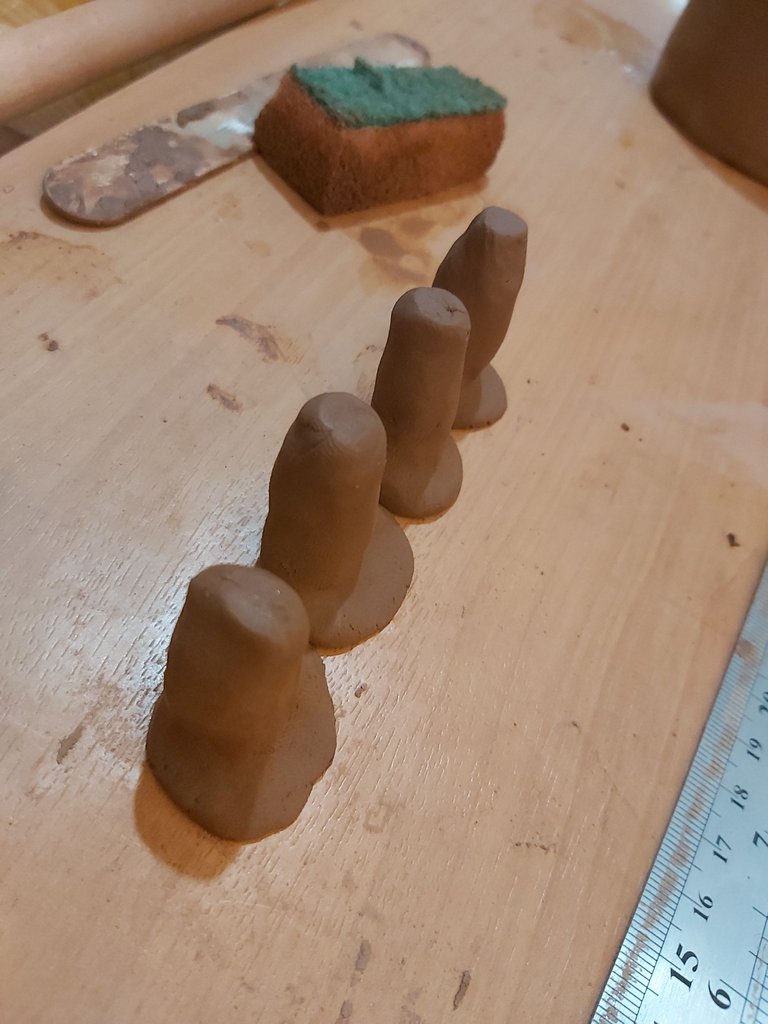
In the same way, I made cuts on the feet and combined them with putty. Then I set it aside to dry.
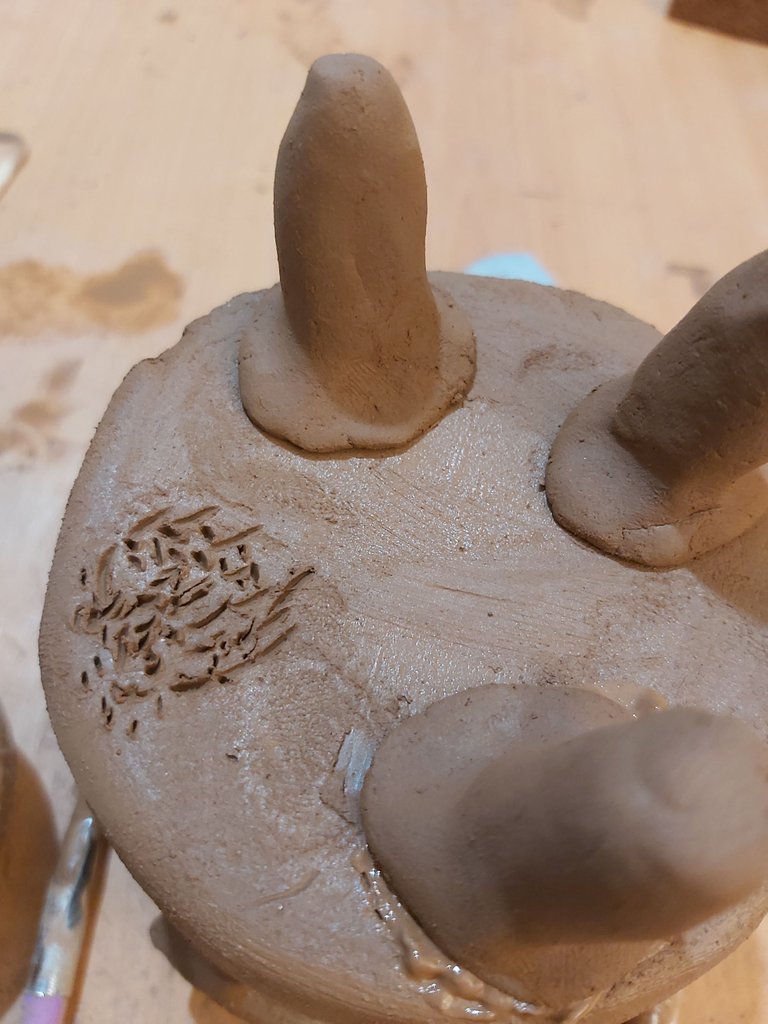
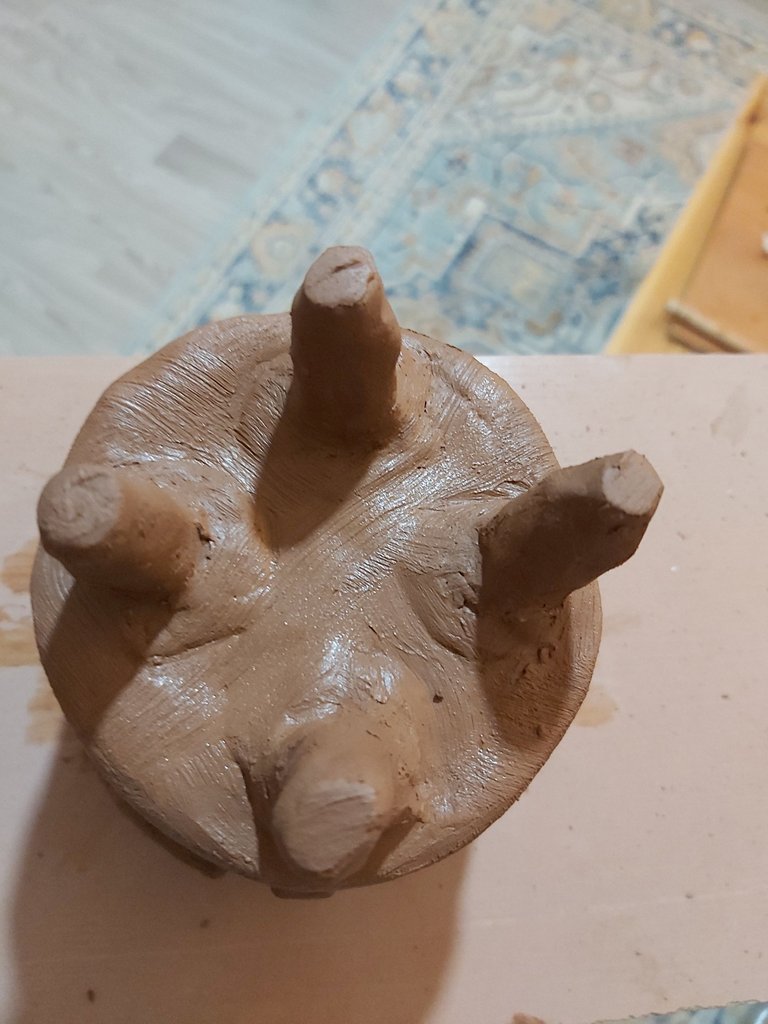
Aynı şekilde ayak kısımlarına da kesikler attım ve macun ile onları birleştirdim. Ardından kuruması için onu bir kenara kaldırdım.
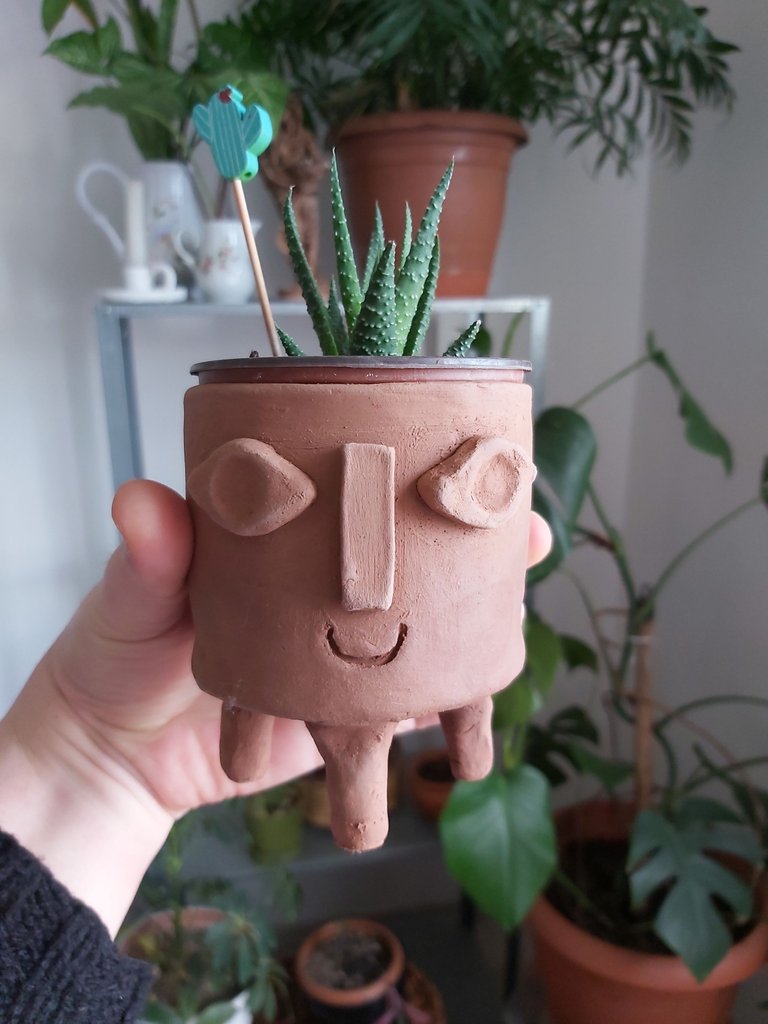
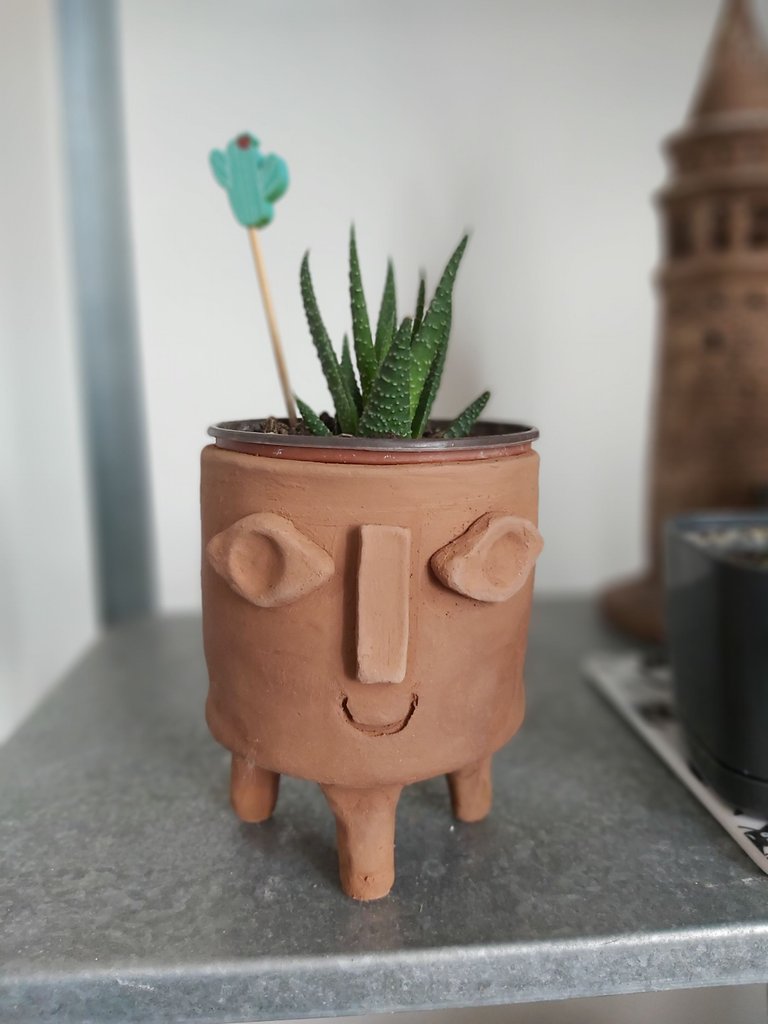
And the Plant Pot is Ready!
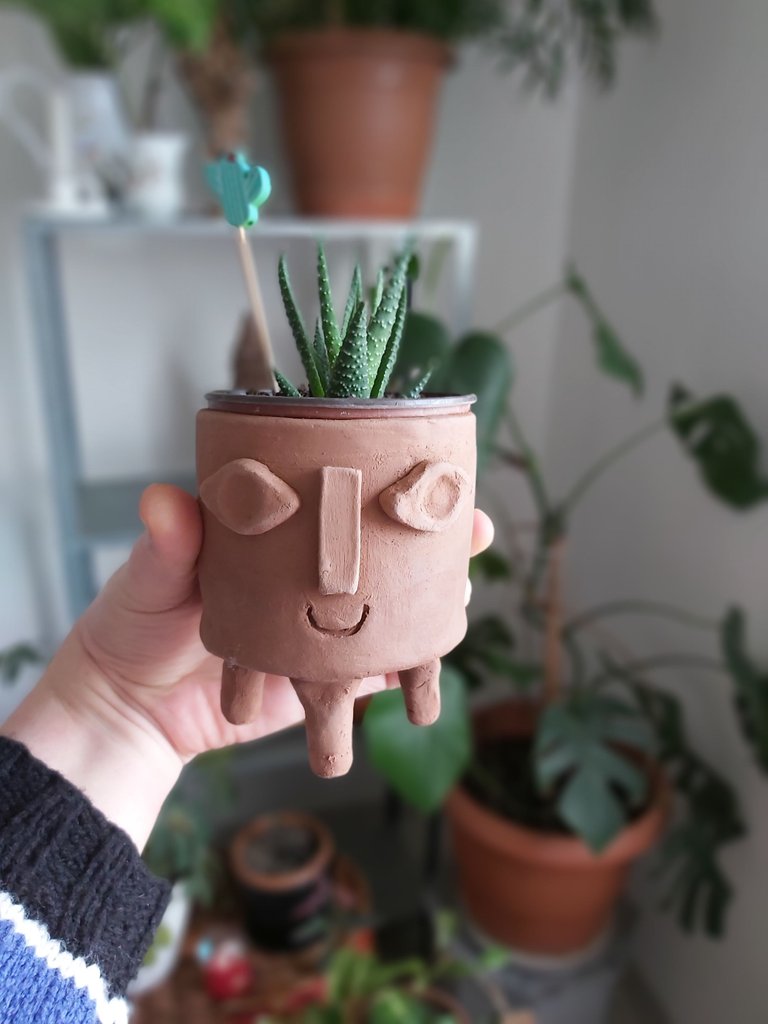
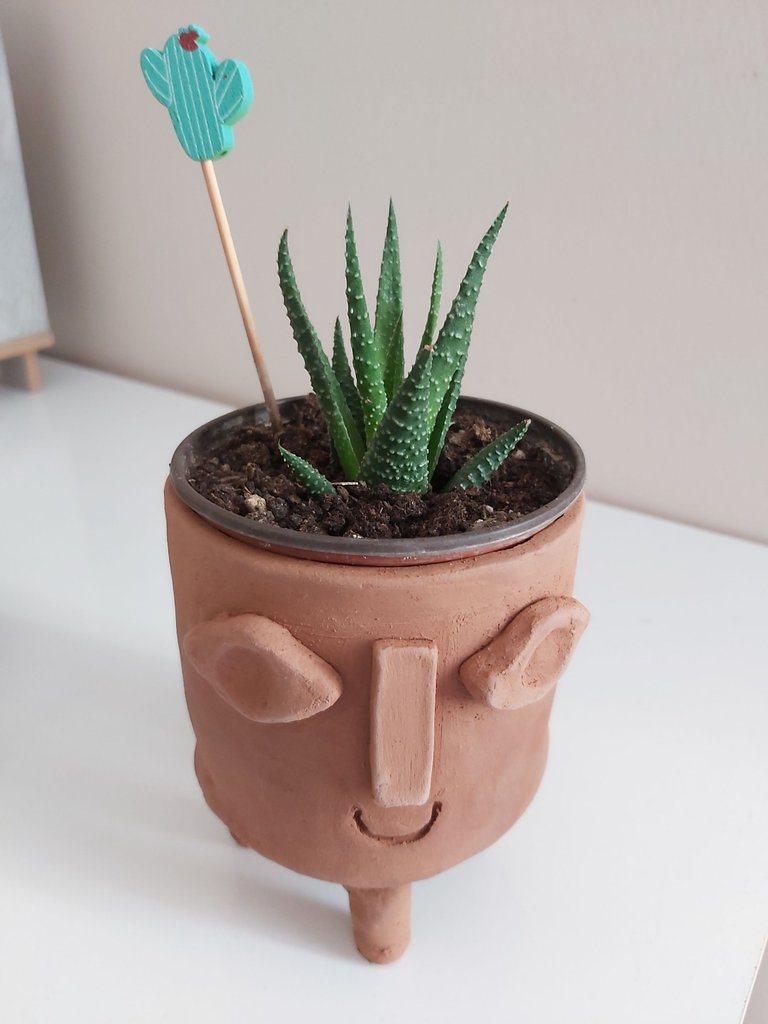
I had so much fun doing it. It just messed around more than the other white clay, but I still had a good time. It turned out to be a very funny flower pot. After it dried, I immediately added my favorite succulent. It was a very sweet plant pot. I'm even thinking of giving it a special name. :)
How did you find the flower pot I made?
Yaparken çok fazla keyif aldım. Sadece diğer beyaz kile göre daha fazla etrafı batırdı ama yine de eğlenceli vakit geçirdim. Ortaya çok komik bir saksı çıktı. Kuruduktan sonra içine hemen en sevdiğim sukulenti ekledim. Çok tatlı bir bitki saksısı oldu. Ona özel isim vermeyi bile düşünüyorum. :)
Sizler yaptığım saksıyı nasıl buldunuz?
See you in the next article. Take good care of yourself. Don't forget to have fun!
Love,
xoxo
Bir sonraki makalede görüşmek üzere. Kendinize çok iyi bakın. Eğlenceli vakit geçirmeyi unutmayın!
Sevgiler,
xoxo
Muhteşem bir post olmuş ^^ Uzun zamandır burada bukadar emek verilmiş bir yazı görmemiştim. Görseller gerçekten harika. Kilden yaptığınız saksı da çok güzel olmuş. Yapıştırmadan önce kesikler atmak mantıklıymış, heralde daha iyi tutunsun diye.
Çok teşekkür ederim güzel yorumunuz için. Evet kesikler atılınca üzerine kil eklediğin zaman cok daha iyi tutuyor. Bende bildiğimden değil videolardan öğrendim 😇
😍😍😍
🤗
Wao😃
Un trabajo espectacular... 😉😊🤗👍🏼☺️
Gracias por compartir ☺️☺️😊😊😃
Estoy feliz de que te haya gustado.😊
Gracias. 🤗
Your project is beautiful, I really loved the antique piece look. It makes a great ornament for a desk and show off a little plant.
I am very glad that you like it. Yes, it gave an antique look because it was handmade. I loved it too 🥰
Yay! 🤗
Your content has been boosted with Ecency Points, by @stellify.
Use Ecency daily to boost your growth on platform!
Support Ecency
Vote for new Proposal
Delegate HP and earn more