Metal Earth: V-22 Osprey Steel Model (Hobbies) (Part 2)
Well Hello There Hivers and Hobby Lovers!

Lets build some more
So last week I shared a post where I started building my V-22 Osprey model.
Check it out Metal Earth: V-22 Osprey Steel Model (Hobbies)
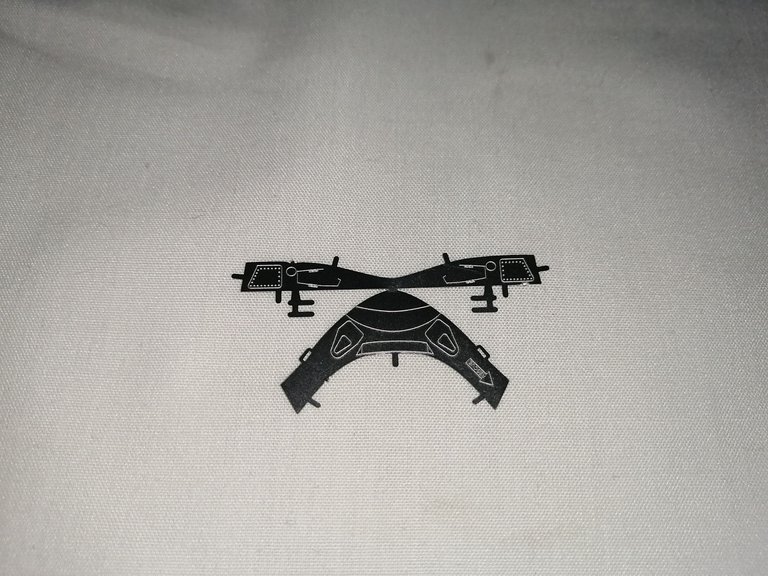
For this post I will try and complete the assembly of the side panels to the top section of the plane/helicopter along with the nose of the plane/helicopter.
That means finishing up the section displayed below, I know it doesn't look like much and well it isn't a lot but this takes time to get it completely right.
The problem with this is that you don't know you screwed up until you have to join two sections together, and disassembling some parts again to get a bend right just isn't an option. (You end up breaking the joining pins. Once you bent it you can not unbend it.)
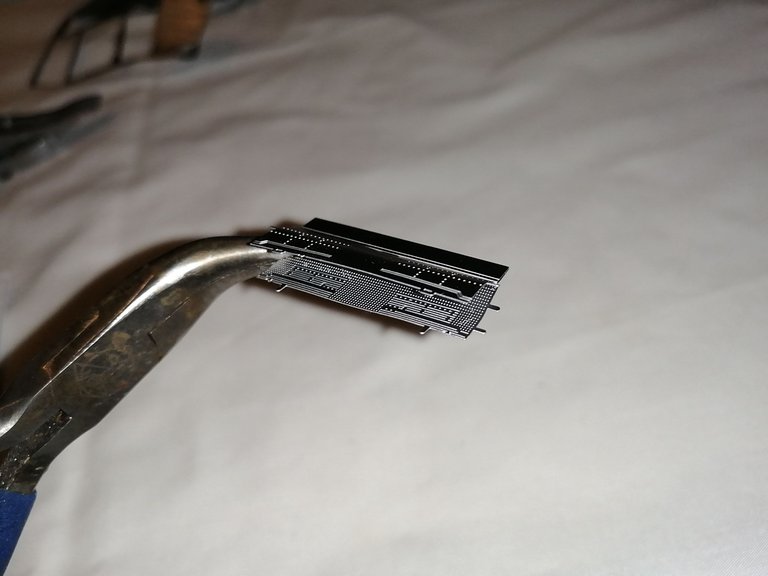
The Section to Complete.
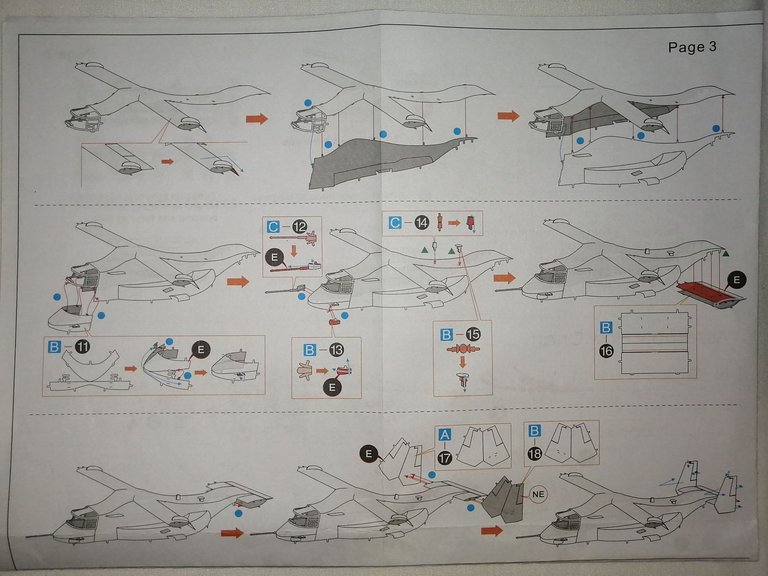
Joining the Sections
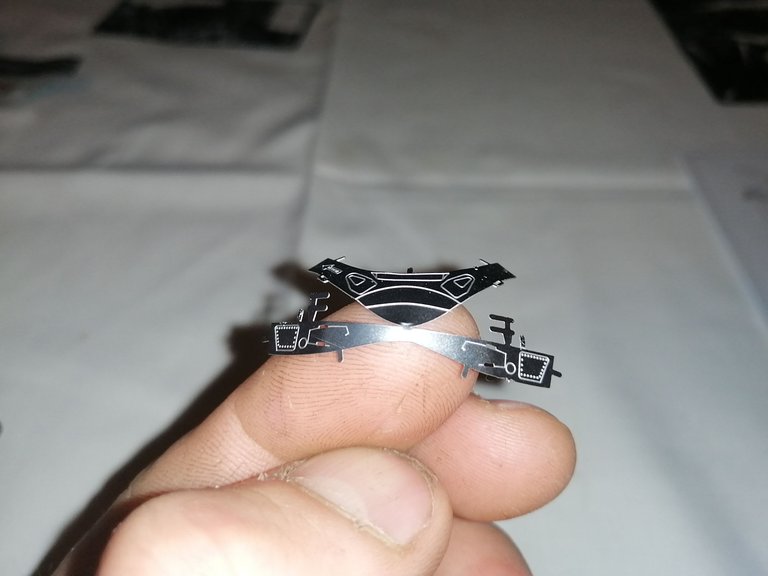
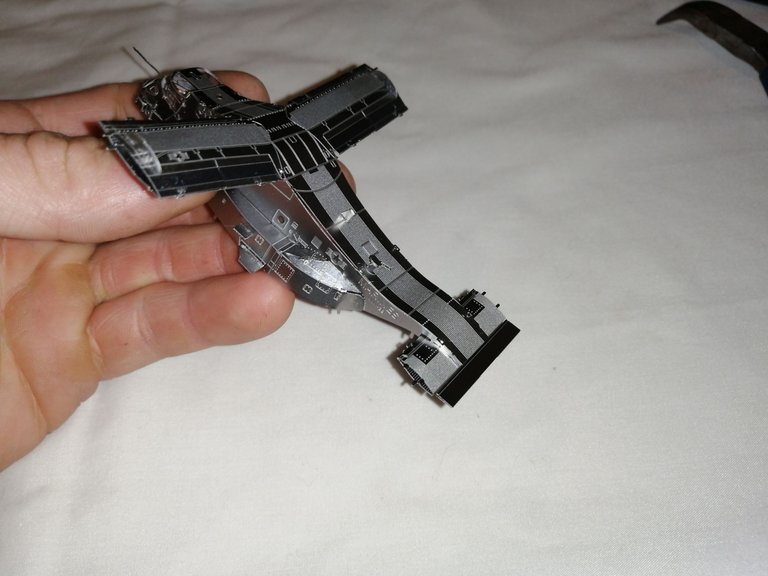
Last week I finished these two pieces. The sides of the plane/helicopter and the wings
I will now be joining them together as displayed in the top section of page three.
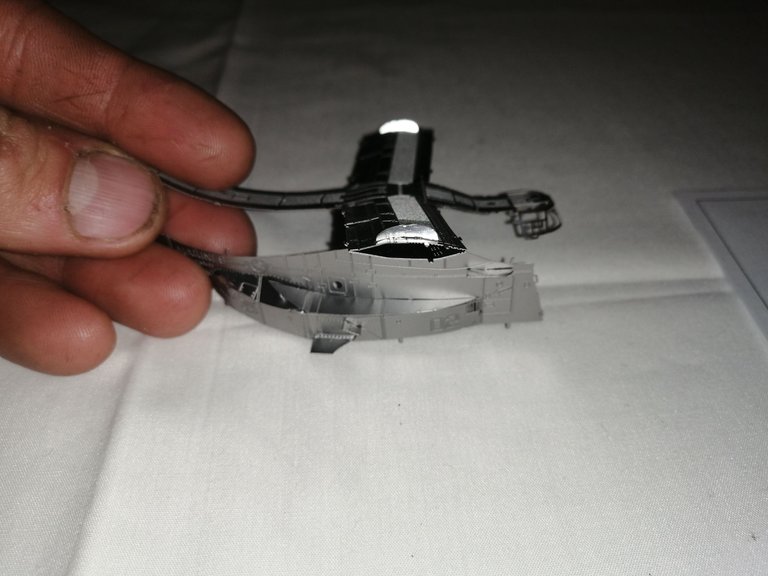
What I did here was I hooked in the front section of the sidewall that joins in with the cockpit and started working my way down the plane/helicopter to the tail side.
The whole side wall is joined in. It proved to be more of a struggle than I first thought it would be. However I did manage to get them all hooked in. It was the bending of the pins that proved problematic.
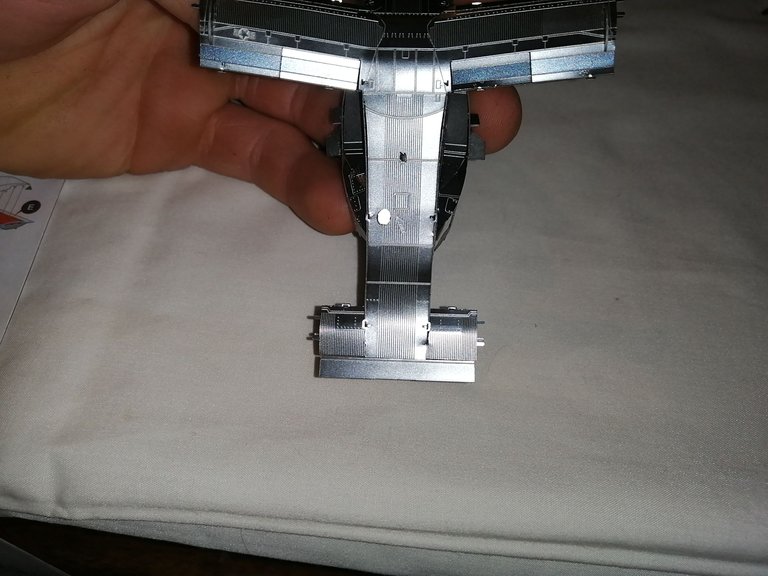
After joining the left sidewall to the top section the plane/helicopter started getting the intended shape. But this is where I really needed to be careful because pressing to hard on a spot can bend and twist the plane/helicopter and end up deforming it. And getting those bends out.. Well you just wont.

Assembling the Nose Section of the Plane
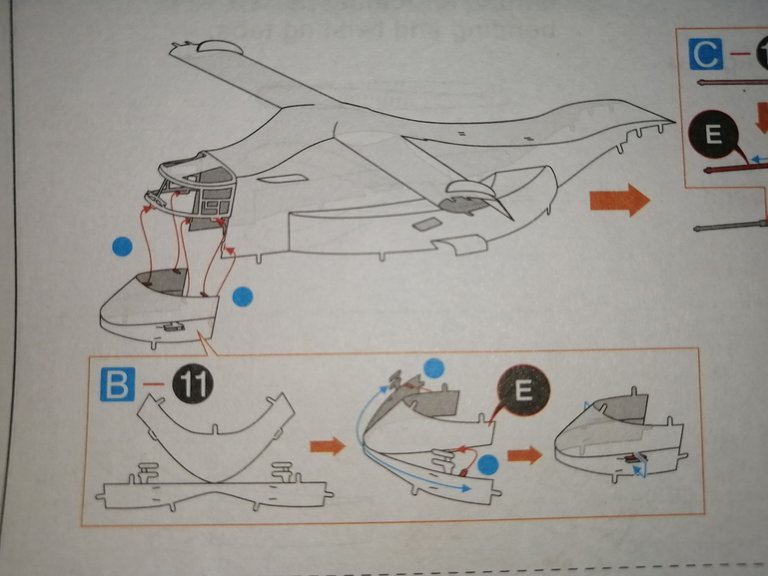
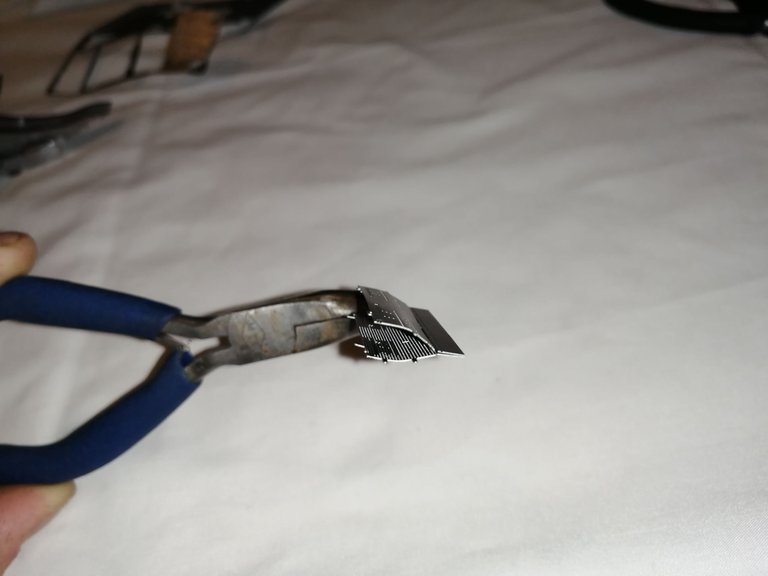
I had to carefully cut the (B-11) section out of the frame. Even just pressing the clippers against it lightly it started bending. I really don't know how I will be getting all the other smaller parts out without bending them too much.🤣 You will see I have a little deformed piece later on in the post.
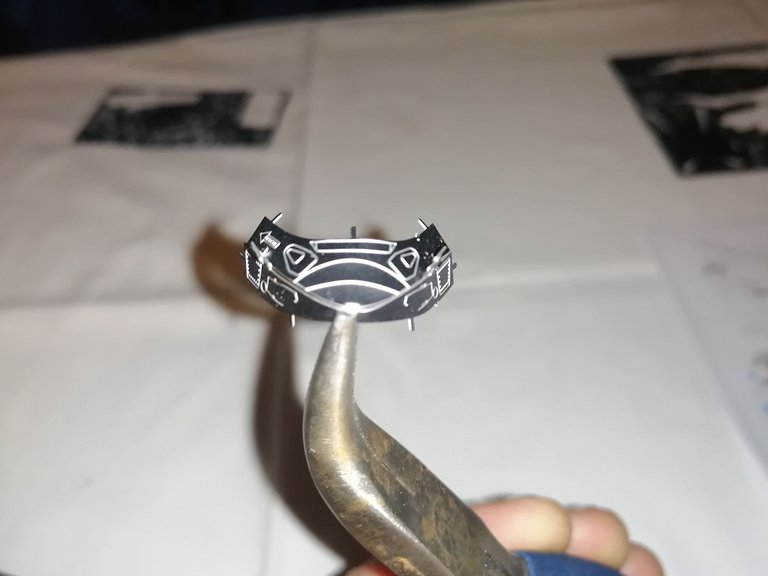
The Bend Proved Difficult
This was real hard to achieve and also took some time to do. Even after putting it together I still didn't have the correct angles for it. I was lucky enough to be able to hold it around my thumb giving one gentle squeeze which made it into the desired form 😂 I doubt I've ever had such luck with such small and fragile object usually I just end up breaking things. (Mechanics Hands)
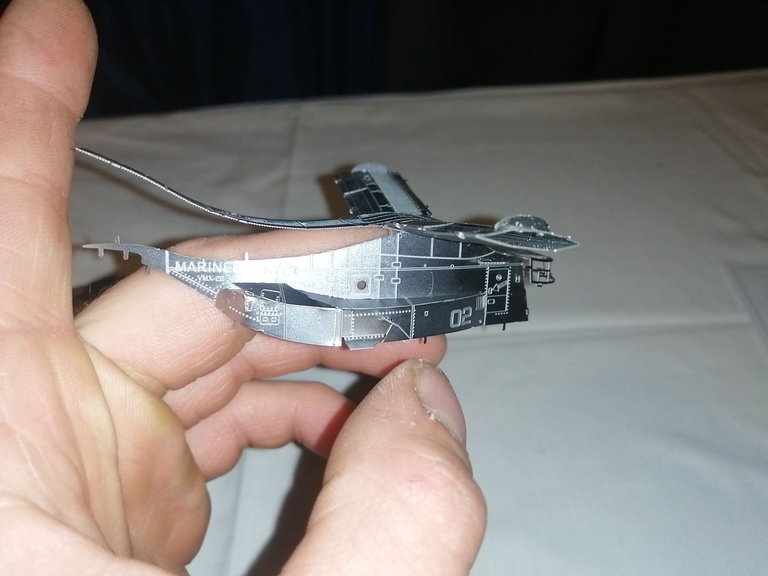
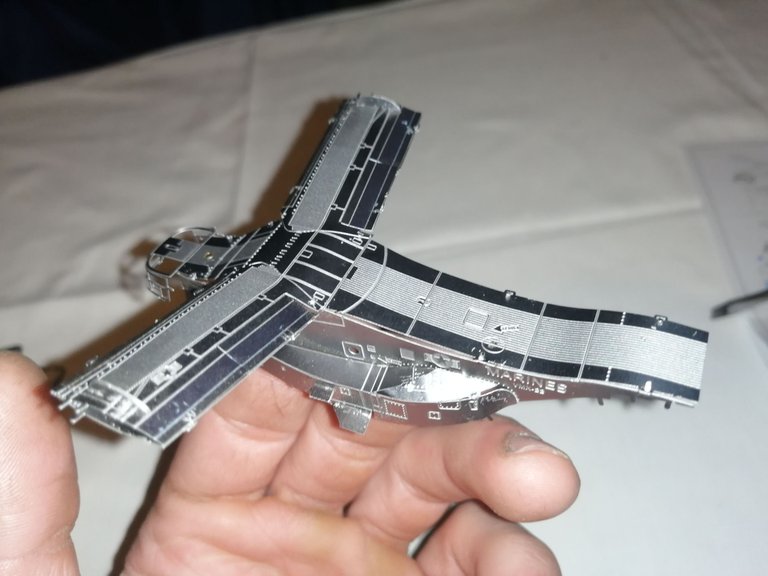
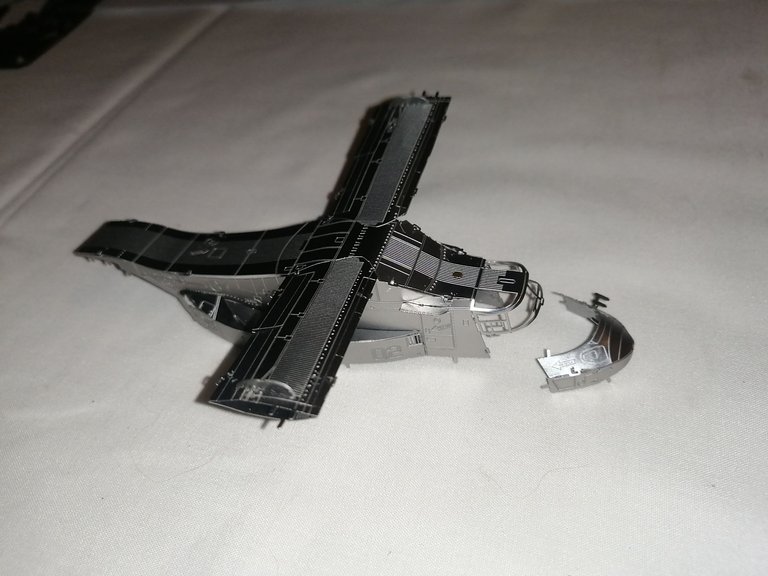
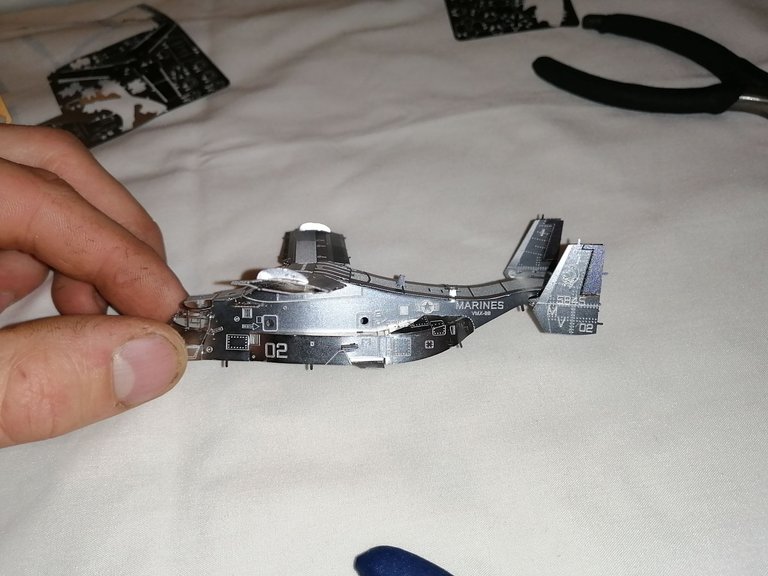
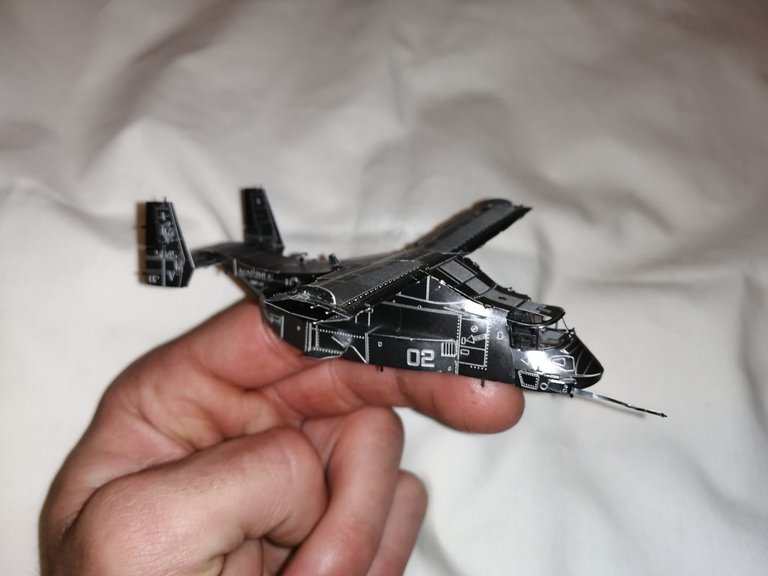
The Progress So Far
I feel excited to be able to see actual progress on this model, yes yes even though I ain't even halfway through this build. I think it's the fact that it's beginning to look like a war machine!
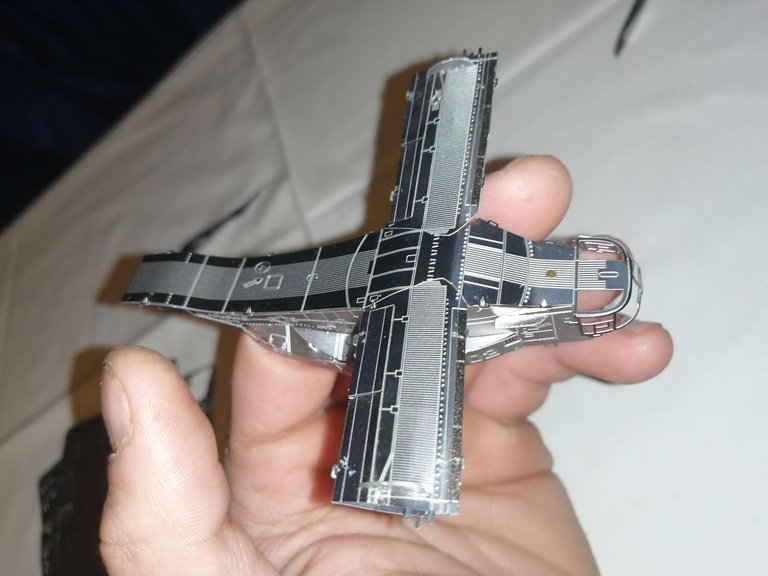
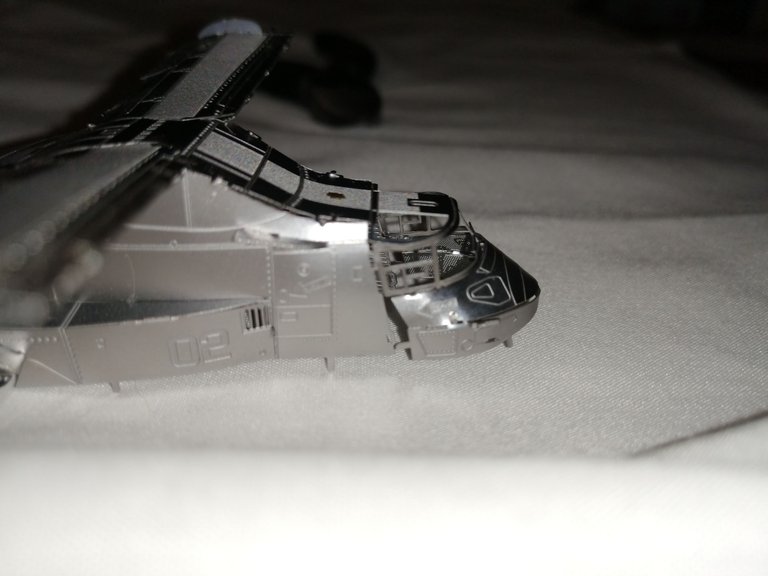
The Problematic Stage
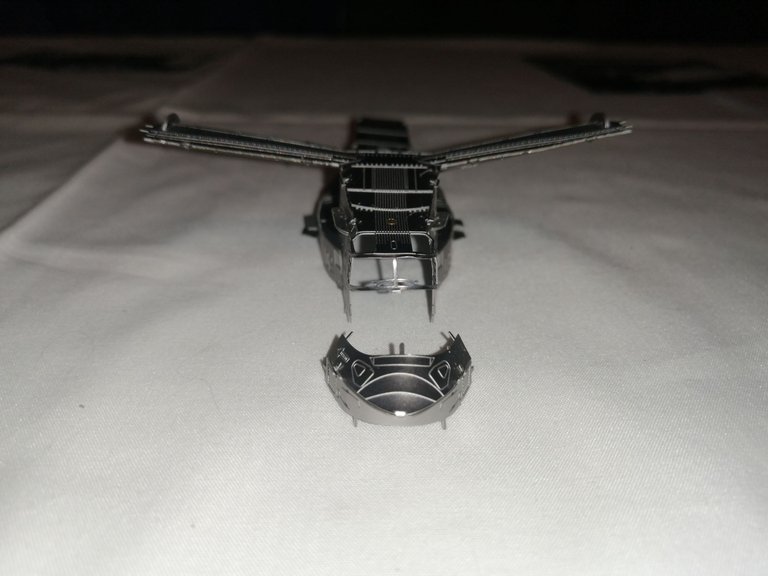
Although I am sitting with some problems now. The cockpit and the plane/helicopter doesn't really line up perfectly.
As you can see just behind the nose that it isn't really going to fit properly. Well that's what I meant earlier with you don't really know you buggered up until it's far too late.
Anyways I will come back to that problem later. Although I don't think I'll be able to sort it.
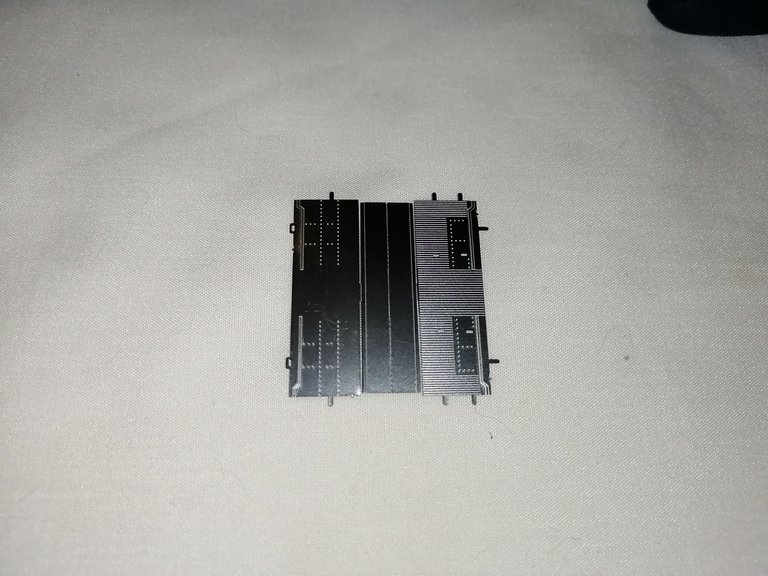
All of the Small Pieces
Okay now I will be cutting all of the small pieces out for this section and add them before I add the tail piece to the plane/helicopter. I will have to do some fine workings now and have the eyes of a hawk because dropping these little pieces might have me crawling on the ground for half an hour in search of them.
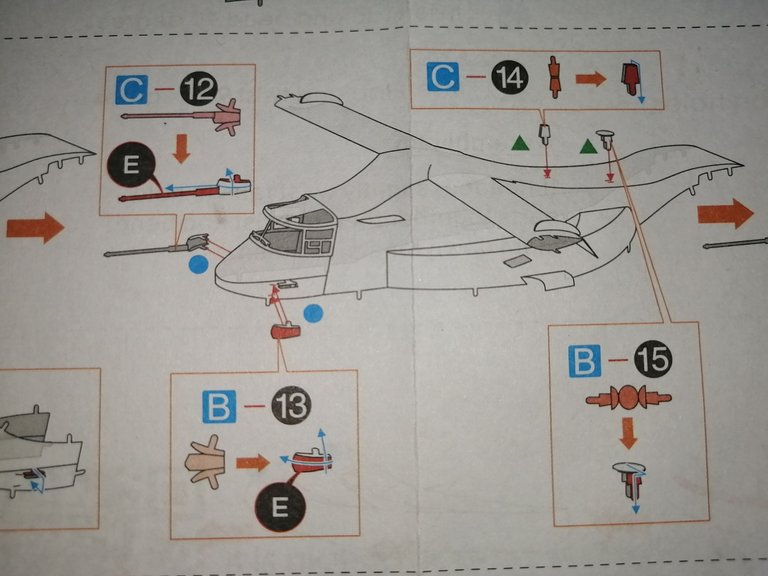
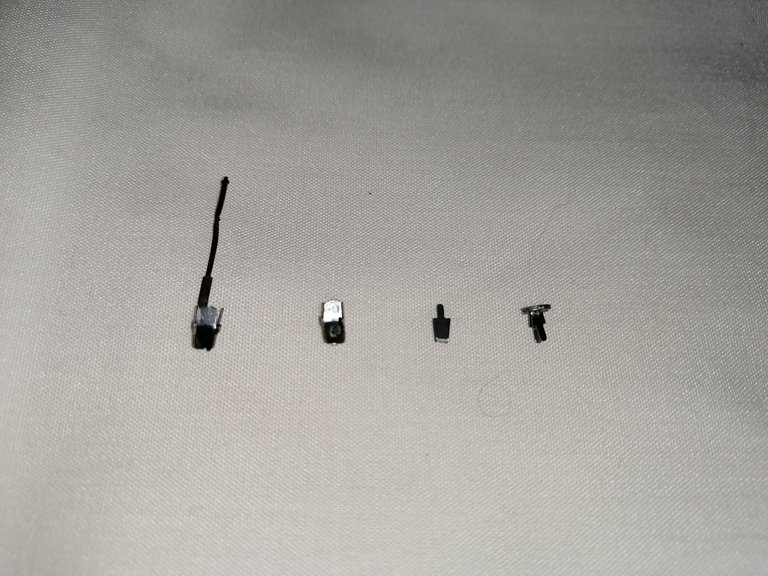
After cutting out sections (C-12), (B-13), (C-14) and (B-15) I carefully placed them in the middle of the table I am working on as to not lose them before I could even start working with them. As you can see I crippled the (C-12) part xD
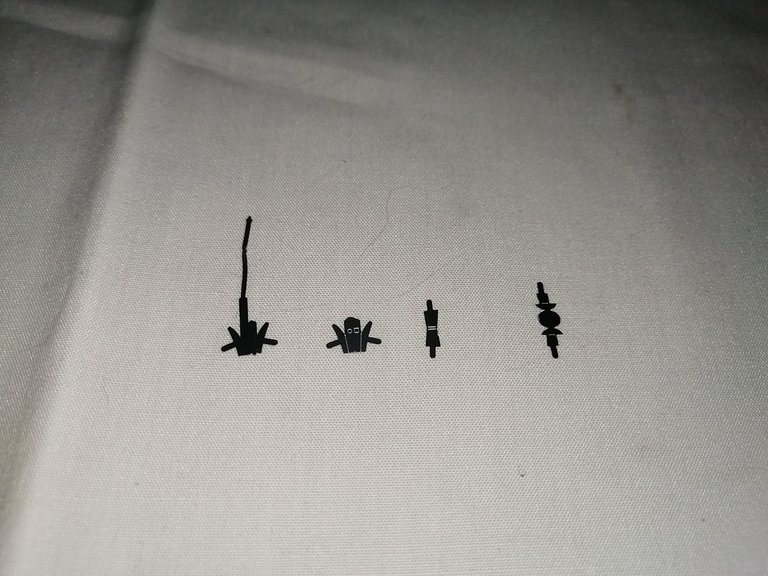
How they look when bent to fit in place.
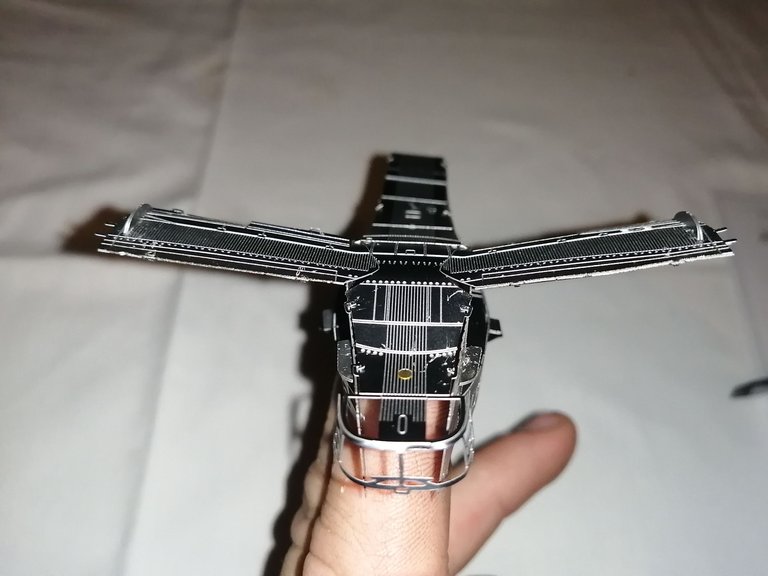
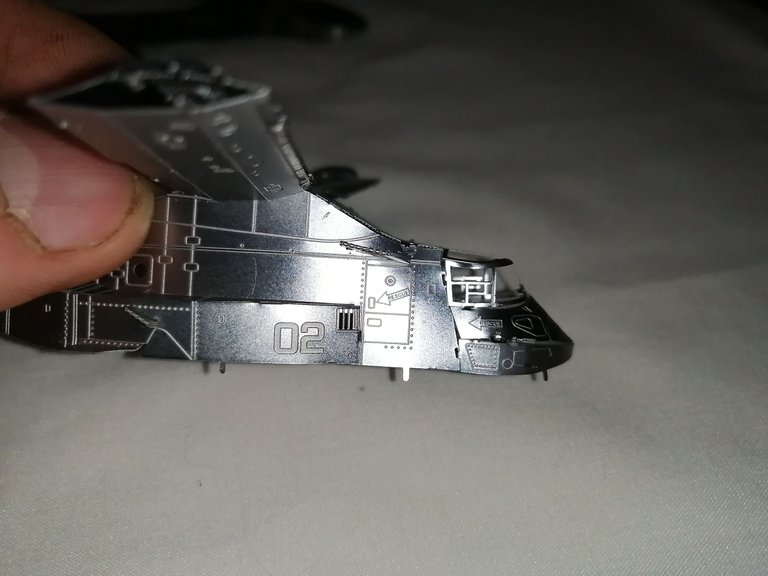
Adding the Cockpit
You can see in the first picture that I somewhat messed up a bit the cockpit has openings on the side. That's because I didn't bend the sidewalls correctly.
After a huge struggle to get them properly fitted without being loose. Well it doesn't look all perfect and it isn't all perfect but luckily this thing aint going to be on display.. yet... Maybe someday but hopefully then I would have improved on the future models.
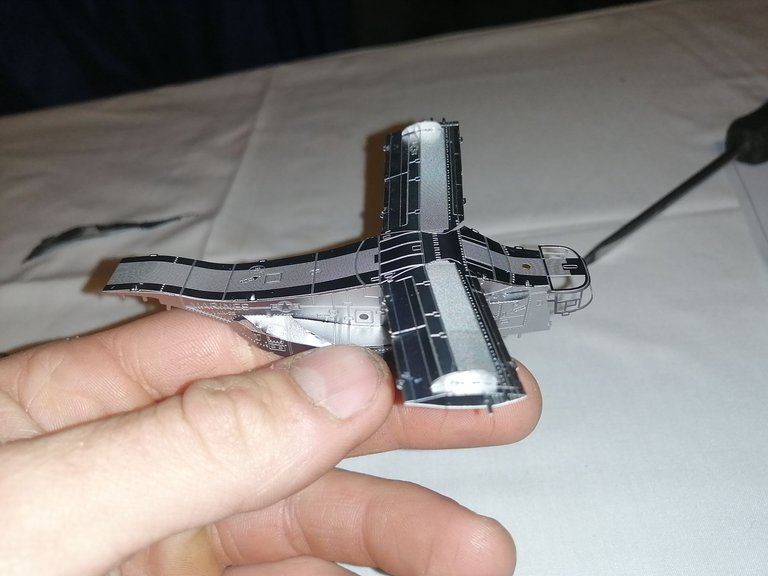
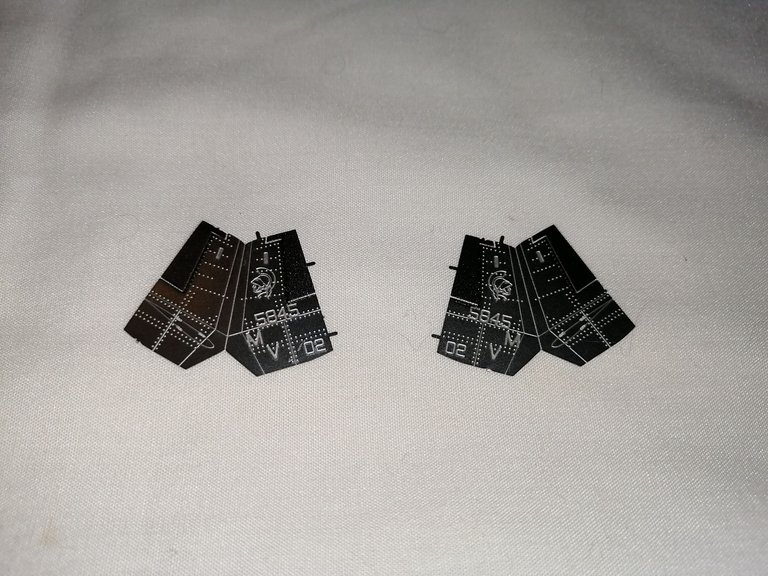
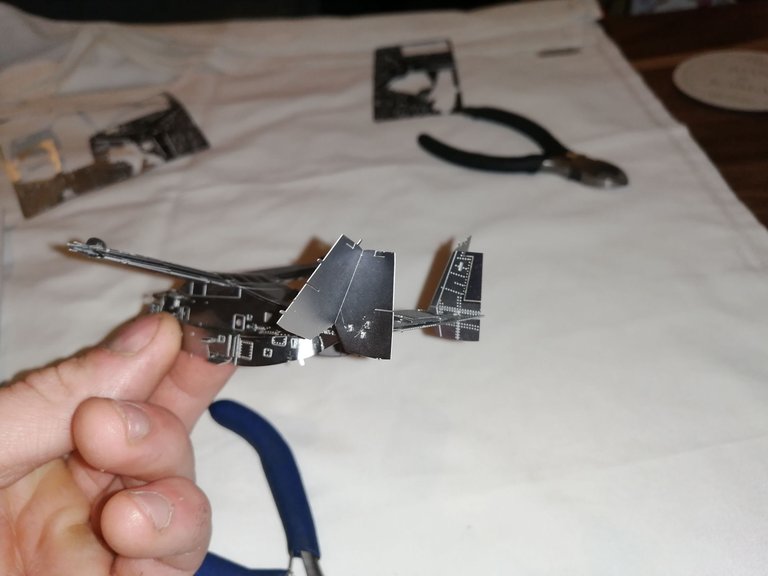
Assembling the Tail Piece
I finished up everything on the plane/helicopter and added all of those small pieces shown above. I can now cut out section (B-16) and start folding the main section of the tail together. Because it joins in at the top you really can't mess this up except for the angle bending and flipping it the wrong way around.
The tail piece or this part of the tail piece also needed some angle bending. I wish they could add something round that you can press it against to get the bend the same through out the whole piece, I guess I'll have to think of someway to do that properly. Perhaps take a goon or something of the sorts.
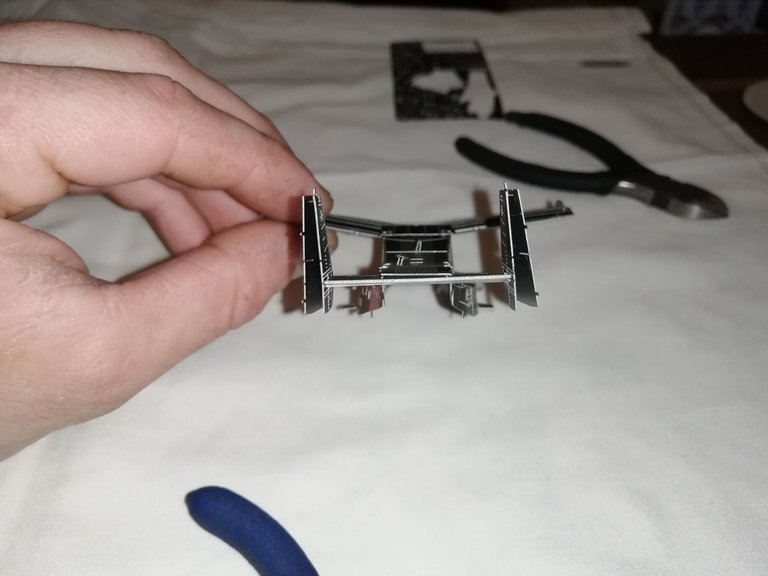
The First Piece of the Tail Mounted Into Place
Finishing up on the Tail Piece
Finally finishing up with the sections (A-17) and (B-18) that would be the last pieces to add on the tail, at least for this section of the build and also the post.
Before I bent them into place I first had to fit them into place so that I could twist the pins holding it all together.

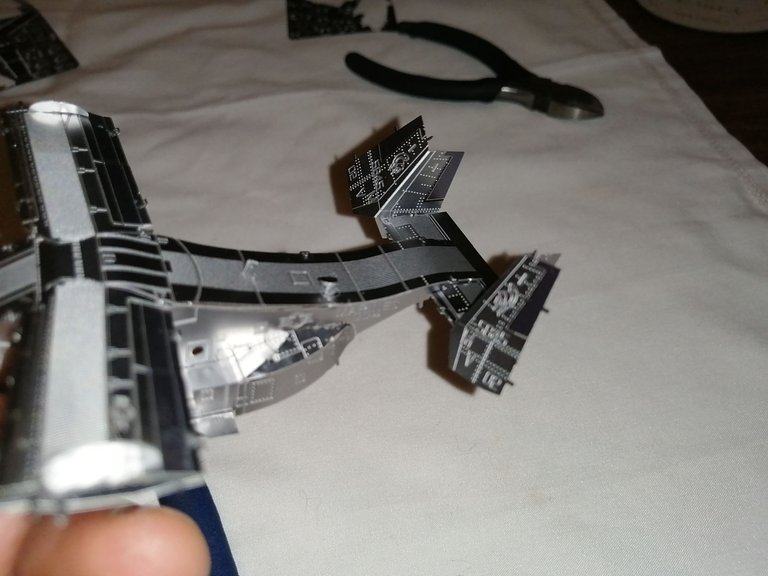
I decided no to fully close the gaps between them because they have clips that I do not yet know where to pin in, so for now they will remain partially open until I know what piece joins in with the tail and how it joins in.
I would say its safe to assume that I have had a learning curve during this build.


To everyone who made it this far into my post Thank you for the read and the support.
If you found this entertaining or educational please consider a re-blog and up-vote.
Most of all please leave a input in the comments below, whether is good or bad critic I would like to know, whether its your opinion or your way of doing things in a different manner I would like.


Connecting the people of #HIVE across South Africa. #hive
https://twitter.com/technicalside/status/1576681716483522562
The rewards earned on this comment will go directly to the people( @technicalside ) sharing the post on Twitter as long as they are registered with @poshtoken. Sign up at https://hiveposh.com.
Hello friend, nice post, I think it is a difficult task to assemble that plane, it looks that you like the mechanics, congratulations, greetings🙋🙋
Its... Tricky... To say the least.... But a lot of fun none the less xD 😎...
Thanks bud.. Have a good one 😎😎
Yay! 🤗
Your content has been boosted with Ecency Points, by @misshugo.
Use Ecency daily to boost your growth on platform!
Support Ecency
Vote for new Proposal
Delegate HP and earn more