Partly Assembling A Toyota Hilux Gearbox
Hi there people of the @HIVE network!
I recently started building gearboxes! I don't have a lot of knowledge around them... Well I have enough to understand how they work, luckily for me I have a great mentor and teacher! Stick with me as I progress on my life's journey while learning something new everyday! I have to admit even though I'm a "petrolhead" I am honestly glad I didn't fall into the mainstream mechanic jobs, not that their is a problem with it, I'm happy that I can learn something not a lot of people have the guts to go into! YES gearboxes! That thing that makes the wheels go round and round!
Its exciting! intriguing! and scary as hell sometimes! A lot of small parts, washers, spacers, ball bearings that have to go in the correct places! Its like a very complicated puzzle piece! Sometimes very easy and sometimes very brain twisting to figure some things out!
Today I will partly assemble a manual Toyota Hilux gearbox! We also specialize in automatic gearboxes! It might be hard to believe but I am more relaxed with the automatic gearboxes then I am with the Manuals. I only recently started stripping and building manual gearboxes!
Without further ado let me show you how these things look inside!
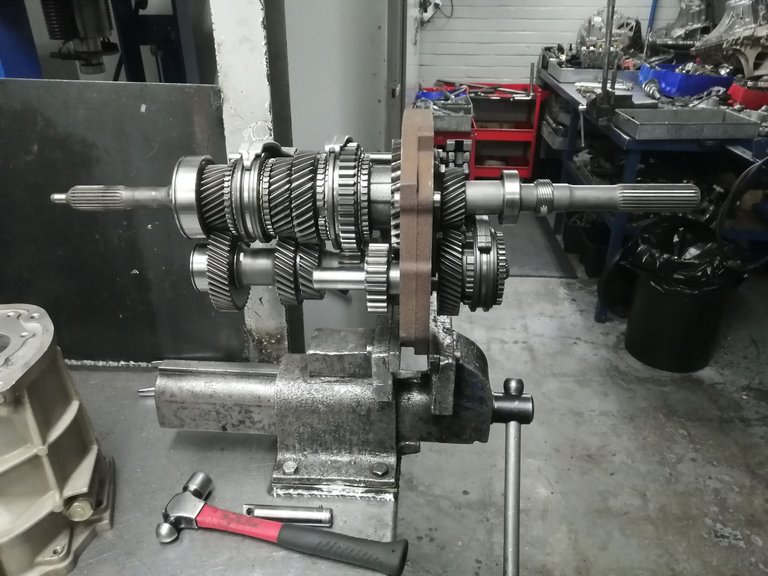
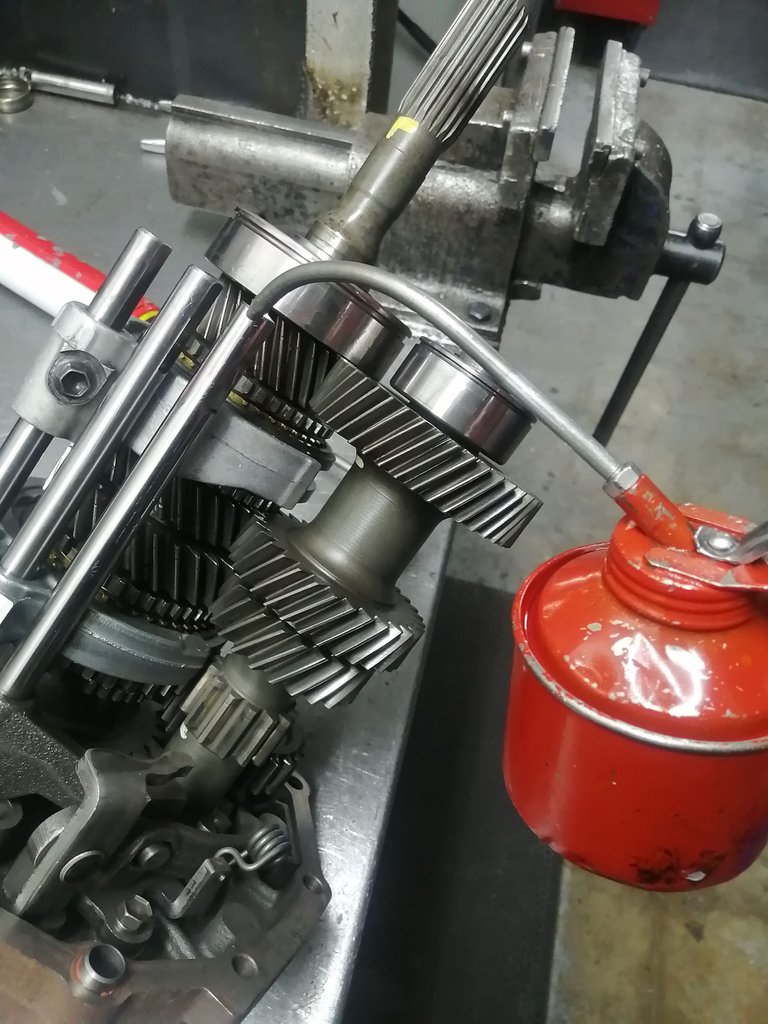
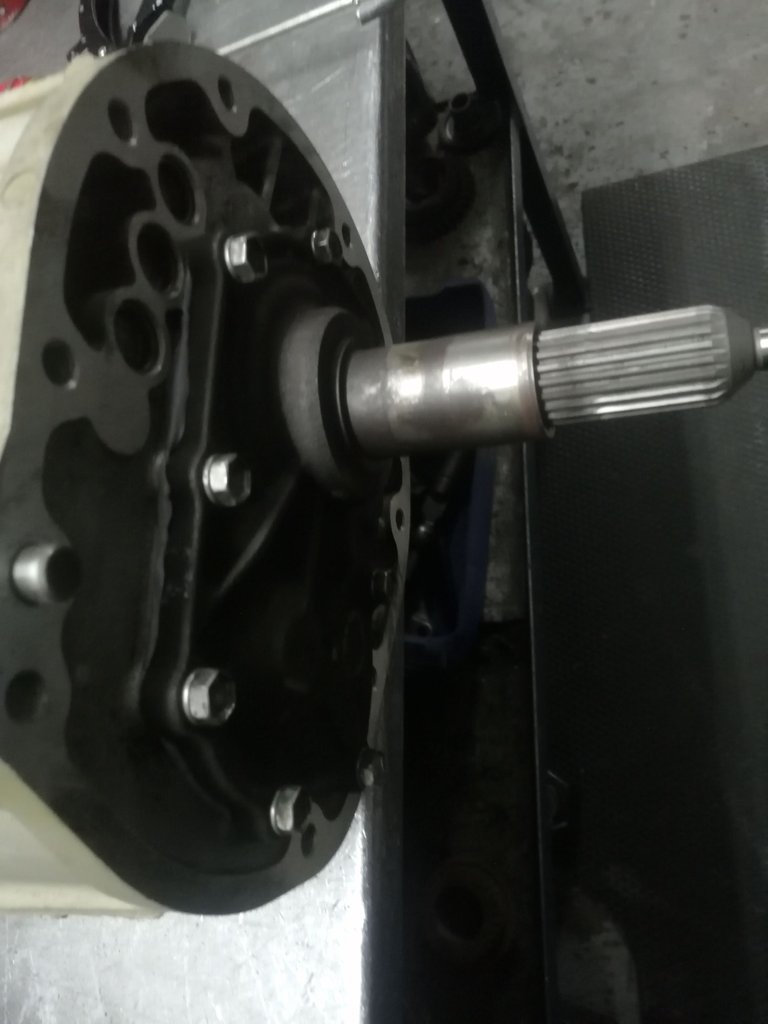
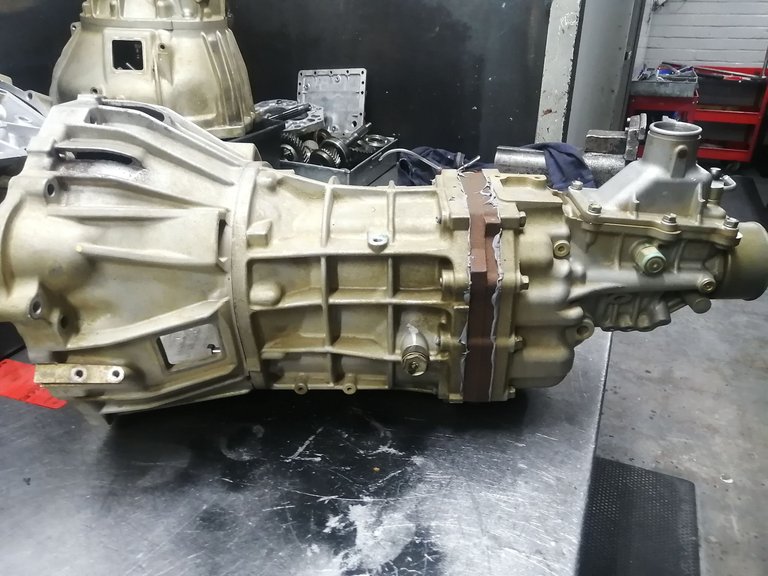
You can see how the gearbox looks like without its casings. This is a W58 gearbox if I'm not mistaken! And I might be mistaken 🤣

(Picture above)
From left to right its 4th gear, 3rd gear, 2nd gear, reverse gear, 1st gear and then behind the middle plate is the 5th gear or overdrive gear.
The input shaft is on the left side which connects to the clutch and the motor and on the far right is the output shaft which connects to the vehicles propeller shaft.
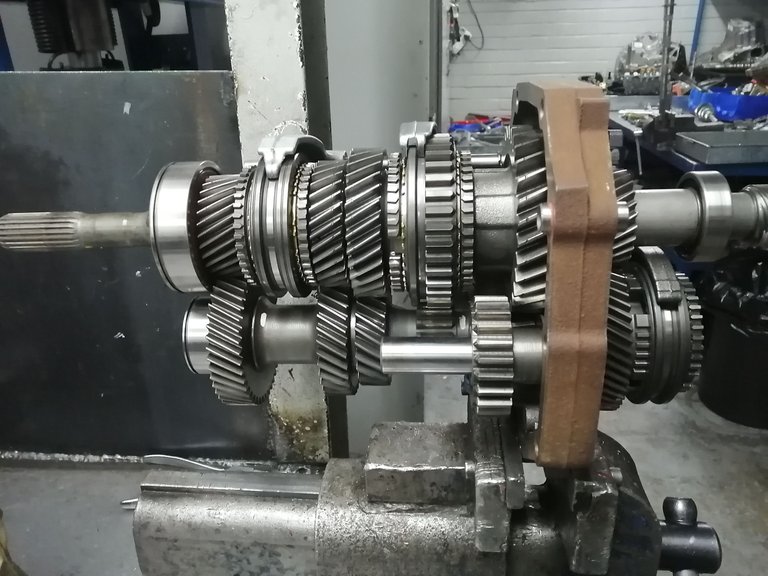
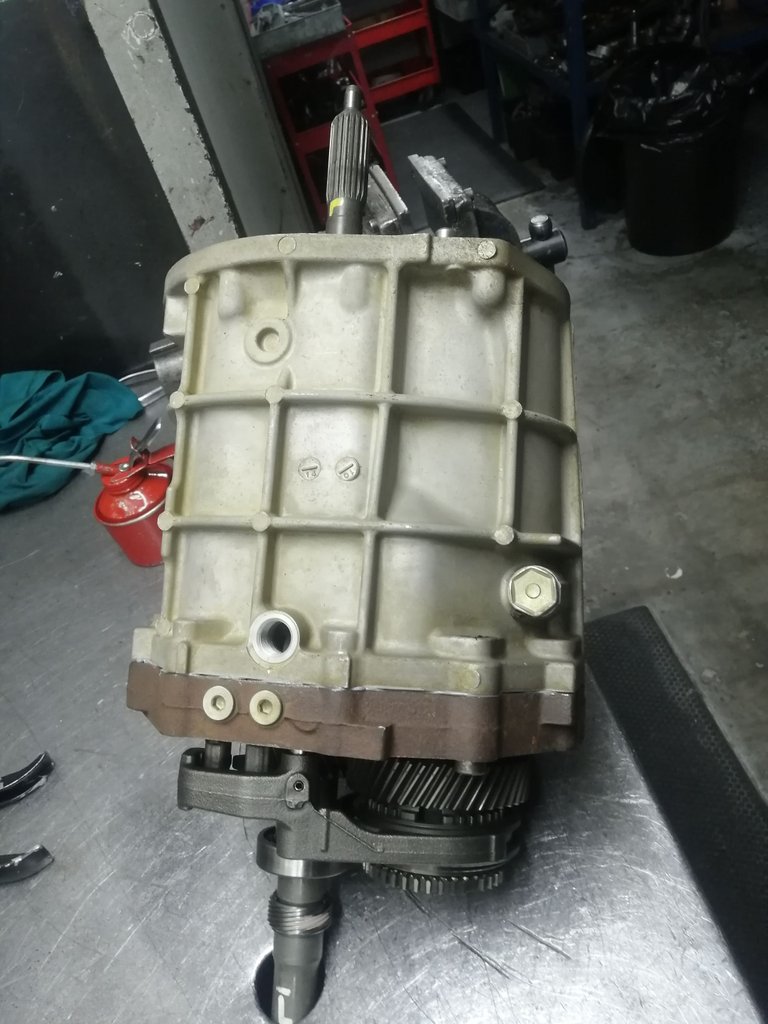
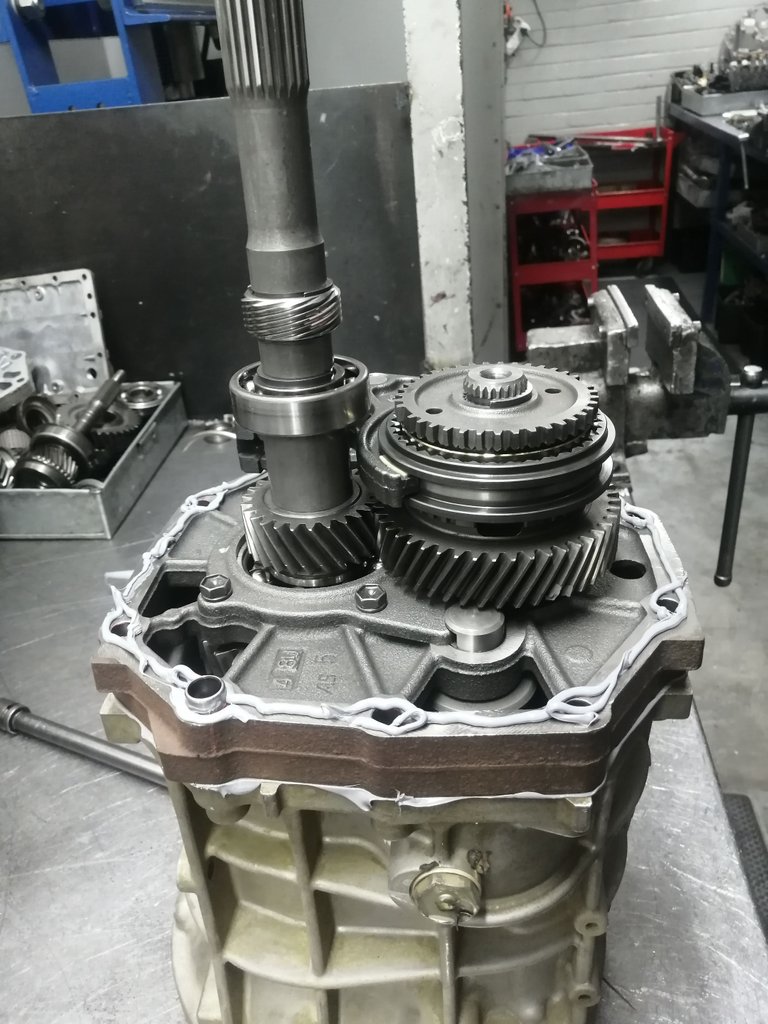
(Picture above)
You can roughly see what still needs bolting and placing, its really almost done. Less than 15 minutes of work left, unless you bugger up🙃 never mind the rest of the casing in the background. We have a lot of work to run through these next few weeks.
(Picture above)
Placing the gearbox as shown in the picture above makes it easier to push the casings over the shafts, when assembling a gearbox always lay it down on the side that does not have the selector shafts on otherwise you might select a gear without knowing and it might turn into a big struggle to get the casings mounted properly.
(Picture above)
Before pushing the casing over make sure every shafts or piece of metal, such as the bearings that need to fit into the casing are lubricated properly, it just makes the job a bit easier for it to pop into place.
(Picture above)
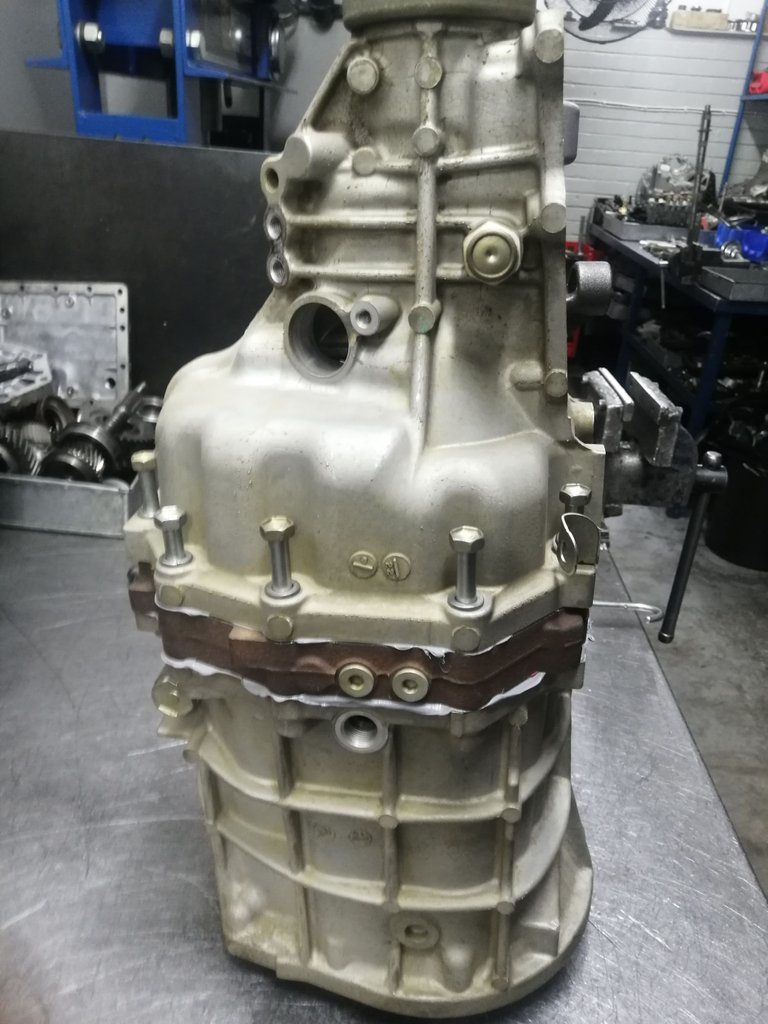
Casing mounted over the shafts, went easier then I thought to be honest, seeing that I struggled a lot with my first one that I did. I suppose practice makes perfect!
P.S Don't forget so put on sealer as it can easily slip from your mind, Redoing everything after the gearbox was fitted is not fun at all!
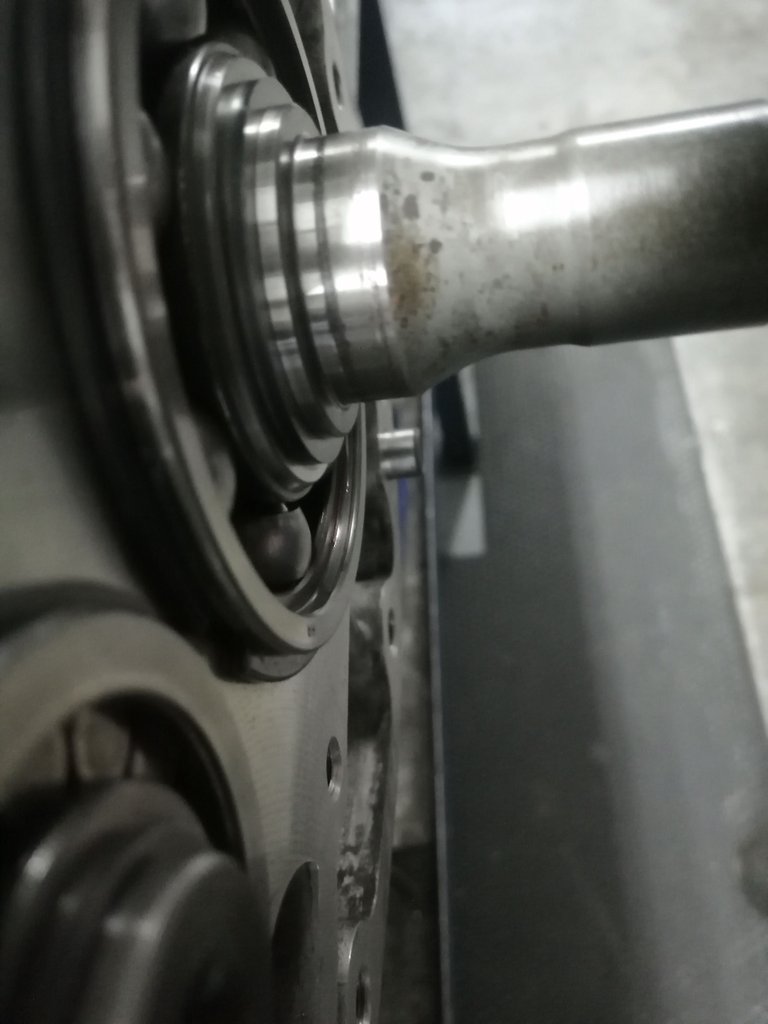
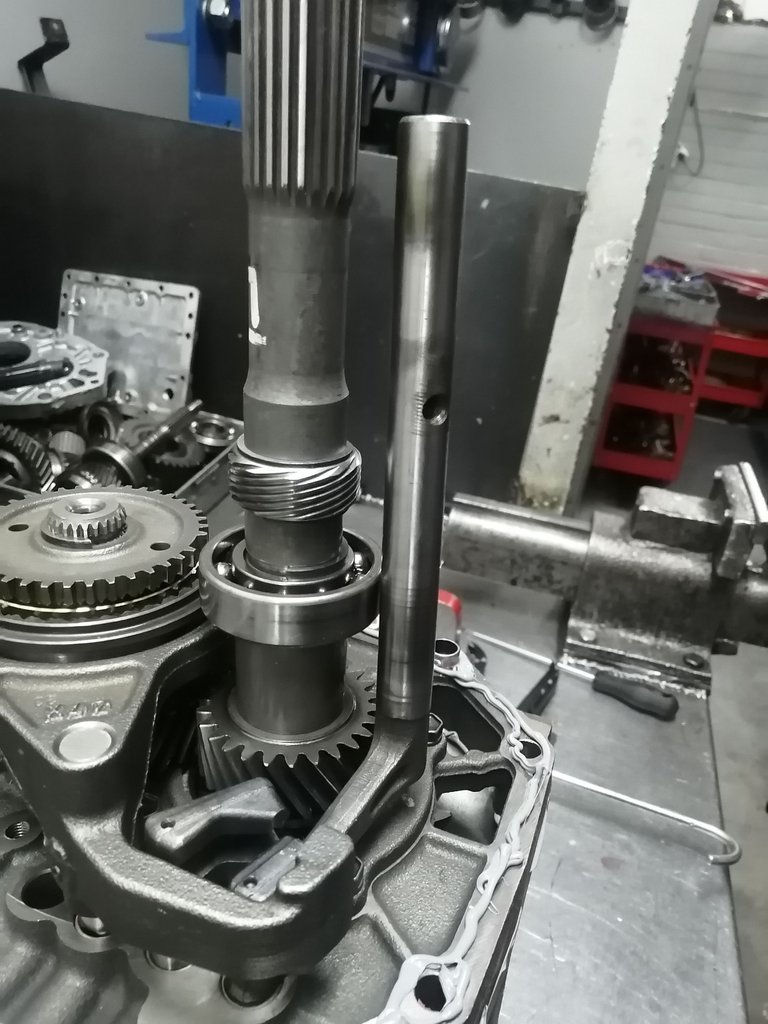
(Picture above)
Notice the little score mark on the input shaft, that is where to input seal runs, make sure to clean it up with some fine grit paper otherwise it might leak prematurely, using a grit that is too rough might make the shaft a little bit smaller and therefor also causing leaks. Always ALWAYS use a fine grit.
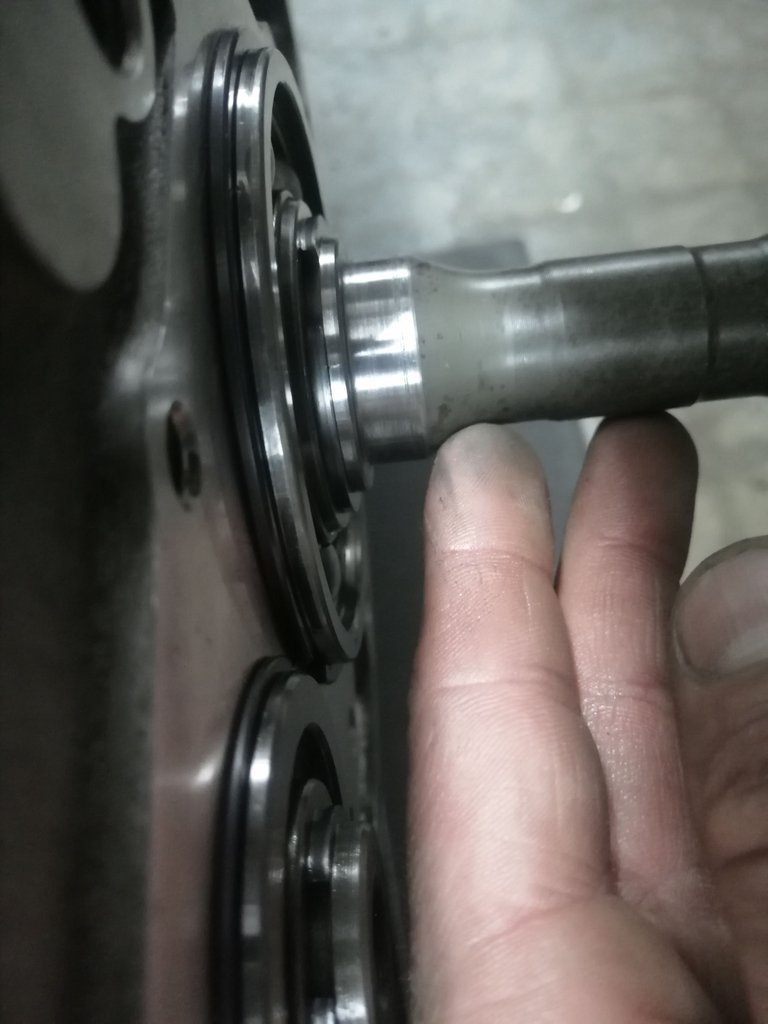
(Picture above)
Nice and clean! Ready for the front cover on which the release bearing runs.
(Picture above)
Front cover mounted and bolted, once again don't forget your sealer or gasket if supplied with one! If using the gasket remember to add the bearing chimm.
(Picture above)
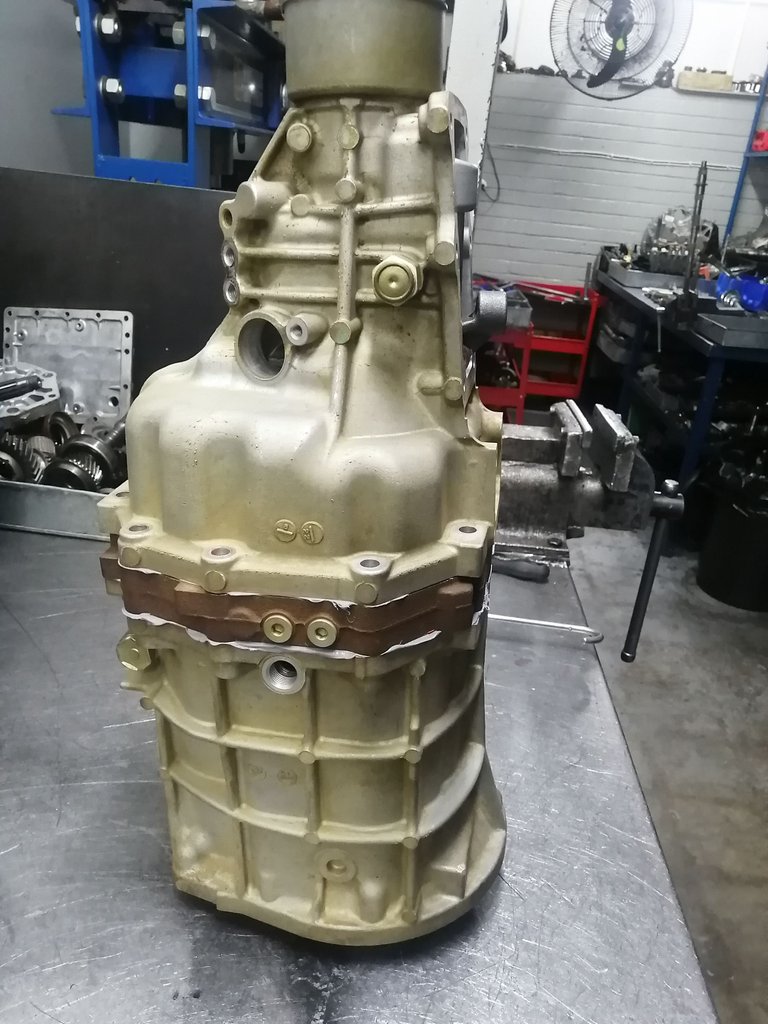
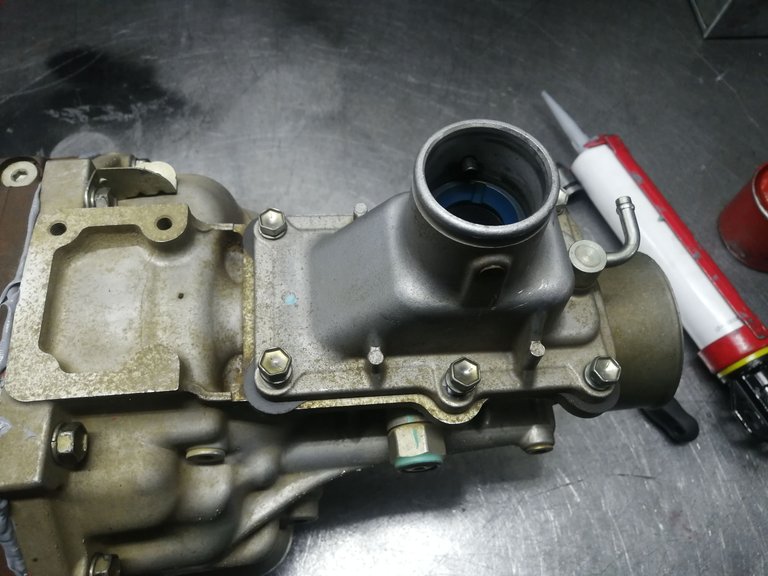
Once you have the front cover mounted flip the gearbox upside down, apply your silicone sealant before adding your tail section casing.
(Picture above)
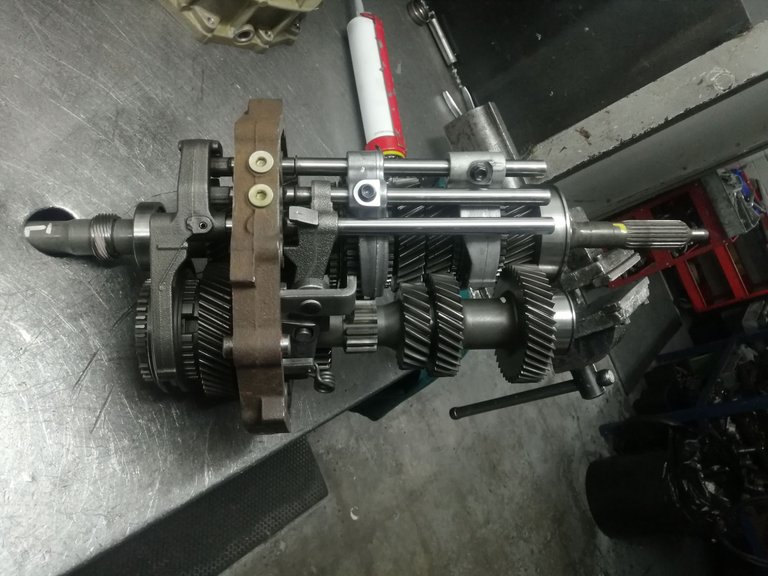
Before mounting the tail casing select 3rd gear and insert your selector shaft, the reason for selecting 3rd gear is so that the shaft can stand upright by itself making it easier for you to push over the casing and not having to hold the selector shaft as well.
(Picture above)
Once casing is mounted over gently push it down squeezing you sealant into every notch.
(Picture above)
Bolt casing into place and torque properly, try not to get silicone sealant all over your overalls as it smears very easily and when it dries you don't get it out of clothing.
(Picture above)
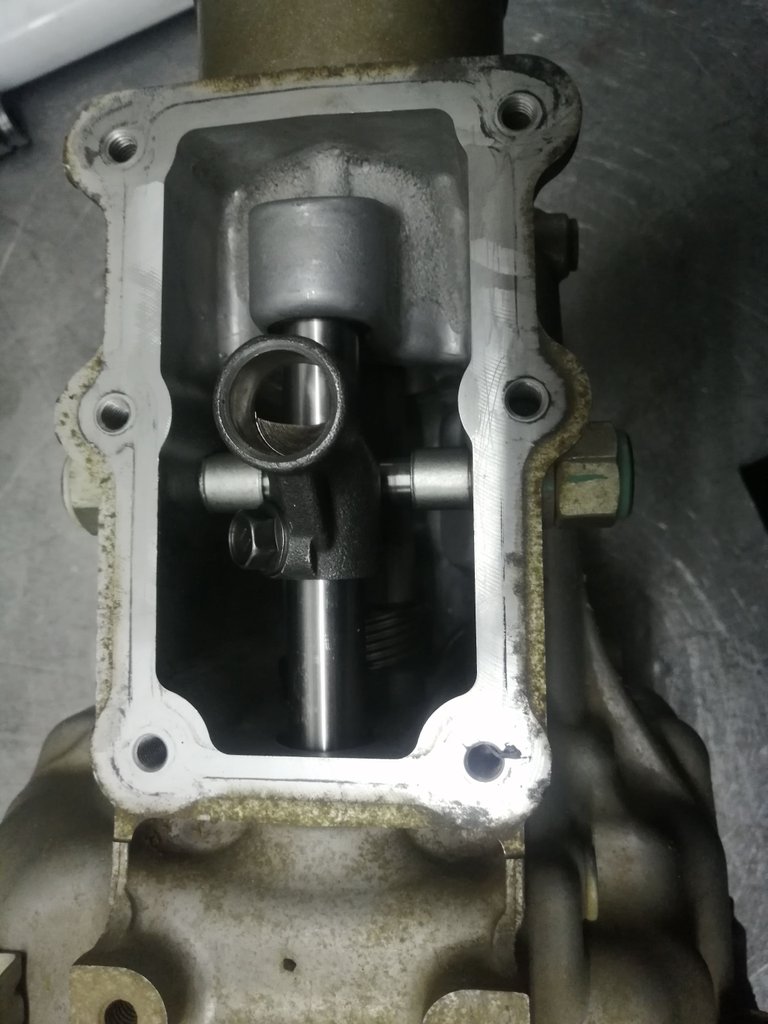
Place gear lever housing gasket in correct position, if you lost the gasket, using sealant is fine as it only needs to be sealed and not spaced.
(Picture above)
Bolt down the gear lever housing into place, try not to over torque those bolts as they might break, they are not as strong as the casing bolts.
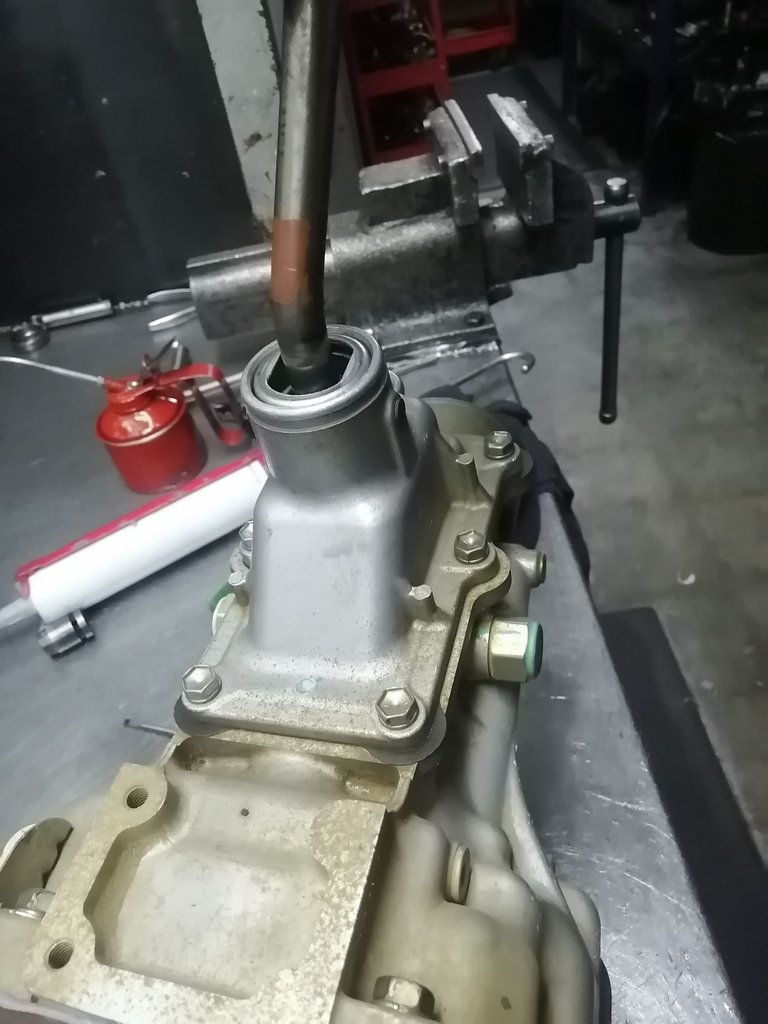
(Picture above)
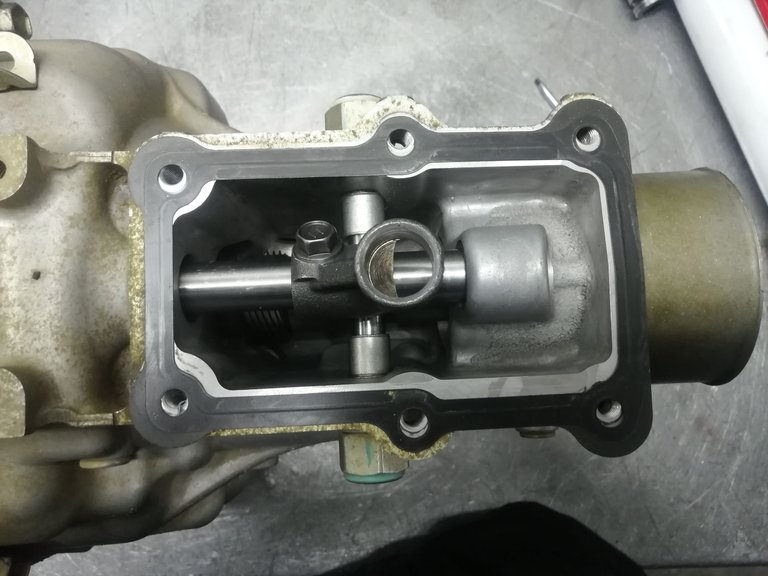
Insert your gear lever into place and make sure you can select every gear before installing gearbox, sometimes a syncro-ring goes sideways and bites down on a clutch body, don't fear, select a gear and try turning the input shaft, if it does not move, repeat with another gear until it releases.
(Picture above)
Gearbox is now ready for installation.
(Picture above)
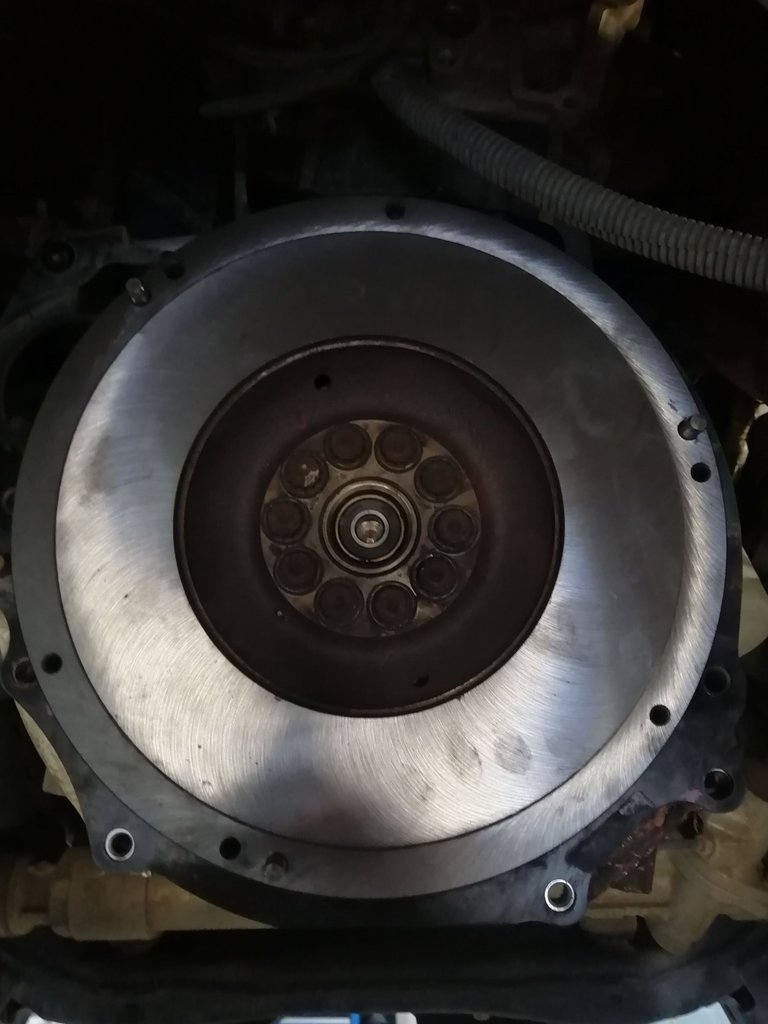
It is highly recommended to do a fly-wheel skimming and clutch overall when repairing gearbox problems!
(Picture above)
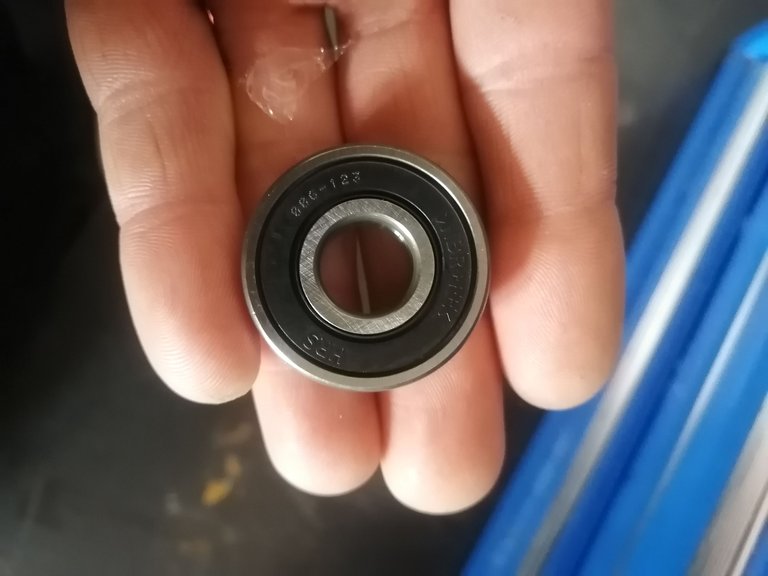
Also remember to replace the pilot bearing as well, its an very inexpensive preventive measure, because when it fails it really is a lot of work removing the whole gearbox for such a small little bearing.
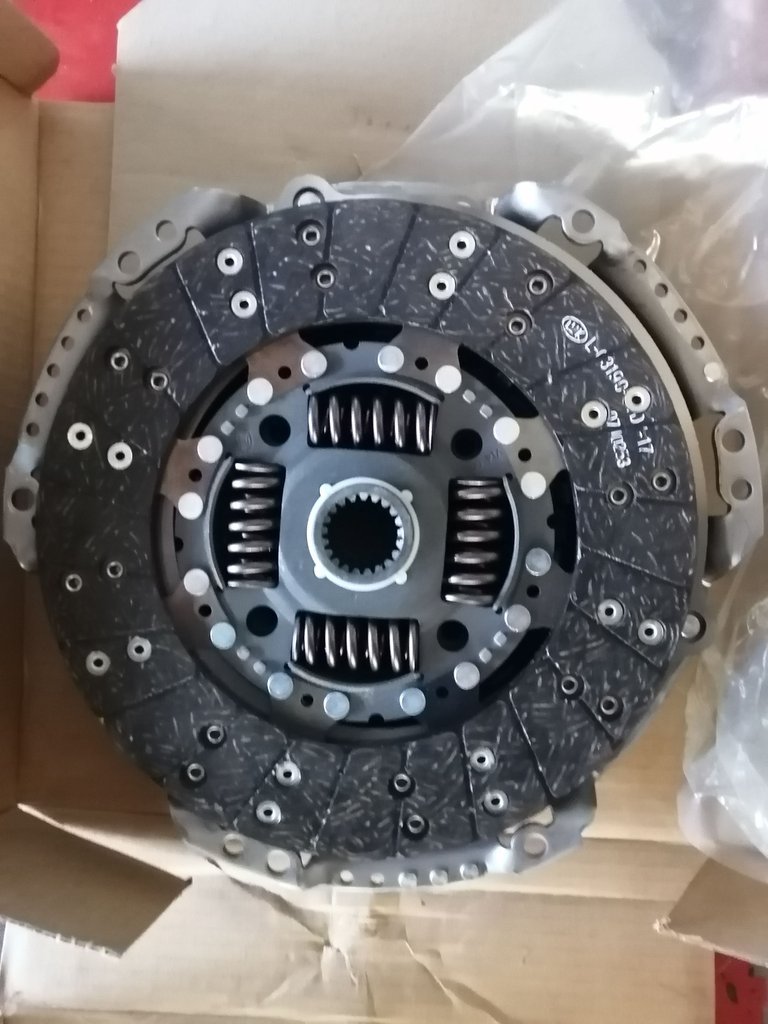
(Picture above)
Brand new clutch.
(Picture above)
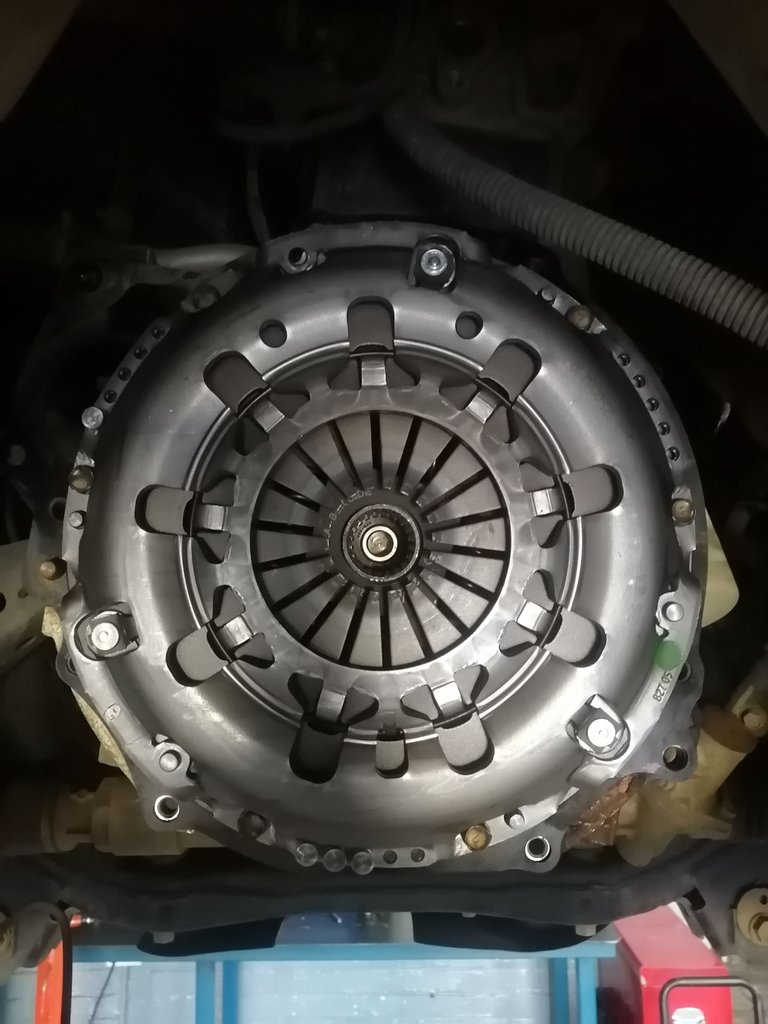
Mount your clutch properly, make sure not to drop any of the clutch parts otherwise you might end up with a clutch shudder. Make sure clutch is aligned properly otherwise gearbox will not go into place properly.
(Picture above)
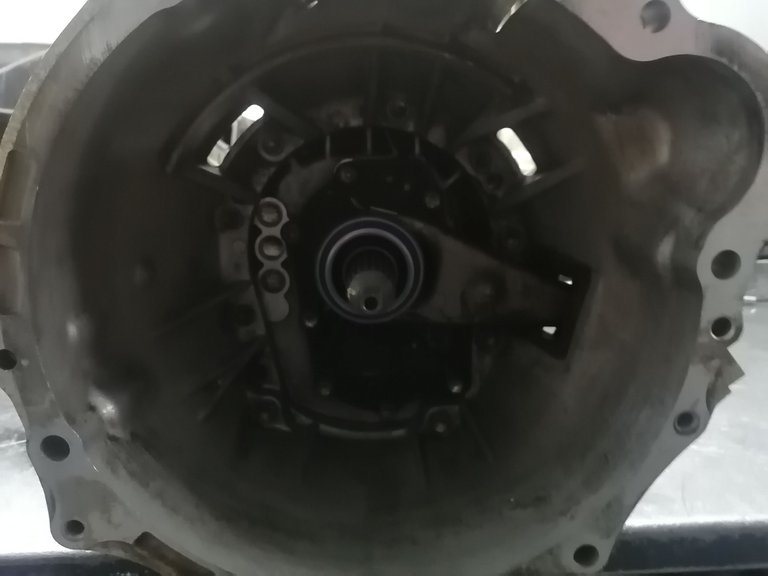
LAST BUT NOT LEAST!
Don't forget to insert your clutch fork and releasing bearing, otherwise you wont be driving very far.
(Picture above)
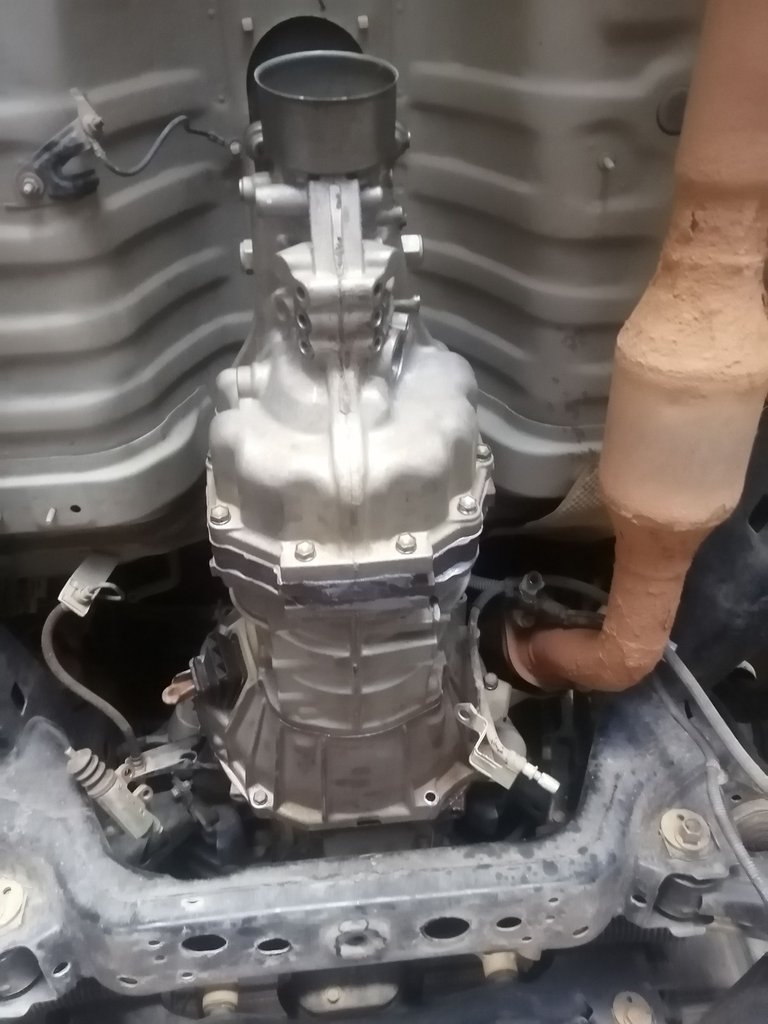
Gearbox mounted snugly in place! You are almost done with the job!
Don't forget to add oil peeps.


Connecting the people of #HIVE across South Africa. #hive
Yay! 🤗
Your content has been boosted with Ecency Points, by @technicalside.
Use Ecency daily to boost your growth on platform!
Support Ecency
Vote for new Proposal
Delegate HP and earn more