Gardening with The Anarchist's: After Hours - Week 3!
What's happening my fellow cannabis lovers and enthusiasts!? Welcome back to another edition of:
Gardening with The Anarchist's: After Hours!
Being first time growers, everything is new to us, and everything is a learning experience! This week, we've had to deal with some possible ventilation issues, as well as some negative side effects from those possible issues! But still, even though this is our first time growing, I think our little beauties are looking better and better every day!
After a very short, but relaxing, weekend, and a rough start to the work week, we're back with the Week 3 update on our first ever grow here at "The Anarchist's Alcove"!
As I mentioned in the last edition of "After Hours", I'd like to start with a few highlights from last week, and what I've learned so far!

Week 2 Highlights
At the beginning of the week, I attempted to cure the long legs on my seedlings by adding a little bit of homemade substrate to the plant pots. I used a little bit of cypress mulch I found at the house, and mixed it with some soil from our garden and then added a couple pinches of organic fertilizer to the mixture.
I noticed a little bit of burning at the tips of the leaves, which I was afraid could have been due to the fertilizers I used. After monitoring them throughout the rest of the week, I've personally come to believe that the burning was in fact due to having the opening of our homemade milk jug planters facing the wrong direction one fateful day.
While I did try to keep the substrate in the planters moist, I did have to keep them inside the shed for 2 days while we experienced some intermittent storms that were rolling through. If they had been a little older I would have left them to soak up the water, but since they were still young, I was afraid they would drown due to a lack of drainage.
I did place them out when I could, but sadly this was only for a few hours at a time, and I hope it doesn't mess up the light cycle they require to grow to their full potential.
After the storms had finally passed, I was able to put them back outside to bask in the sunlight they desperately needed. And, as an added plus, the burns didn't appear to be getting any worse, so I remain firm in my assumption that they were not caused by the fertilizers!
Early Learning Experiences
This is our first grow, so everything we are doing is an experiment to see what works, and what doesn't. With that being said, I think the milk jug planters are actually working really well for what I wanted them to do, which was only to house the seedlings until they got old enough to transplant.
I do think I should have figured out a better system for drainage, like mixing some sand in with the soil, or maybe just placing some rocks in the bottom of the planters. Either way we decide, that is definitely something we will be experimenting with in our future grows!
Other than finding a good drainage system, I think I need to work on the ventilation of the planters as well. Originally, my idea was to leave the handles on the milk jugs for easier transportation around the yard if I needed to.
After week 2, I was really debating on whether or not I needed to keep the handles or not. And I know I need more air flow to the soil, because it stays pretty moist, which I also know can lead to problems in the future. But, as you all know, I will be keeping you updated through my process!
Alright, you guys know what time it is!
The Week 3 Update!
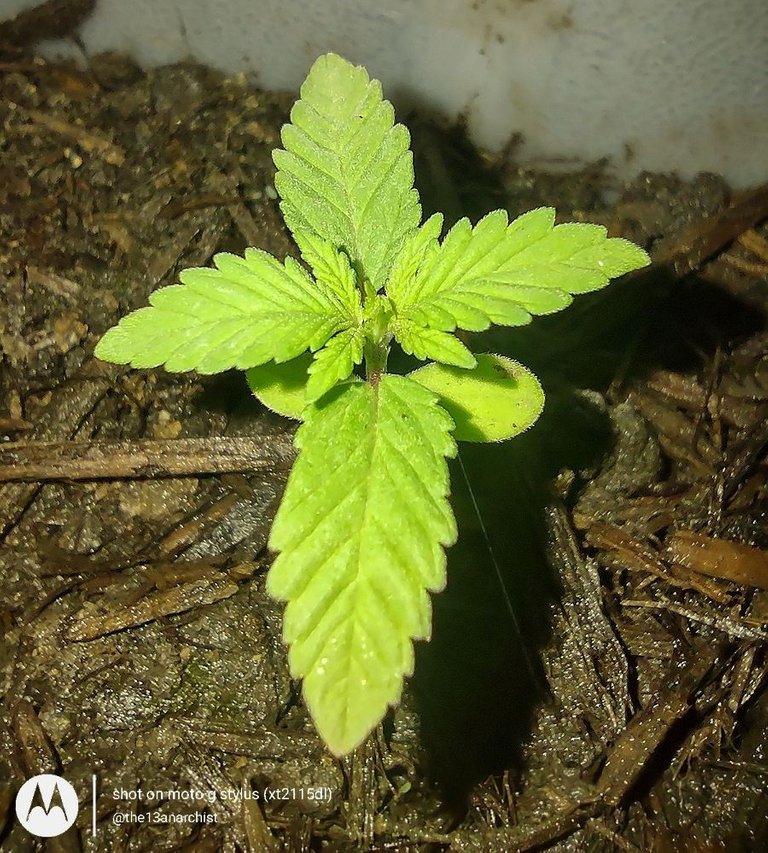
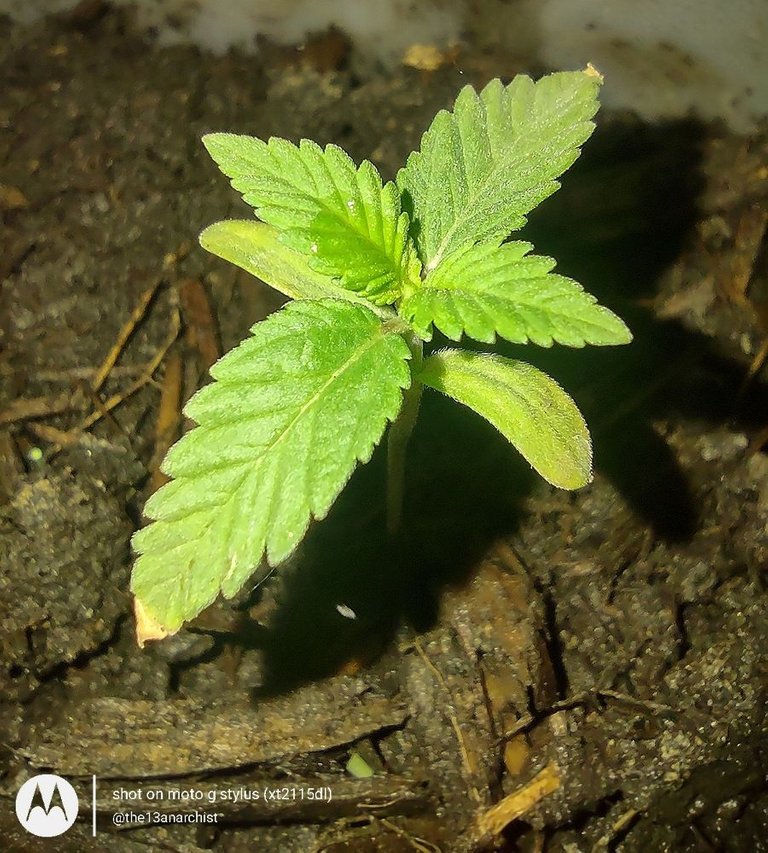
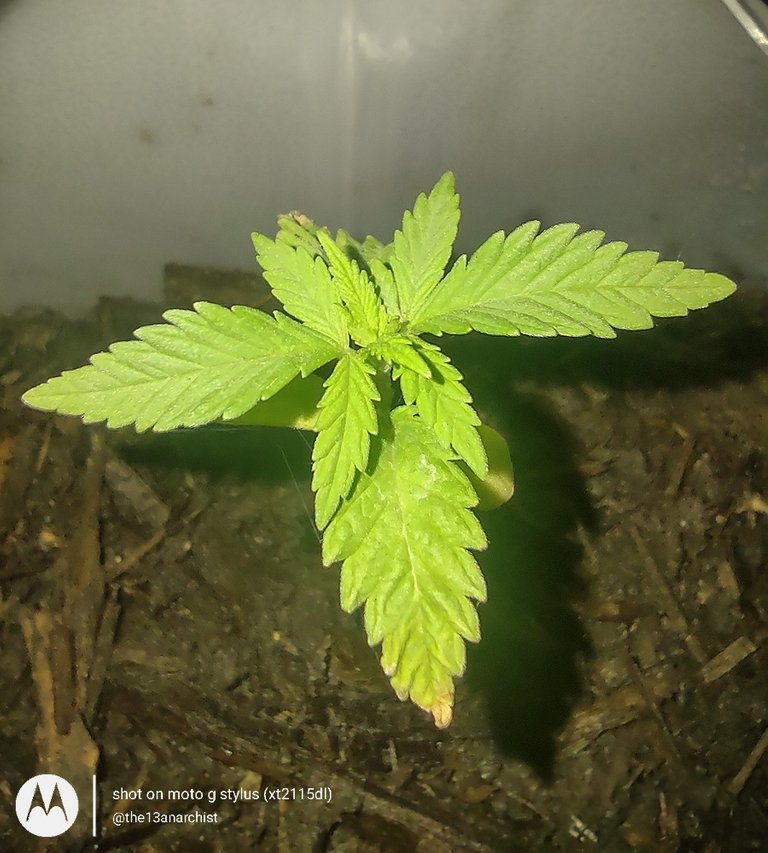
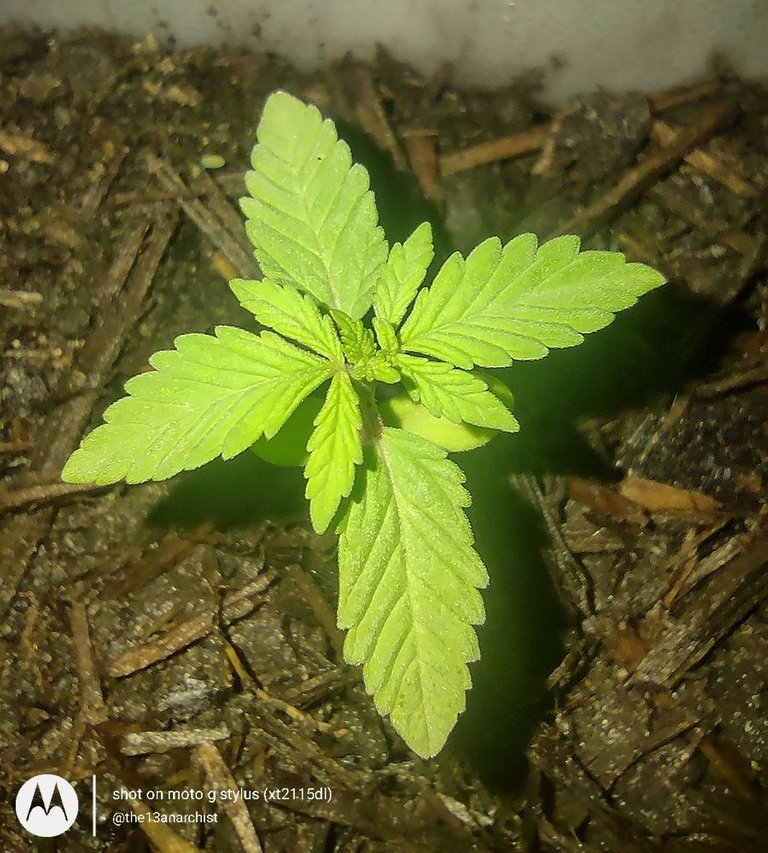
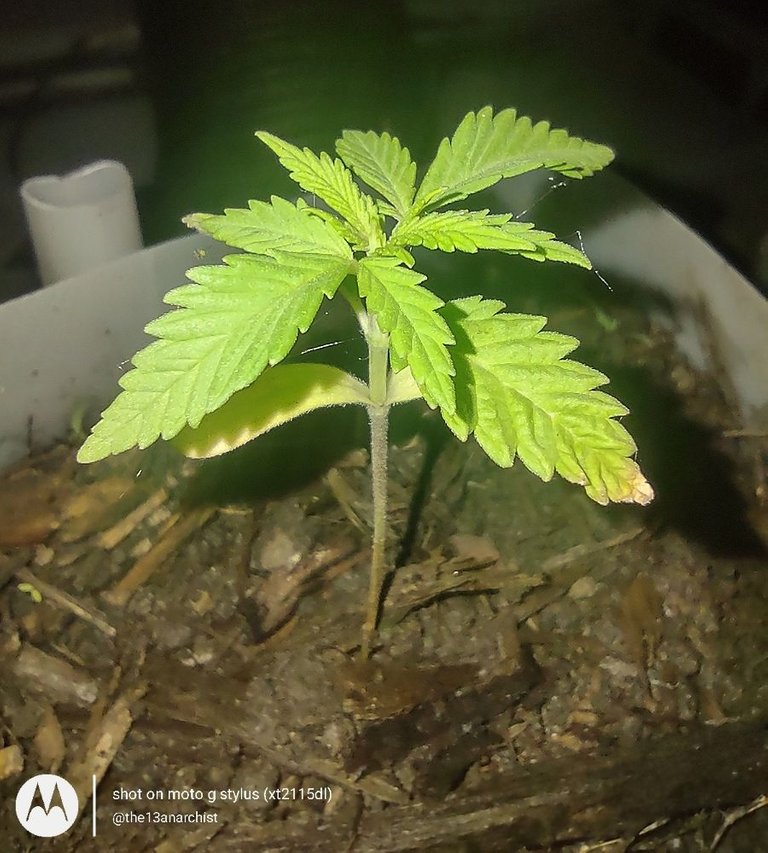
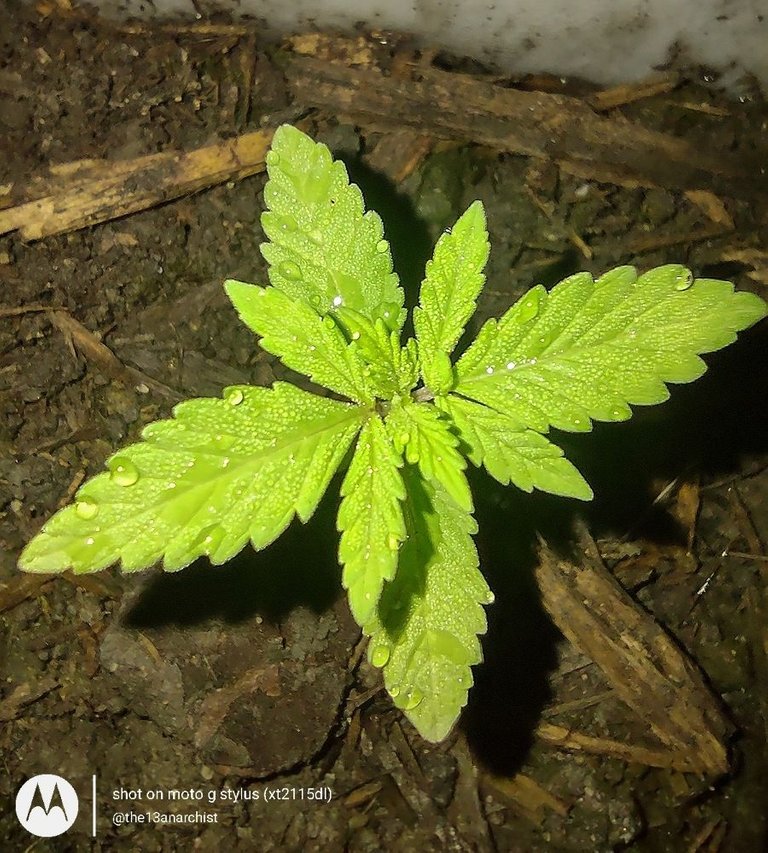
Starting right where we left off from the last edition of "After Hours"; on Monday, June the 6th we had to water the seedlings in the coffee canister planters when I got home from work, as they seem to be draining rather well and drying out more than the others. Not a problem, I cut a few more holes in the milk jug planters and hoped that would help!
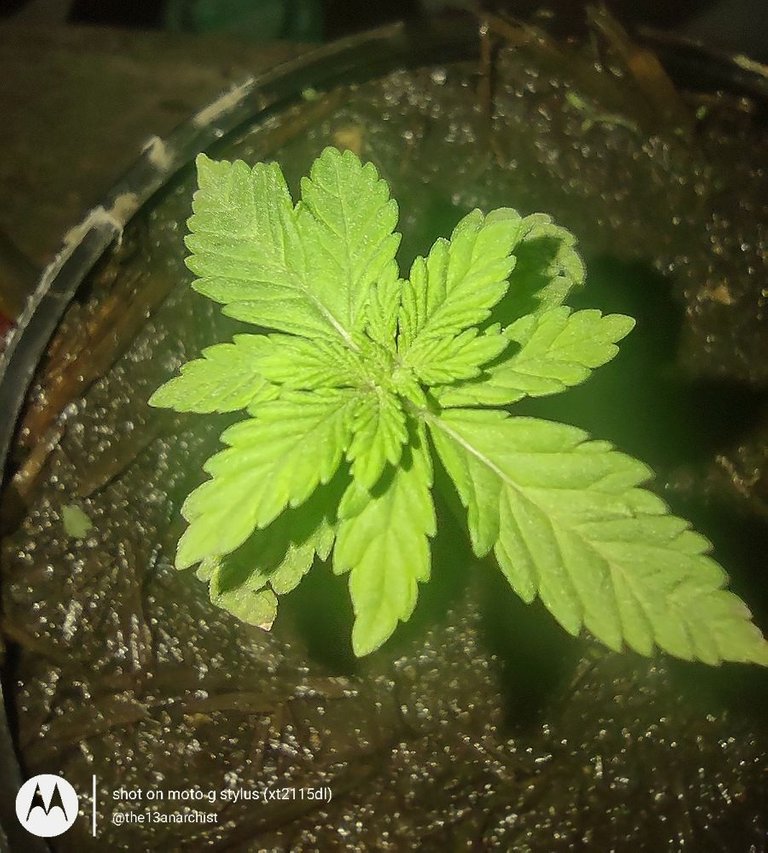
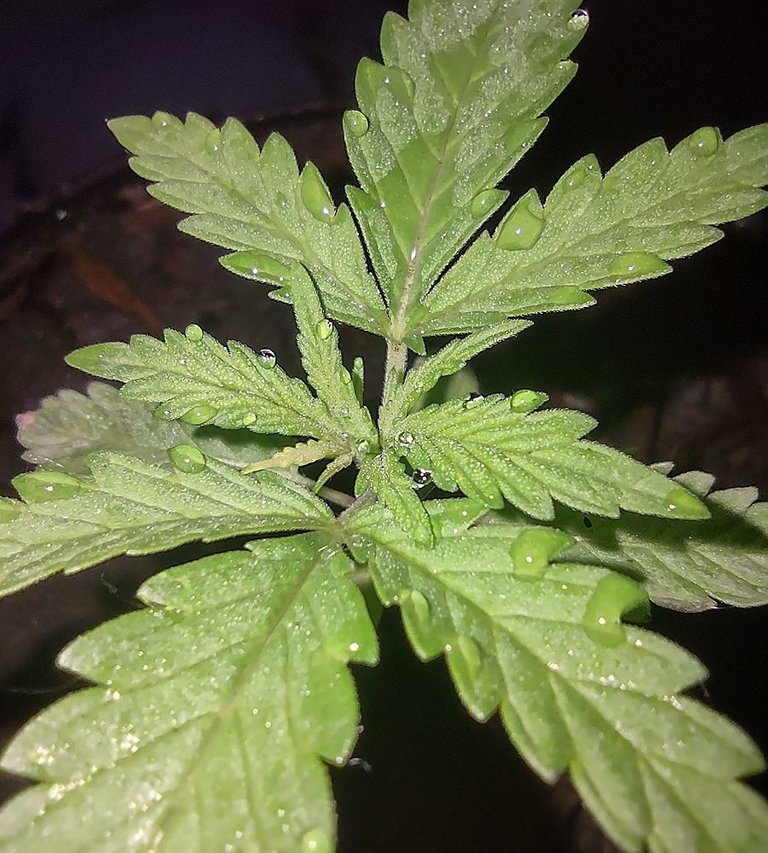
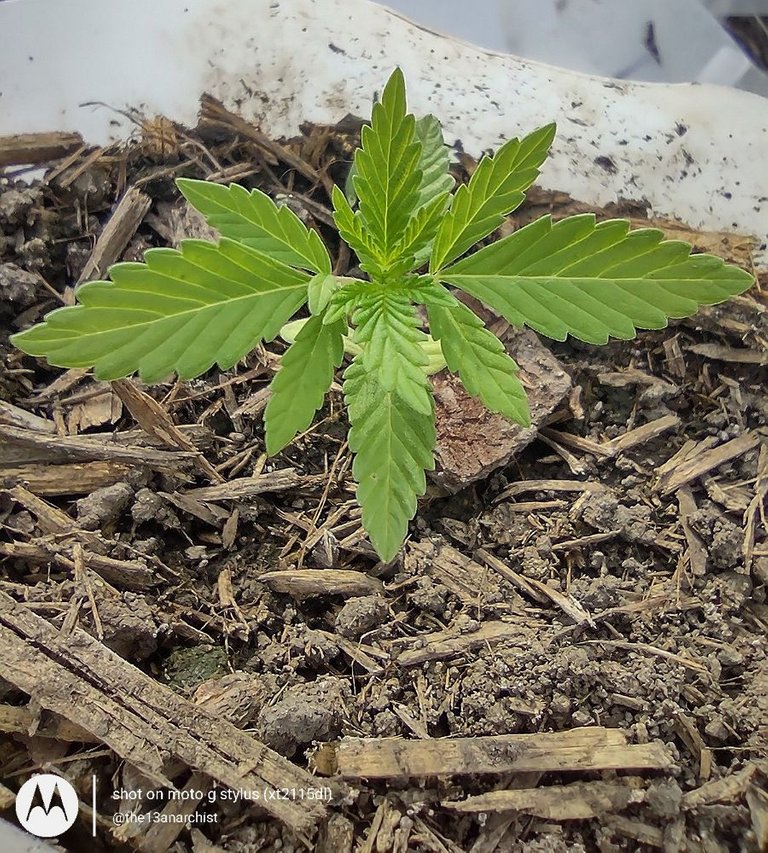
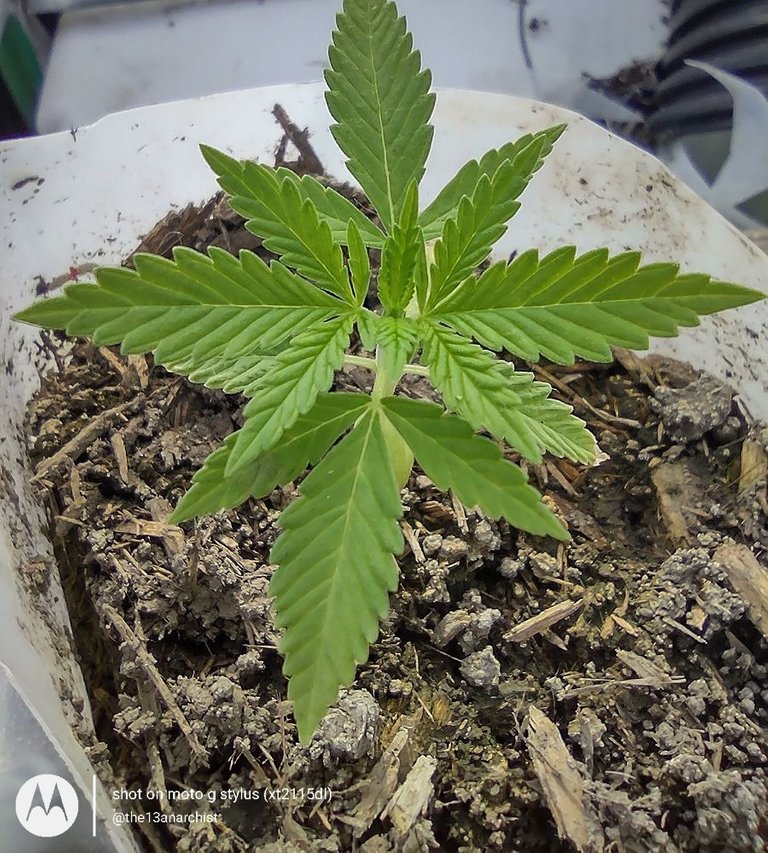
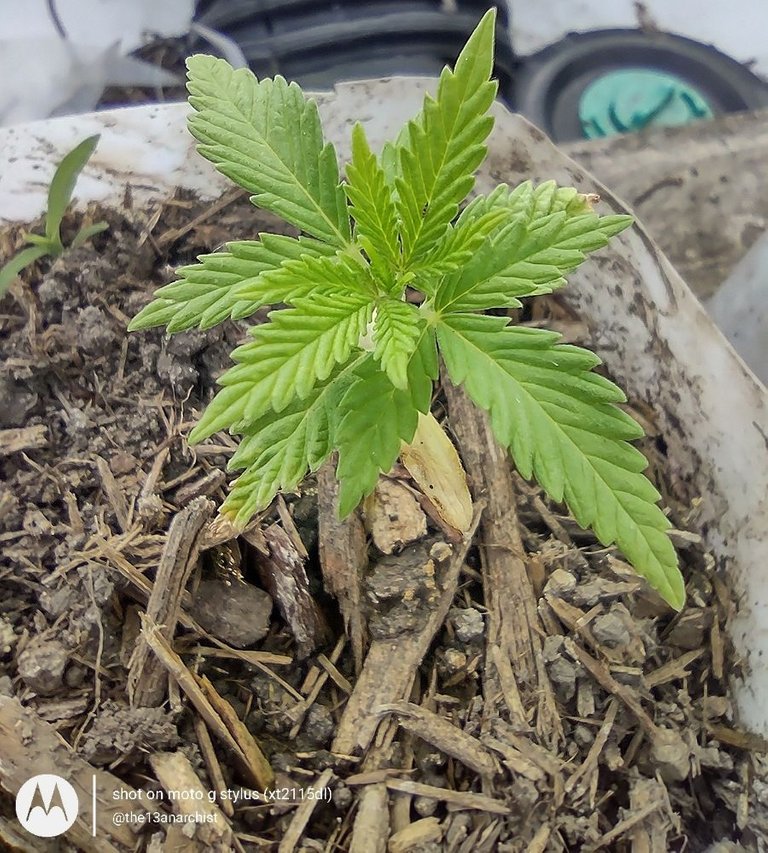
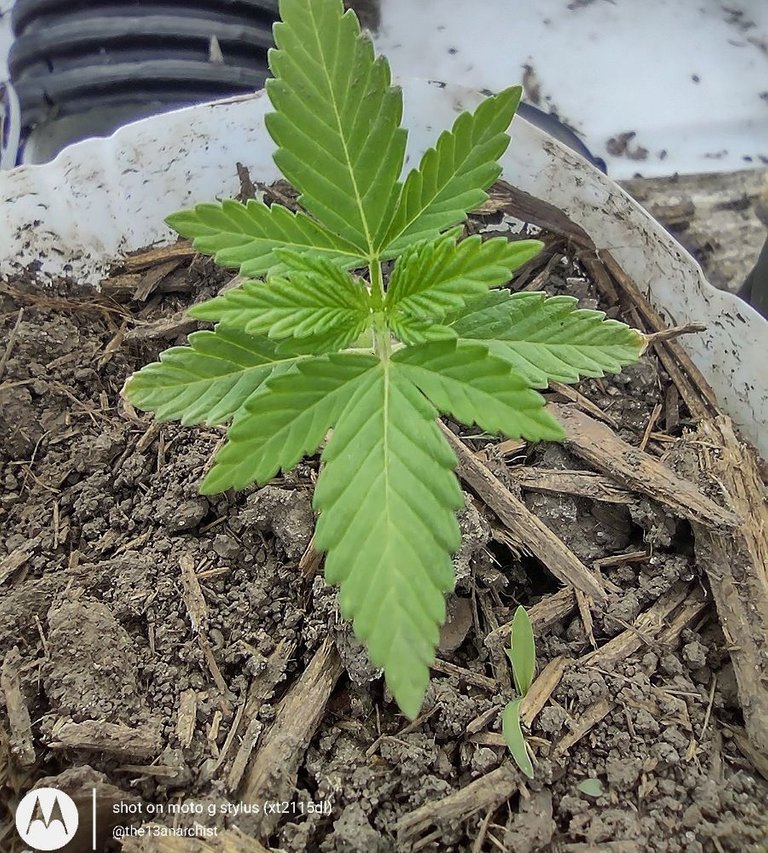
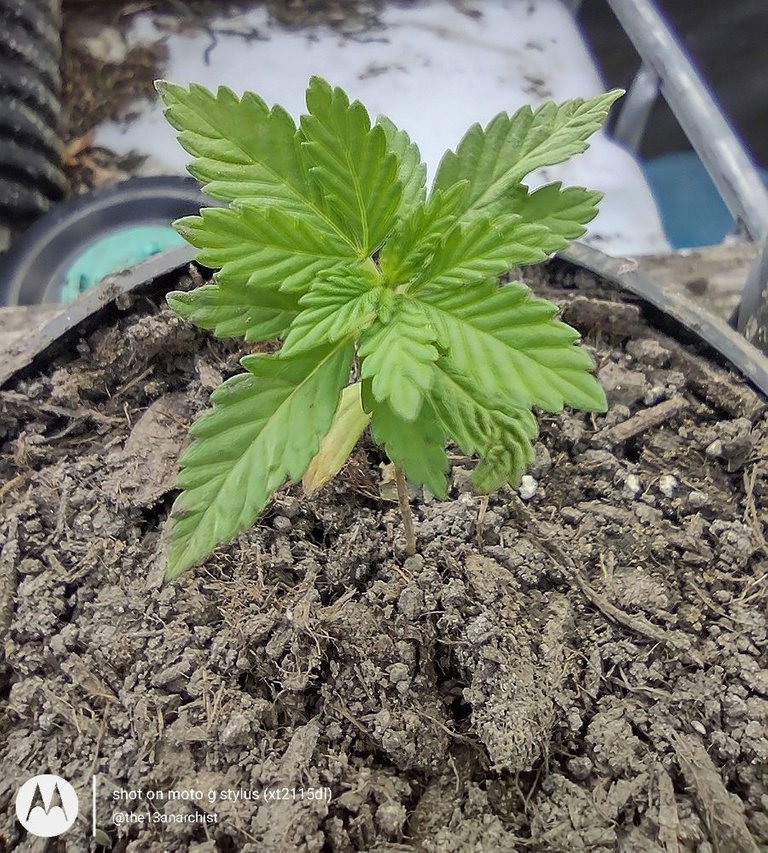
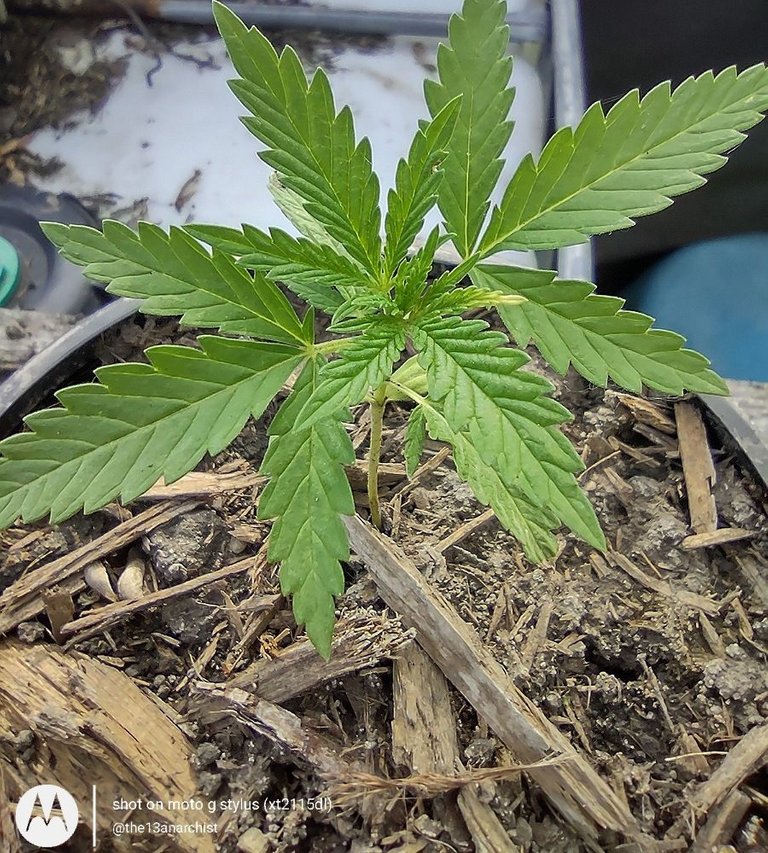
However, I did start noticing a green moss-like growth, as well as a whiteish-yellow powdery substance forming on the substrate in the milk jug planters! Not good at all!
Although it's out of focus (and I didn't even think to take pictures of it for some reason) you can slightly see it on the substrate of plants 1-4 in the pictures below.
I'm going to continue to monitor them, but I have a feeling this has something to do with the ventilation of the homemade planters, as well as spending 2 days inside a dark shed; the literal definition of a perfect environment for moss to grow.
 |  |  |
|---|---|---|
 |  | 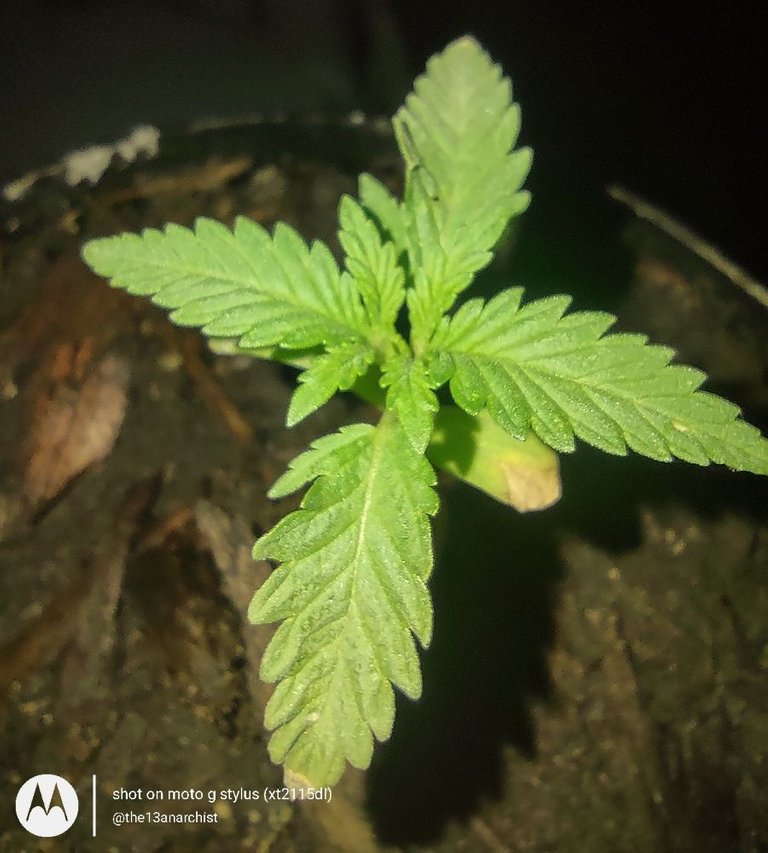 |
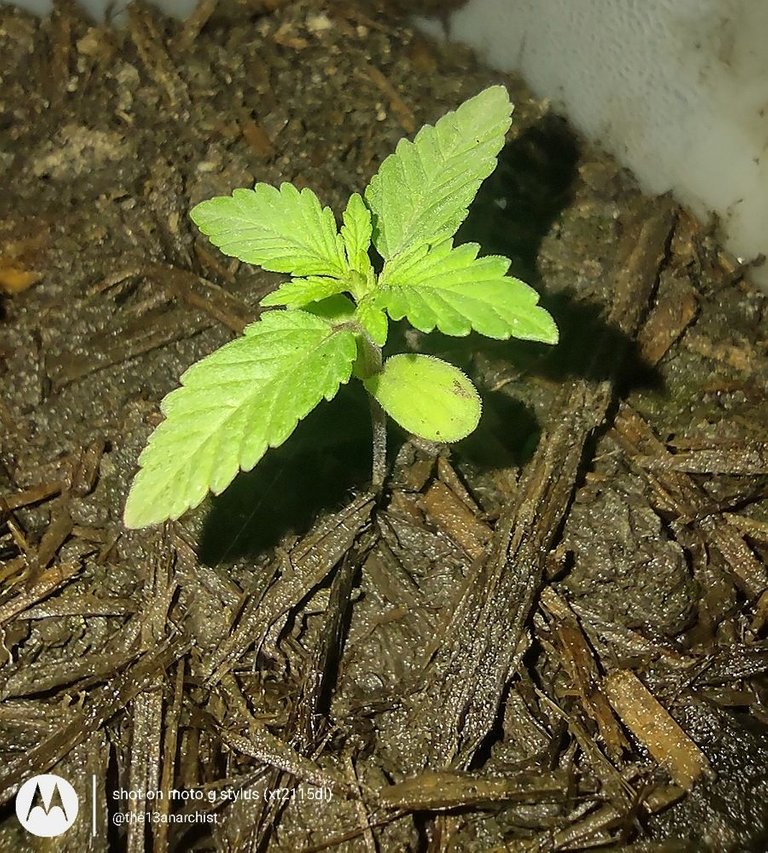
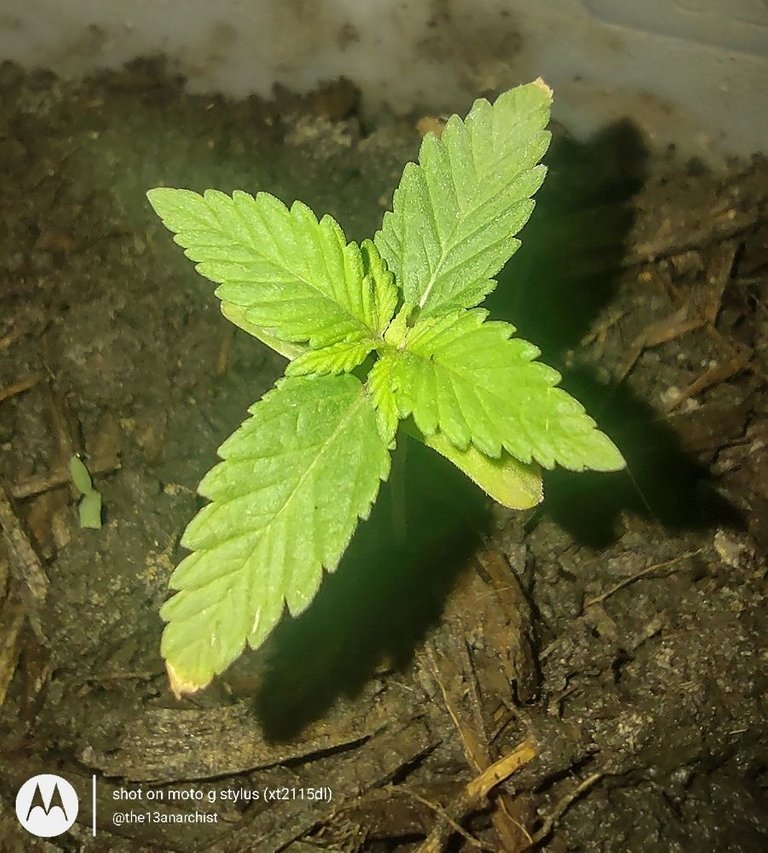
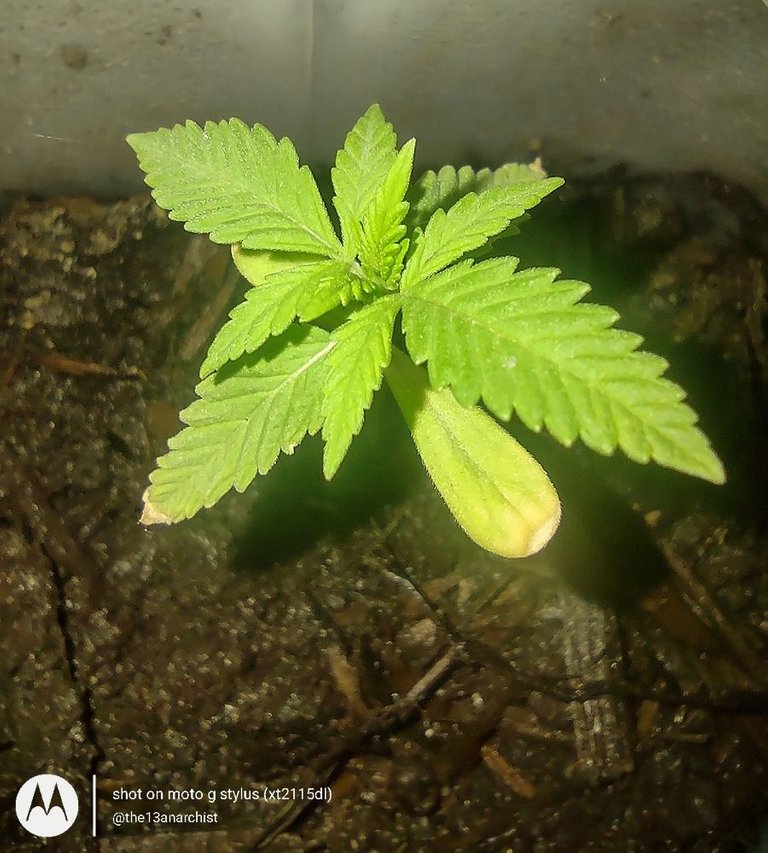
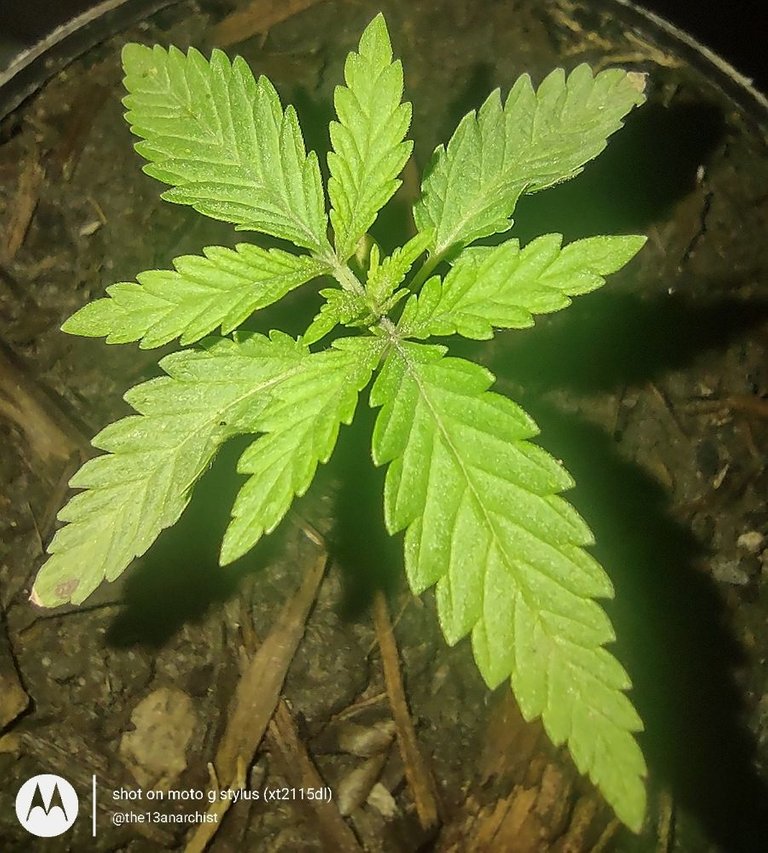
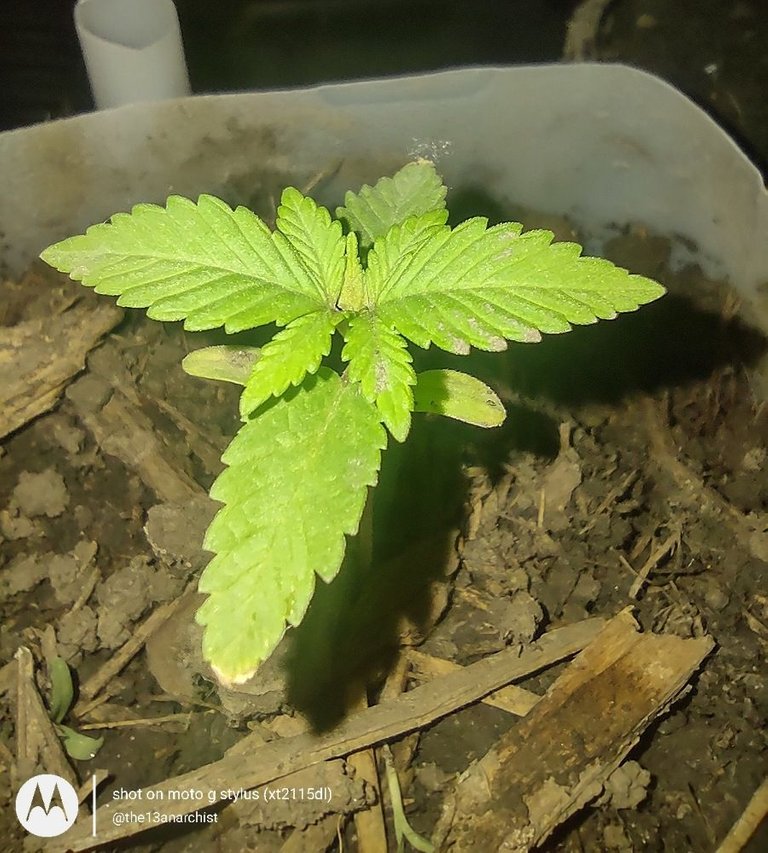
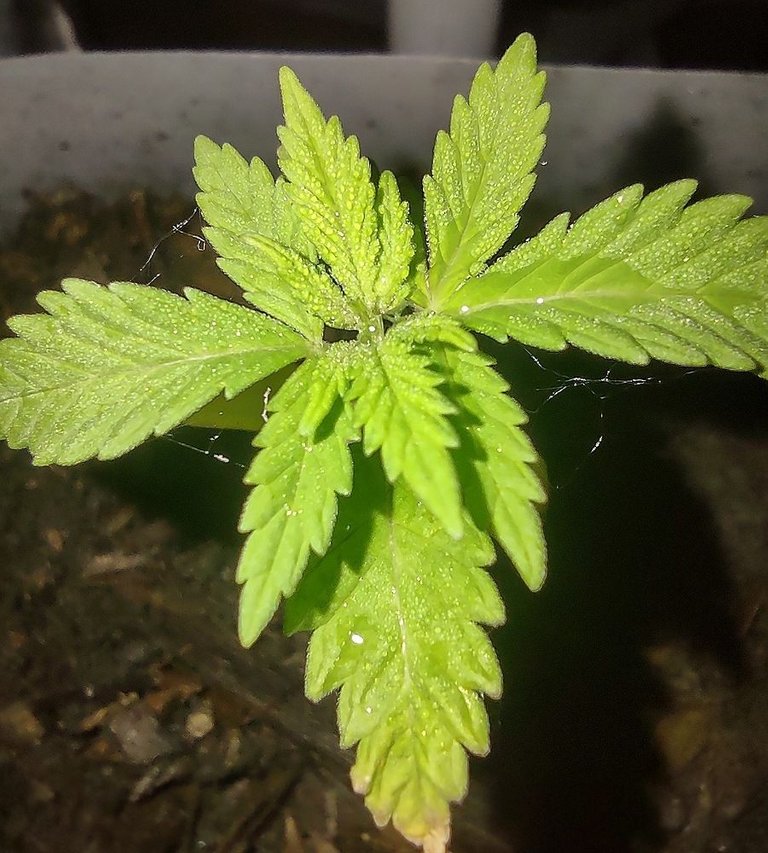
Checking on them immediately when I got home from work on Tuesday, June the 7th, I noticed that the substrate in the coffee canister planters were dry once again, so I watered them. The substrate in the coffee canisters has constantly been drier than the substrate in the milk jug planters, so I definitely need to start a redesign of my planters.
To start, I believe I need more ventilation and better drainage, like I mentioned above. However, I'm unsure of exactly what to do, because I don't want to transfer them into the garden just yet. Luckily, I started to save more milk and water jugs just in case something didn't go right with this design!
 |  |  |
|---|---|---|
 | 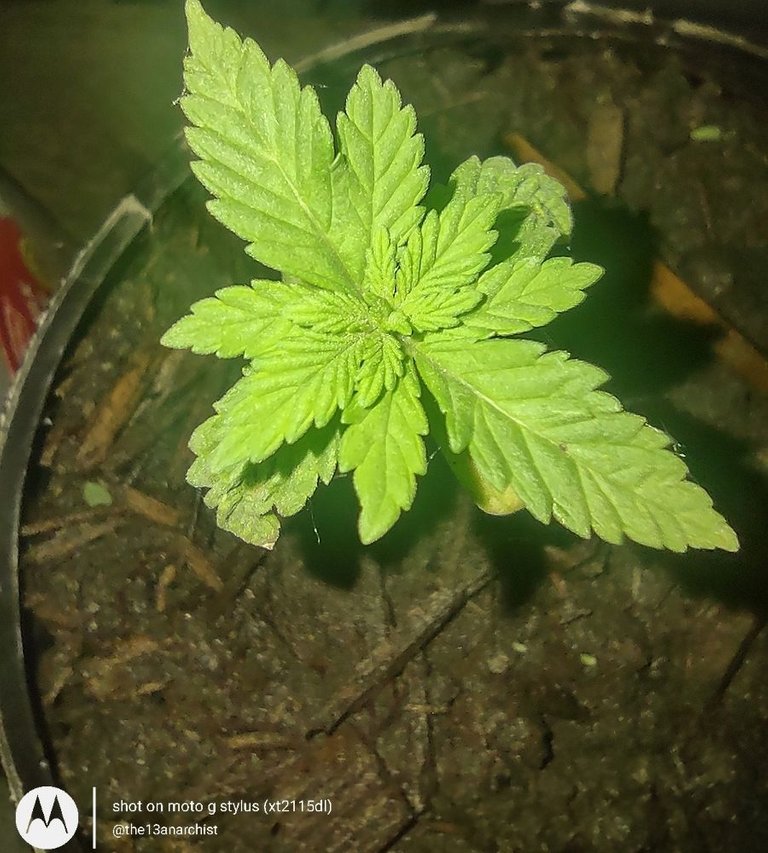 |  |
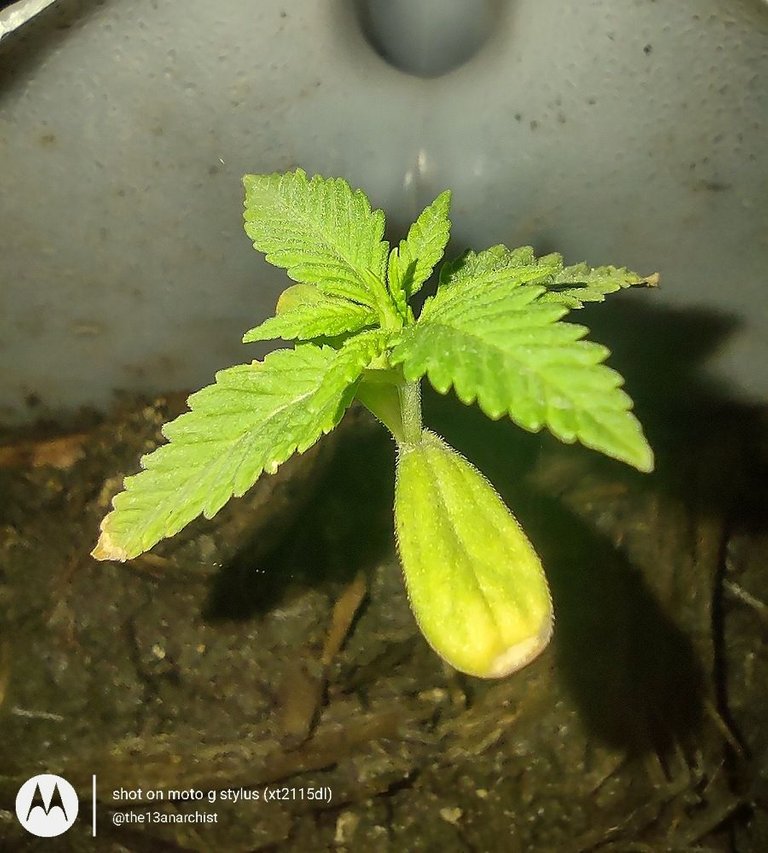
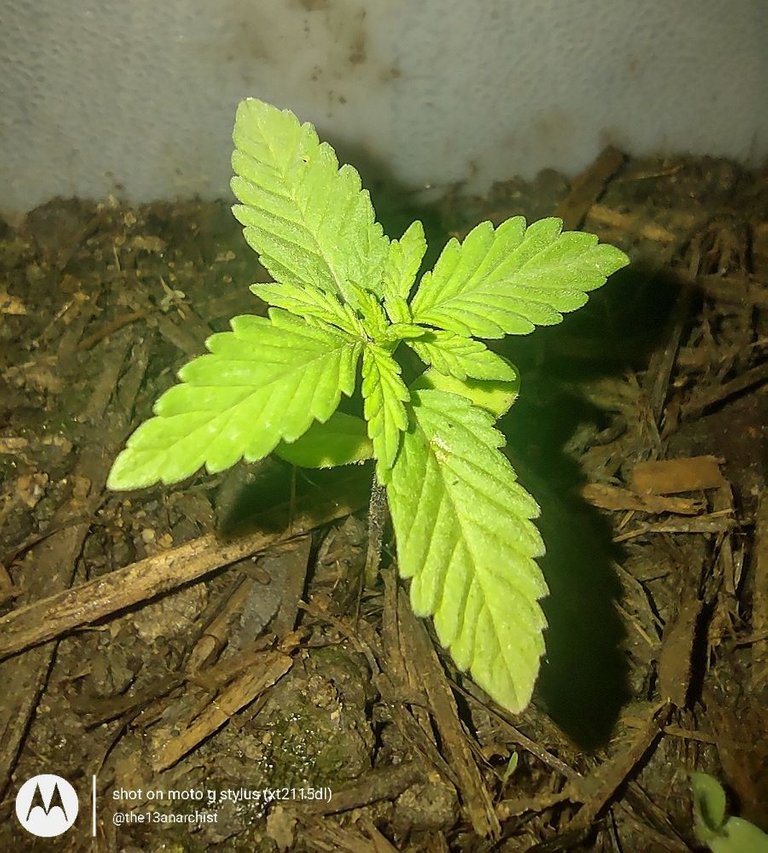
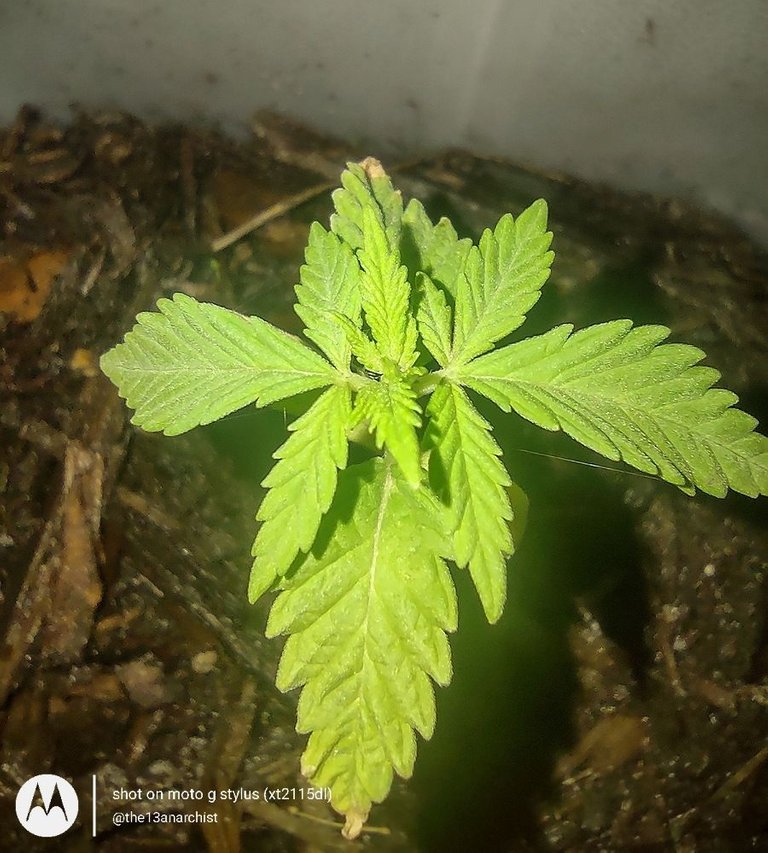
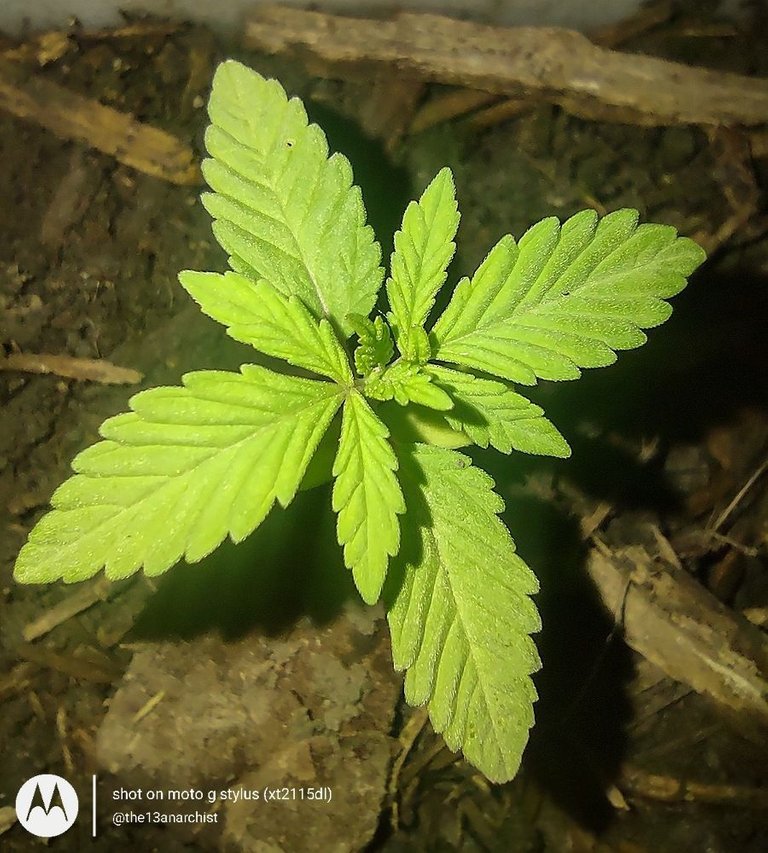
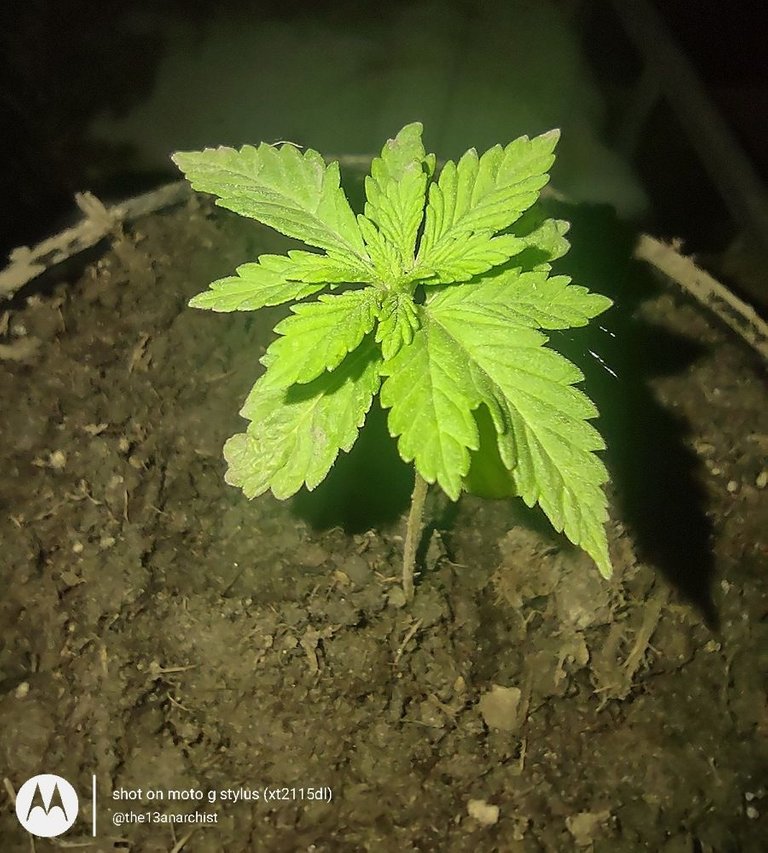
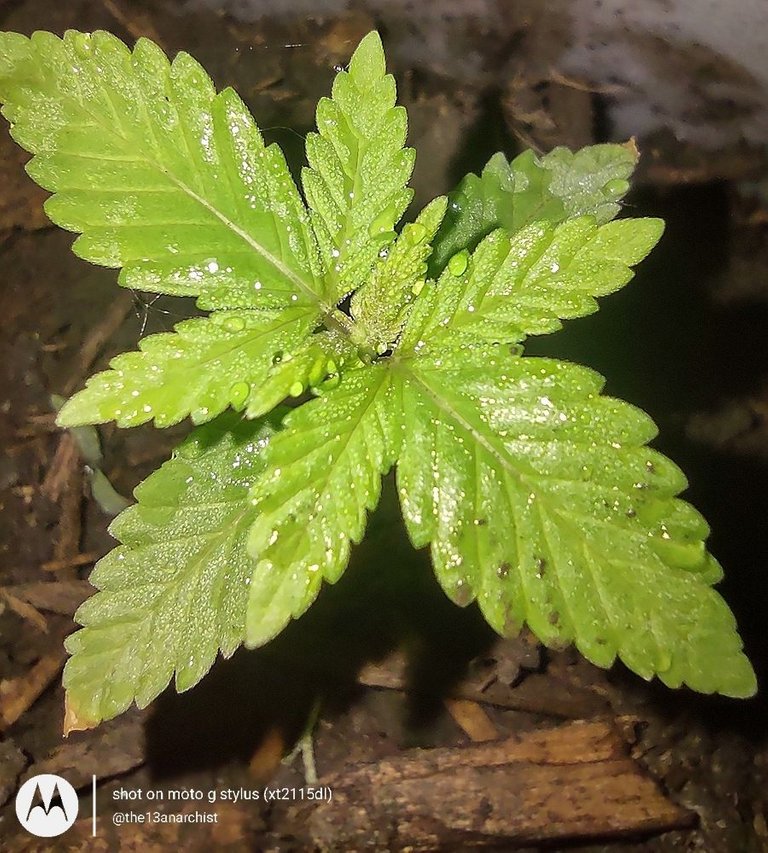
Wednesday, June the 8th, was a monumental day for our growing beauties; for this was the first time they were outside in rain! It didn't rain hard, but just enough while I was at work that it left me hoping and praying that the drainage would be sufficient and that they wouldn't drown!
Thinking about how they were doing all day, completely sure I was coming home to find them all destroyed, I checked them as soon as I got home to find..
Only one planter had standing water, plant number 5, one of plants inside the coffee canisters, which means that all the other planter pots are draining decently! I'm not sure if it was just sitting in a bad spot, but I poured out the standing water and left her to sit in her place on the water tank; and I'm going to continue to monitor this one to see if it continues.
 |  |  |
|---|---|---|
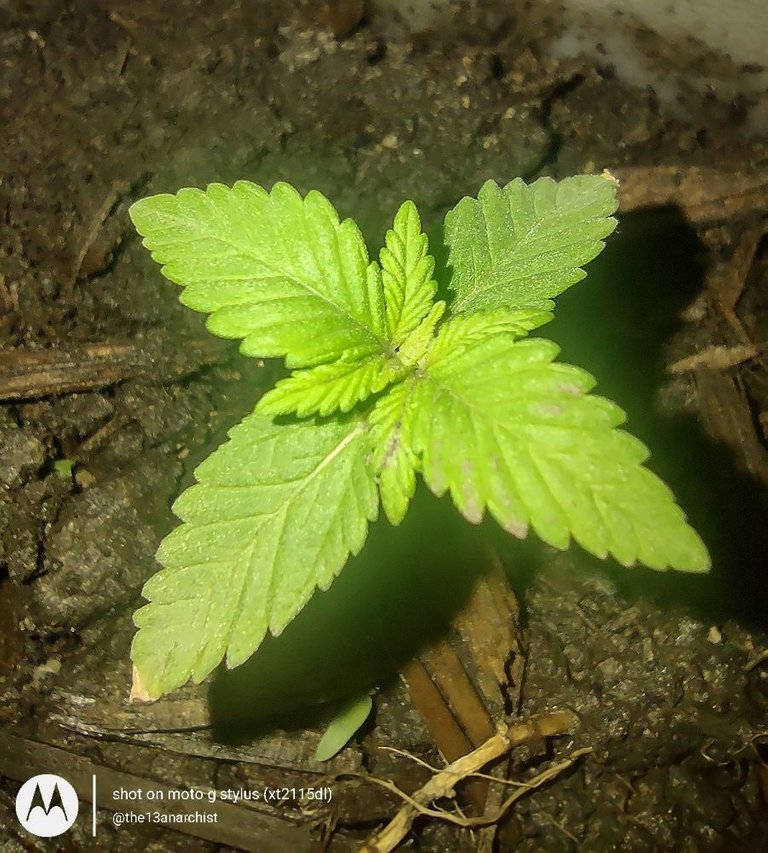 |  |  |
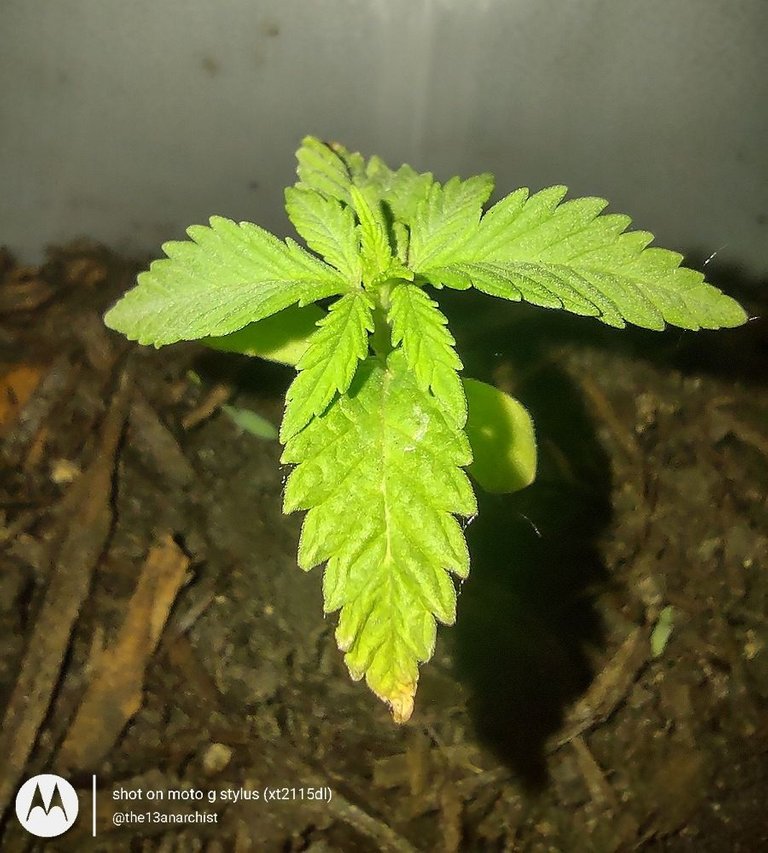
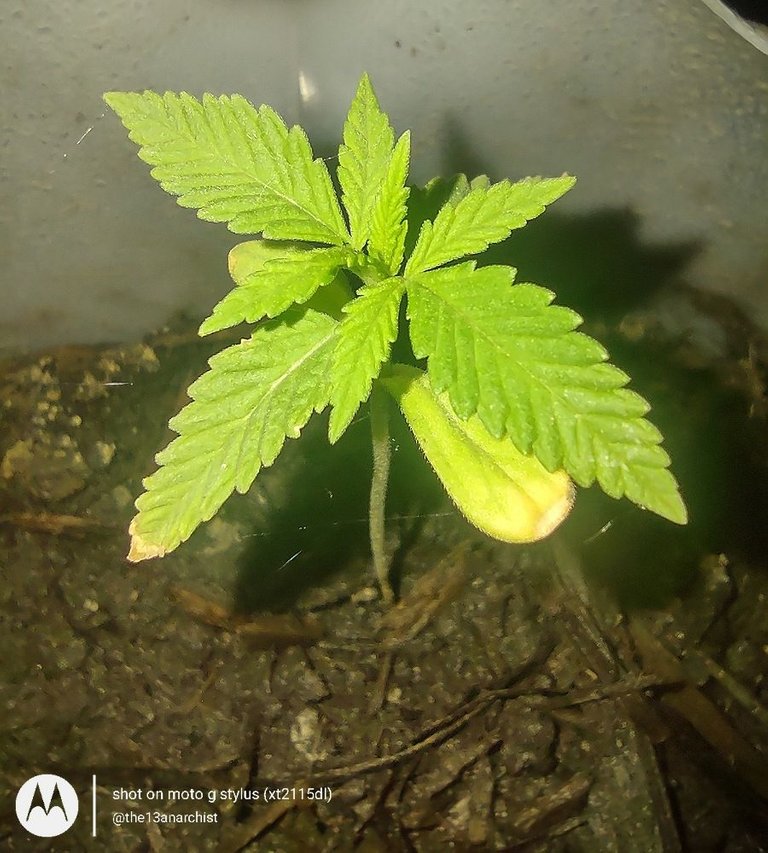
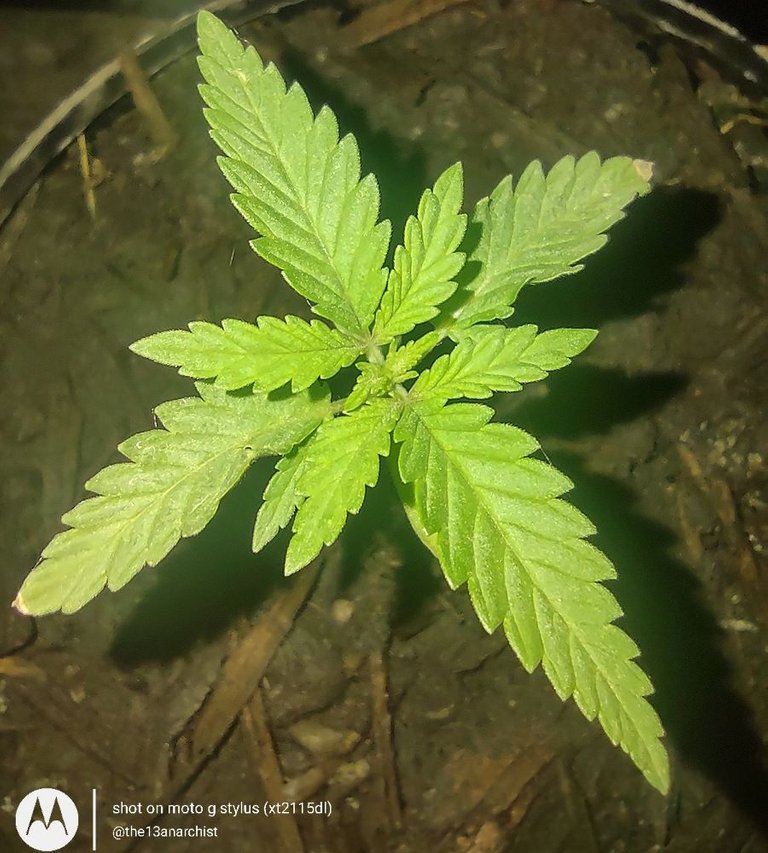
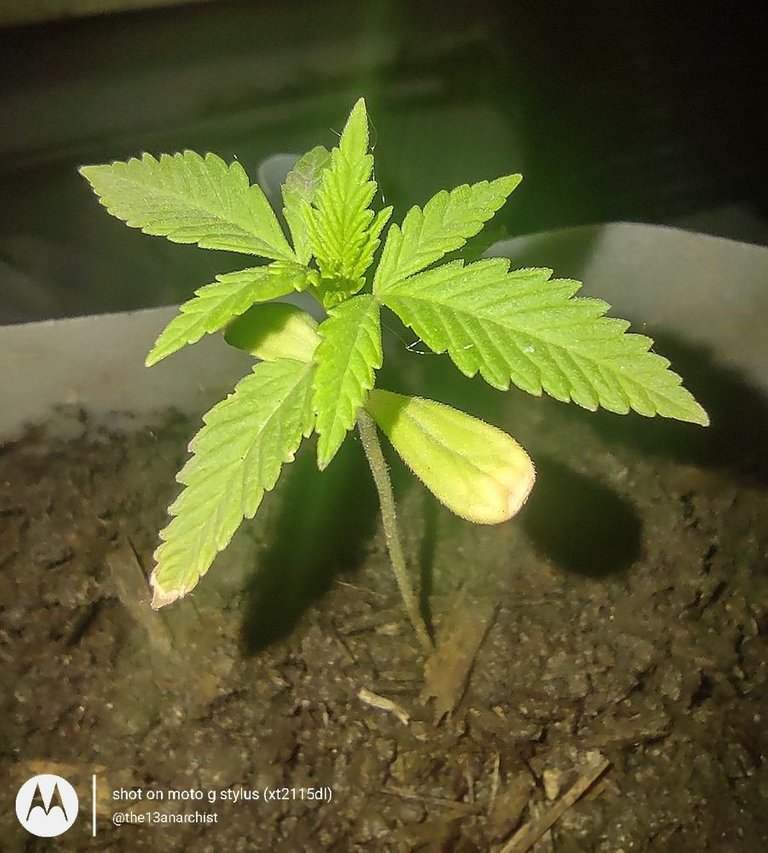
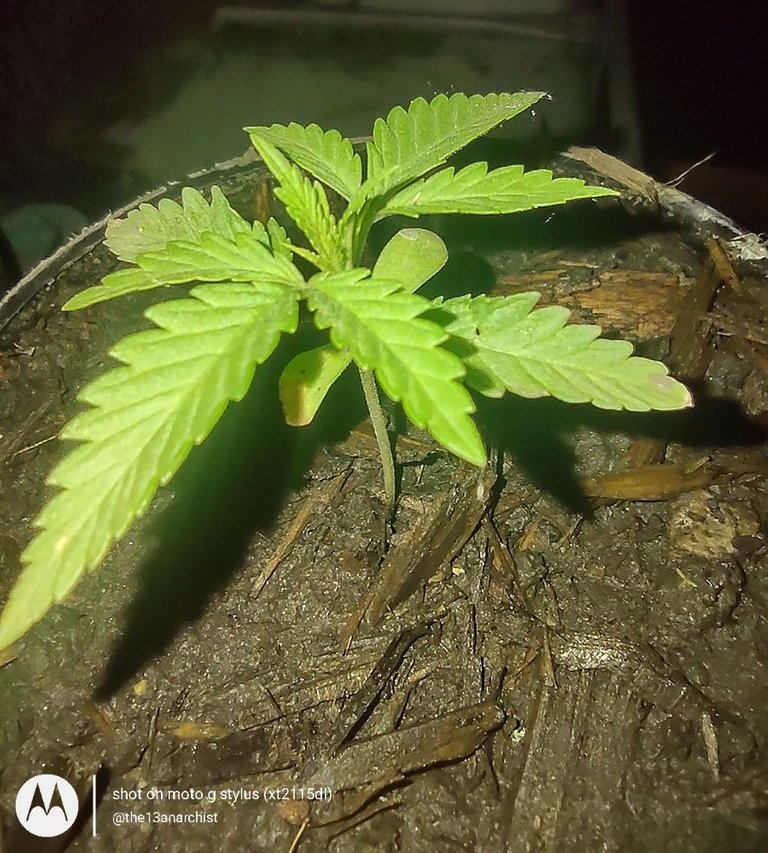
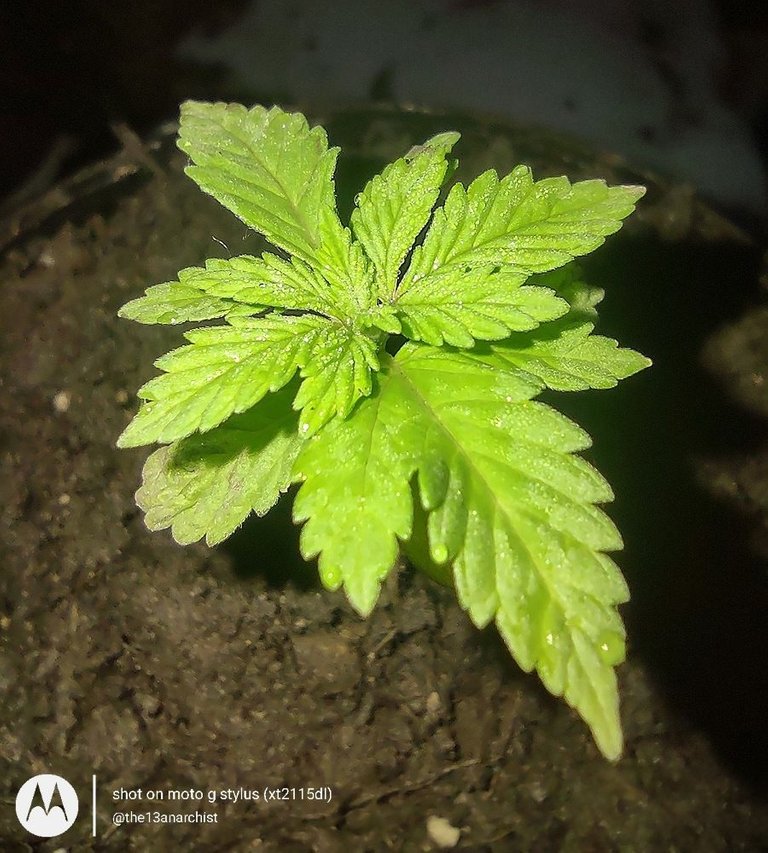
By Thursday, June the 9th, the whiteish-yellow powdery substance was still present in milk jug planters, although it didn't seem to be spreading. I ended up cutting the tops of the planters off and I removed the infected substrate, in hopes that the increased airflow will prevent it from spreading and getting worse; or potentially damaging our plants!
I also noticed that the same planter that had standing water in it the day before, had some of the substrate knocked out of it somehow. I guess it could have been from when I poured out the standing water, but it looked like it was from a heavy water flow in one spot.
I ended up using some dirt that came from our neighbor's garden, because I had a little bucket left over from some plants they gave me for our garden! I believe it had miracle grow potting soil mixed in with the garden top soil, so this plant is now an even bigger experiment than the others!
I did save another coffee canister since those 2 are doing so well, and I've continued to save gallon jugs in case I need them for transplant. I also am thinking of looking at more permanent plant pots, but unsure of what size to be looking for.
 |  |  |
|---|---|---|
 |  |  |
It rained off and on again for most of Friday, June the 10th, but not very heavily. When I got home that afternoon, we started preparing for the plans we had for the weekend (details coming soon in another blog), which unfortunately took a lot of the afternoon and early evening to accomplish.
Once we did get home that evening, I immediately checked them to find that the new substrate that was added to plant number 5 was completely fine, other than it was a little more moist than usual. I'm assuming this has something to do with miracle grow's water retention, but that also leads me to believe something, like a squirrel or bird, could have possibly dug into it.
 |  |  |
|---|---|---|
 |  |  |
Sadly, as we were leaving on Saturday morning, I had to water them one last time, and hoped that they would be safe until we returned on Sunday, June the 12th. We got home around 5:30 PM, and after unloading the car, we went to check on both our regular garden, and our "After Hours" garden!
Thankfully, all 6 plants were completely fine, other than the substrate being a little too dry. But, even though the substrate was dry, I didn't notice any new powdery or mossy soil growth! Hopefully that means I removed enough of the top soil to prevent the continued spread, but I will continue to monitor to be on the safe side.
 |  |  |
|---|---|---|
 |  |  |
Before heading back inside to finish unpacking, we watered each plant thoroughly and rotated each planter, just to make sure they are getting an even amount of light on all sides! :)
Before I end this edition of "After Hours", I'd like to ask a few questions to the more experienced members of the growing community! Again, since I'm unsure of the exact strain of my plants, these are all meant to be generalized care questions!
What size plant pots or buckets do you prefer to use for mature plants? Would a 5 gallon bucket suffice, or do you use something bigger?
Do you think it is okay to use smaller rocks in the bottom of your planters for water drainage purposes?
When can you start to tell if your plants are going to be male or female?
What light cycle do you indoor growers use to promote growth?
Following the previous question, what light cycle do you use to promote flowering?
As always, replies are not expected! They are, however, very much appreciated! :)
Thank you all for stopping by, and I hope you enjoyed this week's edition of "After Hours"! And don't forget to tune in next week for the One Month Update!
Stay Trippy, My Little Hippies! I hope you all have a wonderful rest of your week!!

- All photos were taken using Macro Mode on my trusty Moto G Stylus!
- Signature designed and custom made by @doze!
5 gallon is plenty.
I would say no to the rocks, unless your trying to mimic a aquifer. Which would require more then just rocks.
About 30-40 days is when sex appear. Males normally show before females.
For veg I use a 20/4 light cycle. I would use 24/0, but I just try to save a little $ on electricity.
For flower, 12/12
!1UP
Ok cool! I know I can get those at a pretty decent cost, so I'll have to start planning for that!
No rocks, got it! So would sand work then? I know I should just go ahead and buy some good soil that's designed for cannabis, but I want to do this as cost efficient as possible!
The soil from the garden is hard packing really bad, so I must not have tilled it good enough unfortunately.
Awesome! So I still got another few weeks then until they start showing! I found a picture online of the "tell-tale" signs of the sex of the plant, so hopefully that's accurate, but I know someone on here will help me!
Ok, I'm definitely making a note of that! I do want to make a grow box of some sort in the future, so that will definitely help!
Thank you so much!
You have received a 1UP from @canna-curate!
@vyb-curator, @pob-curator, @neoxag-curator, @pal-curator, @cent-curatorAnd they will bring !PIZZA 🍕
Learn more about our delegation service to earn daily rewards. Join the family on Discord.
PIZZA Holders sent $PIZZA tips in this post's comments:
@curation-cartel(17/20) tipped @the13anarchist (x1)
You can now send $PIZZA tips in Discord via tip.cc!
https://twitter.com/cannaporvida/status/1537500794919931906
The rewards earned on this comment will go directly to the people(@canna-curate) sharing the post on Twitter as long as they are registered with @poshtoken. Sign up at https://hiveposh.com.
Congratulations @the13anarchist! You have completed the following achievement on the Hive blockchain and have been rewarded with new badge(s):
Your next target is to reach 2500 upvotes.
You can view your badges on your board and compare yourself to others in the Ranking
If you no longer want to receive notifications, reply to this comment with the word
STOP