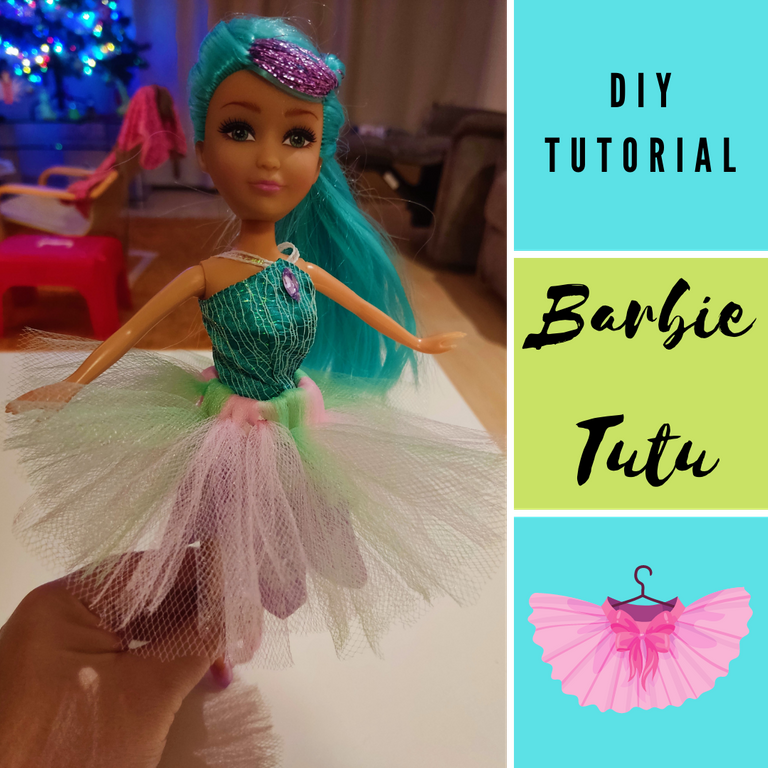
DIY Tutorial | How To Make A Matching Barbie Tutu With Leftover Material

Leftover Tulle
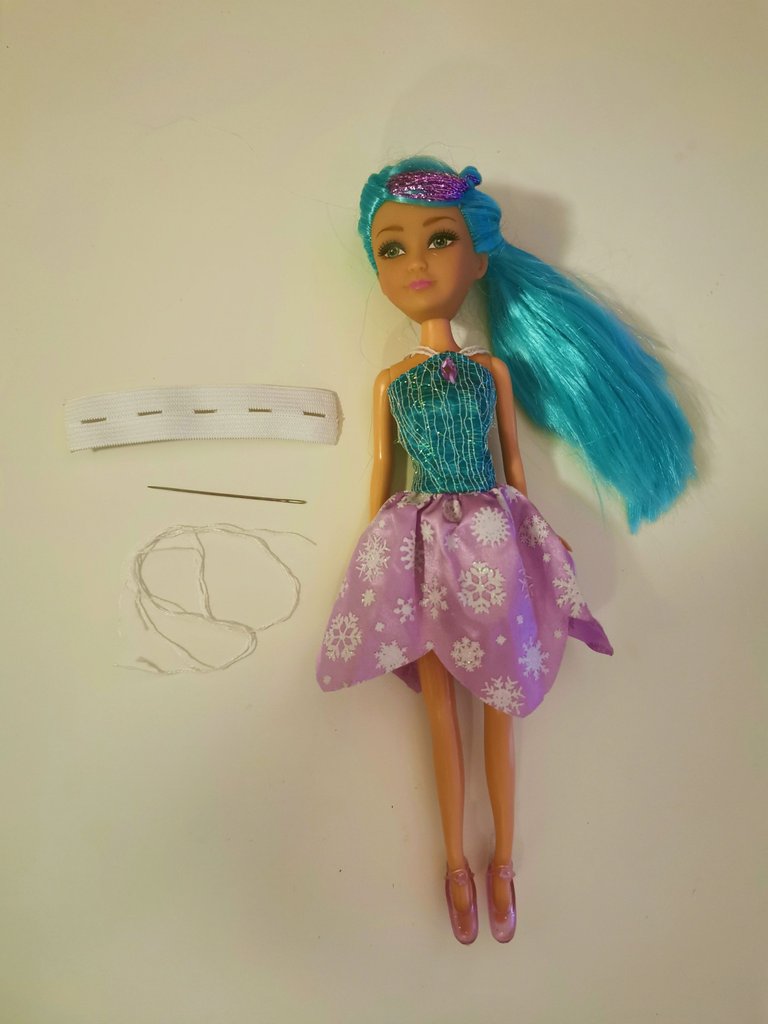
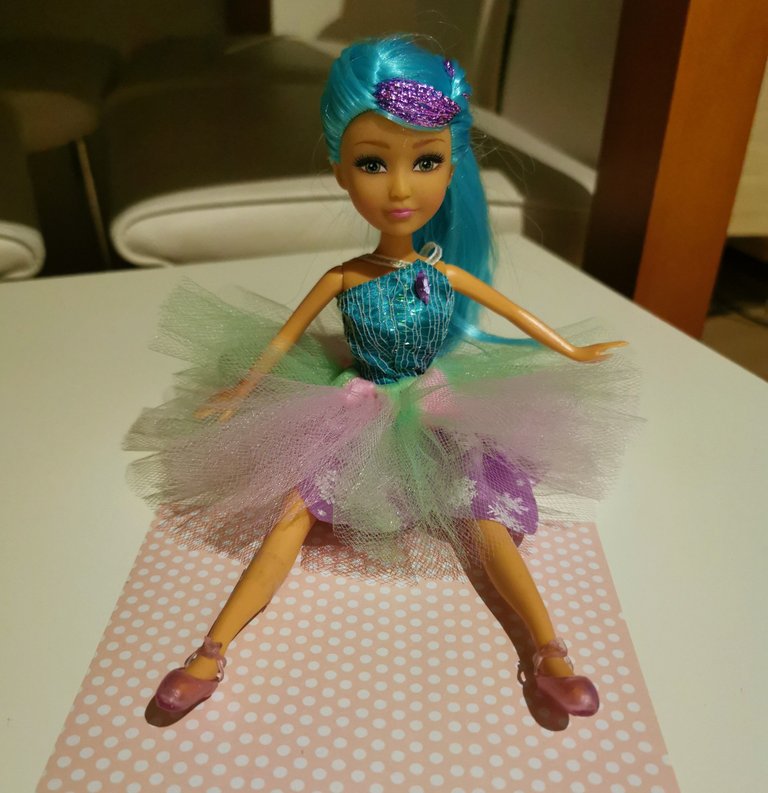
While creating quite a bunch of tutus last week, I have also collected quite a bit of leftover tulle by cutting it the wrong way or just parts of tulle that weren't long enough to add another strip in the tutu I was creating. I decided not to throw this away because I'm going to create matching hair accessories soon. Yesterday I was looking at my daughter's barbie, that used to be an elf with wings (one wing broke), and thought I could make her look great again by creating a tutu from leftover tulle mostly. I just don't like to waste material and honestly, I only needed to cut a few strips of tulle extra to make this one, and I now have a very happy daughter as well. Worth it!
Tools and supplies needed
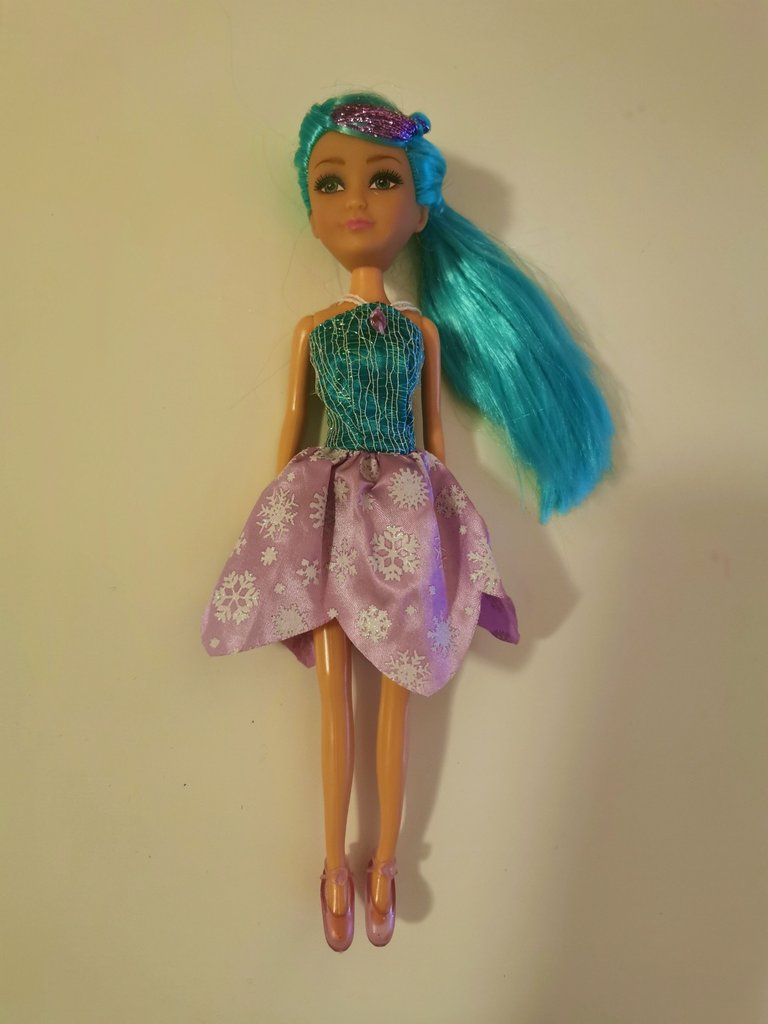
You won't need much to make this matching barbie tutu as in this case, I've mainly used leftover tule. As I'm going to make the tutu for this particular barbie, it's good to make sure you have that one close by to measure the waist.
For the rest you need:
- Leftover tulle
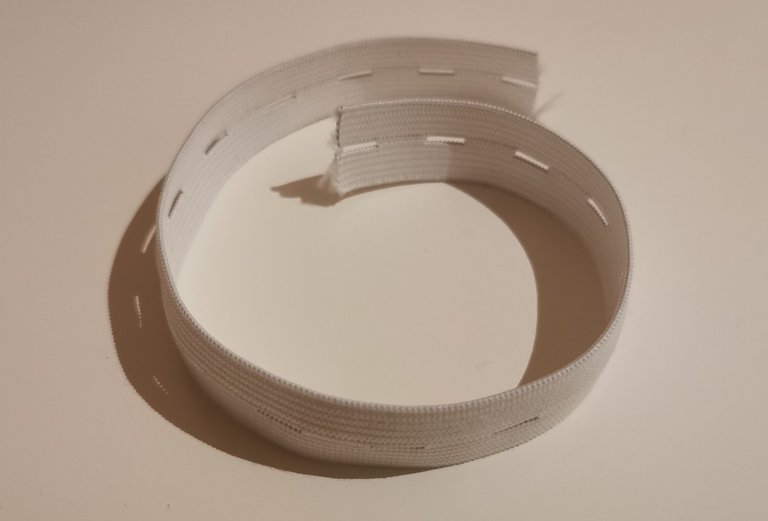
- A tiny part of elastic waistband, I used this one to make a 3 layered tutu
- Measuring tool
- Scissors
- Needle
- Thread
That's it!
The process
I did not capture every single step in this process because there aren't that many steps in total and you can make this tutu in a short period of time compared to the child-sized ones.
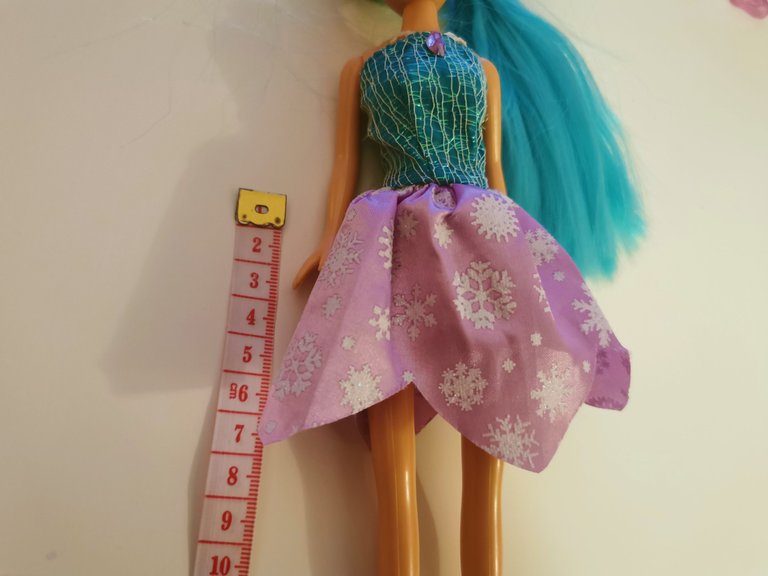
First, make sure you measure the waist of the barbie for the elastic waistband.
Now that you have the size, you can attach the two ends to each other using a needle and a thread. It's quite hard to use a needle for such a small elastic, so I noticed. :)
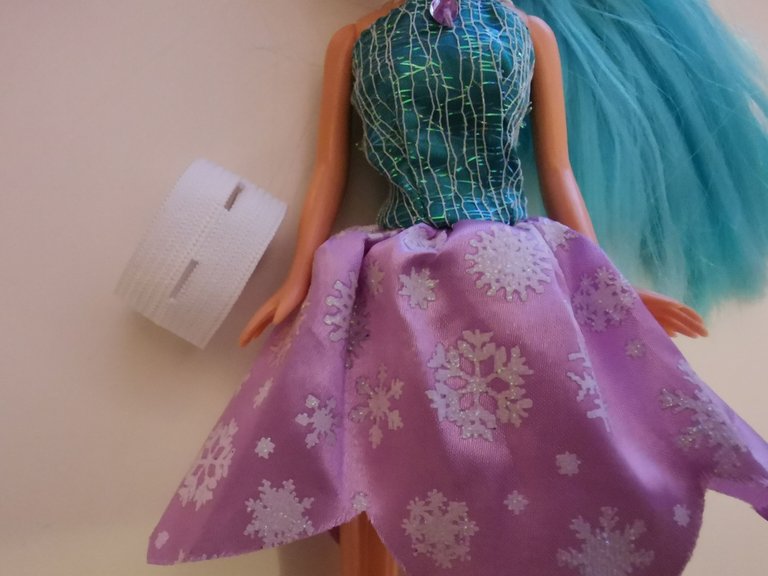
Here you can see how tiny the elastic is for this doll. If you're using a similar elastic with holes in it, make sure you overlap them a bit to avoid having half-sized holes (it's already such detailed work to get the tulle pulled through).
If you don't know the knot I'm using for the tulle yet, check out this post. I started by knotting the tulle through the holes first. I did both sides (bottom and top layer so two tulles per hole).
After that, I started adding the third layer by knotting around the full width of the elastic.
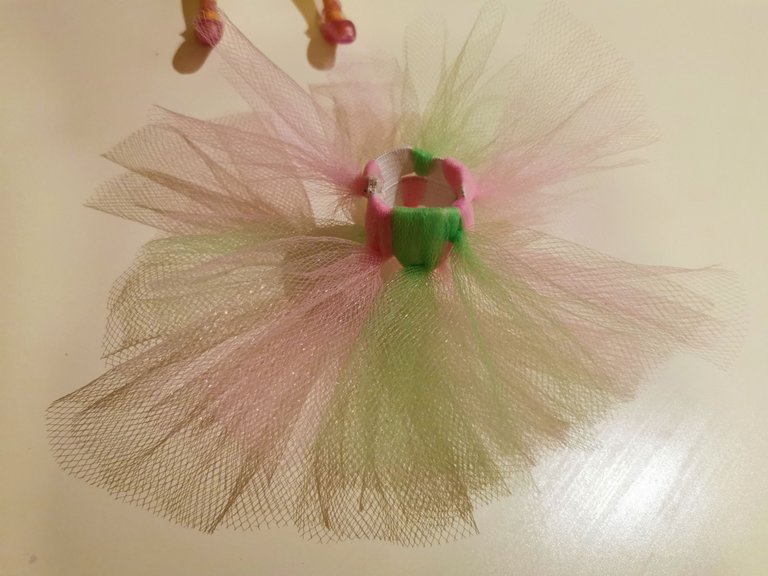
Don't worry about the length yet, or uneven edges as we will first finish the tutu before trimming it.
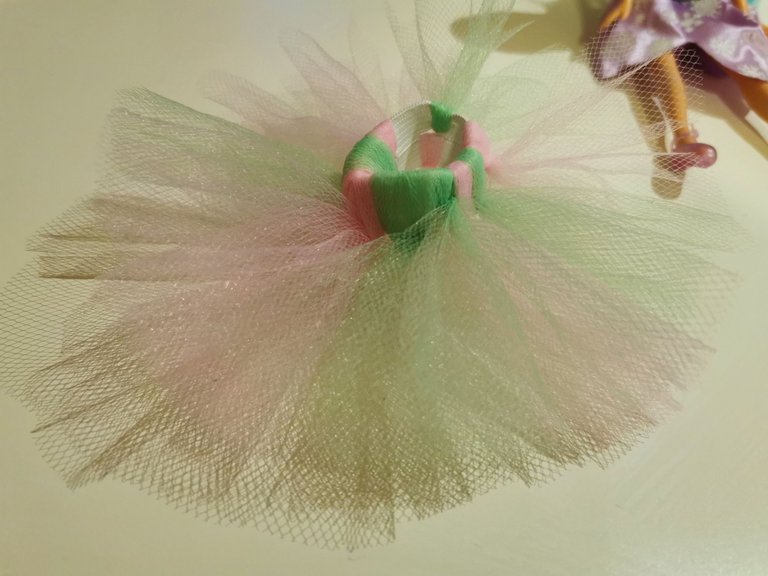
Almost done here you see! Just a few more strips of tulle!
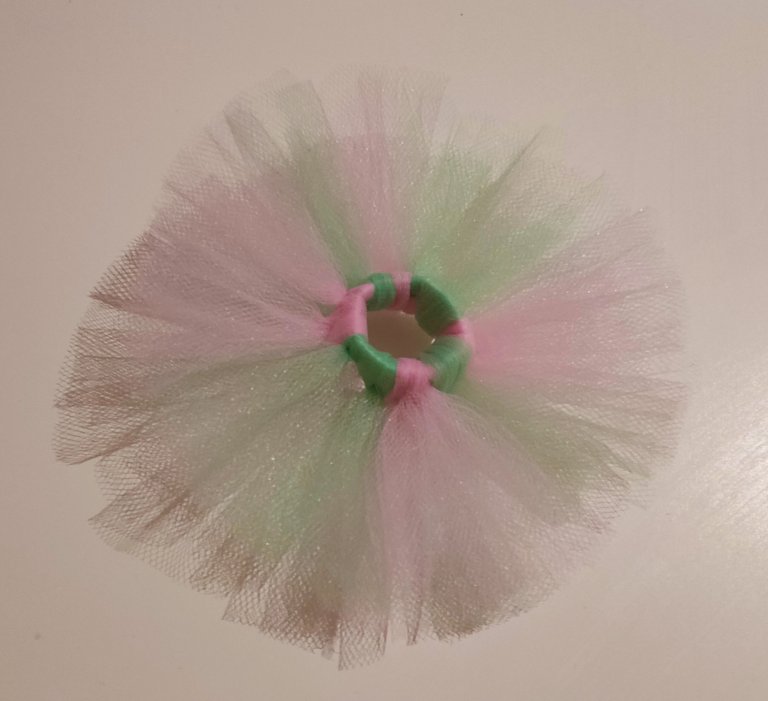
Done! Now we have to trim it a bit to make sure the length is the same size everywhere and there are no uneven edges from cutting. After all, it was leftover material..

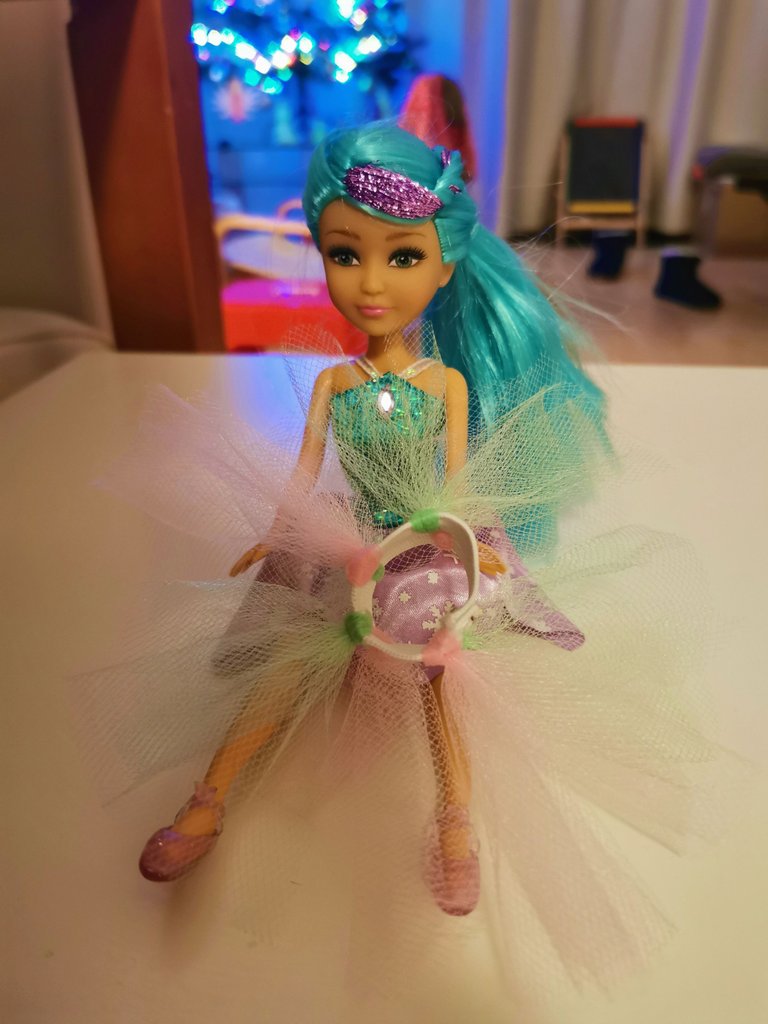
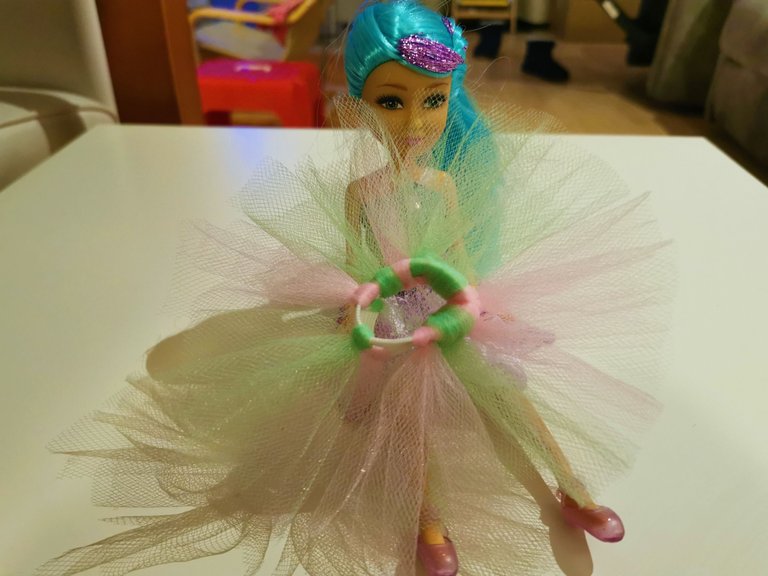
The End Result
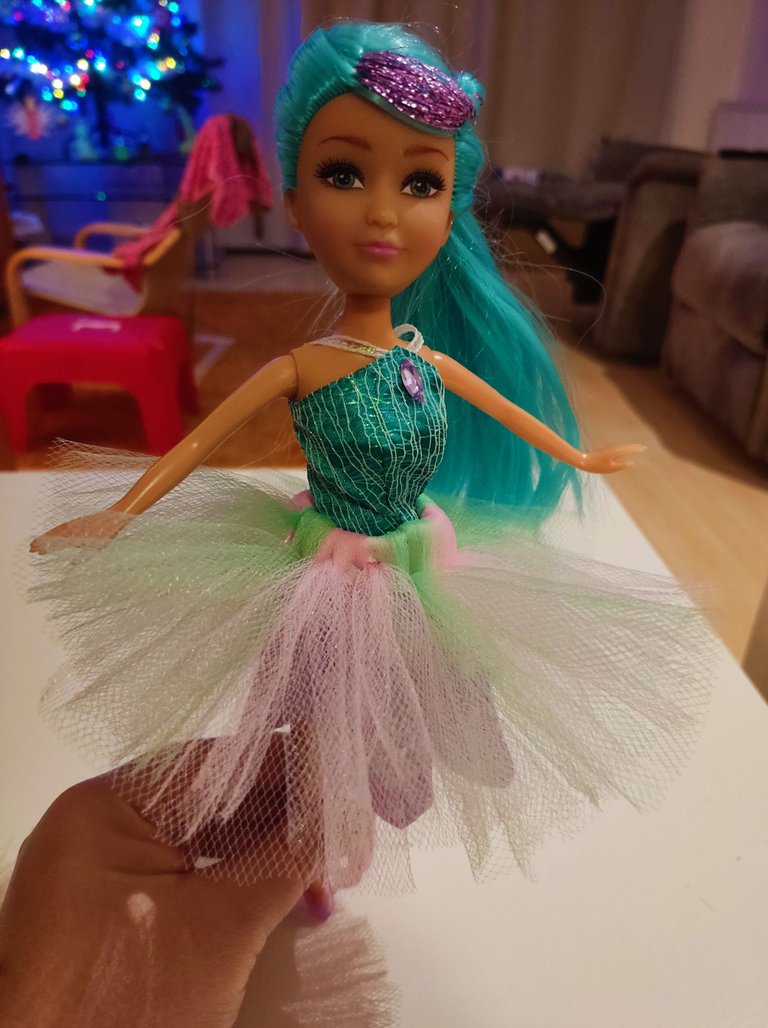
And it's matching my daughter's tutu you can see here:
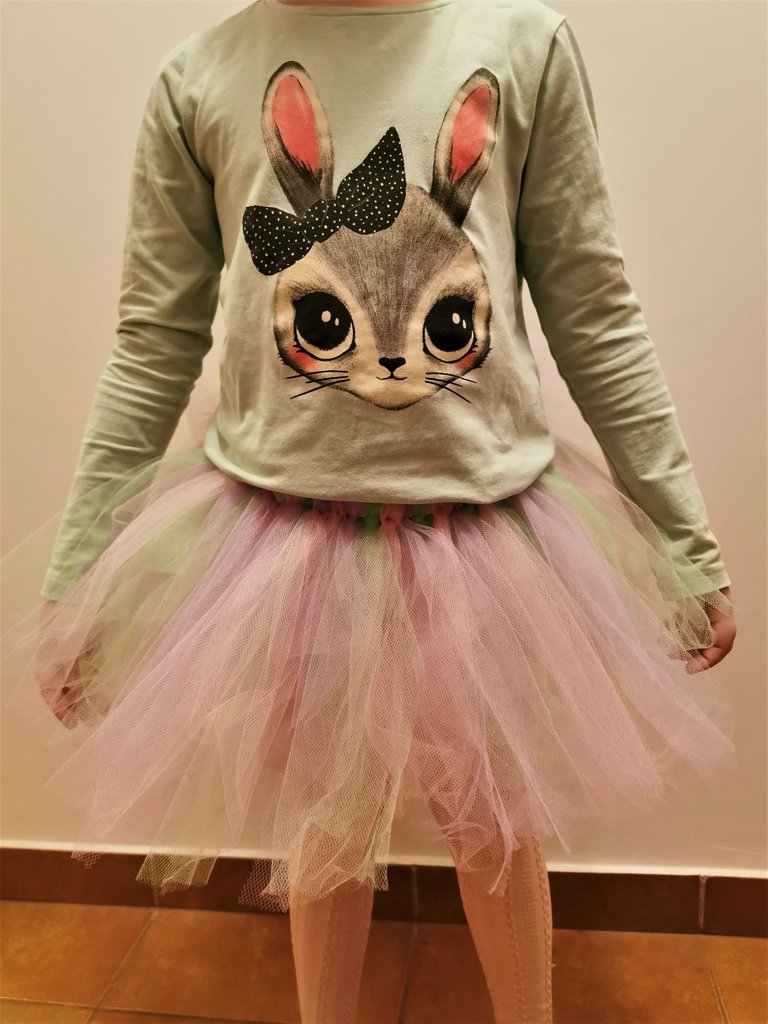
This picture was taken while the light wasn't at best, sorry for that, but it's a 3 colored tutu. For the matching barbie tutu, I used two of the colors as three would have been a bit too much for that tiny size.
Thanks for stopping by!
My Previous Tutu Tutorials
In case you want to explore what kind of tutu you prefer, as there are so many options, I'd advise you to explore my previous tutu tutorials so you can make a comparison. Each tutorial shows a different sort of tutu. Below are the links:
DIY Tutu partially made from recycled material
DIY Tutorial Baby Tutu X-mas style 3 layers
DIY Low Budget Newborn Tutu

Let's Connect
If you want to connect, give me a follow on my socials:
https://twitter.com/makehivethrive/status/1464916965055729667
The rewards earned on this comment will go directly to the person sharing the post on Twitter as long as they are registered with @poshtoken. Sign up at https://hiveposh.com.
Congratulations @thisismylife! You have completed the following achievement on the Hive blockchain and have been rewarded with new badge(s):
Your next target is to reach 2500 comments.
You can view your badges on your board and compare yourself to others in the Ranking
If you no longer want to receive notifications, reply to this comment with the word
STOPTo support your work, I also upvoted your post!
Check out the last post from @hivebuzz:
Thank you for sharing this amazing post on HIVE!
Your content got selected by our fellow curator @rezoanulvibes & you just received a little thank you via an upvote from our non-profit curation initiative!
You will be featured in one of our recurring curation compilations and on our pinterest boards! Both are aiming to offer you a stage to widen your audience within and outside of the DIY scene of hive.
Join the official DIYHub community on HIVE and show us more of your amazing work and feel free to connect with us and other DIYers via our discord server: https://discord.gg/mY5uCfQ !
If you want to support our goal to motivate other DIY/art/music/homesteading/... creators just delegate to us and earn 100% of your curation rewards!
Stay creative & hive on!
Thanks for the support @diyhub & @rezoanulvibes
You're welcome!
Manual selection by @cliffagreen.
Thanks for the support @cliffagreen!