[Esp/Eng] ✨Organizador para la habitación. // Room organizer .✨
✨🗃🌼¡Hola amigos amantes de la creatividad! Espero que hayan pasado un muy buen comienzo de semana.🌼🗃✨
🔸Sin más que añadir, a continuación los dejo con el paso a paso:
✨🗃🌼¡Hello friends who love creativity! I hope you had a very good start to the week.🌼🗃✨
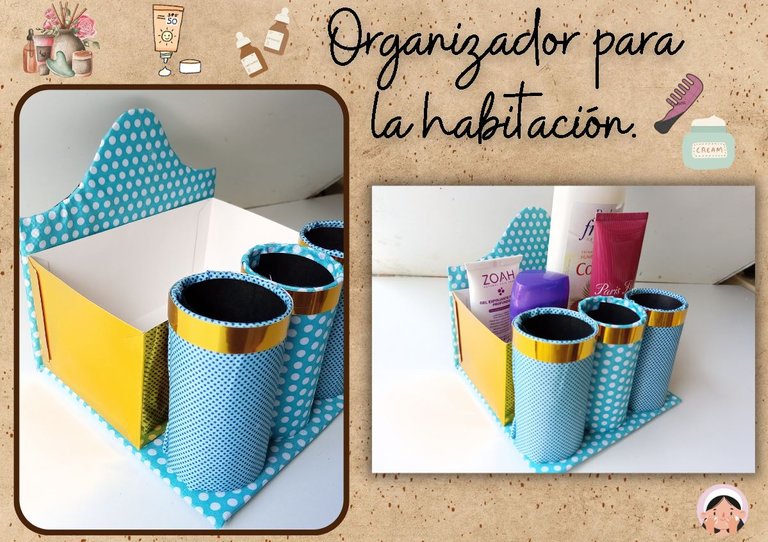
I hope you are well and that you had a good Monday. This time I share the step by step to make a beautiful organizer for the room. Organizers are super handy and really help us keep everything organized. A few days ago, as a participant in a nice initiative, I put on record that when I started hive one of my recurring creations were the organizers, because it is something I love to do because we need few materials or mostly we have them at home.
This time, I urgently needed an organizer for my body and skincare creams, so I got to work drawing the idea I had in mind, and then bringing it to reality. Also, add a couple of compartments using paper rolls to put some combs. Once ready, I was totally satisfied with the result and the colors I selected.
🔸Without more to add, then I leave you with the step by step:
♥️ESPERO QUE TE GUSTE,
¡Empecemos!
♥️I HOPE YOU LIKE IT,
Let's start!

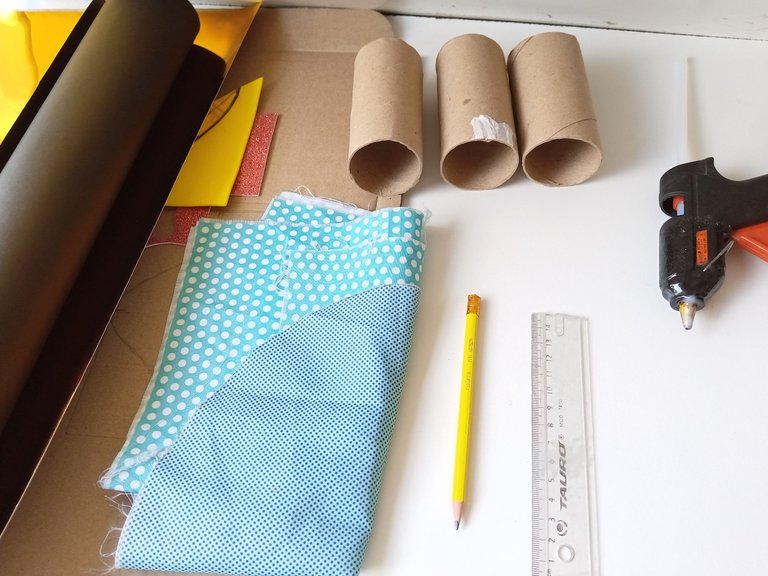
🌼 MATERIALES | 🌼 MATERIALS
- Cartón grueso.
- Rollos de papel.
- Cartulina metalizada dorada.
- Cartulina escolar negra (opcional).
- Tela (color y diseño de preferencia).
- Pegamento.
- Regla.
- Tijera.
- Lápiz.
- thick cardboard.
- Paper rolls.
- Gold metallic cardboard.
- Black school cardboard (optional).
- Fabric (color and design of preference).
- Glue.
- Ruler.
- Scissors.
- Pencil.
PROCEDIMIENTO | PROCESS
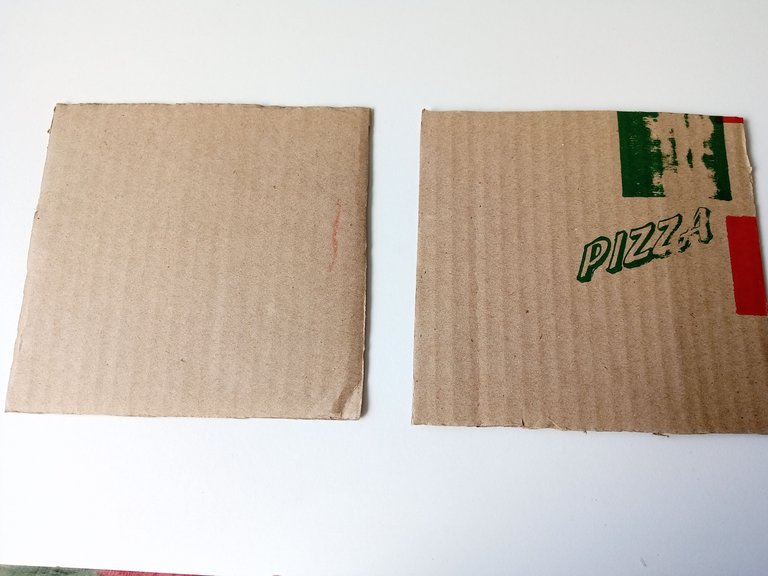
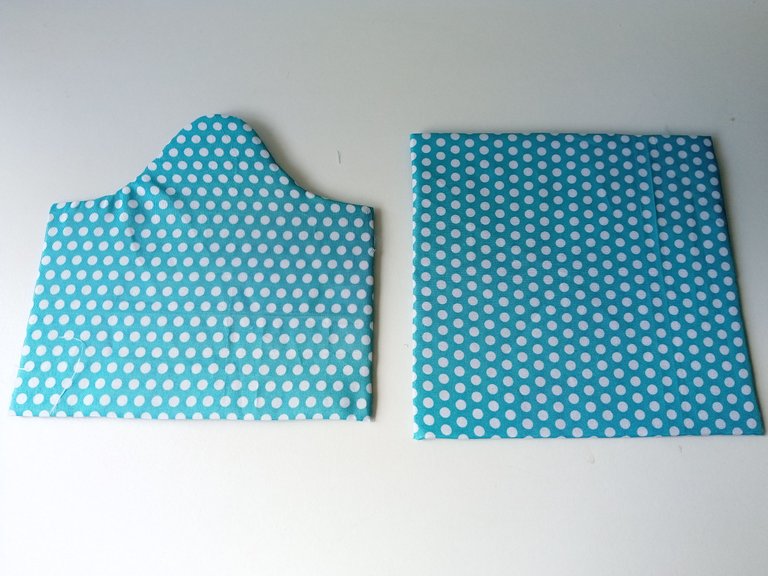
- PASO 1:
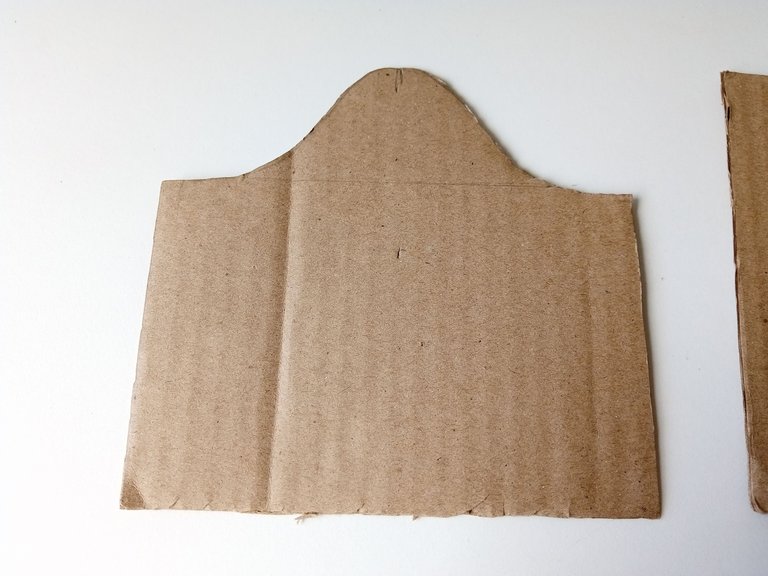
Lo primero que hice fue trazar y recortar dos cuadrados de 16 cm x 16 cm. Luego, en uno de los cuadrados dibujé un diseño curvo en lo que sería la parte superior, para que se viera un poco más elegante.
- STEP 1:
The first thing I did was trace and cut out two 16 cm x 16 cm squares. Then, on one of the squares I drew a curved design on what would be the upper part, to make it look a little more elegant.
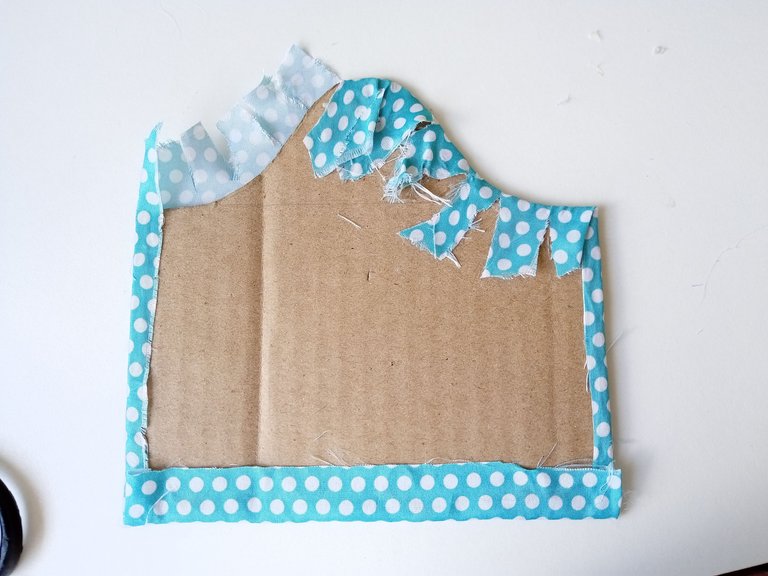
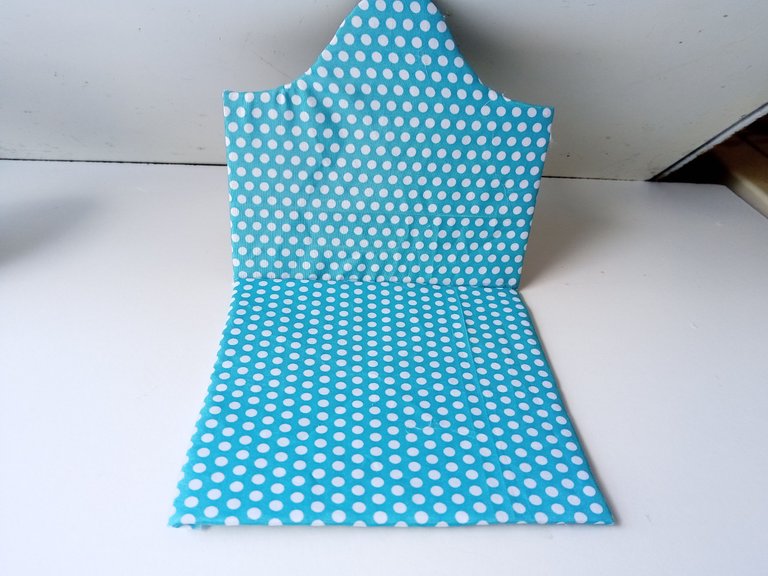
- PASO 2:
Luego de esto, tomé la tela y la corté 1 cm más grande que cada una de las piezas y las forré, pegándolas con silicona caliente. Para la parte de la pieza con diseño curvo, simplemente la corté en tiras y las pegué una a una para darle forma y tener un mejor acabado.
- STEP 2:
After this, I took the fabric and cut it 1 cm larger than each of the pieces and lined them, gluing them with hot silicone. For the part of the piece with a curved design, I simply cut it into strips and glued one by one to give it the shape and have a better finish.
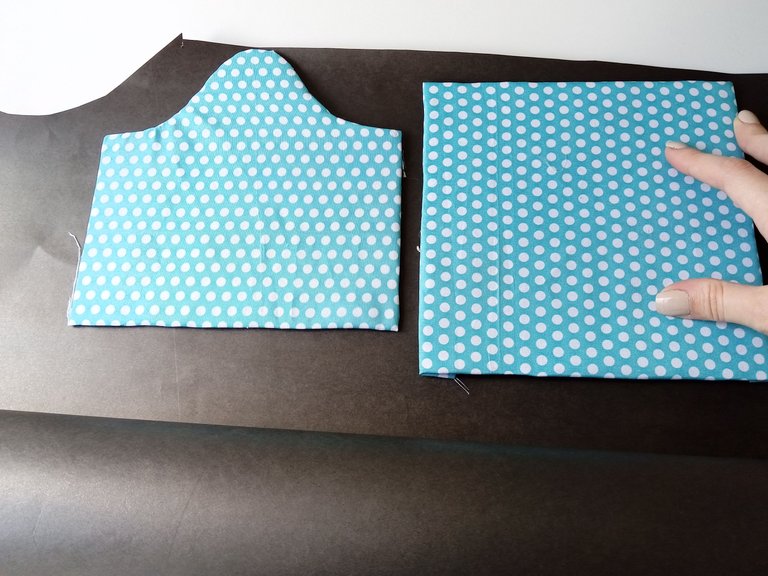
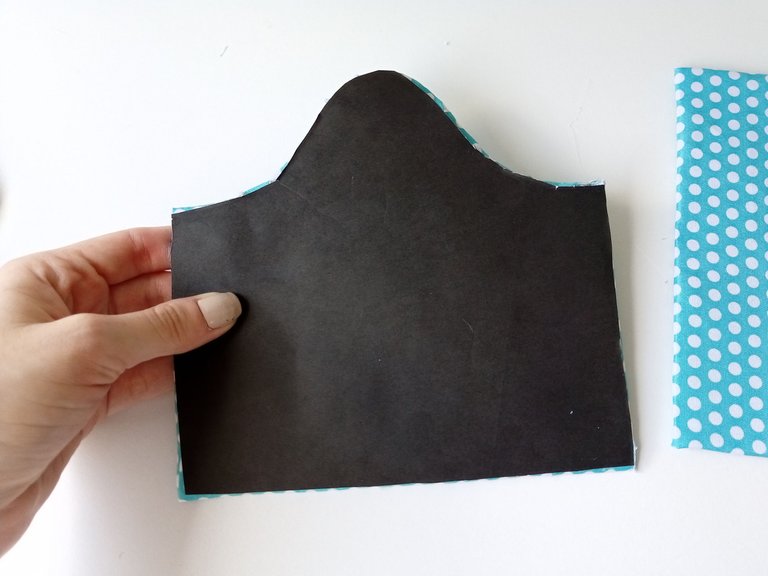
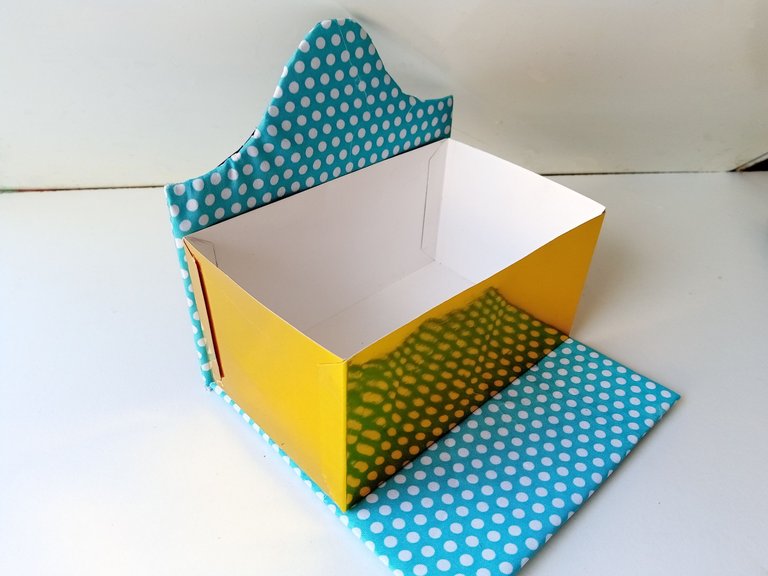
- PASO 3:
Para que se vea mucho más prolijo, en la parte de atrás de cada pieza, pegué cartulina negra y recorté dando la forma de cada pieza y luego, pegué ambas piezas dejando como base el cuadrado y la pieza con la forma curva en uno de sus lados, de forma vertical.
📌La parte de la cartulina negra es opcional, o pueden utilizar la cartulina o tela de preferencia, es simplemente, para que tenga un mejor acabado.
- STEP 3:
To make it look much neater, on the back of each piece, I glued black cardboard and cut out the shape of each piece and then, I glued both pieces, leaving the square as the base and the piece with the curved shape in one of its sides, vertically.
📌The part of the black cardboard is optional, or you can use the cardboard or fabric of preference, it is simply, so that it has a better finish.
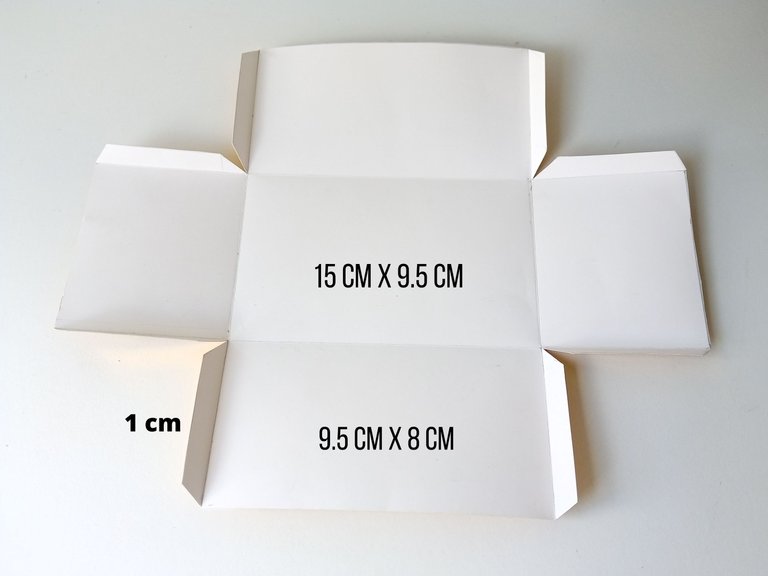
- PASO 4:
Ahora es momento de hacer el compartimento más grande, para hacerlo, decidí elaborar una cajita simple, guiándome por las medidas de lo que ya tenía armado. Las medidas fueron las siguientes: Base de 15 cm x 9.5 cm. Paredes de 9.5 cm x 8 cm y pliegues de 1 cm.
Recorté, doblé cada una de las partes y pegué en el orden correspondiente. En mi caso, decidí hacer dobles pliegues para pegar uno por dentro y otro por fuera, no era por algo en concreto, solo quería darle ese aspecto.
Luego, pegué la caja a la base y a la pieza trasera para que quede firme.
- STEP 4:
Now it's time to make the compartment bigger, to do it, I decided to make a simple box, guiding myself by the measurements of what I already had assembled. The measurements were as follows: Base 15 cm x 9.5 cm. Walls of 9.5 cm x 8 cm and folds of 1 cm.
I cut out, folded each of the parts and glued in the corresponding order. In my case, I decided to make double folds to glue one on the inside and the other on the outside, it wasn't for something specific, I just wanted to give it that look.
Then I glued the box to the base and back piece to make it firm.

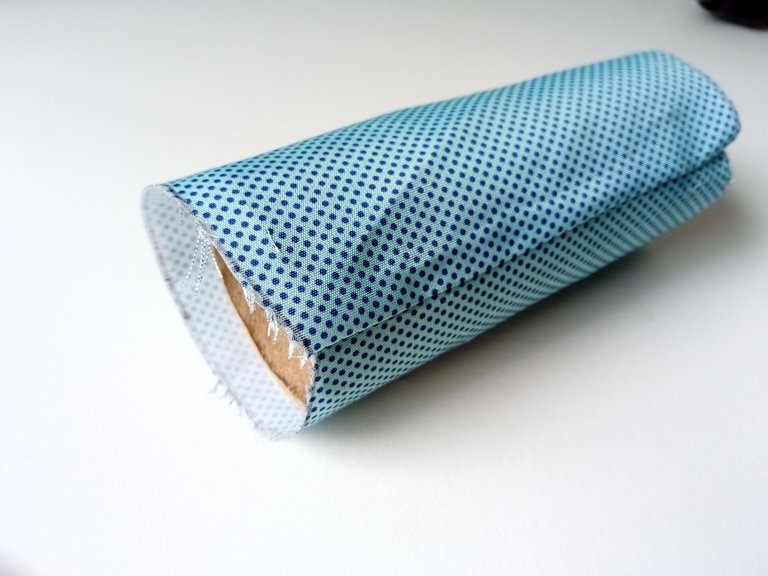
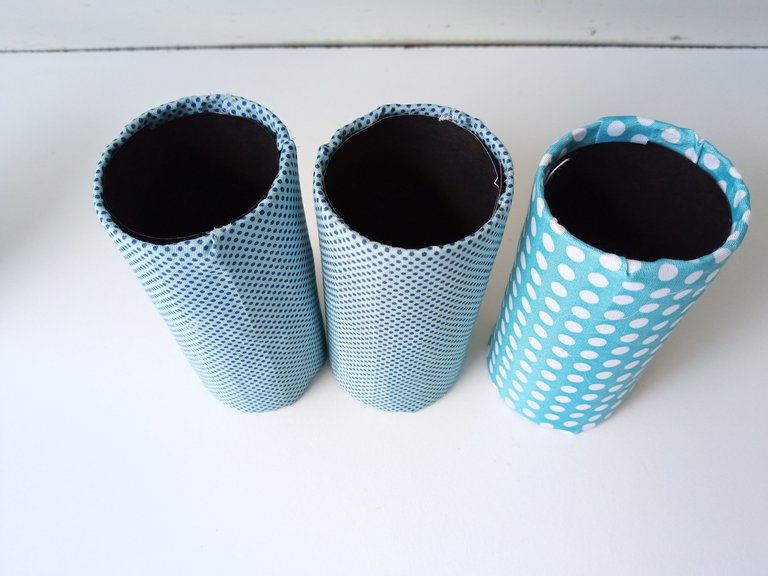
- PASO 5:
Por otro lado, forré 3 rollos de papel con otro diseño de tela, menos uno. Simplemente, medí el largo y el ancho del rollo y corté la tela 1 cm más grande en todos los lados y forré. Para que el interior se viera mucho más prolijo, pegué cartulina escolar negra.
- STEP 5:
On the other hand, I lined 3 rolls of paper with another fabric design, except one. I simply measured the length and width of the roll and cut the fabric 1 cm larger on all sides and lined. To make the inside look much neater, I glued on black school poster board.
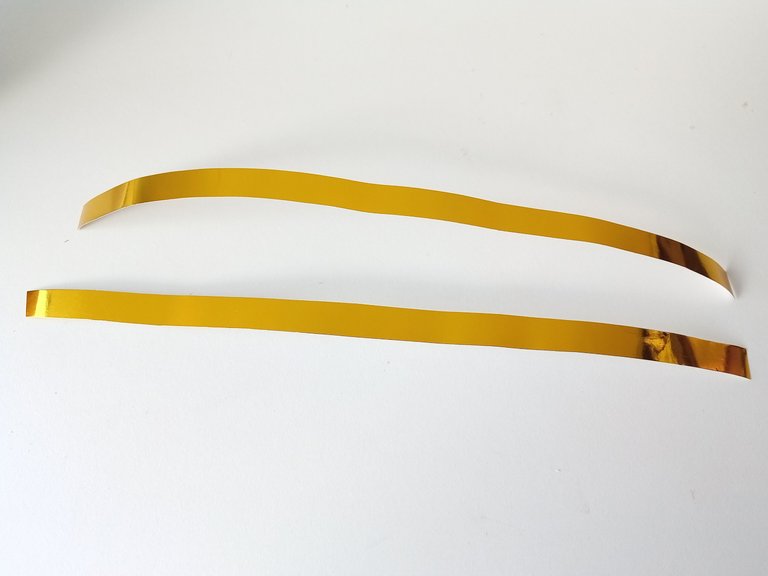
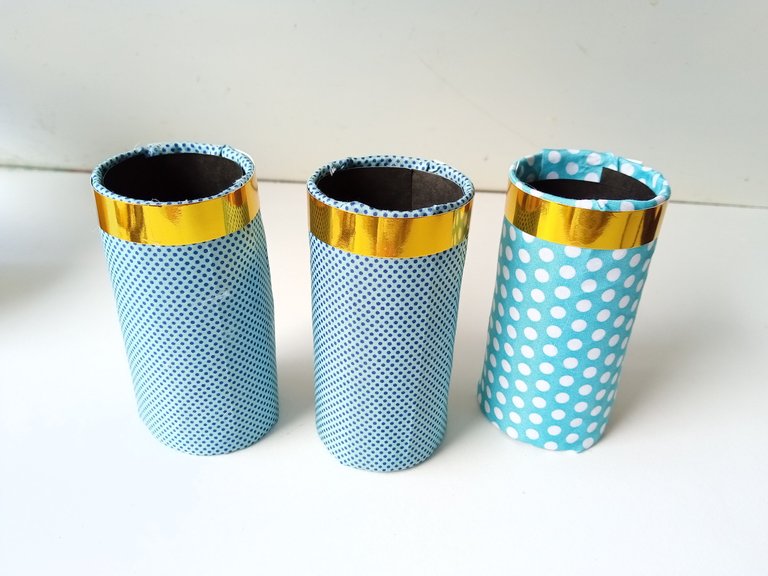
- PASO 6:
Para darles un toque más fino, corté unas tiras de 1 cm de ancho y las pegué por todo el borde superior de cada uno de los rollos. Finalmente, pegué los rollos frente a la caja.
- STEP 6:
To give them a finer touch, I cut 1 cm wide strips and glued them all over the top edge of each of the rolls. Finally, I glued the scrolls in front of the box.

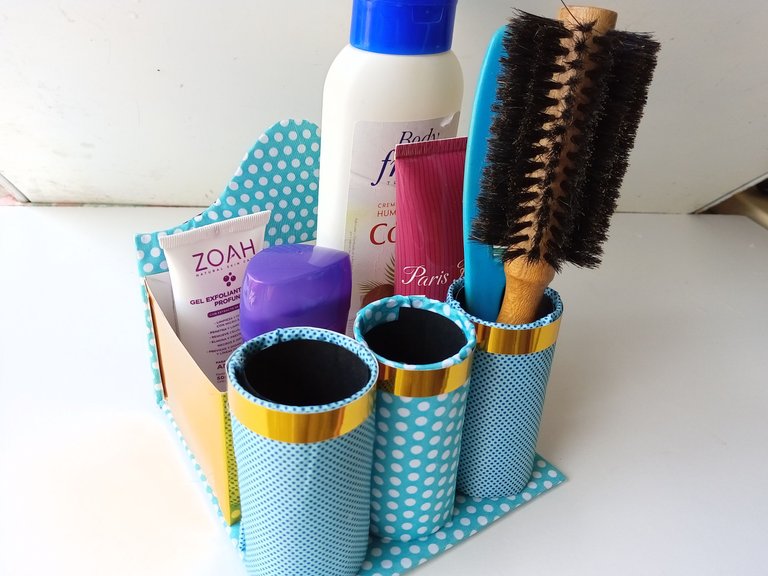
✨🗃🌼¡Y listo!🌼🗃✨ De esta forma super sencilla, podemos elaborar un bonito y practico organizador para las cremas, peines y todas esas cositas de higiene que queramos tener organizadas. Puedes utilizar los diseños o colores de preferencia. Puedes guiarte por las medidas que yo utilicé o elaborar uno más grande que sea ideal para ti. Espero les haya gustado el paso a paso y se animen a elaborarlo.
❤️ Hasta la próxima publicación.
✨🗃🌼¡And ready!🌼🗃✨ In this super way we can make a beautiful and practical organizer for creams, combs and all those hygiene things that we want to have simply organized in this organizer. You can use the designs or colors of preference. You can be guided by the measurements I used or make a larger one that is ideal for you. I hope you liked the step by step and you are encouraged to elaborate it.
❤️ Until the next post.
✨RESULTADO: | ✨RESULT:


Todas las fotografías son de mi propiedad.
Separador y Fotos editadas en Canva
All photographs are my property.
Photos edited in Canva
Me enamoré, necesito uno de estos in my life🙈❣️
Mandame uno chami, esos colores que elegiste waaaw todo un amor, y como siempre un paso a paso súper explicado..
Gracias por compartir amiga de mi corazón 💖✨
Ay amiga!!! Tu eres mi fan 🥺 siempre me dices cosas lindas.
Bueno, yo también ame la tela, ya no me queda, solo para la mi i flor que hice hace unos días.
Gracias por comentar amiga bella.💕
Pero qué hermosura! Quiero algo así y Olivia también jajajajaa
Jaja Gracias mi Eve y Olivia bella !💕
Yay! 🤗
Your content has been boosted with Ecency Points, by @valenpba.
Use Ecency daily to boost your growth on platform!
Support Ecency
Vote for new Proposal
Delegate HP and earn more
The organisers look very stylish and simple to make. Nicely.
Thank you so much! I am very glad that it was to your liking. Thank you very much for supporting me.💕
Te quedó precioso ese organizador como siempre mi Valen, eres toda una artista con los organizadores, todas tus ideas son hermosas y prácticas y esta no es la excepción. Yo siempre ando necesitando organizadores así para guardar mis cositas porque ya no tengo espacio pero no me he puesto a elaborarlos, pero viendo tu idea creo que lo intentaré. Gracias por compartir ami 😍
Hermoso organizador!
!discovery 40
Muchas gracias por el apoyo amigo ! ✨
This post was shared and voted inside the discord by the curators team of discovery-it
Join our Community and follow our Curation Trail
Discovery-it is also a Witness, vote for us here
Delegate to us for passive income. Check our 80% fee-back Program
Amiguita, te quedó super lindo, amaría tener uno para colocar todos mis marcadores y bolígrafos, creo que apuntaré los materiales que necesito y me pondré manos a la obra jeje
Feliz tarde mi niña, besitos inmensos!
esos rollos de apego son tan útiles para manualidades jejeje tu eres experta con ellos amii jajaja más bellooo esto😍
Te quedo muy linda, los colores son hermosos, bien explicado y fácil.
Muchas gracias ! Me alegra que te haya gustado. Intenté no utilizar muchos colores o tonos distintos, pues quería que tuviera una armonía.
Muchas gracias por comentar.💕
Wowww. En serio te quedó demasiado lindo . Yo necesito organizadores para mis cositas. Debería intentar hacer uno.
Muchas gracias por el tutorial, ami ❤️❤️
¡Hermoso! Bastante funcional y se ve súper delicado y bonito.💙✨
Lo amé, me encantaron los colores, me encantó lo delicado y elegante que se ve, super prolijo amiga
Muchas gracias bella! Me alegra leer que así sea.
No estaba muy segura de los colores, pero al ver el resultado, quedé fascinada.
Saludos 💕
Mi Valen, definitivamente este es uno de tus fuertes. Realmente todo lo que haces te queda super hermoso y original, me encantó este organizador sobre todo el colorcito azul 🥰