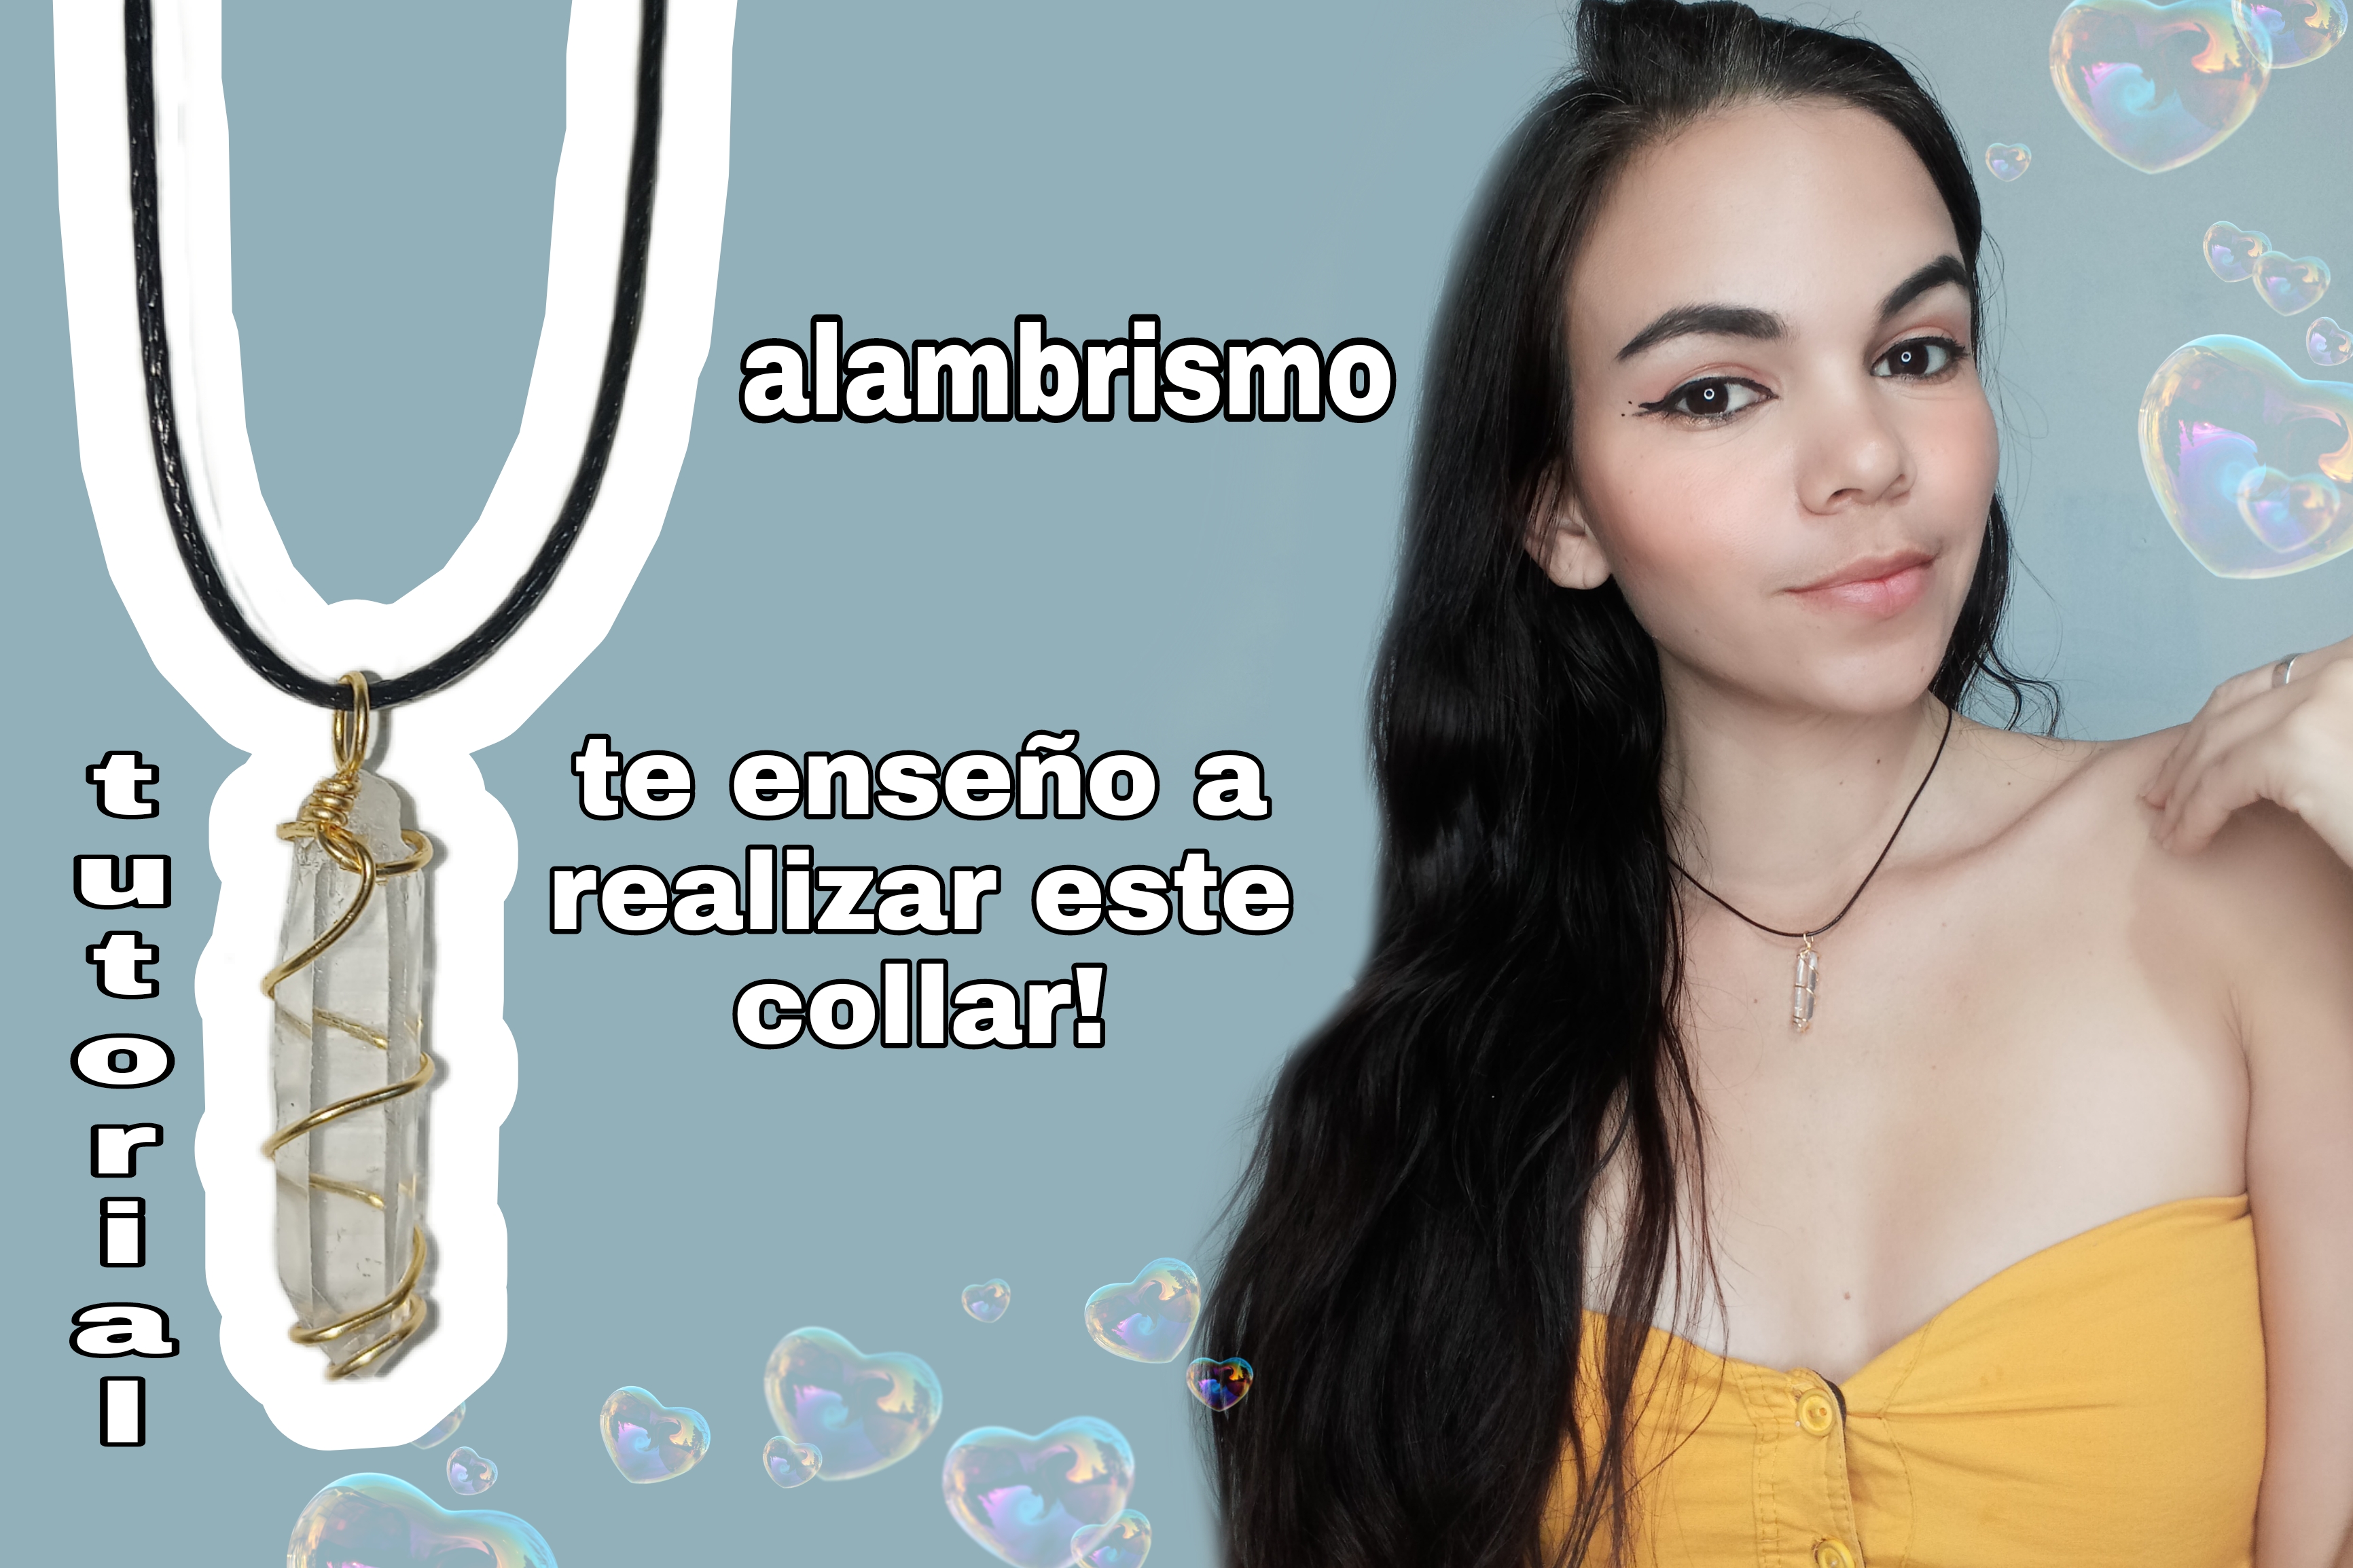
TUTORIAL: ELABORACIÓN DE COLGANTE PASO A PASO! / ELABORATION OF PENDANT STEP BY STEP!/ ! ESP/ENG
diseño creado en PicsArt,Margarita, Edo Nueva Esparta-Venezuela
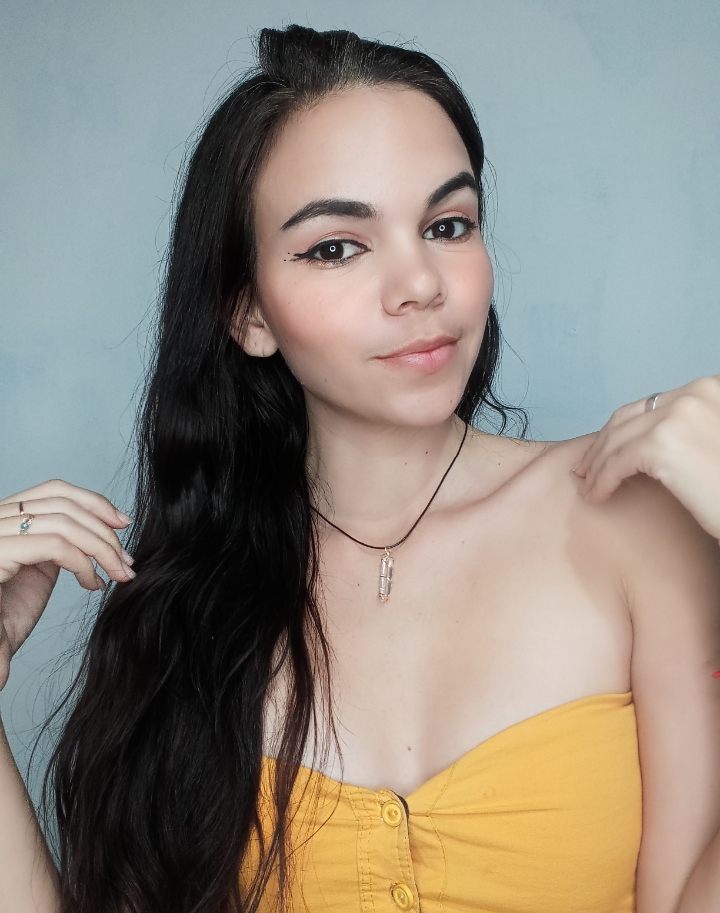
Hello creative friends of #jewelry, I am happy to greet you again, he stopped by today happy to be able to return, I am here to share with you a tutorial where I explain step by step step how to make this cute pendant! I did it with the wire rope technique, here I will explain how to make it lined with quartz and how to make the clasps to the neck.
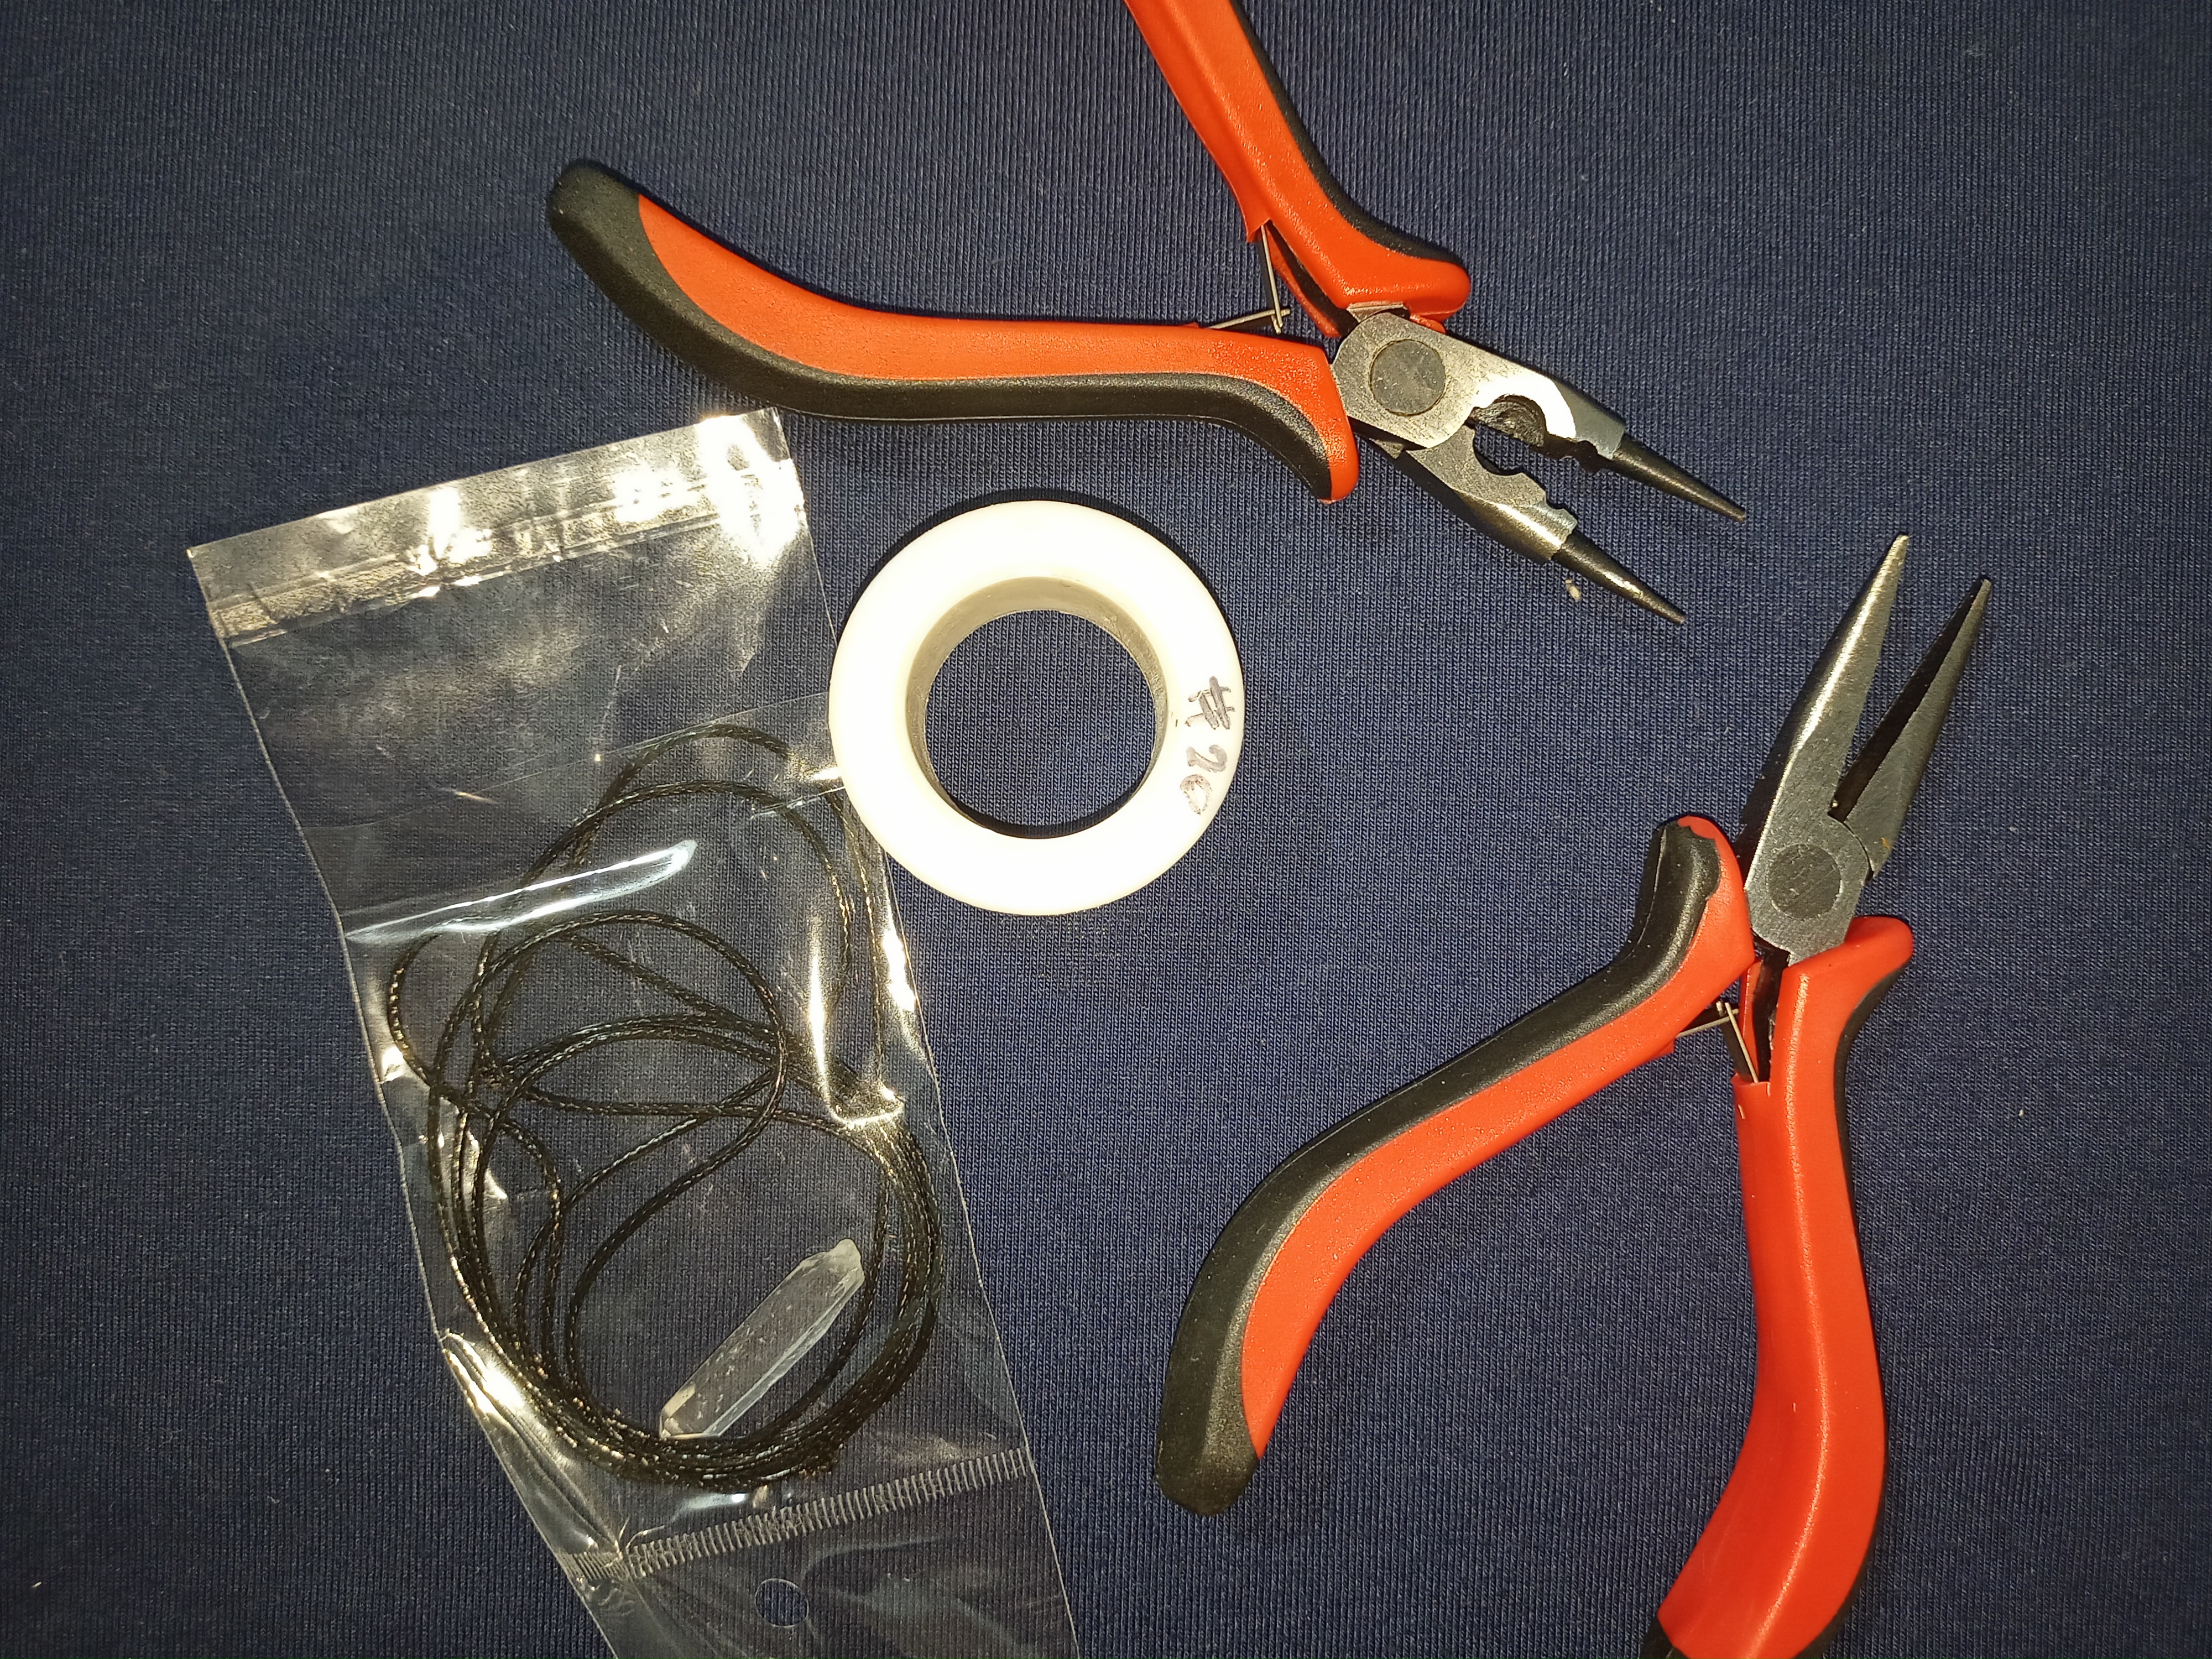
I hope you like this small step by step since I really liked creating it and mainly sharing it with you, you will see how easy it is to make it and I will try To be as explicit as possible in this tutorial, it is my first time doing it, so without further ado, here are the steps to follow. This time we will use the following materials:
MATERIALES
- 15 cm aprox de alambre calibre 20
- Pinza plana.
- pinza punta redonda.
- 1 piedra de cuarzo.
- cuerillo para el colgante.
MATERIALS
15 cm approx 20 gauge wire
- Flat clamp.
- Round nose pliers.
- 1 quartz stone.
- Neck for the pendant.
STEP BY STEP
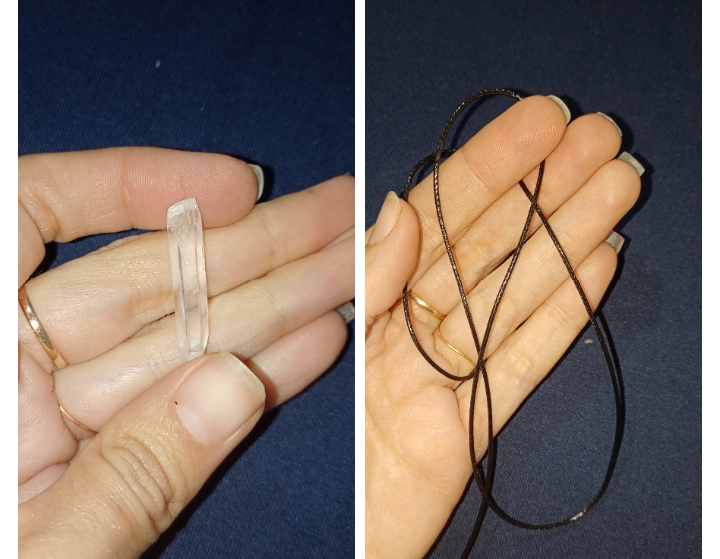
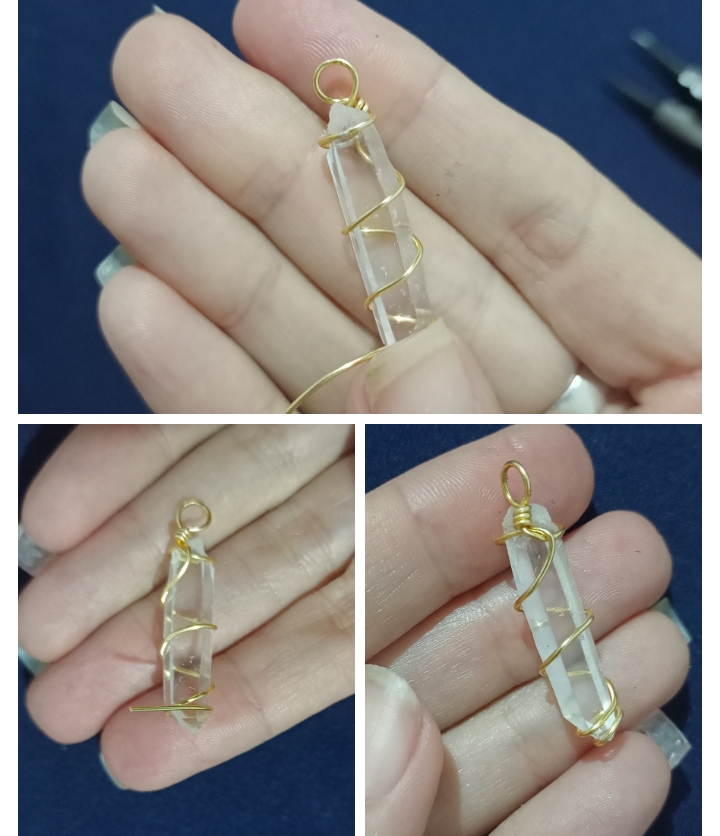
1 . This will be the quartz and the cuerillo that we will use! The color is your choice!
2 . First take the copper wire and with the round nose pliers make a ring leaving approximately one centimeter, we will use this to wind the base of the ring.
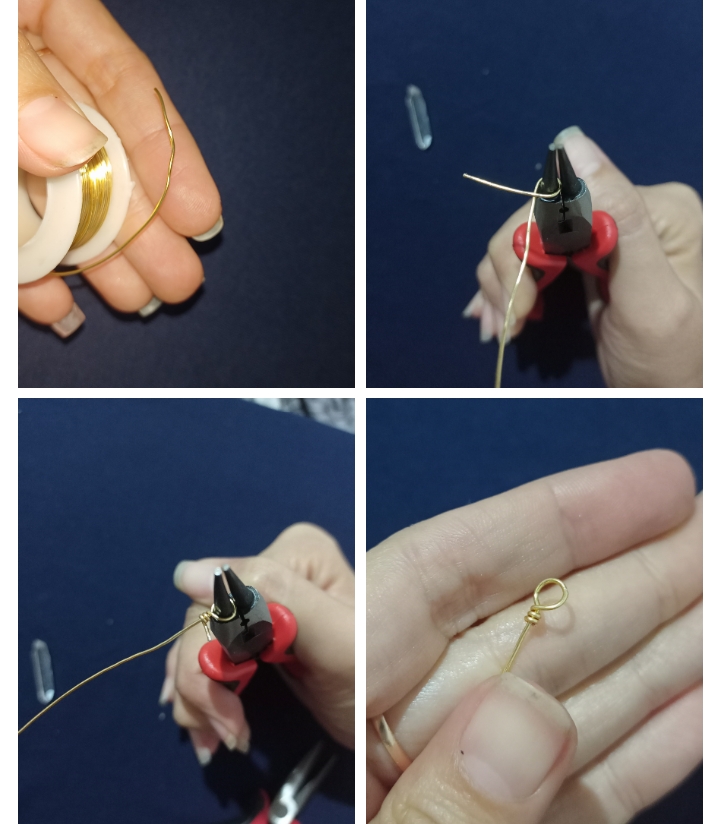
3 . Position the piece of quartz on top of the wire to position the ring where you wanted it to be.
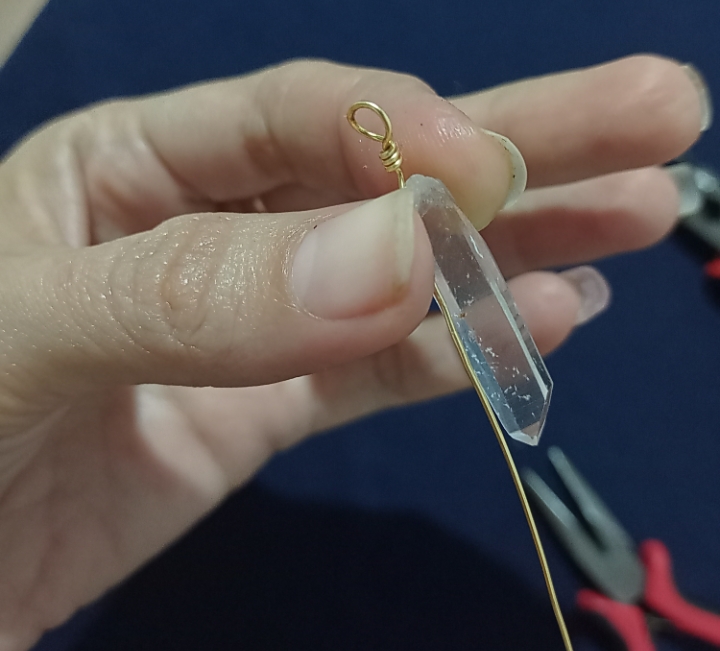
4 . To make it a little easier, I took the round tip pliers and made a kind of ring, here I placed the first part of the quartz, this would help me to base the Grip.
5 . We will take the wire to the back where we will join it to the base of the main ring giving it a twist.
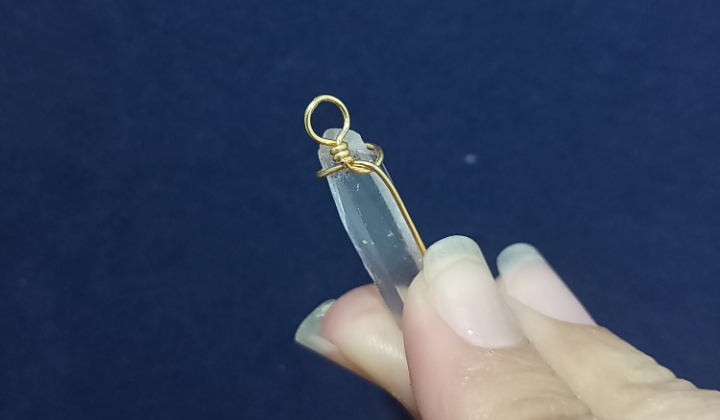
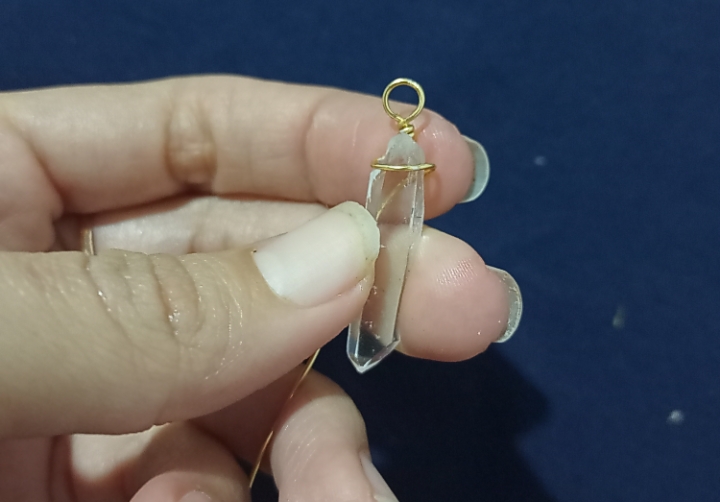
6 . Next we will take the wire in a spiral around all the quartz until we reach the bottom, we cut the excess wire and we take care that the final ring is small for that sustains and firmly.
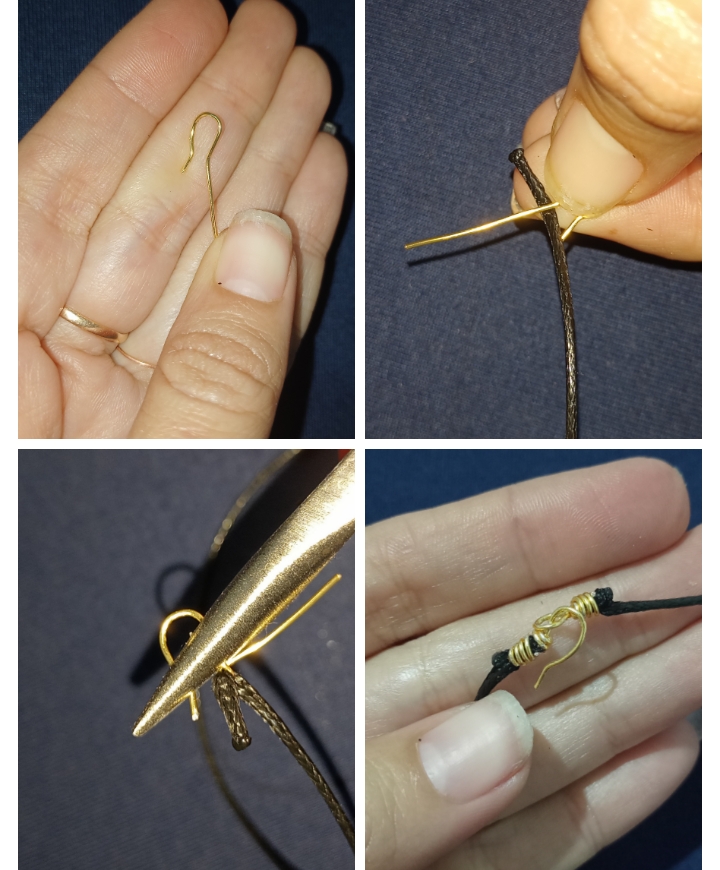
7 . Now, to make the clasps of the neck we will use wire of the same caliber, I make a turn leaving about 0.5 cm of the neck, then with the tip pliers round make a medium ring, fold the end of the neck joining it to the other and roll about 5 turns to secure.
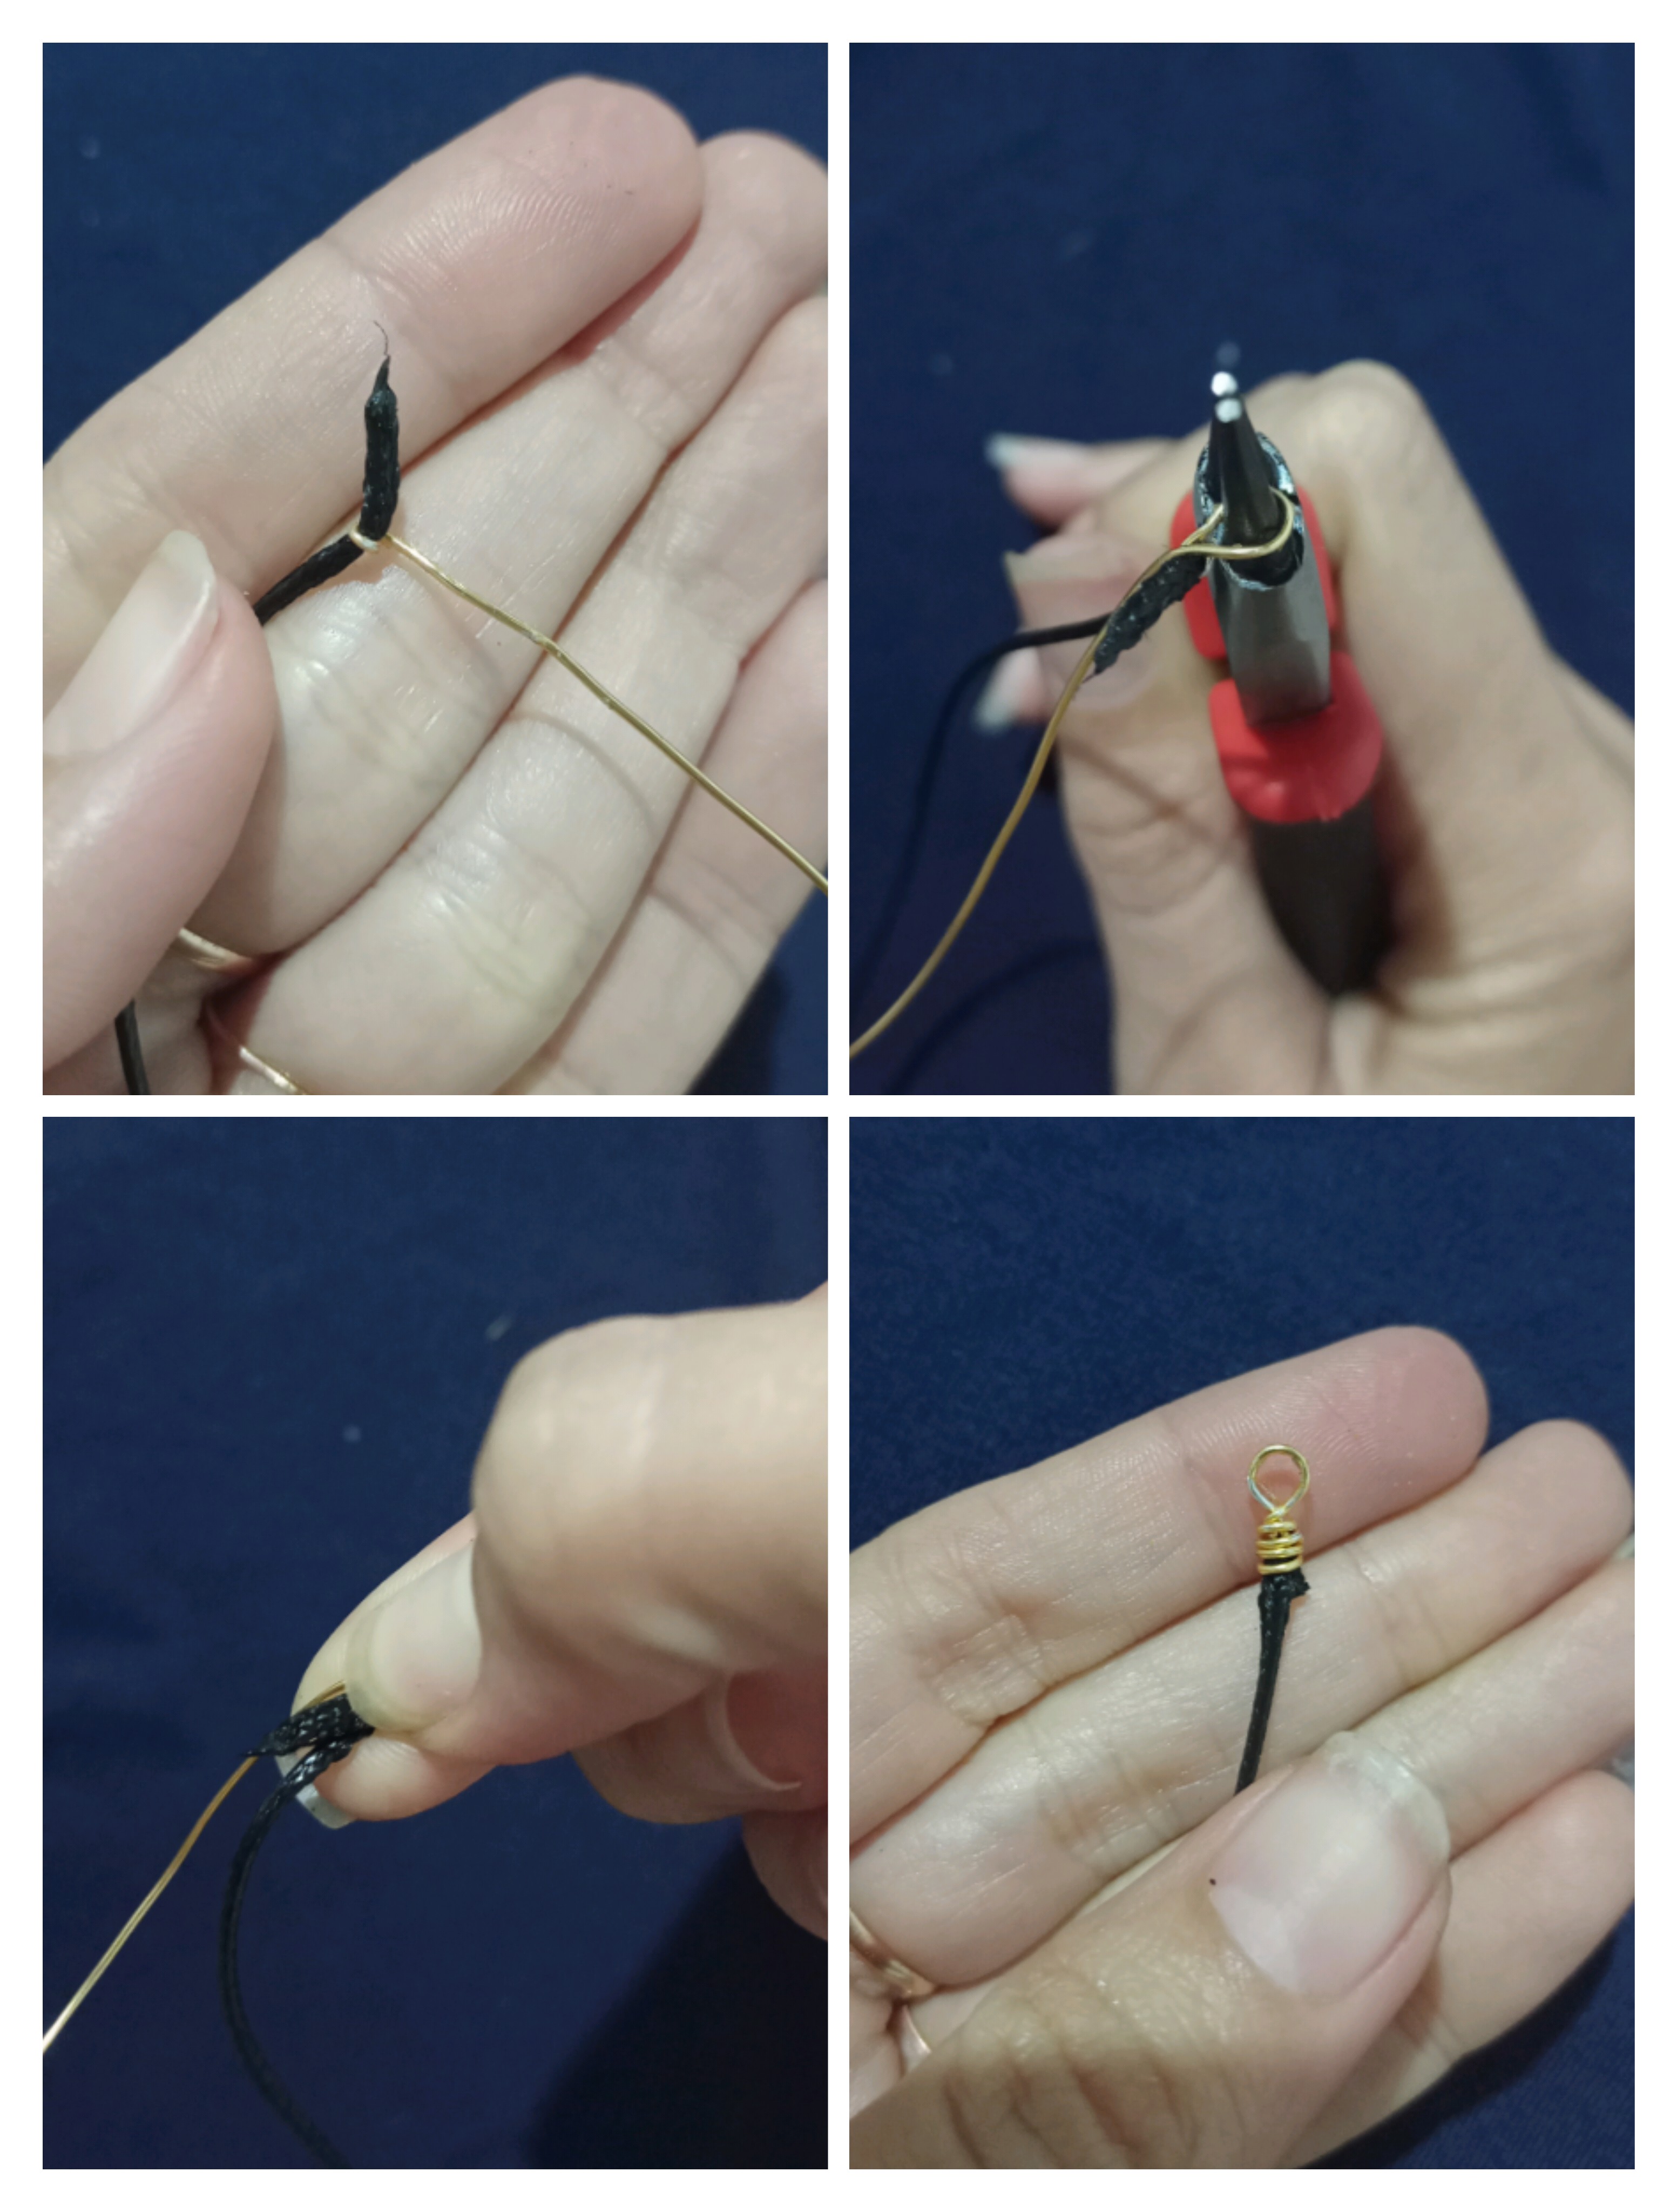
8 . To finish making the clasp at the other end I did the same procedure with the difference that instead of making a ring I made a kind of hook, in the same way I made five Rings down to secure.
And that's it, we'll have our new accessory ready, I really loved how it turned out and how it looks, I hope you'll be encouraged to try
RESULTADO FINAL
FINAL SCORE
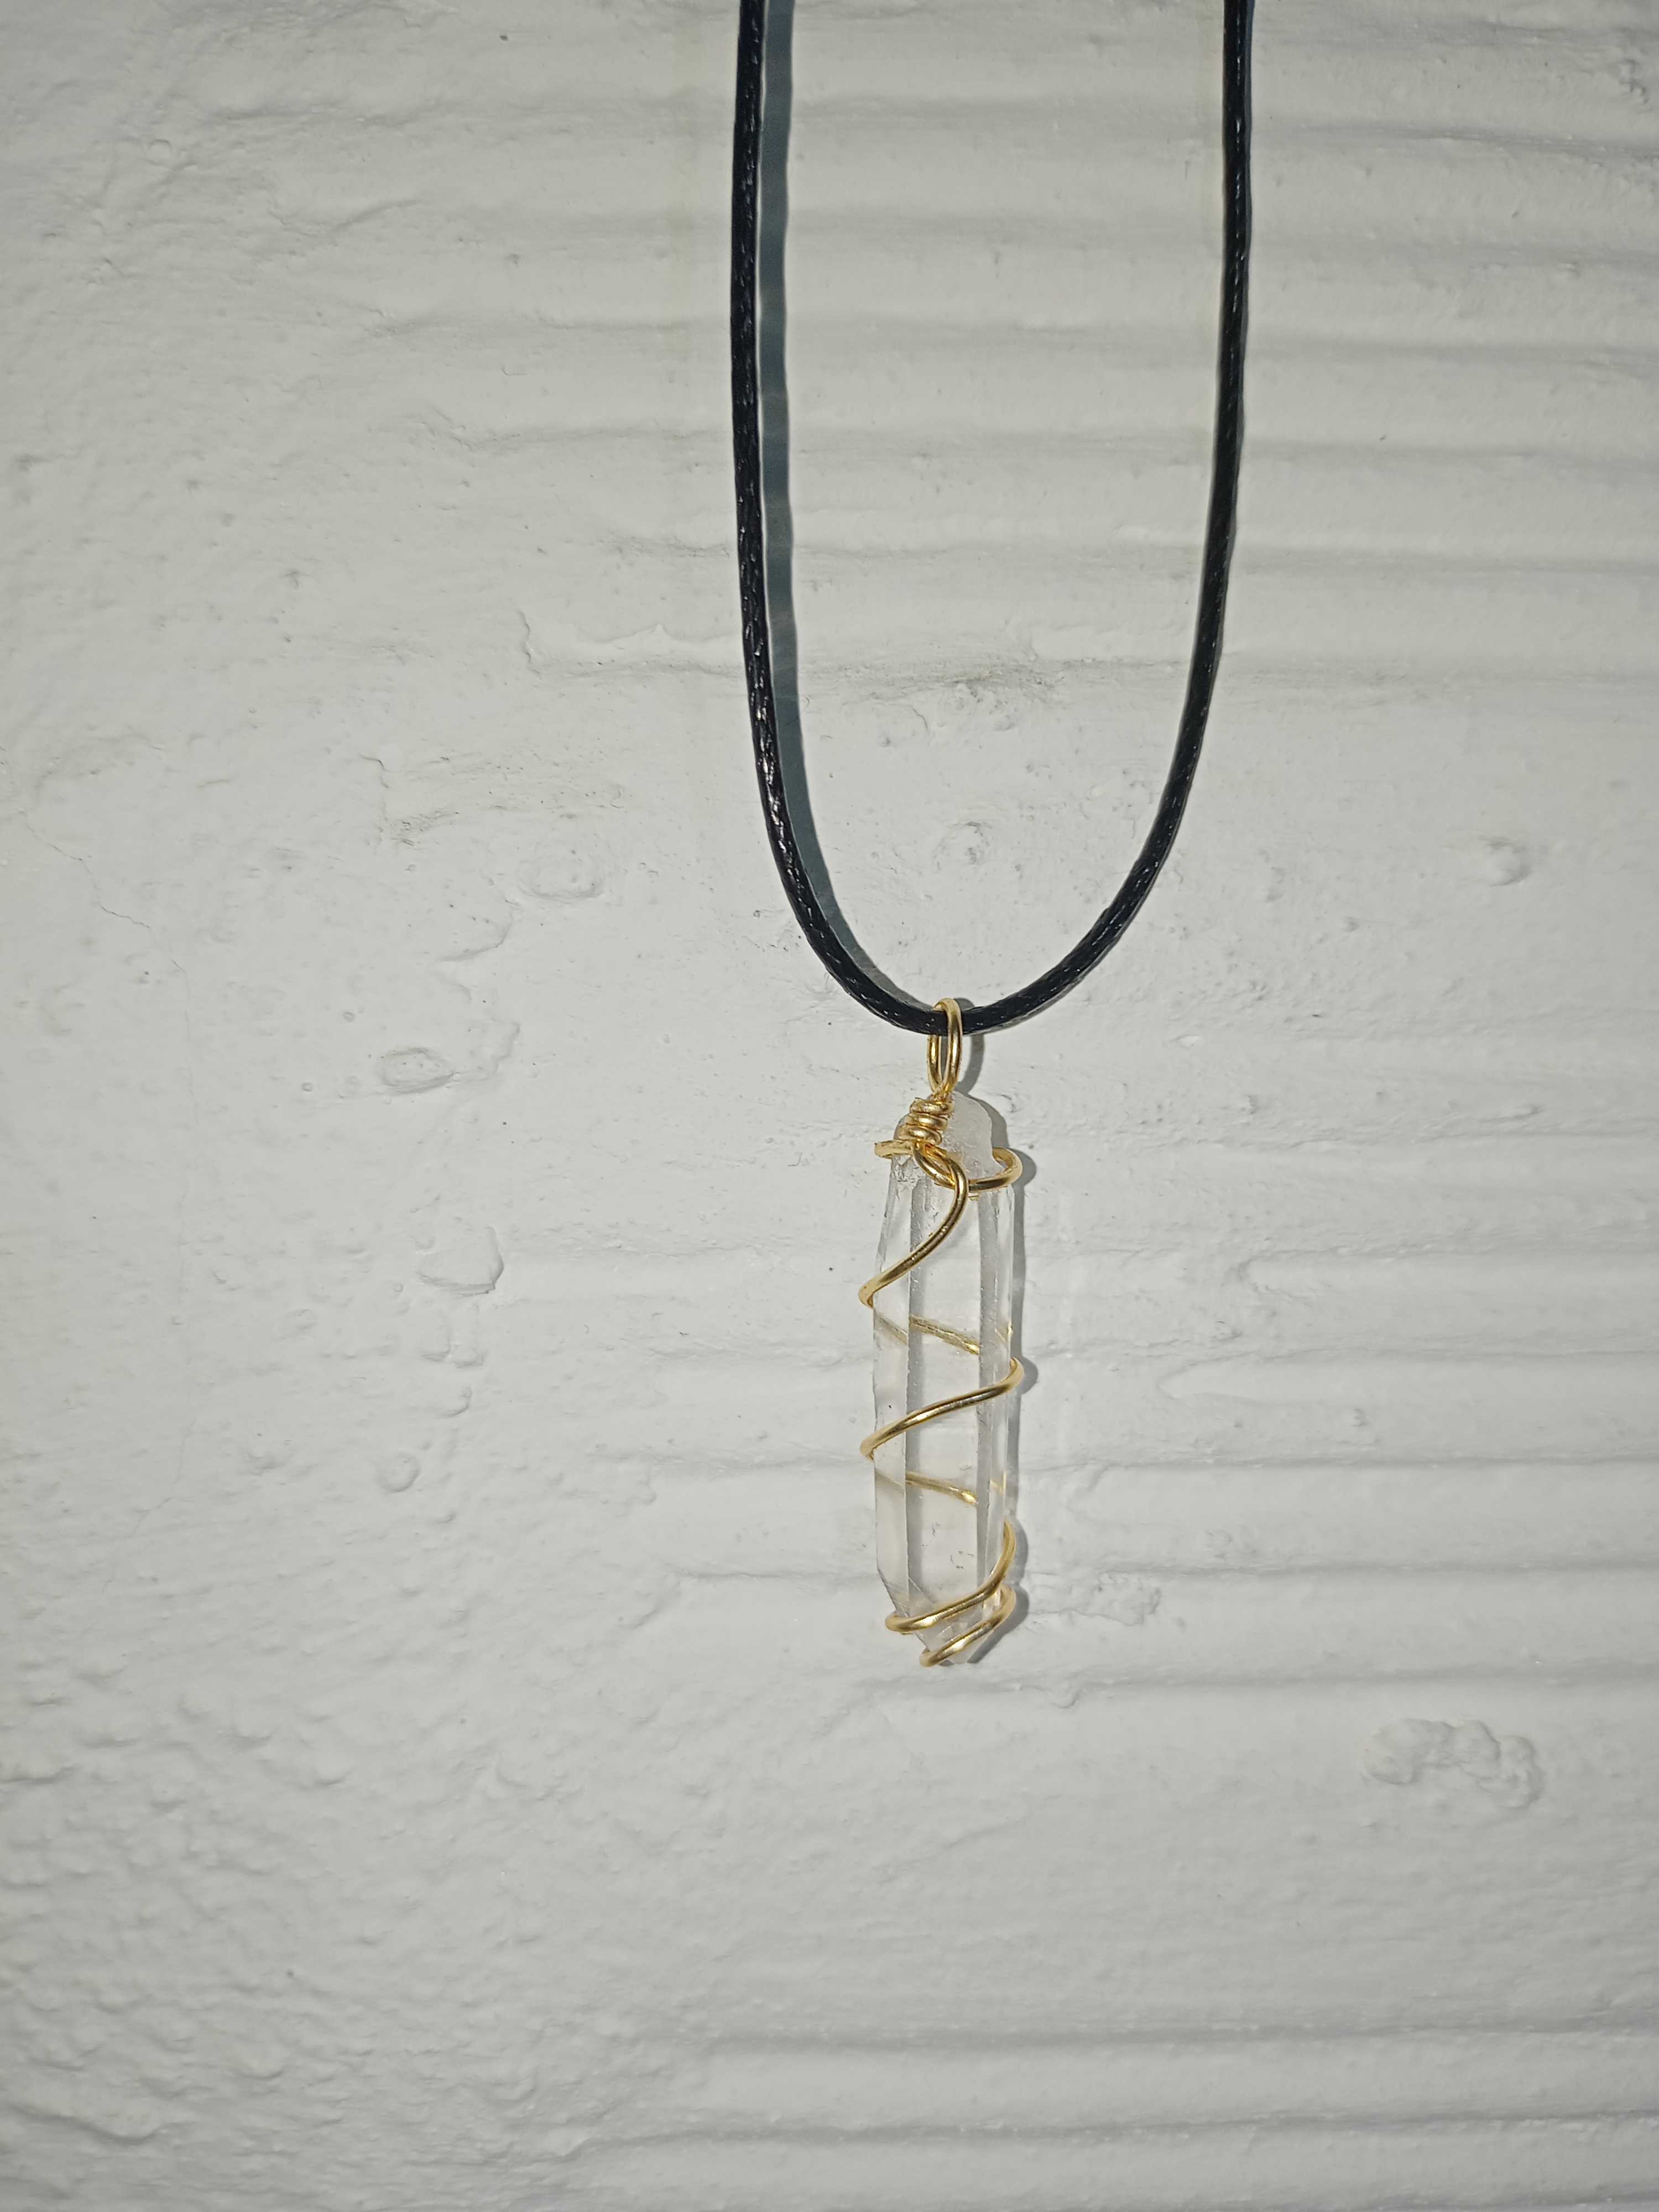
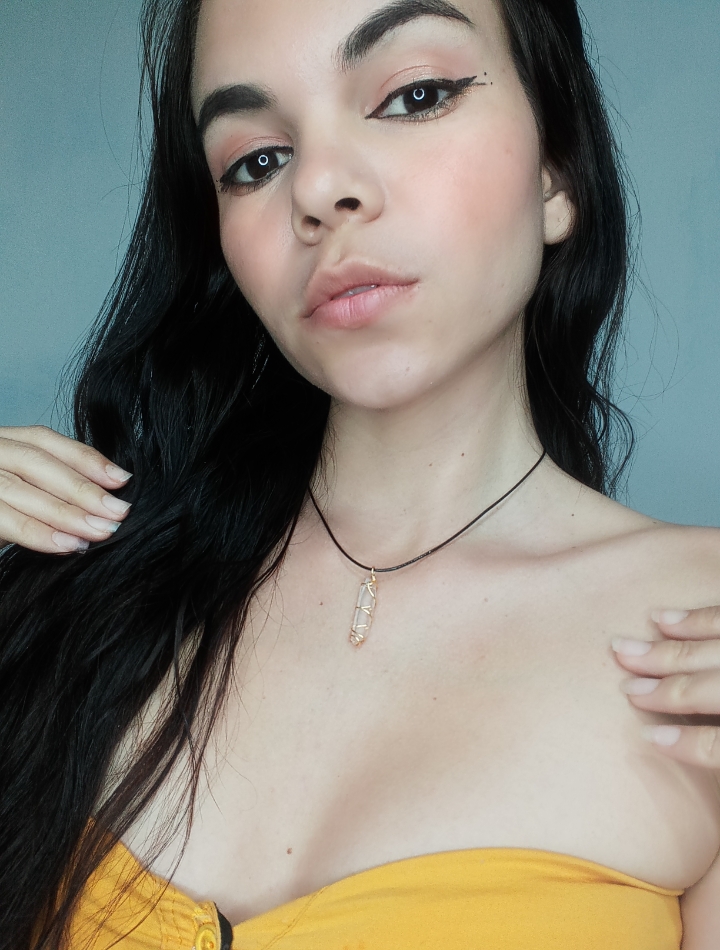
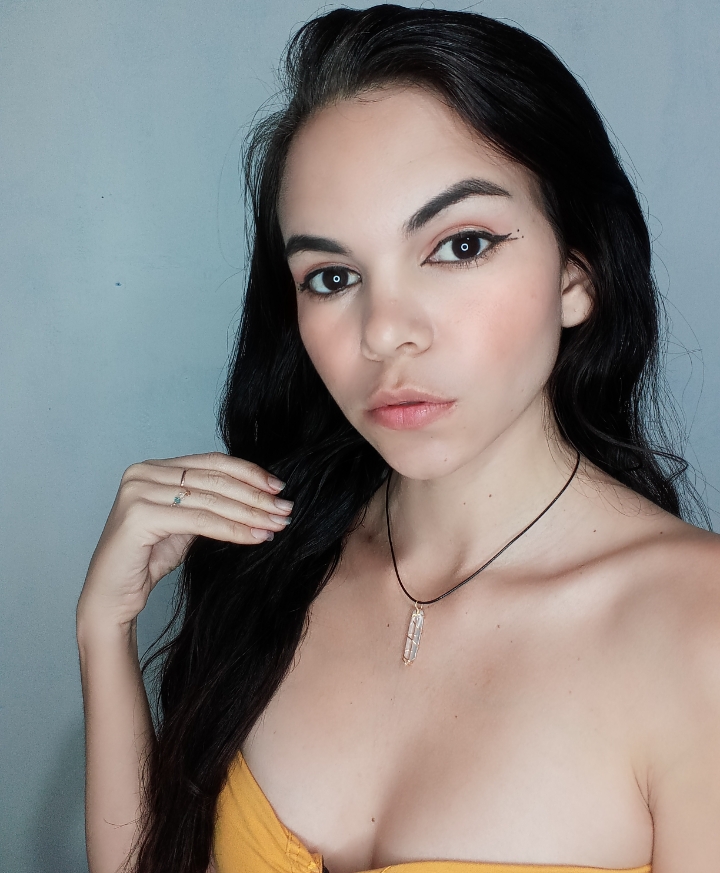
REMEMBER THAT YOU CAN GIVE IT YOUR PERSONAL TOUCH!
Happy to share with you friends of #jewelry one more of my projects, I hope you liked it! It was made with love and dedication😊
You can find more tutorials like this on my blog, it will be until a next opportunity!
Fotografías propias tomadas con mi REALME 7i
Contenido 100% exclusivo
Own photos taken with my REALME 7i
100% exclusive content
Thank you for sharing this post on HIVE!
Your content got selected by our fellow curator jasonmunapasee & you just received a little thank you upvote from us for your great work! Your post will be featured in one of our recurring compilations which are aiming to offer you a stage to widen your audience within the DIY scene of Hive. Next time make sure to post / cross-post your creation within the DIYHub community on HIVE and you will receive a higher upvote ;) Stay creative & HIVE ON!
Please vote for our hive witness <3
Un lindo colgante con un pequeño negaste, estos péndulos nunca pasan de moda, te ha quedado genial.
Gracias, me gusto mucho el resultado! ☺️
Es muy satisfactorio crear nuestros propios accesorios! Saludos. ☺️
Que lindo me encanta como se ven los collares de péndulo, sencillo y hermoso.
Que lindo hiciste un buen trabajo. Me encantan esos péndulos y siempre lucen sencillos pero hermosos.
Gracias por compartir tu bonita creación. Saluditos @venusl19 😘🥰🤗❤️✨🎄
Así es amiga, sencillo pero super lindo, gracias por tu visita ☺️