DIY PROCESS OF HOW I MADE A PAIR OF SANDALS FOR MY ONE YEAR OLD NEPHEW
HELLO HIVE
My expression today come be tag as being indifferent, as I'm neither excited nor sad, it wasn't that anything bad happened, I guess it's just one of those days where you just don't understand your mood, this lead to me having writer block as per what to write or share on my blog today, but then in the end I decided to get over whatever is holding me down and share the diy process of how I made this sandals for my one year old nephew.
I could remember his mum, who happens to be my brother's wife as complain about how my young nephew Footwear frequently fall off while she back him and took a stroll along the street, and by the time she realise it and try to trace their path back, she might to me able to locate such missing footwear,and this as happen for at least 3 times, something both pairs got missing or just one fell off the road, but then there's no use for a one pair of shoe ones you can't find the other.
This lead me into embarking on a sandal project that as elastic band for him, and believe with this, the Sandals will stay glue to his leg no matter how much he try to shake it off while he's been backed(African way of carrying a child).
So without further ado, read along as I share the process of how I made the sandals.

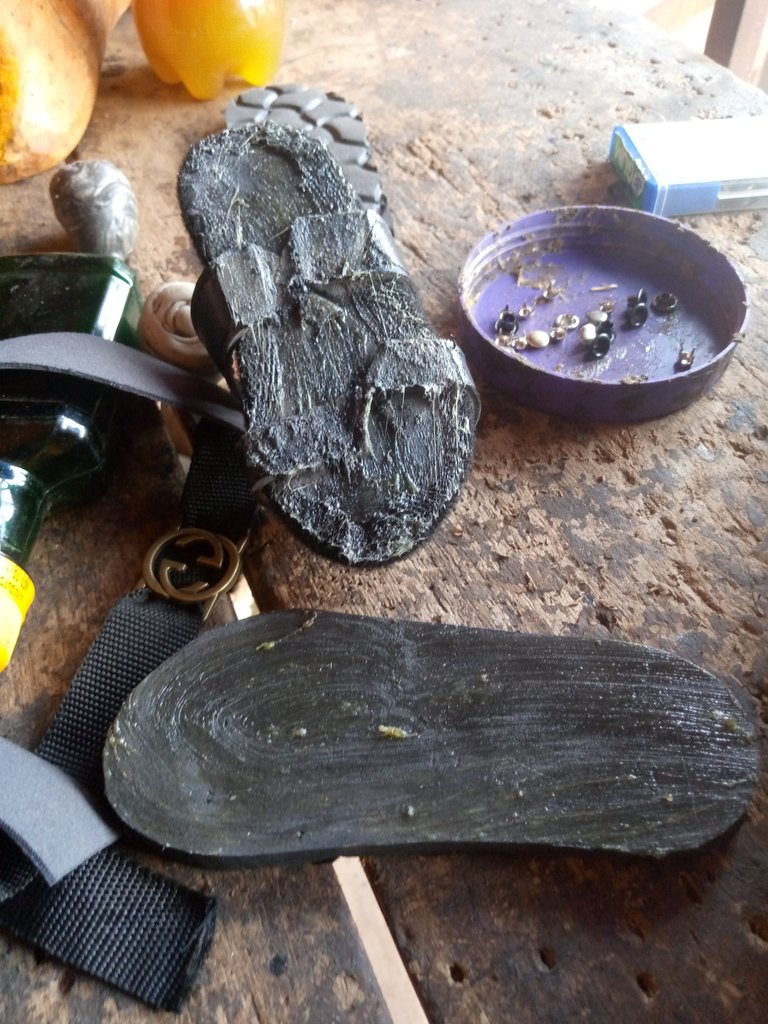
MATERIAL USED
- Leather material
- Suede lining
- Marco outsole
- Fiber insole
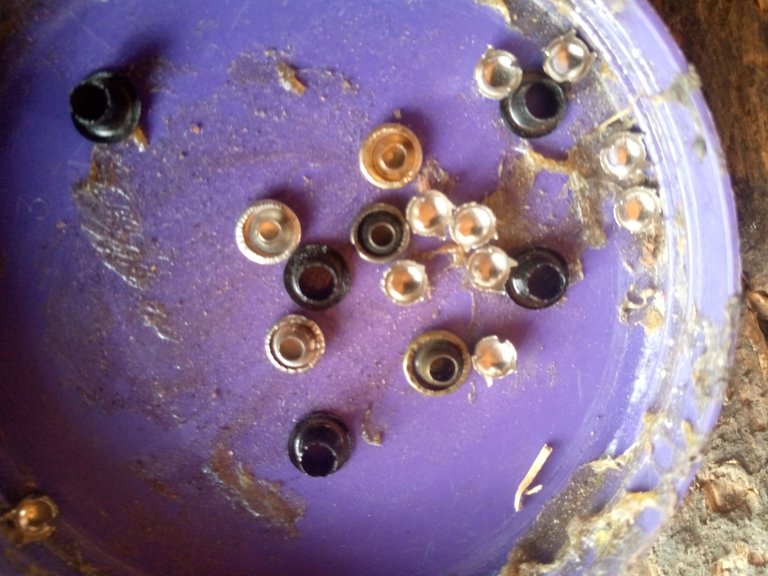
- Pin
- Gum
PROCESSES
- The last time they visit me, I took the measurements of the boy foot with a log of broom, and this was what I later placed on the material to determine the length of the sandal.
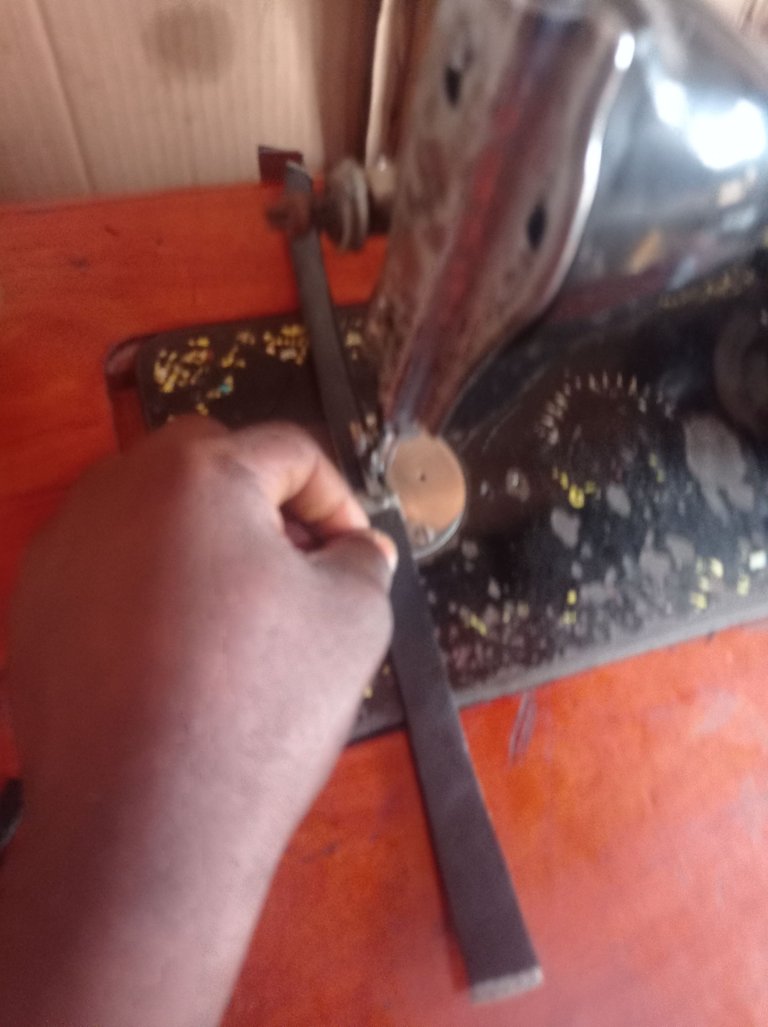
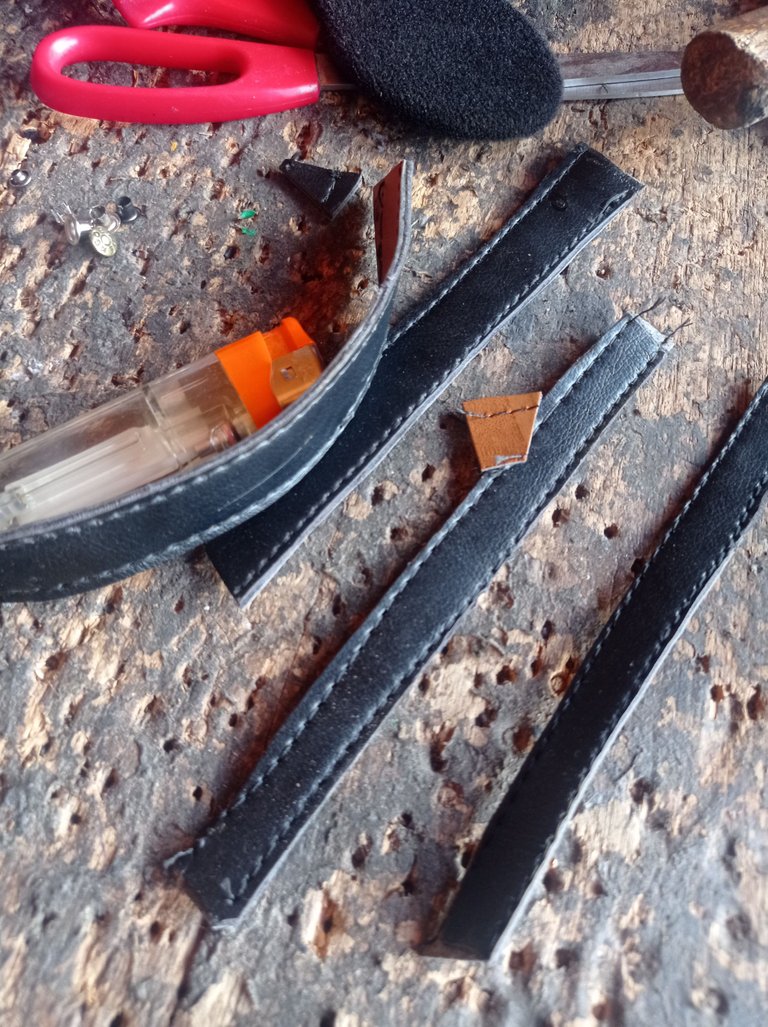
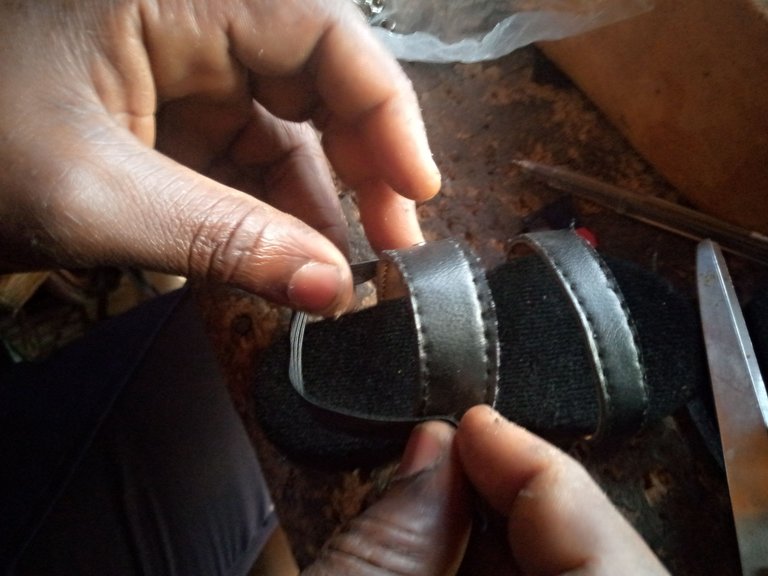
- After cutting the materials, I attached them to the linning and sew both edges with the sewing machine.
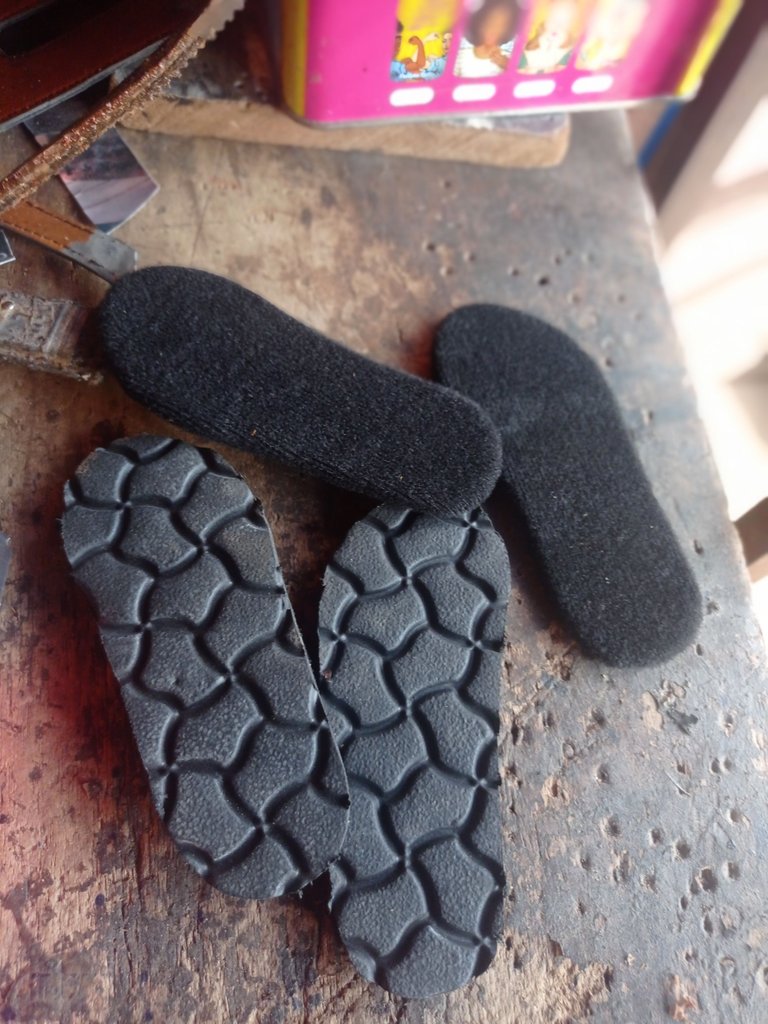
- I also cut attached the suede to the fiber insole, and cut the Marco outsole with the length of the broom.
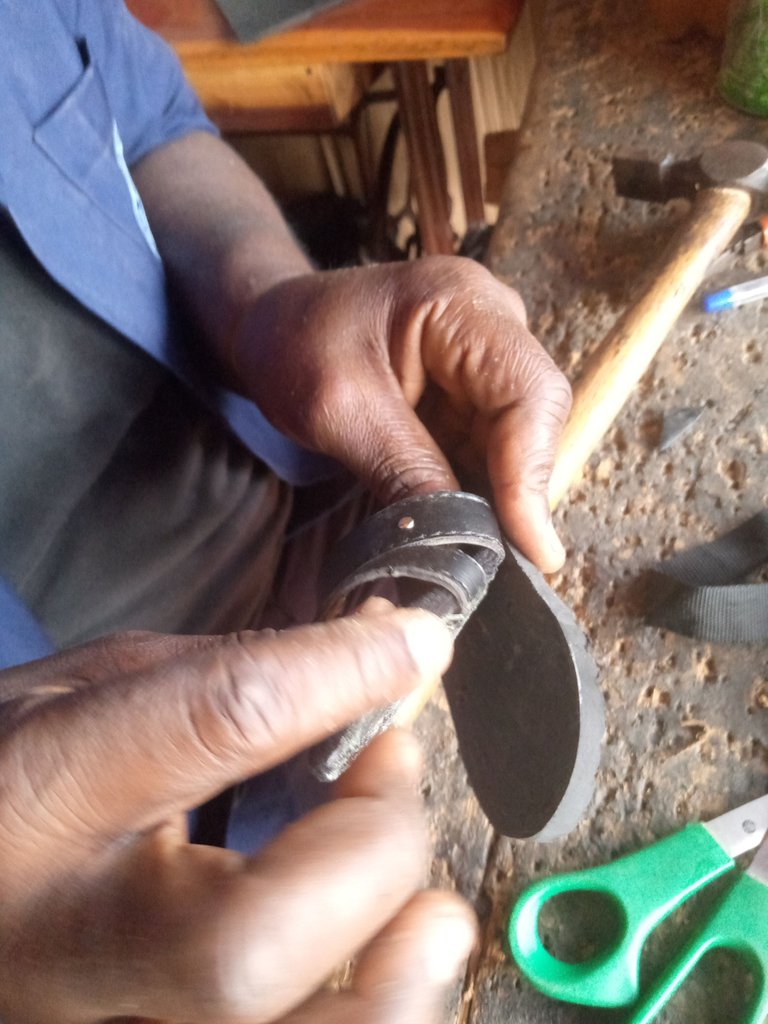
- After which I rub gum on both edges of the upper and the back of the insole, then join them together, I don't have a shoe last of a one year old child, so I just use my experience and imagination to work on the shape.
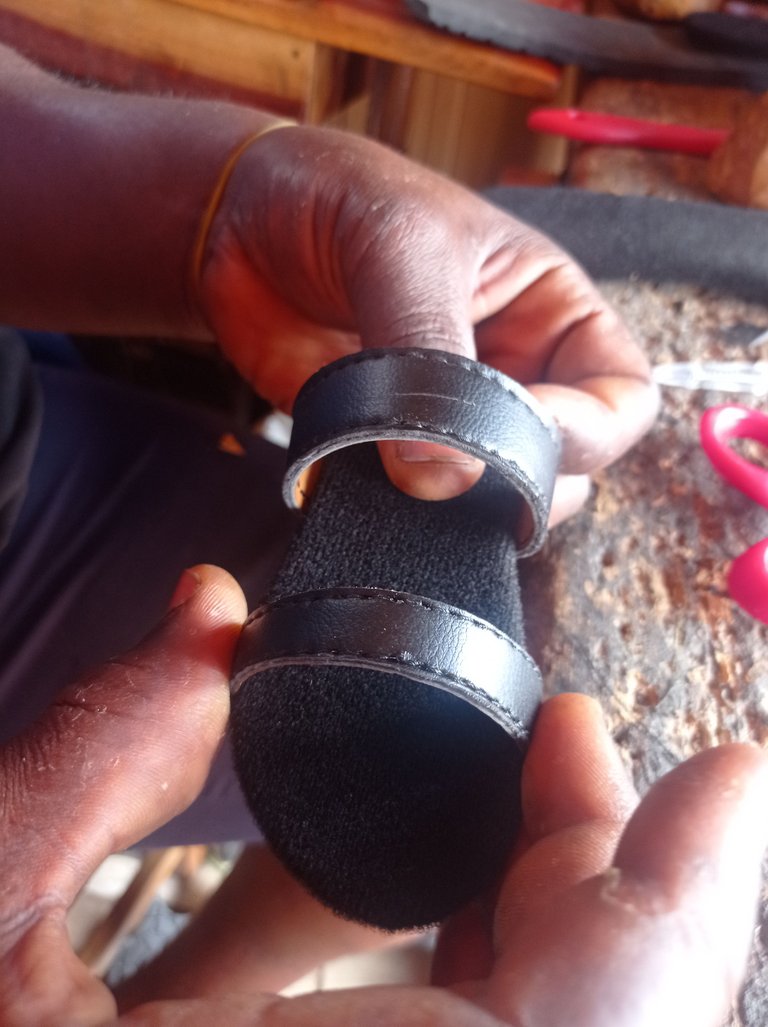
Once the upper and the insole as been attached together, I added some pin on the upper for small beautification.
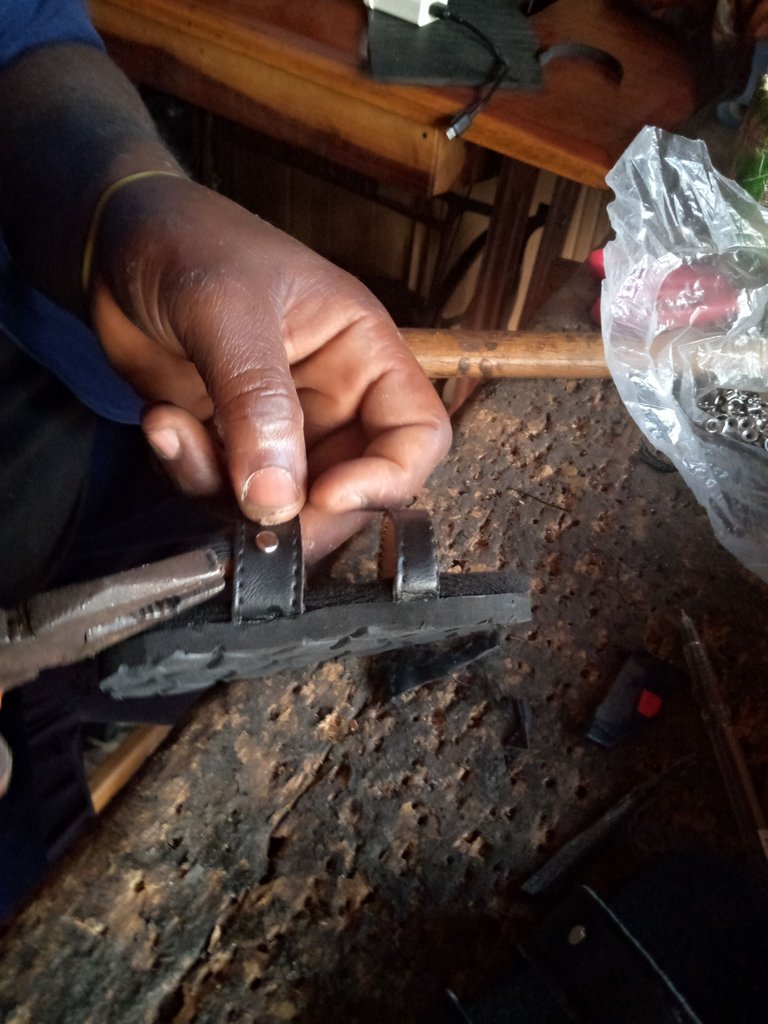
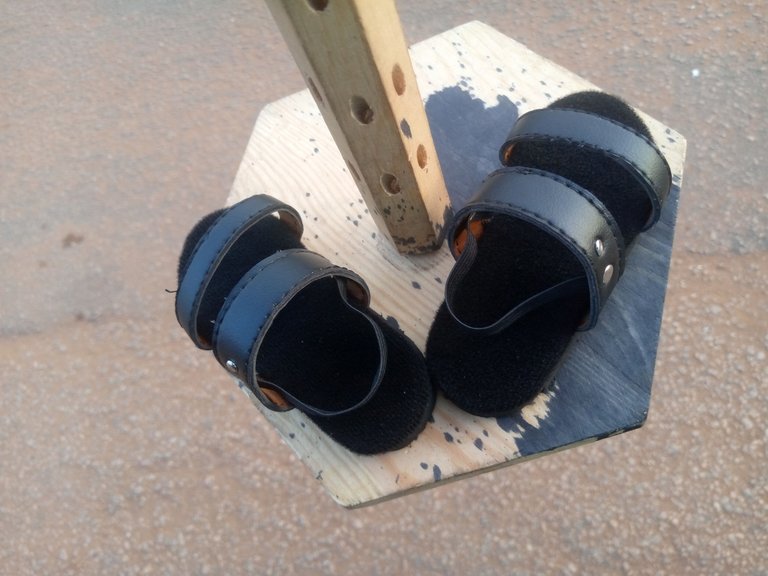
Then I attached the elastic band to the sandal and use a pin to attach it together.
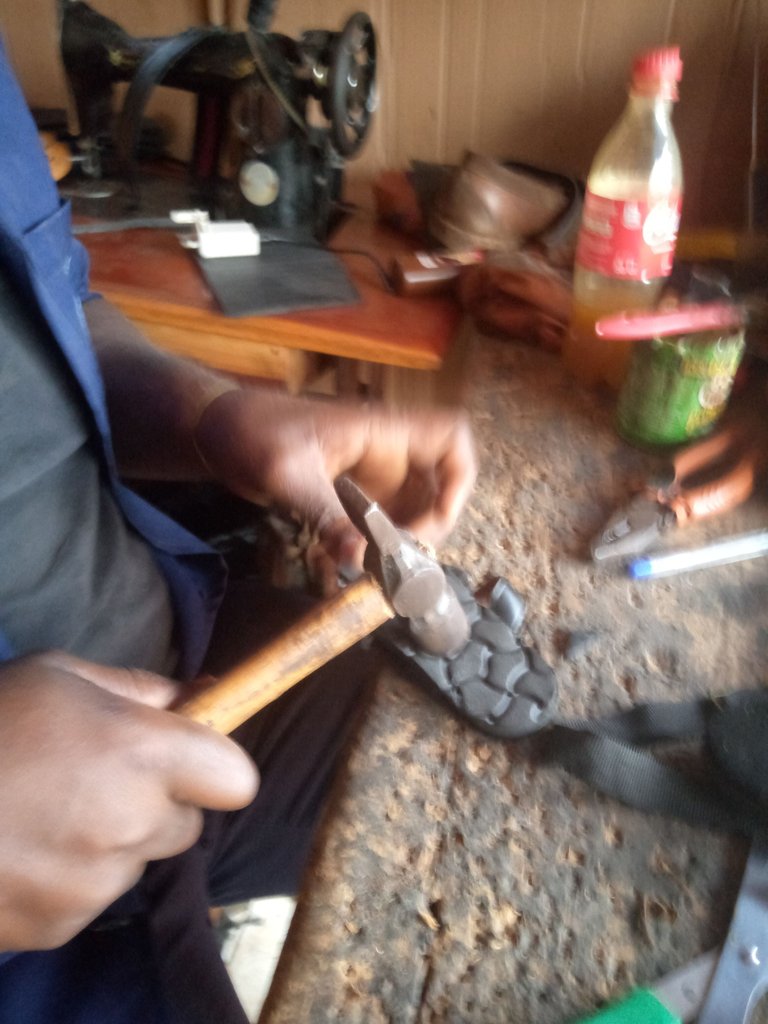
- Finally I rub gum on the outsole and the back of the insole, then out it aside for some minutes, then I join them together and hit with an hammer for firmness.
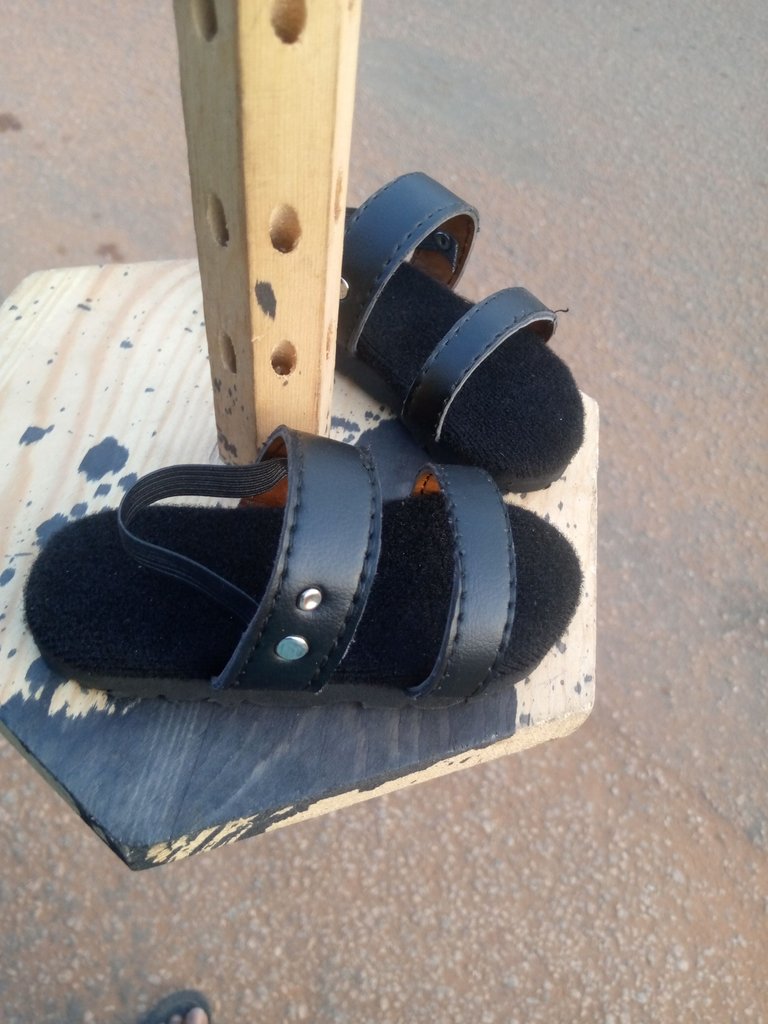
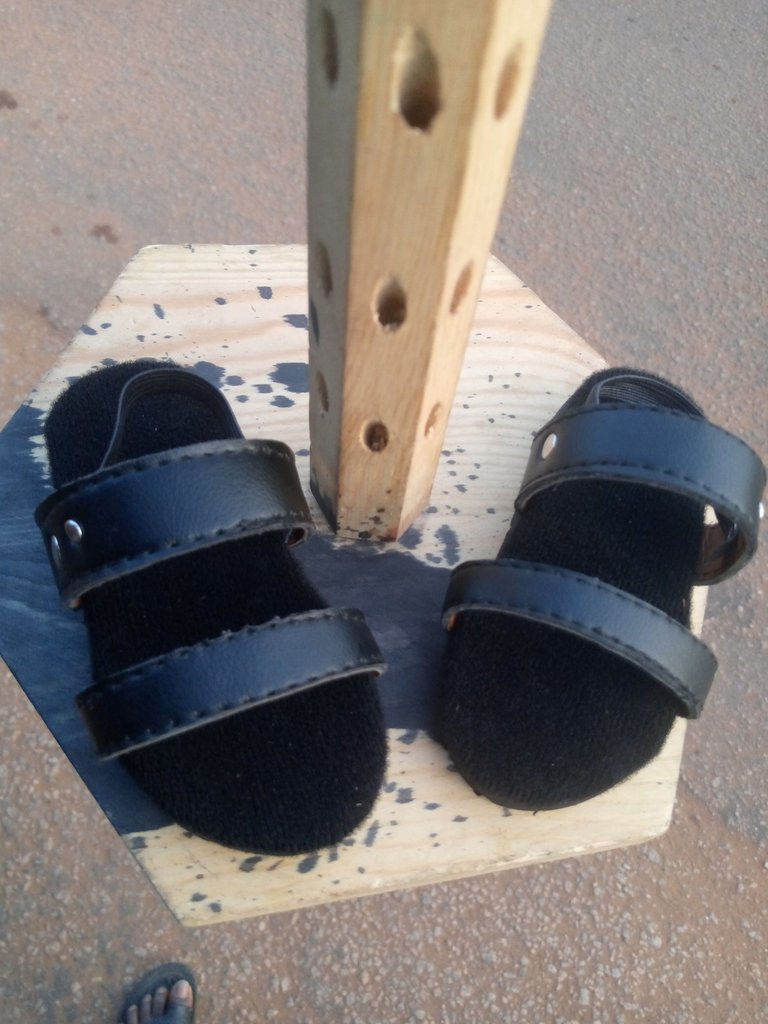
- Here is how the sandals look.
View or trade
BEER.Hey @vickoly, here is a little bit of
BEERfrom @pixresteemer for you. Enjoy it!Learn how to earn FREE BEER each day by staking your
BEER.You're so talented, I love your handwork and I love the way you have explained the process
thanks so much dear, I really appreciate your support and lovely compliment
Very well made @vickoly nice thanks for sharing
Thanks bro, you are welcome.
I love it I have a one year old granddaughter I would like to make her one
Thanks so much, am glad you love it, wow that's gonna be cool on your granddaughters feet.
Lol, your nephew is enjoying the luxury I wish I had, this is not fair😂
I love the sandals, they look cute.
Thank you for sharing this amazing post on HIVE!
Your content got selected by our fellow curator @rezoanulvibes & you just received a little thank you via an upvote from our non-profit curation initiative!
You will be featured in one of our recurring curation compilations and on our pinterest boards! Both are aiming to offer you a stage to widen your audience within and outside of the DIY scene of hive.
Join the official DIYHub community on HIVE and show us more of your amazing work and feel free to connect with us and other DIYers via our discord server: https://discord.gg/mY5uCfQ !
If you want to support our goal to motivate other DIY/art/music/homesteading/... creators just delegate to us and earn 100% of your curation rewards!
Stay creative & hive on!
You are such a cool
Uncle
Looks really nice