Armando mi Cubo de Rubik (ESP/ENG)
Hola amigos, alguna vez han armado un cubo de Rubik? Pues desde que tengo el mío no paré hasta descubrir la mejor manera de armarlo, a continuación me gustaría hablarles sobre cómo fue que lo logré y mostrarles el procedimiento que sigo para hacerlo.

Antes de empezar, debo decirles que desde pequeña quise tener este juguete, pues no era muy común encontrarlo en una tienda en mi país. Ocasionalmente veía a algún niño de la escuela jugar con él y me atraía mucho por sus colores y sus movimientos, además de que siempre me gustaron los puzzles y rompecabezas. También lo veía en las películas y soñaba con tener uno. Los años pasaron y nunca tuve la oportunidad de encontrar alguno, que raras veces sacaban en la tienda. Fue ya de grande, con 20 años cuando finalmente lo encontré, y fue en la terminal de ómnibus de La Habana, sin pensarlo mi papá me lo compró, pues él sabía cuánto lo había deseado, en ese momento sentí mucha felicidad.
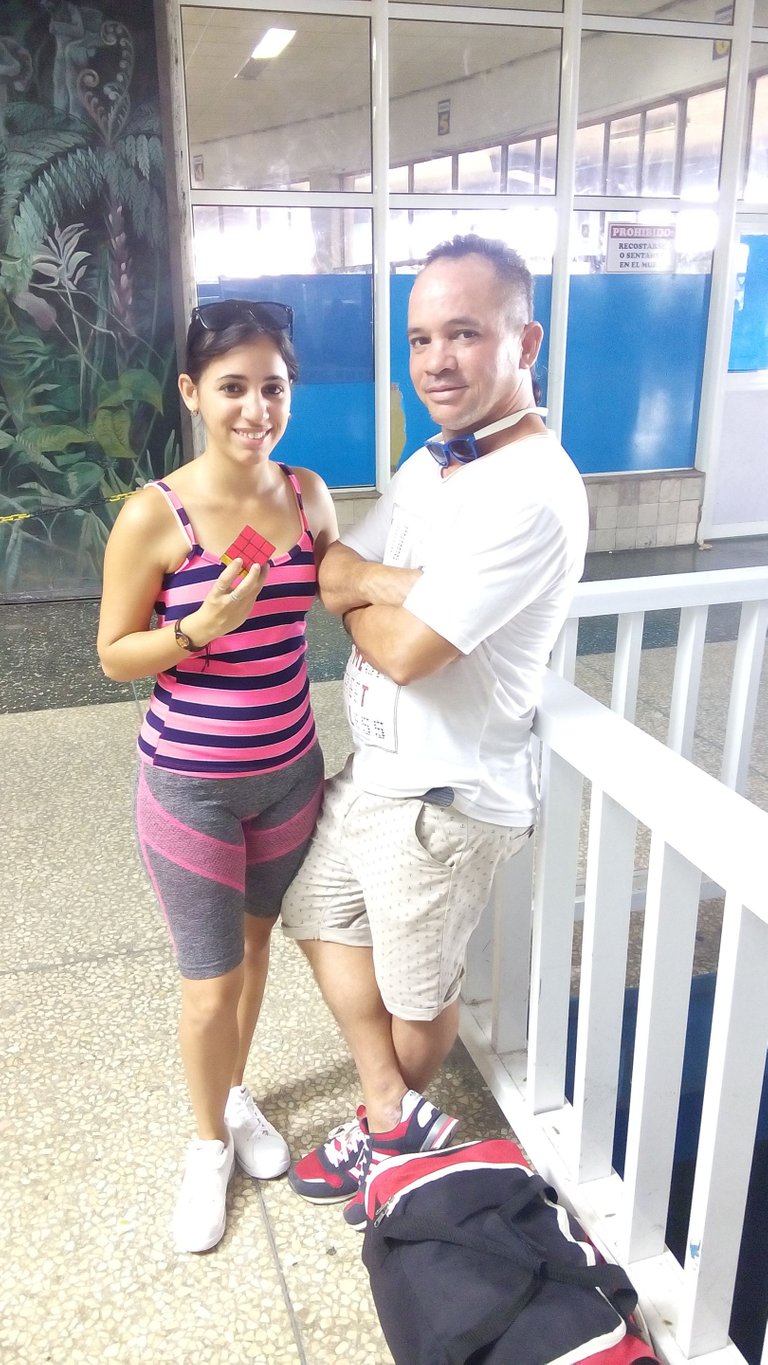
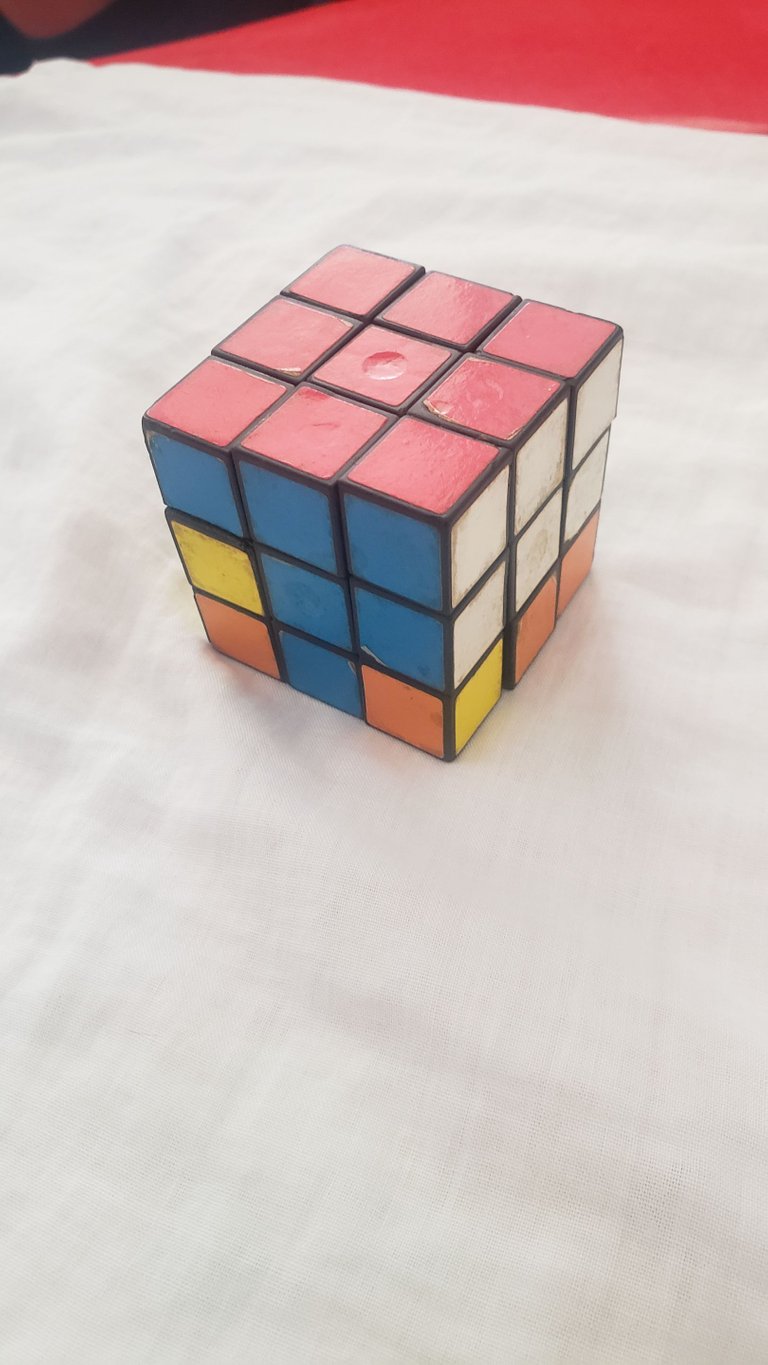
Imagen del 2018, cuando mi papá me compró el cubo de Rubik.
Desde entonces empecé a jugar con él y a tratar de armarlo. Muchas veces lograba hacer una cara entera, pero parecía una tarea imposible. Hasta que finalmente decidí que el internet era la respuesta, y busqué en Youtube algún tutorial que me pudiera ayudar. Encontré varios videos y puse el primero de ellos, tomé mi cubo en las manos y junto al muchacho del vídeo fui siguiendo los pasos y me sorprendí cuando al final el cubo quedó armado.
Además de los pasos para armarlo, el vídeo me enseñó las partes del cubo y sus nombres, en mi opinión es un buen tutorial y aún lo conservo, pues de vez en cuando se me olvida algún paso y vuelvo a ver el vídeo para recordarlo. Al final de este post les dejaré el enlace de Youtube para que puedan verlo si lo desean.
📍Quiero dejar claro que voy a mostrarles cómo lo hago de la mejor manera posible, pero hay ciertos pasos y movimientos que solo viendo el vídeo podrán comprender mejor.
Ahora sí, pasemos a ver cómo se arma el cubo de Rubik:
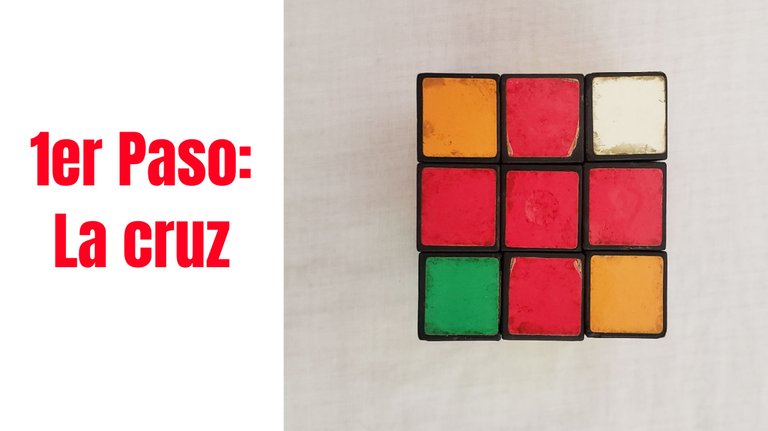
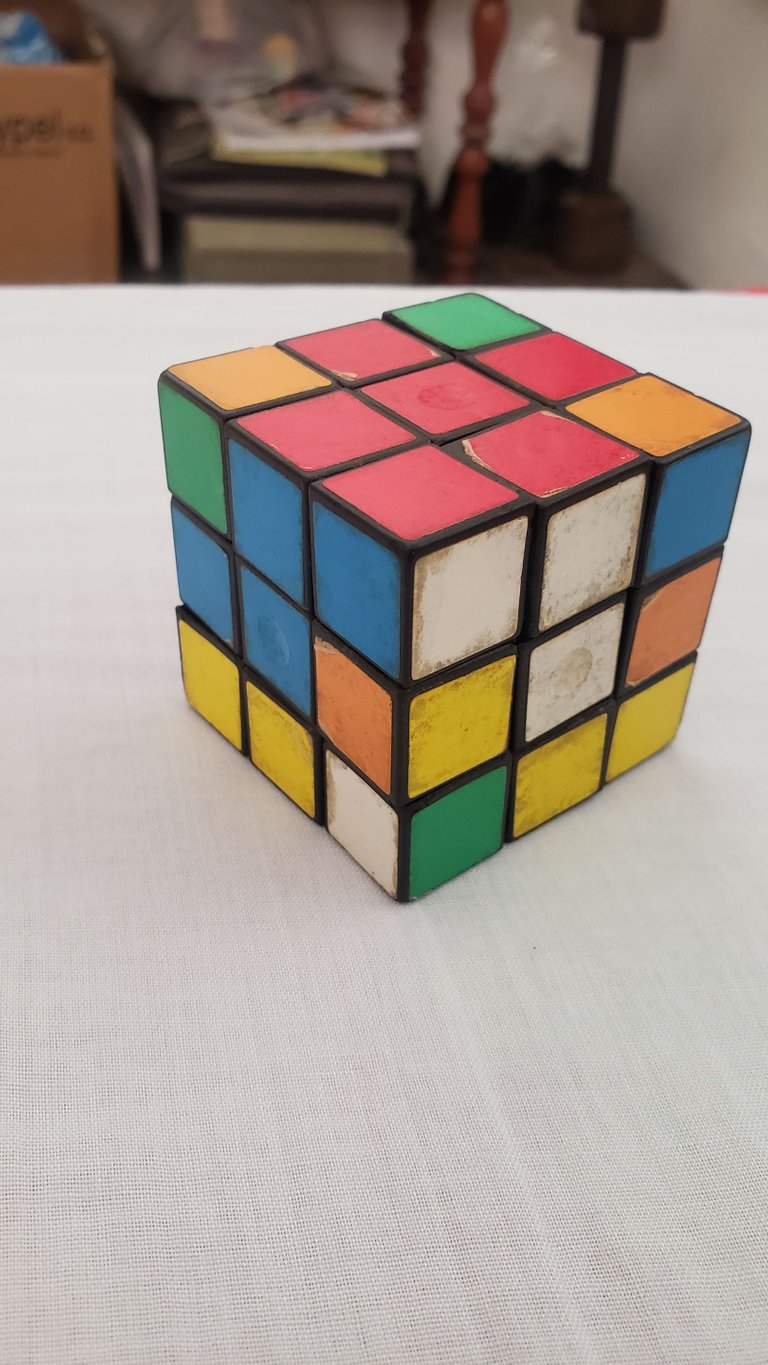
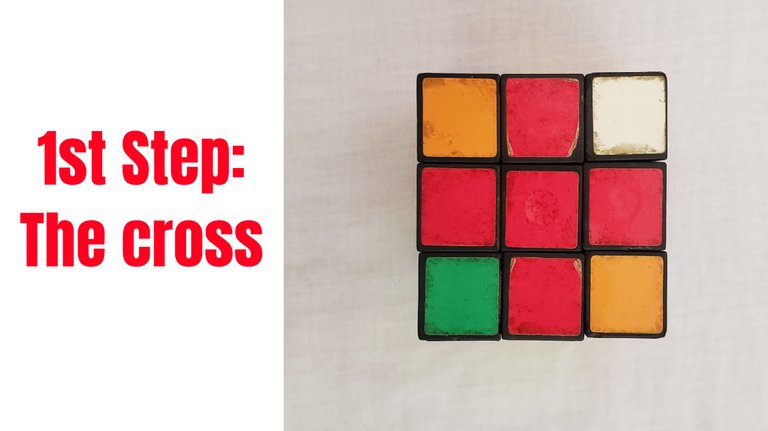
🔶 Lo primero que debemos hacer es una cruz en cualquiera de las caras. Deben saber que el color del cuadro del medio será el color de esa cara. Casi siempre empiezo por el color rojo, ya que es mi preferido. Este paso deberán lograrlo por ustedes mismos, ya que es el primero y no es muy complicado. Algo que deben tener en cuenta es que al hacer esta cruz los colores deberán coincidir con el resto de las caras, esta parte del cubo se llama arista. De esta forma, la cara roja y azul estarán unidas por la arista roja-azul, y así con todas las demás caras. Les muestro a continuación.
 |  |
|---|
 |  |
|---|
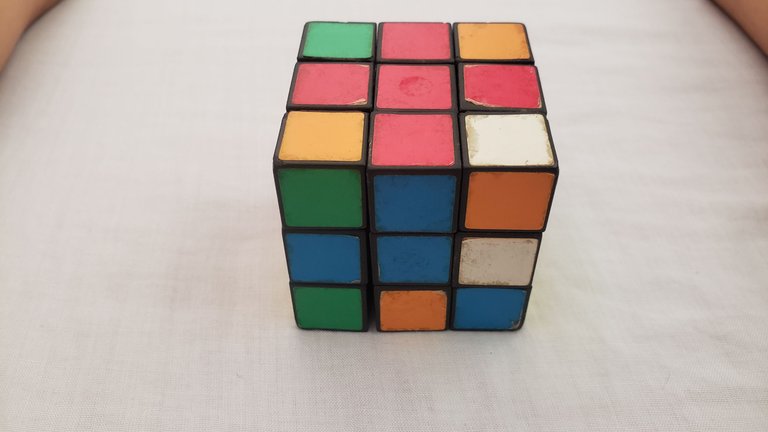
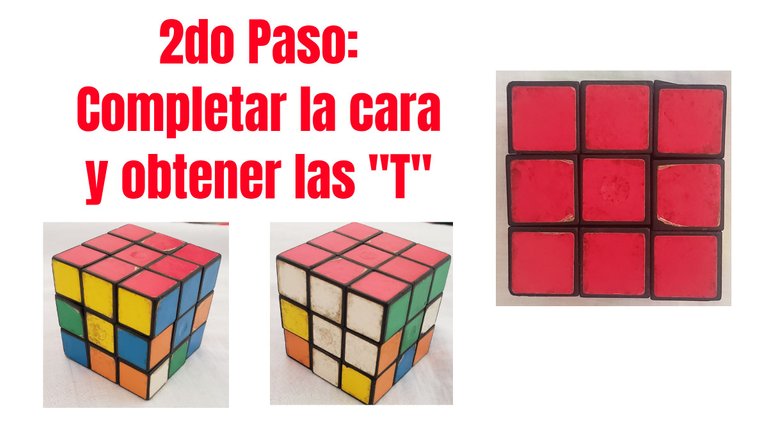
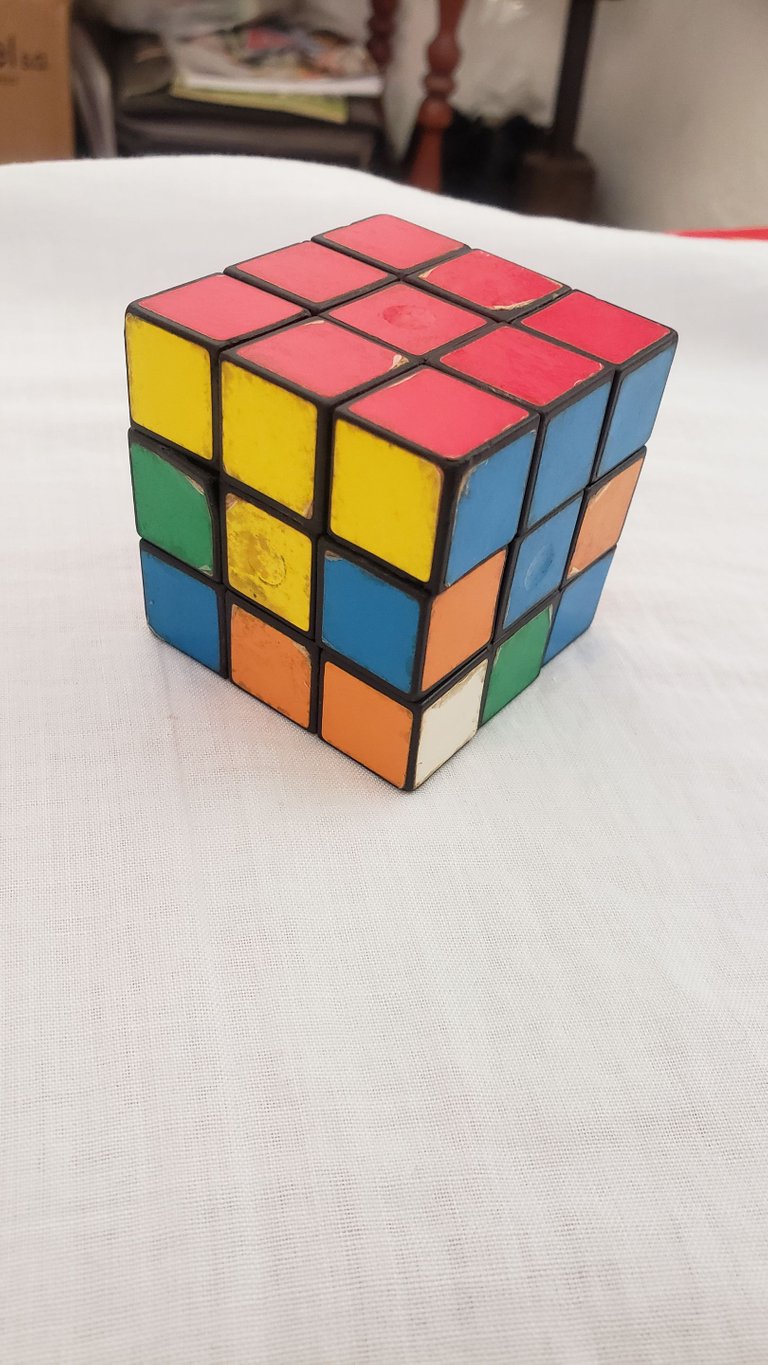
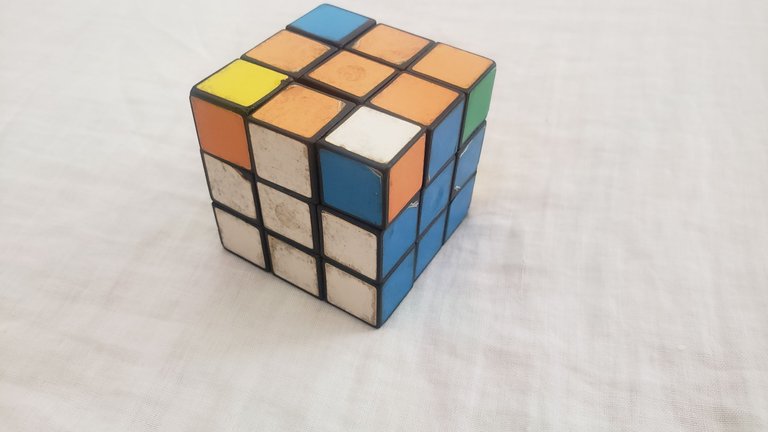
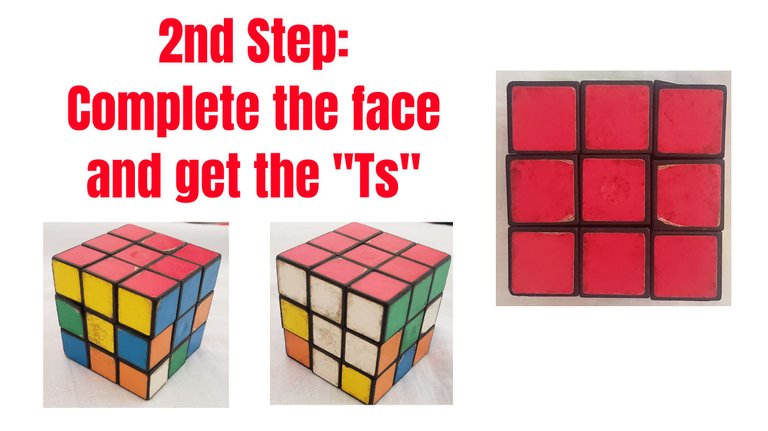
🔶 Una vez tengan armada la cruz, pasamos a completar la cara poniendo las esquinas en su lugar. Las esquinas se componen por tres colores, debemos ver qué cada color quede donde corresponda. Al terminar este paso verán que les quedará en cada cara la forma de la letra "T".
 |  |  |
|---|
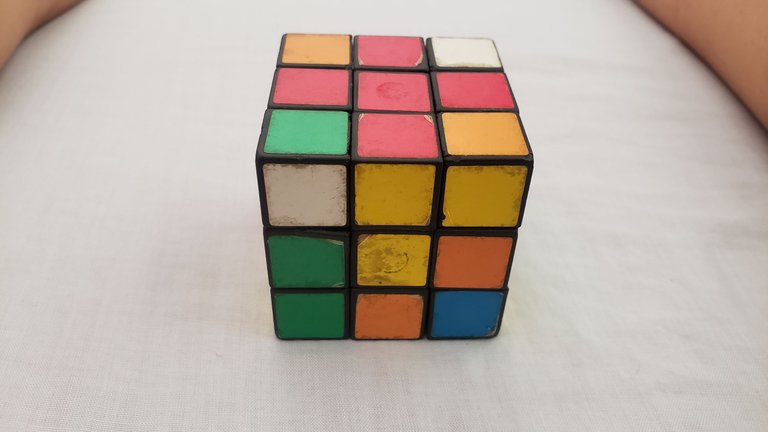
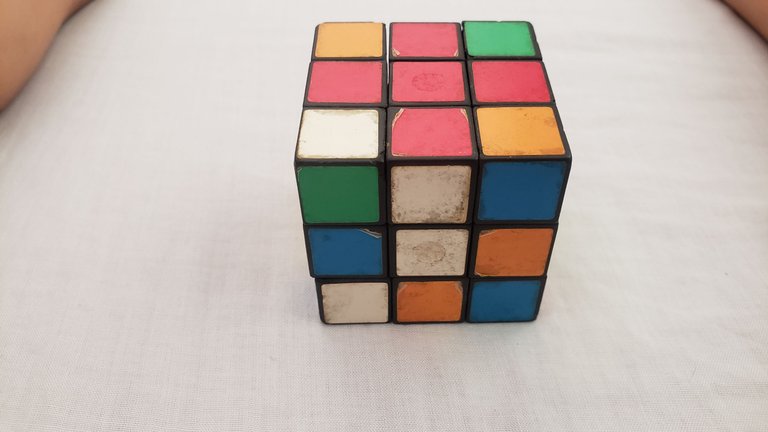
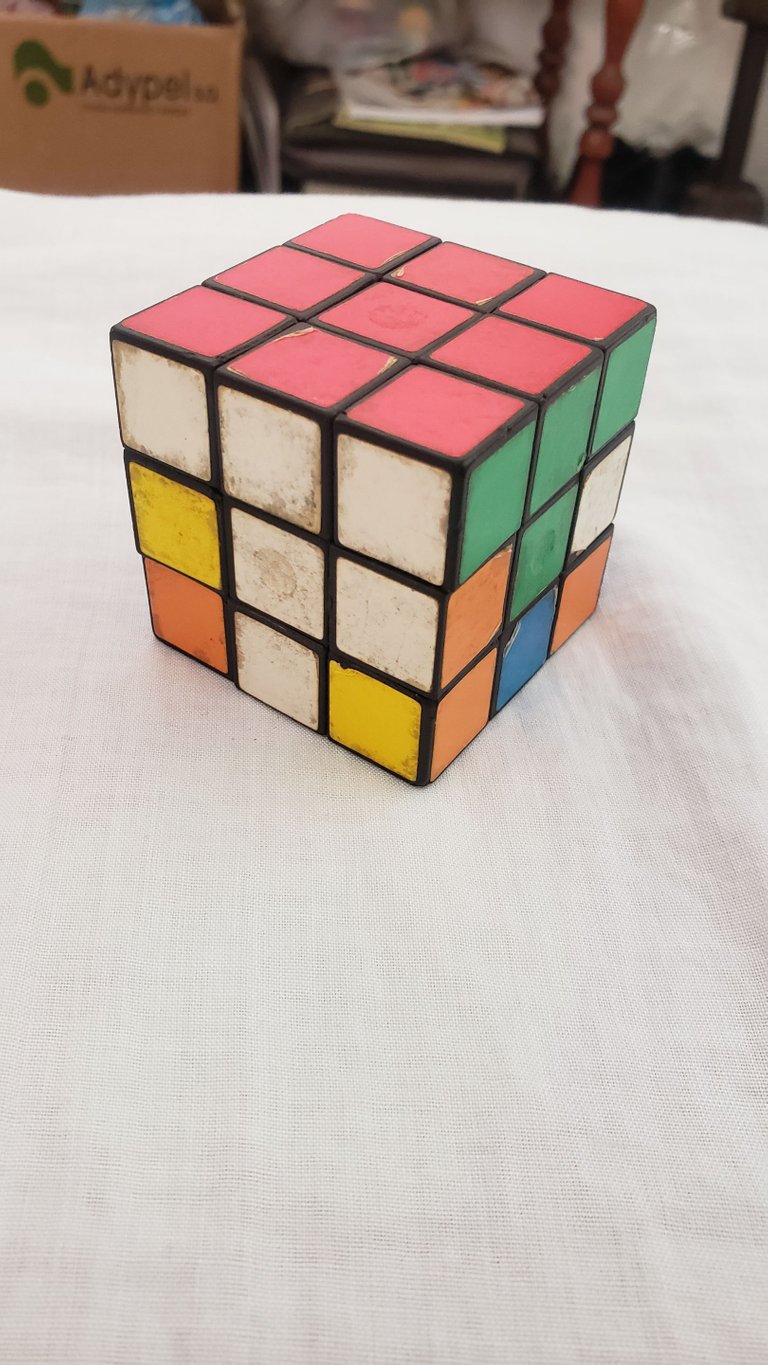
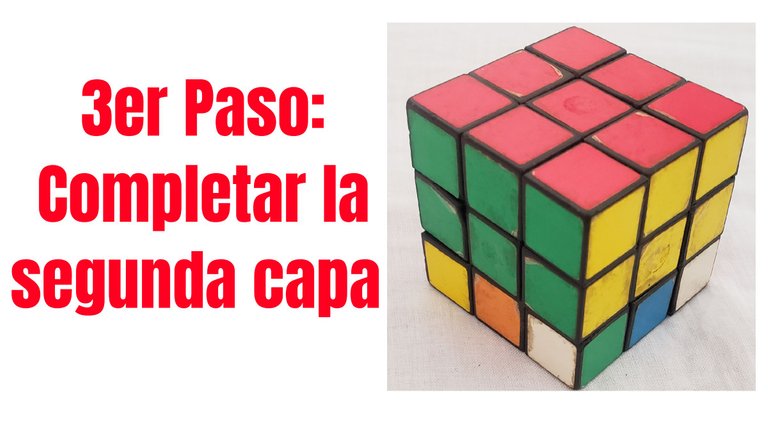
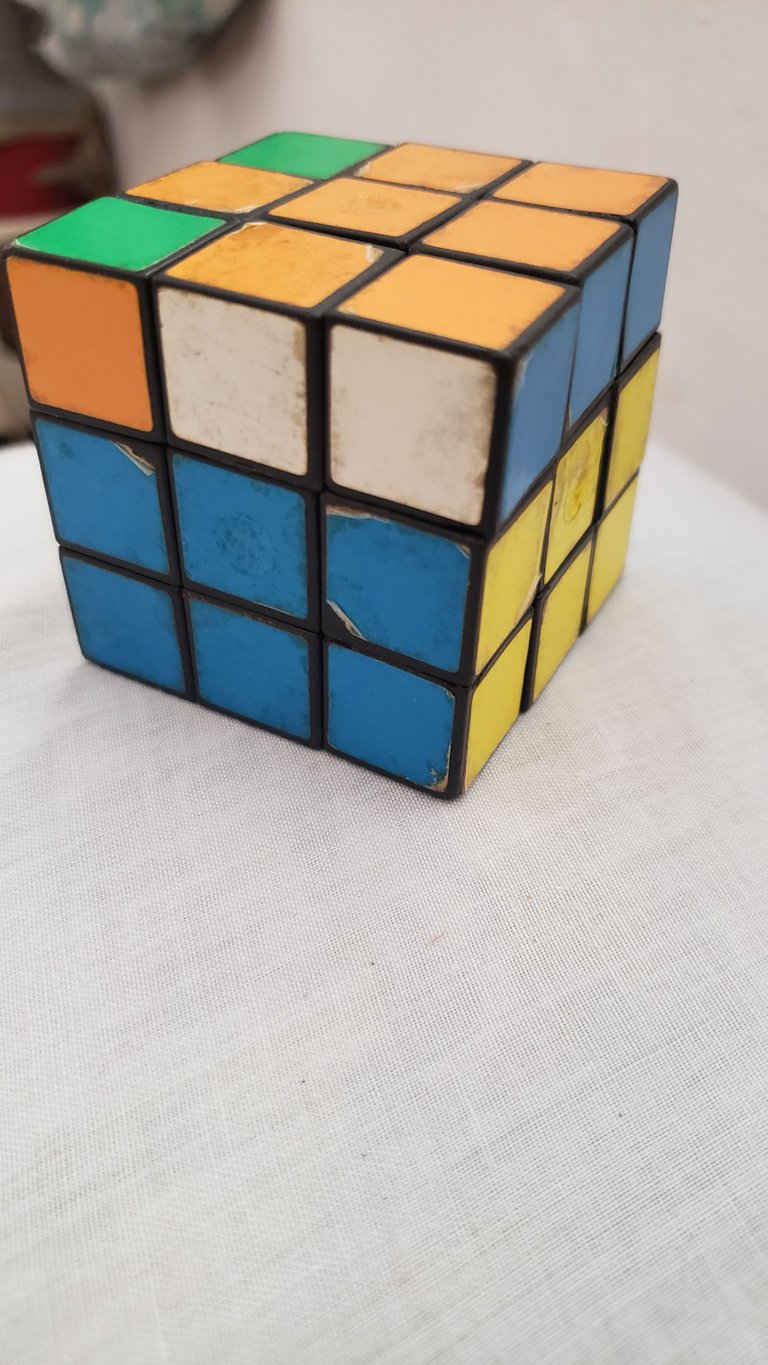
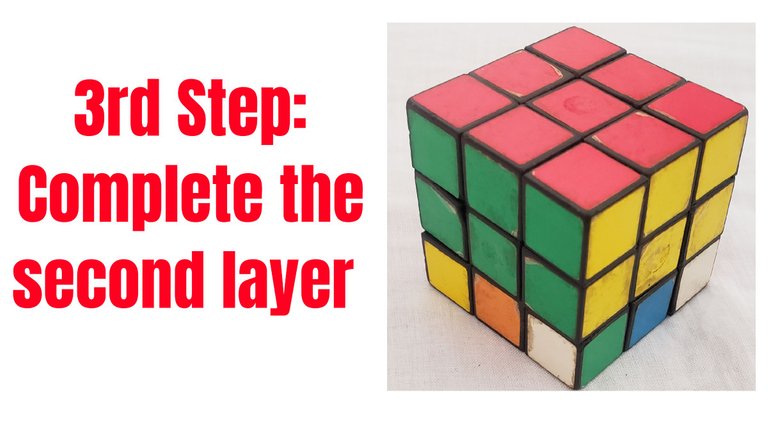
🔶 El siguiente paso será terminar de armar la segunda capa, colocando las aristas donde correspondan. Para esto debemos asegurarnos que el color de la cara del fondo no esté ( el naranja, en este caso) para poder hacer los movimientos necesarios. Por ejemplo, para poner la arista blanca-azul en su lugar, buscamos el color que está arriba (el blanco en este ejemplo) y lo colocamos en la cara blanca. Luego siguiendo una serie de movimientos (que se explican mejor a través del vídeo) la arista caerá en su lugar, y así con todas.
 |  |
|---|
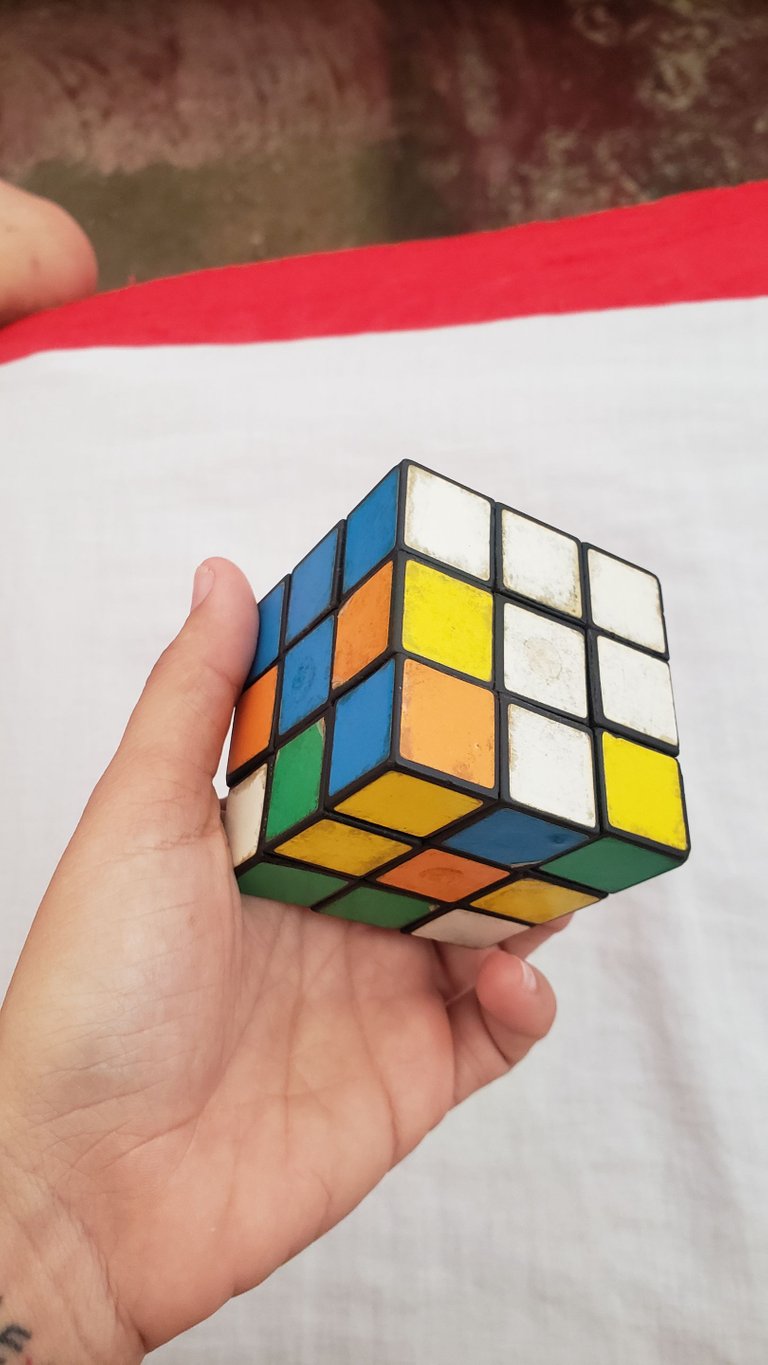
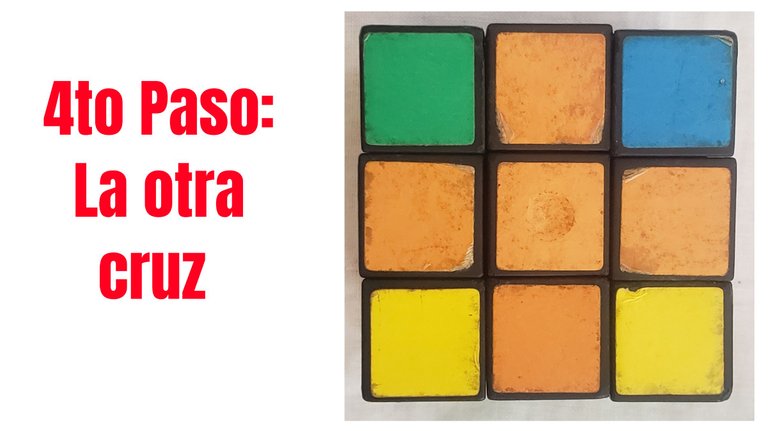
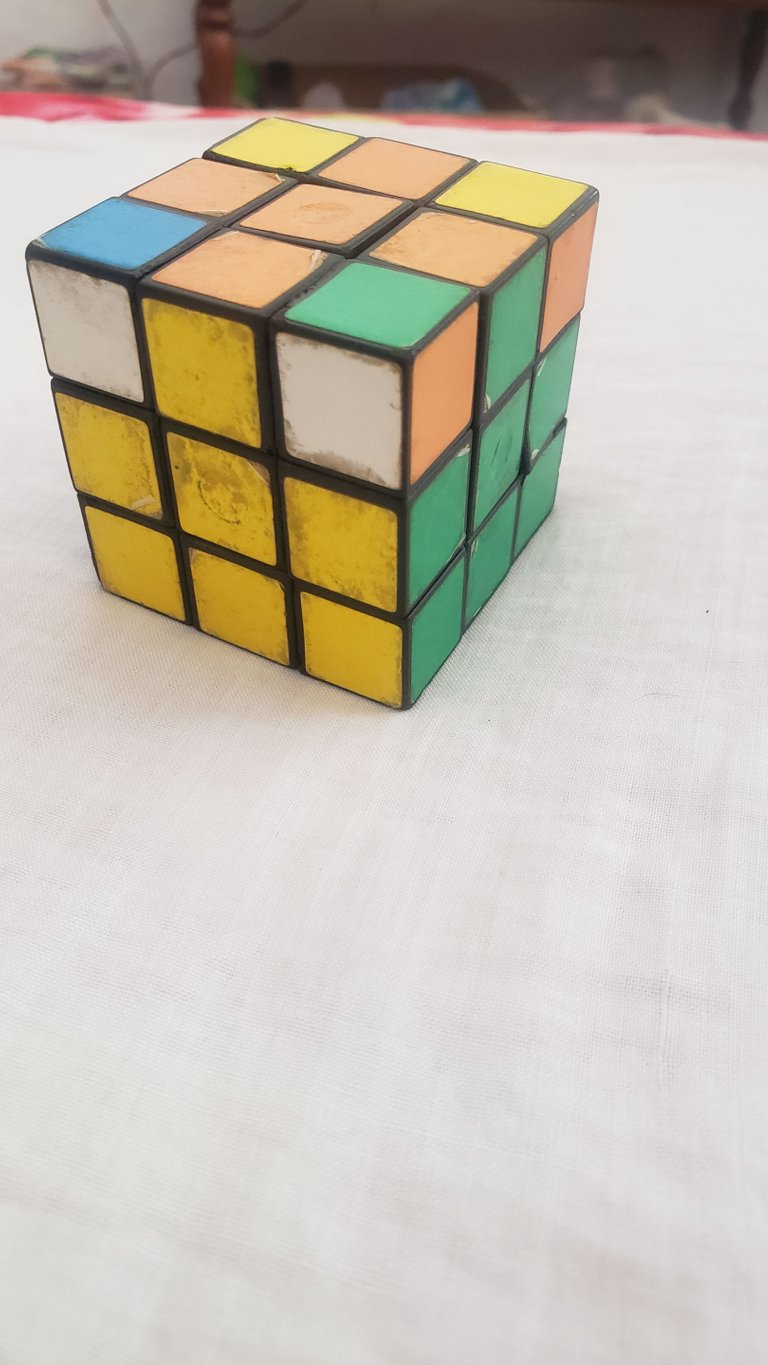
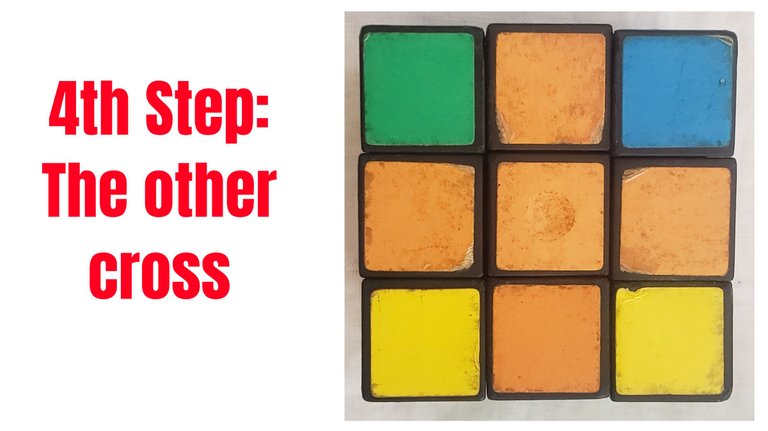
🔶 Después de este paso le damos la vuelta al cubo para trabajar en la cara inferior y volvemos a hacer una cruz, en este caso de color naranja. Cuando vires el cubo te puedes encontrar con varias formas, la parte fácil es que no importa como esté en ese momento, podrás llegar a la cruz repitiendo el mismo paso, aún si empiezas con el color del centro solamente.

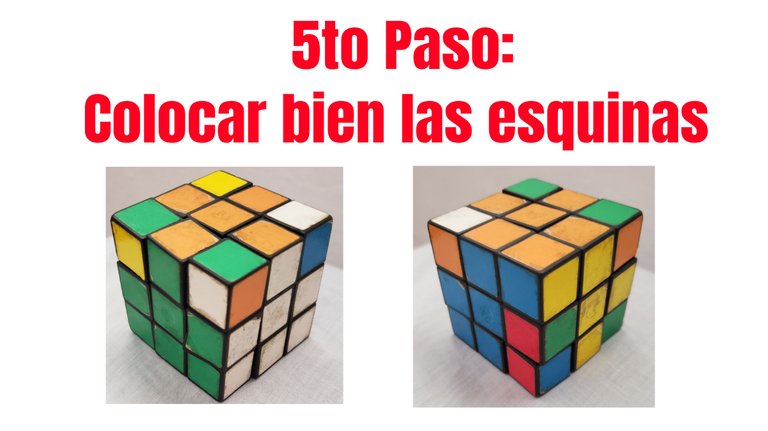
🔶 A continuación deberás hacer coincidir las aristas con su color correspondiente y luego es hora de armar las esquinas. Para esto debes tener al menos una esquina en su lugar, aunque la posición de sus colores no esté bien. Con una serie de movimientos vas a lograr que cada color quede en su lugar y luego mueves la capa superior para poner la siguiente esquina en el mismo lugar para aplicarme el mismo procedimiento, y así hasta que las 4 estén bien colocadas.
 |  |  |
|---|
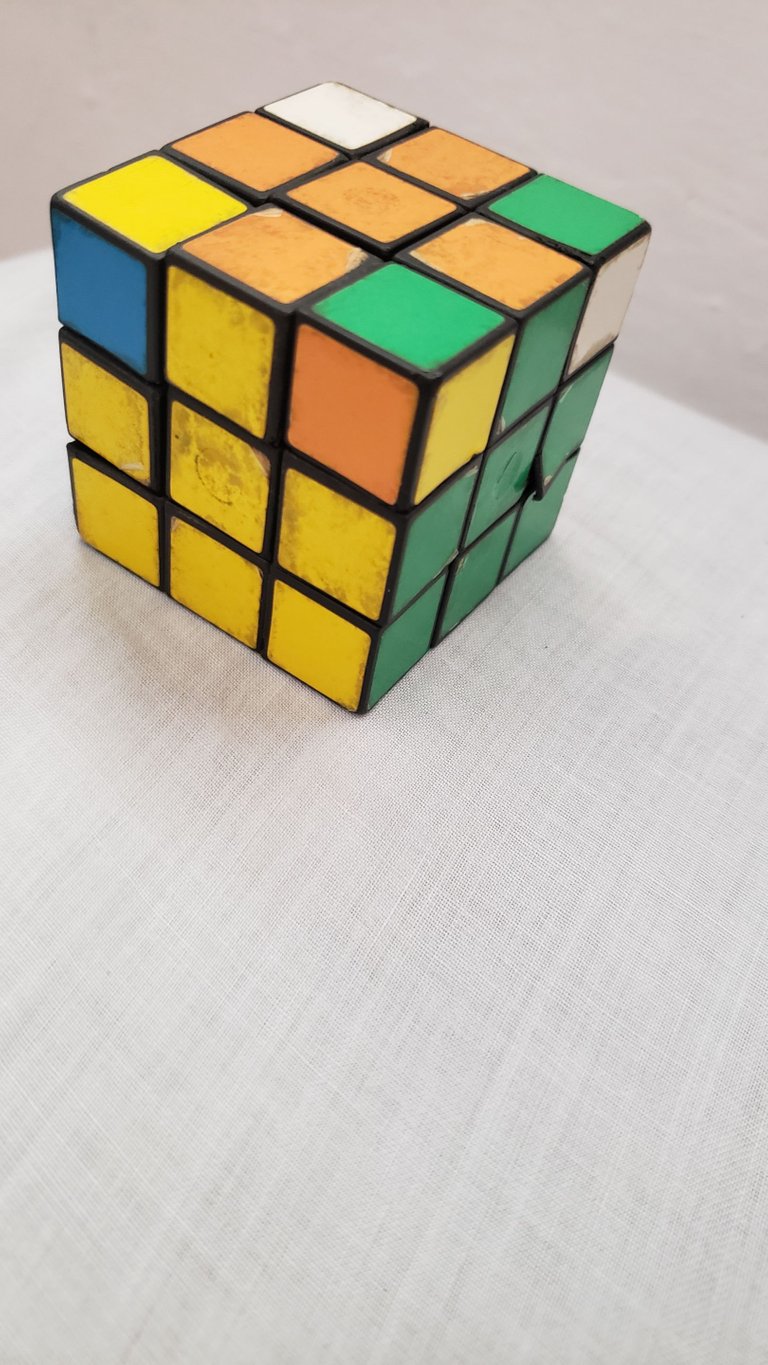
En este paso hacemos coincidir las aristas con su color.
 |  |  |
|---|
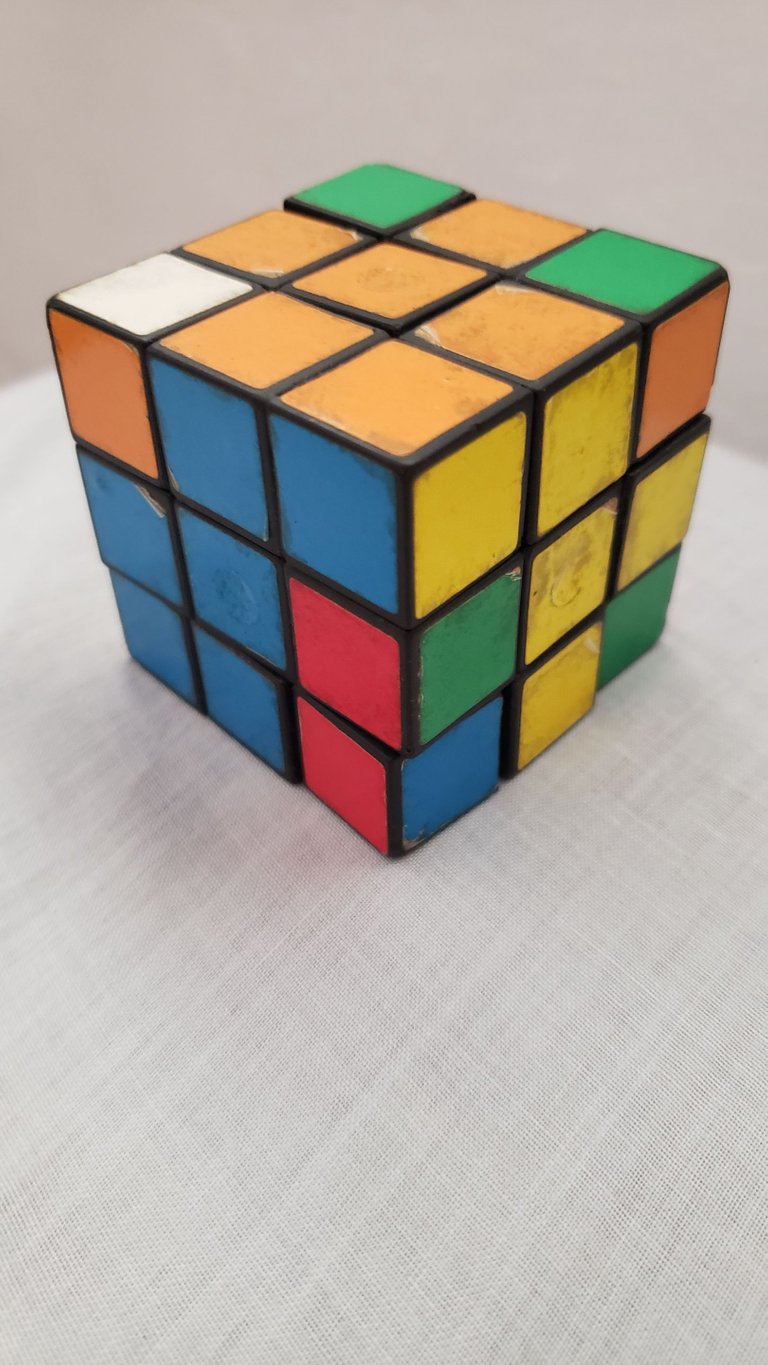
Aquí pueden ver qué las esquinas están en su lugar, pero tienen los colores desorganizados.
 |  |
|---|
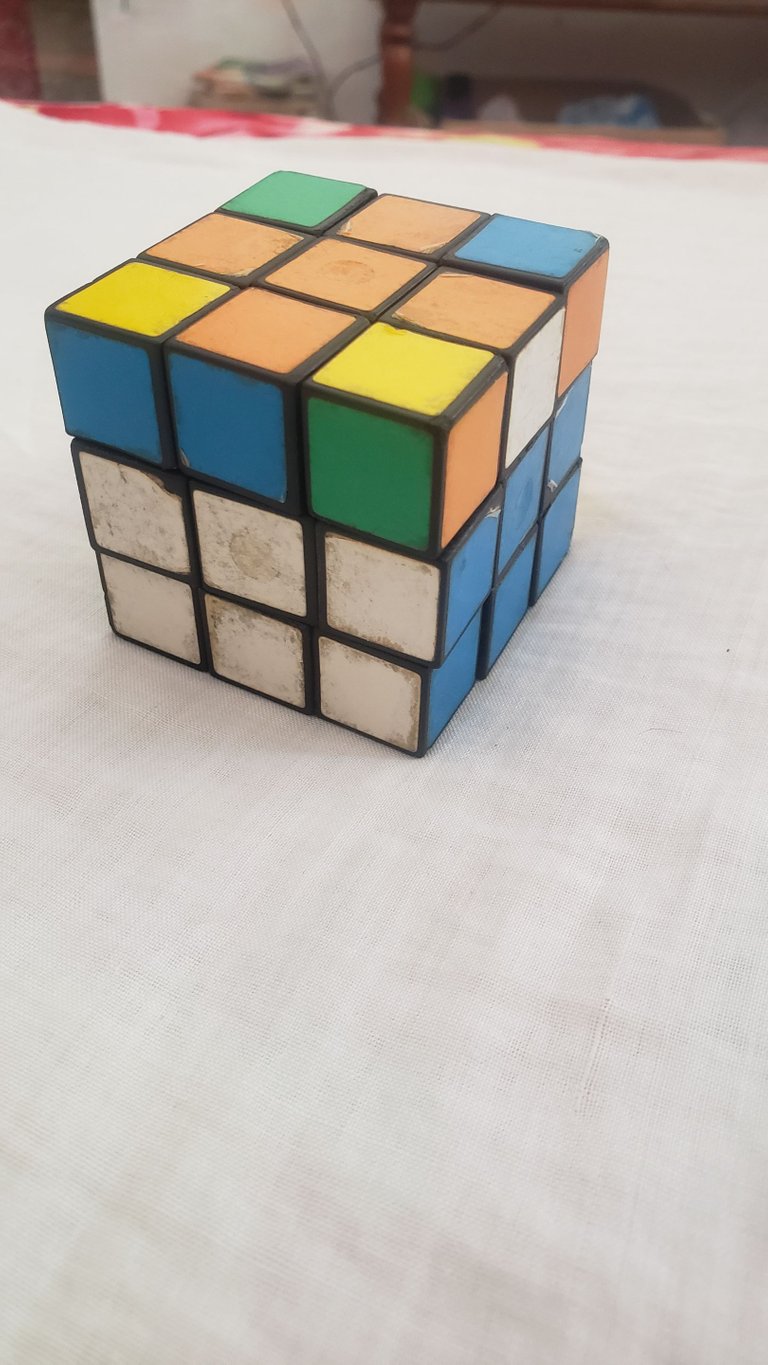
En este paso verás que el cubo se te va a regar un poco, pero no te asustes, esto es perfectamente normal, ya estás a un paso del final.
🔶 ÚLTIMO PASO 🔶
Este es el paso más fácil, simplemente tienes que dar vuelta a las capas hasta hacer coincidirlas, y listo, tu cubo se Rubik quedó armado.
 |  |  |
|---|
Esto es todo amigos, espero que este post les sea de ayuda a los que aún no han podido resolver su cubo de Rubik. Yo disfruto mucho armar el mío y siempre trato de mejorar mi tiempo. Me parece un juguete muy bueno para la memoria y no importa que edad tengas siempre puedes jugar con él, además también me parece un bonito adorno para el cuarto 😄.
- Todas las fotos fueron tomadas con mi teléfono Samsung S9.
- Las fotos editadas fueron hechas en la aplicación Hue Pix.
- Gifs tomados de gifsanimados.org.
- Banners creados en Ibis Paint app.
- Enlace del tutorial en Youtube.

Hello friends, have you ever built a Rubik's cube? Well, since I got mine I didn't stop until I discovered the best way to put it together, next I would like to tell you how I did it and show you the procedure I follow to do it.

Before I start, I must tell you that since I was a little girl I wanted to have this toy, because it was not very common to find it in a store in my country. Occasionally I would see a child at school playing with it and I was very attracted to it because of its colors and movements, besides I always liked puzzles. I also saw it in the movies and dreamed of owning one. The years went by and I never had the chance to find one, they rarely brought them out in the store. It was when I was 20 years old when I finally found it, and it was at the bus terminal in Havana, without thinking about it my dad bought it for me, because he knew how much I had wanted it, at that moment I felt very happy.
Image from 2018, when my dad bought the cube of Rubik for me.
Since then I started playing with it and trying to put it together. Many times I managed to make a whole face, but it seemed an impossible task. Until I finally decided that the internet was the answer, and I searched Youtube for a tutorial that could help me. I found several videos and played the first one, I took my cube in my hands and together with the boy in the video I followed the steps and I was surprised when at the end the cube was assembled.
In addition to the steps to assemble it, the video taught me the parts of the cube and their names, in my opinion it is a good tutorial and I still keep it, because from time to time I forget a step and I watch the video again to remember it. At the end of this post I will leave the Youtube link so you can watch it if you wish.
📍I want to make it clear that I am going to show you how I do it in the best possible way, but there are certain steps and movements that only by watching the video you will be able to understand better.
Now, let's see how the Rubik's cube is put together:
🔶 The first thing we have to do is to make a cross on any of the faces. You should know that the color of the middle square will be the color of that face. I always start with the red face, as it is my favorite color. You will have to do this step by yourselves, since it is the first one and it is not very complicated. Something to keep in mind is that when making this cross the colors must match the rest of the faces, this part of the cube is called edge. In this way, the red and blue faces will be joined by the red-blue edge, and so on with all the other faces. I show you below.
| |
|---|
| |
|---|
🔶 Once you have assembled the cross, we move on to complete the face by putting the corners in place. The corners are made up of three colors, we must see that each color is where it corresponds. When you finish this step you will see that you will have the shape of the letter "T" on each side.
| | |
|---|
🔶 The next step will be to finish assembling the second layer, placing the edges where they correspond. For this we must make sure that the color of the background face is not there (orange, in this case) to be able to make the necessary movements. For example, to put the white-blue edge in place, we look for the color that is on top (white in this example) and place it on the white face. Then following a series of movements (which are better explained through the video) the edge will fall into place, and so on with all of them.
| |
|---|
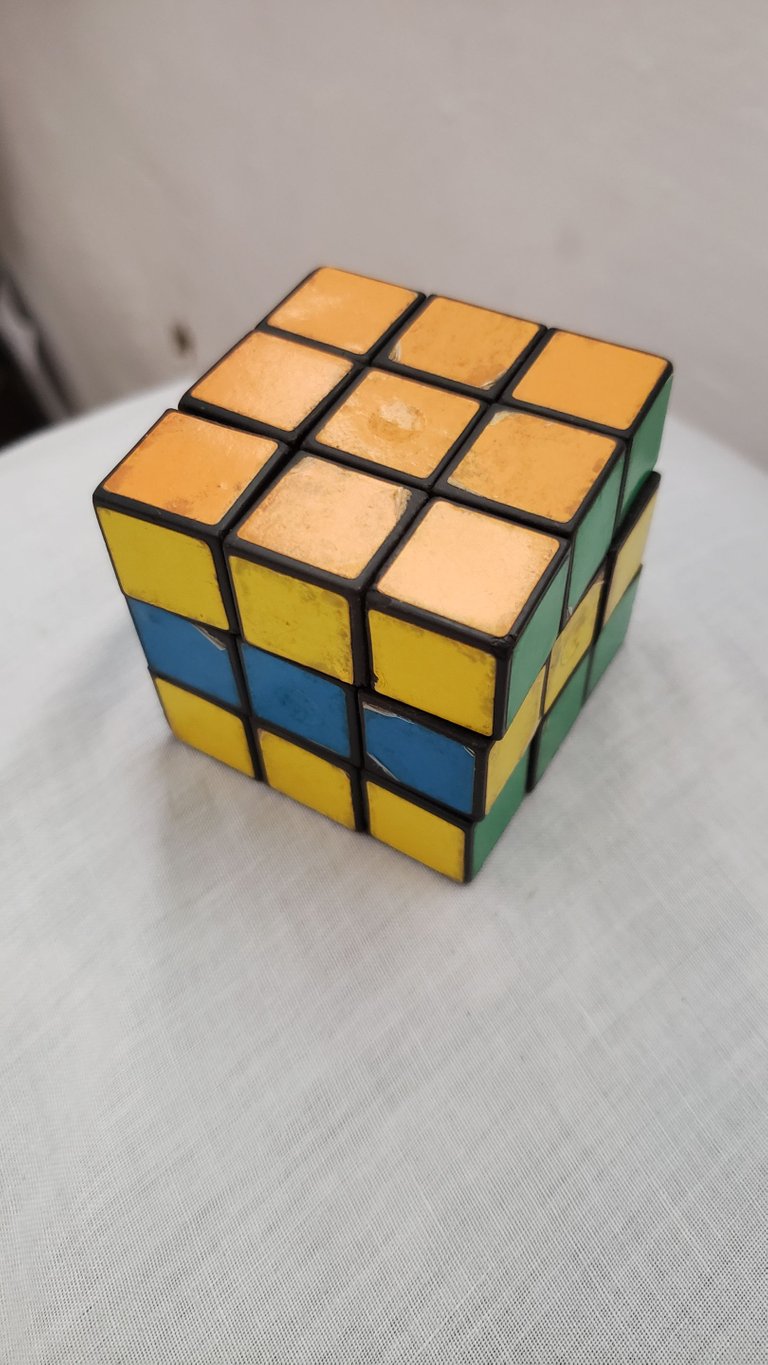
🔶 After this step we turn the cube over to work on the bottom face and make a cross again, in this case in orange. When you turn the cube you can find several shapes, the easy part is that no matter how it is at that moment, you can get to the cross by repeating the same step, even if you start with the center color only.
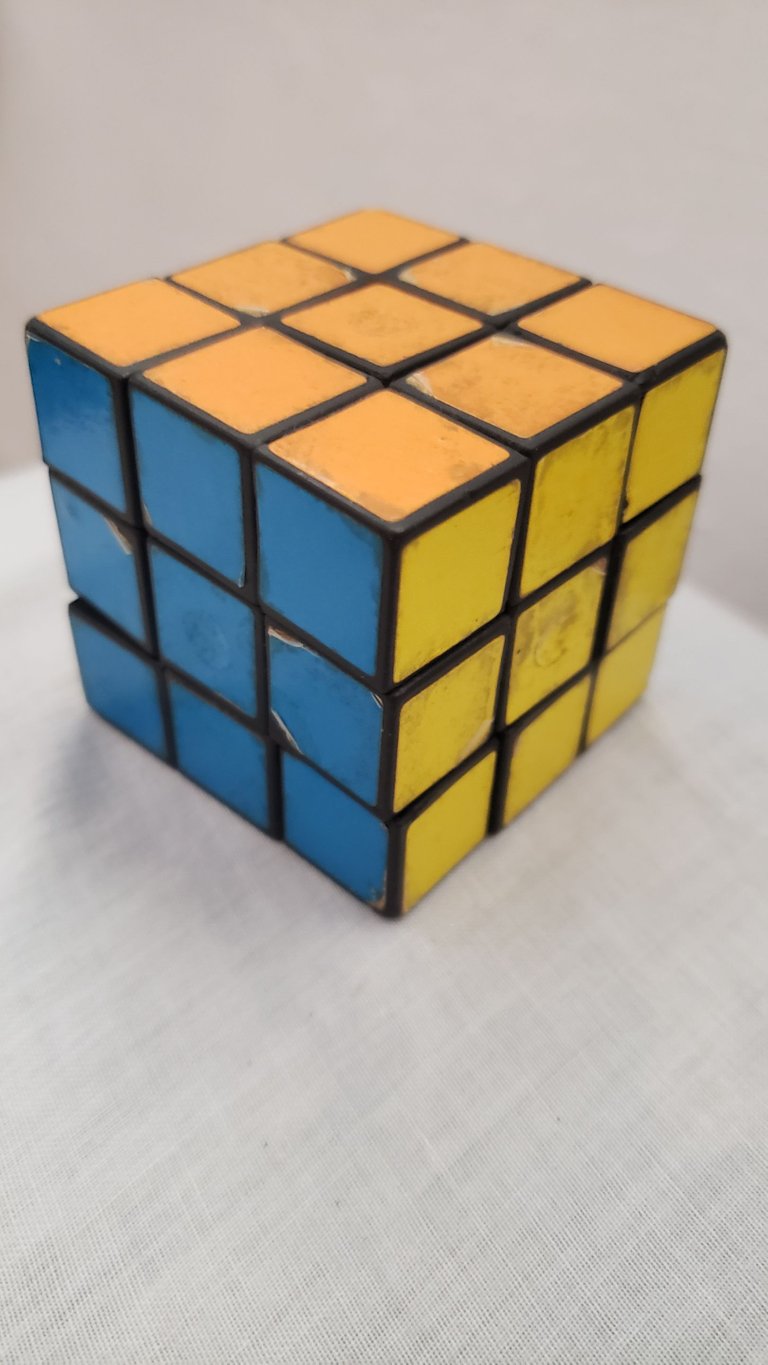
🔶 Next you must match the edges with their corresponding color and then it's time to assemble the corners. For this you must have at least one corner in place, even if the position of its colors is not right. With a series of movements you will achieve that each color is in place and then move the top layer to put the next corner in the same place to apply the same procedure, and so on until all 4 are well placed.
| | |
|---|
In this step we match the edges with their color.
| | |
|---|
Here you can see that the corners are in place, but the colors are disorganized.
| |
|---|
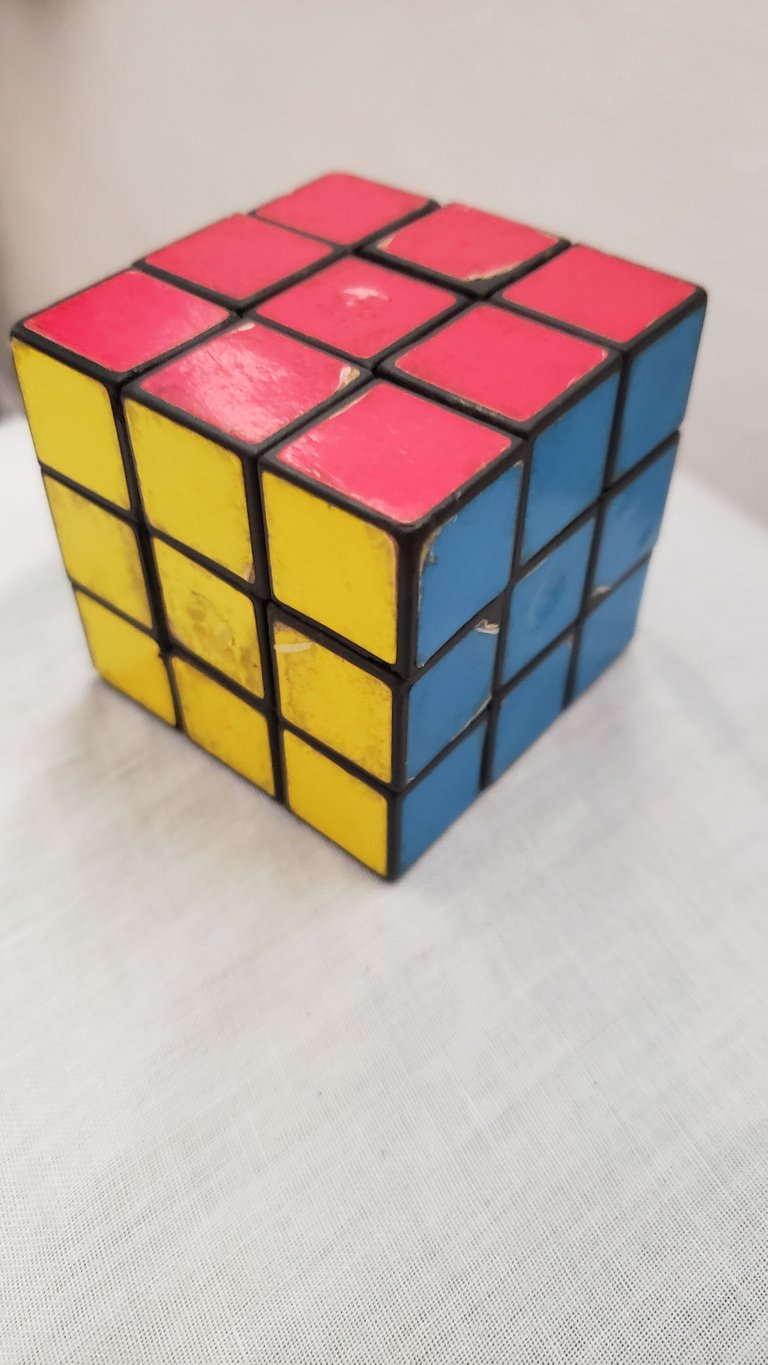
In this step you will see that the cube will be a little desorganized, but do not panic, this is perfectly normal, you are one step away from the end.
🔶 LAST STEP 🔶
This is the easiest step, you just have to turn the layers until they match, and that's it, your Rubik's cube is assembled.
| | |
|---|
That's all friends, I hope this post will be helpful to those of you who have not been able to solve your Rubik's cube yet. I really enjoy putting mine together and I always try to improve my time. I find it a very good toy for memory and no matter how old you are you can always play with it, plus I also find it a nice decoration for the bedroom 😄.
- All pictures were taken with my Samsung S9 phone.
- The edited images were made in Hue Pix app.
- Gifs taken from gifsanimados.org.
- Banners created in Ibis Paint app.
- Link of the tutorial in YouTube.


Es un juguete muy entretenido, como decía mi abuelo, el que lo invento se quedó básio.
Así es, yo disfruto mucho armarlo. Gracias por pasarte y concuerdo con tu abuelo 😄
Muy interesante tu post , siempre me ha gustado este juguete , pero nunca lo he encontrado y además soy malísima armándolo jaja, pero estoy segura que si un día lo encuentro tu tutorial me servirá para hacerlo perfecto. Un saludo y gracias por las instrucciones.
A mi me tomó 22 años encontrarlo, sabes que lo ví en la pasada Feria del libro en Pinar, pero estaba carísimo. Me alegra que te haya gustado el tutorial, gracias por dejarme tu comentario 🤗
!PIZZA
$PIZZA slices delivered:
@nupulse(5/15) tipped @wendy23
Admito que siempre quice tener uno, de niño siempre admire como lo mostraban en la tele mientras lo armaban súper rápido.
Así me pasaba a mí, aunque el mío no podía armarlo tan rápido, se trababa a veces, tu sabes, hecho en Cuba 😅
@wendy23 nos sorprende a todos con esta excelente publicación. Es cierto que para hallar uno se pasa trabajo, contraproducente si se tiene en cuenta que desarrolla muchas habilidades cognitivas. Las escuelas debían tener. Nunca he armado uno, pero algún día cuando tenga en mano un ejemplar seguiré los pasos de tu post para armar. Muchas gracias.
Muchas gracias amigo por leerme y dejarme tu opinión. Interesante lo que propones de que las escuelas pudieran tener este juguete, sería una buena forma para ayudar a los niños a desarrollar habilidades cognitivas, concuerdo contigo.
Saludos 👋
Eres sorprendente @wendy. Tienes ideas maravillosas para publicar. Yo siempre he querido tener uno. Pero te confieso que me da dolor de cabeza. Jjjj felicidades por tu juguete y gracias por compartir.
Muchas gracias por leerme y dejarme tu comentario 🤗👍👍
Wow que interesante , ese cubito siempre ha sido un dolor de cabeza para muchos. Este post es de muchísima ayuda ,gracias por ello.
Muchas gracias, me alegra que sea de utilidad 😊
Siempre me pareció una faena bien trabajosa ese cubo. Ahora con tu explicación parece más sencillo. Esperemos a ver cuando encuentre uno que tal me va
Espero que lo encuentres, aunque no es una tarea fácil, ya después me dice si lo logras armar 👍
Nice Post! I have been addicted to the cube 40 years ago when it came up brandnew and got one from my dad !LOL
lolztoken.com
You ain't seen muffin yet.
Credit: reddit
@wendy23, I sent you an $LOLZ on behalf of beeber
(1/1)
¡Felicitaciones!
1. Invierte en el PROYECTO ENTROPÍA y recibe ganancias semanalmente. Entra aquí para más información.
3. Suscríbete a nuestra COMUNIDAD, apoya al trail de @Entropia y así podrás ganar recompensas de curación de forma automática. Entra aquí para más información sobre nuestro trail.
4. Creación de cuentas nuevas de Hive aquí.
5. Visita nuestro canal de Youtube.
Atentamente
El equipo de curación del PROYECTO ENTROPÍA
Muchas gracias por el apoyo 😊