✨Beautiful tendrils inspired by Healer Oceani/Hermosos Zarcillos Inspirados en Healer Oceani✨

Hello dear friends of this community @Holozing and @Hive, I hope you are very well, again here with you I wish you a blessed start of the week full of joys creativity I send you a warm greeting and Well I am here with you to present you a few tendrils inspired by healer oceani I hope you like it es very fscil to make I will explain the step by step I hope you can cheer up.
Today I decided to make some tendrils in bicone pearls and beautiful hand shells I love the sea I love marine accessories and I have been inspired to publish for you with love and affection some tutorials on how to make a very easy and elegant tendrils good to look at this time of Easter to go to the beach or rivers later I will be presenting how I made them.
The materials used in the elaboration of the Healer Oceani inspired earrings were the following:

- TWO LONG SNAILS
- TWO LONG SHELLS
- TWO MEDIUM WHITE PEARLS
- TWO SMALL WHITE PEARLS
- TWO LARGE BLUE PEARLS
- THIN GOLD-PLATED COSTUME JEWELRY WIRE
- TWO EARRING HOOKS
- TWO SMALL WHITE PEARLS
- CUTTING PLIERS
- BLUE BICONES.

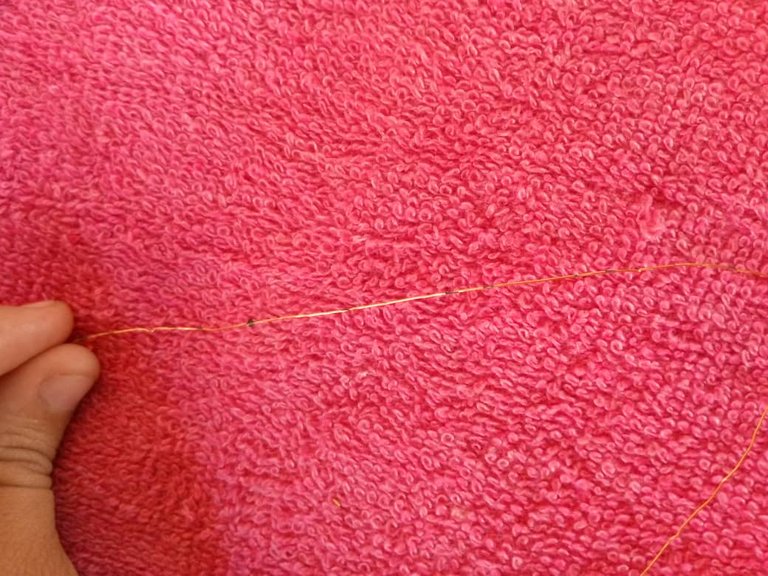
Step 1
The first thing we are going to do is to select the wire that we are going to use like this
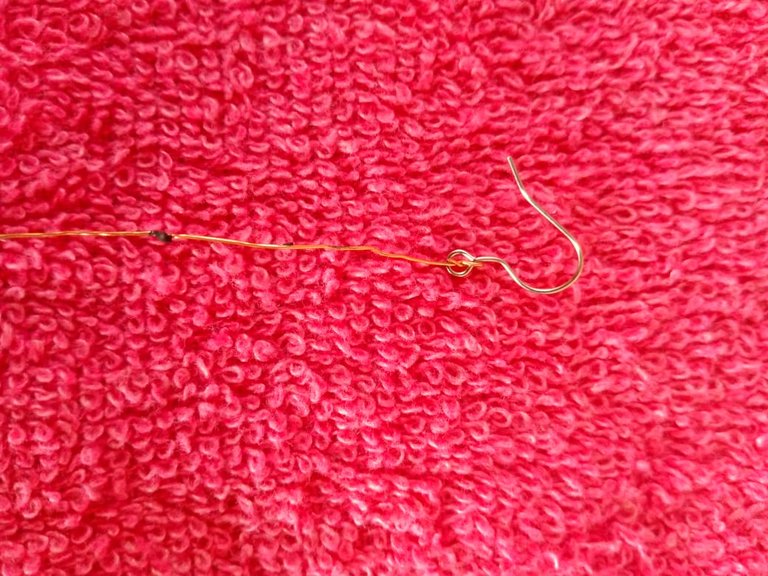
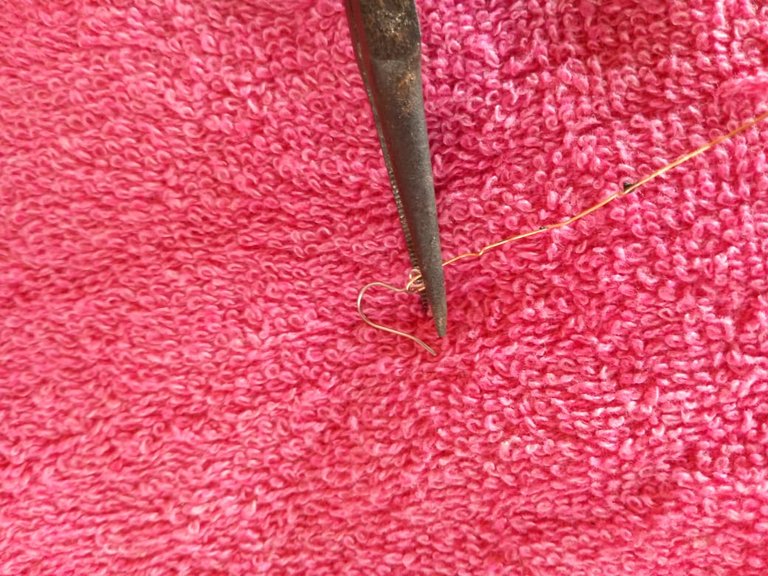
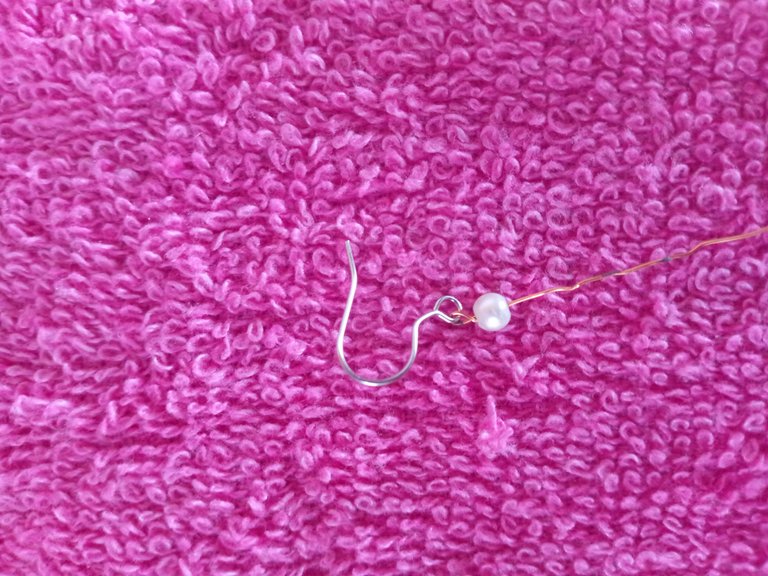
Step 2
Then we are going to take the earring hook AND the wire and we are going to introduce it through the hole that it has then we are going to make a turn and with the pliers we are going to tighten it so that it is very stable and cannot come loose if you want you can also make three turns to the wire and that way it can also be a little more beautiful because the wire gives it volume because it is golden.

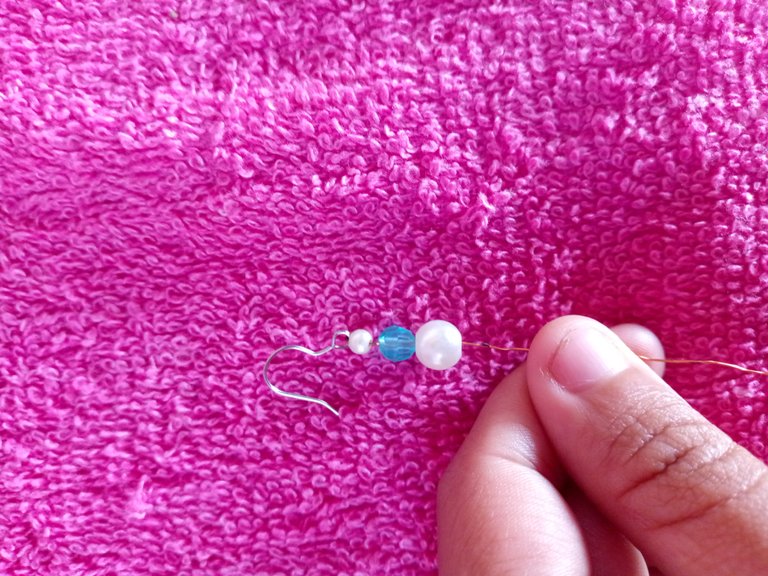
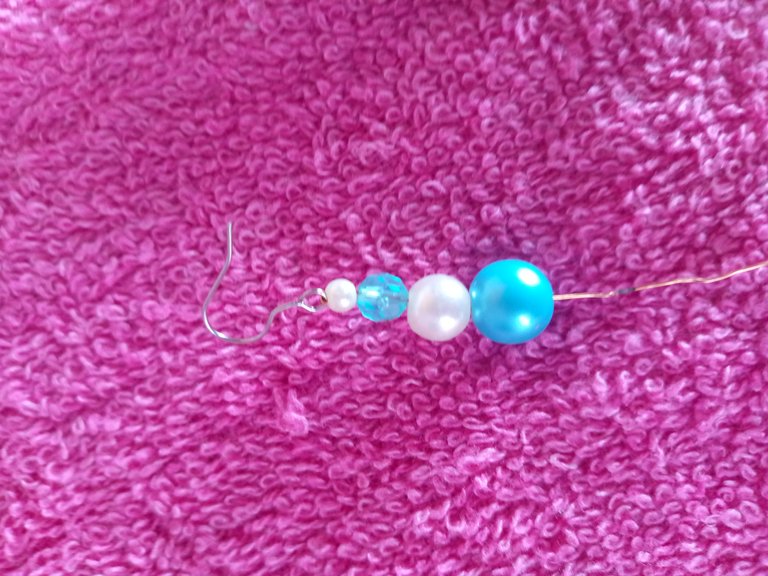
Step 3
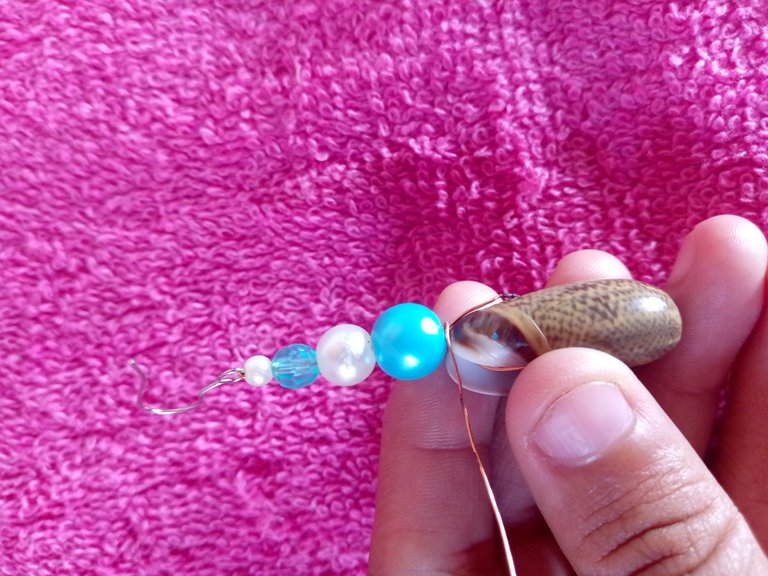
Now we are only going to introduce the stones from the smallest to the biggest size, we are going to start with the small white pearl, then with the blue bicone followed by the white pearl and the blue stone, these are in a gradual way to have a balance.

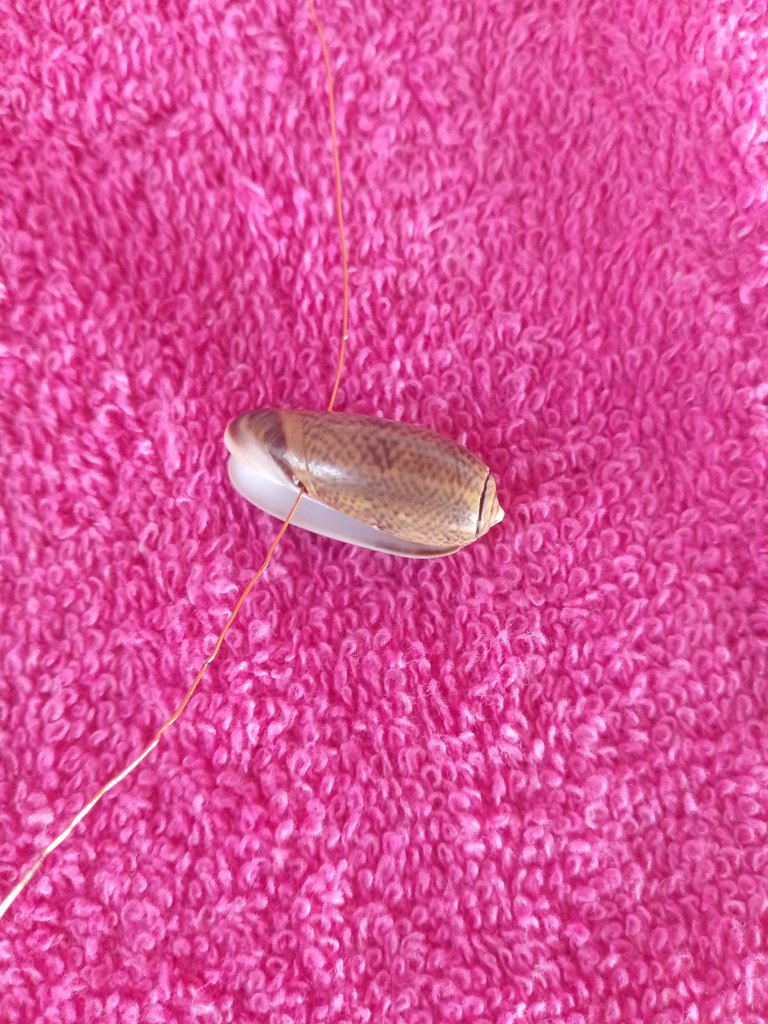
Step 4
Now what we're going to do is we're going to insert the wire into the snail like this, and then we're going to make some turns so that we're going to squeeze and trim off the excess wire and then we're going to cut it.

Step 5
Now what we're going to do is to half match them so that they're straight and evenly spaced.
We are going to do the same procedure with the other tendril.

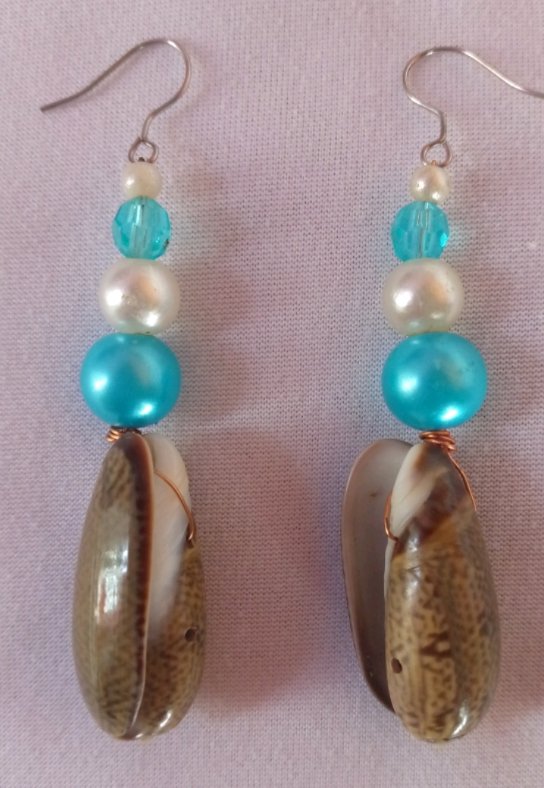
And so we will finish our elegant tendrils, and ready to show off I hope you like it very much, thanks for stopping by my dear Readers and I wish you a good start of the week and many blessings
- The photos are my property and were taken by my Tecno spark phone.
- Translator Used: Deepl Translator
- Editing using the Canva application.
✨✨✨✨✨✨✨✨

El día de hoy decidí realizar unos zarcillos en perlas bicono y hermosos caracoles de mano Me gusta mucho el mar me gusta mucho los accesorios marinos y me he sentido inspirada en publicar para ustedes con mucho amor y cariño unos tutoriales de cómo hacer unos zarcillos muy fáciles y elegantes bueno para lucir en estas fechas de semana Santa a ir a la playa o ríos más adelante les estaré presentando como los realicé.
Los materiales utilizados en la elaboración de los zarcillos inspirados en Healer Oceani fueron los siguientes:
- DOS CARACOLES LARGOS
- DOS CARACOLES LARGOS
- DOS PERLAS BLANCAS MEDIANAS
- DOS PERLAS BLANCAS PEQUEÑAS
- DOS PERLAS AZULES GRANDES
- ALAMBRE DE BISUTERÍA DELGADO DORADO
- DOS GANCHOS PARA ARETES
- PINZA DE SUJETAR
- PINZA DE CORTAR
- BICONOS AZULES.
Paso 1
Lo primero que vamos a hacer es seleccionar el alambre que vamos a utilizar de esta manera
Paso 2
Luego vamos a tomar el gancho de arete Y el alambre y vamos a introducirlo por el agujero que tiene luego vamos a hacerle un giro y con la pinza vamos a apretarlo de modo a que quede bien estable y no pueda soltarse si ustedes quieren también lo pueden hacer tres giros al alambre y de esa manera también puede quedar un poco más bonito porque el alambre le da volumen por ser dorado.
Paso 3
Ahora solo vamos a ir introduciendo las piedras de tamaño mas pequeño hasta el mas grande, vamos a empezar con la perla pequeña blanca ,luego con el bicono azul seguido de la perla blanca y la piedra azul, estas son de manera gradual para asi tener un equilibrio
Paso 4
Ahora lo que vamos a hacer introducir el alambre dentro del caracol asi de esta manera, y luego vamos a hacer unos giros de modo que vamos a ir apretando y recortando las sobras de alambre y luego vamos a ir cortando.
Paso 5
Ahora lo que vamos a hacer es medio acomadarlos de manera a que queden derecho y de una manera uniforme los dos.
Asi vamos a hacer el otro procedimiento con el otro zarcillo.
Y asi terminaremos nuestros zarcillos elegantes, y listo para lucir espero que les guste mucho, gracias por pasar mis queridos Lectores y bueno les deseo un comienzo de semana y muchas bendiciones
- Las fotos son de mi propiedad y fueron tomadas por mi telefono Tecno spark.
- Traductor Utilizado: Deepl Traductor
- Edicion mediante la aplicacion de Canva.
**It is elegant, and stylish and looks absolutely amazing. Love its color. Nice work! Keep it up!
Muy hermosos amiga éxitos
Hermosos🥰