Elegante y Bonita Gargantilla Fácil de Hacer🩵Elegant and Beautiful Choker Easy to Make


Quiero realizar esa gargantilla porque tengo una camisa negra la cual quiero lucir con un color cielo así como este azul Me gusta mucho el poder complementar mis outfits con mis accesorios y es una magnífica idea poder tener mis materiales y realizarlos a mi gusto..A las chicas que le encantas lucir bellas y elegantes con sus joyerías espero que les guste mucho.
Los materiales que utilicé fueron los siguientes:
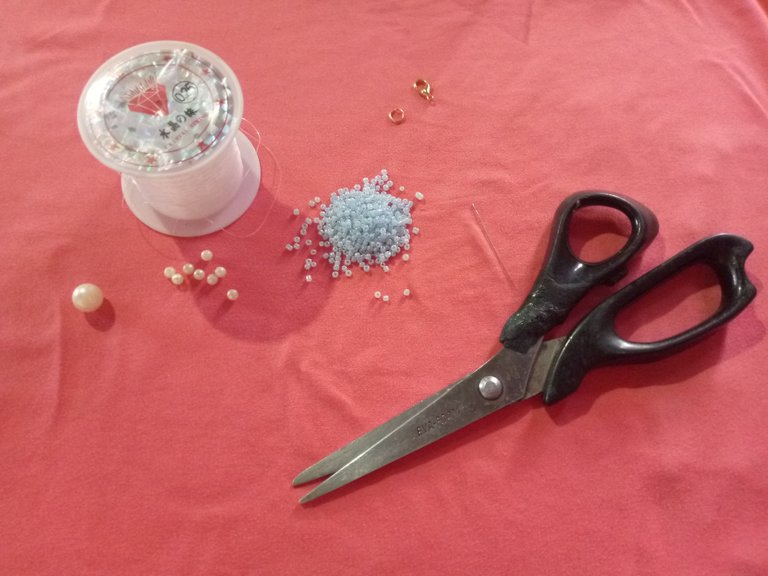
- Mostacillas
- Perlas pequeñas blancas
- Diamante transparente mediano
- Aguja de mostacilla
- Nylon de 0.25
- Tijera
Les estaré presentando como realizar nuestra gargantilla
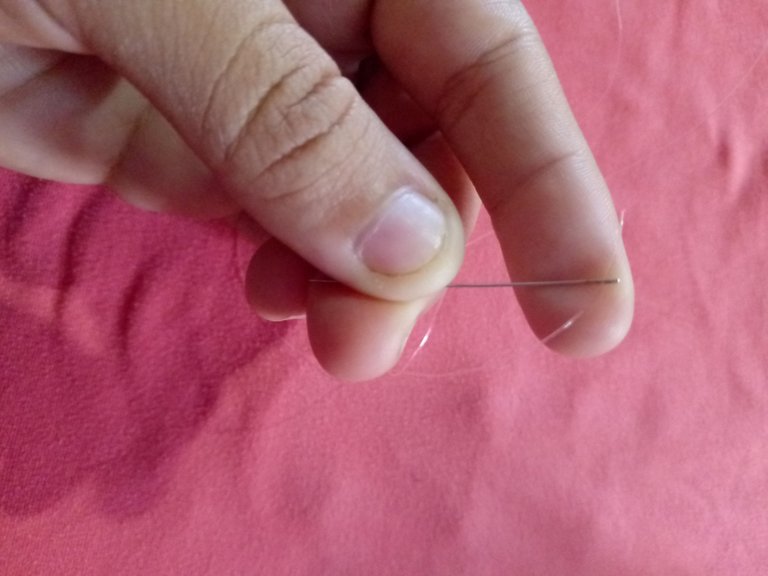
Paso 1
Lo primero que vamos a hacer es tomar lo que vamos a utilizar y este lo vamos a colocar junto con la aguja que vamos a introducir de mostacilla.
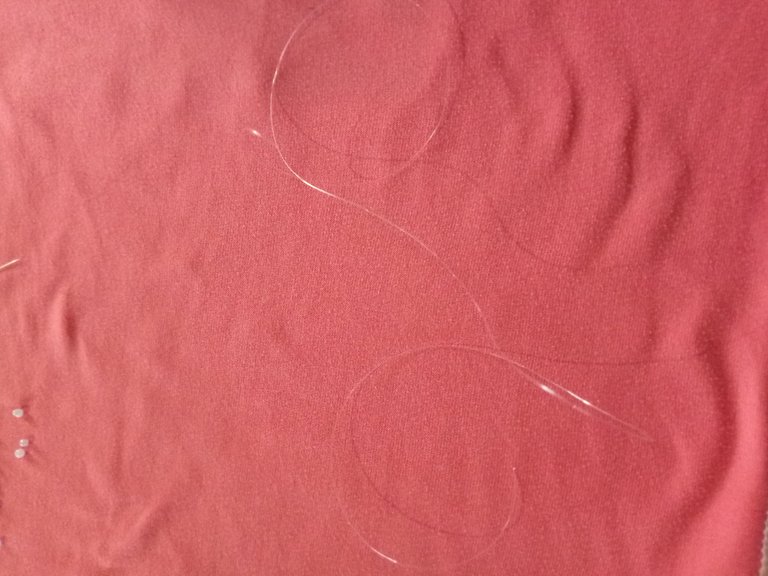
Paso 2
Ahora lo que vamos a hacer es ir introduciendo las mostacillas de esta manera y después de llevar una secuencia muy larga dependiendo la medida que tomemos es sumamente importante darle el mismo largo a las dos partes laterales,
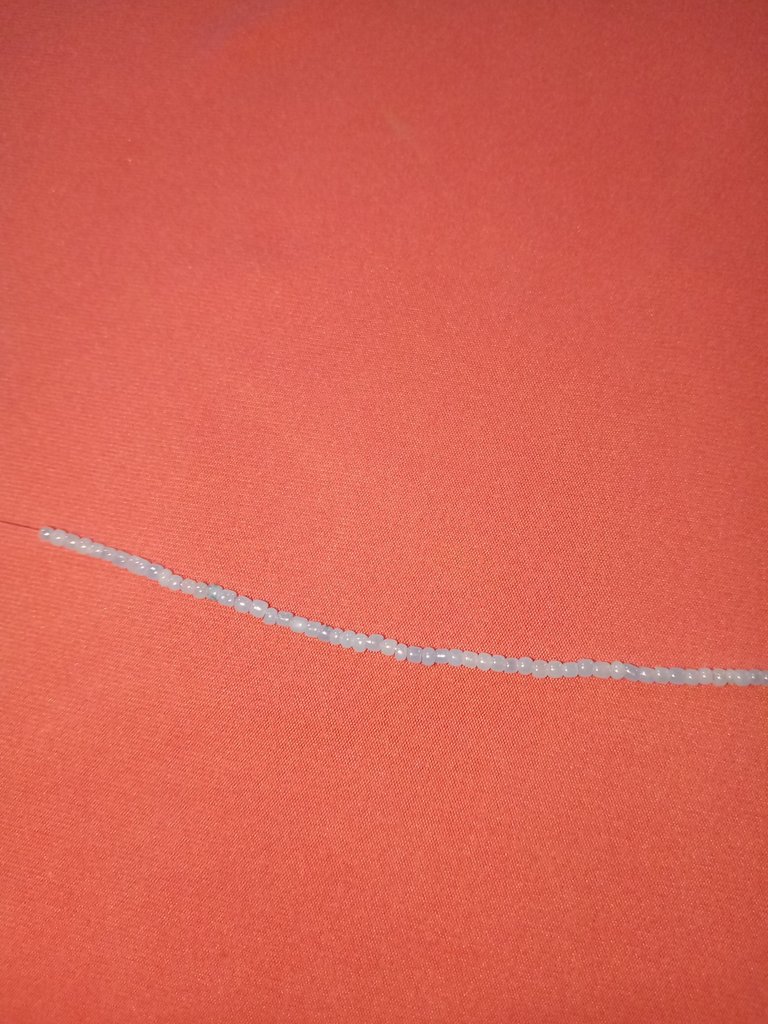
Paso 3
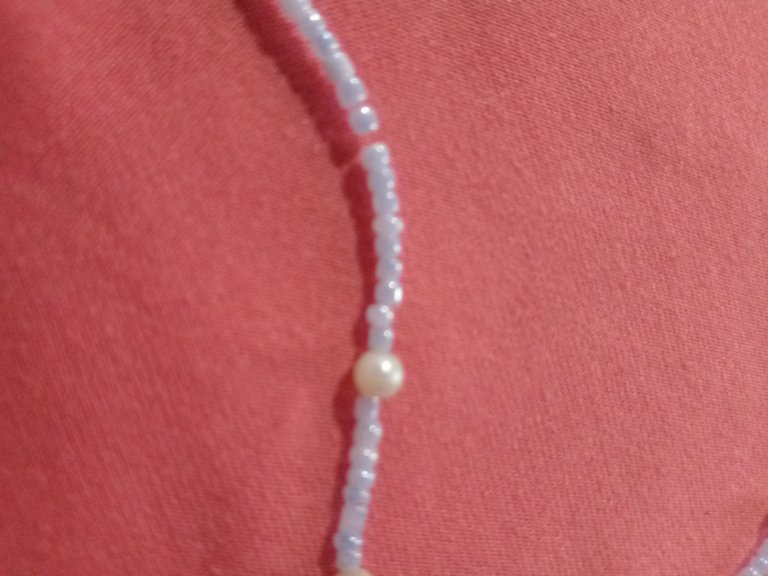
Ahora solamente vamos a tomar las perlas pequeñas blancas y vamos a colocarlas después de las Mostacillas así de esta manera y este paso lo vamos a realizar dos veces poniendo de por medio mínimo 8 máximo diez mostacillas y así irá quedando.
Paso 4
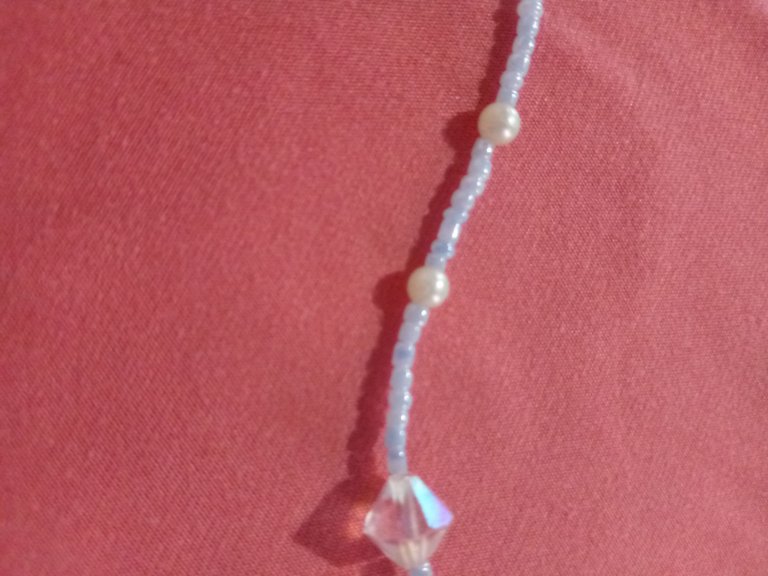
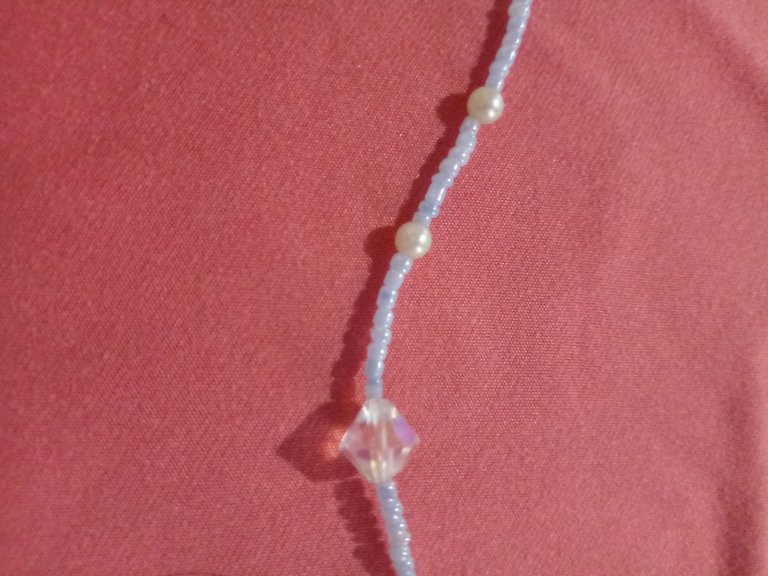
Solo después de las perlas vamos a introducir otras 8 mostacillas y después de estas solo vamos a tomar el diamante transparente y lo vamos a colocar dándole un toque más delicado y brilloso, no se pero en realidad la forma del diamante juntos con las perlas y las mostacillas azul bajito, me encantan ya que me gustan un poco las cosas delicadas y simples también llamativas y escandalosas en fin mis gusto son muy raros.
Paso 5
Después de los primeros pasos ya realizados solamente nos tocará hacer el mismo procedimiento del otro lado hacer esta clase de gargantilla es muy fácil ya que con la aguja de mostacilla se nos hace fácil tomar las mostacillas y ir colocándola de esta manera.
Paso 6
Ahora después de realizar ya todo la gargantilla solamente vamos a tomar el aro y vamos a hacer tres nudos dejándolo estable así de esta manera y lo hilos sobrantes se cortan con la tijera.
Paso 7
Ahora vamos a hacer el mismo procedimiento pero con el seguro para nuestra gargantilla tomándolo y introduciéndolo de esta forma y también haciéndole los tres nudos y cortando en nylor sobrante y así de esta manera terminaremos nuestra gargantilla.
BUENO AMIGOS ESPERO QUE LES GUSTE MUCHO MI HERMOSA,FÁCIL Y DELICADA PULSERA DE MOSTACILLAS.
Gracias por la lectura hasta la próxima
Las fotos son de mi propiedad y fueron tomadas por mi teléfono el traductor que utilicé fe Deelp y la imagen fue editada en canva.

I want to make this choker because I have a black shirt which I want to wear with a sky color like this blue I really like to complement my outfits with my accessories and it is a great idea to have my materials and make them to my liking...To the girls who love to look beautiful and elegant with their jewelry I hope you like it a lot.
The materials I used were the following:
- Beads
- Small white pearls
- Medium clear diamond
- Needle for beads
- 0.25" nylon
- Scissors
I will be showing you how to make our choker
Step 1
The first thing we are going to do is to take what we are going to use and this we are going to place it together with the needle that we are going to introduce of mustacilla.
Step 2
Now what we are going to do is to introduce the beads in this way and after taking a very long sequence depending on the measure we take it is very important to give the same length to the two side parts,
Step 3
Now we are only going to take the small white pearls and we are going to place them after the beads in this way and this step we are going to do it twice putting in between minimum 8 maximum ten beads and it will be like this.
Step 4
Only after the pearls we are going to introduce another 8 beads and after these we are only going to take the transparent diamond and we are going to place it giving it a more delicate and shiny touch, I don't know but actually the shape of the diamond together with the pearls and the small blue beads, I love them because I like a little bit the delicate and simple things also flashy and scandalous, in short my taste is very rare.
Step 5
After the first steps already done we will only have to do the same procedure on the other side to make this kind of choker is very easy because with the bead needle it is easy to take the beads and place them in this way.
Step 6
Now after making the entire choker we will only take the ring and we will make three knots leaving it stable in this way and the excess threads are cut with the scissors.
Step 7
Now we are going to do the same procedure but with the lock for our choker taking it and inserting it in this way and also making the three knots and cutting in nylor leftover and this way we will finish our choker.
WELL FRIENDS I HOPE YOU LIKE VERY MUCH MY BEAUTIFUL, EASY AND DELICATE BEADS BRACELET.
Thanks for reading until next time
The photos are my own and were taken by my phone the translator I used was Deelp and the image was edited in canva.
Te quedó linda amiga .. saludos , exitos y bendiciones para ti y tu familia 🤗❤️
Hola amiga me parece muy sencilla y delicada tu creación
Me encanta lo delicada que se ve y al usarla ajustada al cuello permite la posibilidad de usar otras cadenas y armar un hermoso juego.
It looks simple in design. Many people will prefer this. It is stylish and elegant. Well done!
Esta super hermosa esta gargantilla amiga
Bendiciones se ve muy elegante tu gargantilla ideal para obsequiar a alguien especial