[ESP-ENG] Hermosa diadema para niñas hecho a mano | Beautiful handmade headband for girls
Happy and blessed day to all, once again grateful to be able to share with each and every one of you, I am pleased to share with you a beautiful headband for girls that I made with a cotton fabric from a monkey that I had at home and no longer used and I decided to make this cute headband, I hope you like it, let's see the step by step.
.jpg)
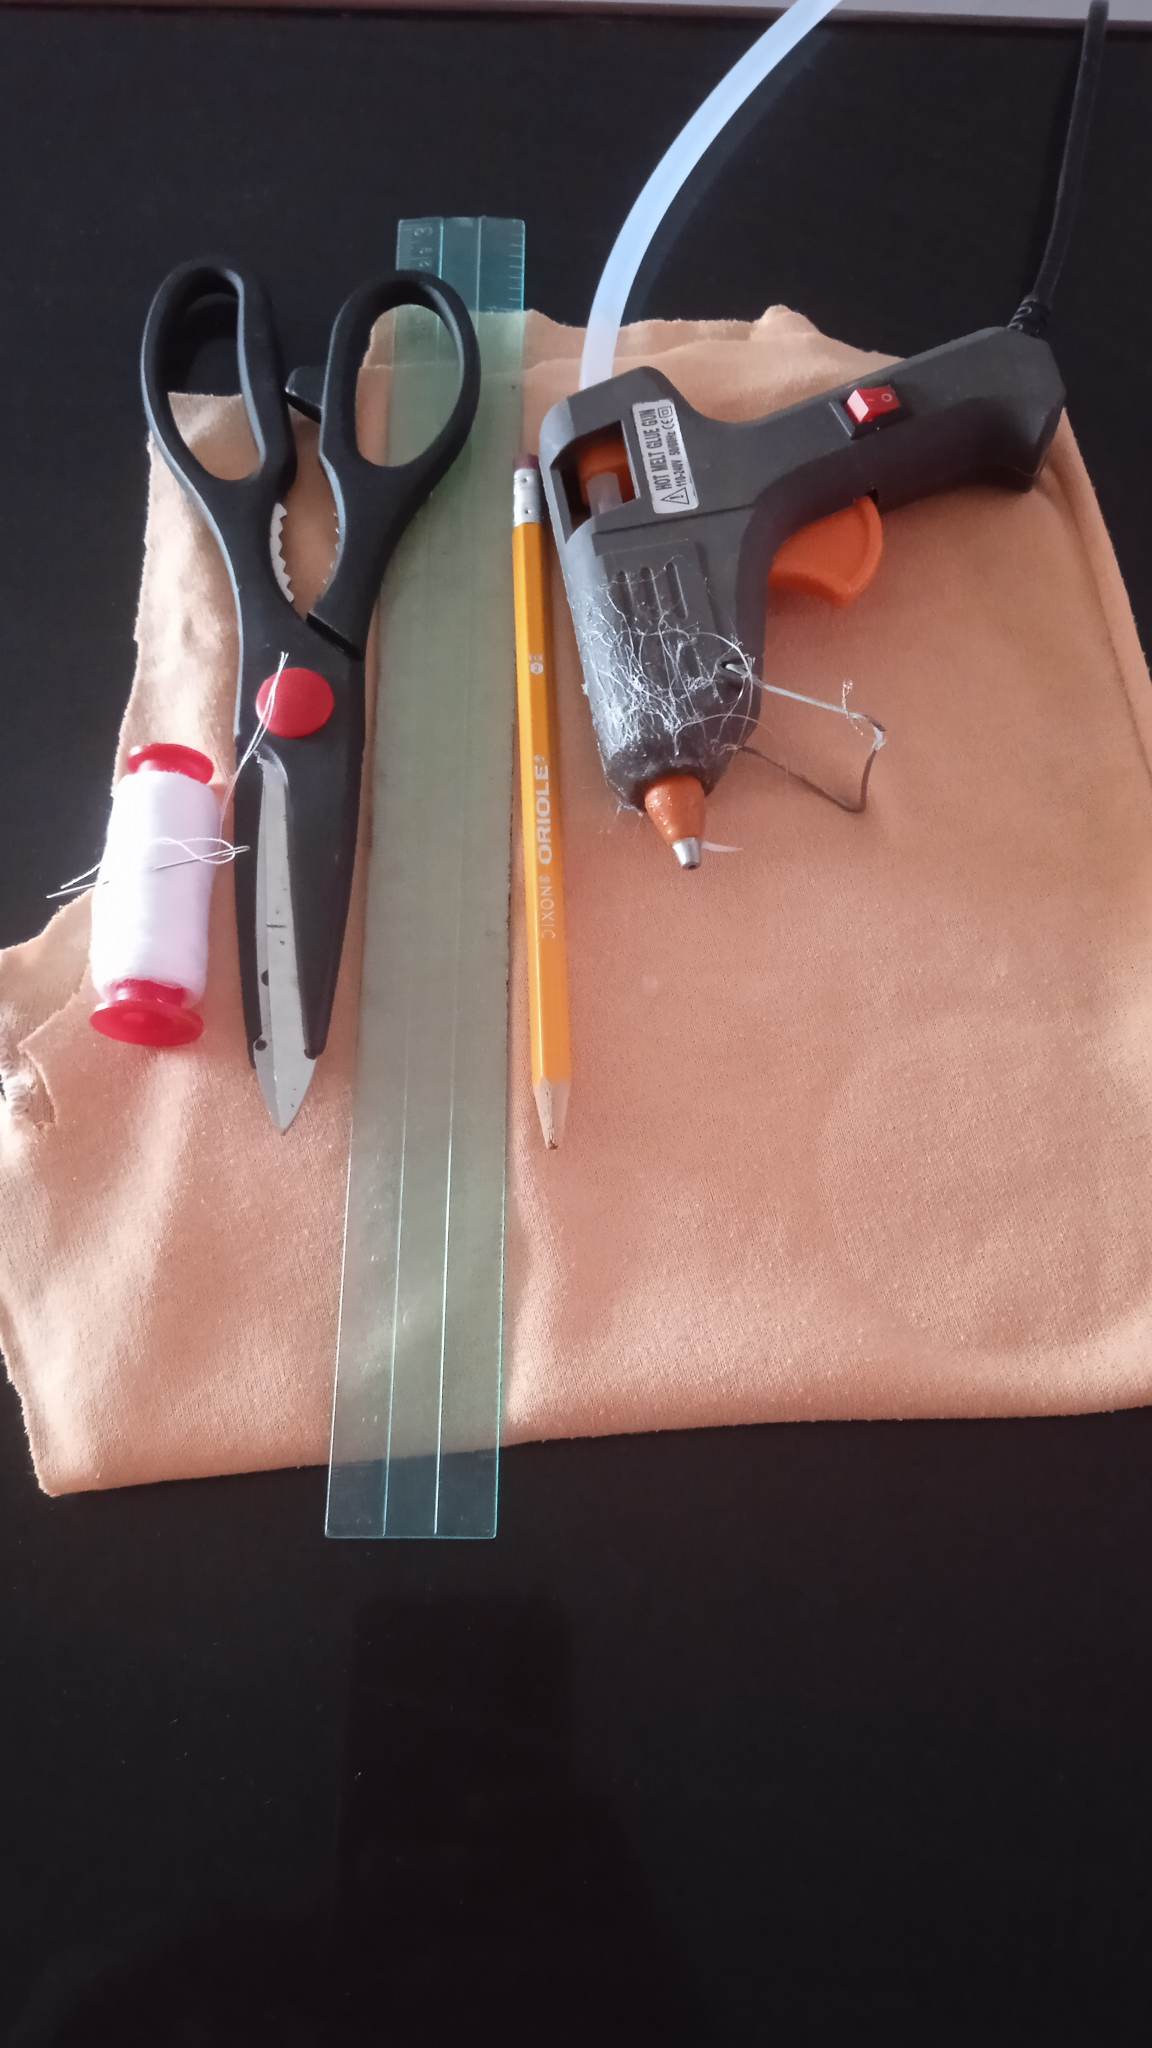
- Los materiales a utilizar son:
- Retazde tela de algodón o lycrada.
- Tijera.
- Lápiz.
- Hilo y aguja de coser.
- Silicón en barra.
- Regla o cinta métrica.
- The materials to be used are:
- Cotton or lycrada cloth.
- Scissors.
- Pencil.
- Thread and sewing needle.
- Silicone stick.
- Ruler or tape measure.
.jpg)
- Paso 1: Primeramente marcamos en la tela las medidas de 35 cm de largo por 10 cm de ancho, una vez marcadas las medidas procedemos a recortar la tela.
- Step 1: First we mark on the fabric the measures of 35 cm long by 10 cm wide, once the measures are marked we proceed to cut the fabric.
.jpg)
- Paso 2: Doblamos la tela a la mitad de lo largo y cosemos desde un extremo y la orilla, dejando el otro extremo sin coser, luego volteamos del lado derecho y deberá quedarnos tal cual como muestra la tercera imágen.
- Step 2: Fold the fabric in half lengthwise and sew from one end and the edge, leaving the other end unstitched, then flip it right side out and it should look like the third image.
.jpg)
- Paso 3: Luego unimos las dos puntas y cosemos por todo el centro de manera que quede totalmente arruchada la parte del frente de nuestra diadema.
- Step 3: Then we join the two ends and sew all around the center so that the front of our headband is completely ruffled.
.jpg)
- Paso 4: Luego con la ayuda de una taza pequeña o un vaso marcamos 10 circulos en la tela, luego recortamos uno a uno, hasta obtener las 10 piezas.
- Step 4: Then with the help of a small cup or a glass we mark 10 circles on the fabric, then we cut one by one, until we get the 10 pieces.
.jpg)
- Paso 5 : Doblamos cada circulo a la mitad, colocando uno encima del otro y procedemos a coser por toda la orilla, debemos empezar primero por seis circulos la cual será nuestra primera flor.
- Step 5: Fold each circle in half, placing one on top of the other and proceed to sew all around the edge, we must first start with six circles which will be our first flower.
.jpg)
- Paso 6 : Cosidas toda la orilla, unimos y cosemos ambos extremos y arruchamos para darle la forma de flor, debemos sacar dos flores, una de seis pétalos y la otra de cuatro pétalos.
- Step 6 : Sewn all the edge, we join and sew both ends together and we gather to give it the shape of a flower, we should get two flowers, one with six petals and the other with four petals.
.jpg)
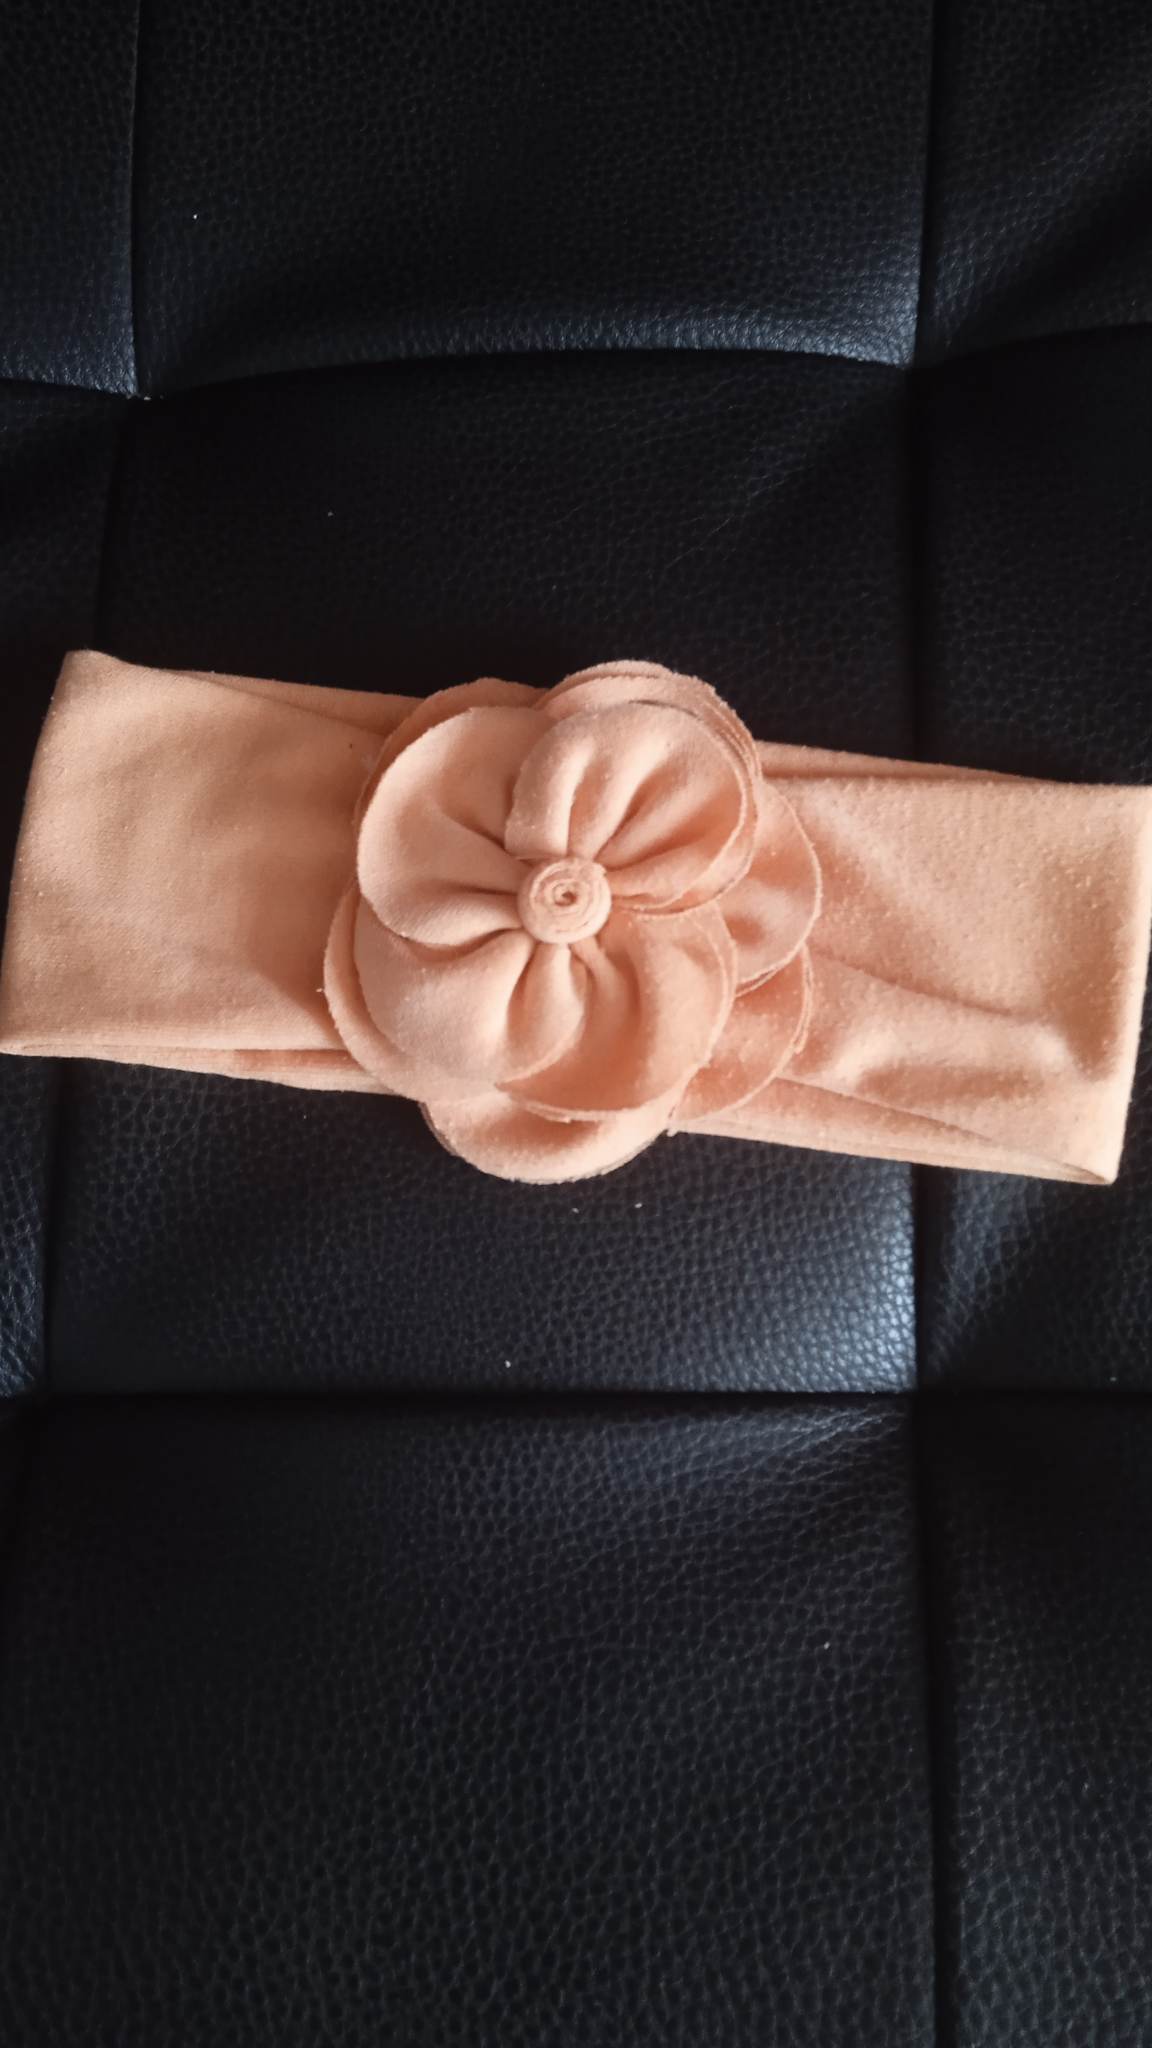
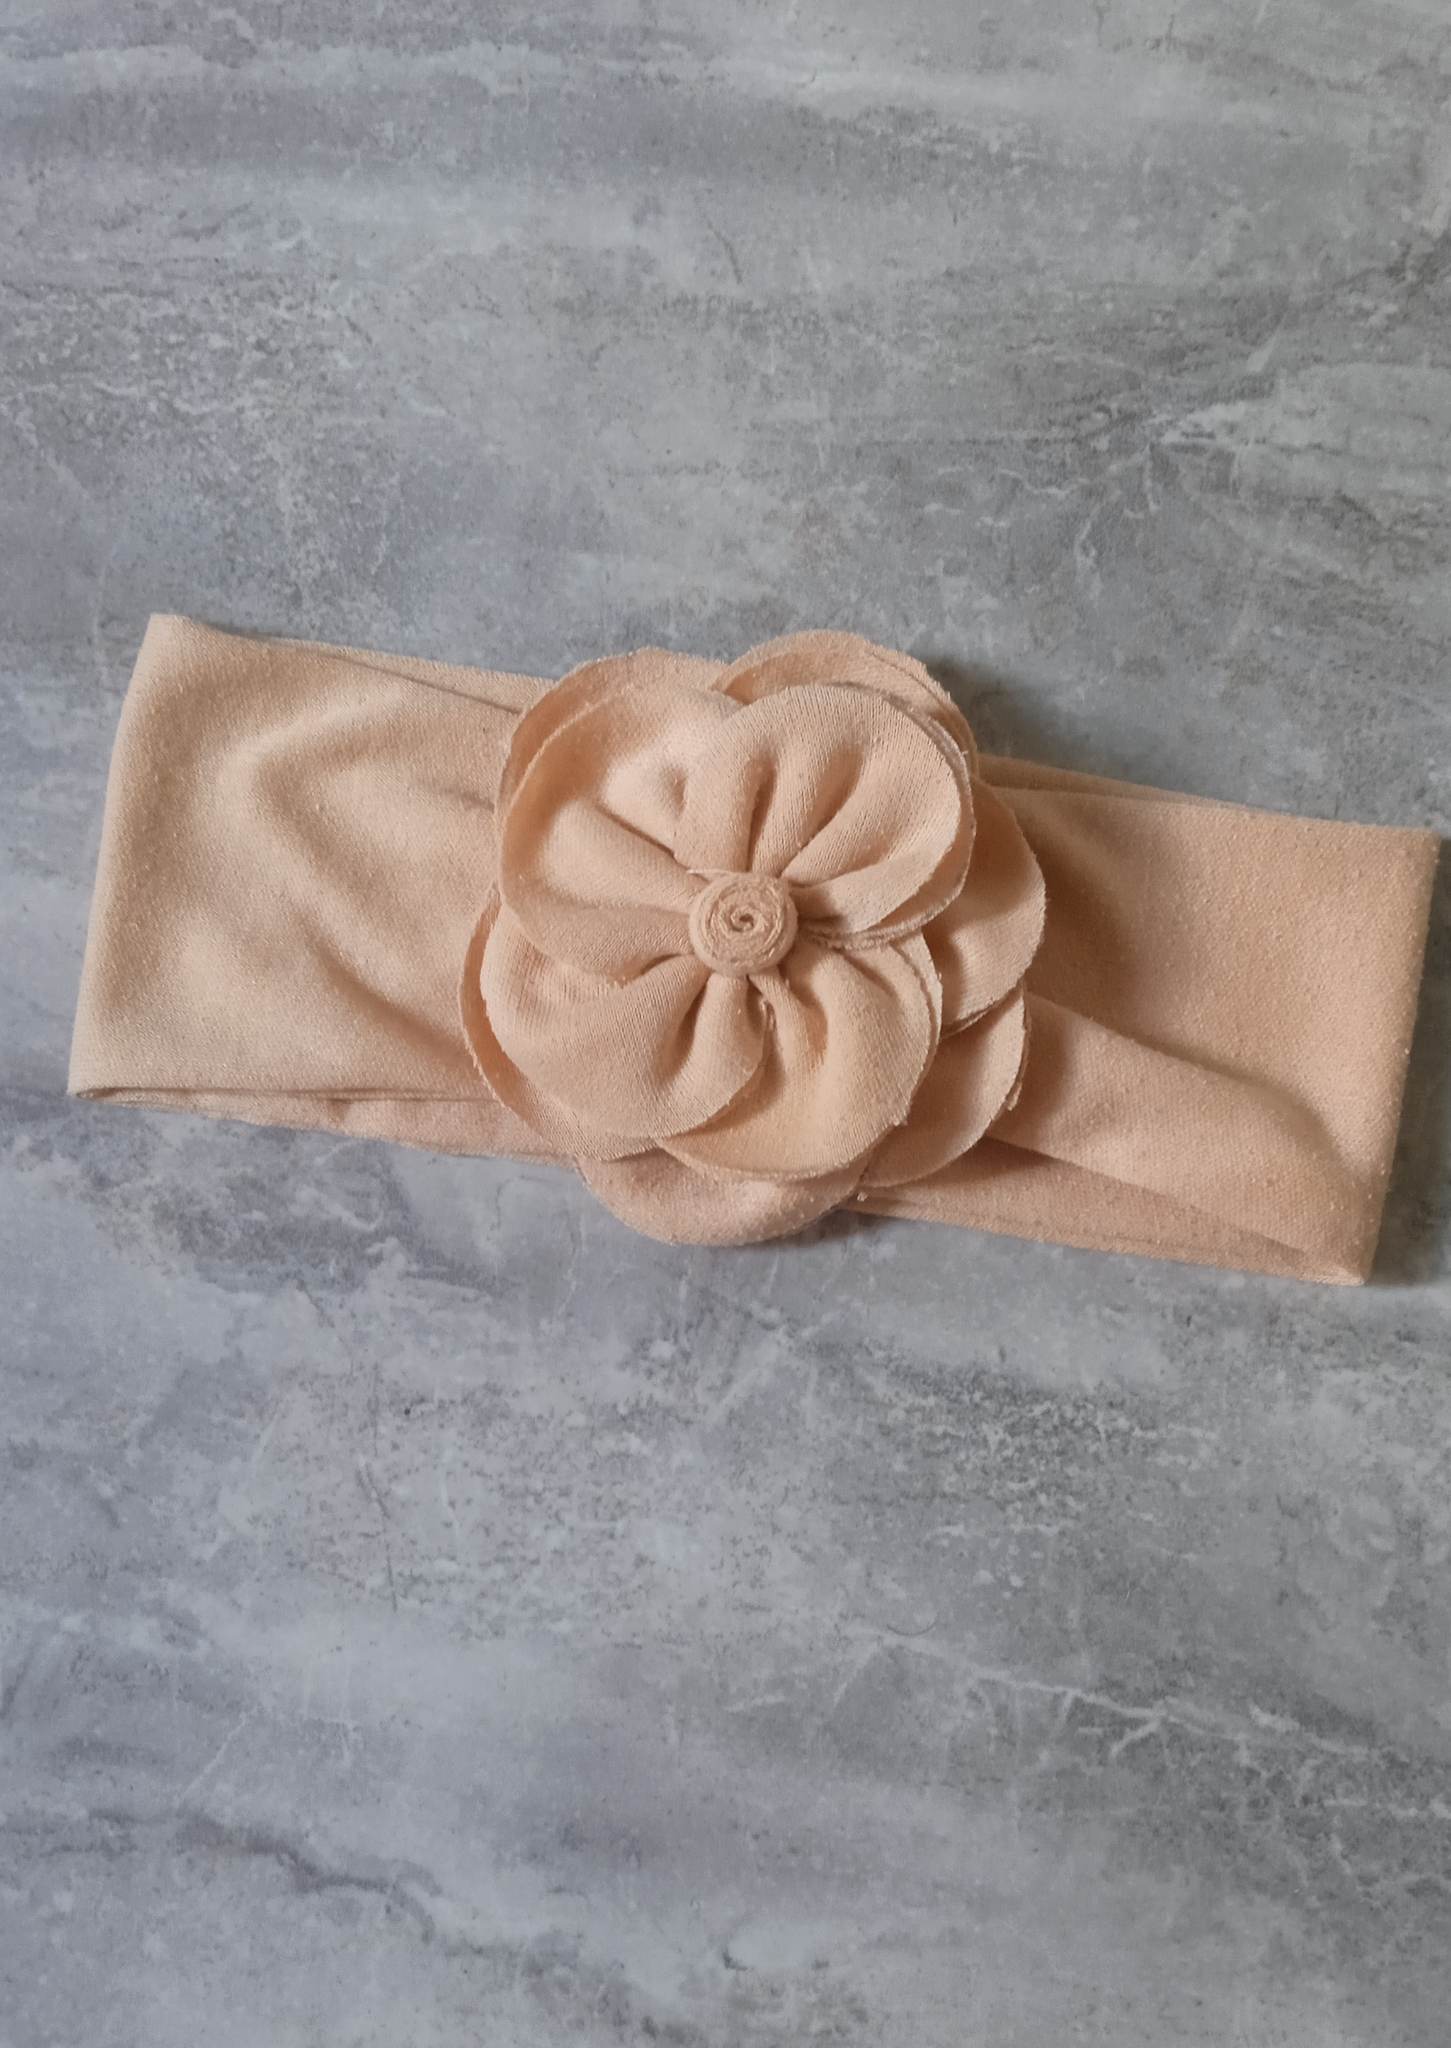
- Paso 7 : Luego de tener listas ambas flores, recortamos una tira de 15 cm de largo por 2 cm de ancho, la doblamos a la mitad, la enrrollamos poco a poco cosiendo el extremo y luego la metemos en el centro de la flor pequeña, luego la pegamos a la otra flor y posteriormente la pegamos con silicón a nuestra diadema.
- Step 7 : After having both flowers ready, we cut a strip of 15 cm long by 2 cm wide, fold it in half, roll it little by little sewing the end and then we put it in the center of the small flower, then we glue it to the other flower and then we glue it with silicone to our headband.


0
0
0.000
https://twitter.com/984851177648087040/status/1607829387889590272
The rewards earned on this comment will go directly to the people( @bilgin70 ) sharing the post on Twitter as long as they are registered with @poshtoken. Sign up at https://hiveposh.com.
OMGGGGGGG, me encanta, quedo muy linda, no pareciera que la hubiese hecho en casa, de verdad que tiene mucha creatividad porque hacer una diadema con un retazo de tela wuao, yo lo hubiera agarrado para limpiar mi cocina JALAJSAKSJ, me gusto mucho, gracias por compartir esta grandiosa idea.
Saludos!!<3
ja,ja, gracias a ti por tomarte el tiempo de leer y comentar, saludos.