Esp/Eng Multifunctional, emoji-themed organizer made from popsicle sticks and toilet paper tube!
Saludos amigos creativos en todo el mundo, bienvenidos a mi blog!
Hoy les quiero compartir el #tutorial de un organizador multifuncional, hecho con paletas para helados y tubos de papel higiénico, que puede ser decorado según el gusto y la creatividad de cada quien; en mi caso, lo decoré con un emoji.
Es muy sencillo de elaborar, y puede ser utilizado tanto para organizar lápices, como para colocar los cepillos de dientes, o las agujas y botones, además sirve como un regalo para colocar en el escritorio en la oficina; espro sea de su agrado y utilidad.
Comencemos:
Greetings creative friends around the world, welcome to my blog!
Today I want to share with you the #tutorial of a multifunctional organizer, made with popsicle sticks and toilet paper tubes, which can be decorated according to the taste and creativity of each person; in my case, I decorated it with an emoji.
It is very simple to make, and can be used both to organize pencils, to place toothbrushes, or needles and buttons, also serves as a gift to place on the desk in the office; espro be to your liking and usefulness.
Let's get started:

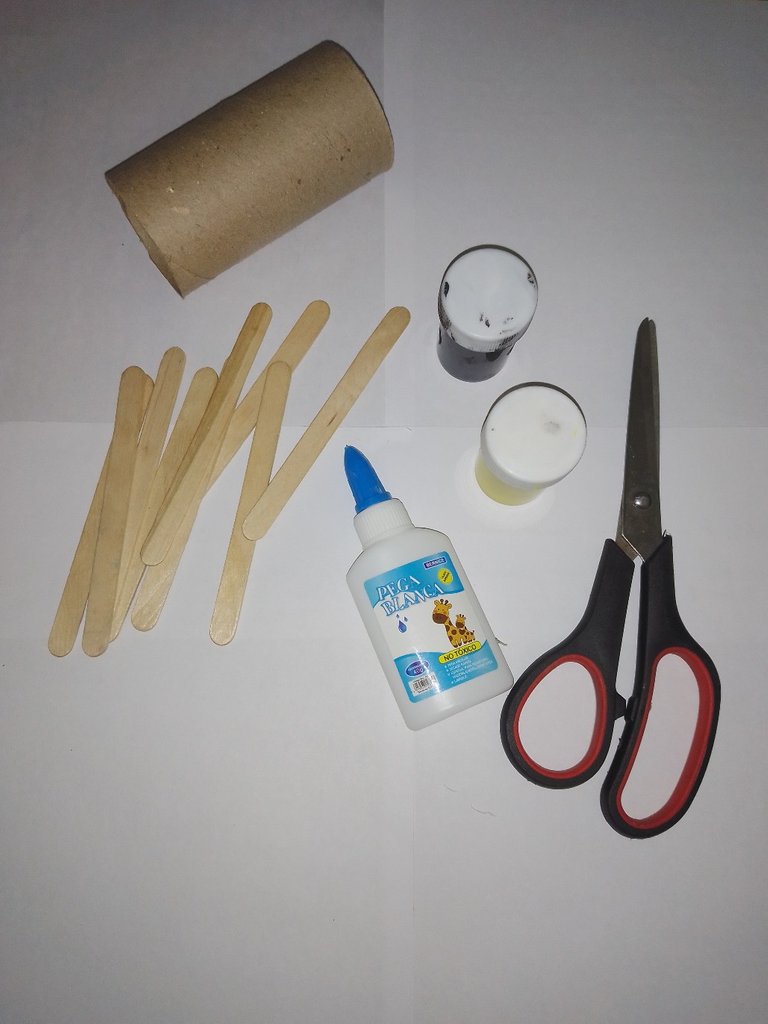
paletas para helados
1 tubo de papel higiénico
pinturas amarilla y negra
pega.
ice cream popsicle sticks
1 tube of toilet paper
yellow and black paints
glue.
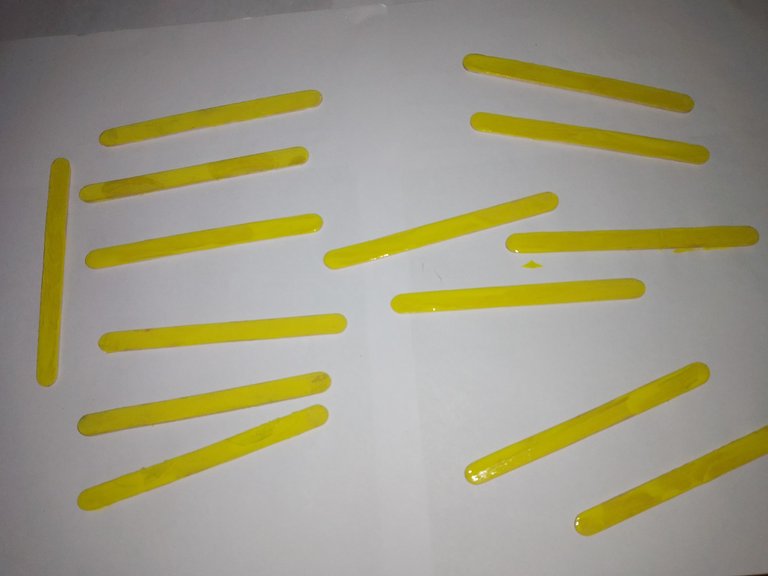
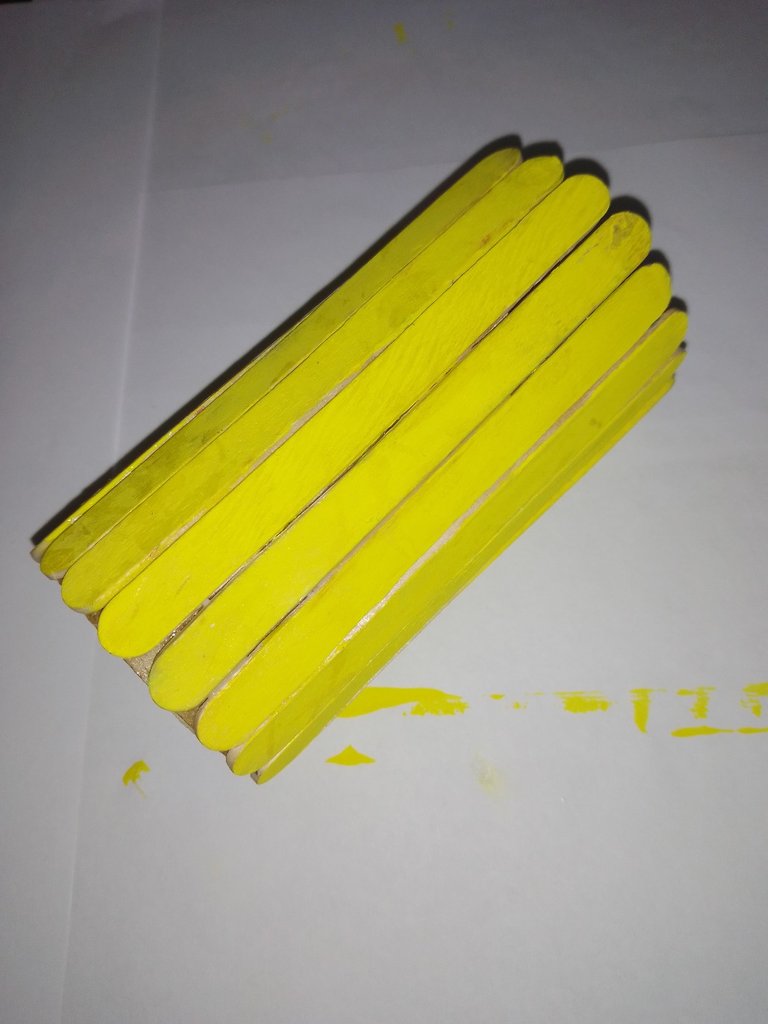
Pintamos las paletas de amarillo, ya que la decoración del organizador será un emoji.
We paint the popsicle sticks yellow, since the decoration of the organizer will be an emoji.
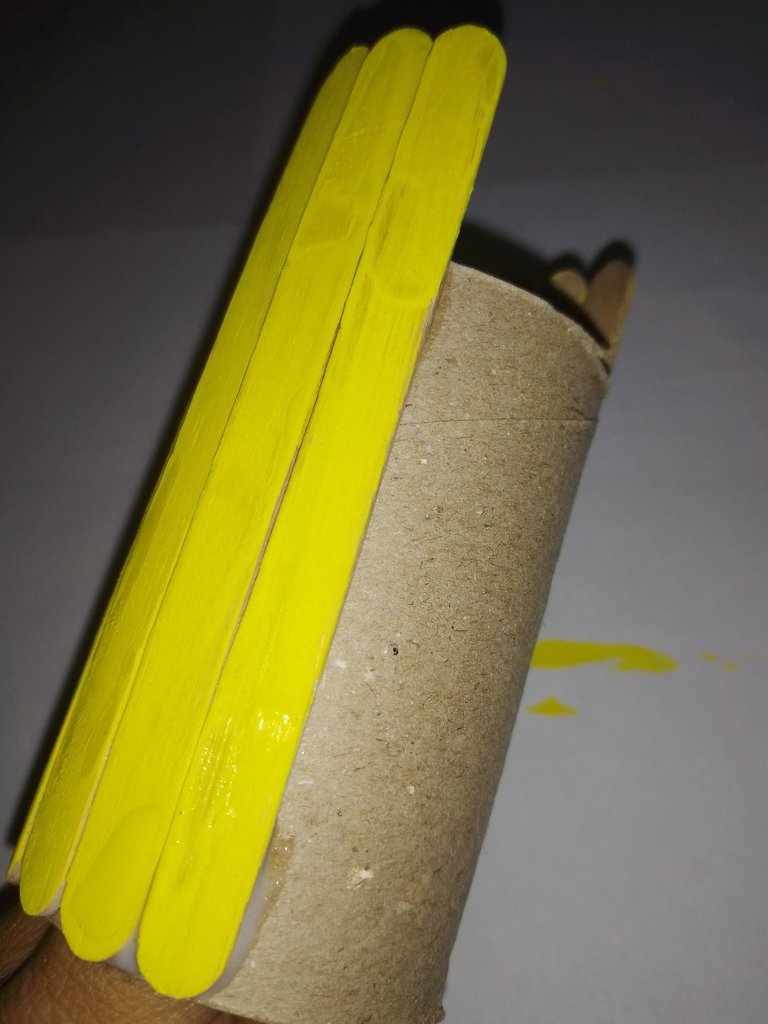
Comenzamos a pegar las paletas al tubo de papel, hasta cubrirlo todo.
We start gluing the popsicle sticks to the paper tube, until we cover it all.
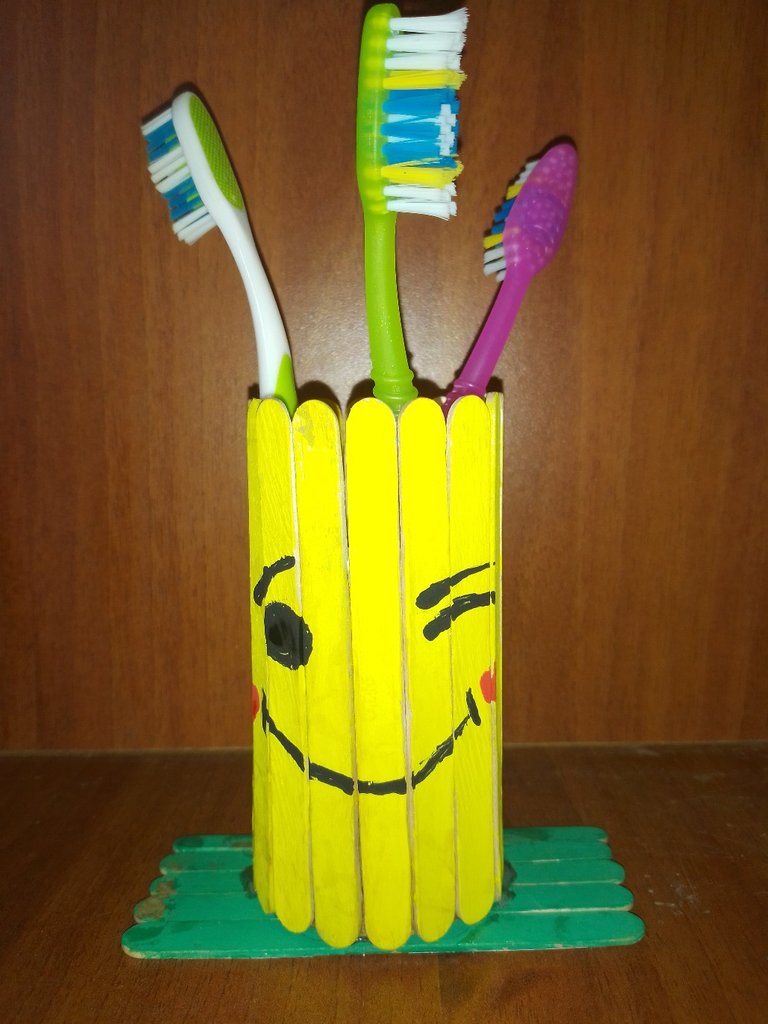
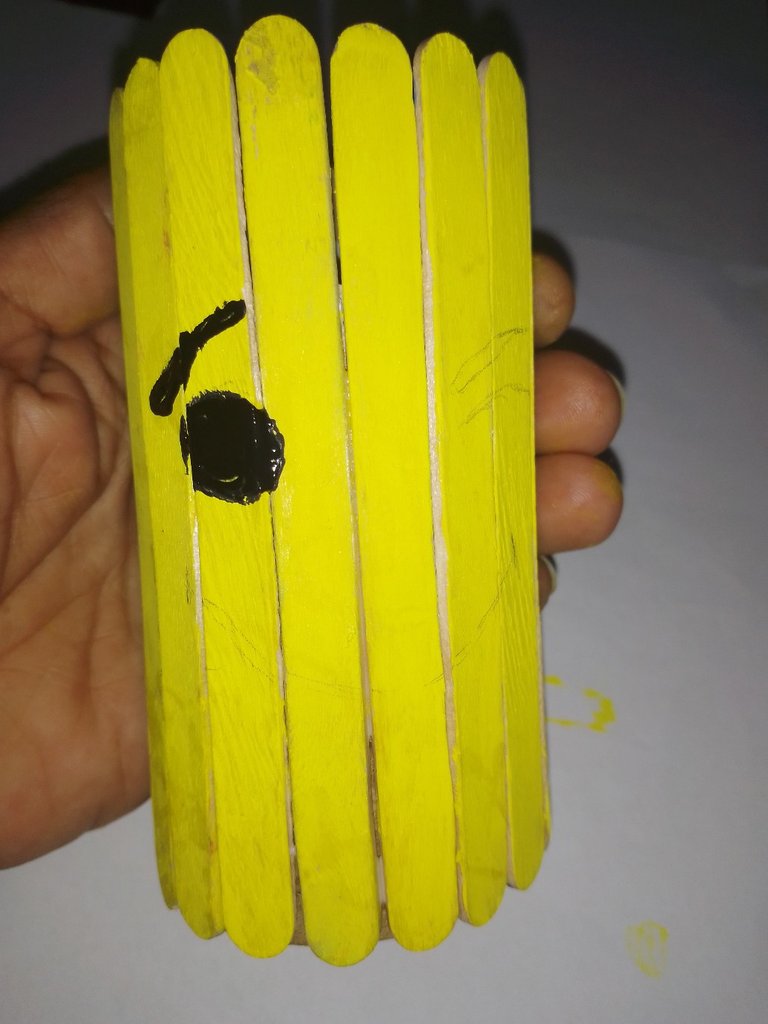
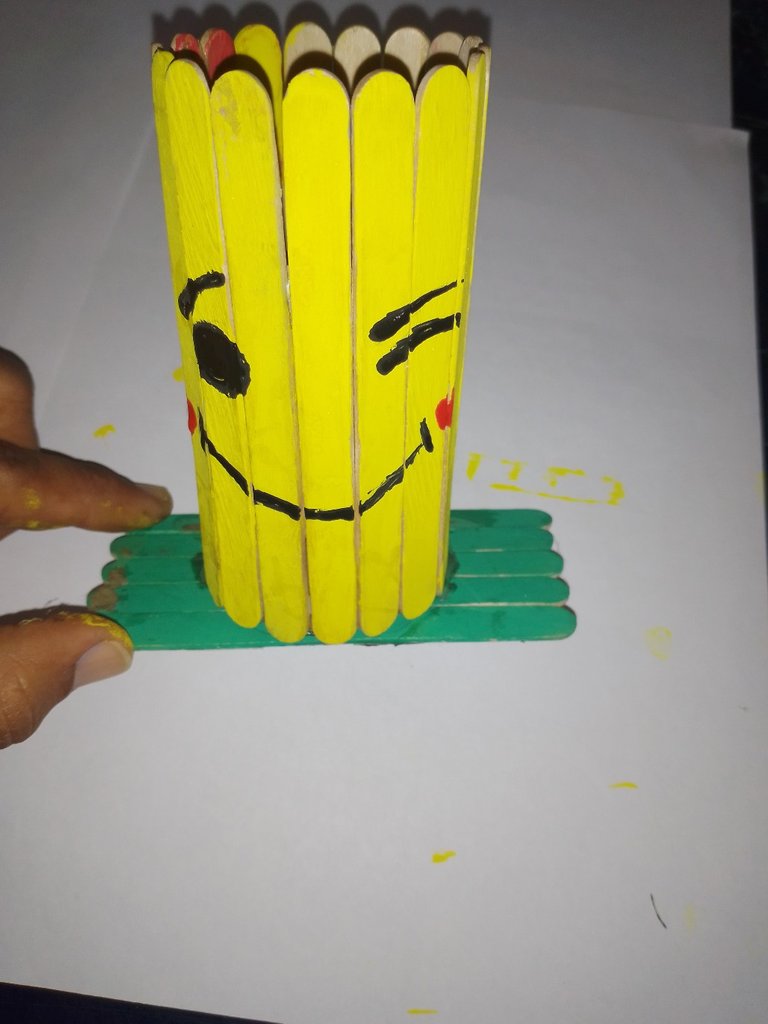
Con pintura negra, dibujamos en el organizador el emoji seleccionado.
With black paint, we draw the selected emoji on the organizer.
y, para finalizar, tomamos 5 paletas o un trozo de cartón, lo pintamos del color de su preferencia, y pegamos el tubo a ella, para que sea la base.
And, to finish, we take 5 pallets or a piece of cardboard, we paint it with the color of your preference, and we glue the tube to it, so that it will be the base.
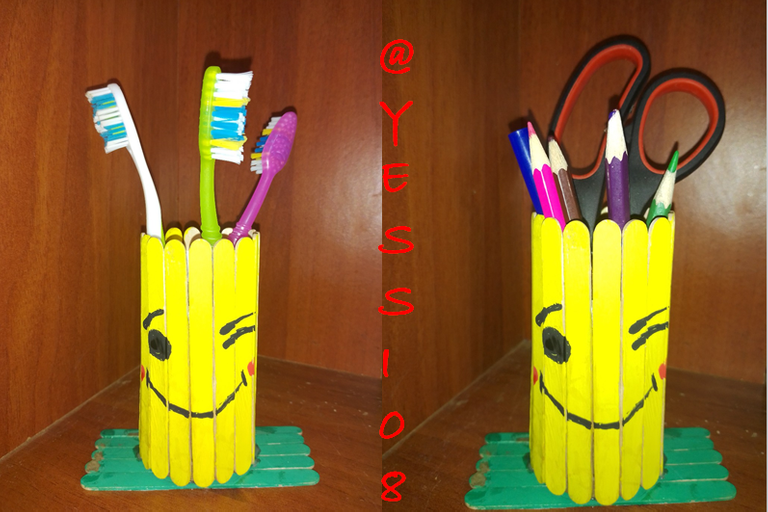
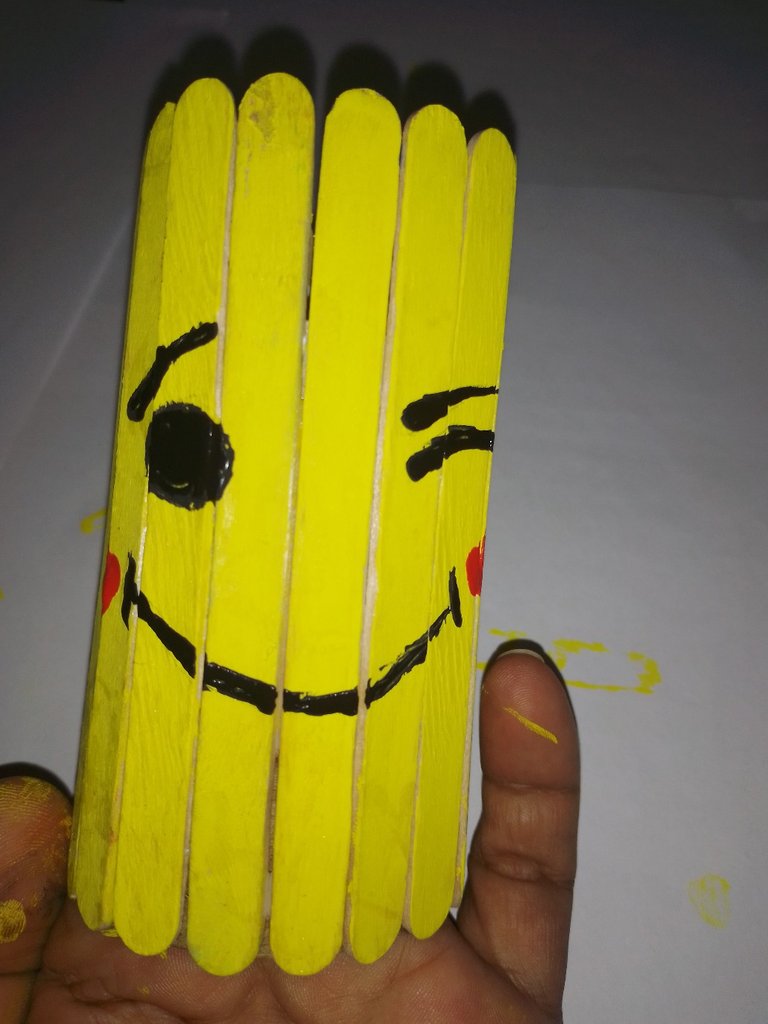
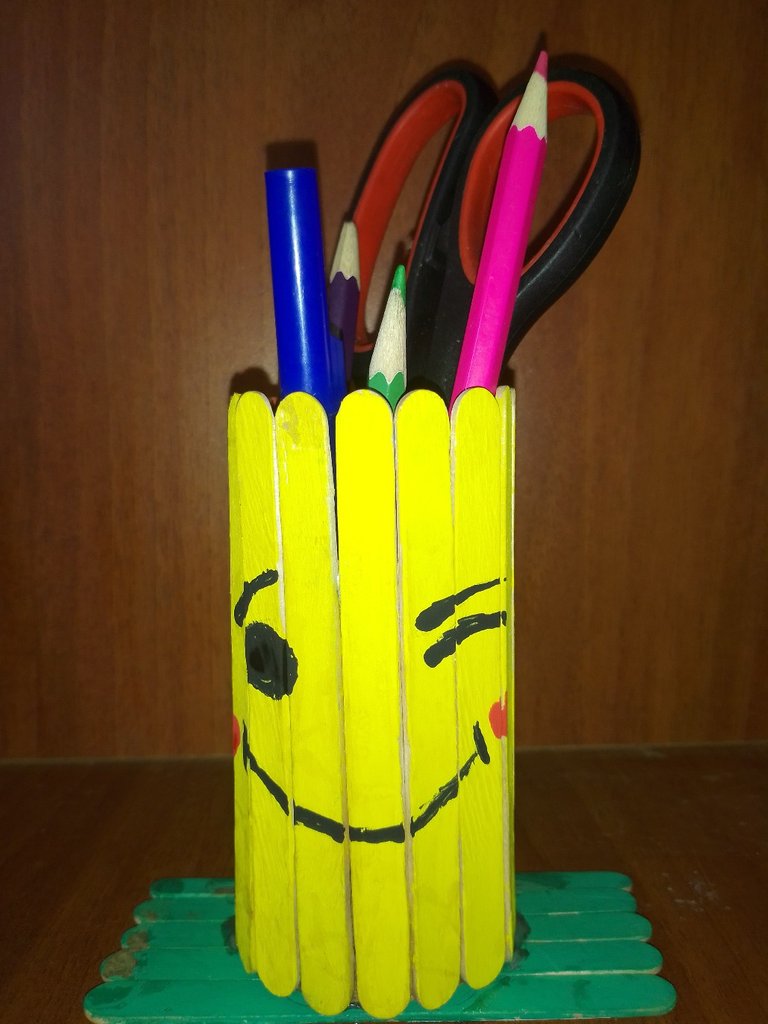
Listo el organizador! puede usarse para lo que prefiera.
The organizer is ready! You can use it for whatever you prefer.
Gracias por visitar mi post.
Dios te bendiga!
Thanks for visiting my post.
God bless you!
Translated with https://www.deepl.com/translator
      Todas las imágenes son de mi autoría, capturadas con mi teléfono ZTE.

   All images are my own, captured with my ZTE phone.
Thank you for sharing this post in the DIYHUB Community!
Your content got selected by our fellow curator semarekha & you just received a little thank you upvote from us for your great work! Your post will be featured in one of our recurring compilations which are aiming to offer you a stage to widen your audience within the DIY scene of Hive. Stay creative & HIVE ON!
Please vote for our hive witness <3
Thank you @diyhub and @semarekha for the support!
Blessings!
Nice idea. I love the way you break down your steps which make it simple for us to give a try
Cheers @mosesessien, thanks for stopping by!
Blessings!