Esp/Eng Step by step tutorial on how to make men's underwear!/ Tutorial paso a paso para hacer ropa interior de caballero!
Feliz miércoles a todos los amantes de las agujas que hacen vida en esta hermosa comunida; bienvenidos a mi blog!
Estoy agradecida de poder estar aquí nuevamente compartiendo contenido con ustedes; la costura es algo que me apasiona, asi, que decidí iniciar este año con algunos proyectos de costura que quiero realizar; como un mono escolar con bolsillo, una camisa de dama, una falda con corte de pantalón, y un vestido, entre muchos otros proyectos.
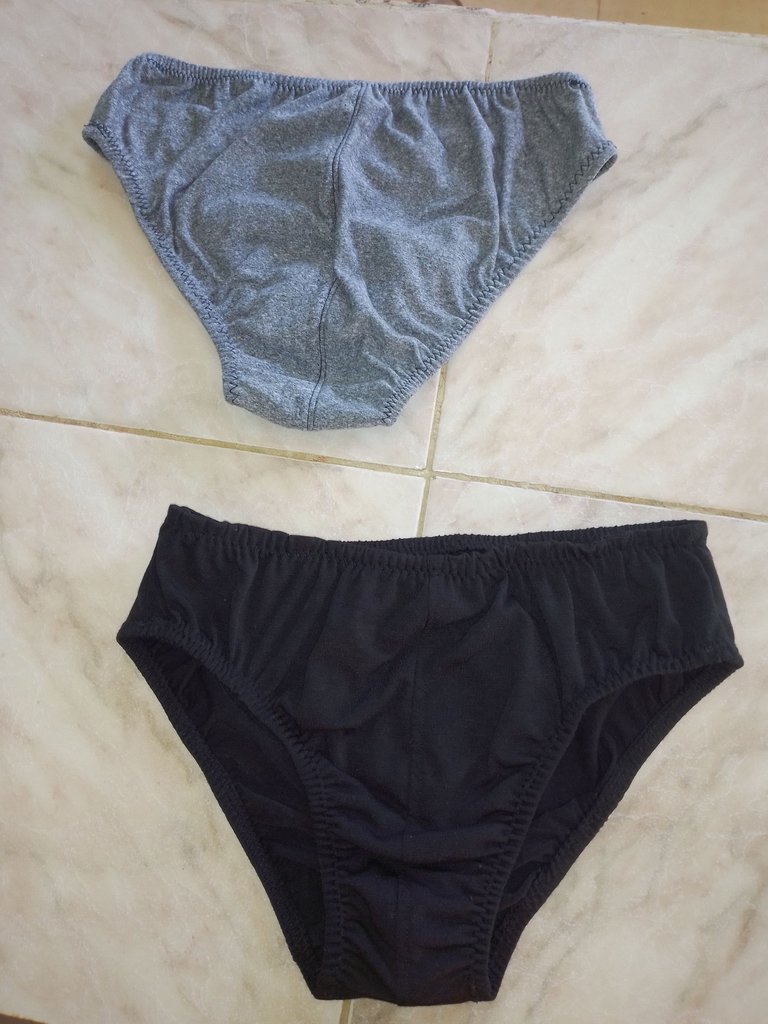
El dia de ayer concluí un proyecto que me surgió de emergencia, hacer unos interiores de caballero para mi hijo mayor; y, es que la ropa interior esta muy costosa, además al hacerla, uno mismo, podemos decidir el modelo, la tela, en fin, son muchos los beneficios, asique, desarme un interior viejo, y arme un patron en papel, corte en la tela, y, en menos de hora y media ya había hecho 3 interiores, el resultado me encanto!
Quiero compartir con ustedes el #tutorial; acompañenme:
Happy Wednesday to all the needle lovers who live in this beautiful community; welcome to my blog!
I am grateful to be here again sharing content with you; sewing is something I am passionate about, so, I decided to start this year with some sewing projects I want to make; like a school jumpsuit with pocket, a lady's shirt, a skirt with pants cut, and a dress, among many other projects.
Yesterday I finished a project that came to me as an emergency, to make a pair of underwear for my oldest son; and, underwear is very expensive, besides, when you make it yourself, you can decide the model, the fabric, in short, there are many benefits, so, I took apart an old underwear, and made a pattern on paper, cut the fabric, and, in less than an hour and a half I had already made 3 underwear, the result I loved it!
I want to share with you the #tutorial; join me:
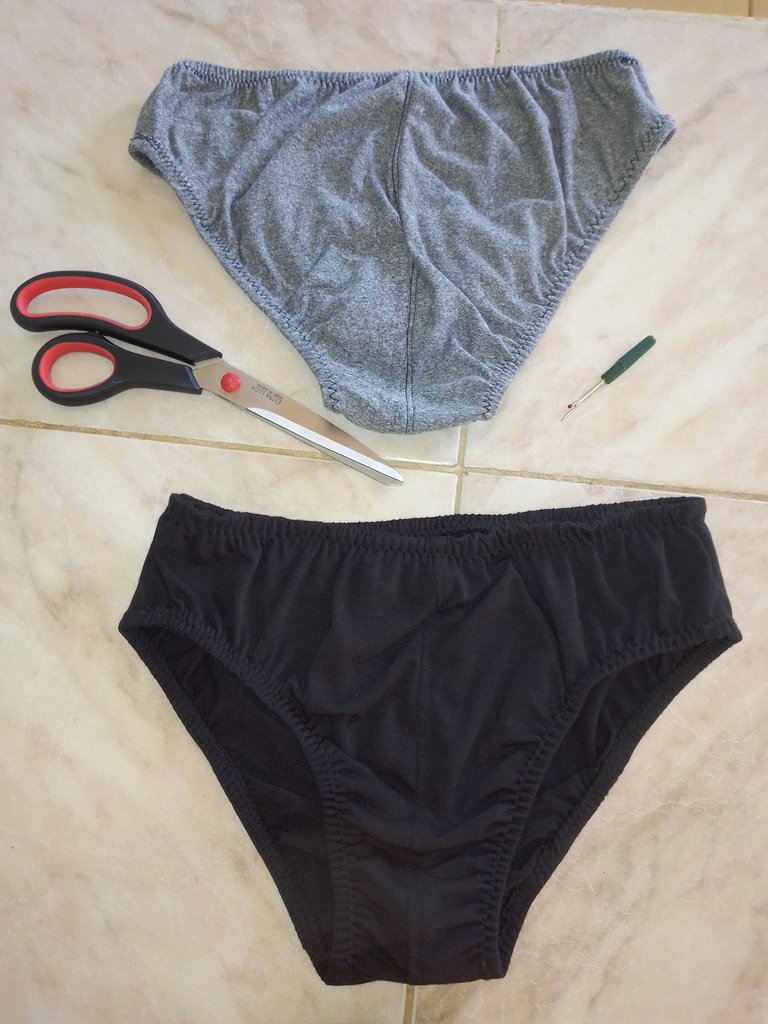

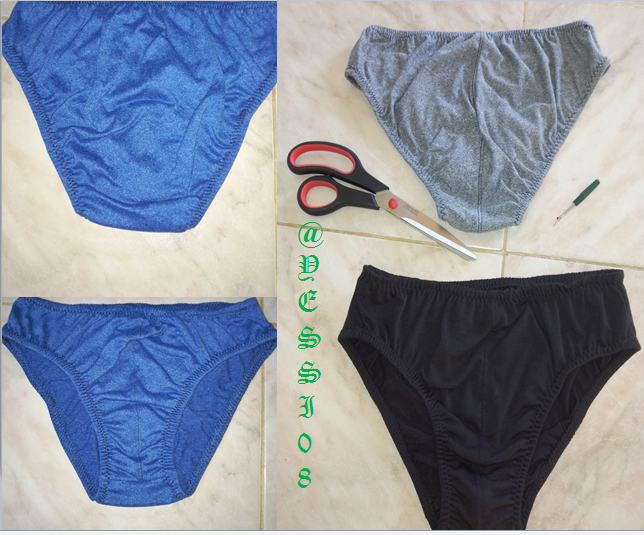
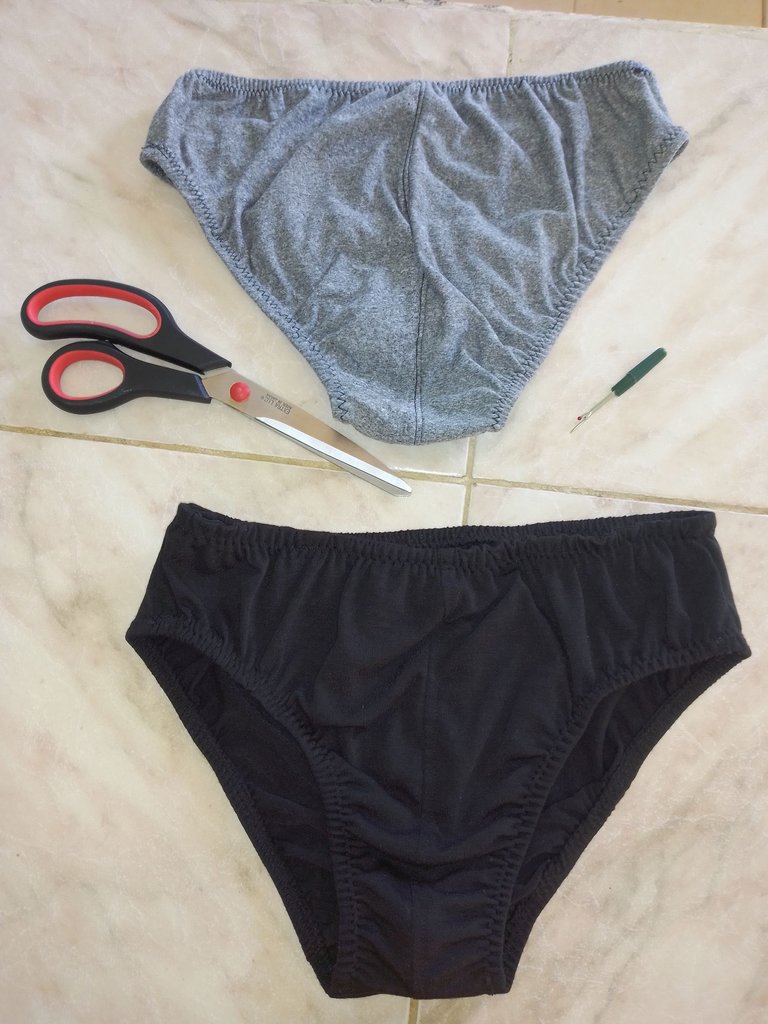
tela micro durazno en color negro, azul y gris
tijera
hilo
máquina de coser.
micro-denim fabric in black, blue and gray colors
scissors
thread
sewing machine.

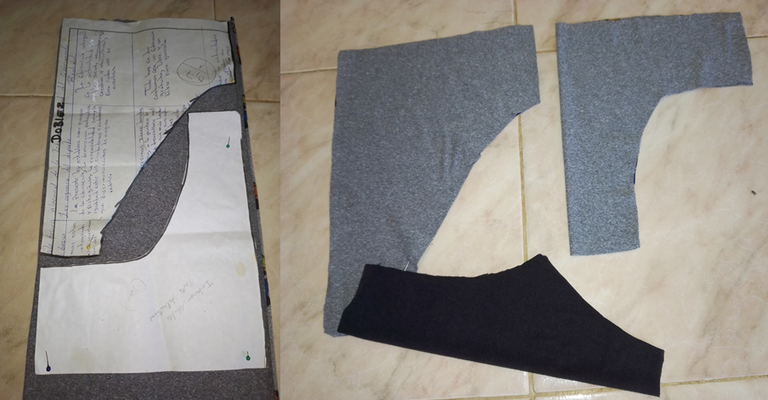
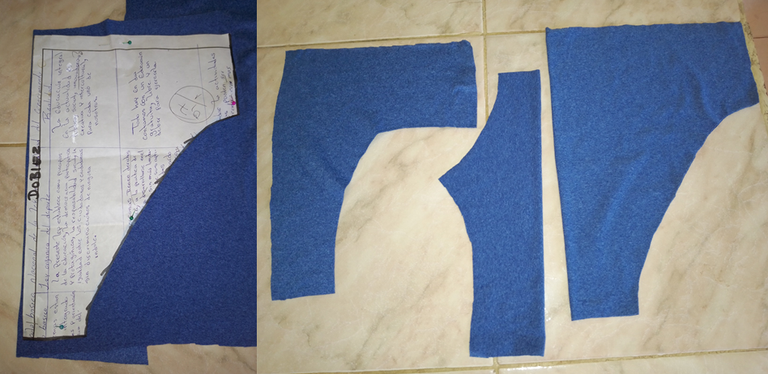
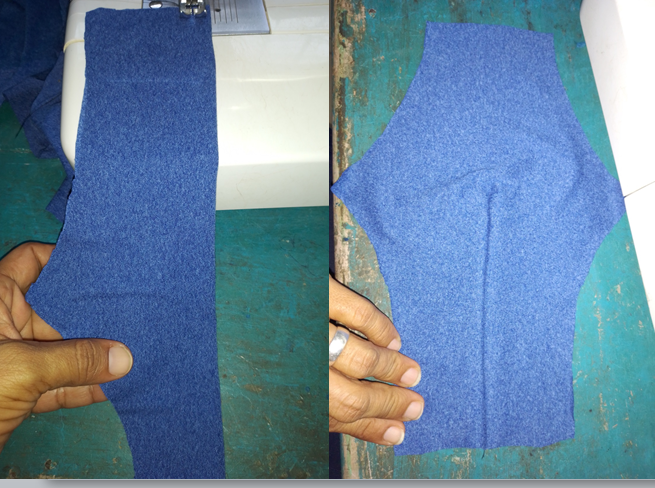
Lo primero que hice fue marcar en la tela los patrones; cuidando de doblar la tela hacia el lado que estira, y, colocando el patrón por el doblez, para que al cortar y abrir quede doble.
Asi, corte los lados de frente y trasero, y el refuerzo e cada interior.
The first thing I did was to mark the patterns on the fabric, taking care to fold the fabric to the stretching side, and placing the pattern by the fold, so that when cutting and opening it is double.
Then I cut the front and back sides, and the gusset on each inside.
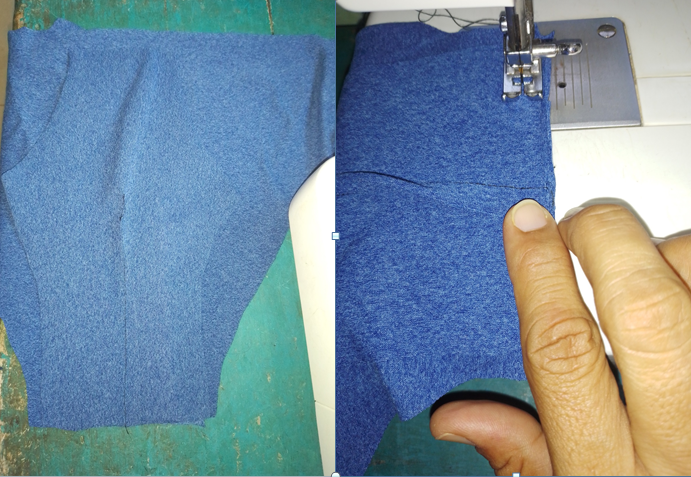
con el refuerzo por el lado reverso, paso una costura de 1cm, desde la la parte inferior, subiendo hasta el centro.
with the reinforcement on the reverse side, I pass a 1cm seam, from the bottom, going up to the center.
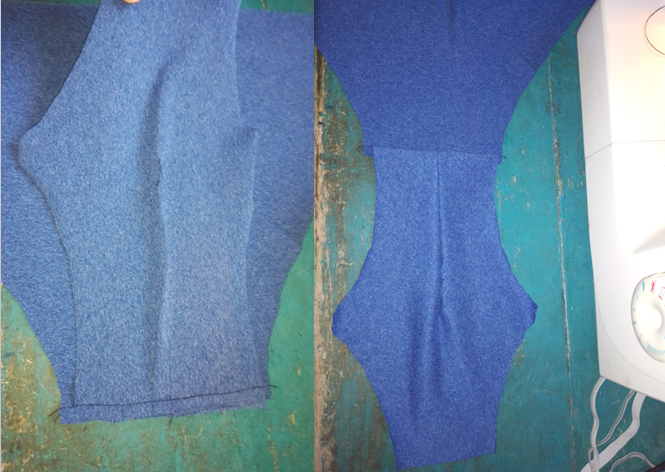
Colocar frente con frente, la parte delantera y trasera, dejando la trasera arriba; y, encima le colocó el refuerzo, con el reverso hacia arriba.
Paso una costura, y sello las tres partes; luego, el refuerzo se coloca reverso con reverso con la parte delantera; y se cose el interior por los lados.
I place front to front, front and back, leaving the back side up; and, on top I place the reinforcement, with the back side up.
I sew a seam, and seal the three parts; then, the reinforcement is placed back to back with the front part; and the inside is sewn on the sides.
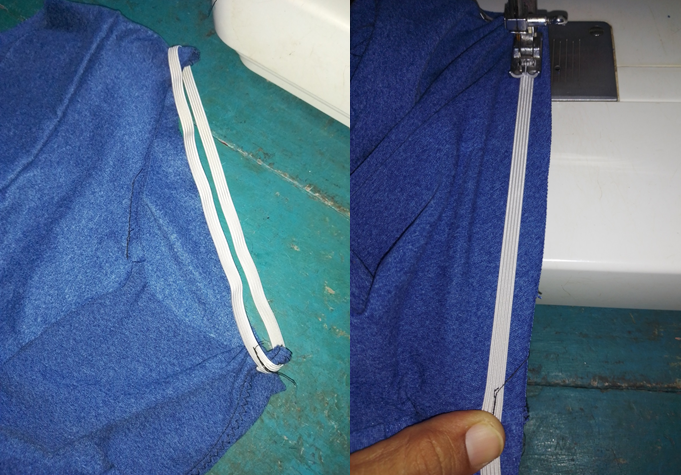
Ahora pegaremos la elastica.
Yo hice unos talla 36, y utilice 49cm para cada pierna y 67cm para la cintura.
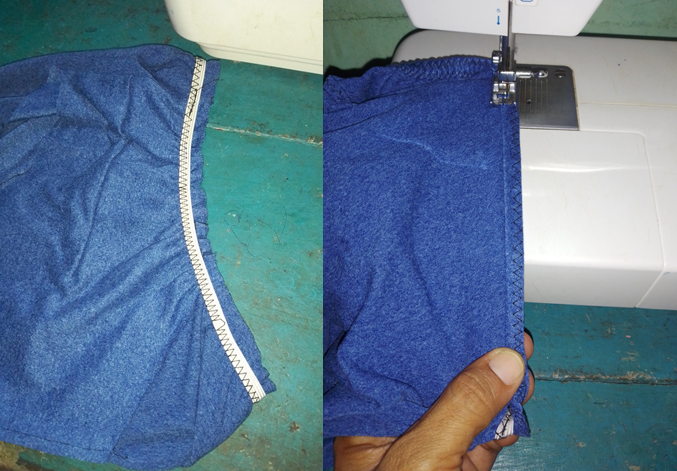
Se cierra la elastica, y se pega en cada borde de la pierna, por el lado reverso; luego se va estirando poco a poco, cosiendo en zig zag, hasta completar la pierna.
Se dobla la costura anterior, y se cose nuevamente en zig zag, se repite la operación con la otra pierna y la cintura.
Now we will glue the elastic.
I made a size 36, and used 49cm for each leg and 67cm for the waist.
Close the elastic, and glue it on each edge of the leg, on the reverse side; then stretch it little by little, sewing in zig zag, until the leg is completed.
The previous seam is folded over and sewn again in zig zag, and the operation is repeated with the other leg and the waist.
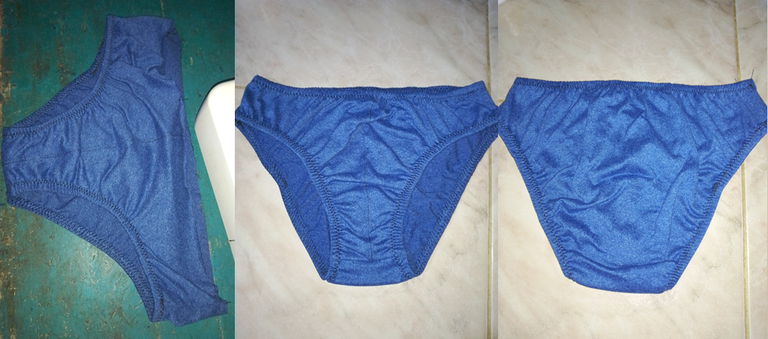
Así quedaron listos los 3 interiores para mi hijo mayor!
Here are the 3 interiors for my eldest son!
Espero el tutorial haya sido de tu agrado!
Gracias por pasar y comentar!
Dios te bendiga!
I hope you liked the tutorial!
Thanks for stopping by and commenting!
God bless you!

Translated with https://www.deepl.com/translator
      Todas las imágenes son de mi autoría, capturadas con mi teléfono ZTE.

   All images are my own, captured with my ZTE phone.
Te felicito por tu determinación. Me imagino que dijiste, ya te voy hacer unos interiores y en casi nada tenías tres. Yo también quisiera poder hacer ropa interior, es muy útil manejar está técnica.
Saludos.
Hola amiga, realmente fue así como lo dijiste, jajaj, se vio en una emergencia, y, en un momento le hice tres!
Gracias por pasar y comentar!
Saludos apreciados y muchas felicitaciones por tu excelente trabajo, fue una gran desicion hoy los costos de la ropa interior está muy elevado,los niños siempre están creciendo y cuando nos damos cuenta ya la ropa les queda pequeña así que trabajando y precisando tallas también. 👍🤗
Muchas gracias amiga!
Asi es, ya los mios no estan tan niños, jejejej, creo que debo hacer el mismo proyecto para los otros 2, tengo 3 varones, mas mi esposo, asi que, la única mujer soy yo! jejeje
Saludos!
Oooooooh, this is so nice and intelligence well done dear
Thank you for your support!
Buen trabajo mi bella 😍 te felicito. Hacer ropa interior es una bendición. Se lleva poca tela y se cose relativamente rápido. Aunque pude de nosotras paciencia y tiempo. El esfuerzo vale la pena 💟
Gracias amiga! si, es una bendición, yo tengo tres varones, y siempre les hago, tengo tiempo que no compro; jejeje.
En verdad requiere un poco e paciencia, pero vale la pena!