[ESP-ING] Christmas Tree with Recycled Materials


Un saludo, querida comunidad de @diyhub un gusto estar con ustedes con owrsonas tan creativas y talentosas, se acerca la navidad, aunque en mi país Venezuela se decretó navidad desde el primero de noviembre, y desde ya comencé a realizar mis adornos navideños que no pueden faltar en casa, ya que unas de las cosas más bonitas de navidad son los adornos y claro la comida navideña.
Hoy les traje una manualidad sencilla, un árbol de navidad, el cualnpueden hacer y decorar a su gusto, el árbol de navidad es de esos que siempre podemos ver en esta época del año, algunos pequeños otros más grandes y en este caso les traigo uno para colocar en una mesita como adorno.
Algo que me encanta de esta manualidad es que podemos utilizar materiales de reciclaje, y materiales que algunos podemos tener en el hogar, ya que todo depende de la creatividad de cada uno y como cada quien quiera decorar.
Sin más les invito a ver este pequeño tutorial, fácil y práctico, para decorar nuestras casas en estas navidades, manos a la obra mis queridos creativos.

Greetings, dear community of @diyhub a pleasure to be with you with such creative and talented owrsonas, Christmas is coming, although in my country Venezuela Christmas was decreed from the first of November, and since I started to make my Christmas decorations that can not miss at home, since one of the most beautiful things of Christmas are the decorations and of course the Christmas food.
Today I brought you a simple craft, a Christmas tree, which you can make and decorate to your liking, the Christmas tree is one of those that we can always see at this time of year, some small others larger and in this case I bring you one to place on a table as an ornament.
Something I love about this craft is that we can use recycled materials, and materials that some of us may have at home, since everything depends on the creativity of each one and how each one wants to decorate.
Without further ado, I invite you to watch this small tutorial, easy and practical, to decorate our homes this Christmas, let's get to work my dear creatives.

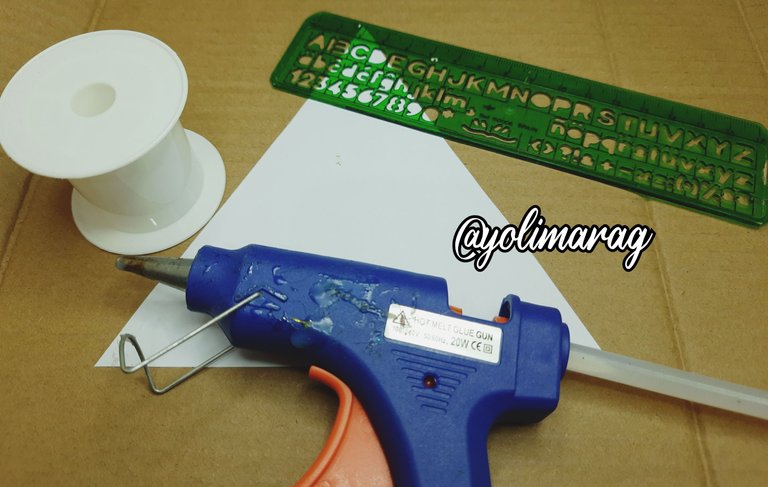
Materiales:
🎄 Cartón
🎄 Fieltro
🎄 Tijera
🎄 Rollo plástico
🎄 Guata
🎄 Silicón Caliente
🎄 Piedras de adorno
🎄 Cinta y cola de rata
🎄 Foami
🎄 Tela de Saco Decorativa
🎄 Palito de altura
Materials:
🎄 Cardboard
🎄 Felt
🎄 Scissors
🎄 Plastic roll
🎄 Wadding
🎄 Hot Silicone
🎄 Embellishment stones
🎄 Tape and rat tails
🎄 Foami
🎄 Decorative Sack Cloth
🎄 Tall stick
Paso a Paso / Step by Step
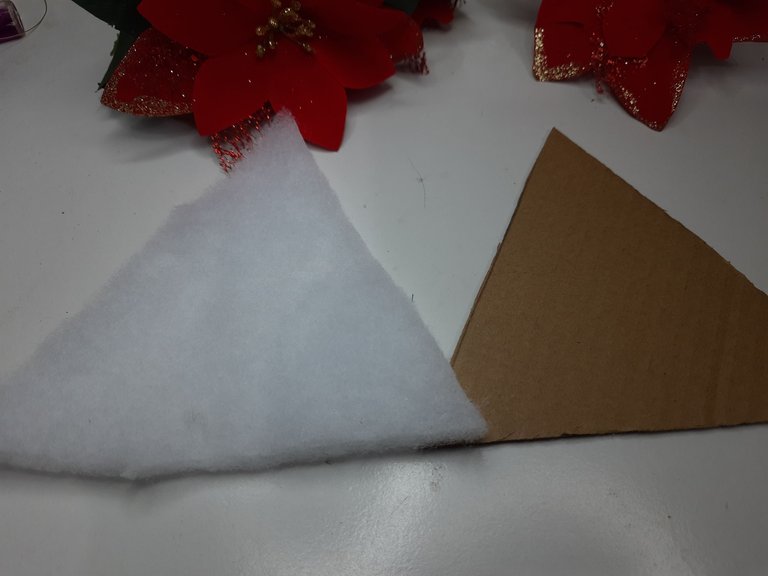
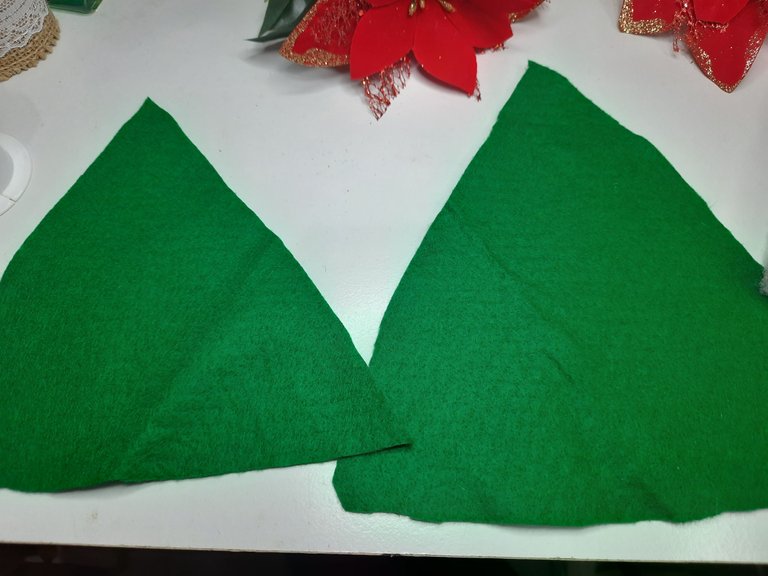
Lo primero que haremos será cortar un triangulo en el cartón las medidas dependerá del tamaño que ustedes elijan, en este caso lo realicé de 8cm, también cortaremos 2 guatas del mismo tamaño del cartón.
The first thing we will do is to cut a triangle in the cardboard, the measures will depend on the size you choose, in this case I made it of 8cm, we will also cut 2 waddings of the same size of the cardboard.
 |  |
|---|
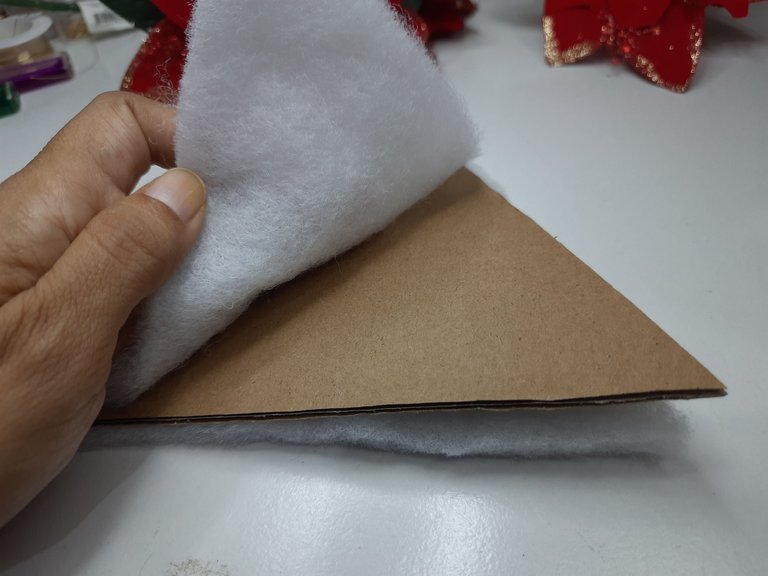
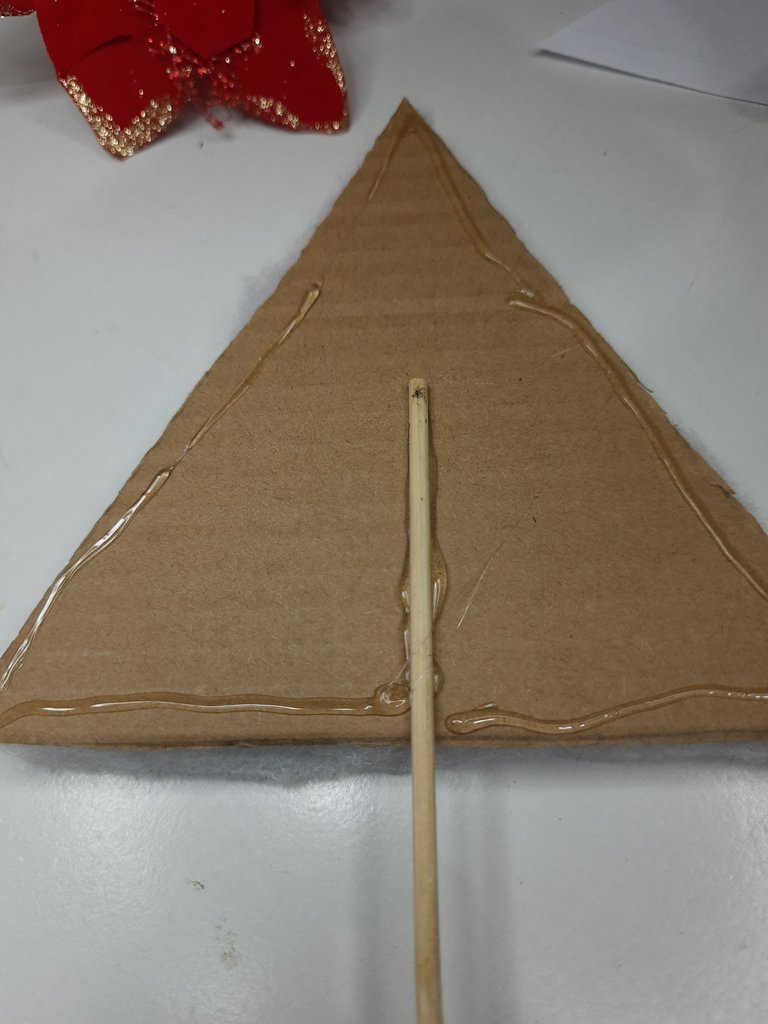
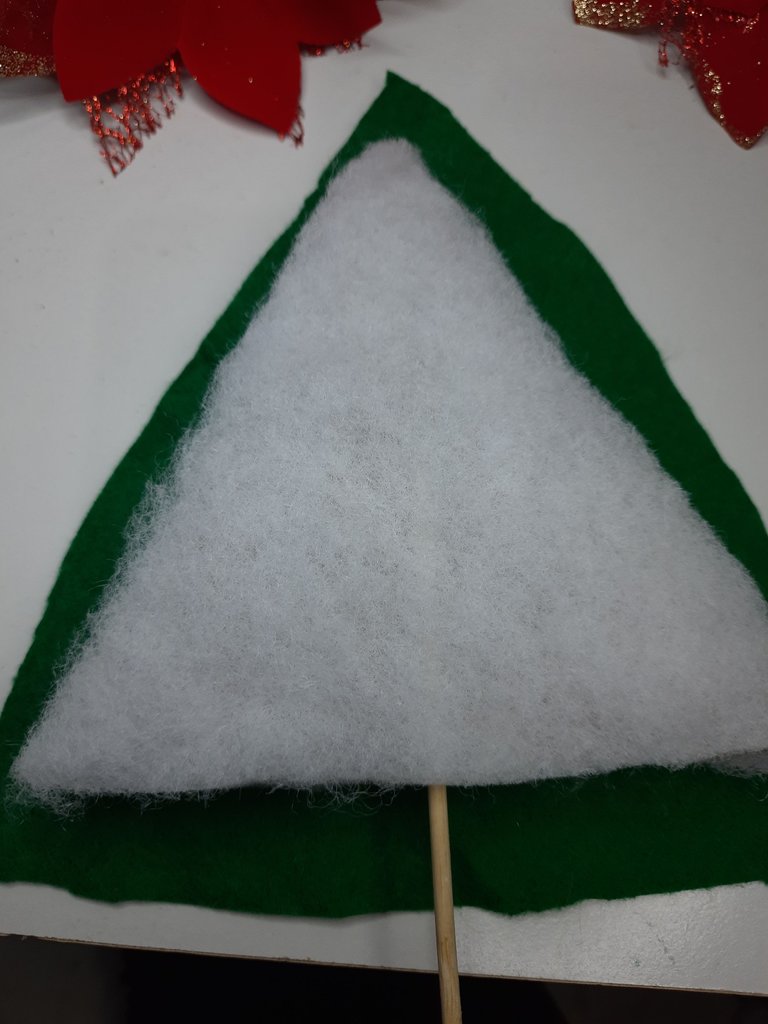
Pegamos la guata en el cartón y por el otro lado pegamos un palito de altura y también la otra guata.
We glue the wadding on the cardboard and on the other side we glue a height stick and also the other wadding..
 |  |
|---|
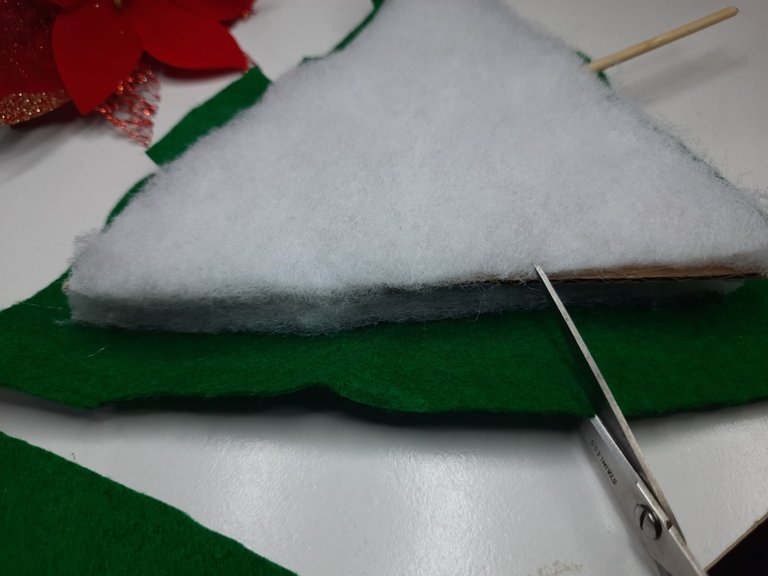
Cortaremos dos fieltros, uno dos centímetros más grandes que nuestro molde y el otro un poco más pequeño, comenzaremos a pegar nuestro fieltro grande por la parte de adelante.
We will cut two felts, one two centimeters larger than our mold and the other a little smaller, we will start gluing our large felt on the front side.
 |  |  |
|---|
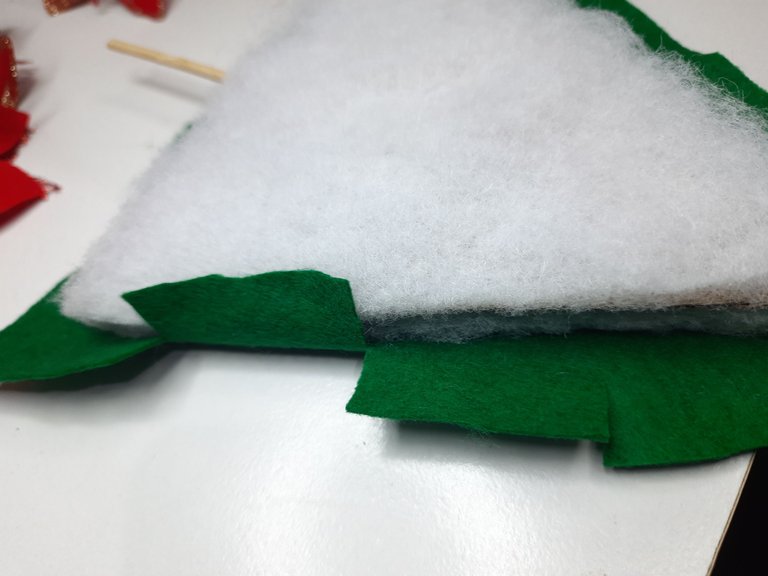
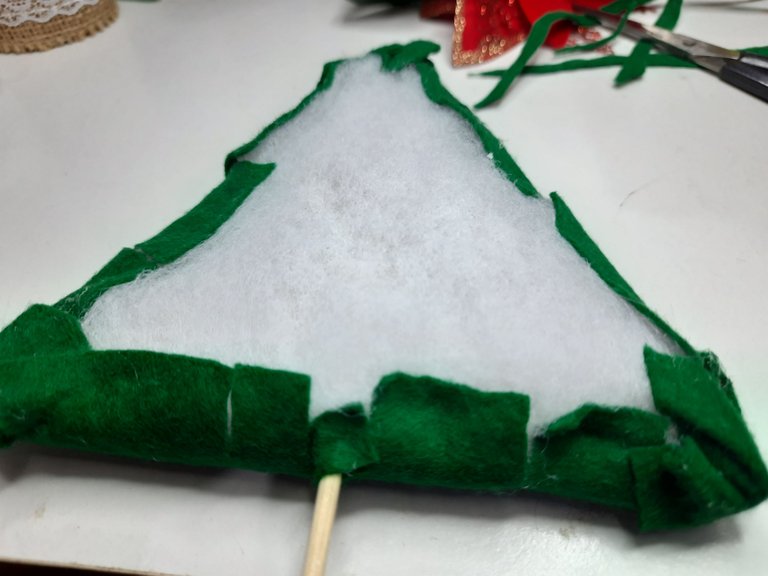
Tomamos nuestro fieltro más grande y vamos con una tijera a cortar en varios pedazos, para luego comenzar a pegar con nuestro silicón caliente sobre nuestro molde.
We take our largest felt and cut it into several pieces with a scissors, and then we start gluing it with our hot silicone on our mold.
 |  |
|---|
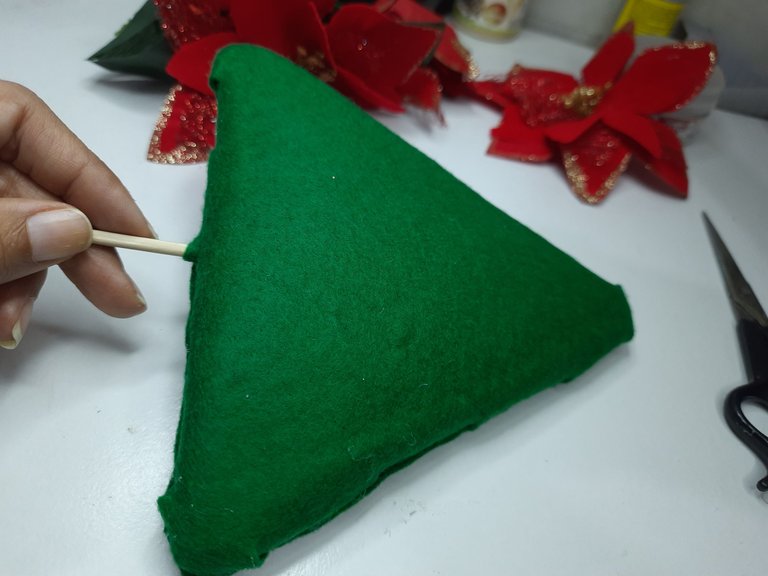
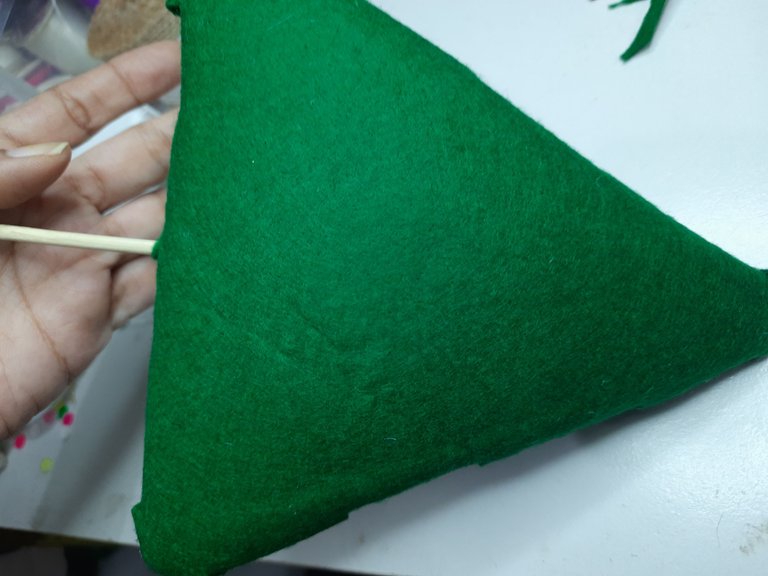
Ahora vamos a pegar la parte más pequeña del lado de atrás tratando de que los bordes queden parejos.
Now we are going to glue the smaller part on the back side, trying to make sure that the edges are even.
 |  |  |
|---|
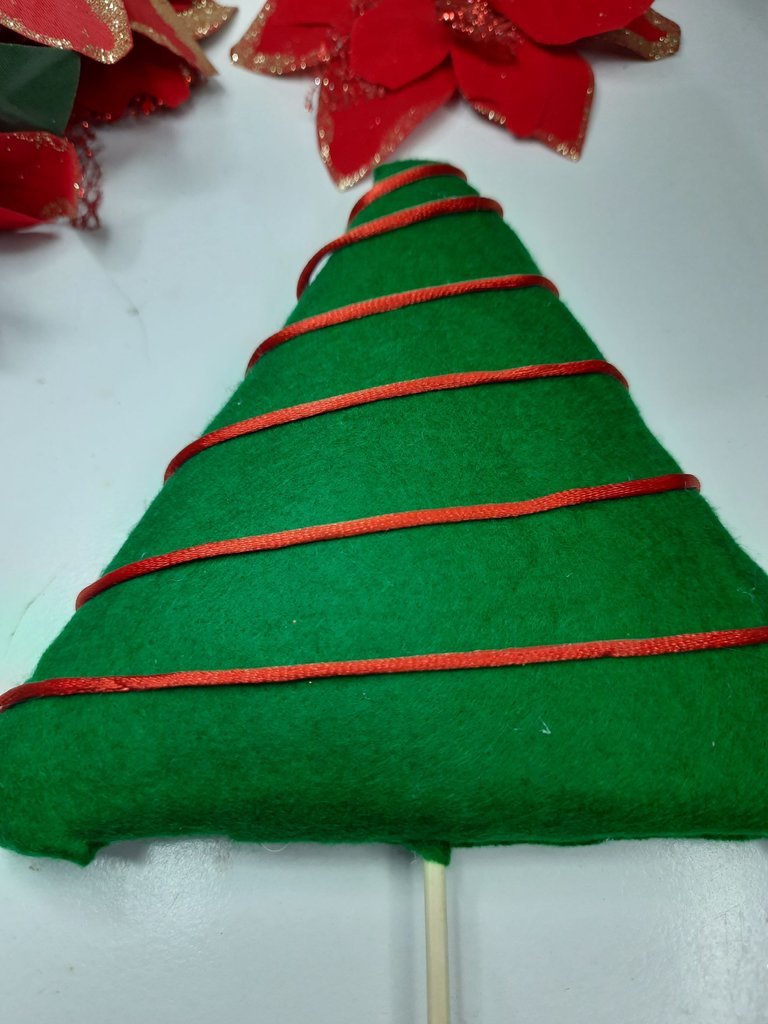
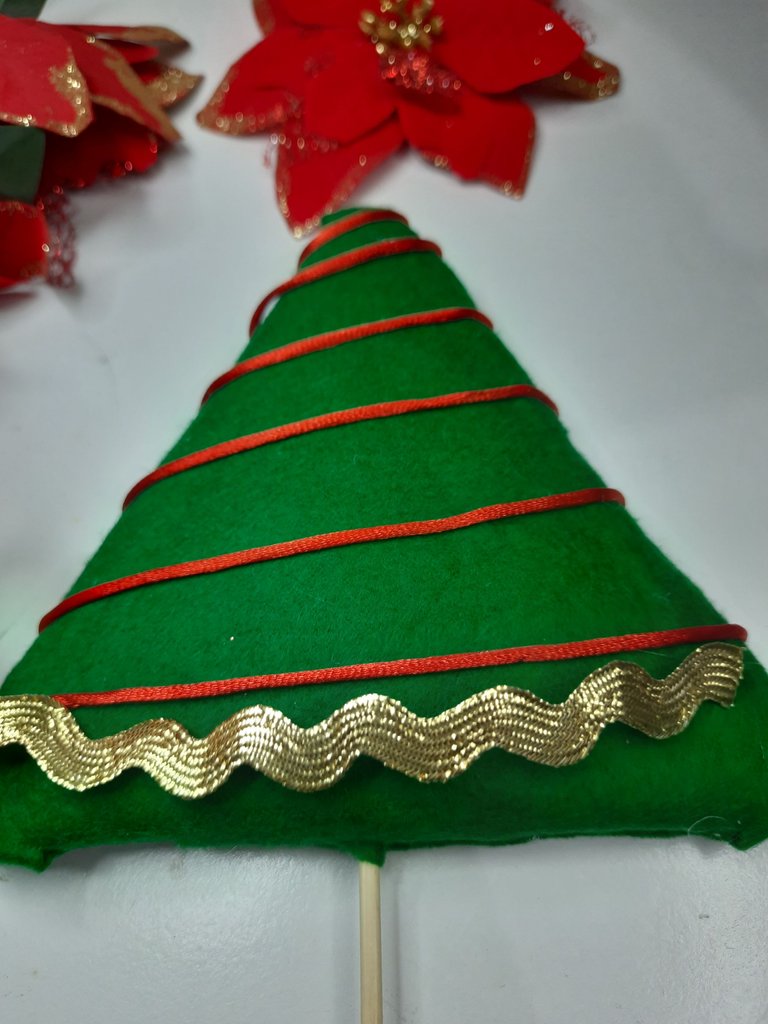
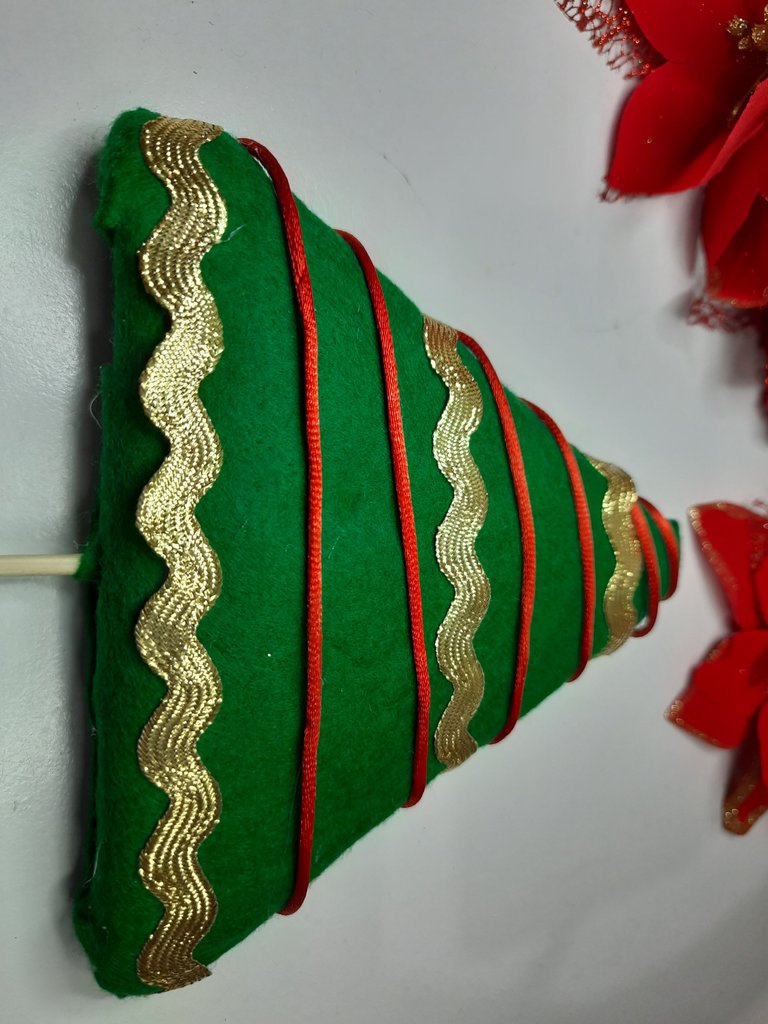
Comenzaremos a decorar, en este caso comencé a decorar con cola de rata roja, una cinta doradas para ir poniendo alrededor de nuestro árbol.
Now we are going to glue the smaller part on the back side, trying to make sure that the edges are even.
 |  |
|---|
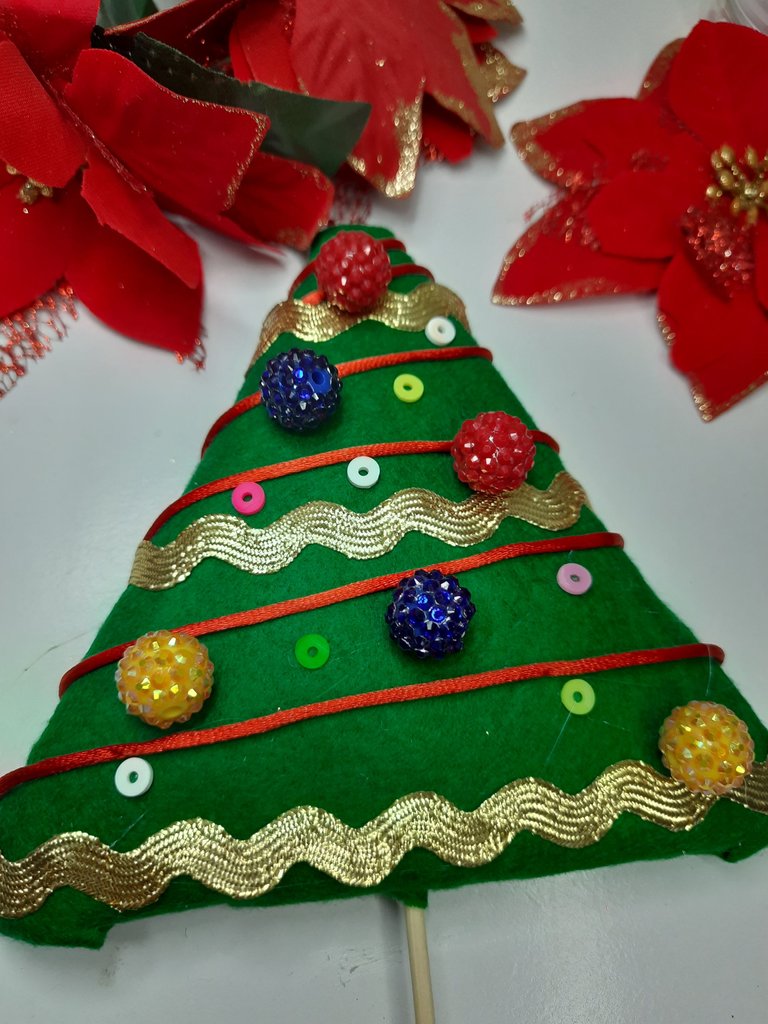
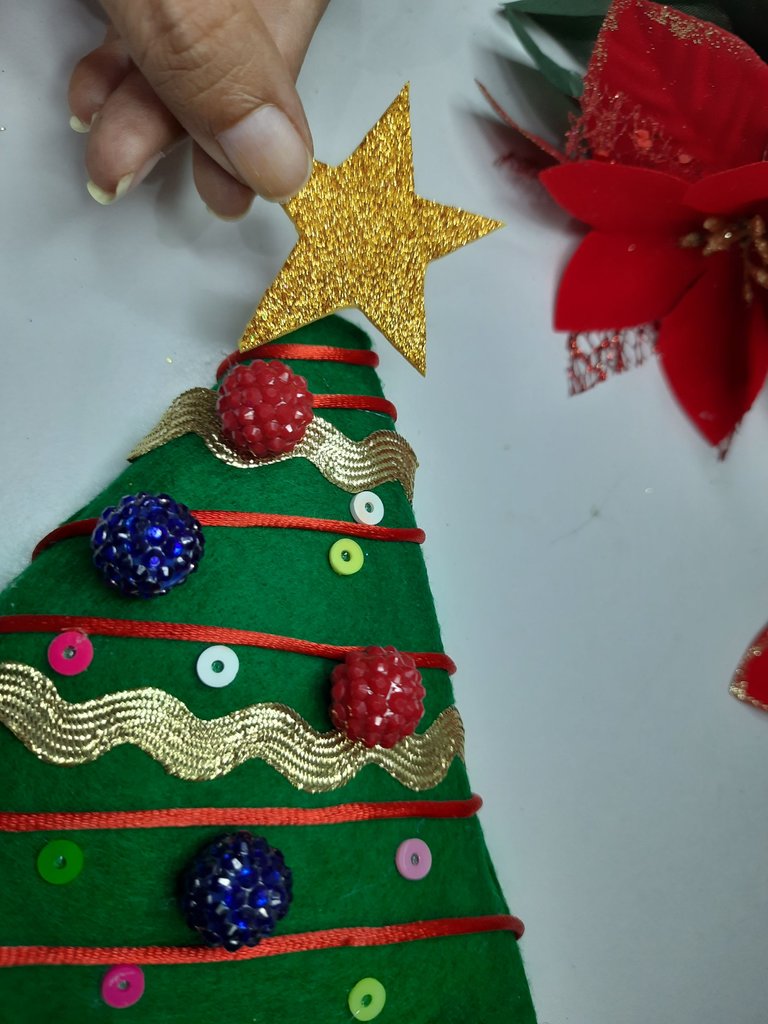
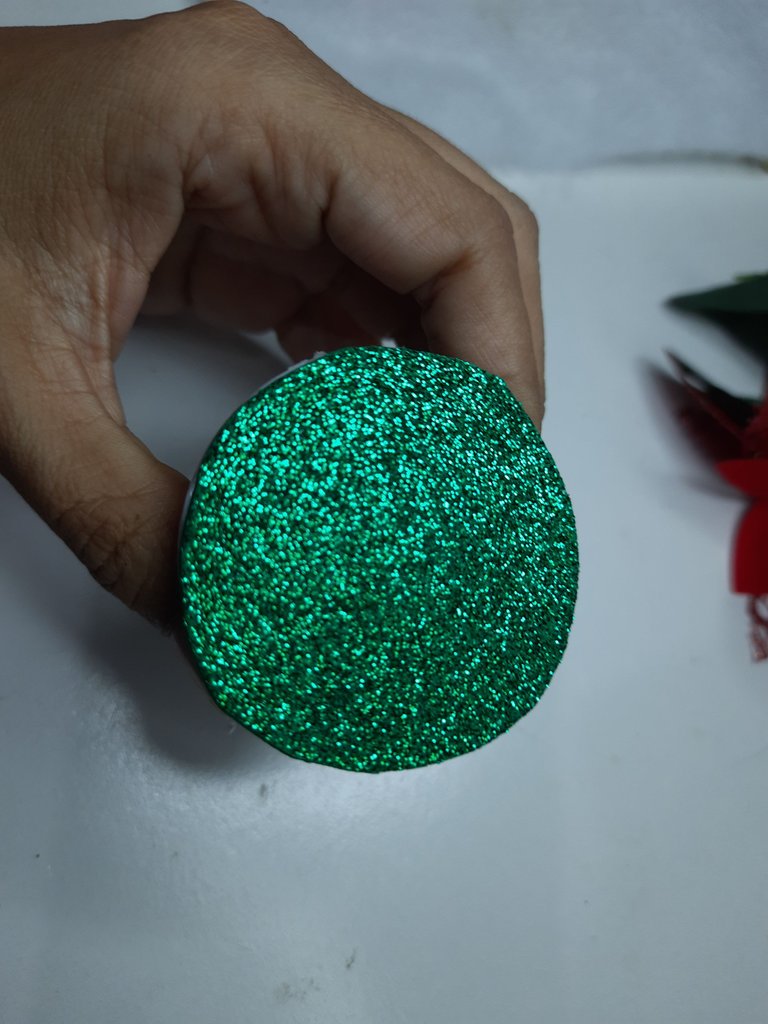
También decoré con piedras de bisutería de colores, y algunos detalles en plástico y por supuesto no puede faltar la estrella en el árbol.
I also decorated with colored costume jewelry stones, and some plastic details and of course the star on the tree.
 |  |
|---|
Vamos a colocar arriba de nuestros rollitos un foami y lo pegaremos en la parte de arriba.
We are going to place a foami on top of our rolls and glue it to the top.
 |  |
|---|
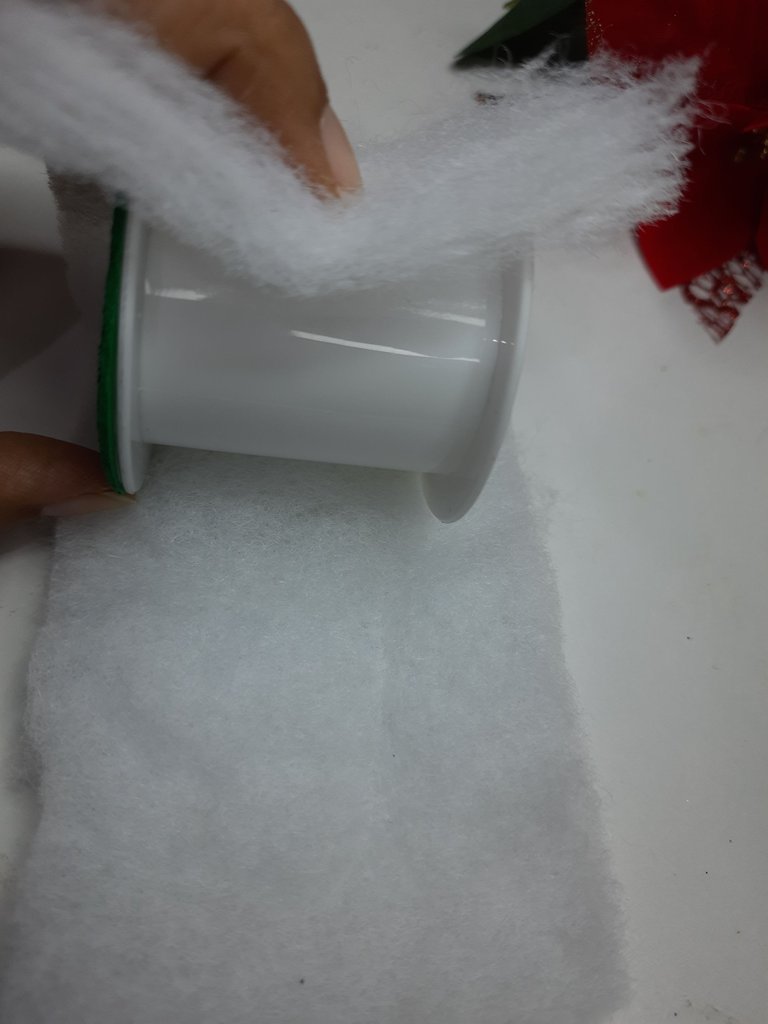
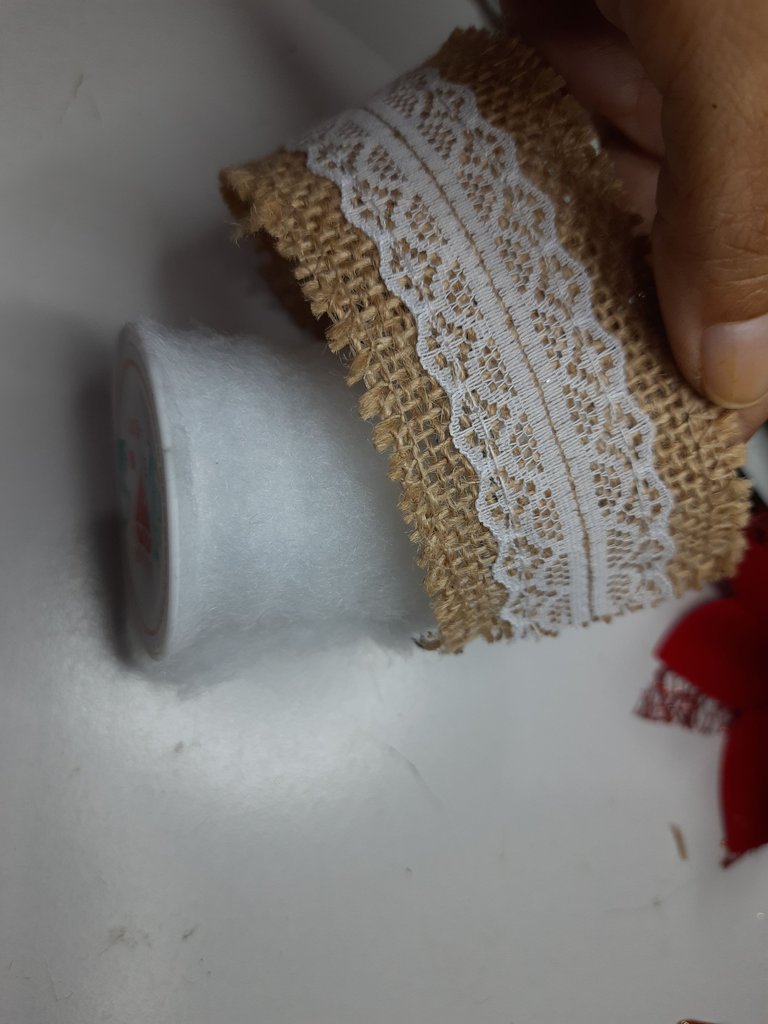
A nuestro rollo le colocaremos una guata y decoramos con tela de saco decorativa, le pueden agregar cualquier accesorio que ustedes deseen; en la parte de arriba donde colocamos el foami vamos a colocar nuestro árbol lo pegamos con un poco de silicón y hemos terminado.
To our roll we will place a wadding and decorate it with decorative sackcloth, you can add any accessory you wish; on the top where we place the foami we will place our tree we glue it with a little silicone and we are done.
Resultado:
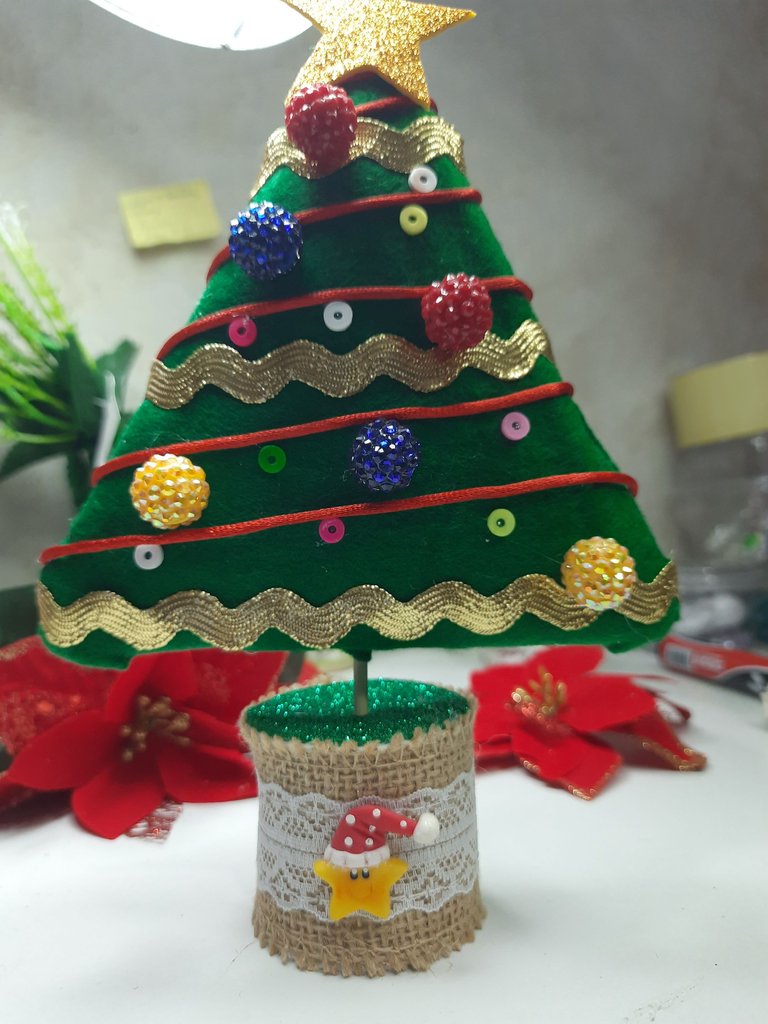
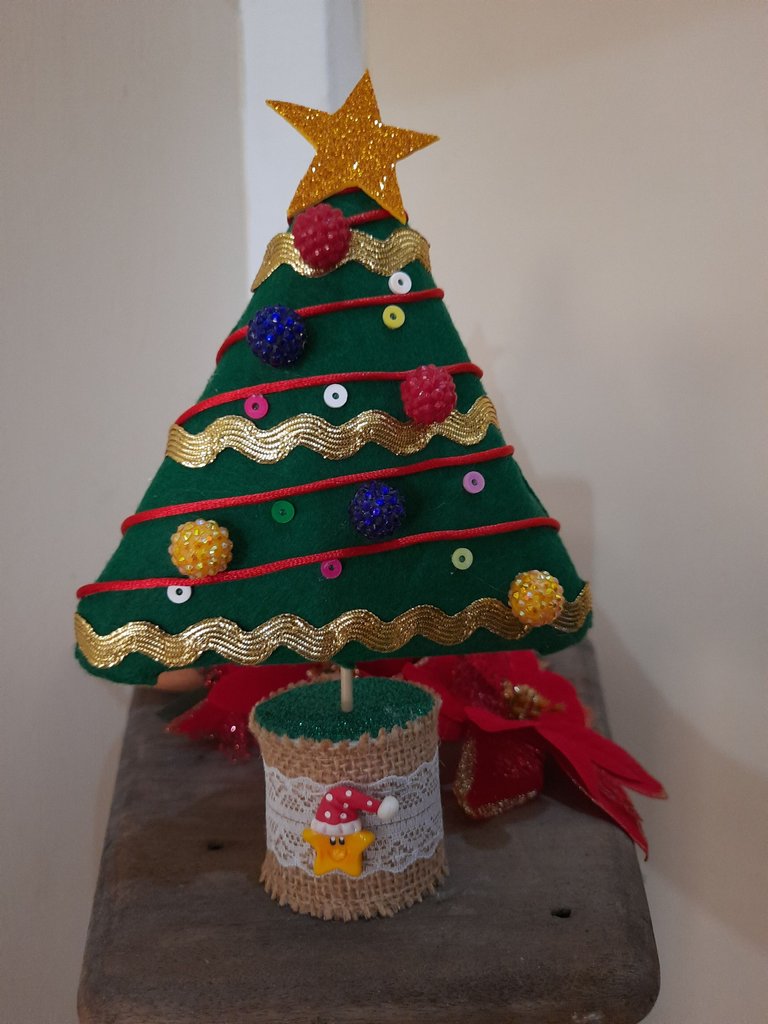
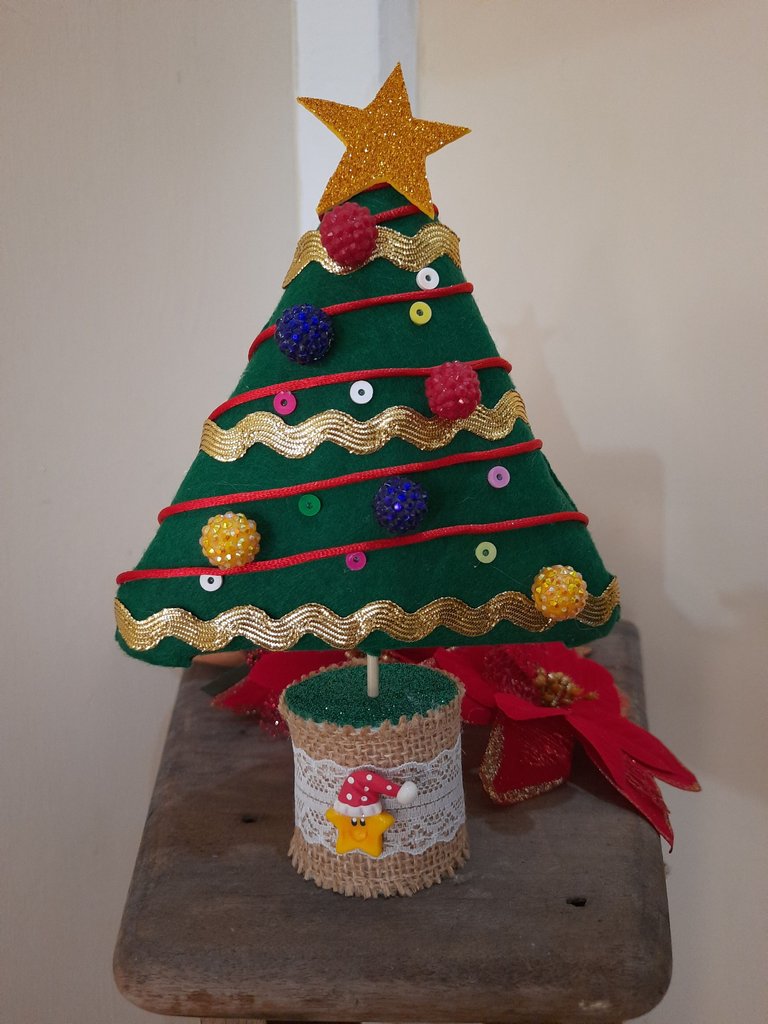
Y así ha quedado el resultado de este práctico y decorativo árbolde navidad,espero que fuera de su agrado, un resultado sencillamente maravilloso 👏,gracias por ser parte de mi blog, bendiciones 😘.
And so has been the result of this practical and decorative Christmas tree, I hope it was to your liking, a simply wonderful result 👏, thanks for being part of my blog, blessings 😘.
Fotos principal editada con Canva.
Separadores Link
Fotos de mi Autoría derechos reservados
Cámara: Samsung M31
Traducido con www.DeepL.com/Translator (versión gratuita)
Photos edited with Canva
Separators Link
Photos by me Author's rights reserved
Camera: Samsung M31
Translated with www.DeepL.com/Translator (free version)


Que belleza!!! Me encantó
Gracias mi bella 😉
Esta prescioso amiga, me encantó🤩bellísimos.
Gracias amiga 🤗
Precioso! la navidad es bella y todo lo relacionado con ella es alegría y entusiasmo Yo también estoy haciendo mis adornos así que haré un 🌲 como ese me gustó muchísimo, saluditos 🤗
Me alegra que te gustará, se que te va a quedar hermoso 💚
Está precioso 🎄 hiciste un buen trabajo bien elaborado ✌🏽
Gracias por ru apreciación ❤️
!giphy good job
!DHEDGE
@sagarkothari88 reward 0.05 HP
Via Tenor
💐 🎁 Gift 🎁 💐
Empowering DIYHub
Upvote This Comment
Please 🙇♂️ Support Me Back 🙏 - Vote for me
Thanks for your support ❤️
Hey @yolimarag
I send HivePower ➡️ to many Hive ♦️ users (just like I've sent you 🎉) to motivate content-creators 😇
By supporting many communities 🤝 by upvotes 👍 & distributing Hive Power as Gift 🎁, I help them to grow 💝 on Hive.
I request you please support me back by clicking here & vote me as witness
Muy buena la idea. Gracias por compartir
Gracias amiga 🤗
Qué belleza, te quedó realmente fabuloso, se siente el espíritu navideño!
Gracias amigo, si ya comenzó la navidad 😉
Your recyled craft looks impressive. Your attention to detail and your choice of decorations, including the star on top, are wonderful. Well done.
Thank you very much for your appreciation 😊, I am very happy that you like this creation made with a lot of love.
Hola, que bonito!
Es maravilloso hacer los adornos navideños, así los adaptamos a los espacios y a nuestros gustos. Jejeje.
Excelente.
Un abrazo
Gracias mi bella y lo mejor es que lo hacemos como a uno.le gustan, gracias por pasar 🙂
El árbol de Navidad es hermoso y brillante. Buen trabajo
Te quedó muy lindo el árbol, saludos.
Hola amiga, ciertamente me agradó tu publicación, pues se ve el resultado del entusiasmo construyendo tu árbol de navidad que ha queda hermoso. Sobre todo me ha gustado el detalle del paso a paso que muestras , me he llevado la idea exacta de como construirlo con mis propias manos, felicidades y gracias por compartir. Saludos
Gracias de verdad por.tus palabras, me alegra haber logrado que con el.paso a paso cualquiera pueda realizarlo, gracias por pasar y por tus palabras 😉❤️