Beautiful lilies made of flexible clay / Hermosos lirios hechos en masa flexible
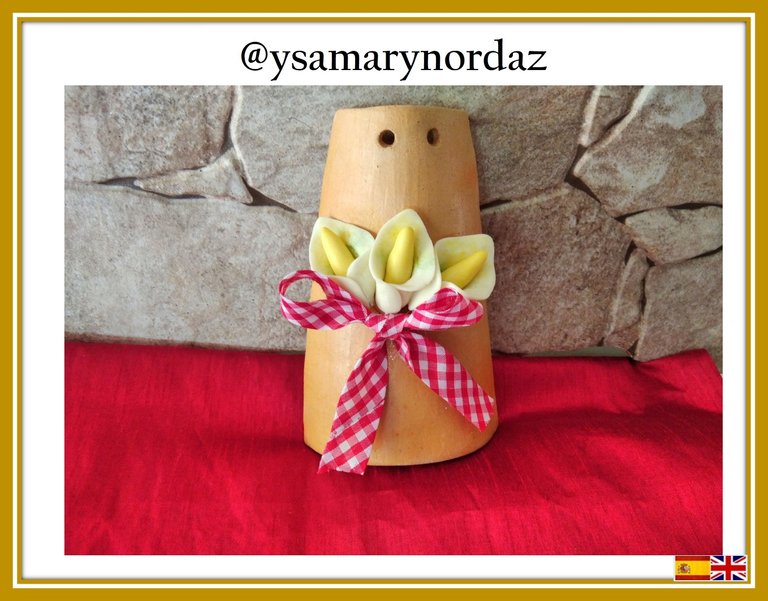
Hello friends of this great community of #DIYHub. Lilies are beautiful and elegant flowers that captivate people. With the advent of flexible clay, we can now recreate these exquisite flowers.The flexible clay is a versatile material that allows you to mold and create wonderful shapes with ease. By working with this clay, you can experiment and give free rein to your creativity. You can select the colors that you like best to represent the delicate petals of the lilies. From the classic white and yellow tones, as in this step by step that I will show you, to vibrant purple and pink. The options are endless. Let's get started!
Hola amigos de esta gran comunidad de #DIYHub. Los lirios son flores hermosas y elegantes que cautivan a las personas. Con la aparición de la masa flexible, ahora podemos recrear estas exquisitas flores. La masa flexible, es un material versátil que permite moldear y crear formas maravillosas con facilidad. Al trabajar con esta masa, puedes experimentar y dar rienda suelta a tu creatividad. Puedes seleccionar los colores que más te gusten para representar los delicados pétalos de los lirios. Desde los clásicos tonos blanco y amarillo, como en este paso a paso que te mostraré, hasta vibrantes púrpura y rosa. Las opciones son infinitas. ¡Vamos a comenzar!

Materials:
•White and yellow flexible clay
•Moisturizing lotion
•White glue
•Glue silicone
•Frosty gel
•Heart cutter
•Rolling pin
•Scissors
•Wire
•Fabric bow
•Brush
•Green and yellow colored chalk
•Small roof tile
•Plastic ball
•Ruller
Materiales:
•Masa flexible de color blanco y amarillo
•Crema humectante
•Pega blanca
•Pega silicon
•Gel escarchado
•Cortador de corazón
•Bolillo
•Tijera
•Alambre
•Lazo de tela
•Pincel
•Tiza de color verde y amarilla
•Teja pequeña
•Bolillo plástico
•Regla
Step 1
Clean the surface where you will work the clay and spread a little moisturizer on it, in this way you will prevent the clay from sticking. Likewise, place it in your hands to make it easier to knead. Take the white clay and place it on the surface, with the help of the rolling pin, spread it out. Once extended, place the heart-shaped cutter and extract 3 pieces.
Paso 1
Limpia la superficie donde trabajarás la masa y unta un poco de crema humectante en ella, de esta manera evitarás que la masa se pegue. Igualmente, coloca en tus manos para que sea más fácil el amasado. Toma la masa de color blanco y colócala sobre la superficie, con la ayuda del rodillo extiéndela. Una vez extendida, coloca el cortador en forma de corazón y extrae 3 piezas.

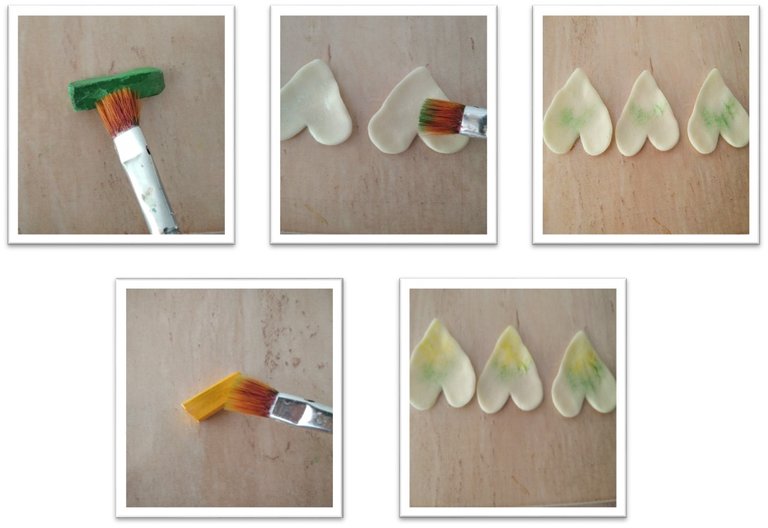
Step 2
With the help of the plastic ball smooth the edges of the hearts. Then, apply a layer of frosty gel to them and let dry.
Paso 2
Con ayuda del bolillo suaviza los bordes de los corazones. Luego, aplícales una capa de gel escarchado y deja secar.

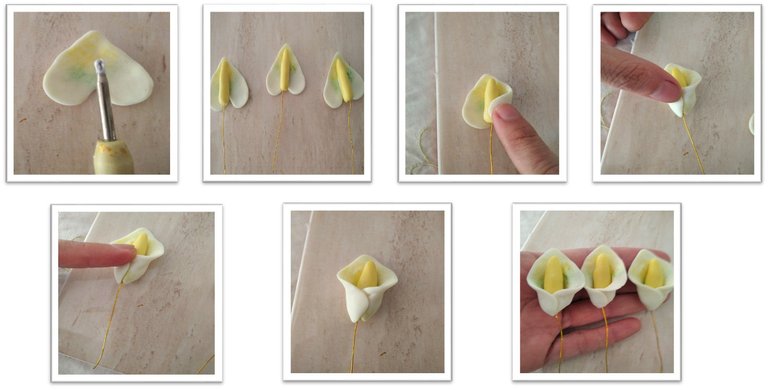
Step 3
Form a ball with the yellow clay then, with your fingers form a small cylinder giving it the shape of a 2.5cm spadix. Cut the wire into three parts then insert it into the spadices.
Paso 3
Forma una bolita con la masa de color amarillo luego, con tus dedos forma un pequeño cilindro dándole la forma de la espiga de 2.5cm. Corta el alambre en tres partes seguidamente, introdúcelos en las espigas.

Step 4
Apply with the brush a little green chalk and then the yellow chalk, to tint the lily.
Paso 4
Aplica con el pincel un poco de tiza de color verde y luego la tiza de color amarillo, para matizar el lirio.
Step 5
Apply some white glue in the center of the hearts and glue the spadices. Then join the ends of the hearts together to form the lily.
Paso 5
Aplica un poco de pega blanca en el centro de los corazones y, pega las espigas. Luego, une los extremos de los corazones para formar el lirio.
Step 6
Apply some frost gel around the lilies, then attach the wires together, then cut. Place glue on the back of the lilies and glue to the tile. Finally, place the bow as shown in the image.
Paso 6
Aplica un poco de gel escarchado por alrededor de los lirios, seguidamente une los alambres y luego corta. Coloca pegamento sobre la parte posterior de los lirios y, pega a la teja. Por último, coloca el lazo como se muestra en la imagen.

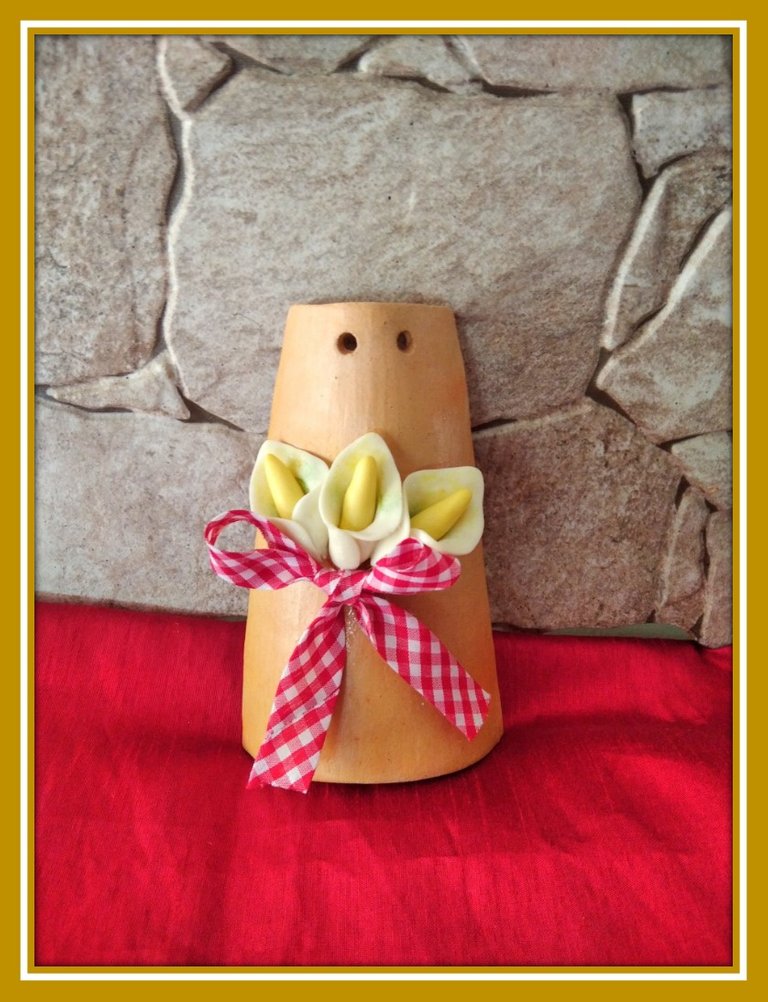
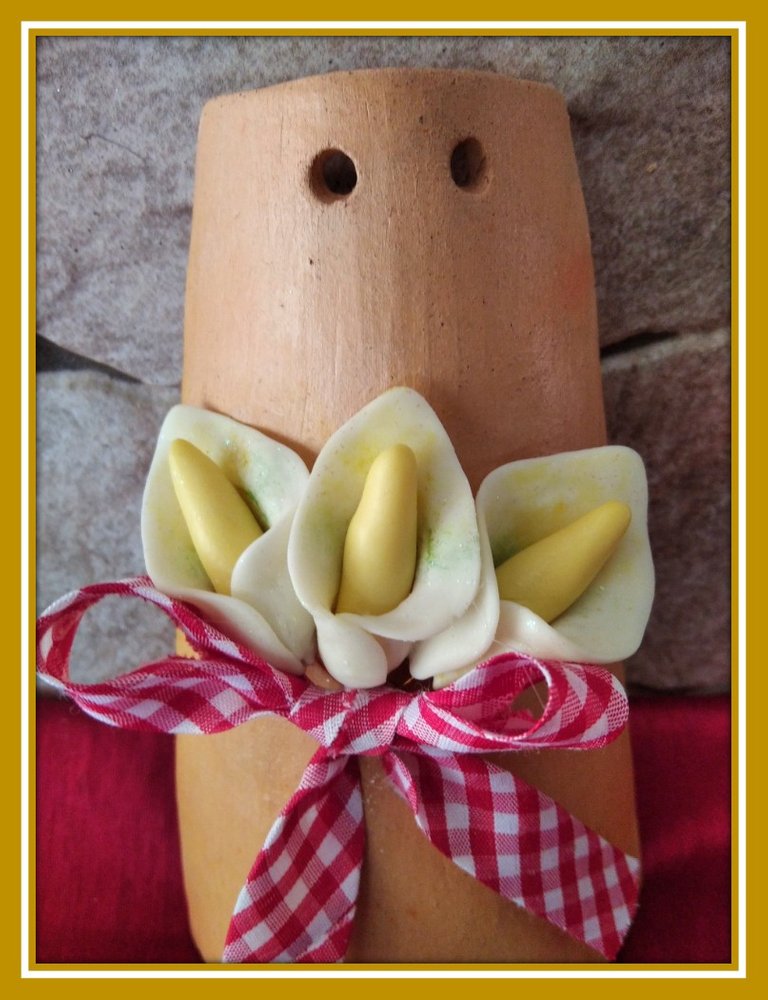
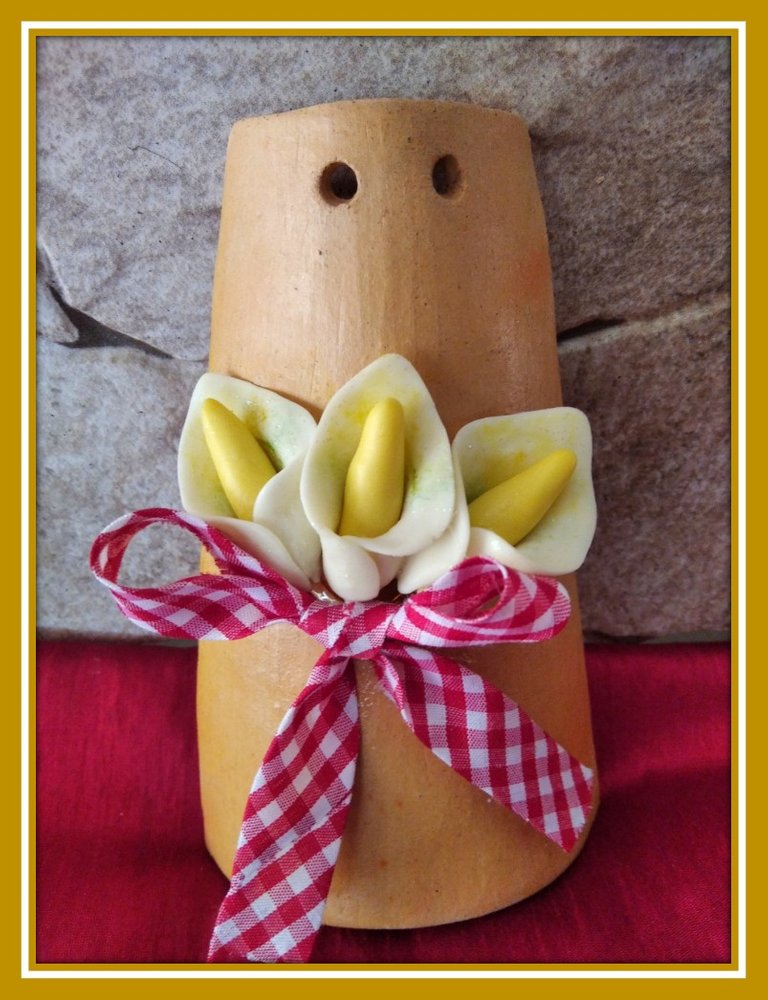

The end result is beautiful handmade lilies made from flexible clay. These flowers are special to decorate any object; In the tile that I chose it looks very pretty and it will look great in some space in my house. The opportunity to create lilies in flexible clay gives you the possibility to enjoy art and nature at the same time. See you soon!
El resultado final son unos hermosos lirios hechos a mano con masa flexible. Estas flores son especiales para decorar cualquier objeto; en la teja que escogí se ve muy linda y lucirá muy bien en algún espacio de mi casa. La oportunidad de crear lirios en masa flexible te brinda la posibilidad de disfrutar del arte y la naturaleza al mismo tiempo. ¡Hasta una próxima oportunidad!
The images were taken by myself with my Redmi Note 8 cell phone.
Translation: Google Translation
I used the program Microsoft Power point
Las fotografías fueron tomadas por mí con mi teléfono celular Redmi Note 8.
Utilicé el programa Microsoft Power point
Traducción: Google Translation

!discovery 30
!diy
This post was shared and voted inside the discord by the curators team of discovery-it
Join our Community and follow our Curation Trail
Discovery-it is also a Witness, vote for us here
Delegate to us for passive income. Check our 80% fee-back Program
Such beautiful looking lilies. Well done
You can query your personal balance by
!DIYSTATSThis post has been manually curated by @bhattg from Indiaunited community. Join us on our Discord Server.
Do you know that you can earn a passive income by delegating to @indiaunited. We share more than 100 % of the curation rewards with the delegators in the form of IUC tokens. HP delegators and IUC token holders also get upto 20% additional vote weight.
Here are some handy links for delegations: 100HP, 250HP, 500HP, 1000HP.
100% of the rewards from this comment goes to the curator for their manual curation efforts. Please encourage the curator @bhattg by upvoting this comment and support the community by voting the posts made by @indiaunited.
Una manera de adornar las tejas o lajas, me encanto el paso a paso, muy bien explicado, la masa la preparas tu también? Admiro mucho este tipo de trabajo, manos benditas, saludos.
Hola @vicmito74. muchas gracias por tu mensaje, me alegra saber que te ha gustado. Si, yo preparo la masa con que trabajo y con esta se puede hacer múltiples manualidades. ¡Saludos!