(Esp-Eng) Tarjeta o decoración ? Tu decides, te enseño como lo hice .Card or decoration ? You decide, I show you how I did it
Saludos para todos los Hivers creativos de esta gran comunidad de Hive Diy, hoy quiero compartir con ustedes una linda idea de una tarjeta de doble propósito, porque también la puedes usar como decoración, ya verás que su elaboración es muy sencilla, y los motivos pueden ser muy diversos, el que les voy a presentar es floral y divertido, a continuación les describo los materiales requeridos y el paso a paso. Pueden ver más opciones en este enlace. Fuente
Greetings to all the creative Hivers of this great Hive Diy community, today I want to share with you a nice idea of a dual purpose card, because you can also use it as decoration, you will see that its elaboration is very simple, and the motifs can be very diverse, the one I am going to present is floral and fun, below I describe the materials required and the step by step. You can see more options in this link. Source
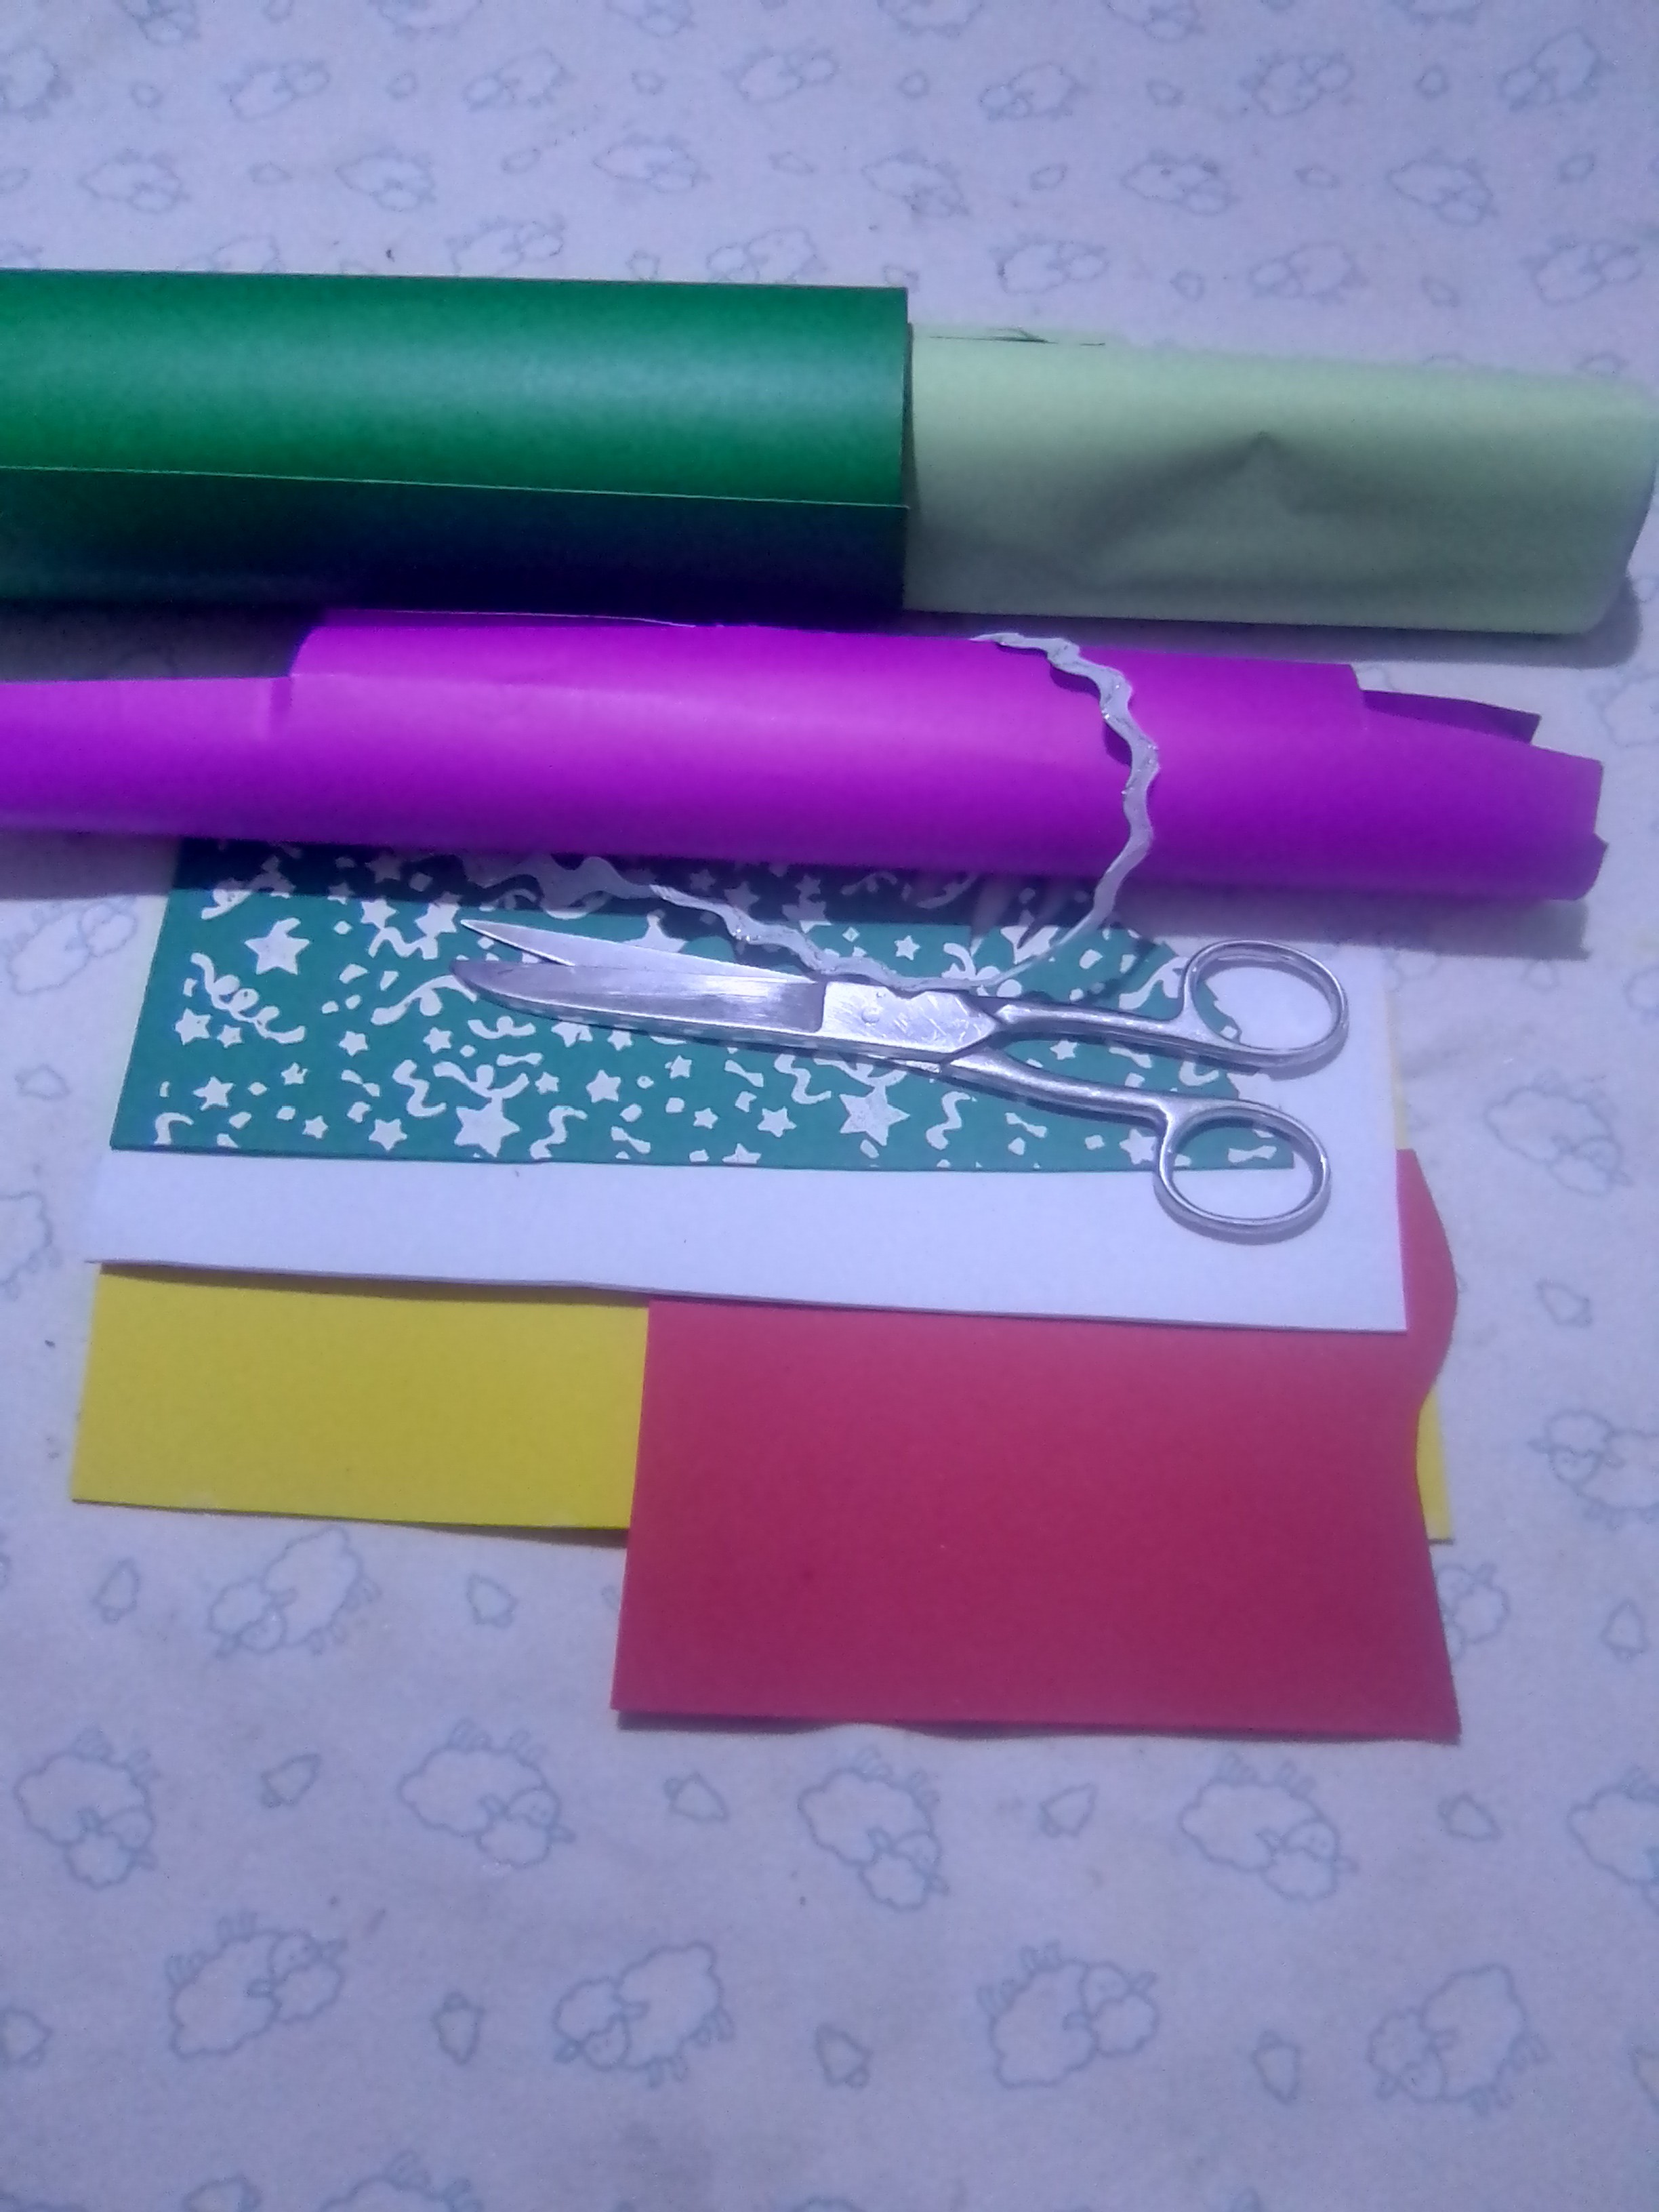
Materiales / Materials
- Cartulina de colores verde claro, Verde oscuro, morado
- Foami rojo, blanco, amarillo y verde estampado
- Silicon caliente.
- Cinta decorativa
- Broches color plata.
- Plancha de ropa.
- Light green, dark green, purple colored cardstock
- Red, white, yellow and green stamped Foami.
- Hot silicon.
- Decorative ribbon
- Silver brooches.
- Clothes iron
Paso a paso / Step by Step
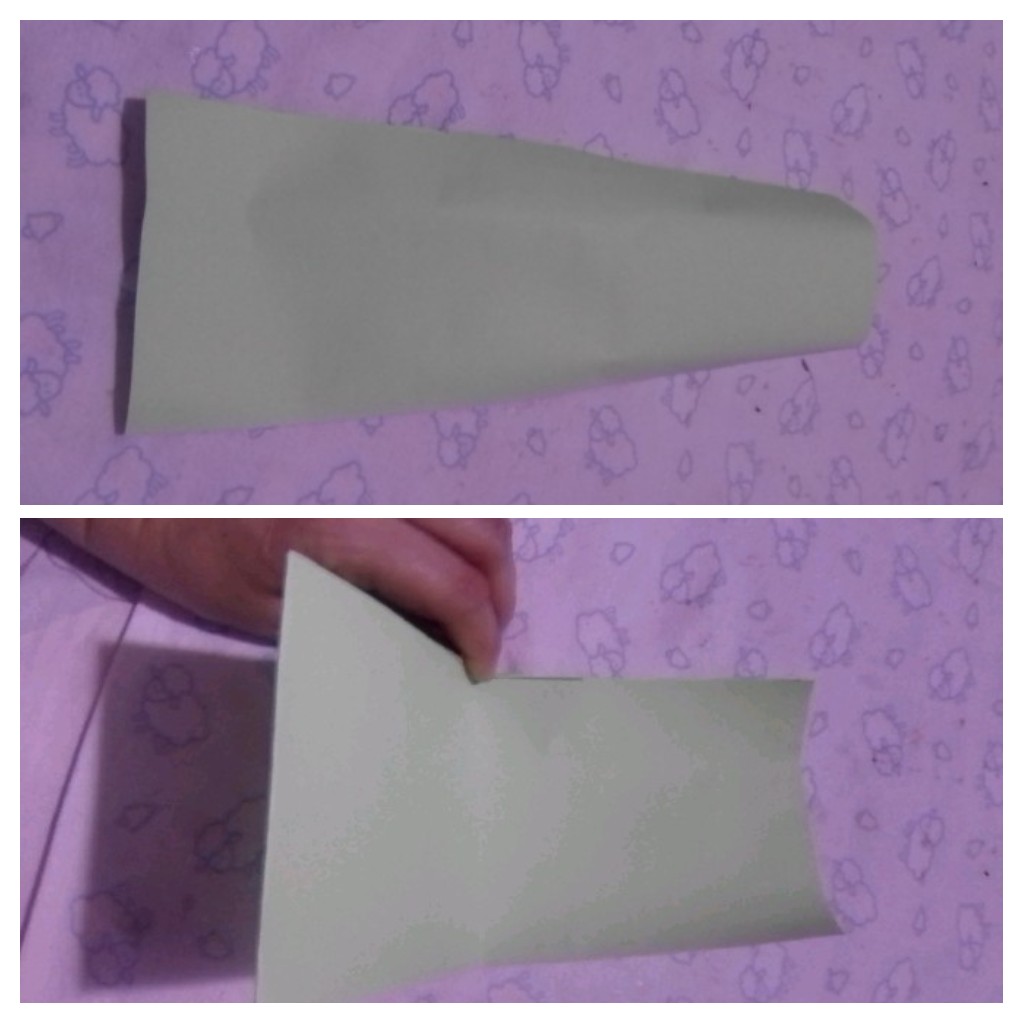
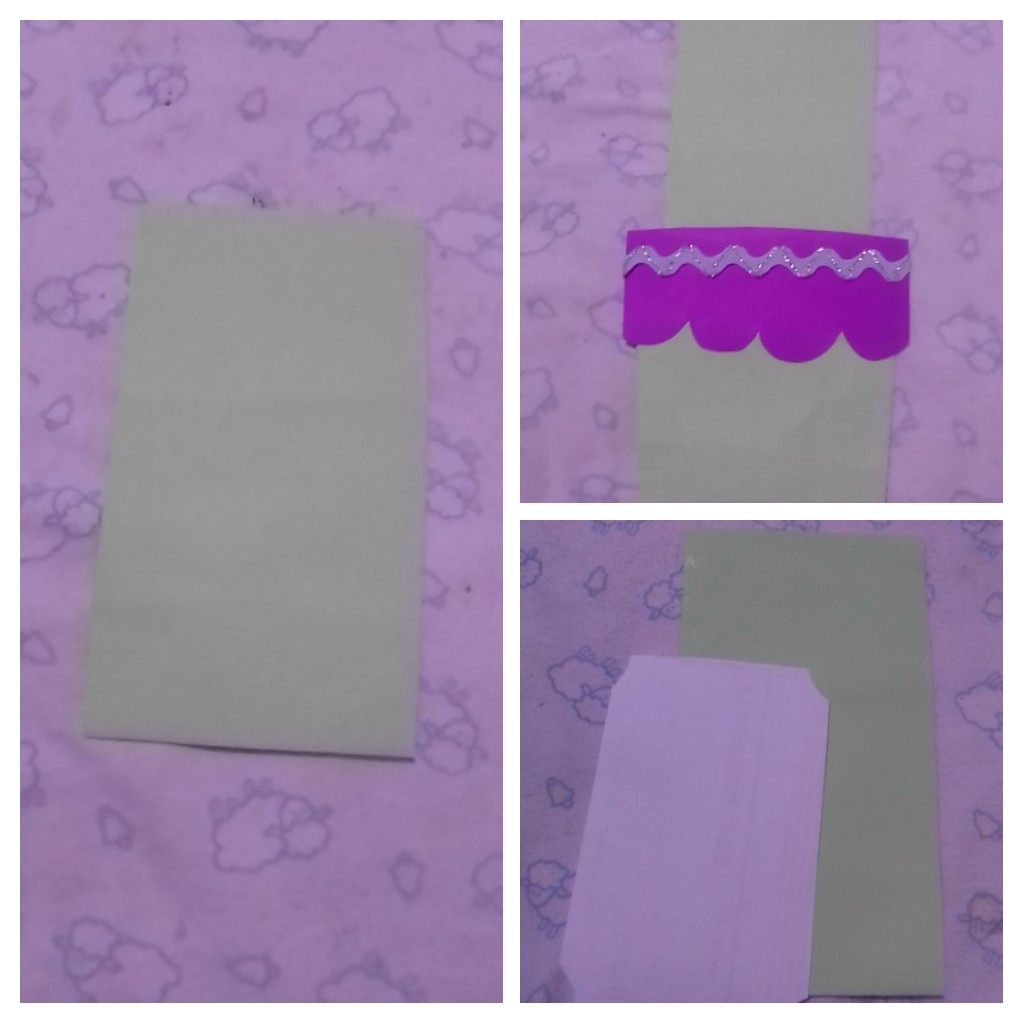
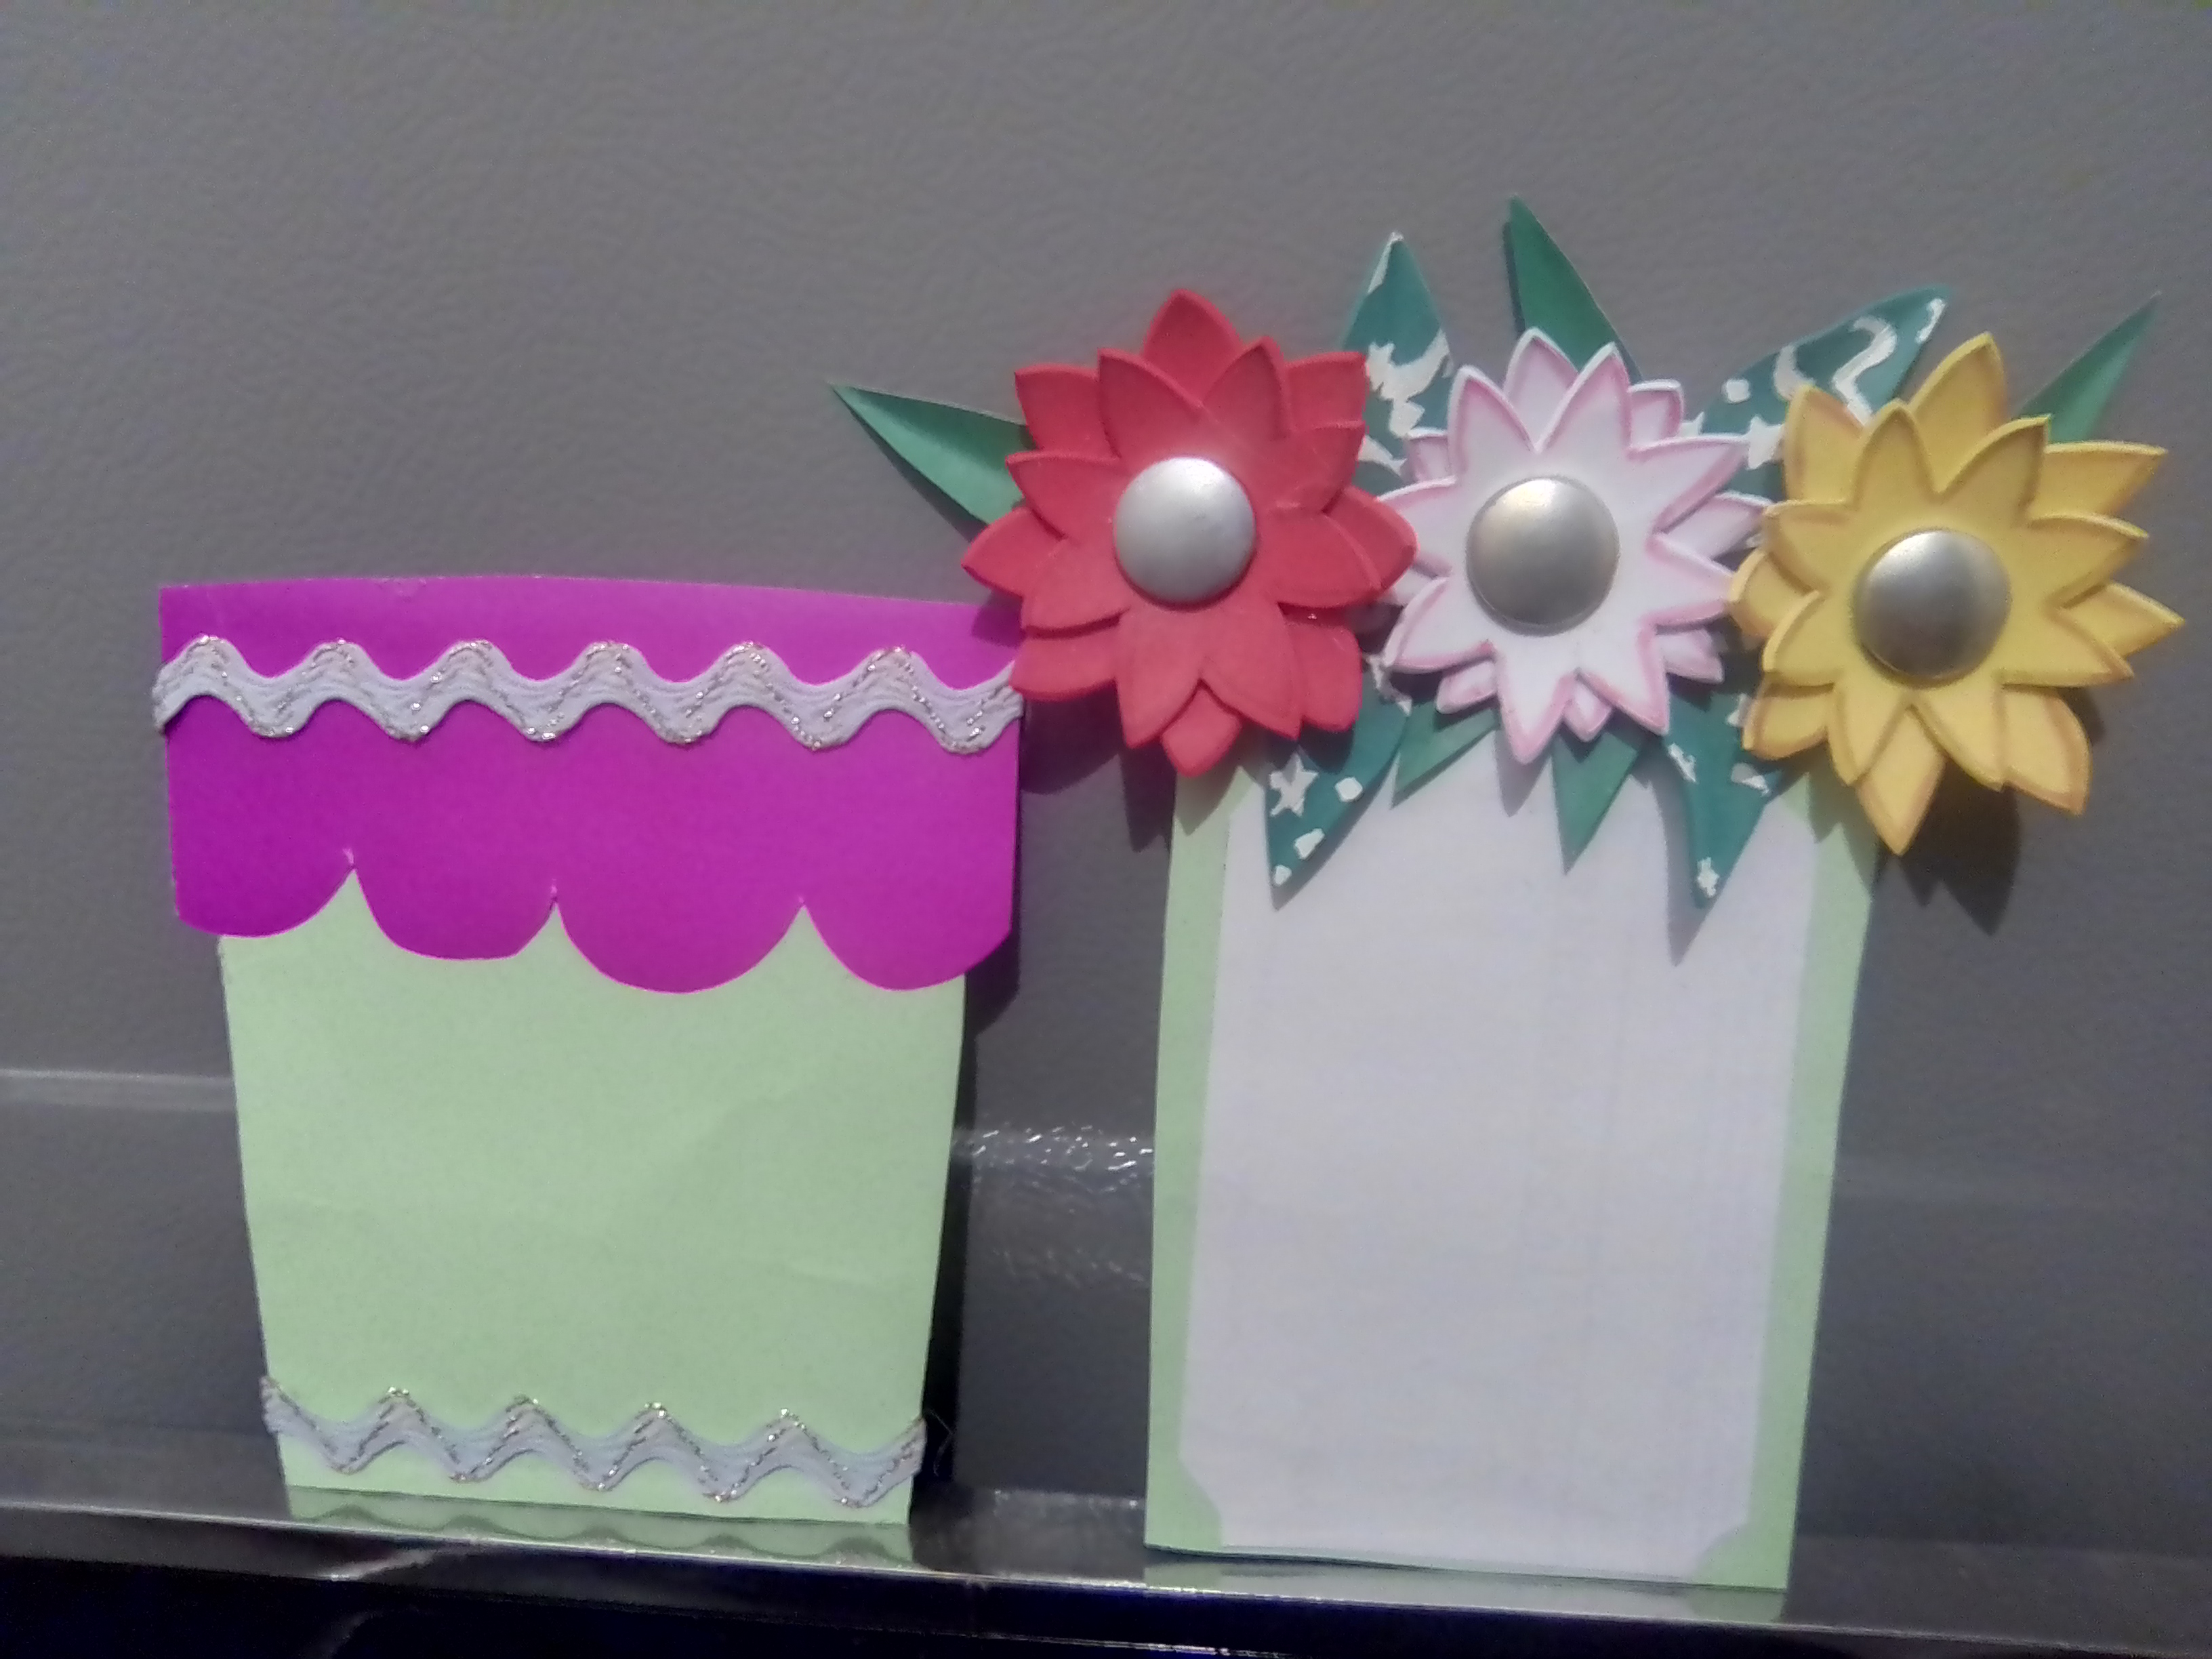
La tarjeta es una linda maceta con flores, y comienzo realizando la maceta con una pieza de cartulina verde claro, de 26x10,5 centímetros, la cual doble y luego di forma de maceta recortando aproximadamente de 1,5 centímetros hasta 1 centímetros, hasta llegar en la base a 9 centímetros, lo que me dio la forma buscada. Ya con mi forma de maceta proceso a pegar la pieza solo en los bordes, ya que el objetivo es obtener un sobre de la maceta.
The card is a pretty flower pot, and I start making the pot with a piece of light green cardboard, 26x10.5 centimeters, which I folded and then I shaped the pot by cutting approximately 1.5 centimeters to 1 centimeter, until I reached 9 centimeters at the base, which gave me the shape I was looking for. Once I had my pot shape, I glued the piece only on the edges, since the objective is to obtain an envelope of the pot.
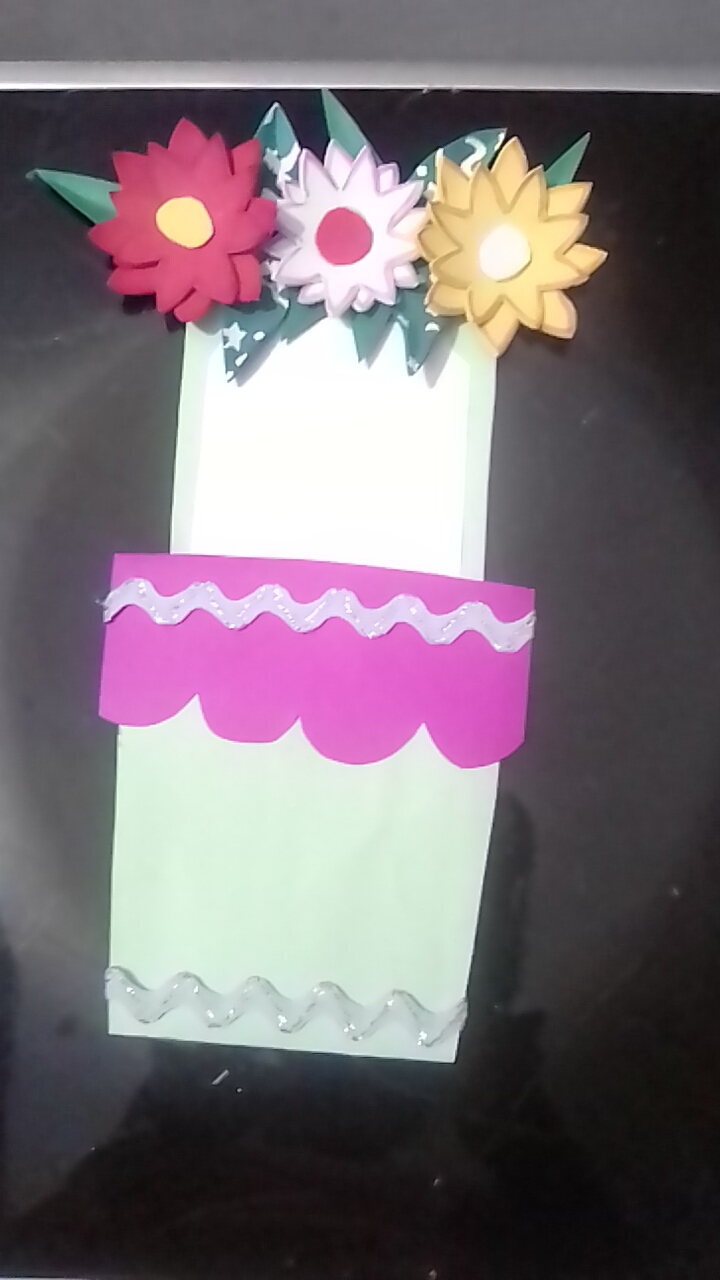
Para decorar la maceta recorte un trozo de cartulina morada y marque semi círculos con ayuda de una tapa de refresco y recorte para luego pegar la cartulina ondulada en la parte superior de la maceta, seguidamente coloque la cinta decorativa sobre el morado y también en la parte inferior de la maceta.
To decorate the pot, cut out a piece of purple cardboard and mark half circles with the help of a soda cap and cut them out and then glue the corrugated cardboard on the top of the pot, then place the decorative ribbon on top of the purple and also on the bottom of the pot.
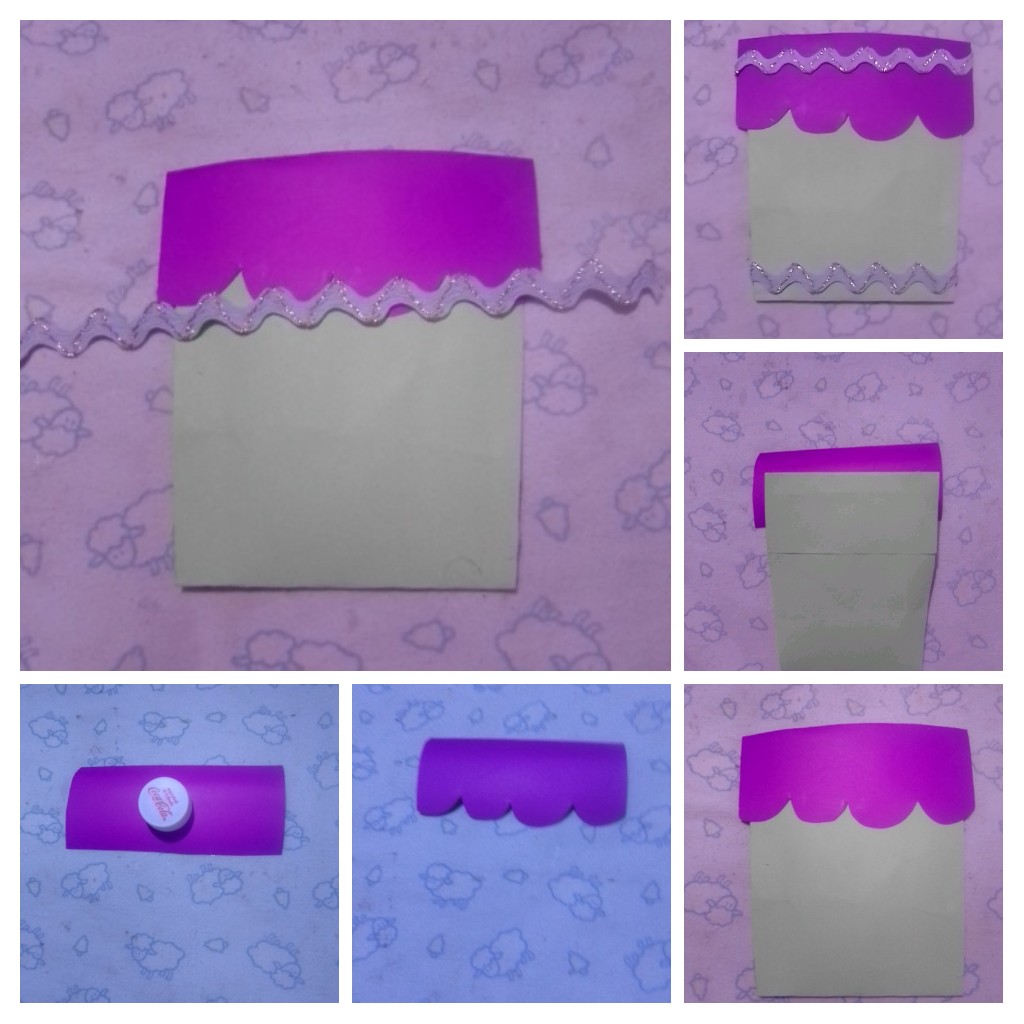
El siguiente paso es realizar la parte interna o la tarjeta propiamente dicha, para ello recorte una pieza de cartulina de 16x9 centímetros, fue necesario ajustar la parte inferior de tarjeta para que entre en el sobre sin dificultad. Así mismo coloque cartulina blanca, donde se escribirá el mensaje.
The next step is to make the inner part or the card itself, for this cut a piece of cardboard 16x9 centimeters, it was necessary to adjust the bottom of the card to fit into the envelope without difficulty. Also place white cardboard, where the message will be written.
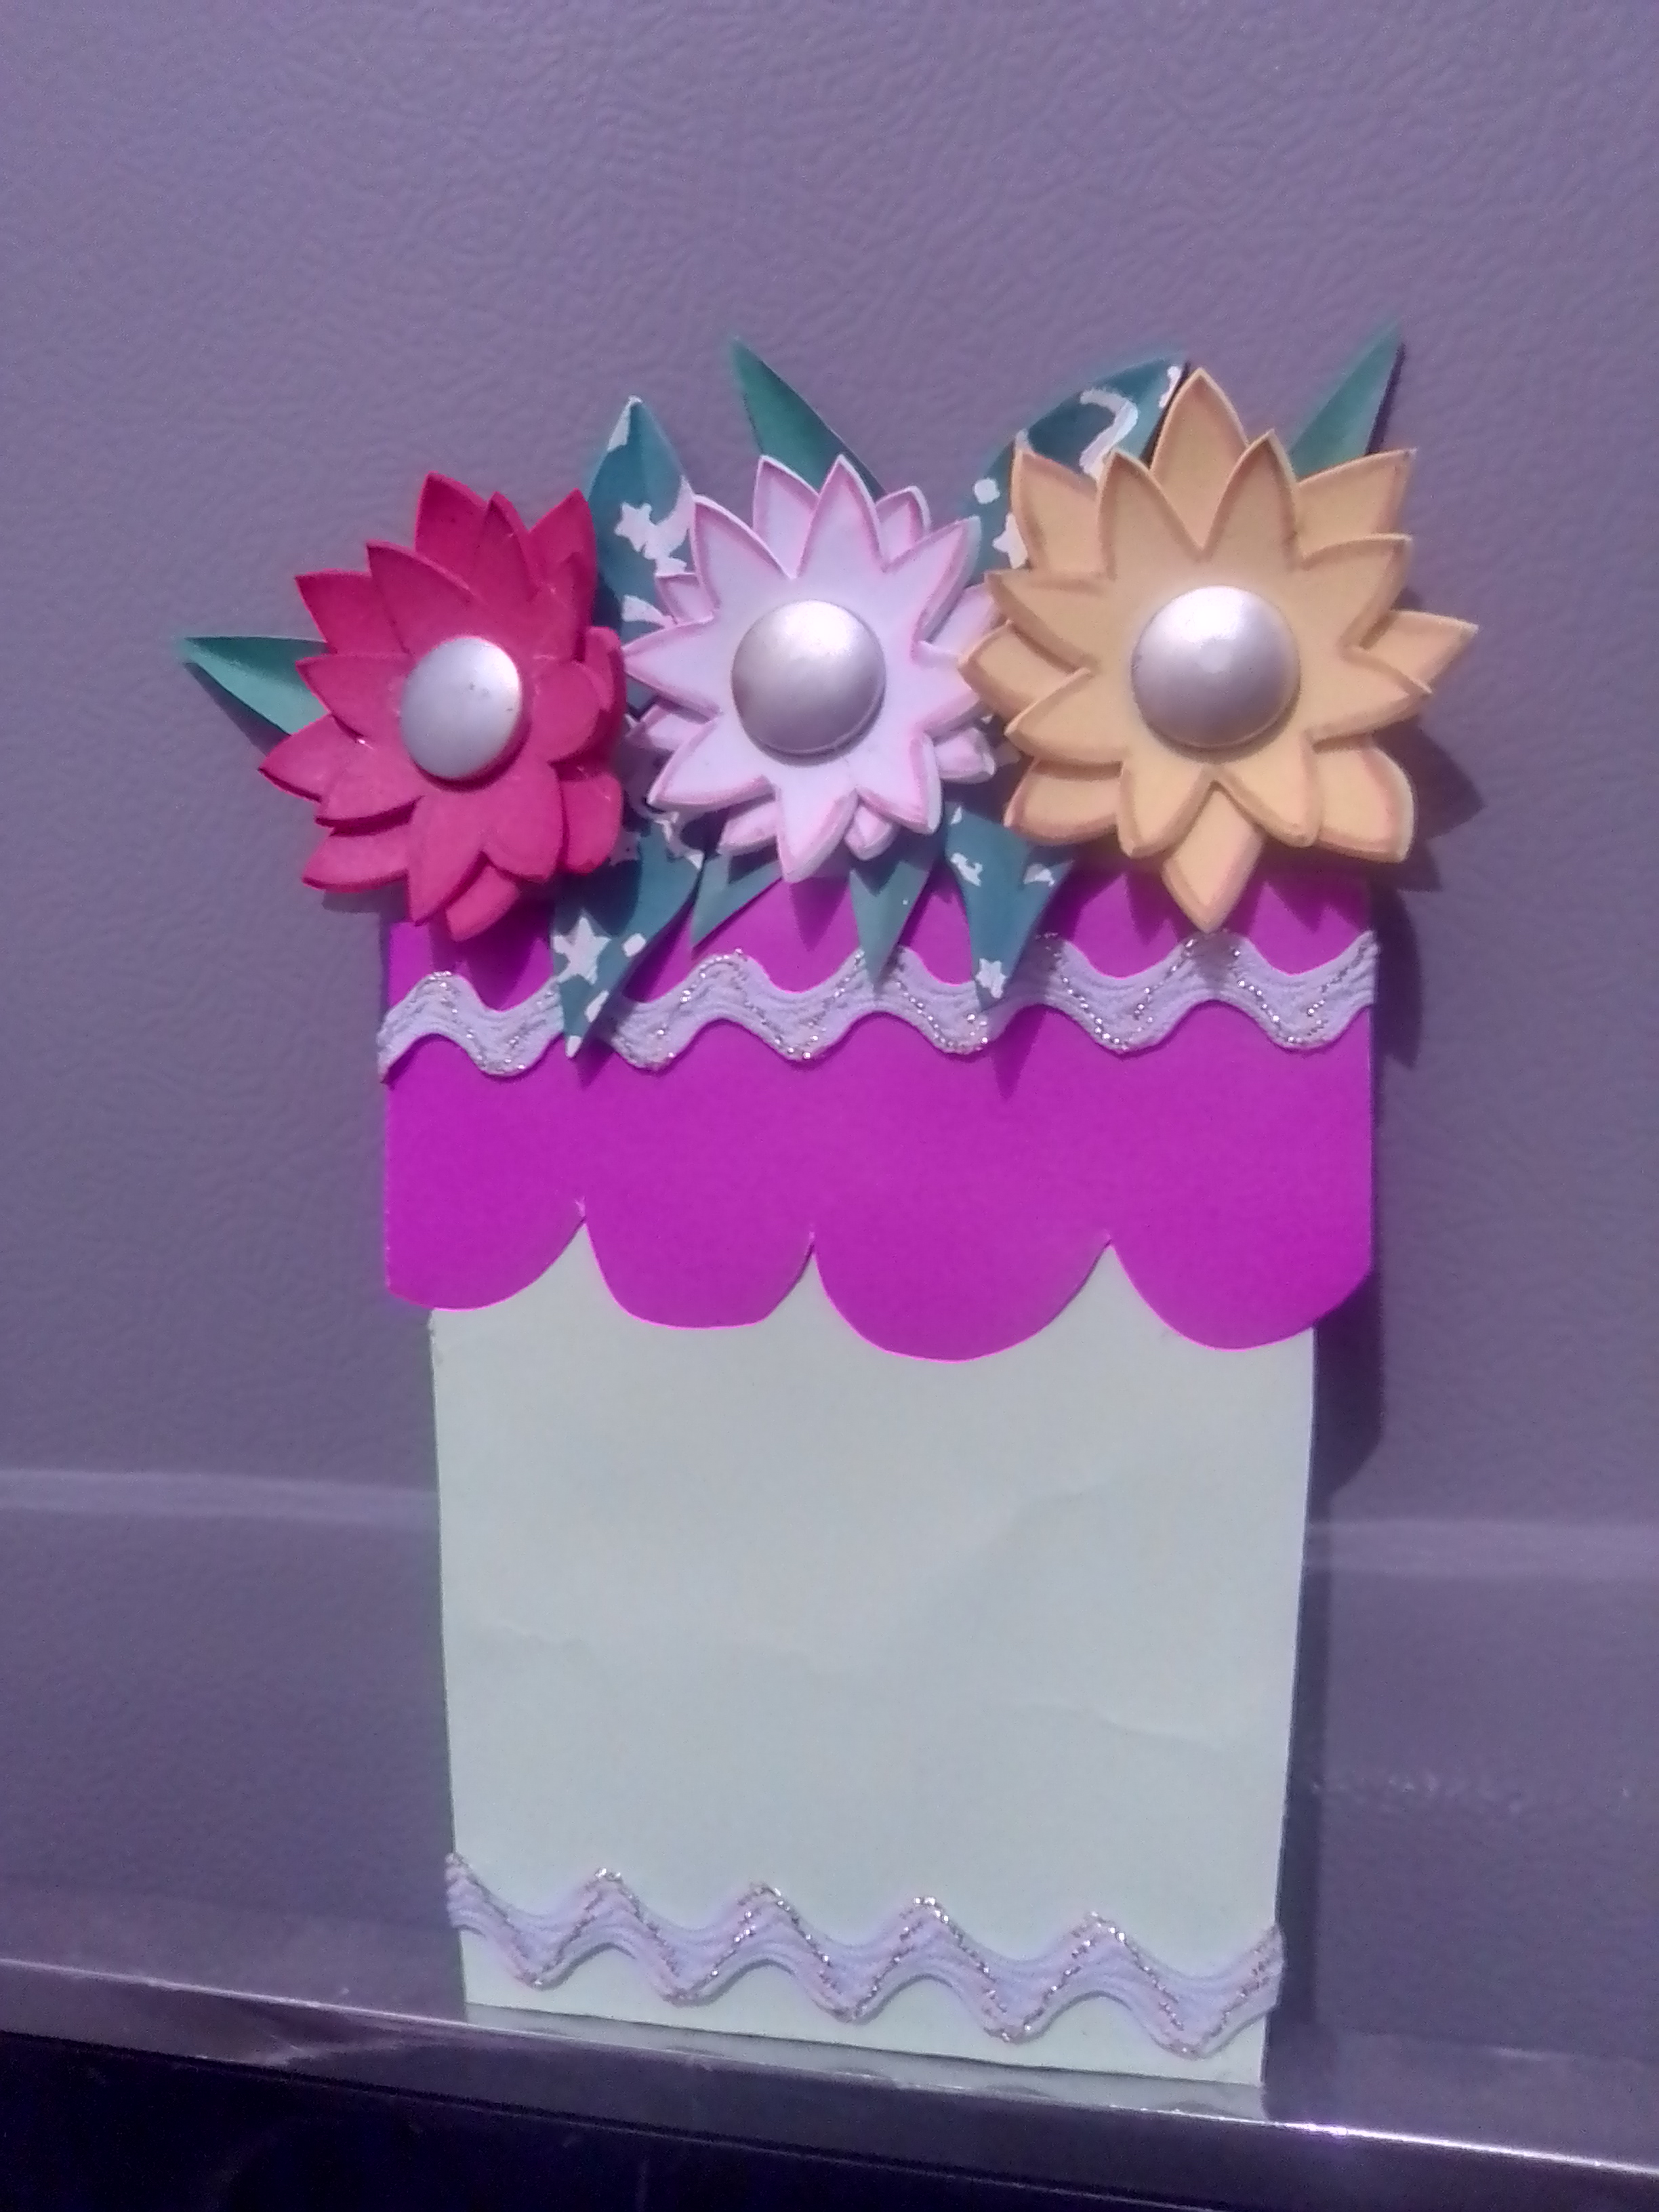
A continuación realice en papel de reciclaje los diseños de las flores y las hojas, para luego transferirlos a los diferentes colores de foami, las flores son de ocho pétalos puntiagudos ,y dos piezas por cada flor, a las cuales aplique calor para lograr los pétalos hacia arriba, así mismo aplique calor a las hojas estampada y doble las puntas.
Then make in recycling paper the designs of the flowers and leaves, and then transfer them to the different colors of foami, the flowers are eight pointed petals, and two pieces for each flower, to which apply heat to achieve the petals upwards, and also apply heat to the stamped leaves and fold the tips.
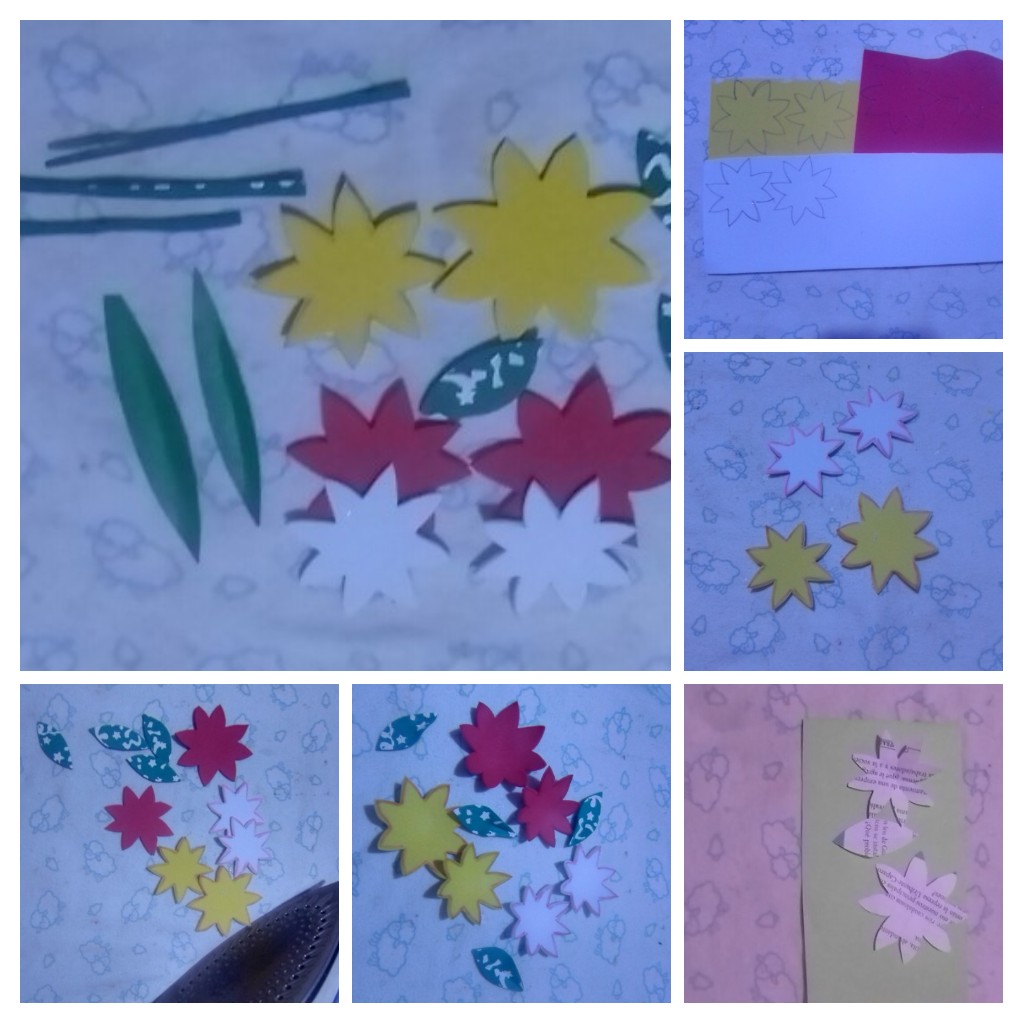
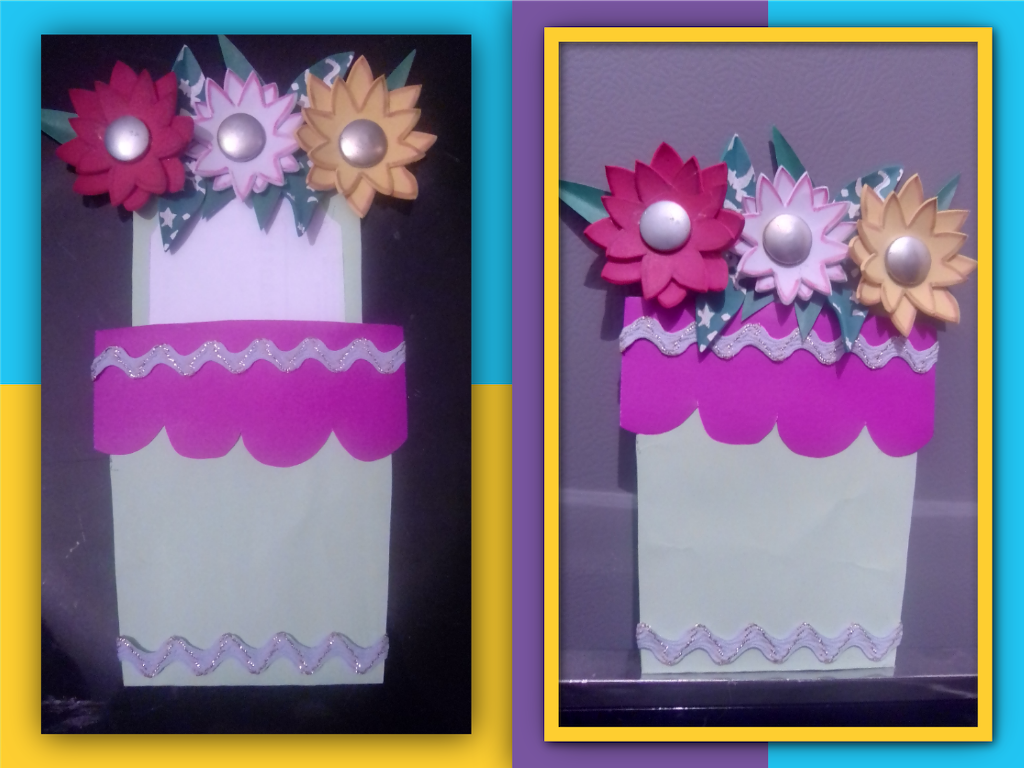
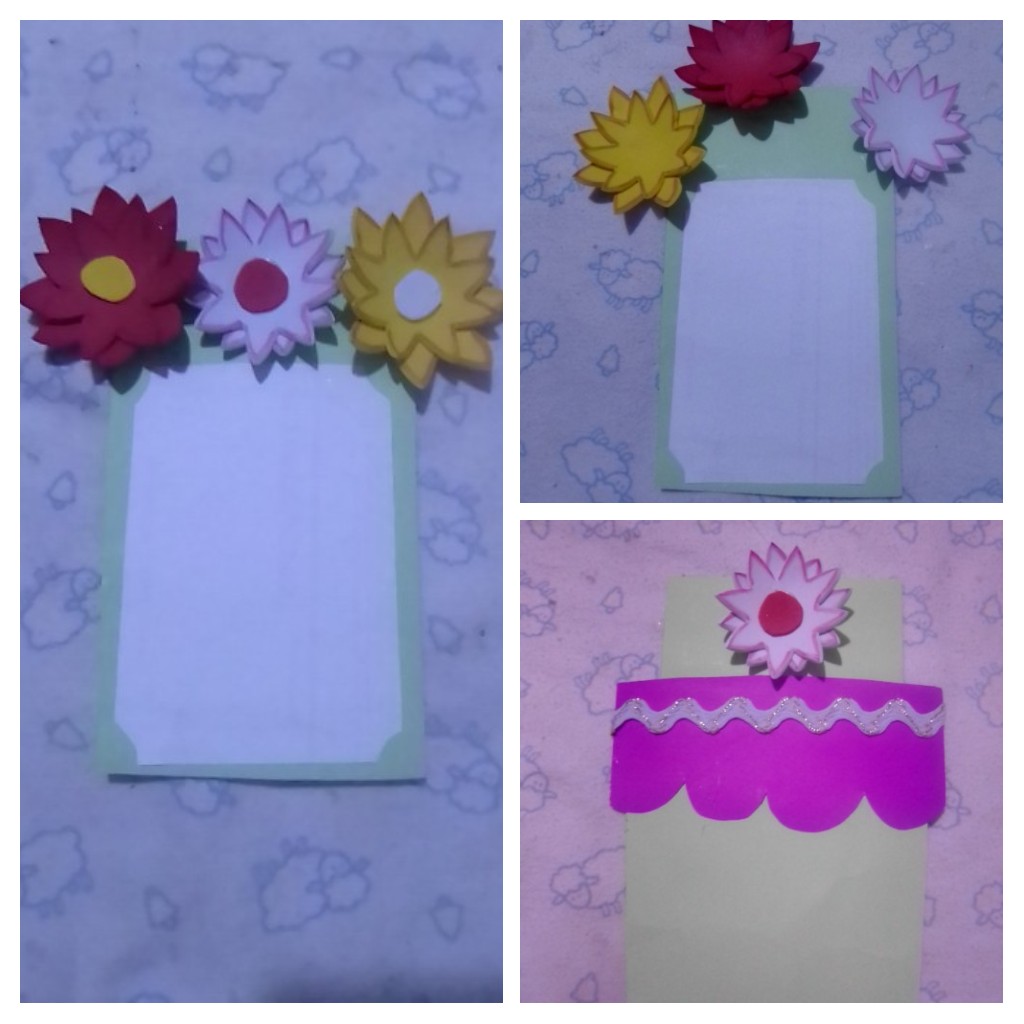
Ensamble las flores, las organice y pegue, le coloque las hojas para cubrir los espacios, tomando muy en cuenta que para ello solo debí ocupar solo los 4 centímetros de la parte superior, de manera tal que al introducir la tarjeta en el sobre, este quedé muy justo como un florero, y que la tarjeta quede oculta y sea una sorpresa. En un principio había colocado foami en el centro de las flores, y no me gustó mucho, decidí corregir y pegar unos broches, creo que quedó mejor.
Assemble the flowers, arrange and glue them, place the leaves to cover the spaces, taking into account that I should only use the top 4 centimeters, so that when I put the card in the envelope, it will be just like a vase, and the card will be hidden and will be a surprise. At first I had placed foami in the center of the flowers, and I didn't like it very much, so I decided to correct it and glue some brooches, I think it turned out better.
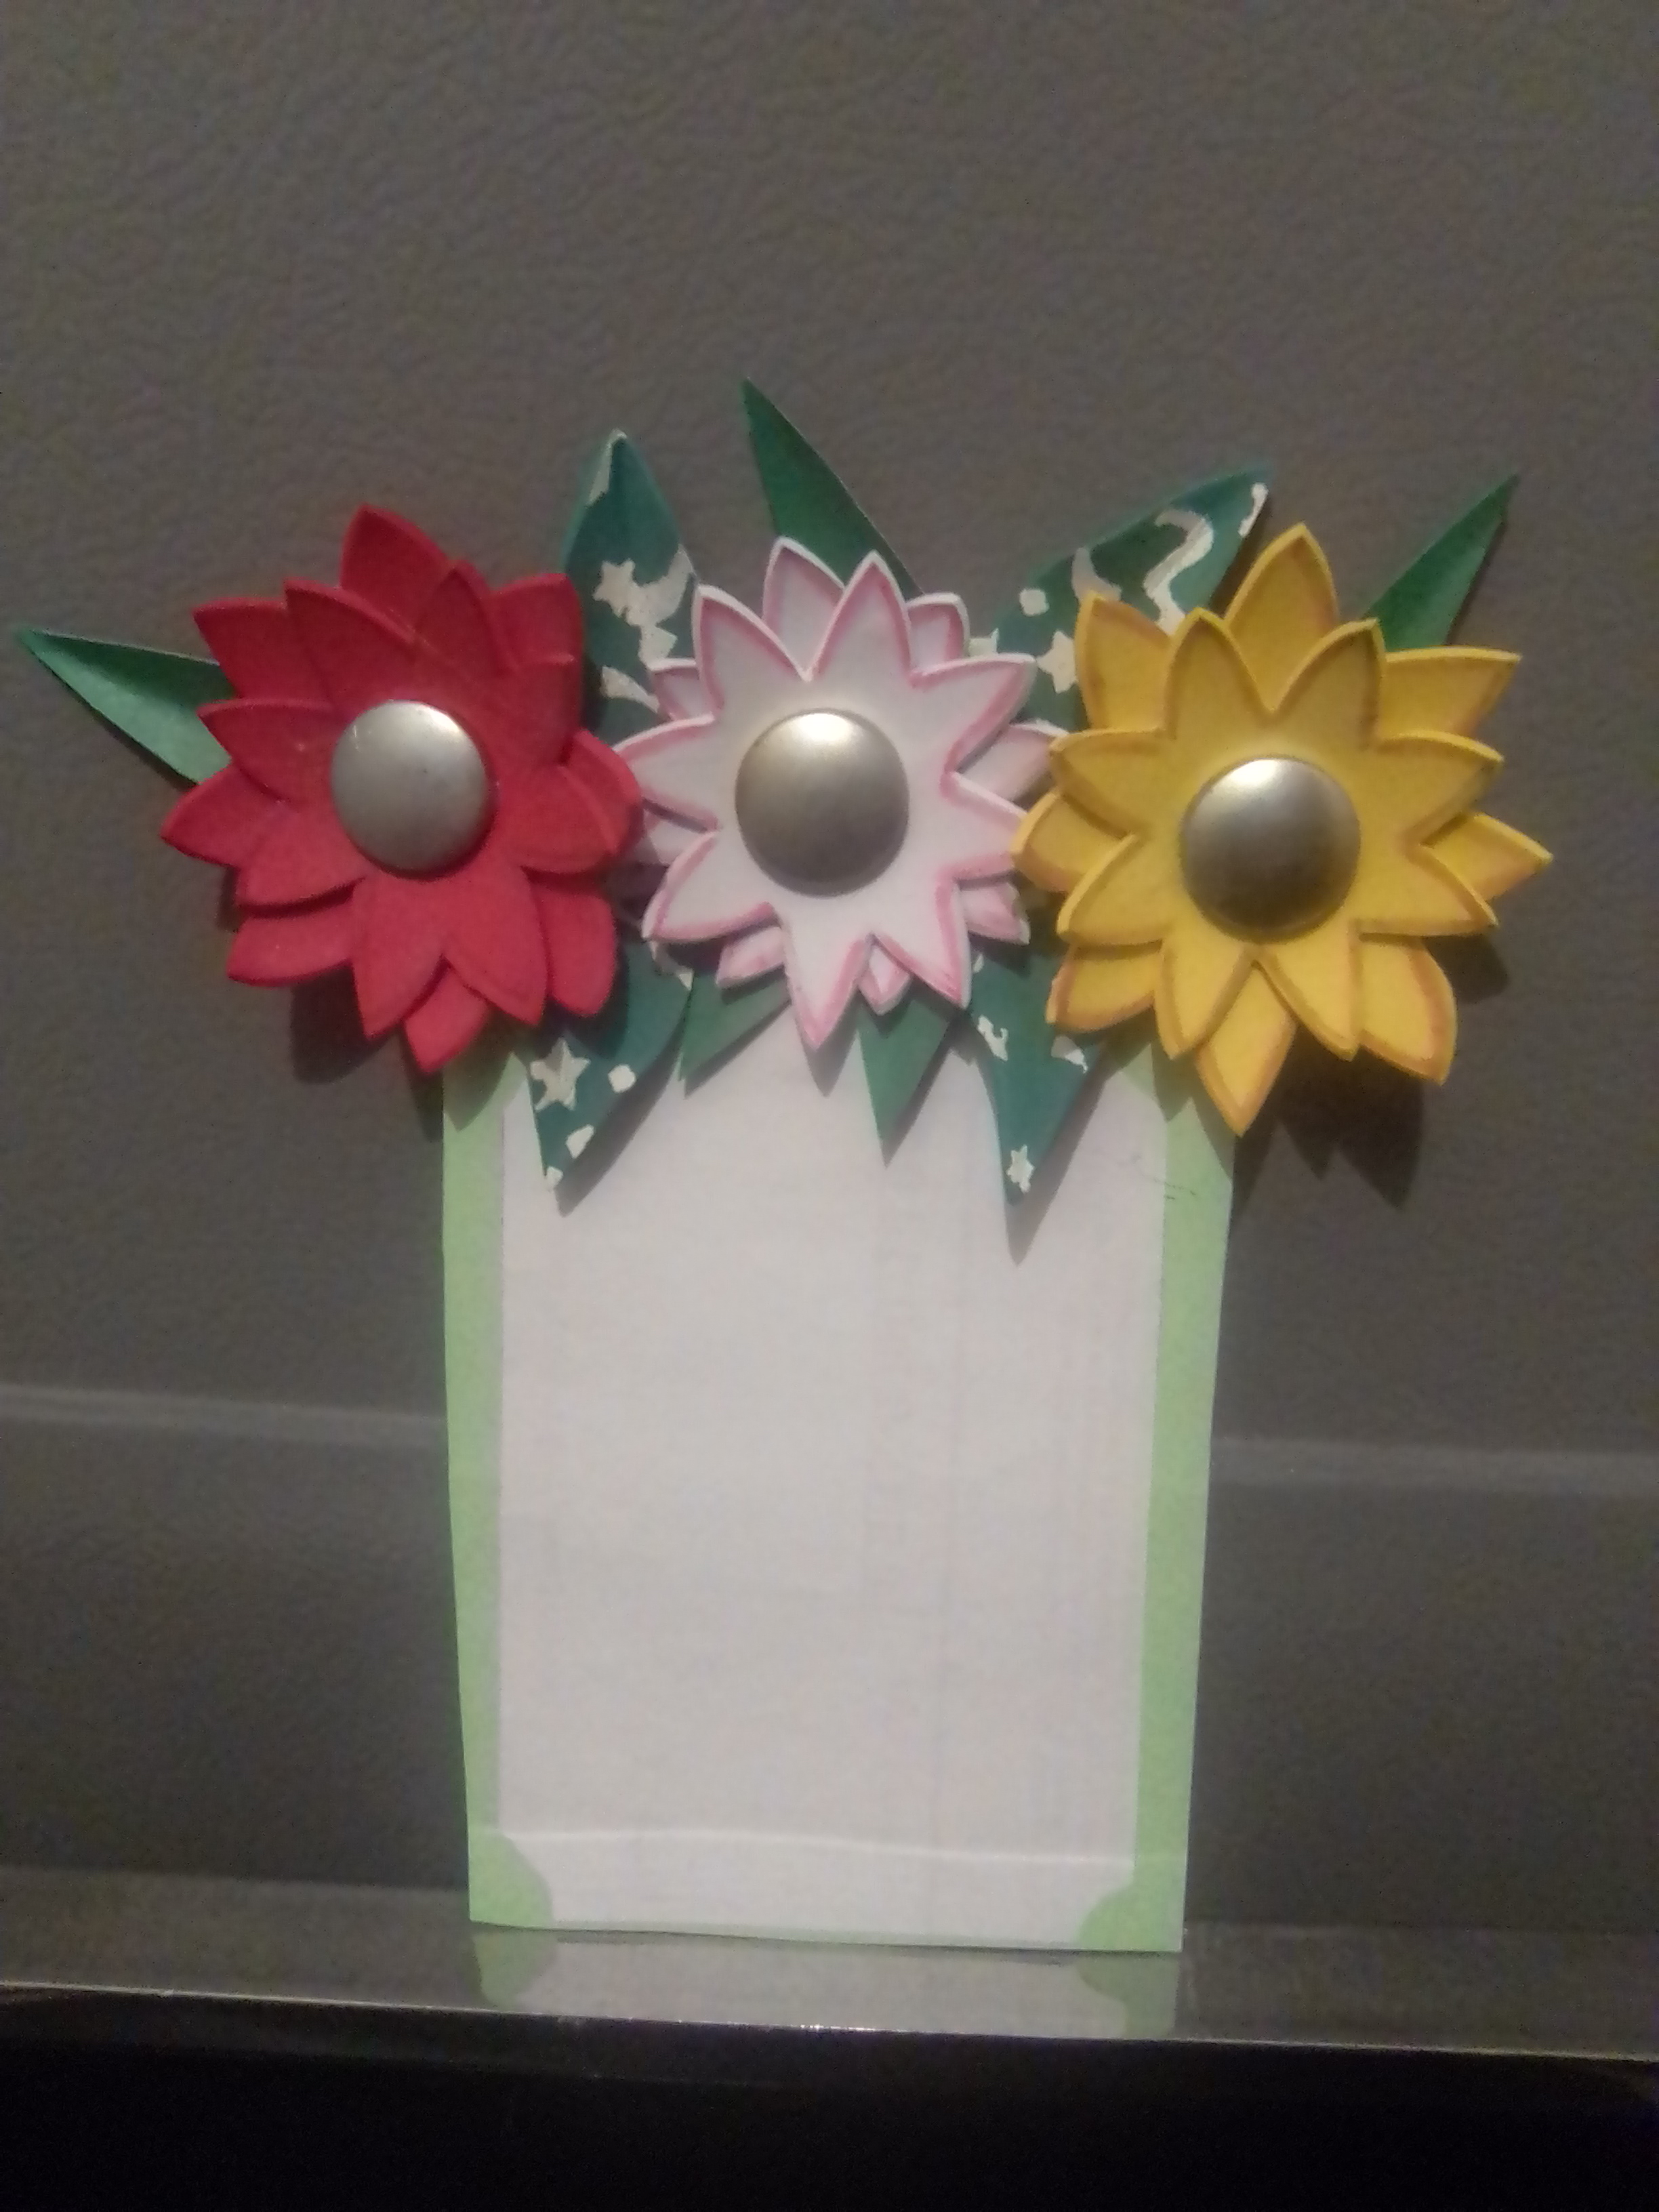
Resultado/ Result
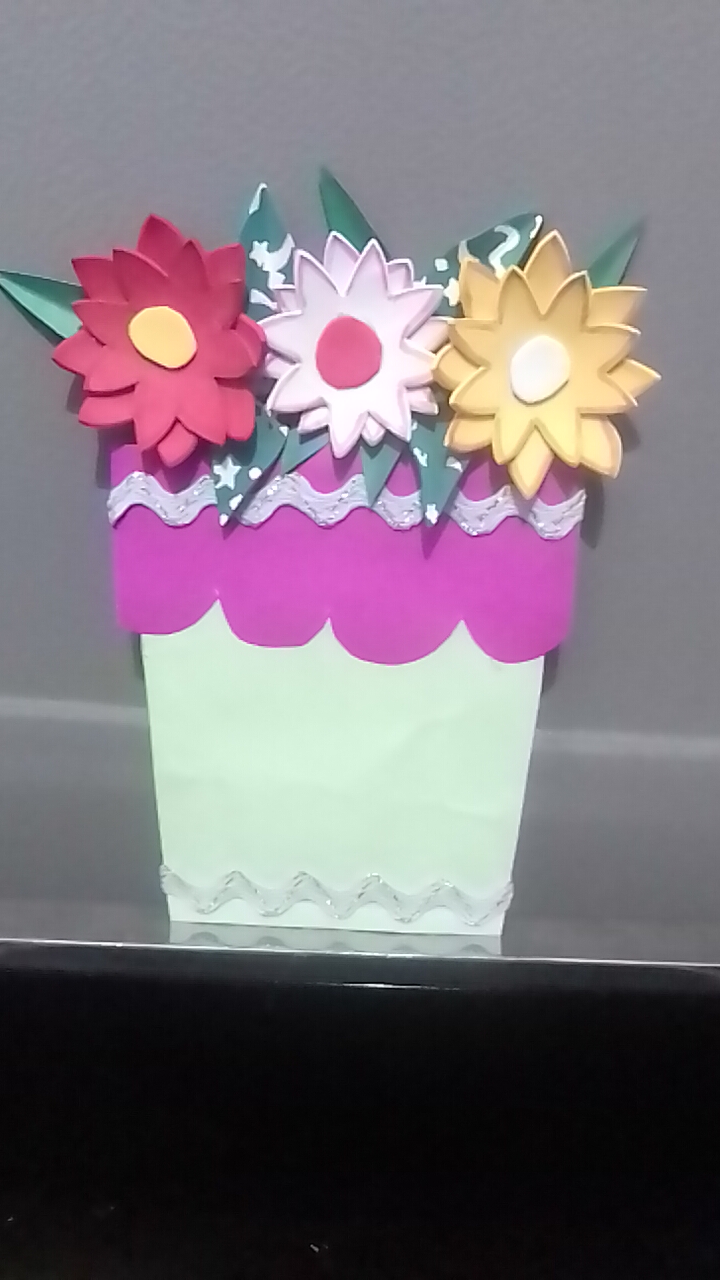
Este es un trabajo manual realizado para esta ocasión y espero sea de su agrado.
This is a manual work done for this occasion and I hope you like it.
Las fotos son de mi propiedad tomadas exclusivamente en este proyecto.
The photos are my property taken exclusively for this project.
Los collages del procedimiento los hice con la herramienta de mi Blue C6 y el principal en Picsart .
I made the collages of the procedure with my Blue C6 tool and the main one in Picsart .
Traductor usado
Translator used
DeepL Traductor
Gracias por leer y apoyar mi blog
Thank you for reading and supporting my blog
Congratulations @yusma21! You received a personal badge!
You can view your badges on your board and compare yourself to others in the Ranking
Check out the last post from @hivebuzz:
Support the HiveBuzz project. Vote for our proposal!
Thank you for sharing this amazing post on HIVE!
Your content got selected by our fellow curator @hafizullah & you just received a little thank you via an upvote from our non-profit curation initiative!
You will be featured in one of our recurring curation compilations and on our pinterest boards! Both are aiming to offer you a stage to widen your audience within and outside of the DIY scene of hive.
Join the official DIYHub community on HIVE and show us more of your amazing work and feel free to connect with us and other DIYers via our discord server: https://discord.gg/mY5uCfQ !
If you want to support our goal to motivate other DIY/art/music/homesteading/... creators just delegate to us and earn 100% of your curation rewards!
Stay creative & hive on!