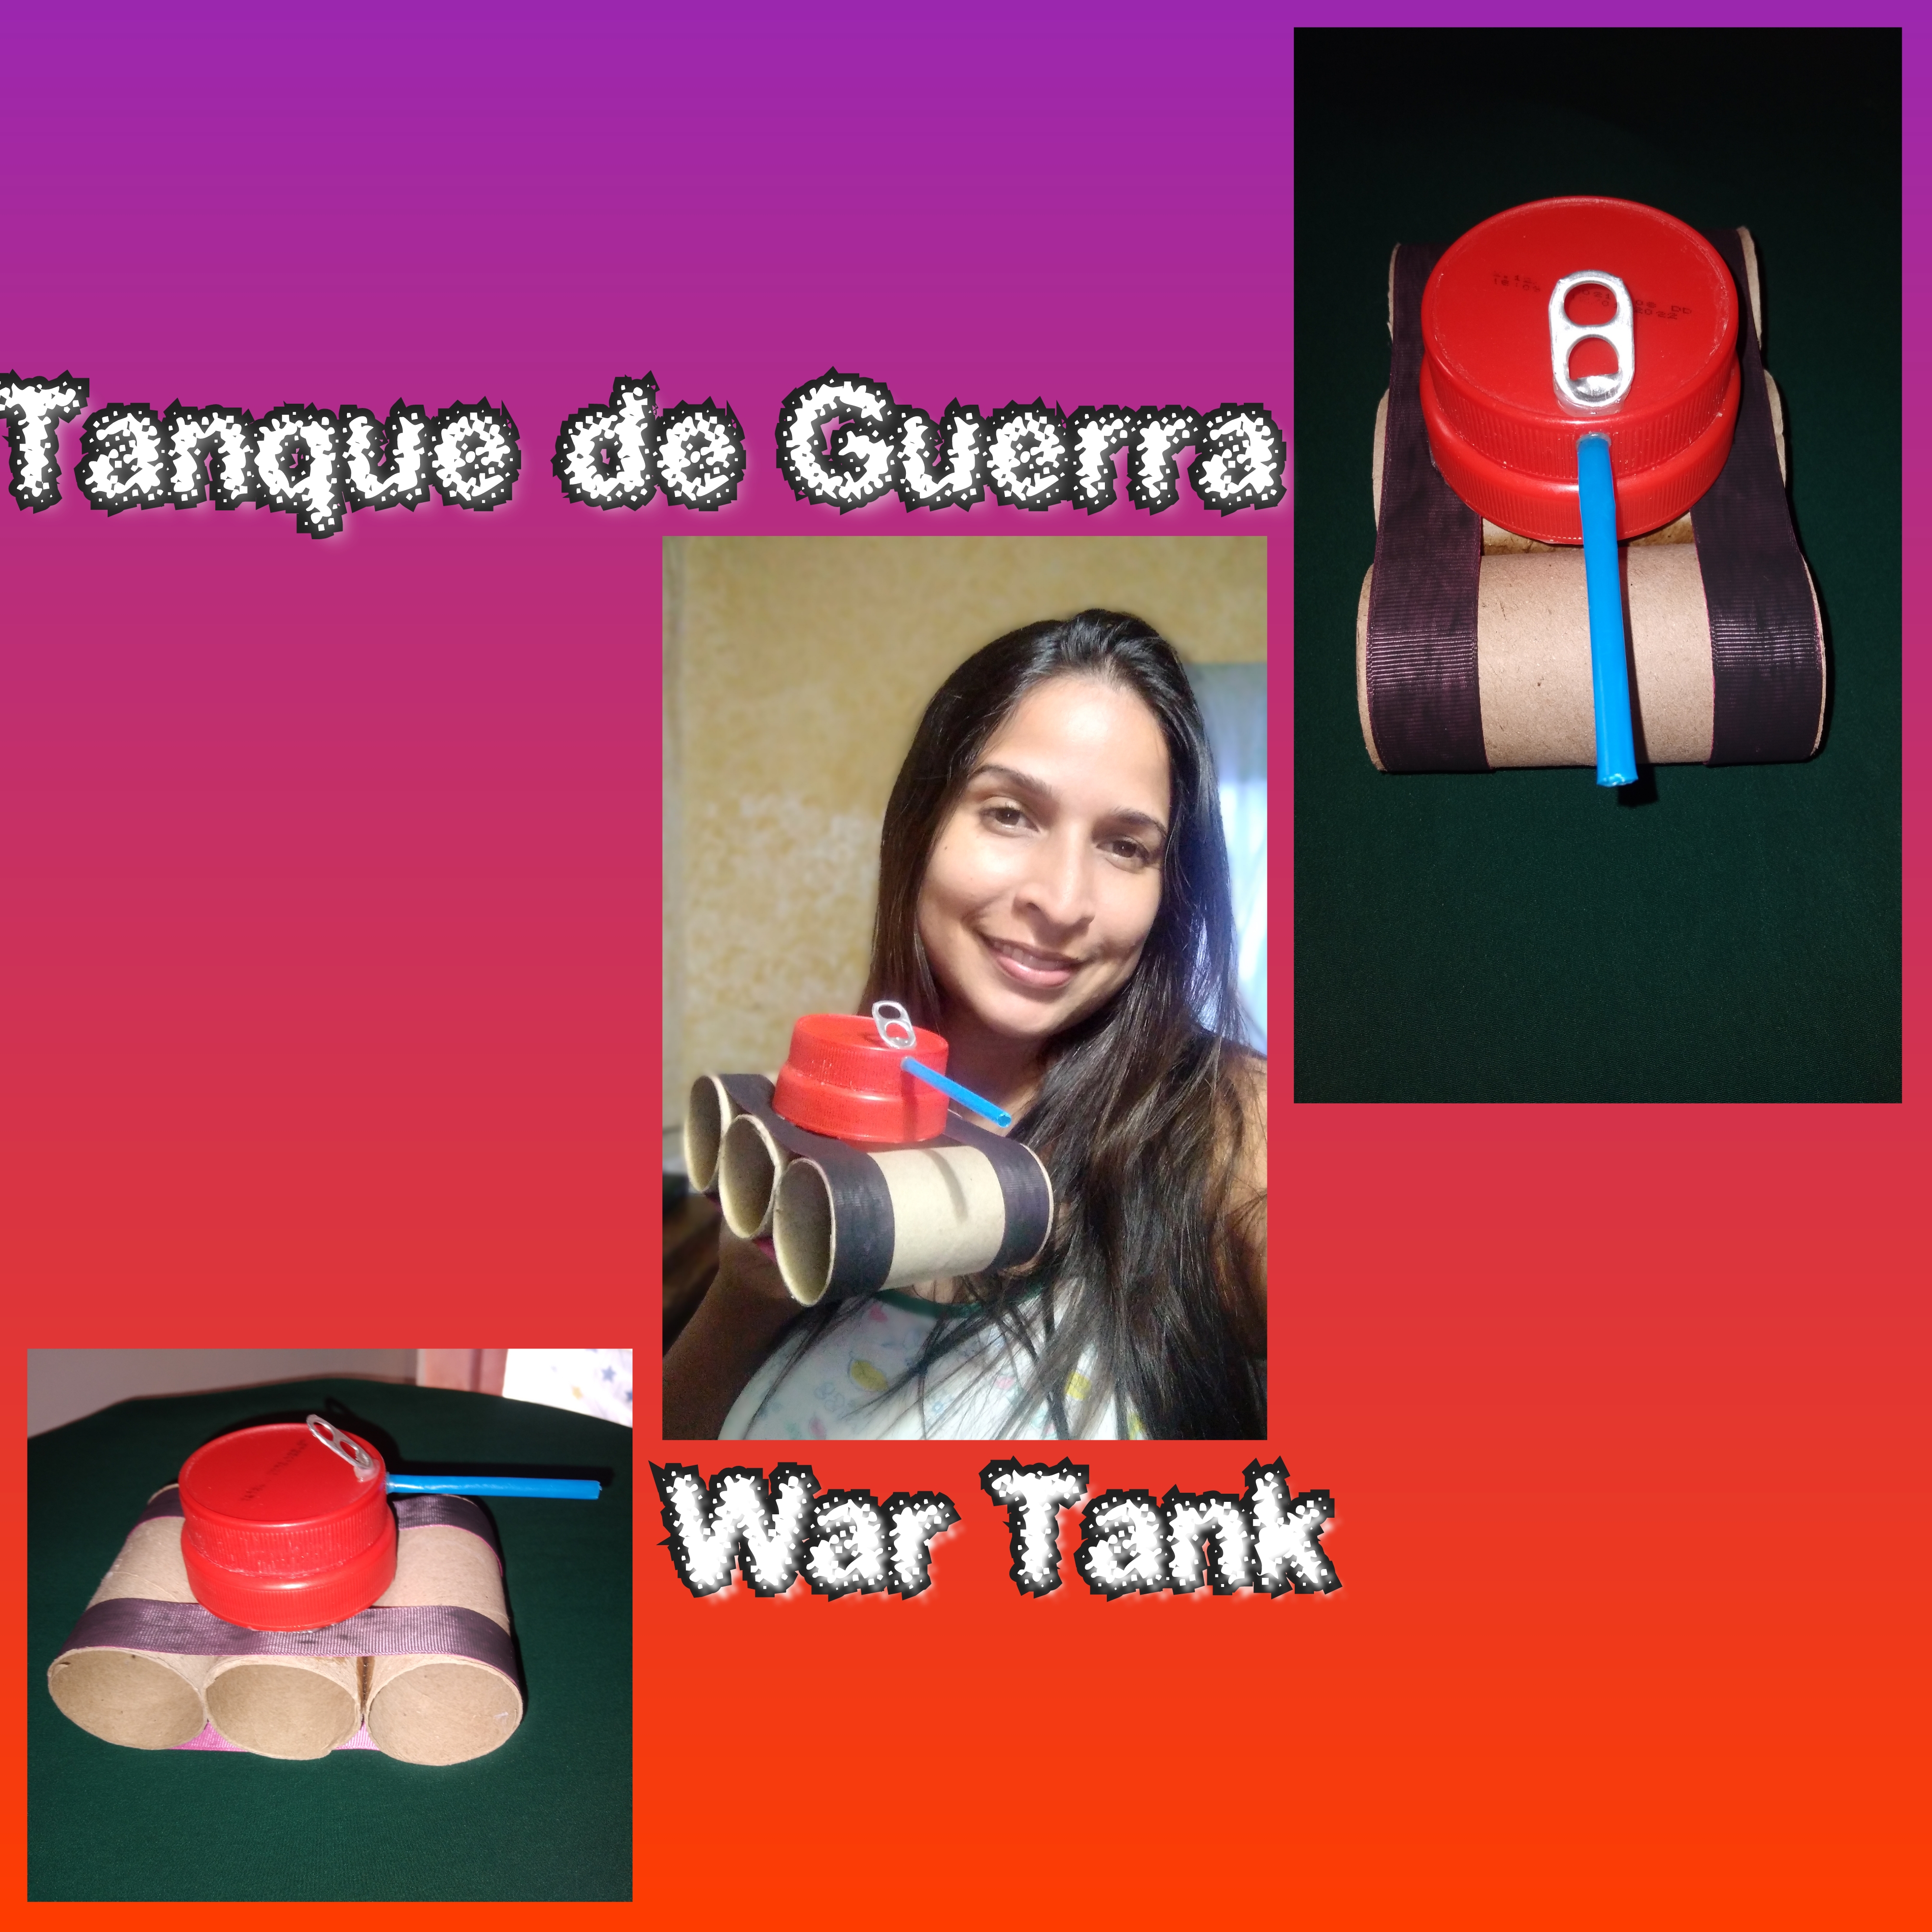
Esp~Eng: Creativo y Divertido Tanque de Guerra Hecho con Material Reciclado♻️/Creative and Fun War Tank Made with Recycled Material♻️.

💖 BIENVENIDOS
A MI
BLOG 💞
HOLA queridos amigos de esta maravillosa comunidad espero esten muy bien, yo estoy bien gracias a Dios ahorita en casa de mi madre pasando unos días ya, Mi manualidad de hoy para ustedes es un divertido tanque de guerra super facil de realizar y hecho con material reciclado ♻️ esta vez se trata de tubos de papel higienico, tapas plásticas, abridor de la latas, pitillo y cinta vieja.
💖 WELCOME
ME
BLOG 💞
HELLO dear friends of this wonderful community I hope you are very well, I am fine thank God right now at my mother's house spending a few days already, My craft for you today is a fun war tank super easy to make and made with recycled material ♻️ this time it's about toilet paper tubes, plastic lids, can opener, cigarette and old tape.
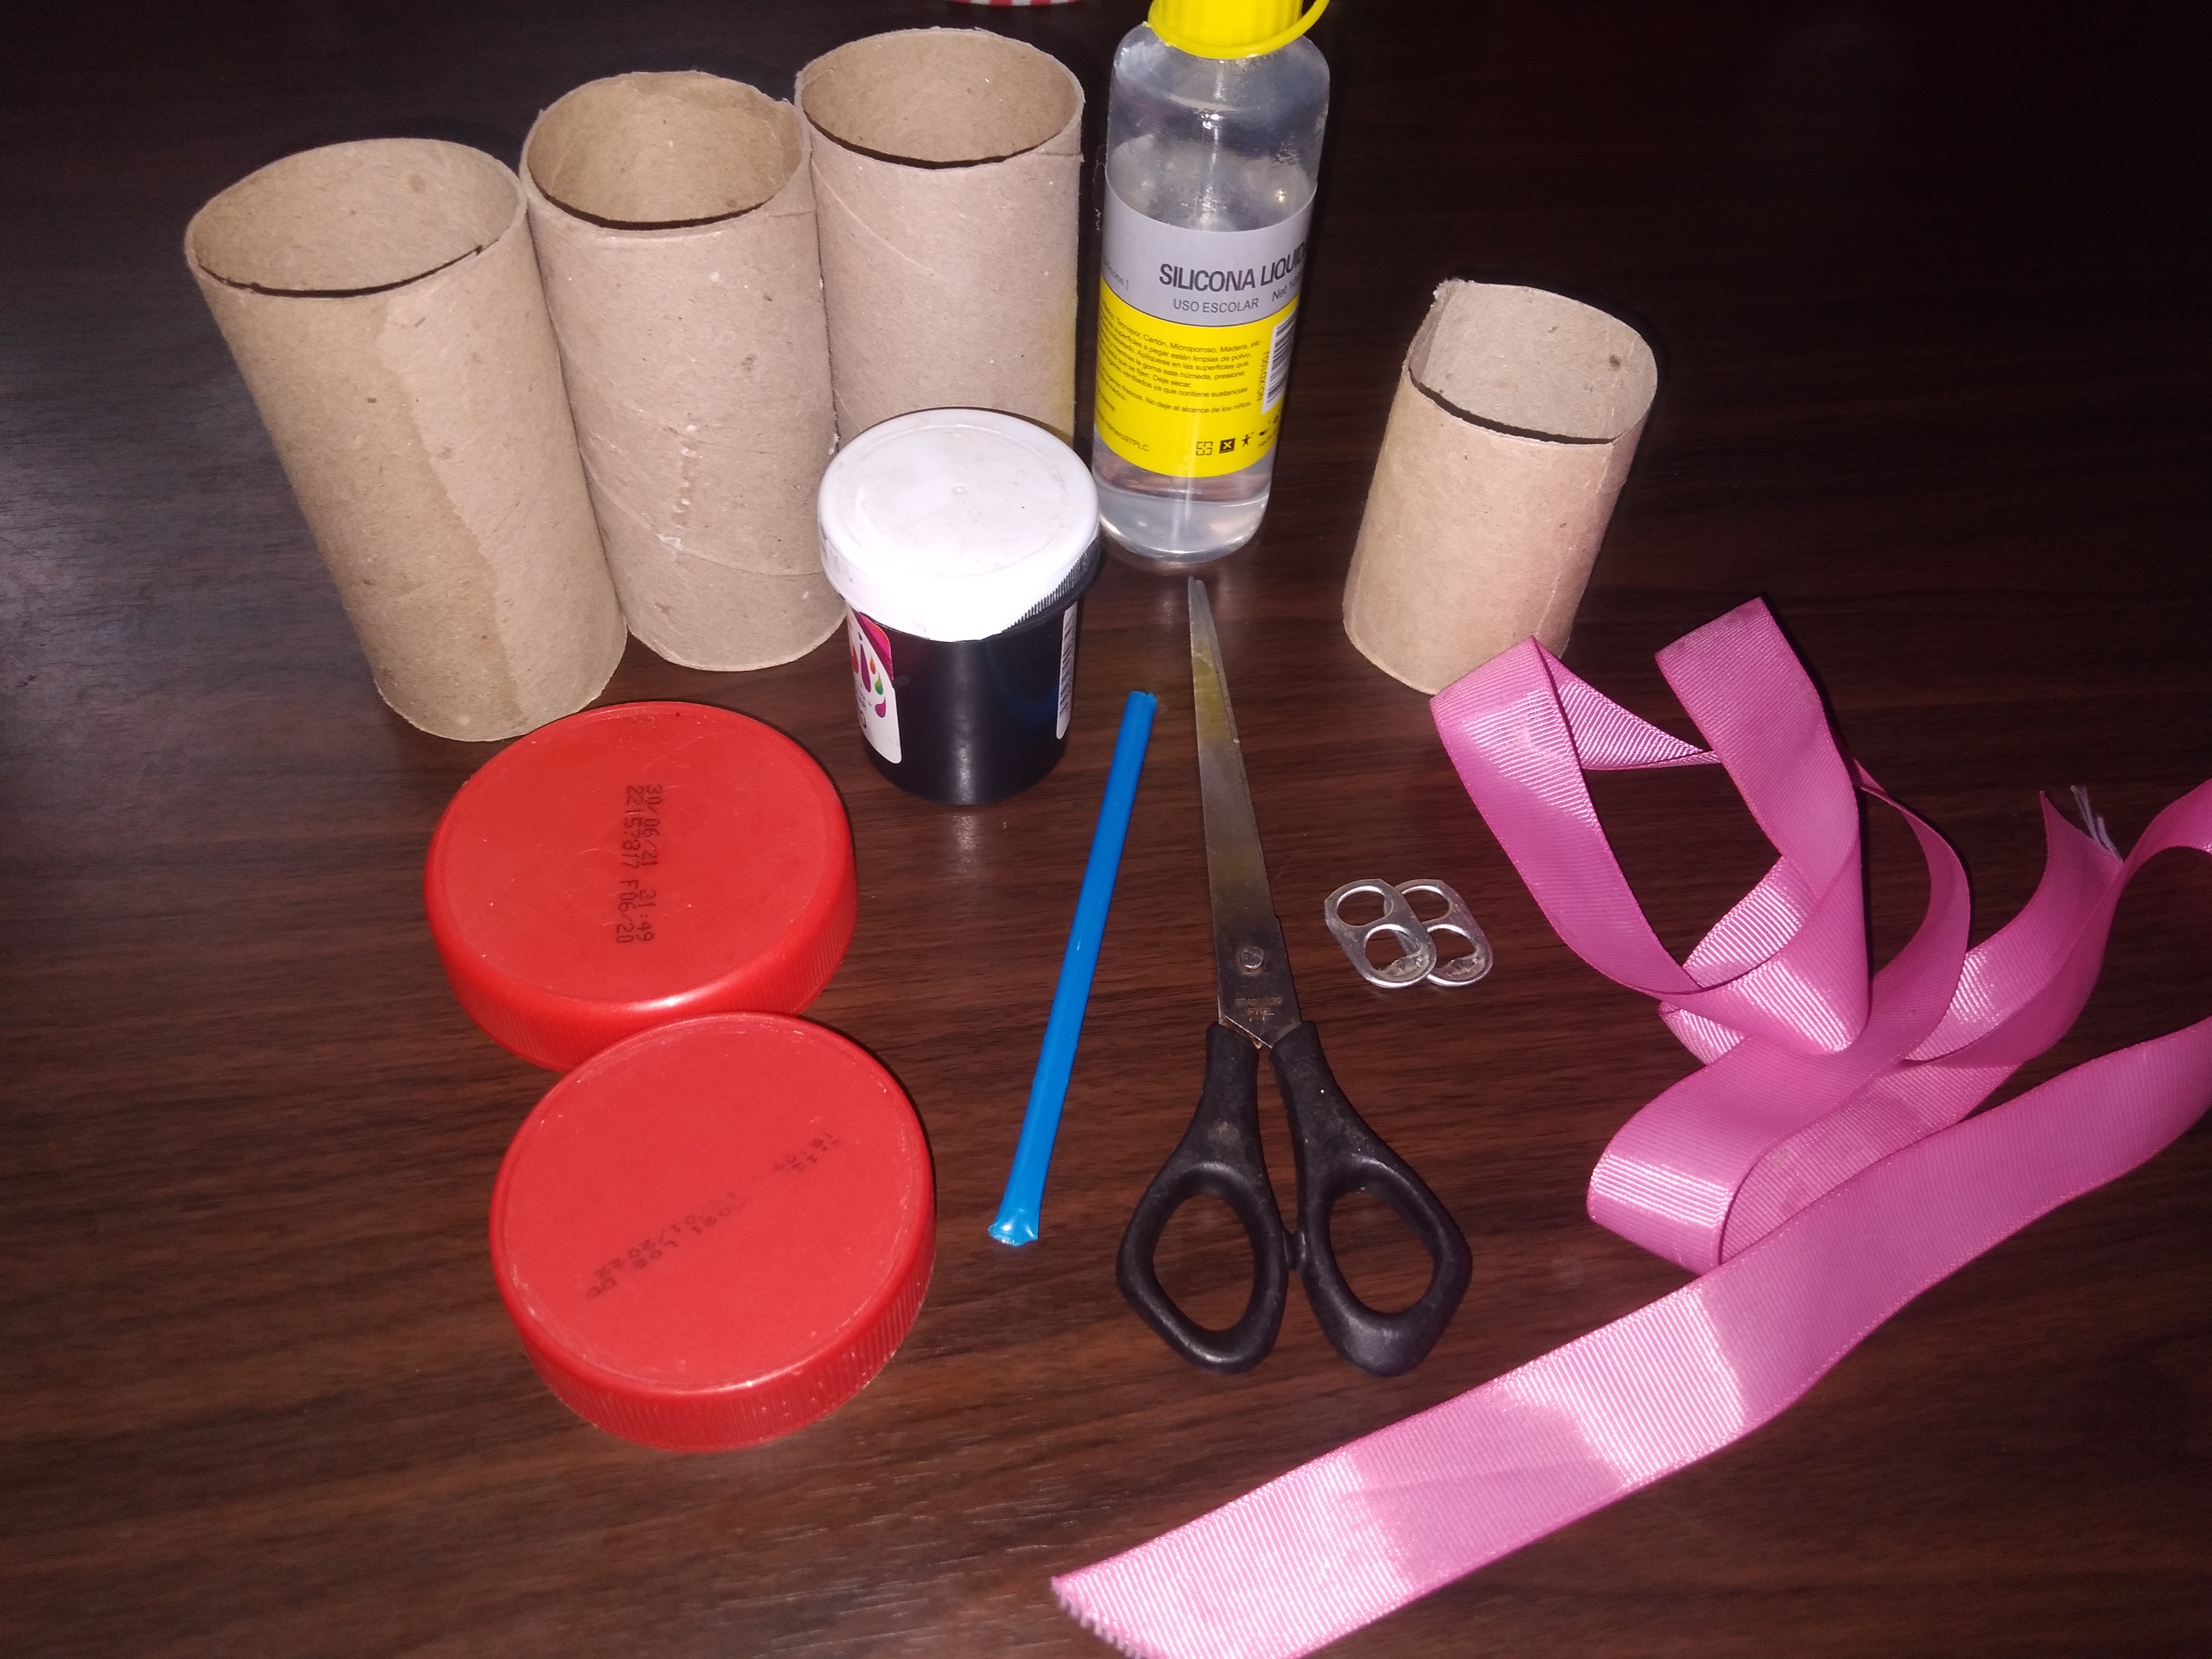
A continuación lo que necesitaremos y su elaboración:
📝 Materiales:
• 3 Tubos de carton
• Cinta vieja
• Tapas plásticas
• Abridor de lata
• Pitillo
• Pintura negra
• Silicon
• Tijera
Nota: El otro medio tubo de carton y uno de los abridores de lata mi hijo pequeño los agarro y aun no lo he encontrarlo pero termine mi manualidad y no me hizo falta eso😅.
Here is what we will need and how to prepare it:
📝 Materials:
• 3 cardboard tubes
• Old tape
• Plastic covers
• can opener
• Skinny
• Black paint
• Silicone
• Scissor
Note: The other half cardboard tube and one of the can openers my little son grabbed and I haven't found it yet but I finished my craft and I didn't need that😅.
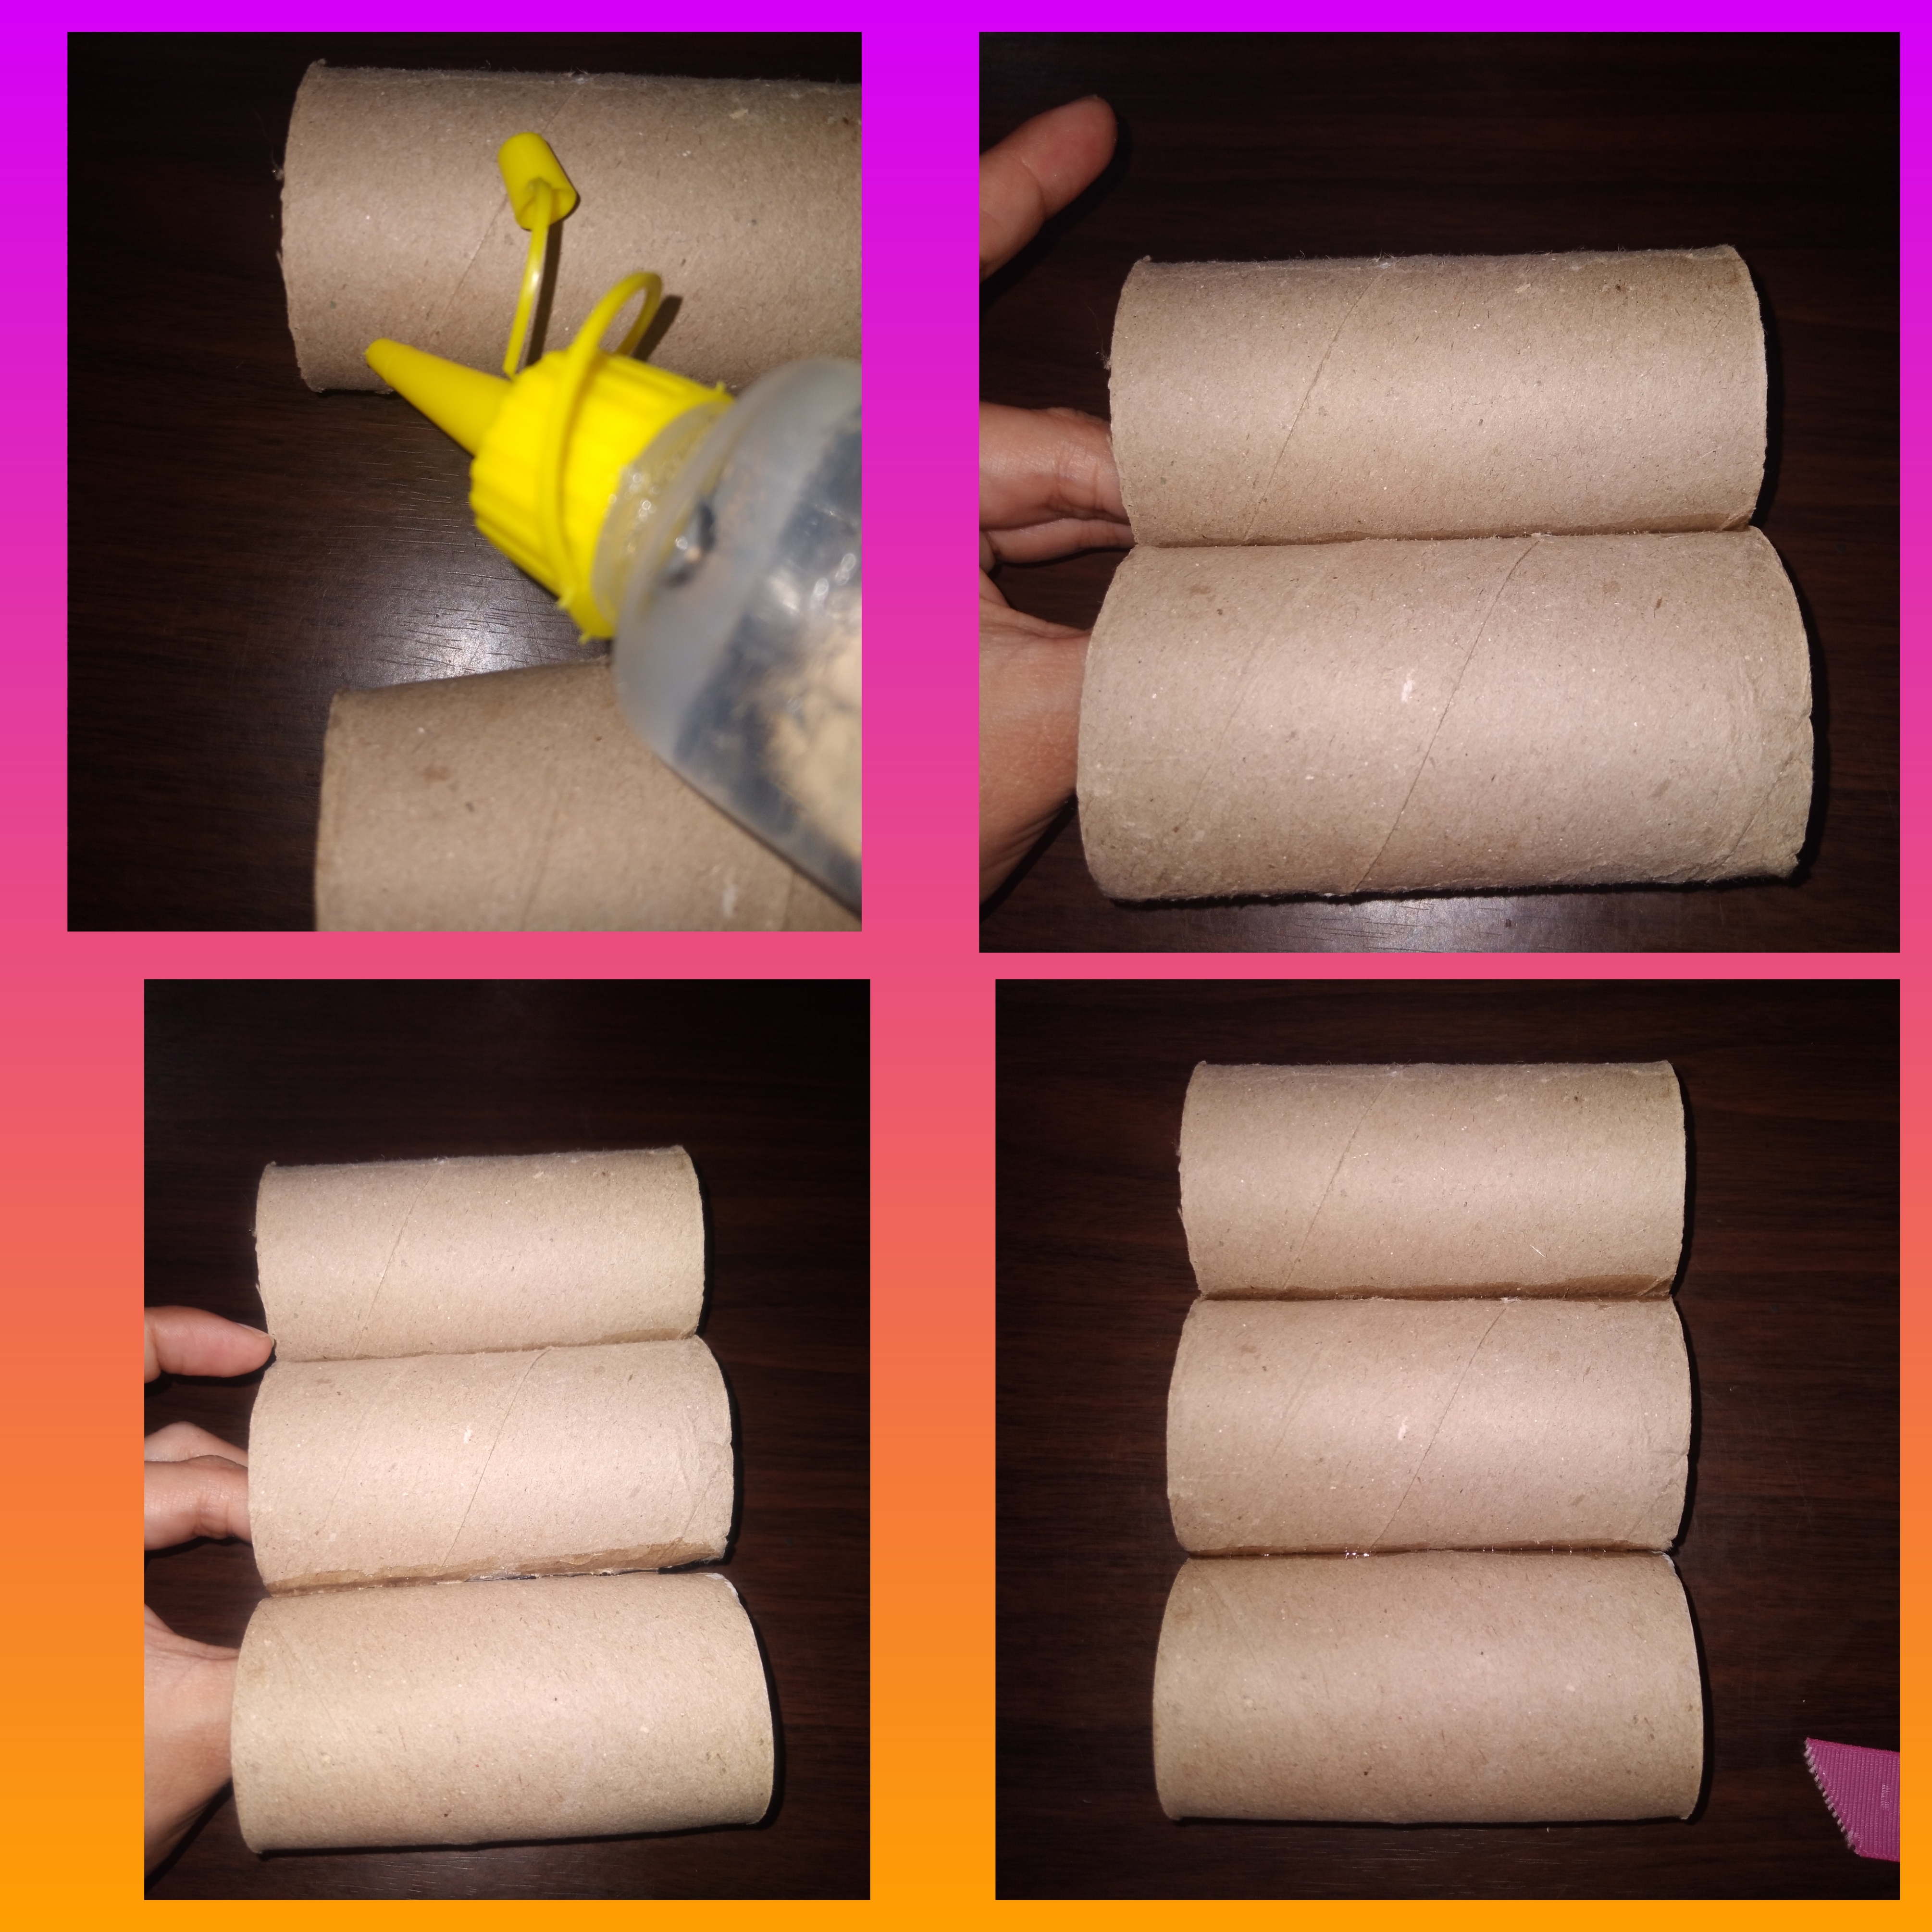
💁🏻♀️ Elaboración:
• Lo primero que hacemos es unir los 3 tubos de carton de forma horizontal pegandolos entre si.
💁🏻♀️ Elaboration:
• The first thing we do is join the 3 cardboard tubes horizontally, gluing them together.
• Luego tomamos la cinta pegamos una punta por la parte de abajo y le damos la vuelta a los 3 tubos pegamos donde comenzamos y cortamos el resto de la cinta para hacer lo mismo en el otro lado como te muestro en las imagenes.
• Then we take the tape and stick one end at the bottom and turn the 3 tubes around, stick where we started and cut the rest of the tape to do the same on the other side as I show you in the images.

• Después pinte las cintas de negro, lo hice con un hisopo porque no tenía Pincel.
• Then I painted the ribbons black, I did it with a Q-tip because I didn't have a Brush.

• Una vez secas las cintas, le ponemos silicon a la tapa más grande y la pegamos en todo el medio de la parte superior de los 3 tubos de carton.
• Once the ribbons are dry, we put silicone on the largest lid and glue it to the entire middle of the upper part of the 3 cardboard tubes.

• Seguidamente ponemos silicon en toda la orilla de la tapa que ya pegamos 0ara colocarle la otra tapa encima.
• Then we put silicone on the entire edge of the lid that we already glued to place the other lid on top.

• Como últimos detalles ponemos silicon en frente de la tapa superior para pegar el pitillo y pegamos el abridor de lata encima de la tapa superior como te muestro en las imagenes.
• As last details we put silicone in front of the top lid to glue the straw and we glue the can opener on top of the top lid as I show you in the images.

• Y listo! Aqui esta el resultado de mi manualidad un creativo y divertido Tanque de Guerra ideal para los más pequeños de la caja, pueden crearlo con los niños para que sea aún más divertido😊 y se distraigan un poco.
• And ready! Here is the result of my craft, a creative and fun War Tank ideal for the little ones in the box, you can create it with the children to make it even more fun😊 and distract them a little.

Nos vemos en mi próxima publicación 👋🥰
See you in my next post 👋 🥰
Es un gusto compartir con ustedes mis ideas💡
It is a pleasure to share my ideas with you
Dios les bendiga 😇
God bless you 😇
Do you know the legal name of @themarkymark ???? It is needed to contact his local police station. Any information to his whereabouts would be much appreciated.