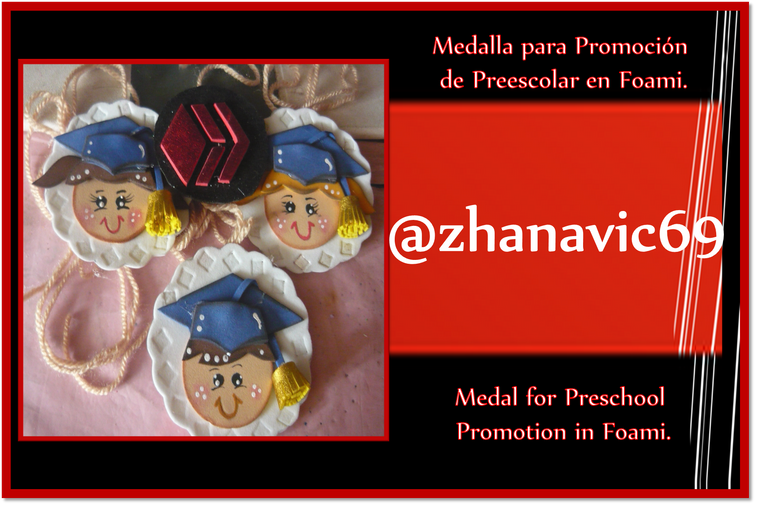
Medalla para Promoción de Preescolar en Foami. // Medal for Preschool Promotion in Foami.
Hola mis arañitas , aquí después de mucho tiempo les traigo lo que seria el post final de una serie que hice sobre un paquete que hice de promoción para niños de un preescolar que ademas de las fotos con toga y birrete, diploma, el paquete también incluia la carpeta, el cotillón y la medalla.
Ya les había enseñado como hice: los graduandos en foami, la carpeta,el cotillón y ahora la medalla.
Si la medallita la hice asi porque como era para preescolar, se vería mas tierno y que las otras medallas estaban sumamente costosos y de un material que después se pone feo.
Los materiales y mas que use fueron:
-Foami de varios colores: blanco, carne, negro, marrón, amarillo, dorado metalizado.
-Pistola, barras de silicon.
-Cautin y puntas varias.
-Patrones o moldes de la medalla.
-Tijera, lápiz.
-Estambre, imán.
-Pincel fino, pinturas: blanca, negra, marrón.
-Tizas de colores.
-Palito de altura y esponja.


Manos a la obra:
Primero debemos organizar el espacio donde vamos a trabajar, sacar la cuenta bien de cuantas medallas serian tanto hembras como varones. Tener todo el material disponible y a la mano.
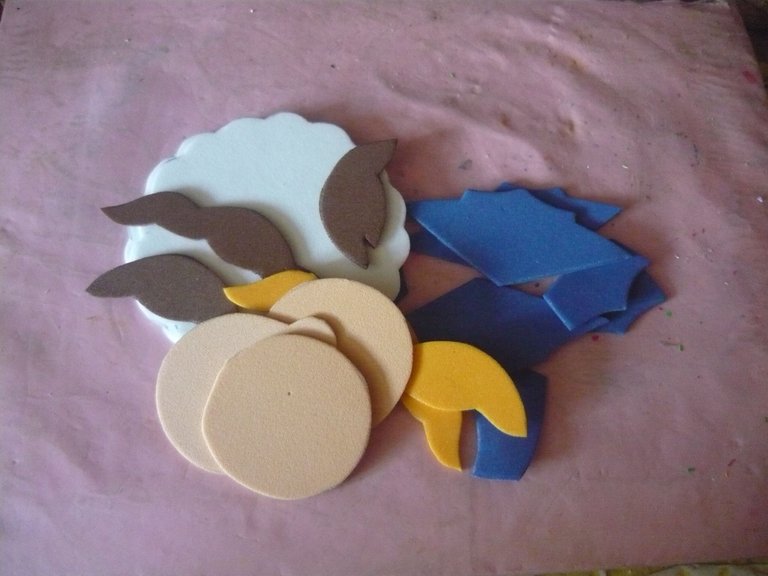
Como son caritas para hembras y varones, la diferencia ea en el cabello y los colores del cabello que fueran variados.
Ya con la cantidad lista a hacer procedo a marcar las piezas de la medalla en foami con lápiz, otros usan palito de altura para marcar pero creo que con el lápiz se mantiene mas la marca.
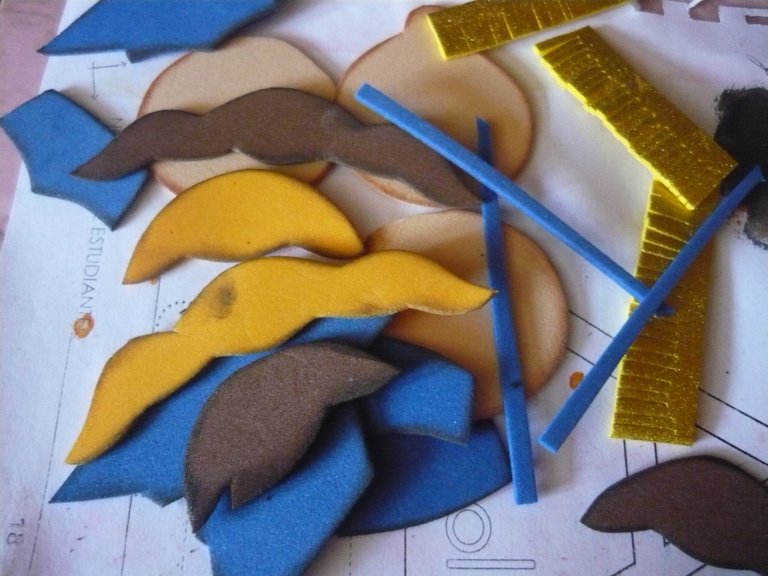
Ya recortada las piezas, con la esponja y pintura, bordear las mismas con un color diferente a la pieza para que este se note, es decir al birrete y cabellos marrón, amarillo los bordee o difumine con negro y el color piel con marrón.
Trabajar con foami es como armar un rompecabezas je je, porque luego que todas las piezas están listas, armamos la misma, la vamos pegando con el silicon caliente, me gusta hacerlo con pocos puntos, para no despilfarrar tanto silicon.
Primero la cabeza a la cual pegaremos el cabello, luego el birrete, a este el cinta con la borla dorada, al final pegar todo en la base redonda blanca.
Es aquí donde viene pintar en la carita los ojos, nariz, boca, con la tiza pintar los cachetes y el toque final los puntos con pintura blanco esto los hago con la punta del palito de altura para que queen finos y los otros en el cabello un poco mas gruesos.

Cuando este bien seca la pintura de la carita, pegamos por detrás el estambre y el imán, si porque después pueden cortar el estambre y pegar la medalla en la nevera o en cualquier superficie metálica donde lo vean y se acuerden de ese gran día.
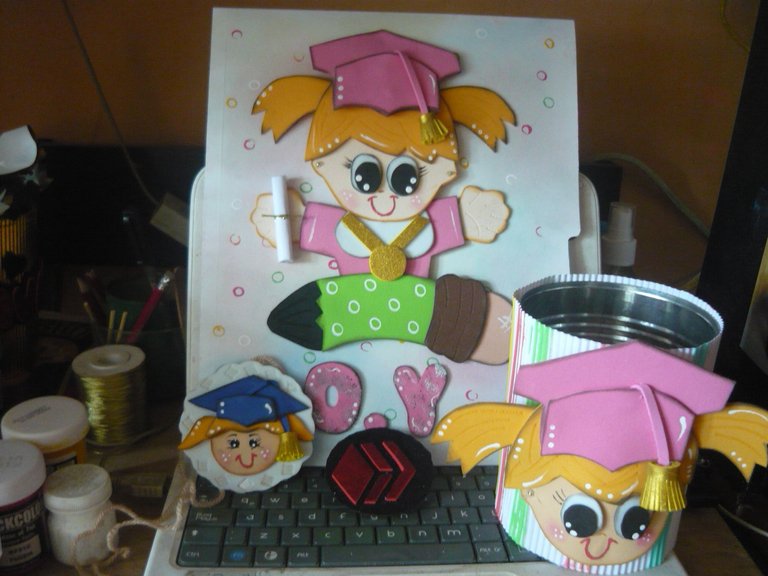
Ya esta lista ahora la foto final con todo lo demás carpeta y cotillón.
Todas las fotos son de mi propiedad, tomadas con mi cámara Panasonic.

Hello my little spiders, here after a long time I bring you what would be the final post of a series I made about a package I made for the promotion of children of a preschool that besides the photos with cap and gown, diploma, the package also included the folder, the cotillion and the medal.
I had already shown you how I made: the graduates in foami, the folder, the cotillion and now the medal.
I made the medal this way because as it was for preschool, it would look more tender and the other medals were very expensive and made of a material that later gets ugly.
The materials I used were:
-Foami of various colors: white, flesh, black, brown, yellow, metallic gold.
-Gun, silicon bars.
-Cautin and various tips.
-Patterns or molds of the medal.
-Scissors, pencil.
-Wire, magnet.
-Fine brush, paints: white, black, brown.
-Colored chalks.
-High stick and sponge.
Let's get to work:
First we must organize the space where we are going to work, take a good count of how many medals would be both females and males. Have all the material available and at hand.
As they are faces for females and males, the difference is in the hair and hair colors that were varied.
Already with the amount ready to make I proceed to mark the pieces of the medal in foami with a pencil, others use a height stick to mark but I think that with the pencil the mark is maintained more.
Already cut out the pieces, with the sponge and paint, border them with a different color to the piece so that it is noticed, that is to say to the cap and brown hair, yellow border or blur them with black and the skin color with brown.
Working with foami is like putting together a puzzle heh heh, because after all the pieces are ready, we assemble it, we glue it with hot silicone, I like to do it with few points, to not waste so much silicone.
First the head to which we glue the hair, then the cap, then the ribbon with the golden tassel, and finally glue everything on the white round base.
It is here where it comes to paint on the face the eyes, nose, mouth, with the chalk paint the cheeks and the final touch the points with white paint this I do them with the tip of the stick of height so that they are thin and the others in the hair a little thicker.
When the painting of the face is dry, we glue the yarn and the magnet on the back, because later you can cut the yarn and glue the medal on the fridge or on any metallic surface where you can see it and remember that great day.
Now the final photo is ready with the rest of the folder and cotillion.
All photos are my property, taken with my Panasonic camera.
Si lo importante es la creatividad y cierta habilidad, por eso te quedaron finos, estoy seguro que a mí no me iba a quedar igual. Feliz domingo por ma mañana
¡Felicidades! Esta publicación obtuvo upvote y fue compartido por @la-colmena, un proyecto de Curación Manual para la comunidad hispana de Hive que cuenta con el respaldo de @curie.
Si te gusta el trabajo que hacemos, te invitamos a darle tu voto a este comentario y a votar como testigo por Curie.
Si quieres saber más sobre nuestro proyecto, acompáñanos en Discord: La Colmena.
Your content has been voted as a part of Encouragement program. Keep up the good work!
Use Ecency daily to boost your growth on platform!
Support Ecency
Vote for new Proposal
Delegate HP and earn more