NURSING COCOA SEEDLING: A STEP BY STEP GUIDE
Hello Hiveians
Today I want to show you and also explain a step by step guide on how to nurse a cocoa seedling.
Cocoa is very popular as it is used for the production of chocolate 🍫 and the likes. I want to dive into how I was able to nurse cocoa seeds.
LAND PREPARATION
The first thing to do when it comes to anything that has to do with planting in agriculture is the land preparation. Land preparation is very important just like the way we prepare or lay our bed before we sleep at night is the same to some extent with land preparation before planting.
Land preparation involves clearing of the area in ehich the planting will be done

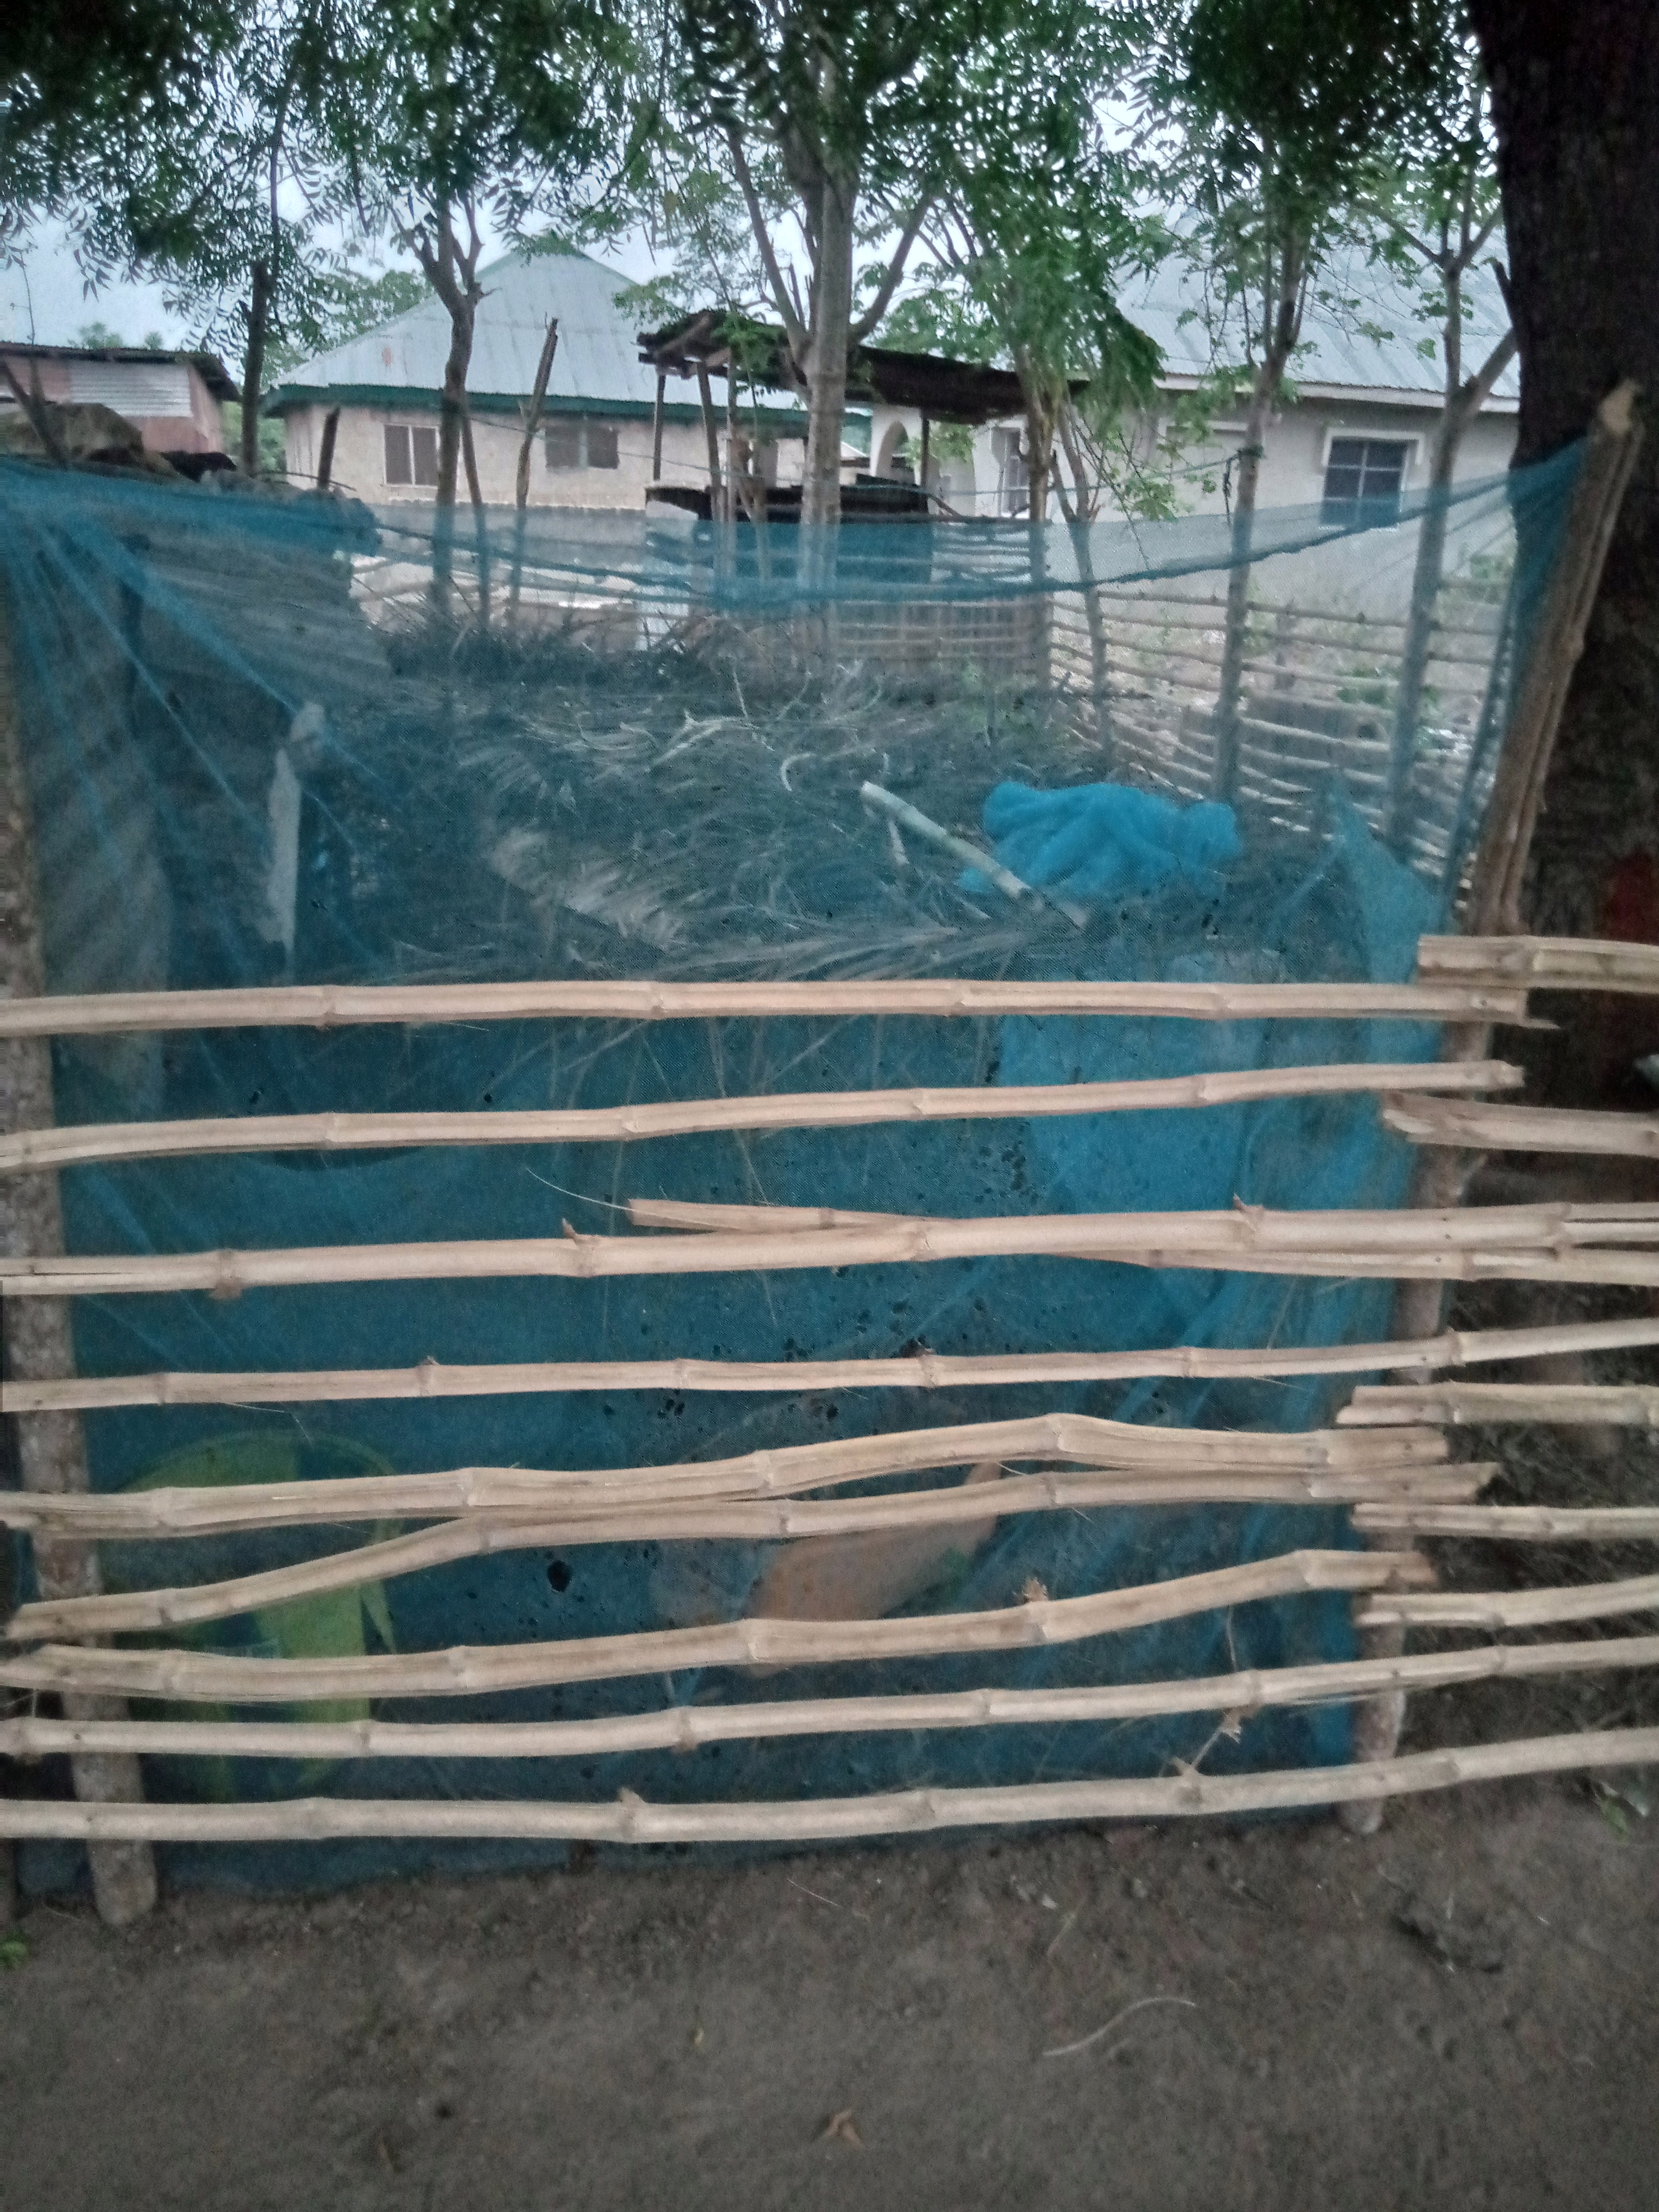
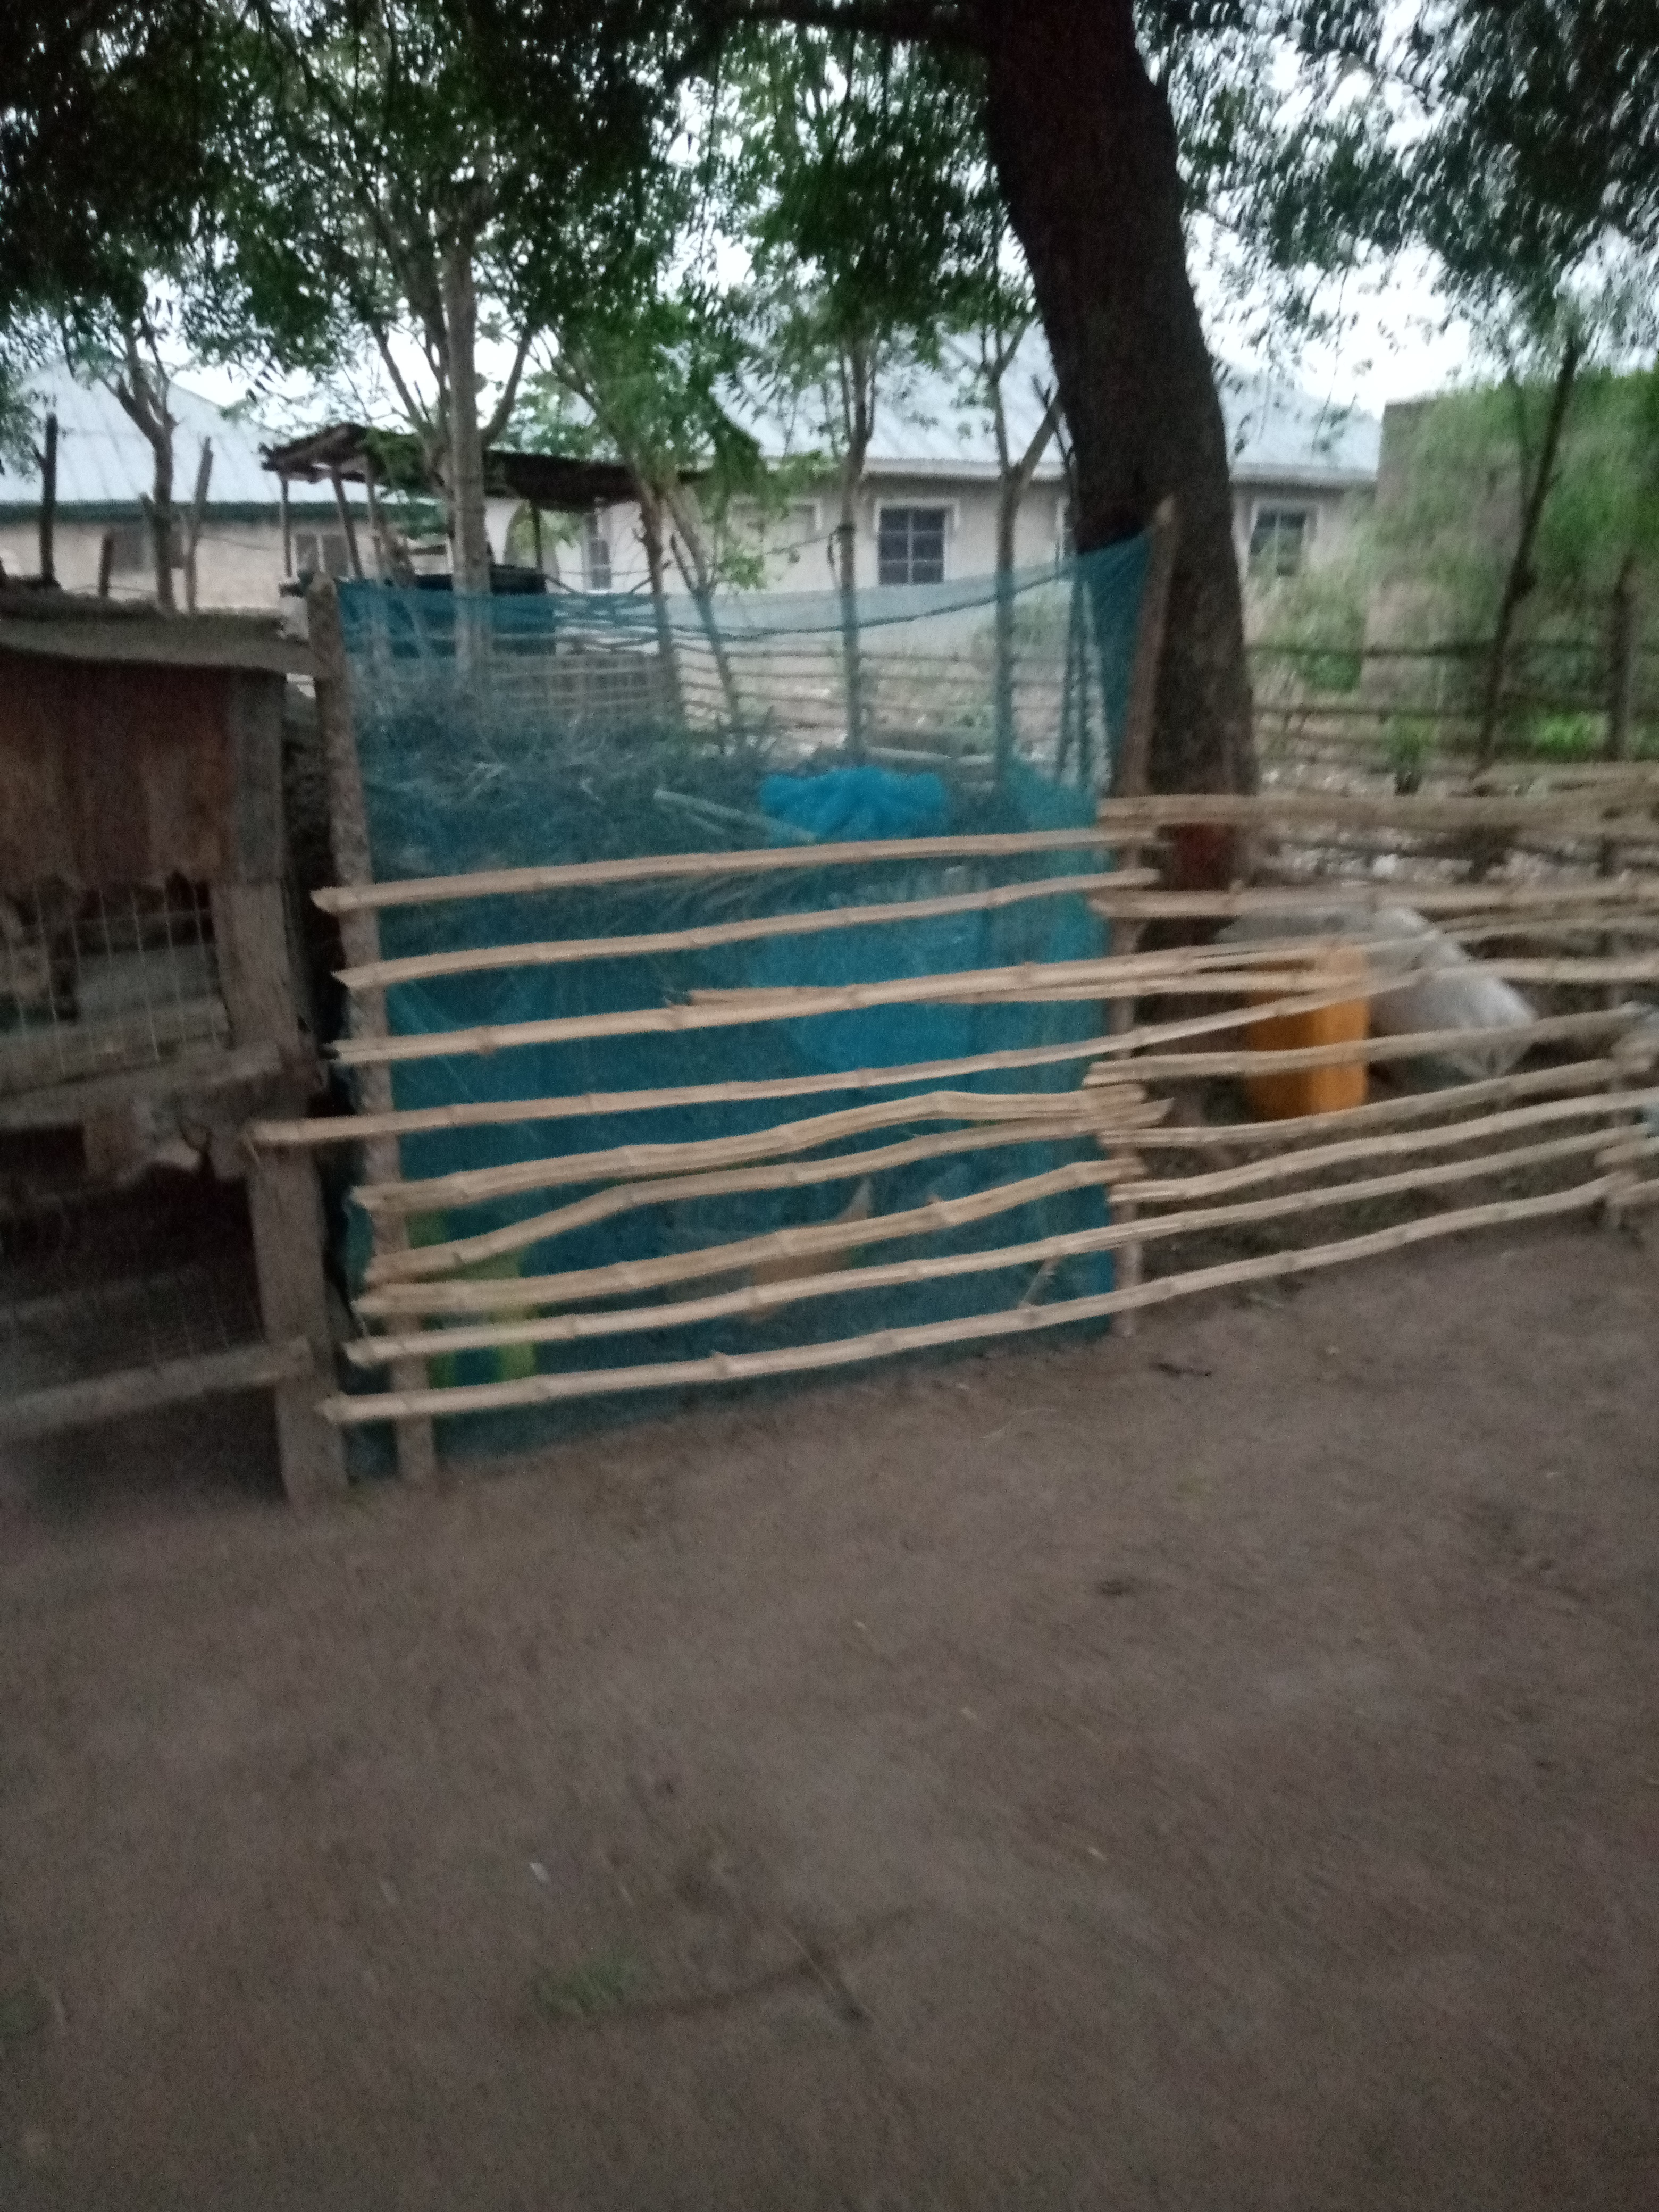
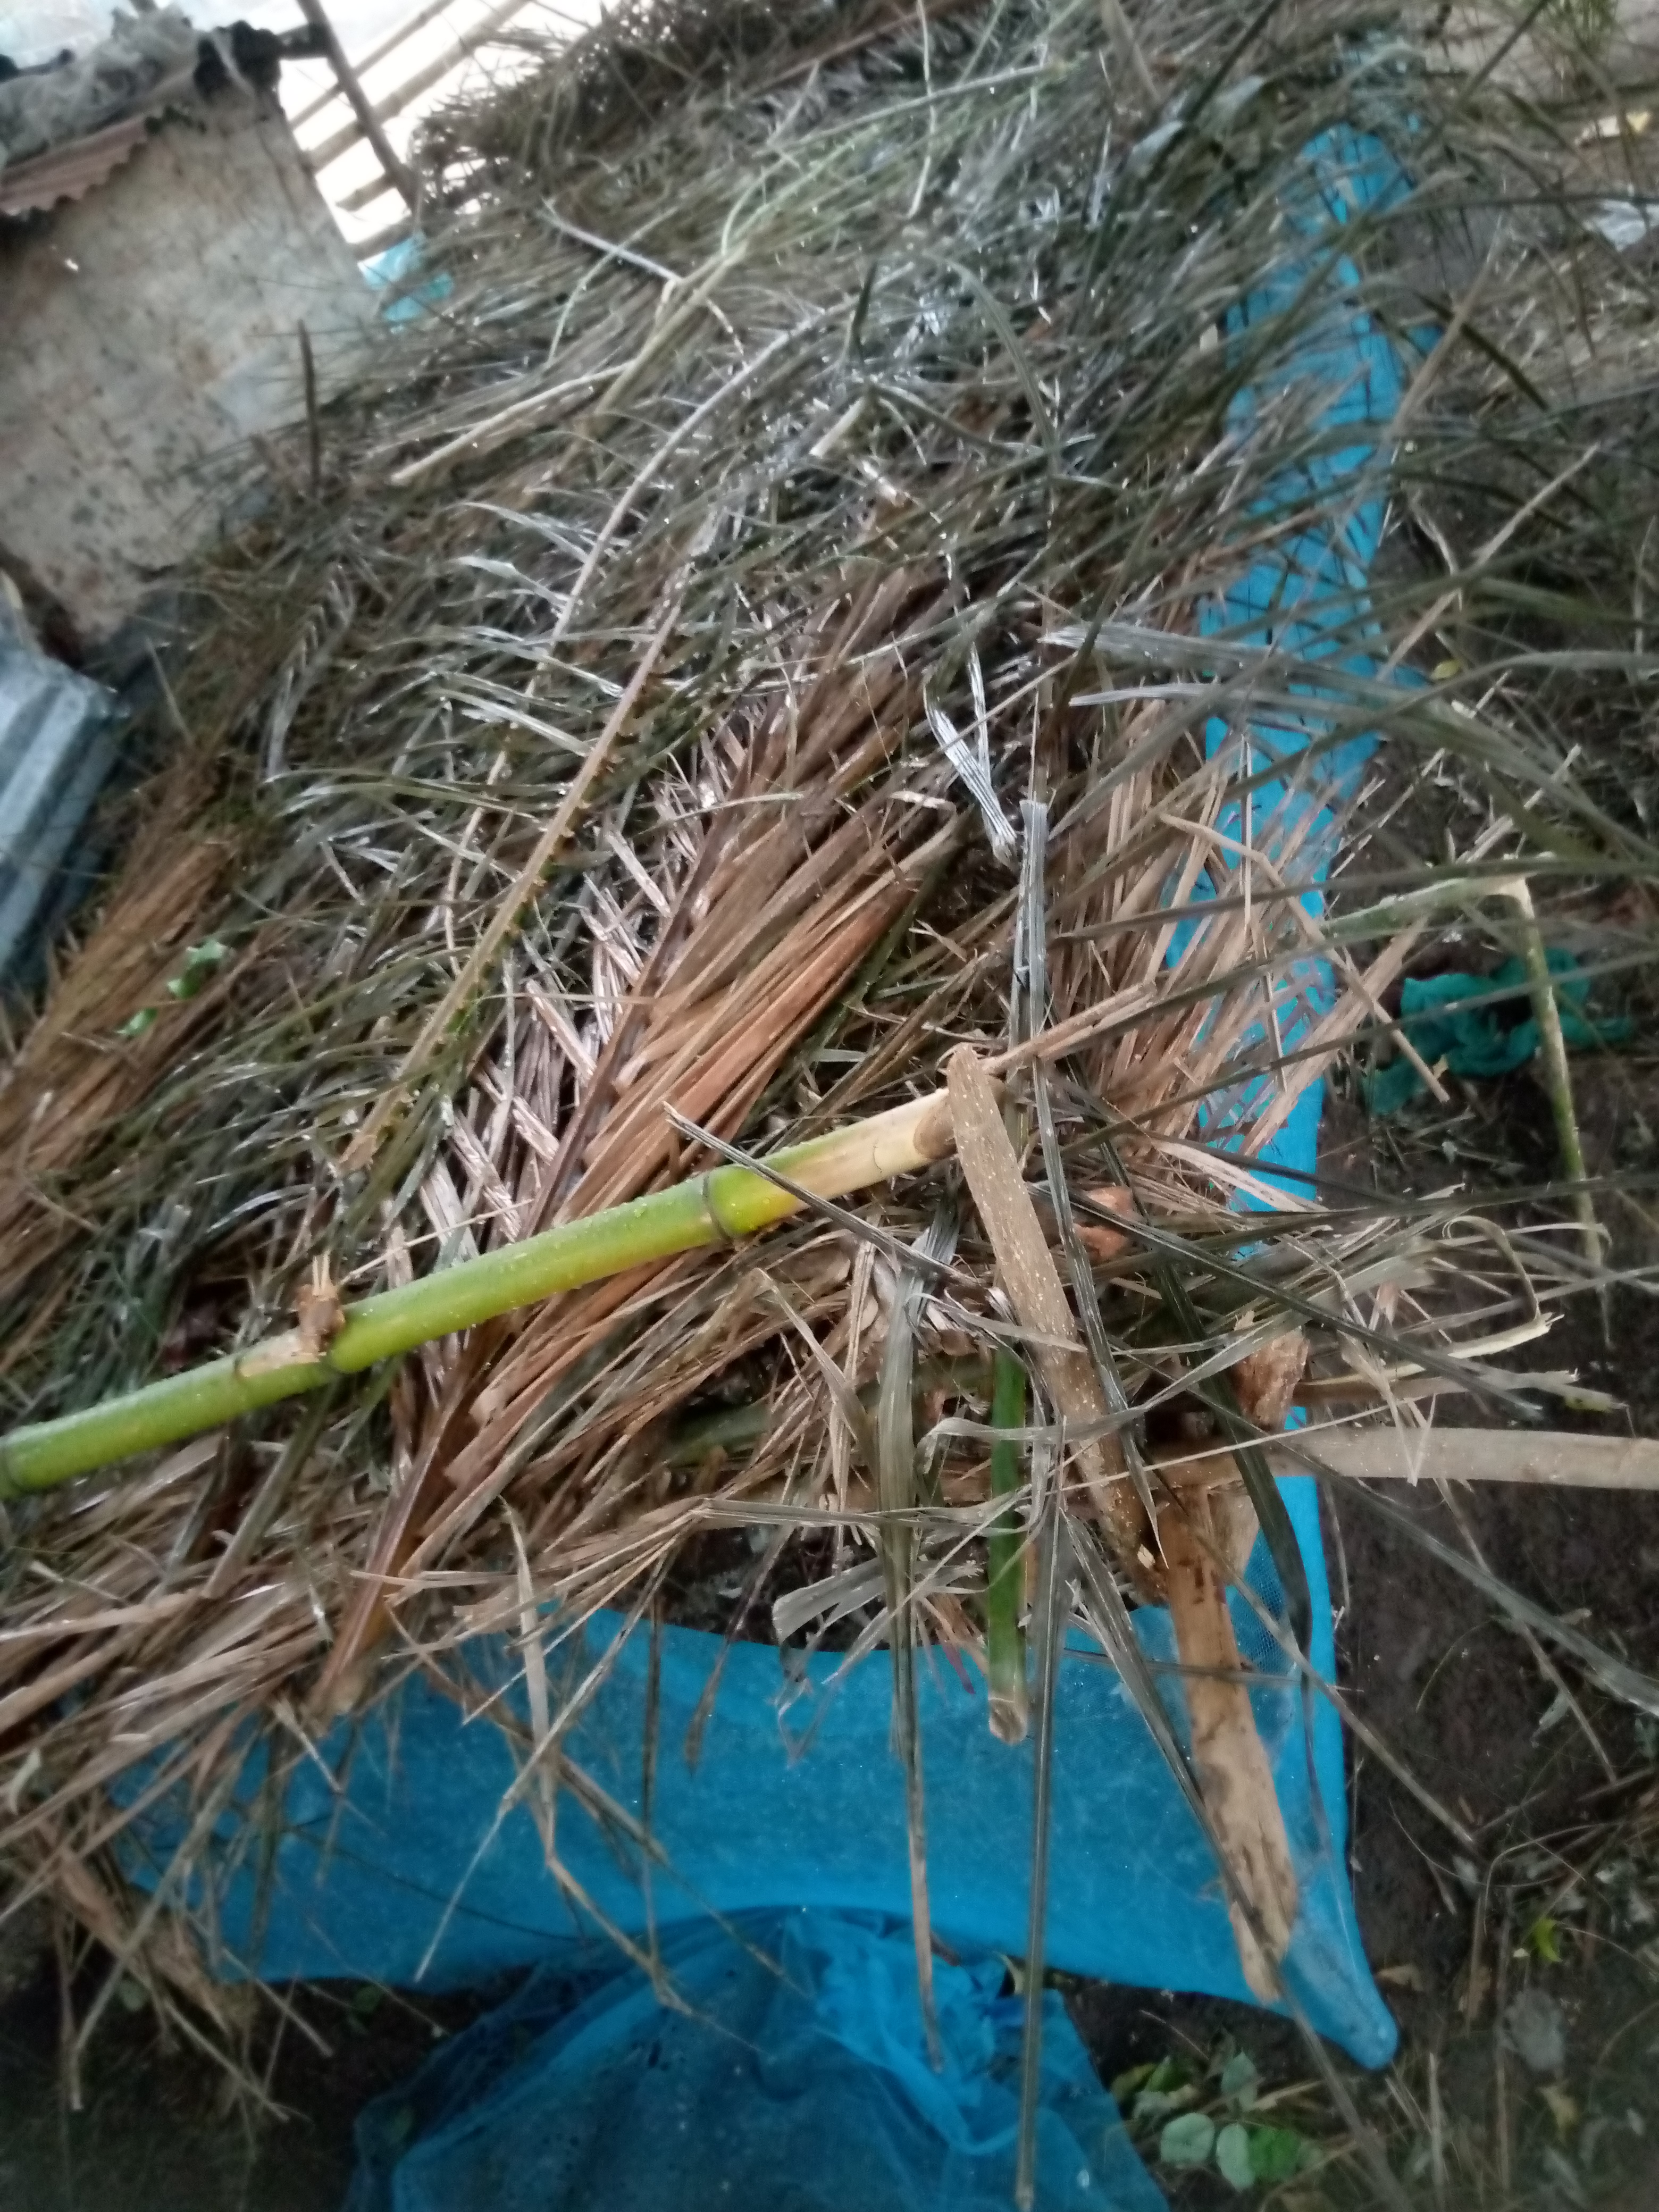
Since I am basically preparing a nursery for my cocoa seeds then some form of construction has to be done as a way of protecting the seedlings from animal attack so to say. So I decided to make a small nursery with the following materials
- nets
- bamboo stick
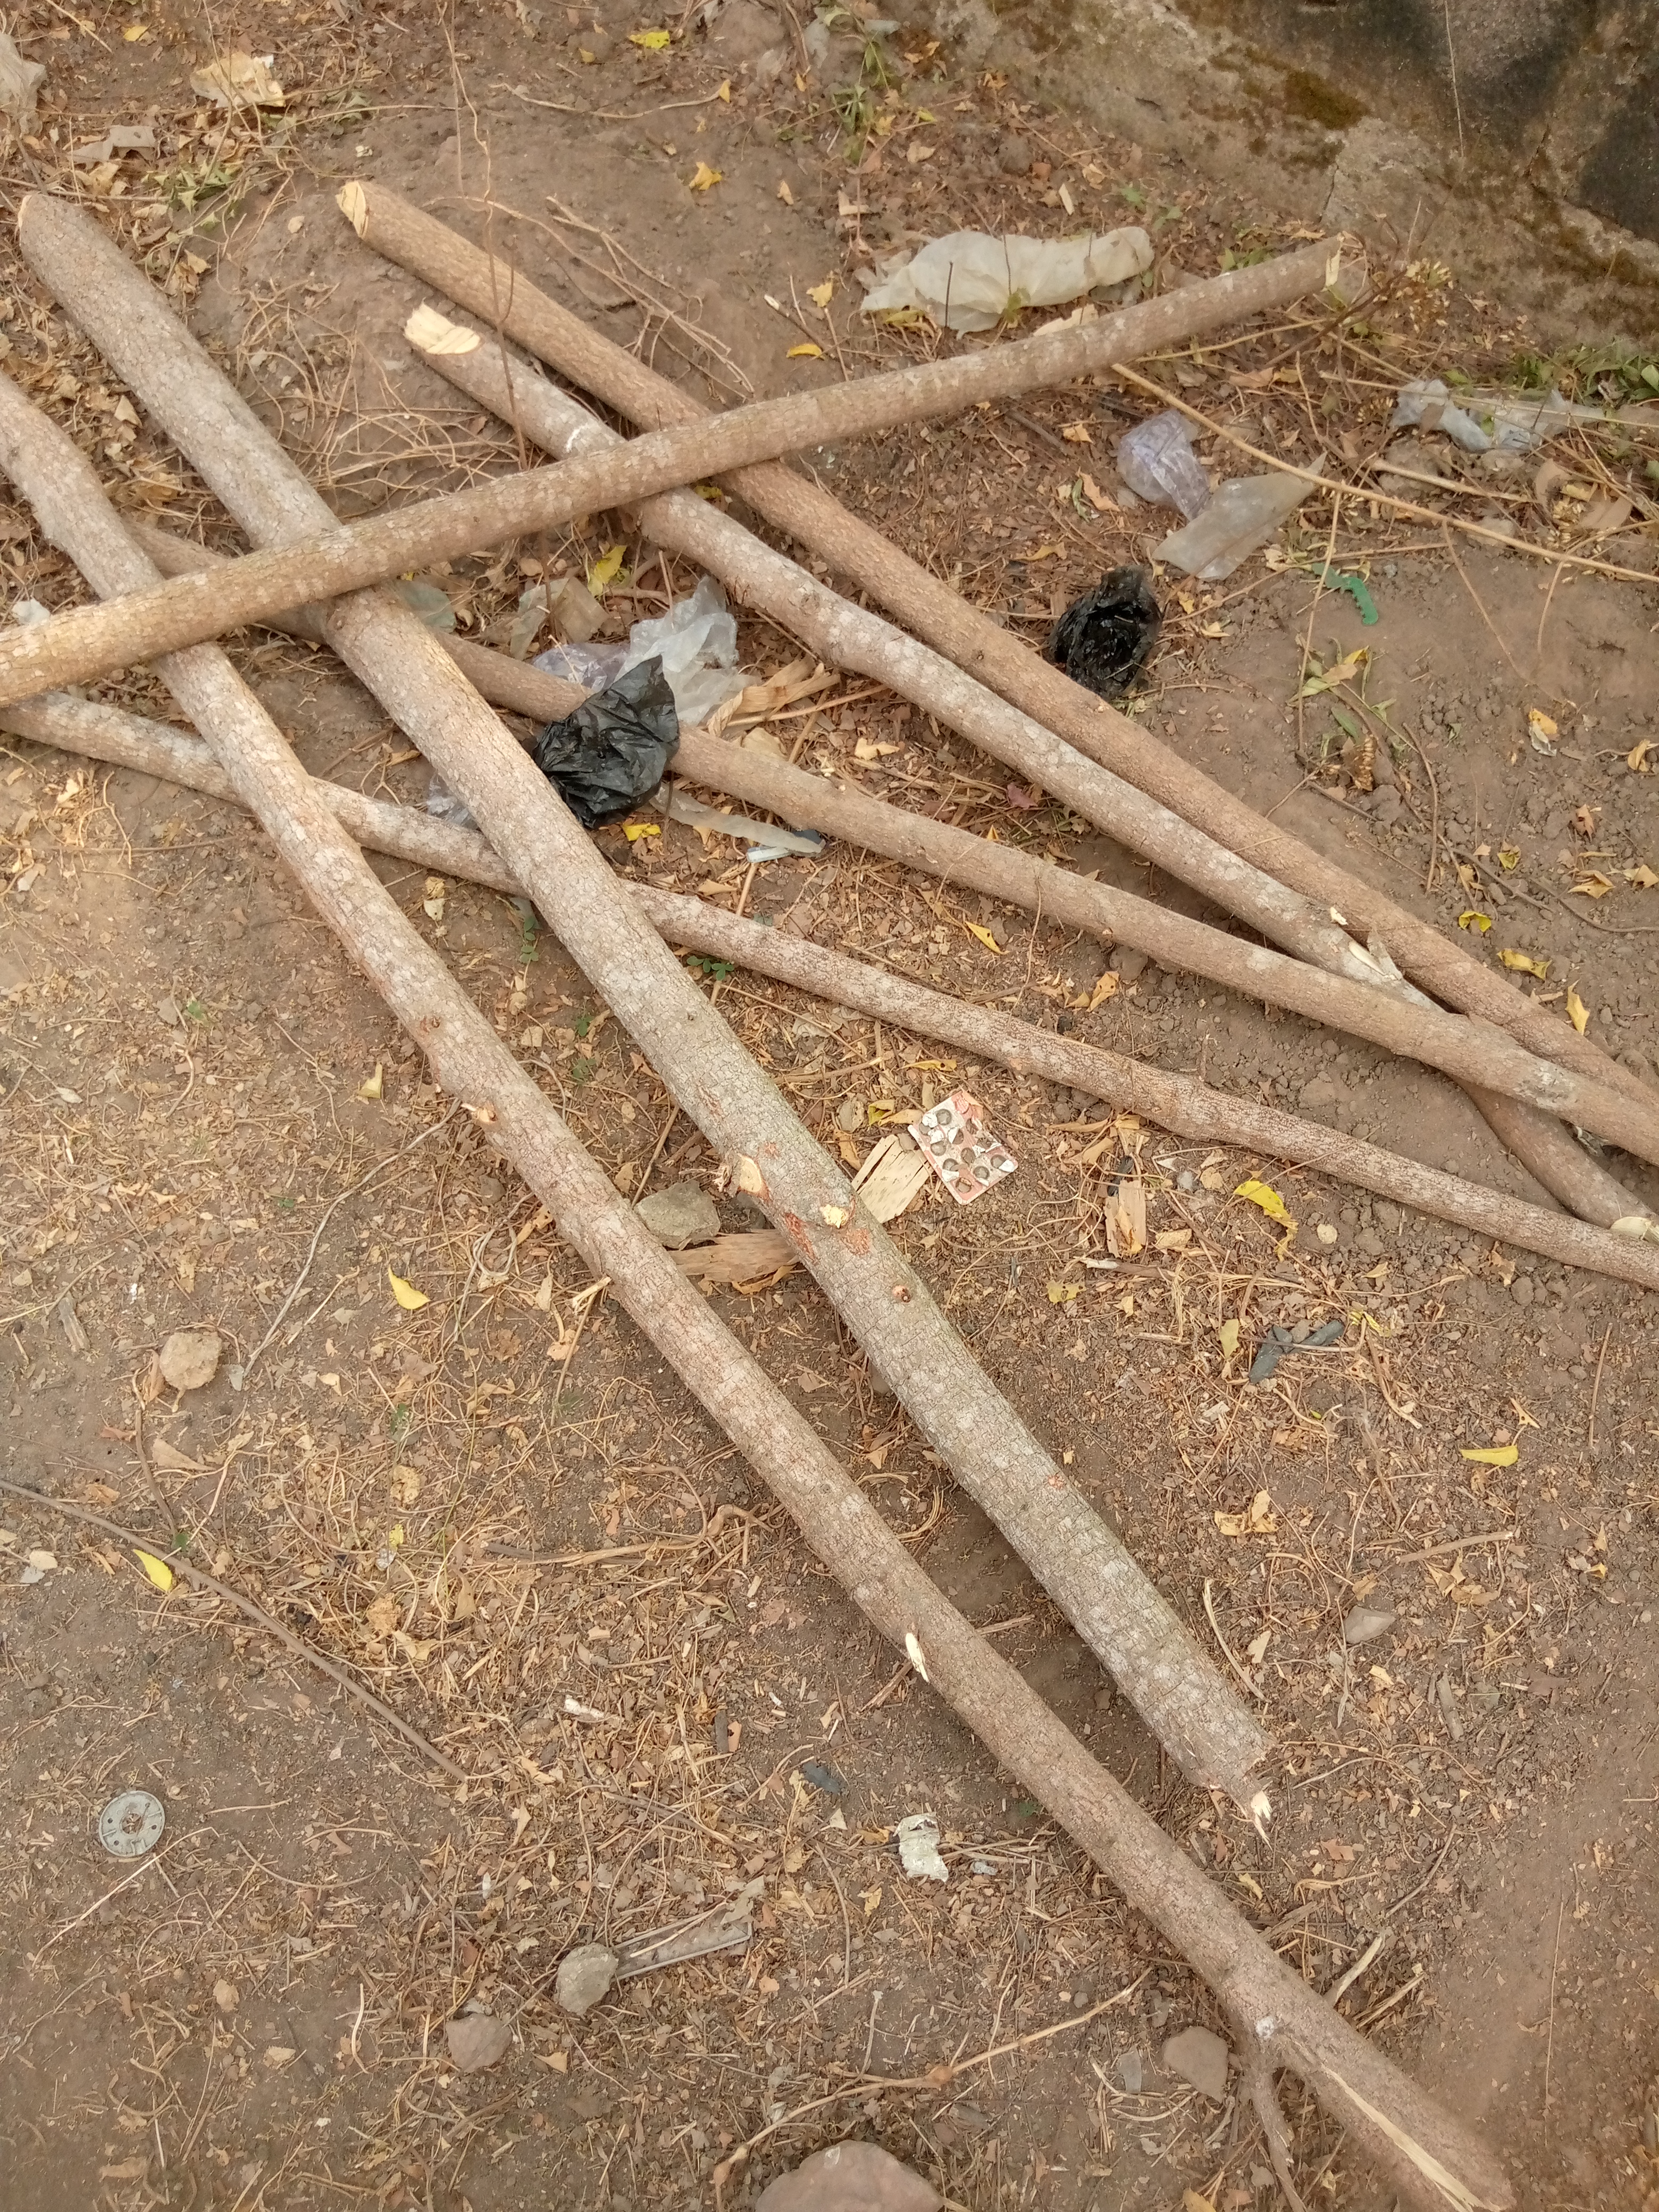
It was a rectangular shaped Nursery.
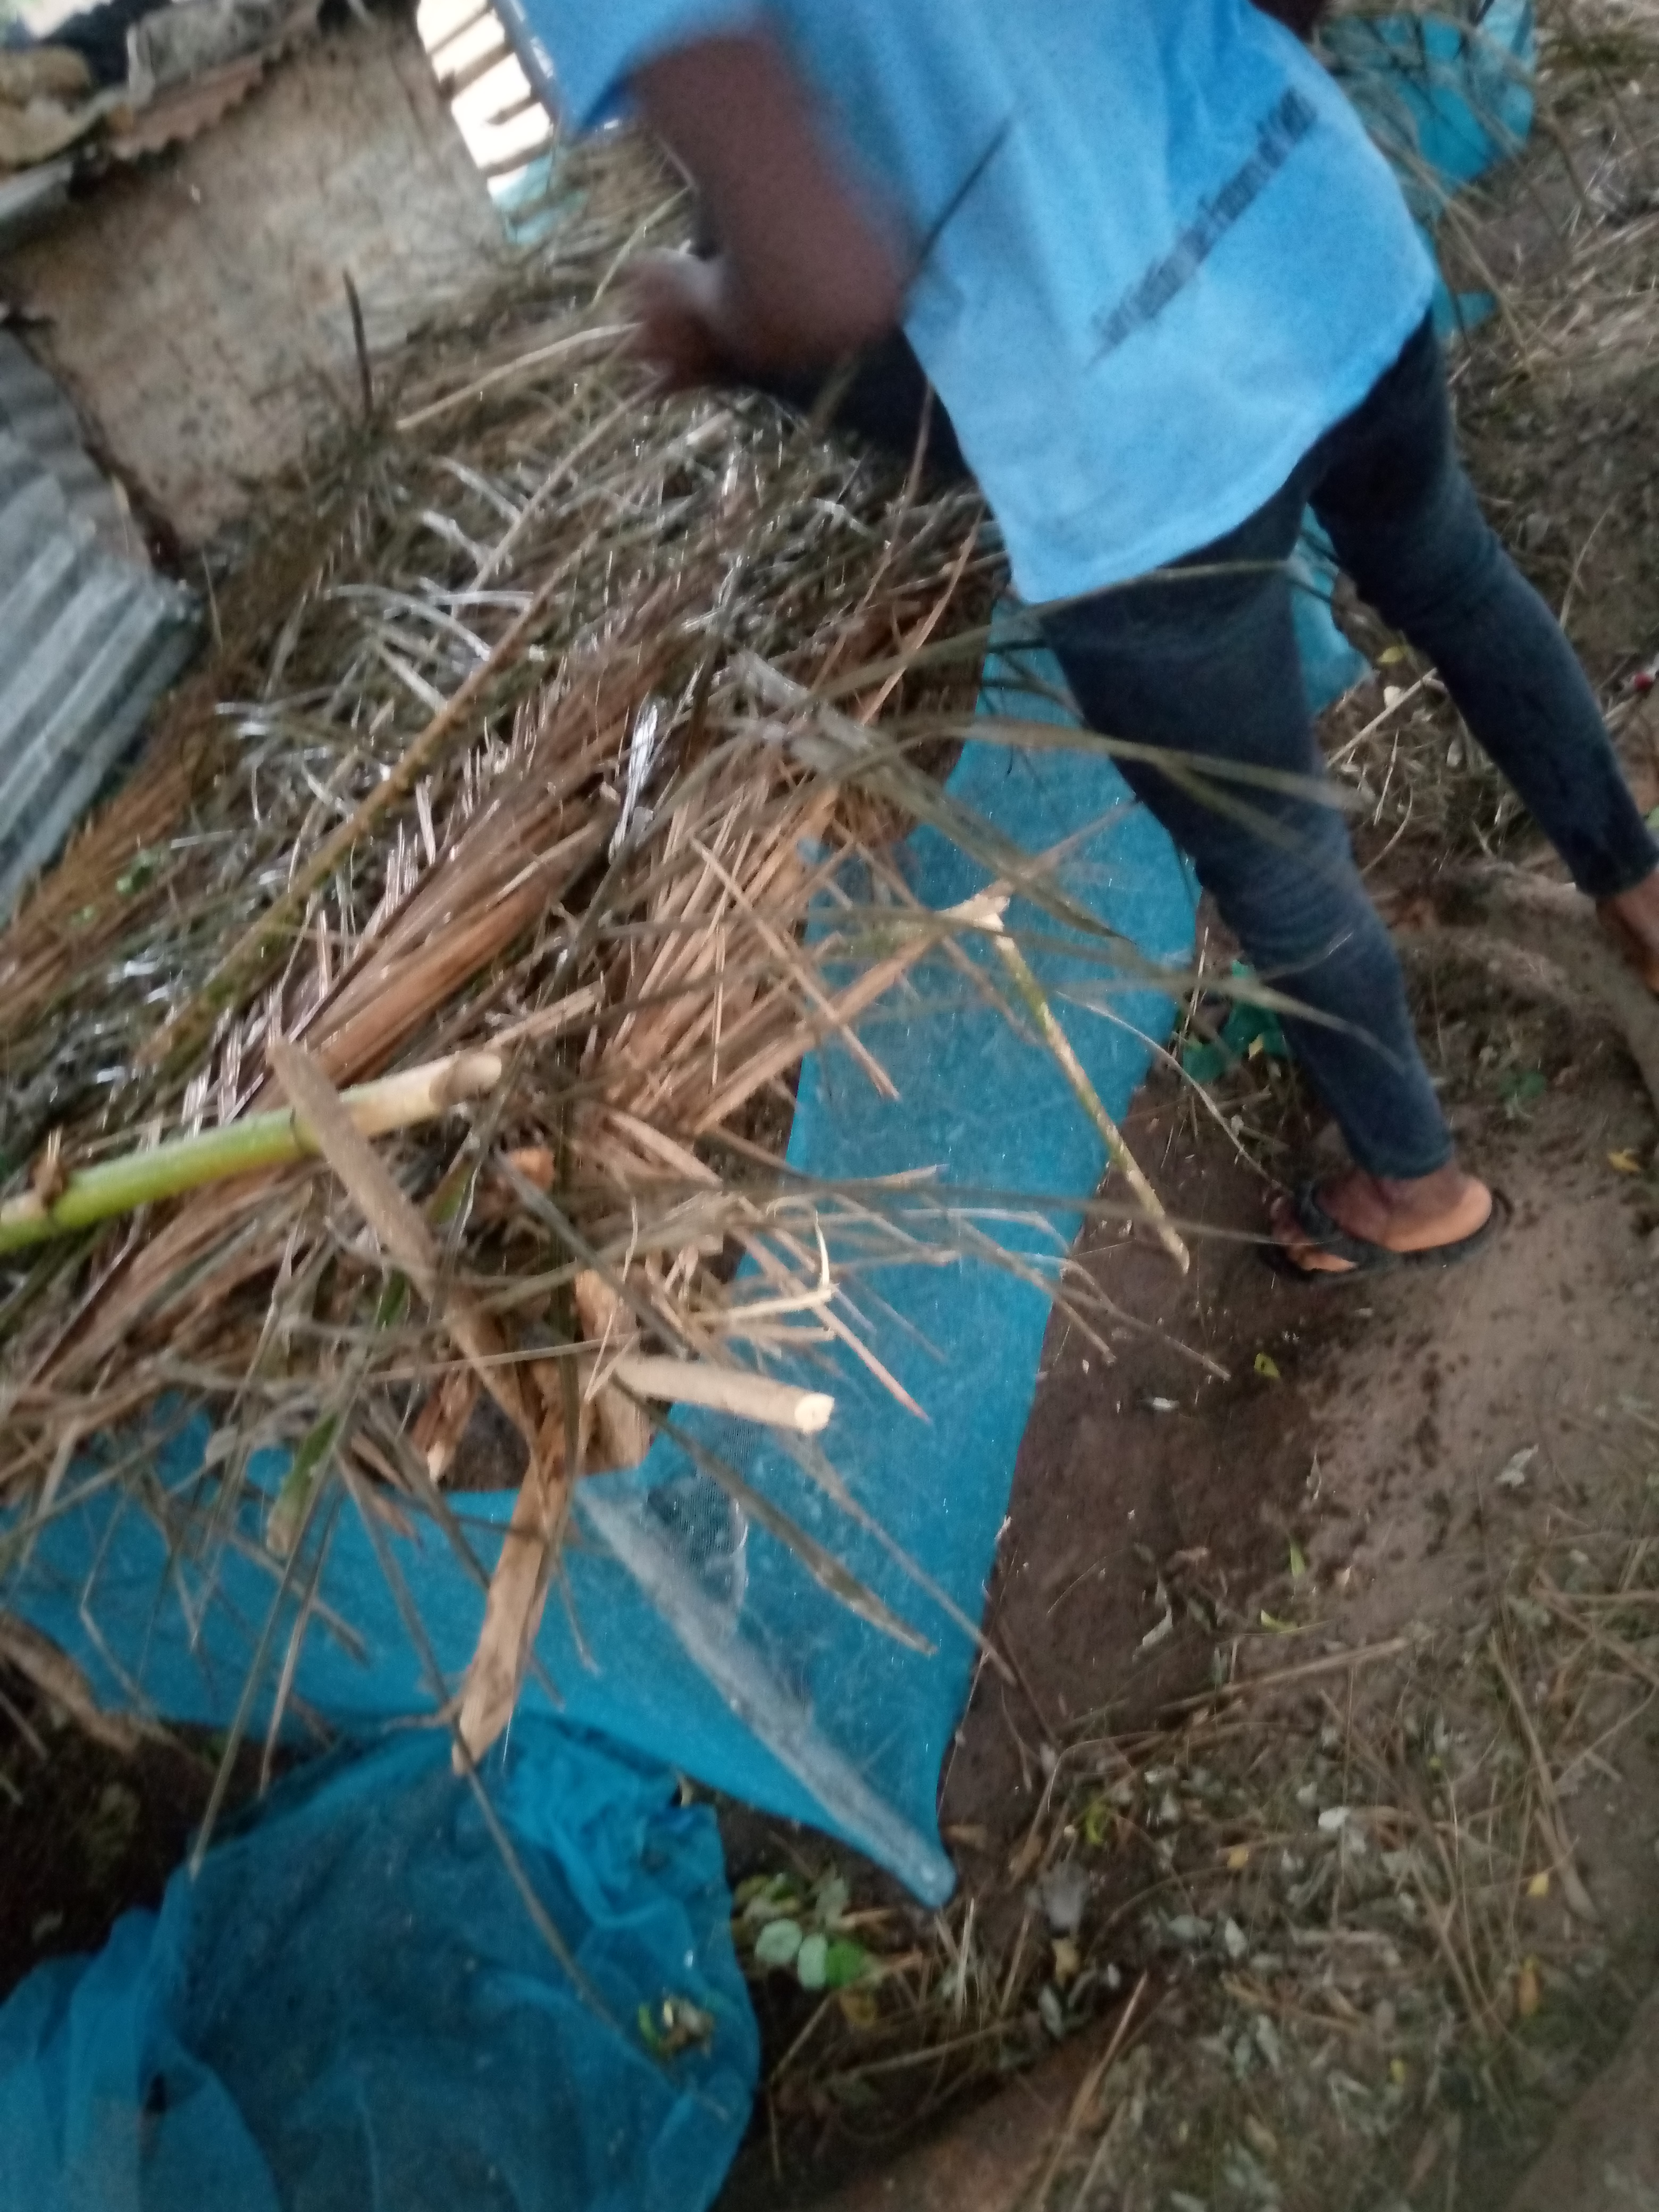
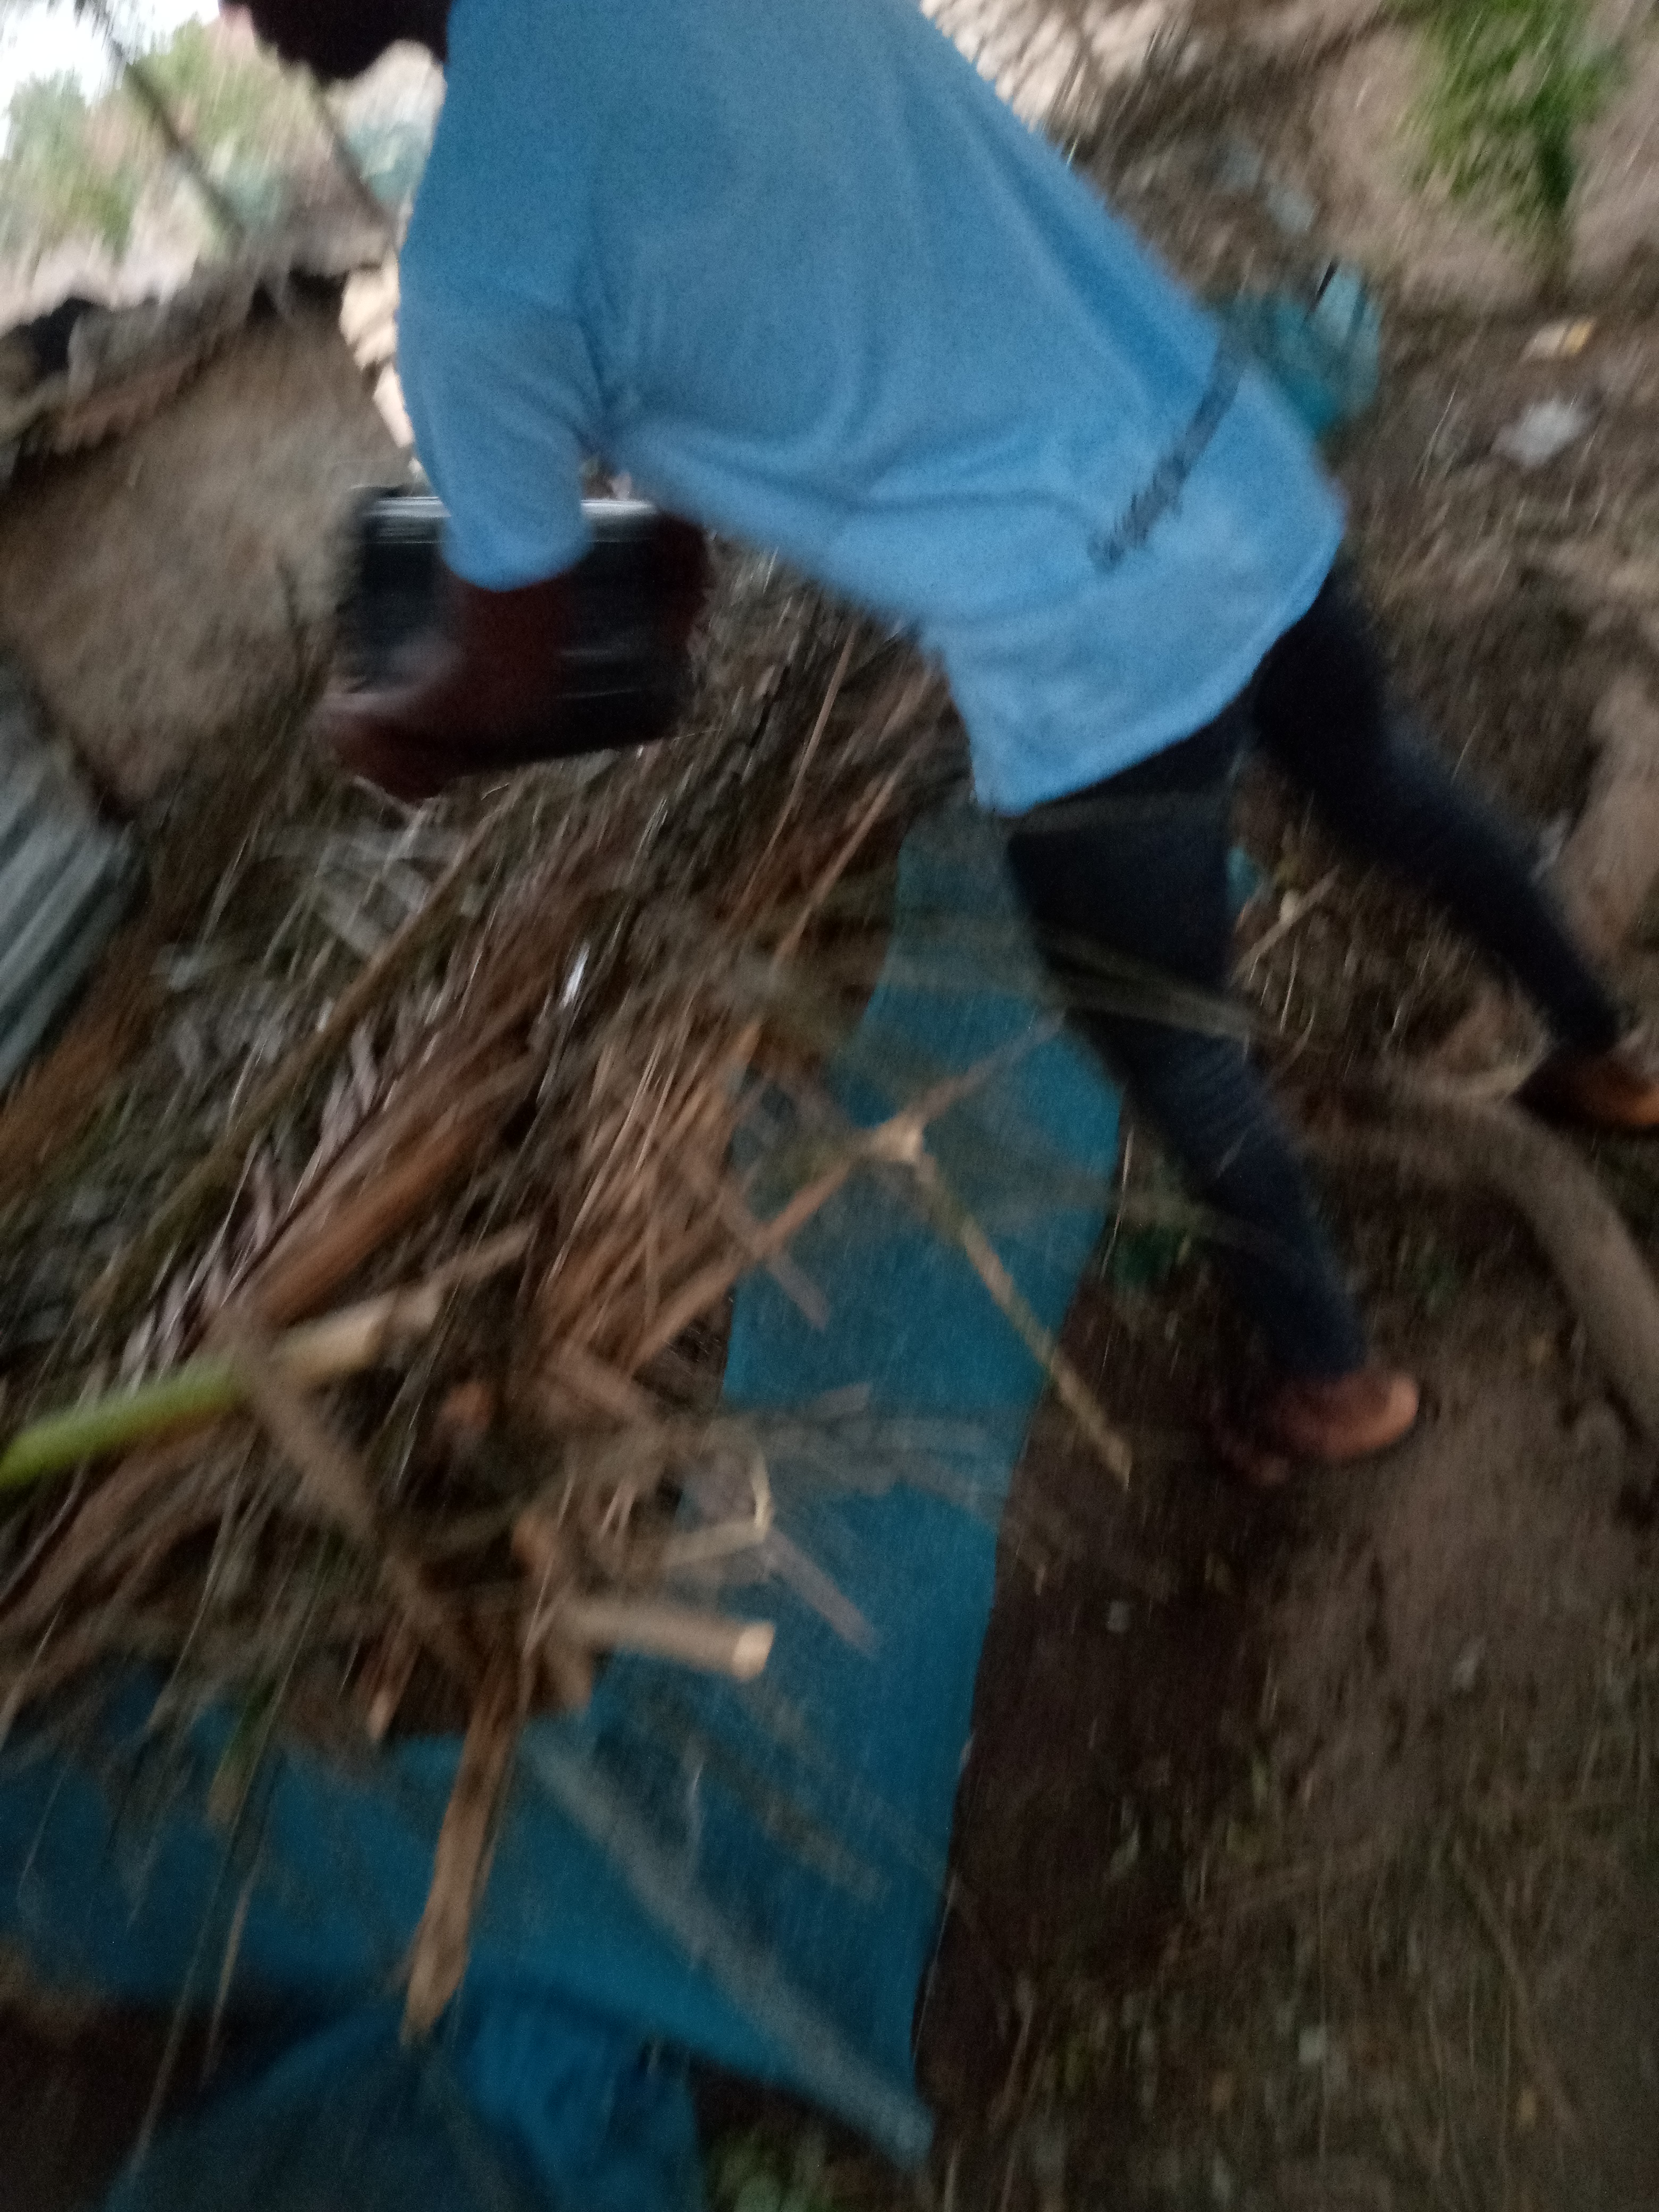
Though it was a bit easy to construct but then I faced quite a crazy challenge when it came to digging as it is currently dry season and it was not easy at all due to the dryness of the soil. At some point I had to pour water on the floor to aid my work

(This is me pouring water to the hole am digging)
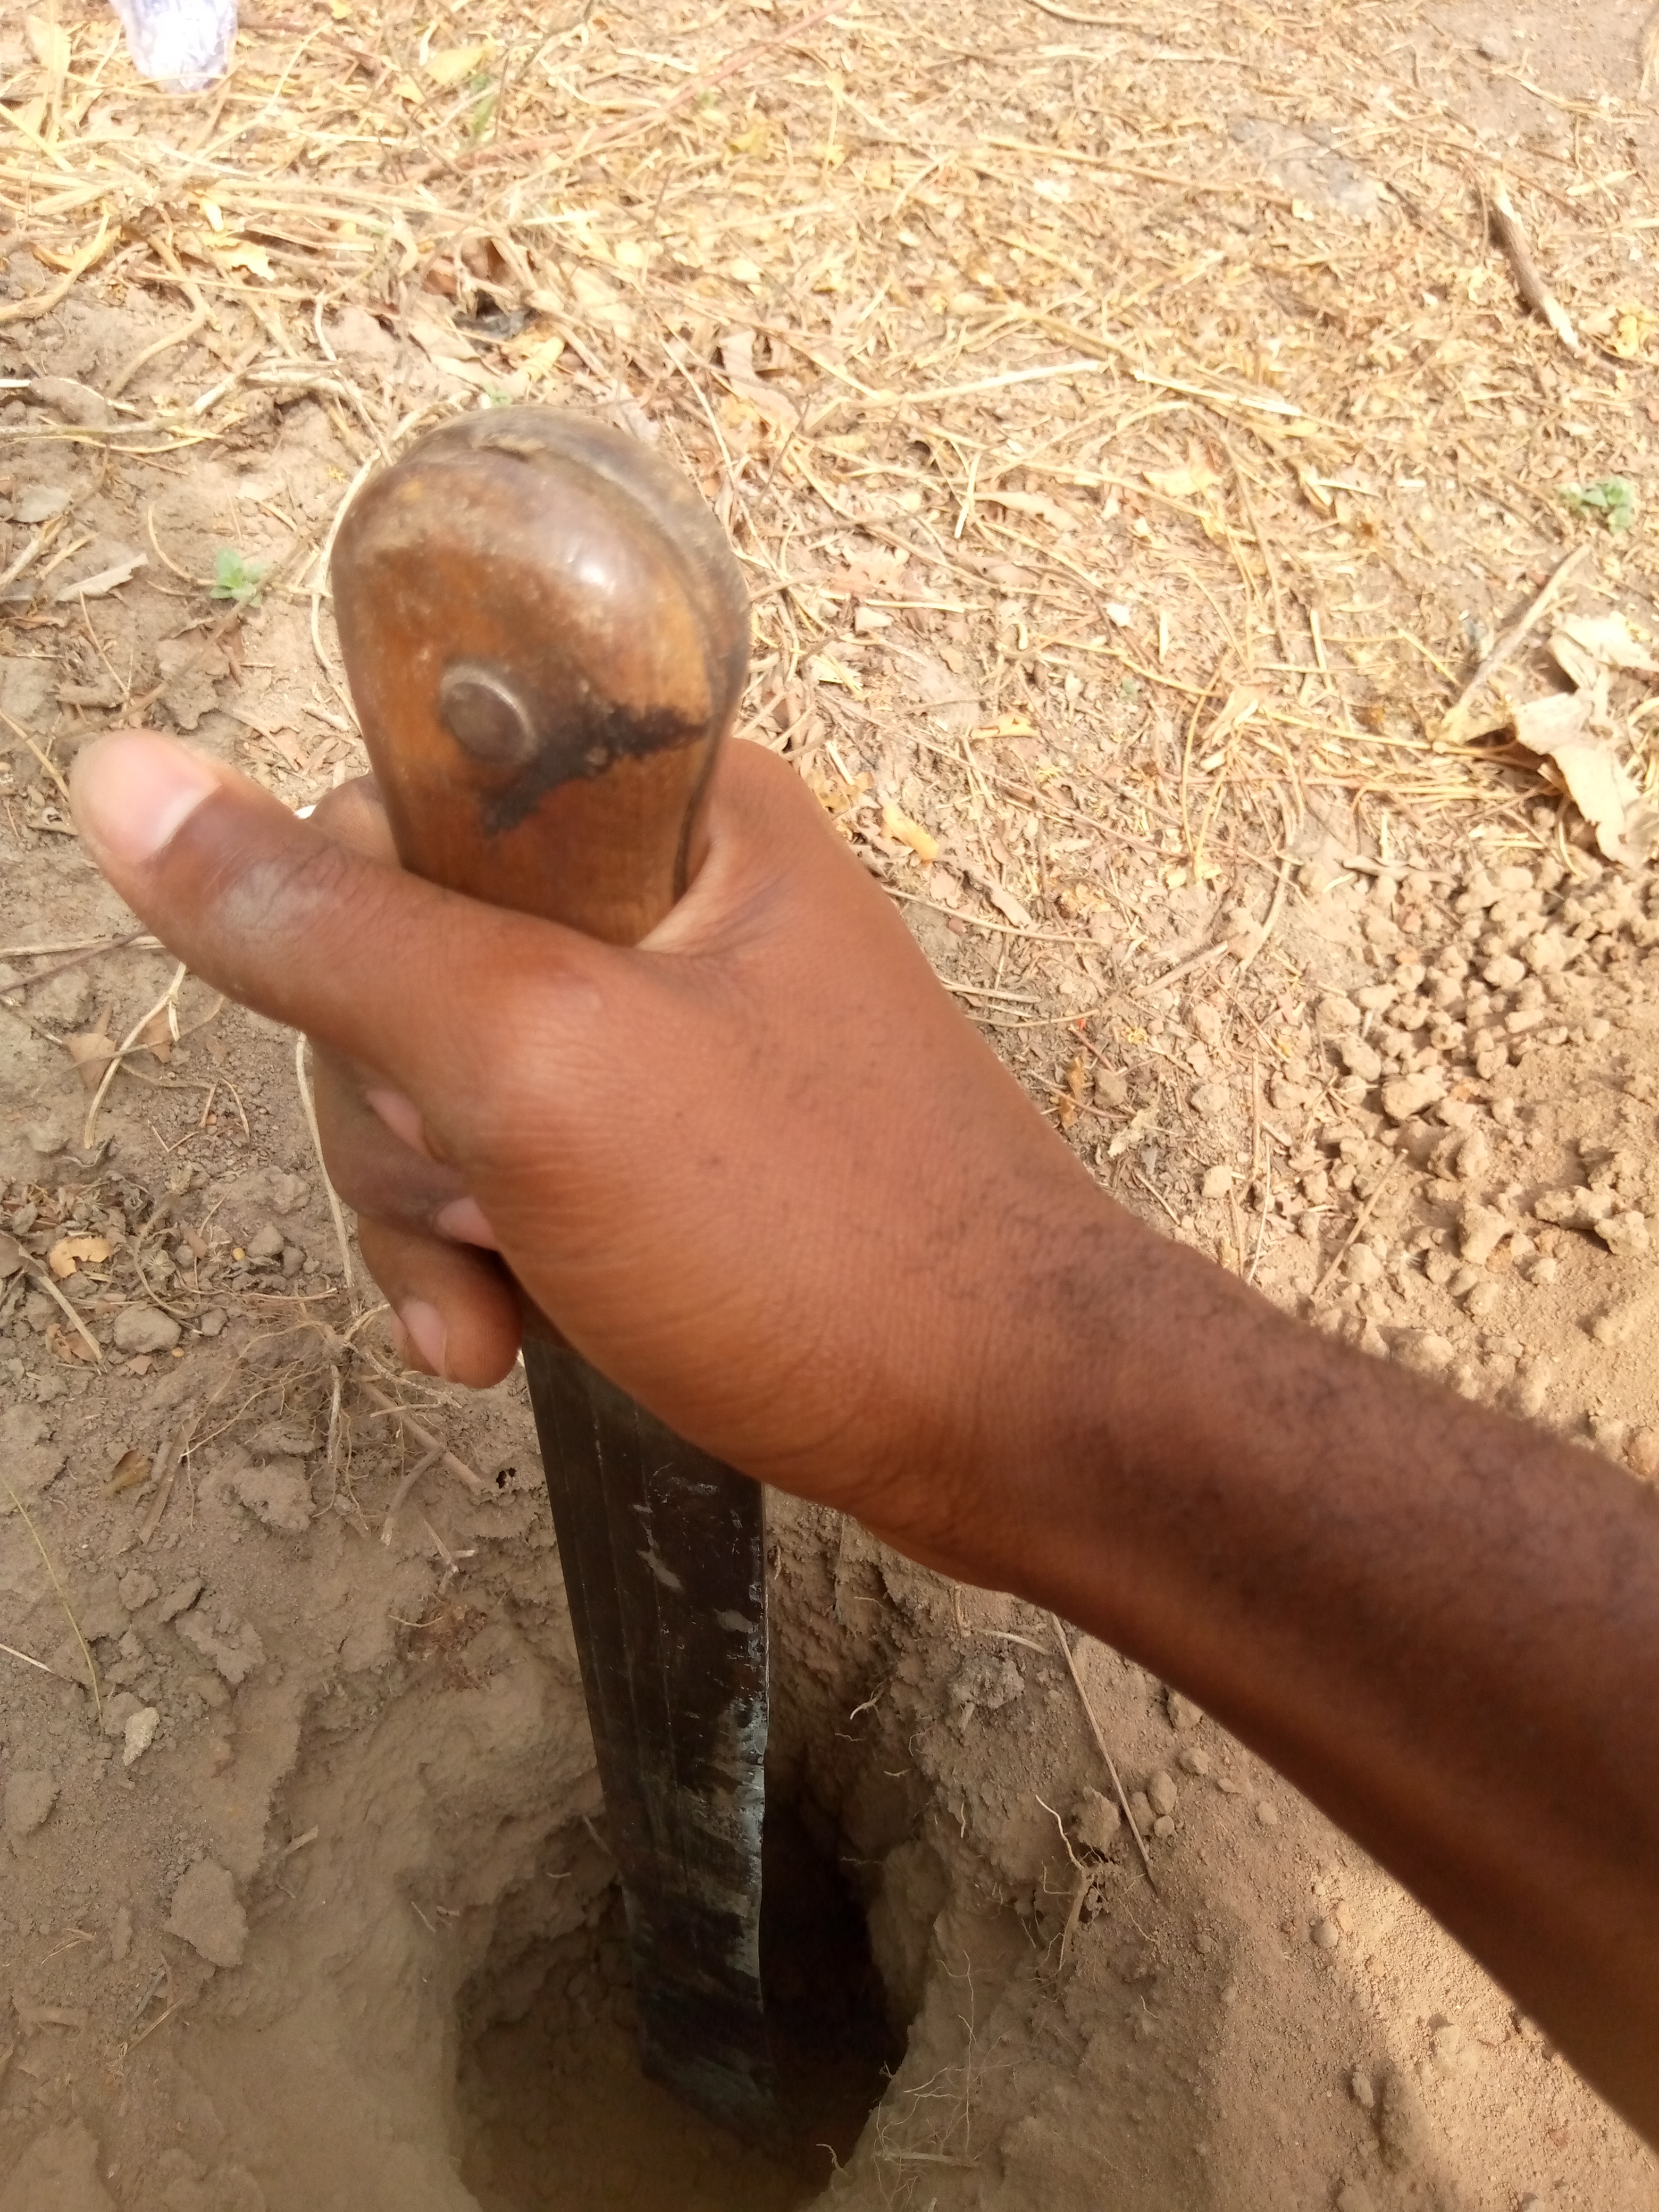
(I was basically using Cutlass as my digging tool as I have no alternative)
Coupled with the fact that the soil was dry and hard, the site chosen was a bit rocky but i still chose it because it was close to my house for easy monitoring and watering
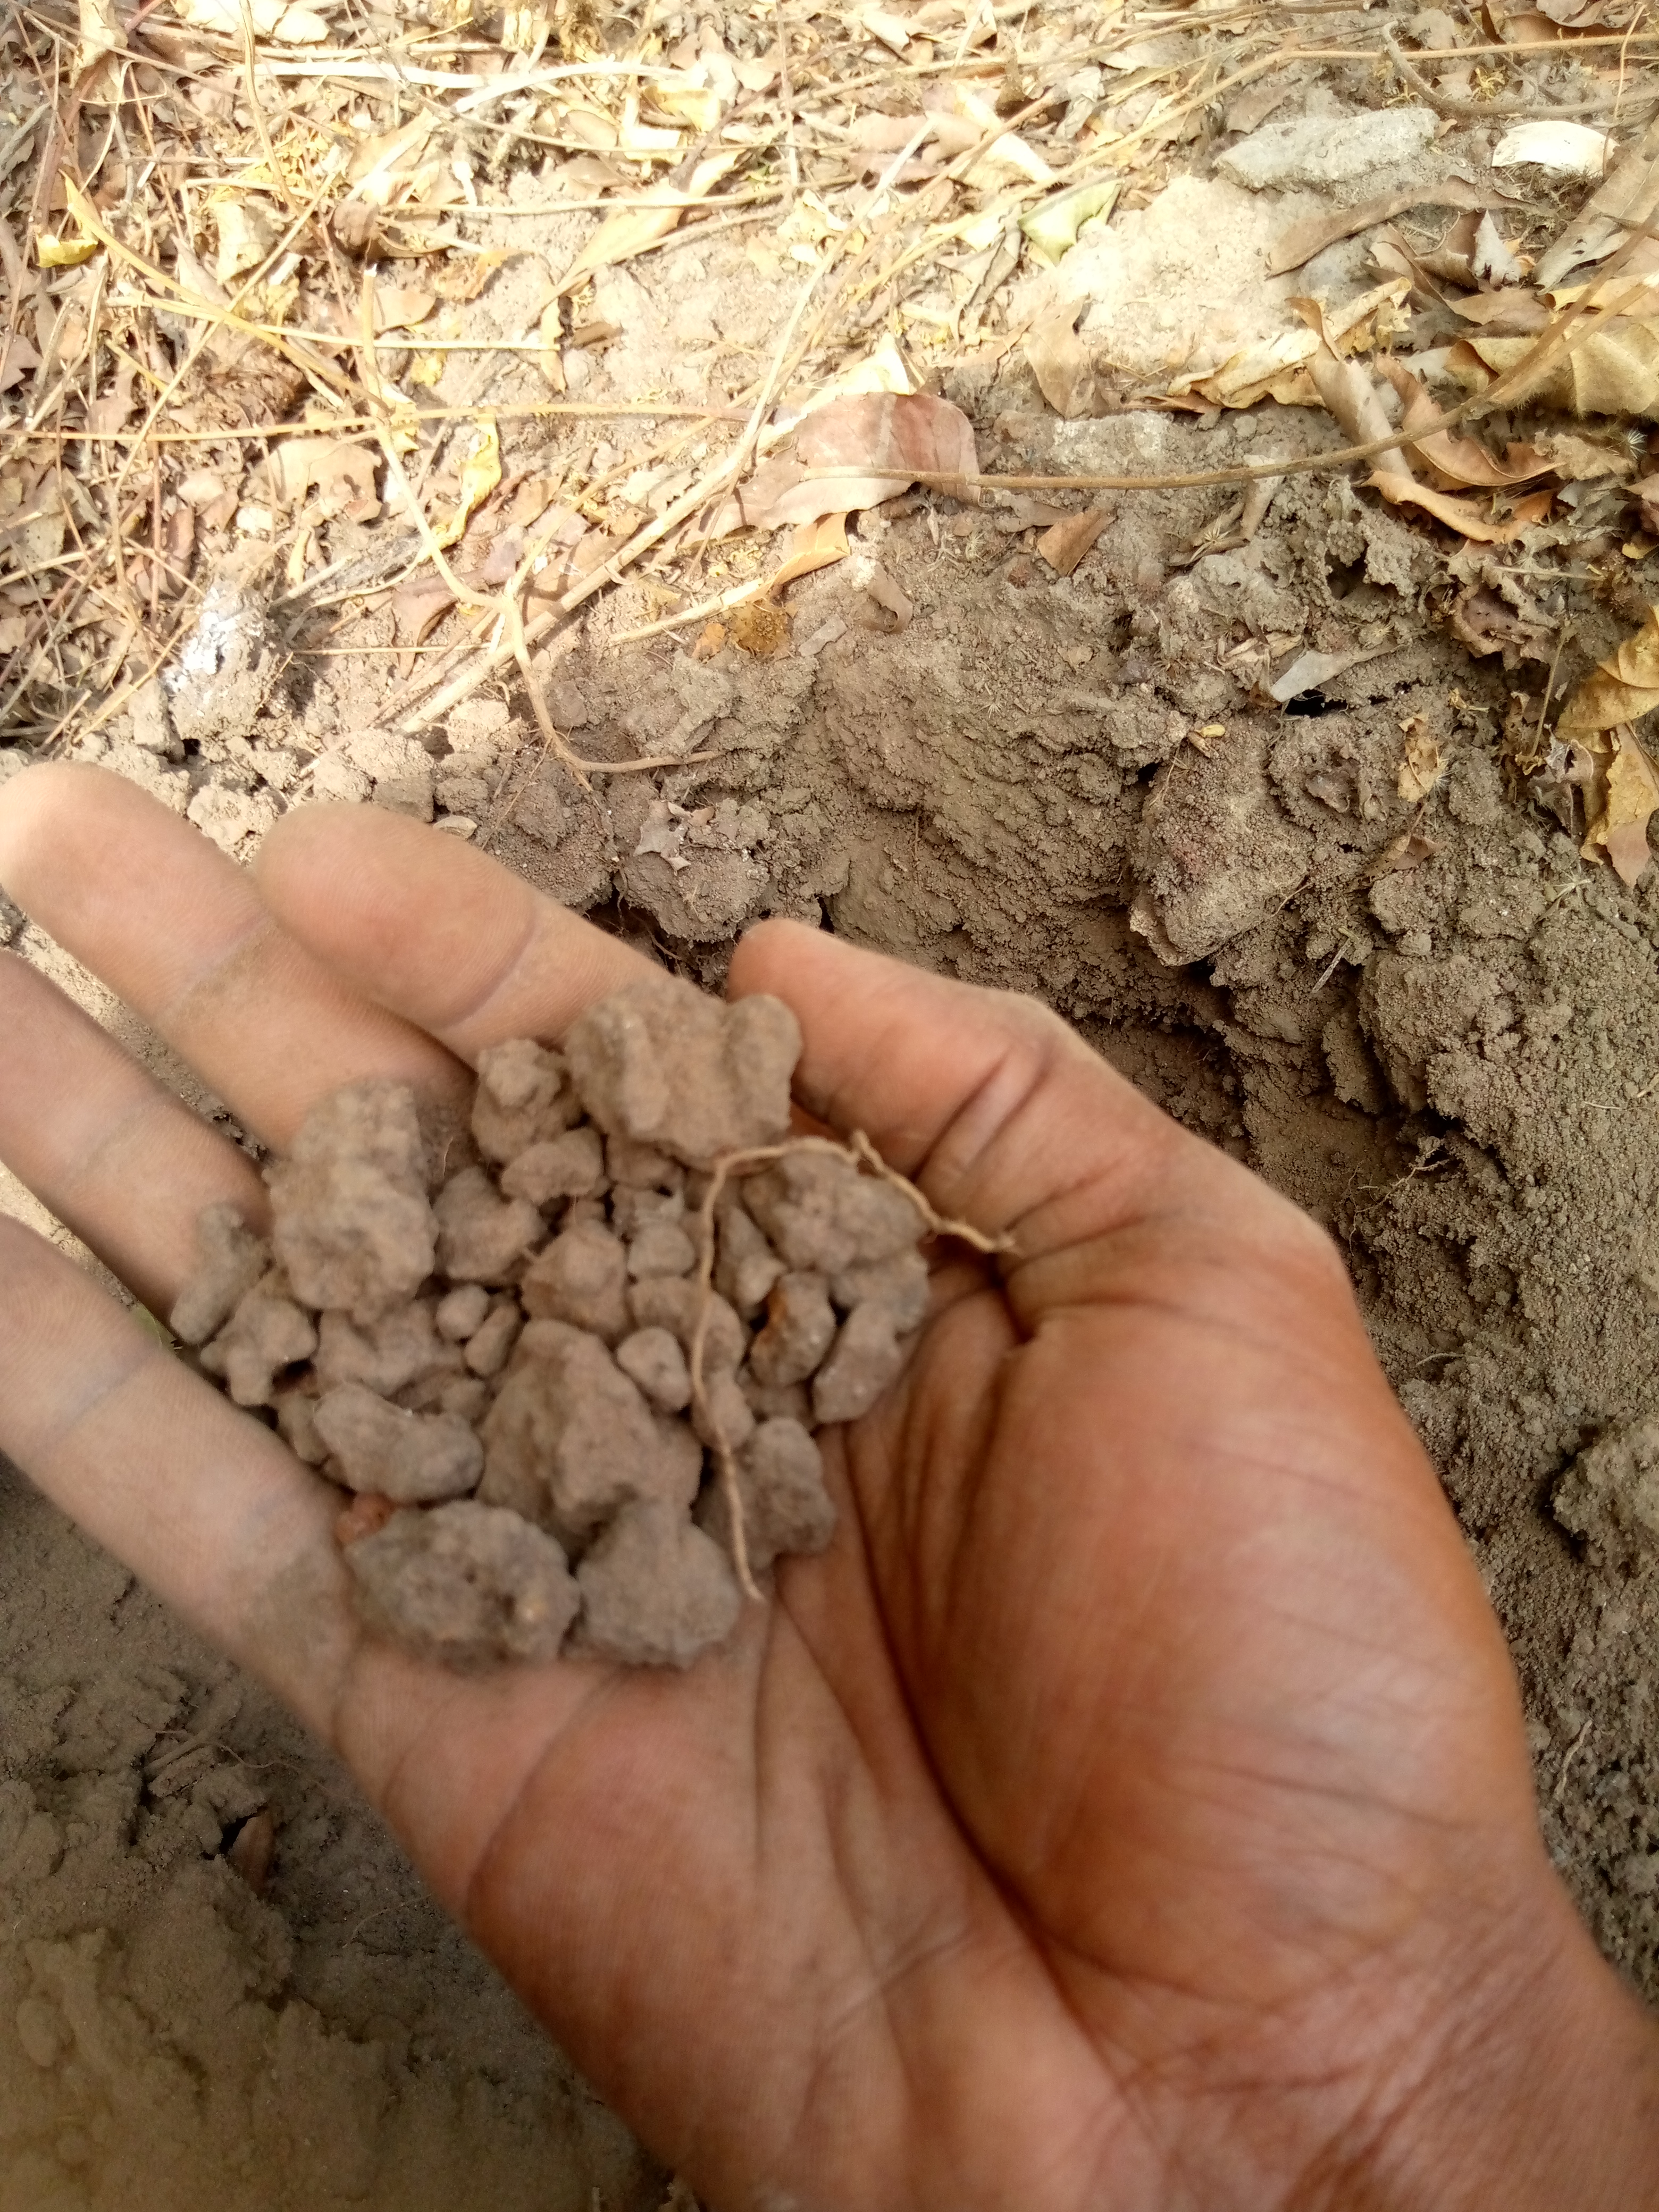
(This are rocks i was unearthing while digging. At this point my fingers were getting sour and bruised😭)
Well, after so much digging and having bruises on my fingers I had to take a break for the day because it was beginning to get frustrating and i was tired already.

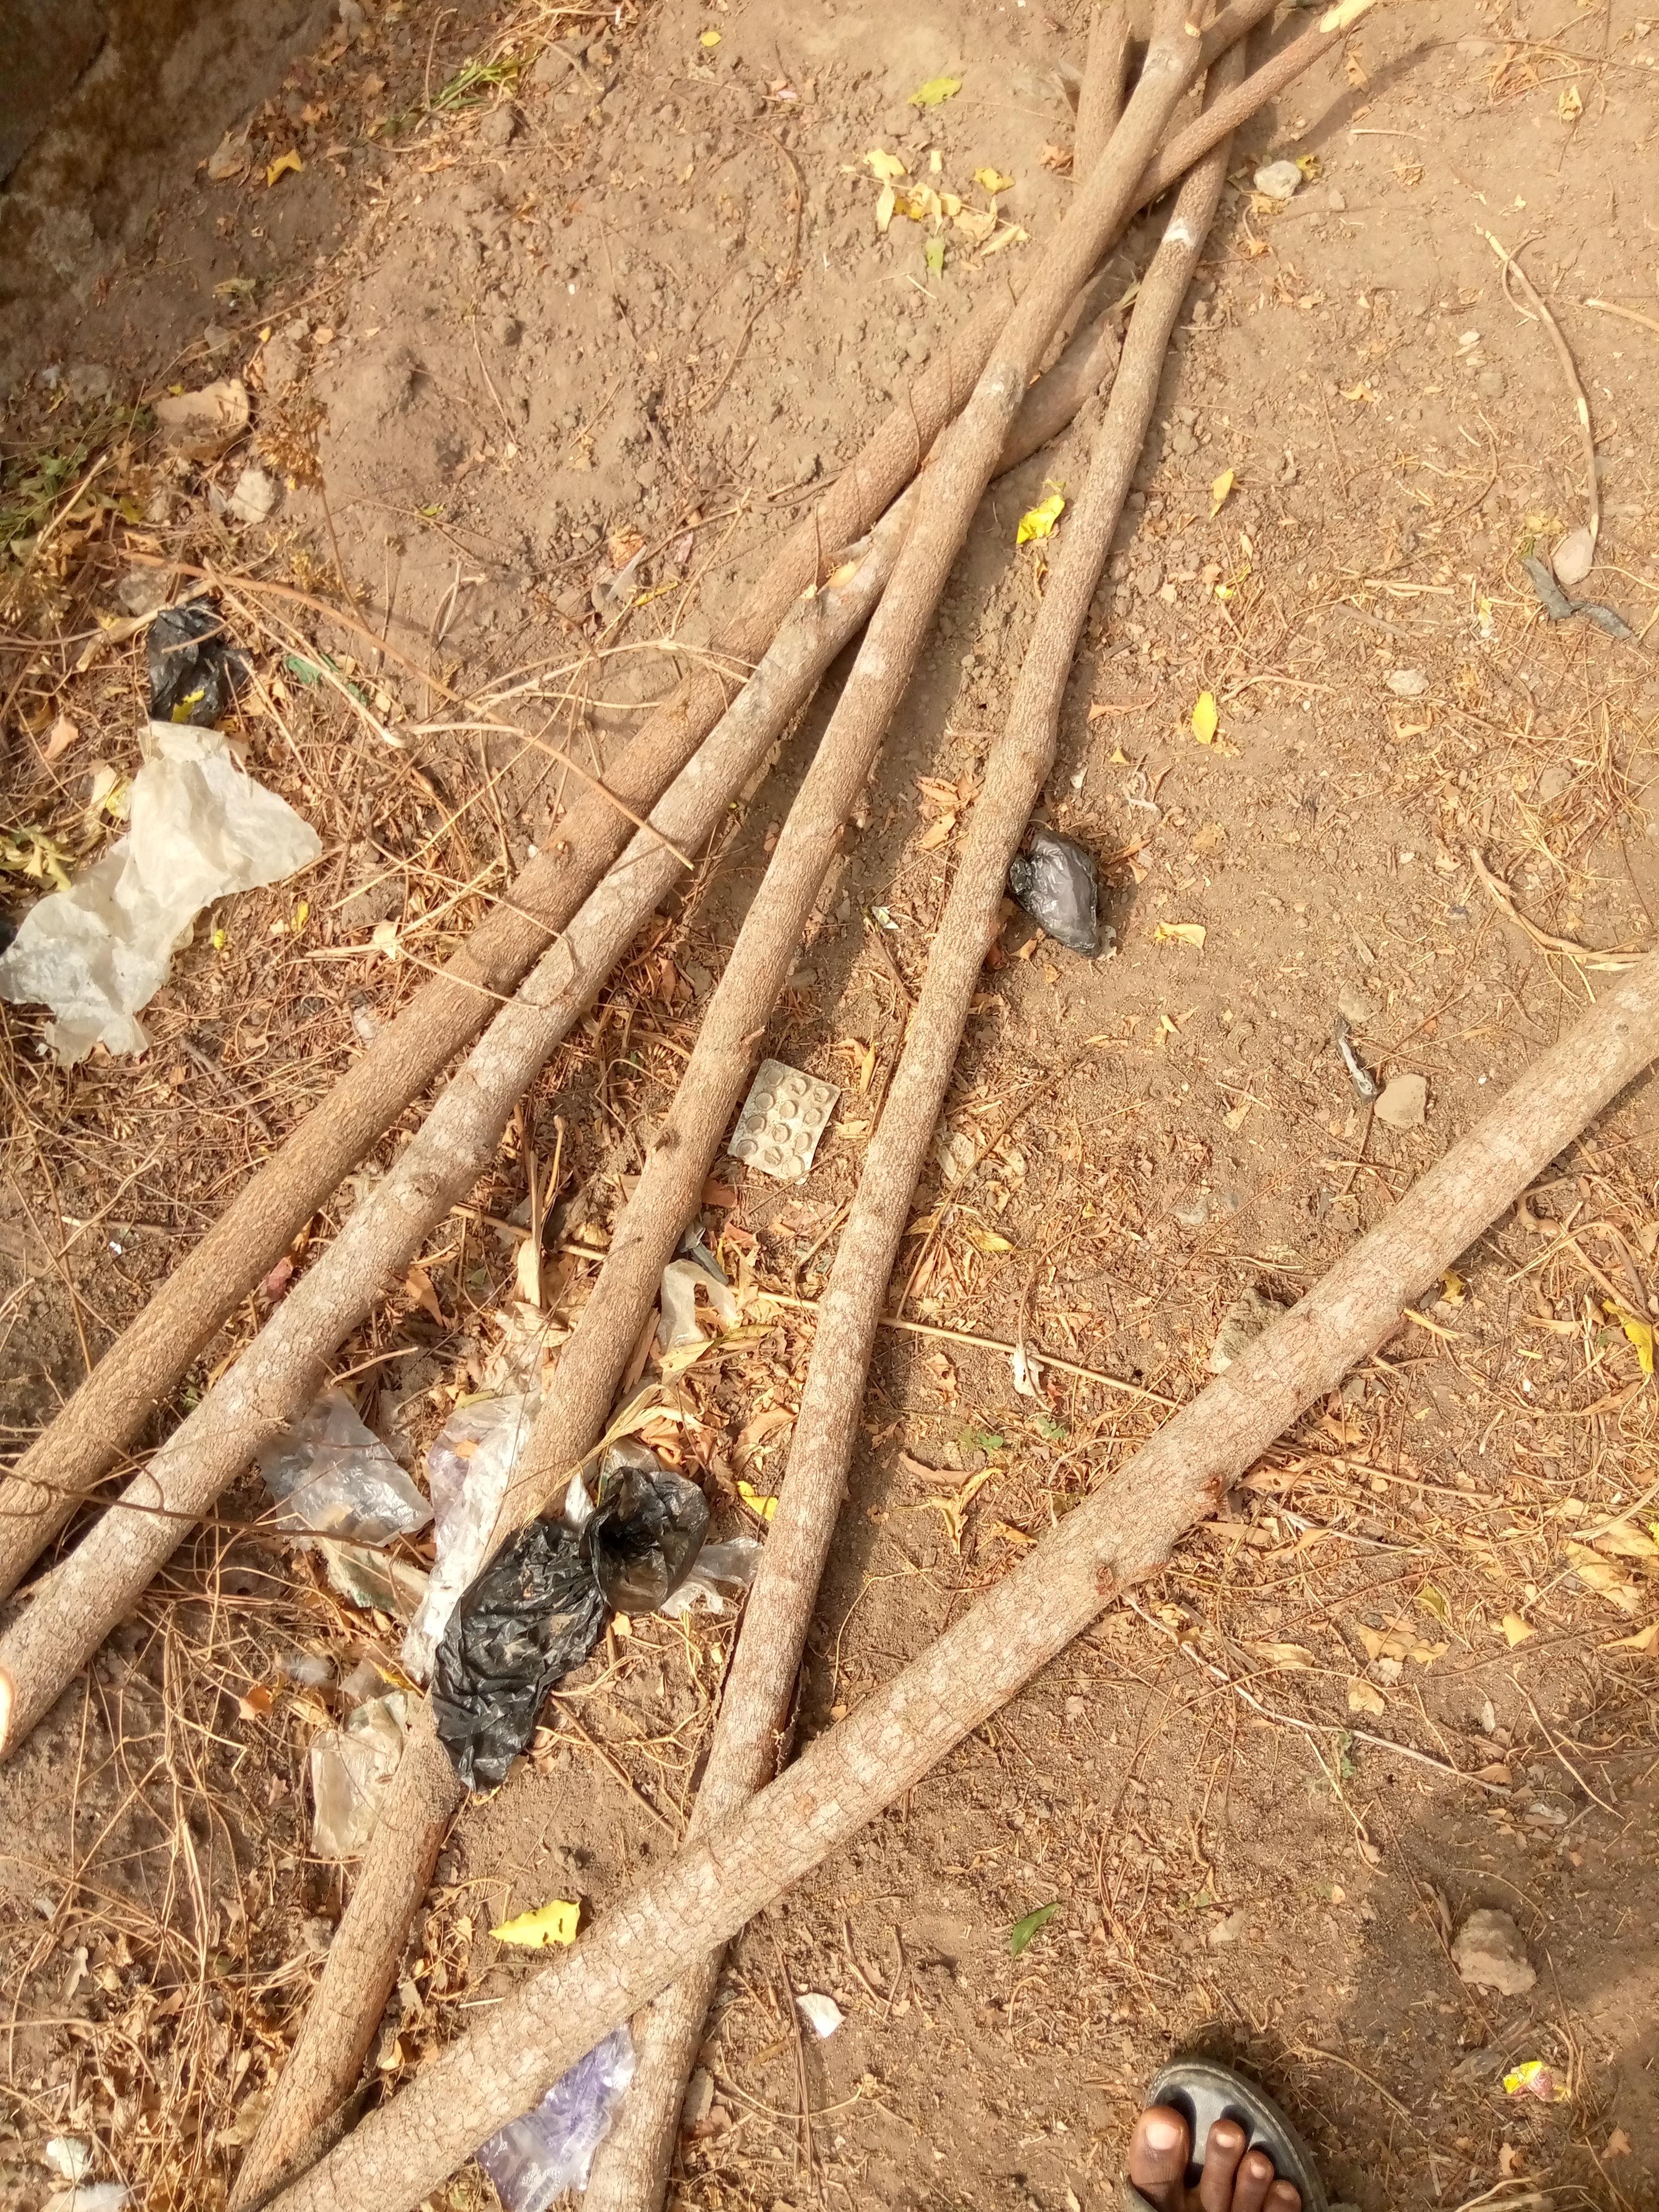
After resting for some hours, I was able to resume and also finish my nursery as the digging was the hardest part of it. The other thing was to create a barrier round the nursery using the bamboo stick I already had on ground and after six good hours I was able to finish and behold my nursery was ready for use
PLANTING OF COCOA SEEDS
After taking so much time preparing my land and also constructing my nursery the next thing was the planting of my cocoa seeds.
Usually the planting and nursing of cocoa seeds it's in two parts or stages so to say
- The first part is to plant the seed on the ground.
- THe second part is to transfer the seeds into a polythene pot after germination for easy transfer to the farm site.
FIRST STAGE
The first stage is he planting of the seeds to the ground. At this stage there are some materials that are needed
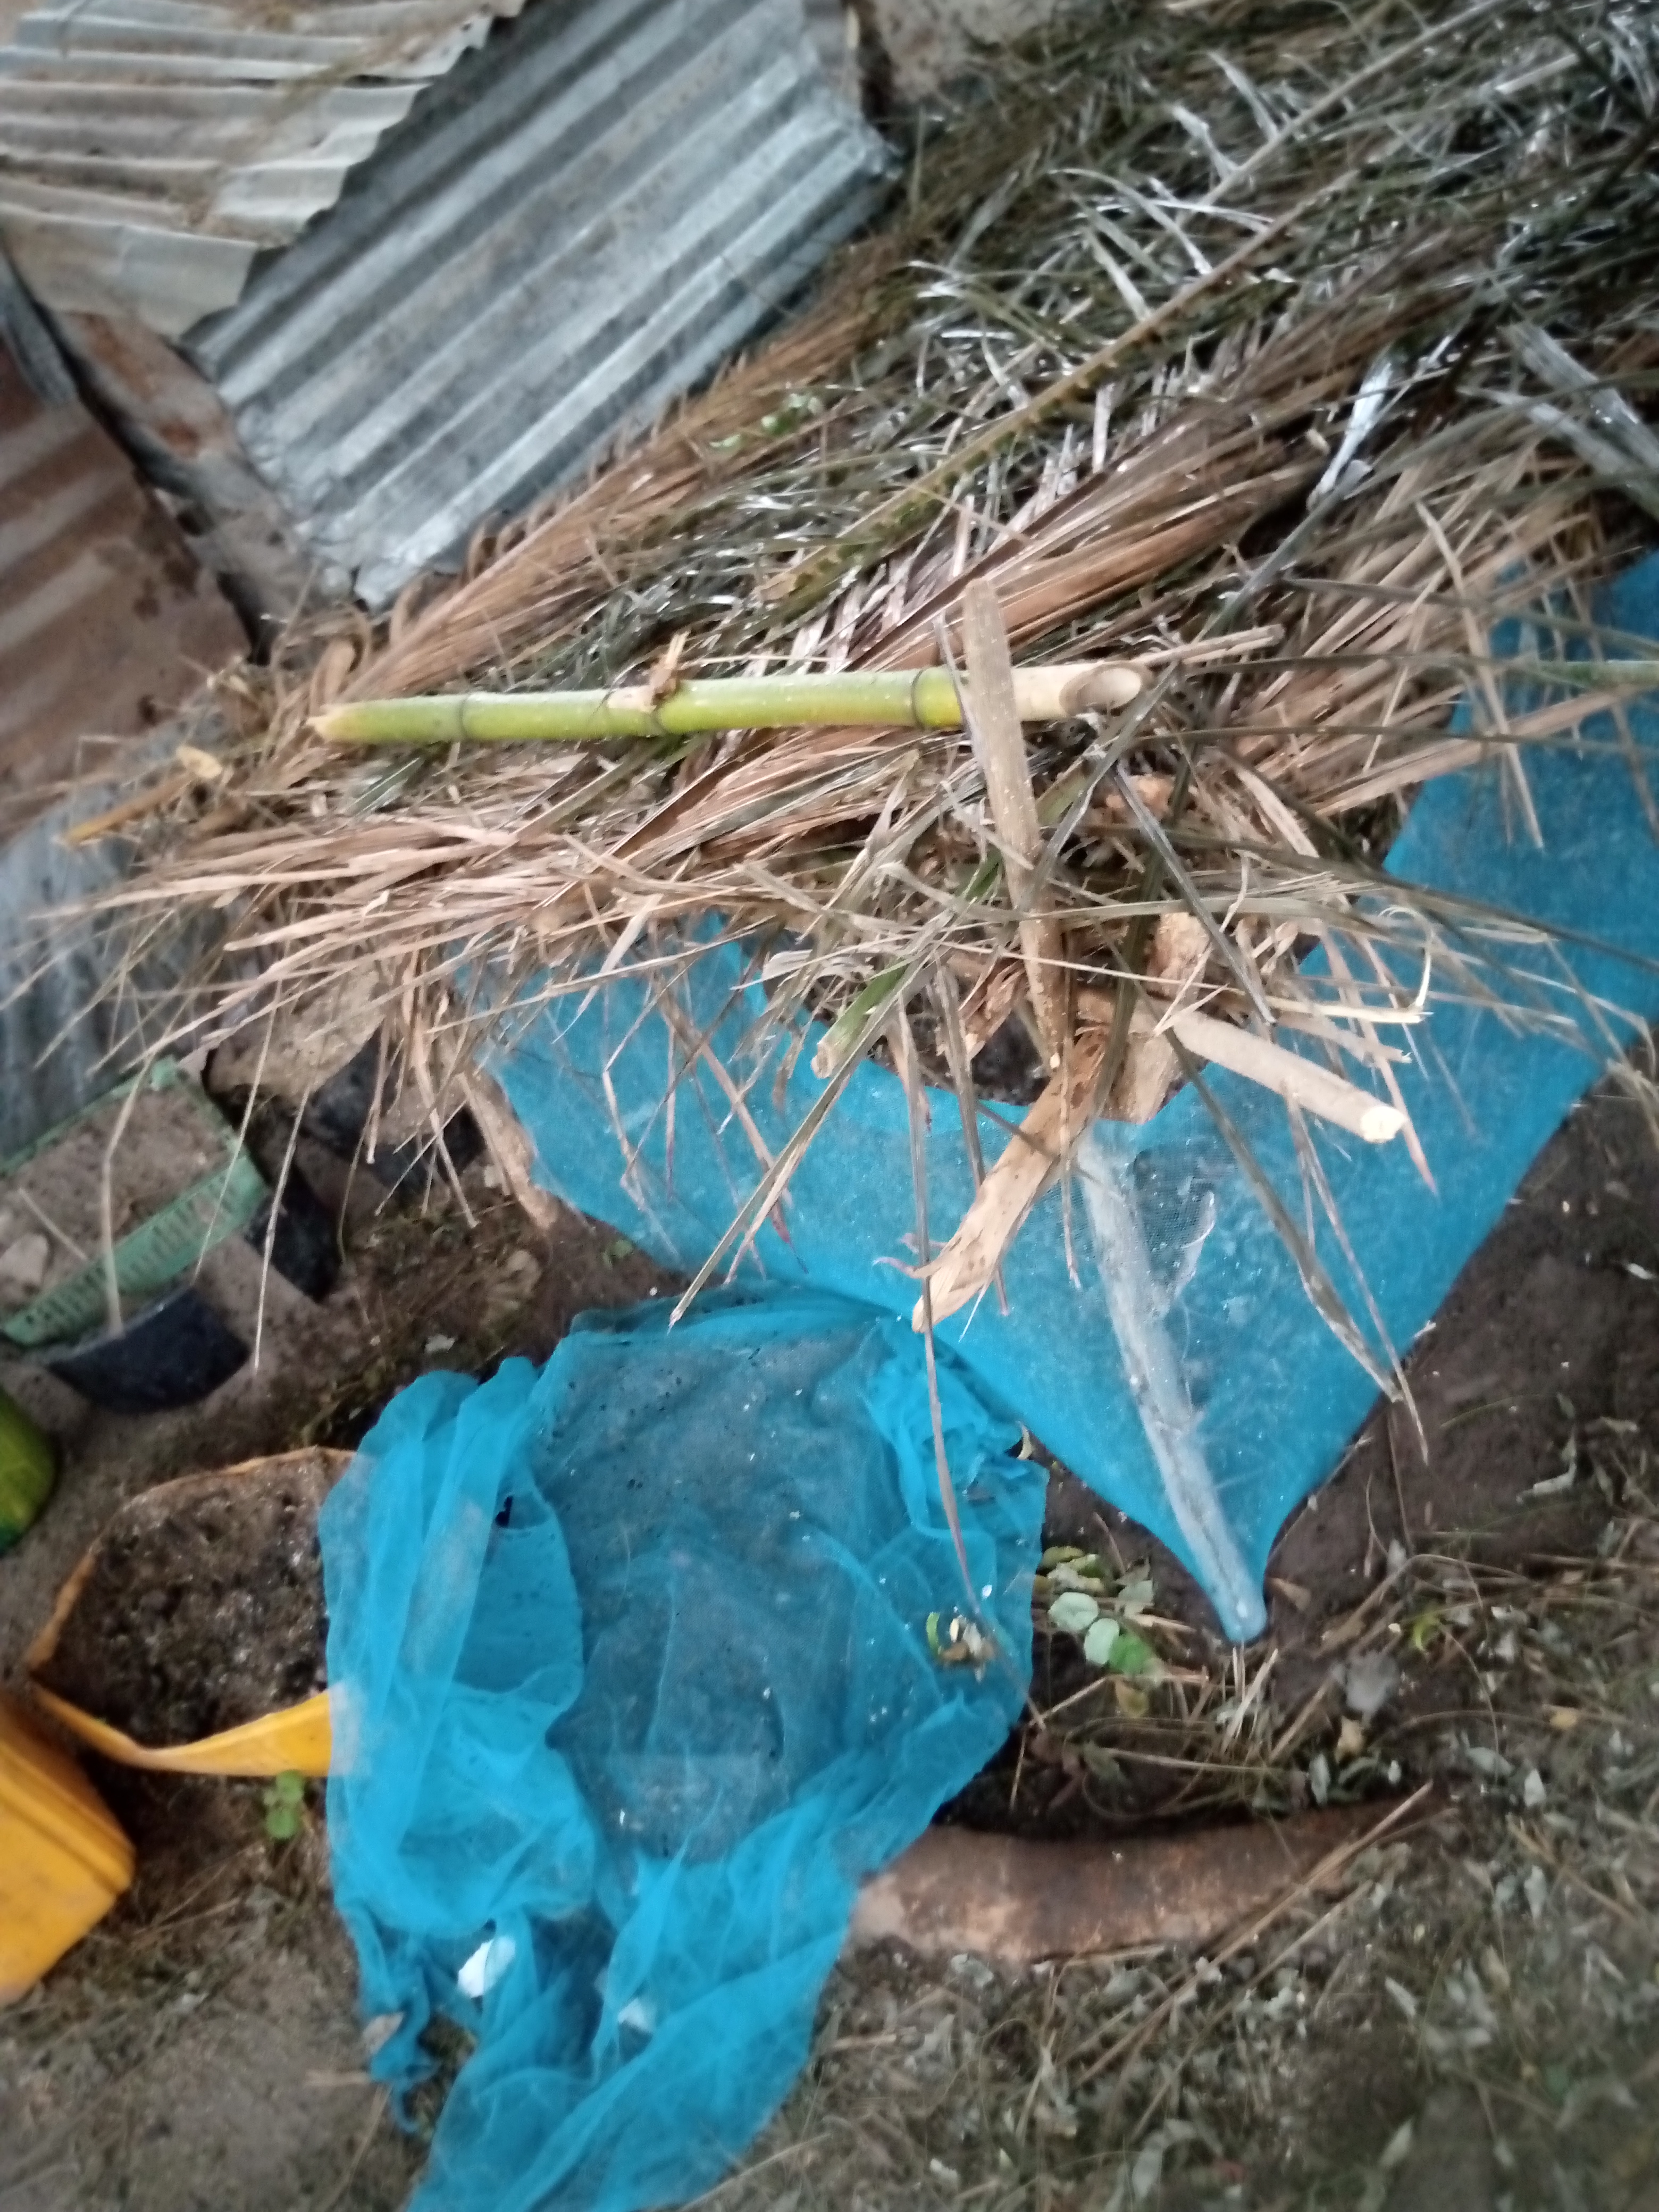
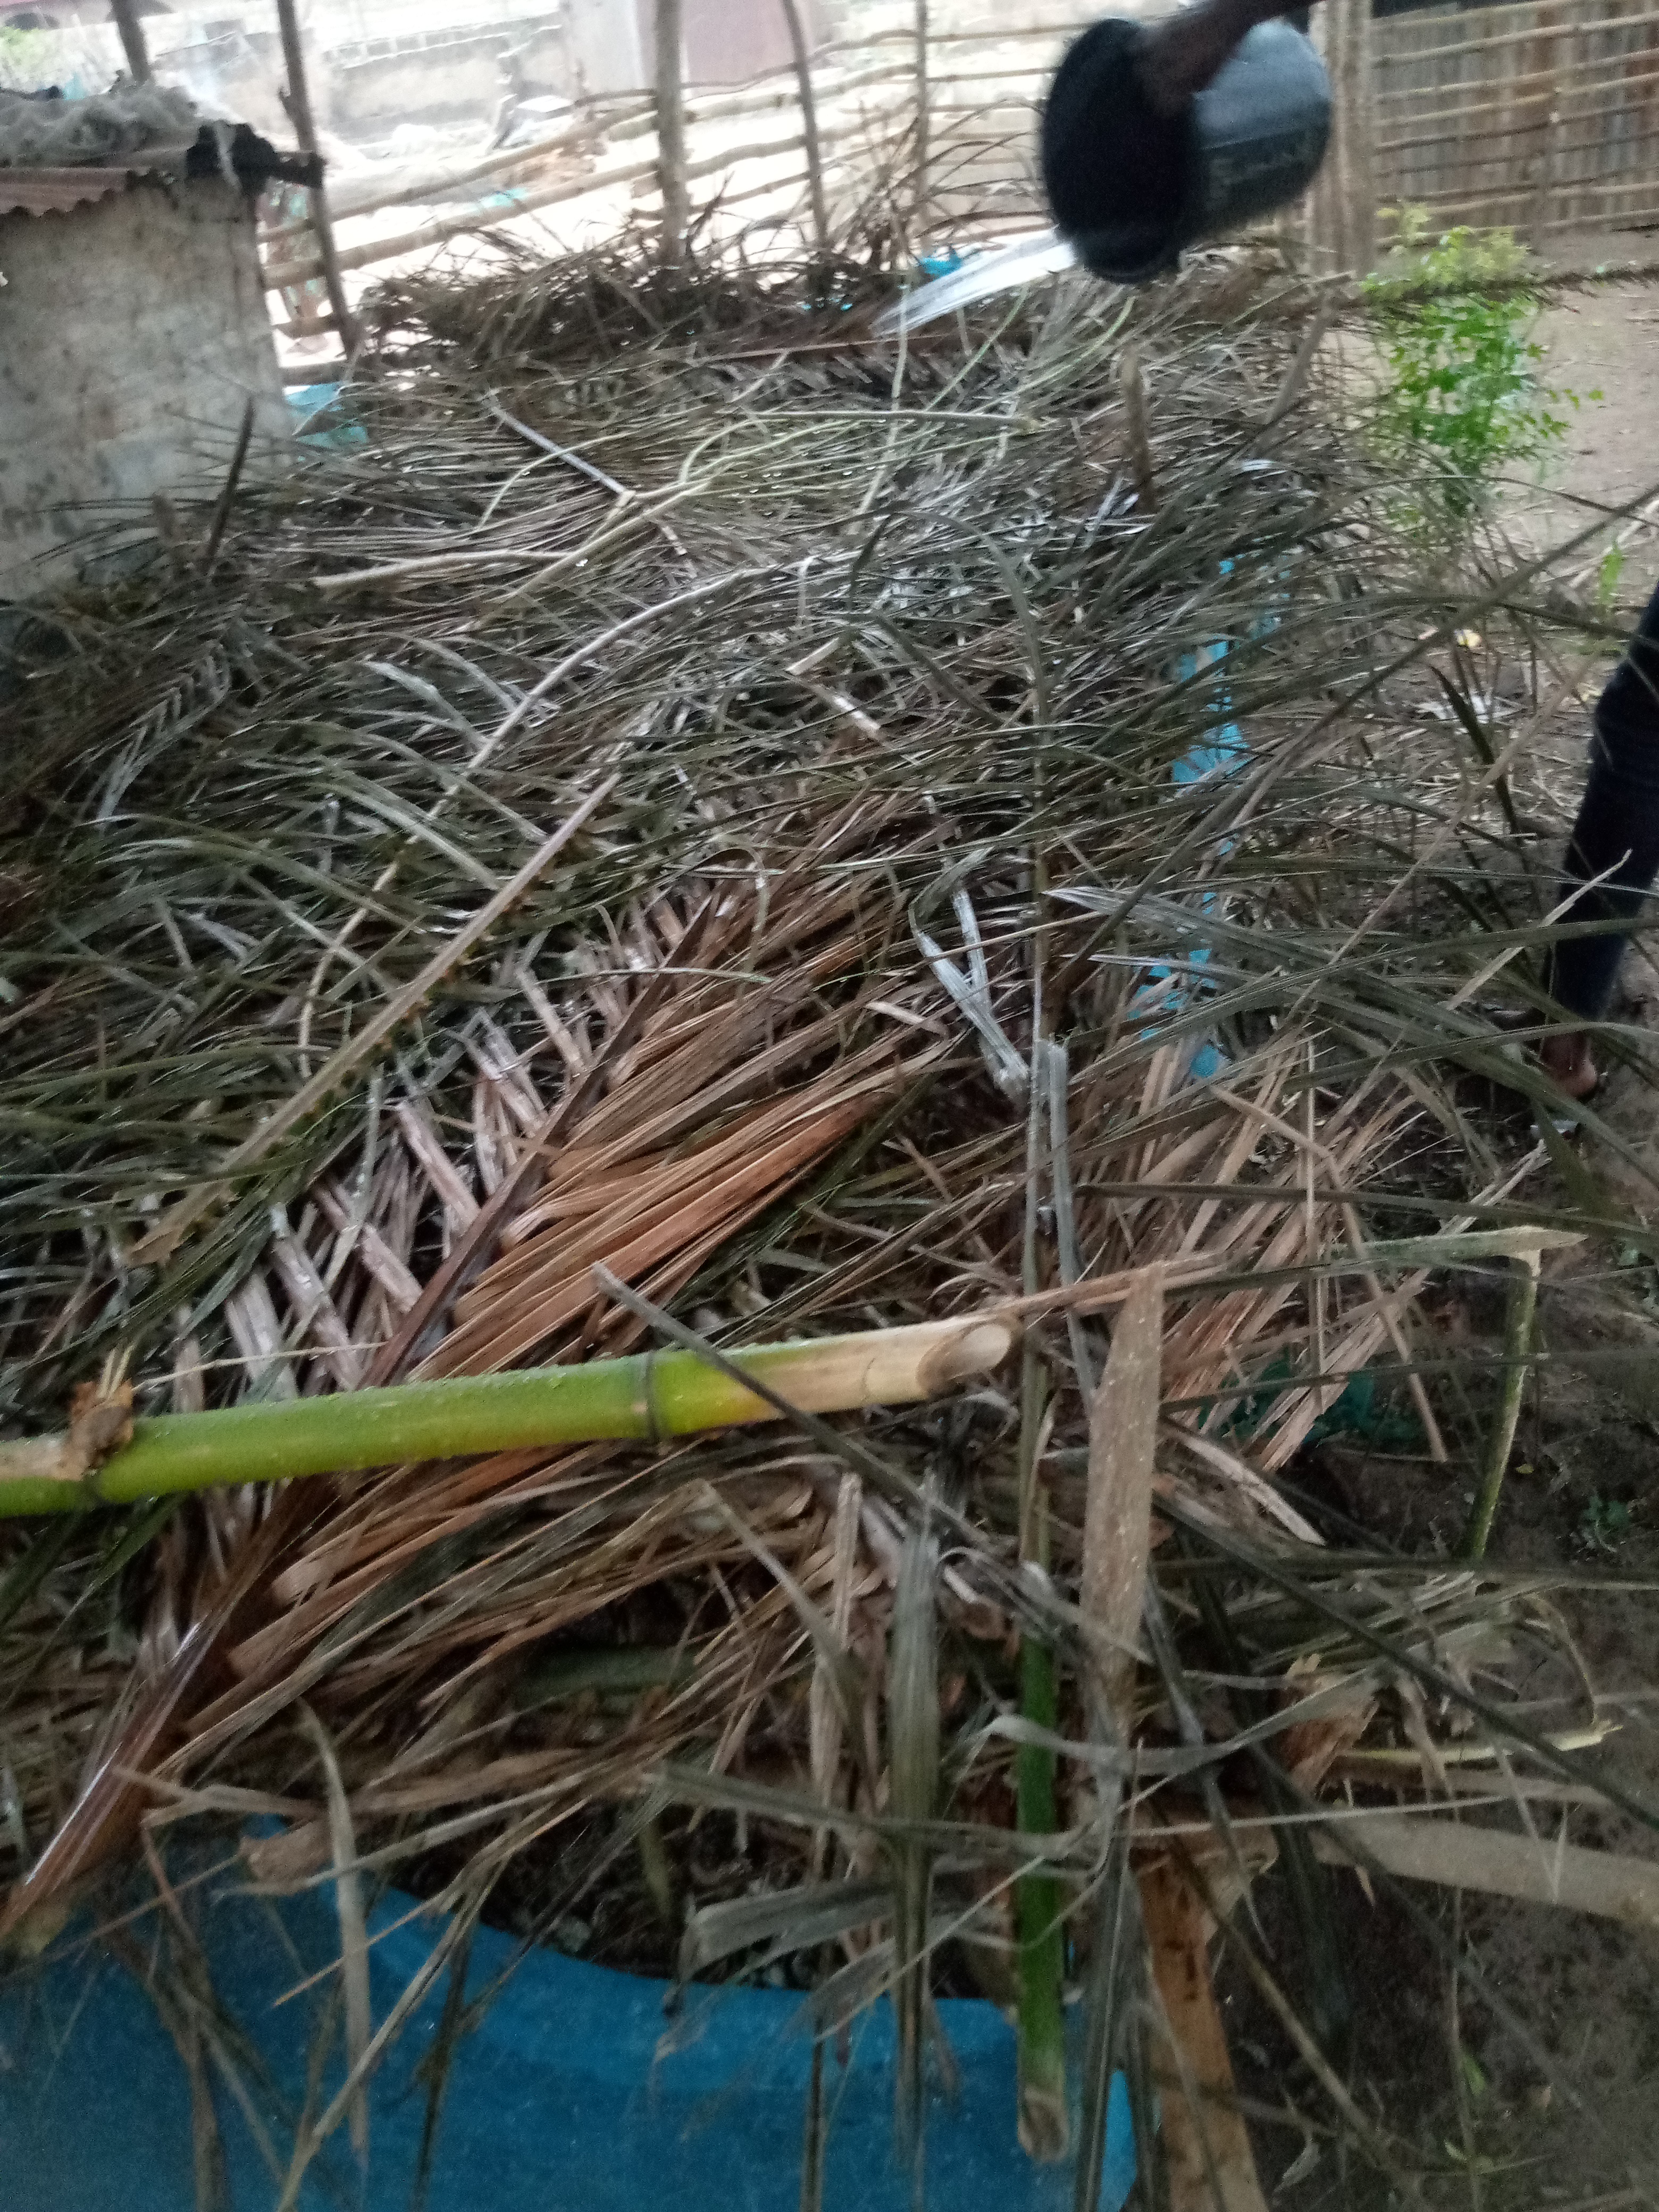
- Mulching material: the mulching material i used is wood shavings and the essence of using mulching material is to reduce the loss of water as a result of the weather condition.
Planting was done and it took me almost three hours to do that and after planting the wood shaving was spread on top of the already planted seeds which was after covering the seeds with soil ofcource.
So after planting and mulching the next thing was to use a cover net round the nursery so as to prevent the birds in the house from turning the place into their play ground😁

After covering the nursery with nets, another stage and method of mulching was done due to the fact that it's dry season.
Rafia palm 🌴 was used for this form of mulching to reduce the effect of sunlight on the seeds. I forgot to make mention of this earlier.
WETTING
Well, after planting and mulching and of course netting the next stage is a bit rigorous and tidious. This is the daily wetting of the seeds(twice a day). It is currently dry season and whatever is planted during this season has to need water and due to the lack of rain that characterize this season water has to be applied. This is done twice a day morning and evening as once may not be enough for effective result.
(This is me wetting early in the morning)
THE GERMINATION STAGE
After about two weeks of constant wetting the cocoa seeds began to germinate little by little
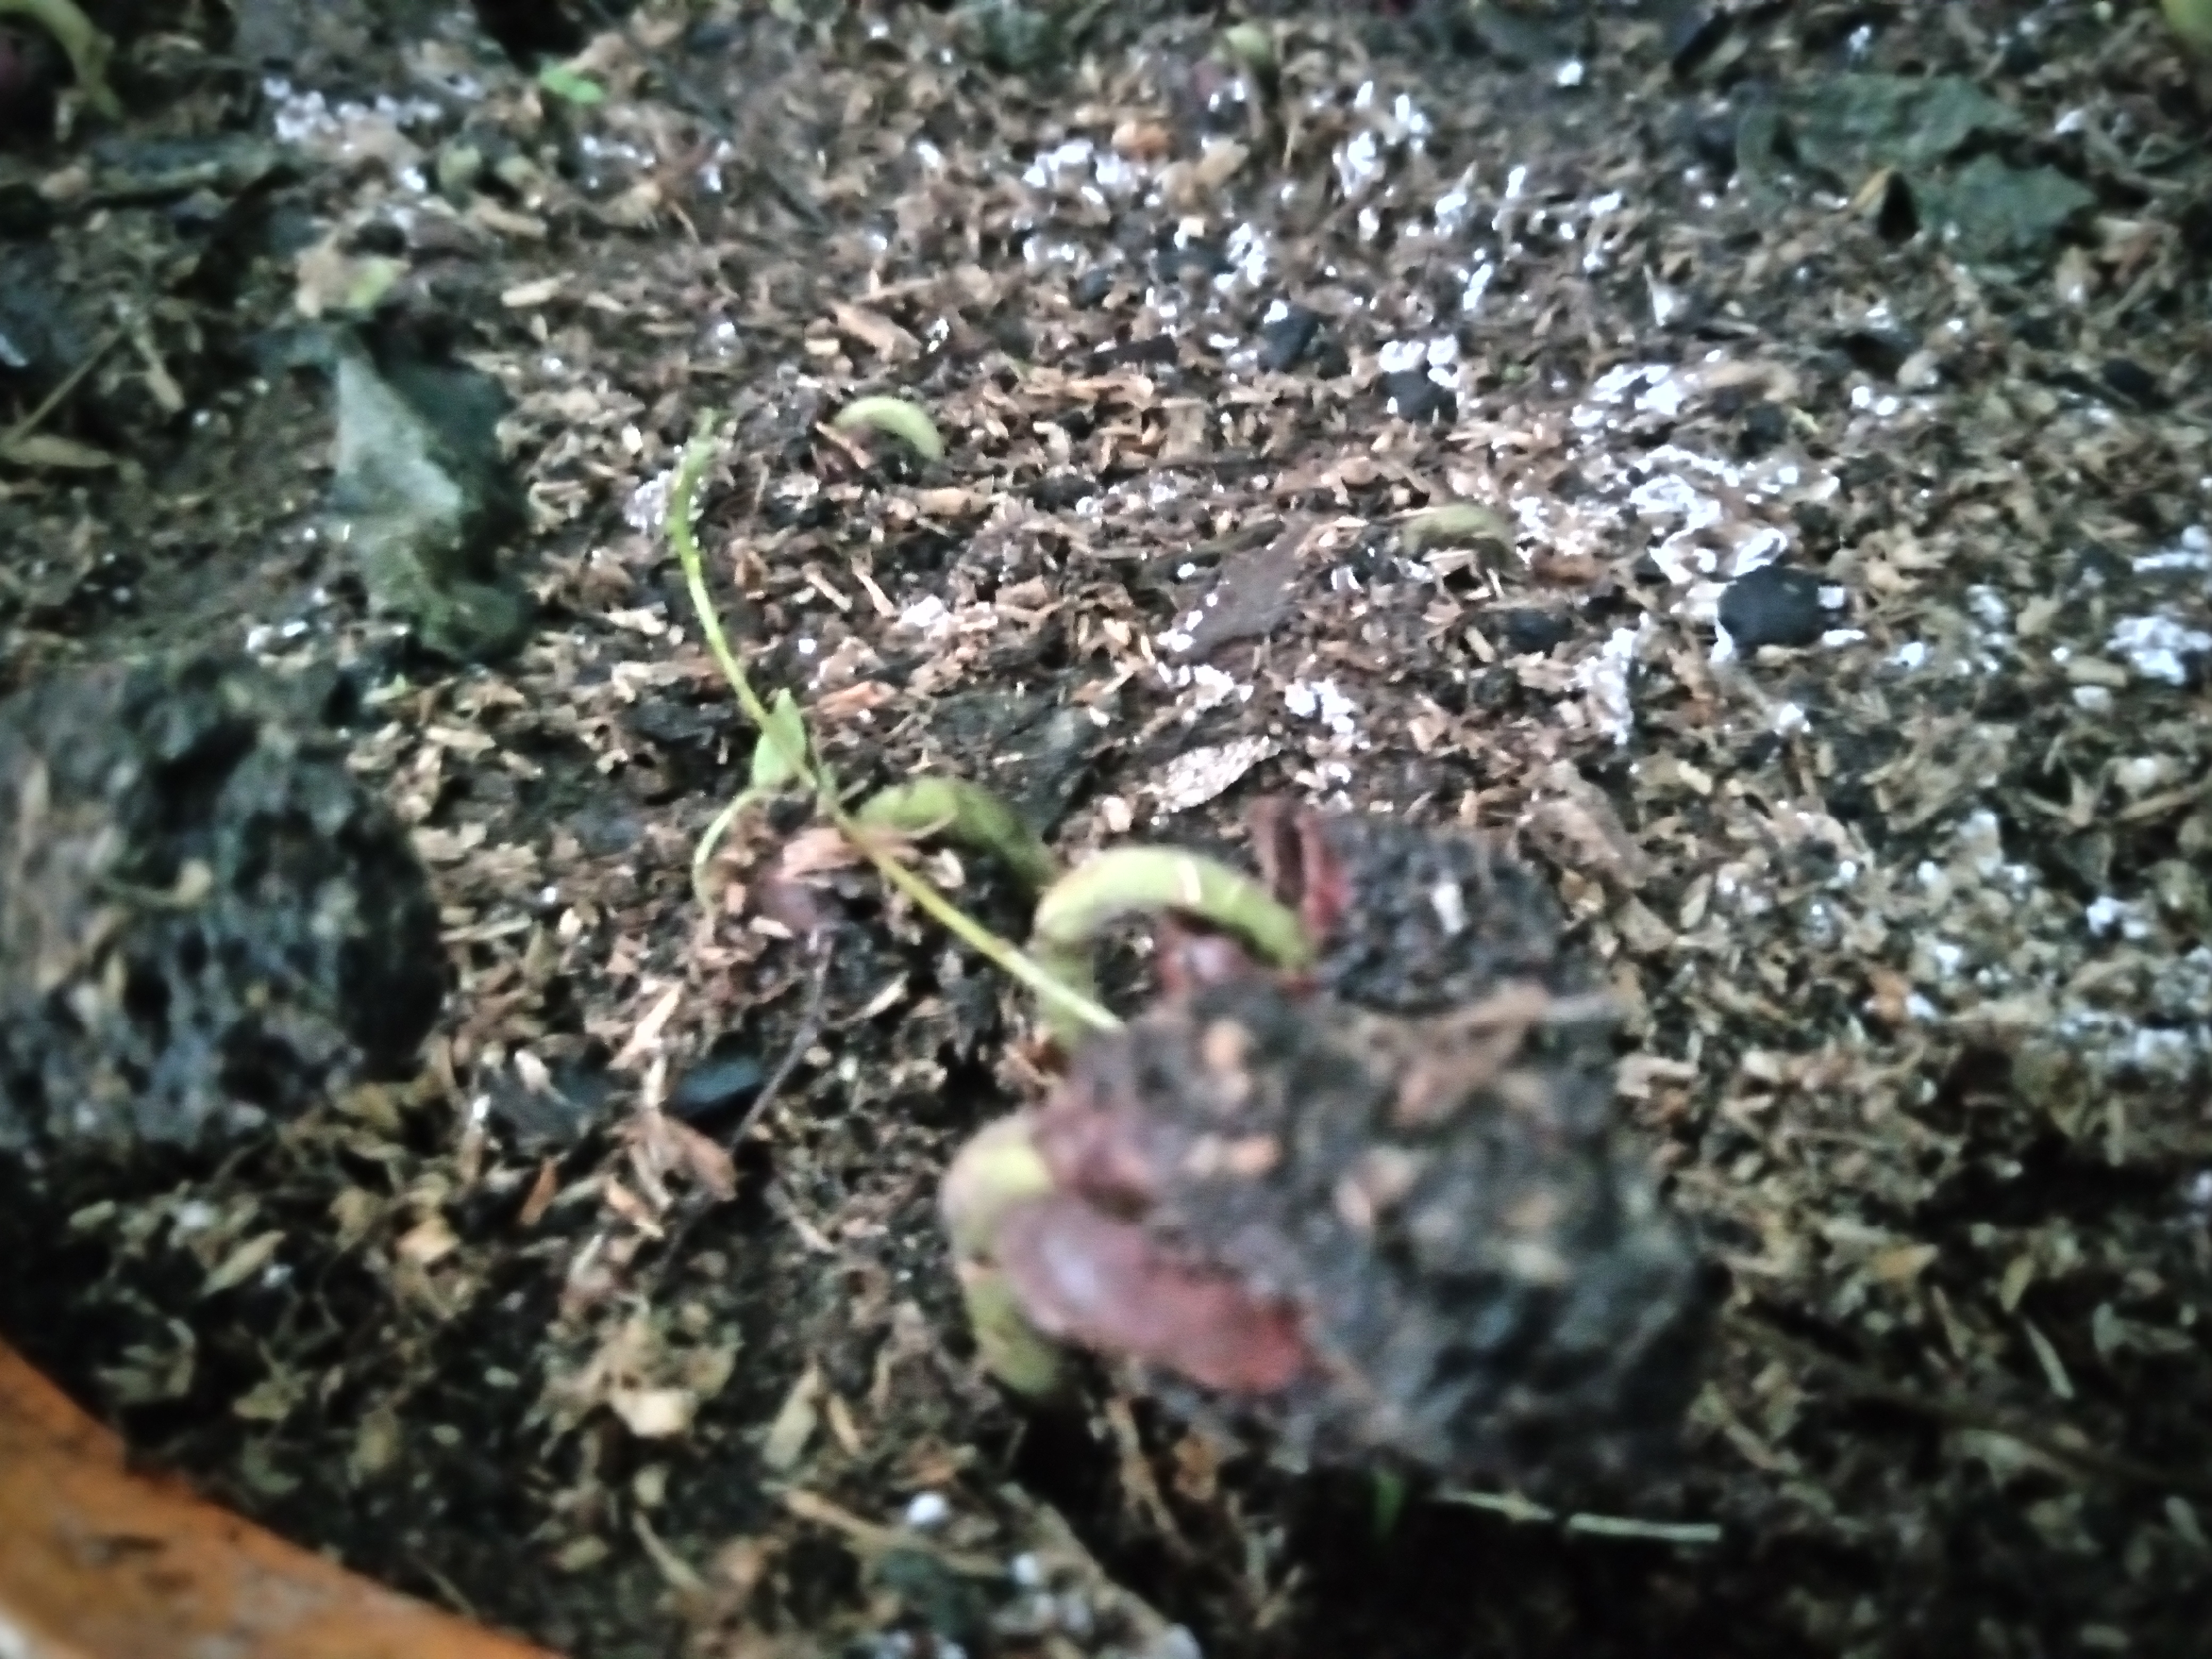

This process will take another fur to five weeks before the seedling will be transferred to the polythene pot
THE TRANSFER OF GERMINATED SEEDS INTO THE POLYTHENE POT
After waiting for another three to four weeks it was time for the seedlings to be transfered to the polythene pot. This process was not so easy but it was done in batches. It was done in batches as the seedlings did not germinate at the same time, some germinated before the other.
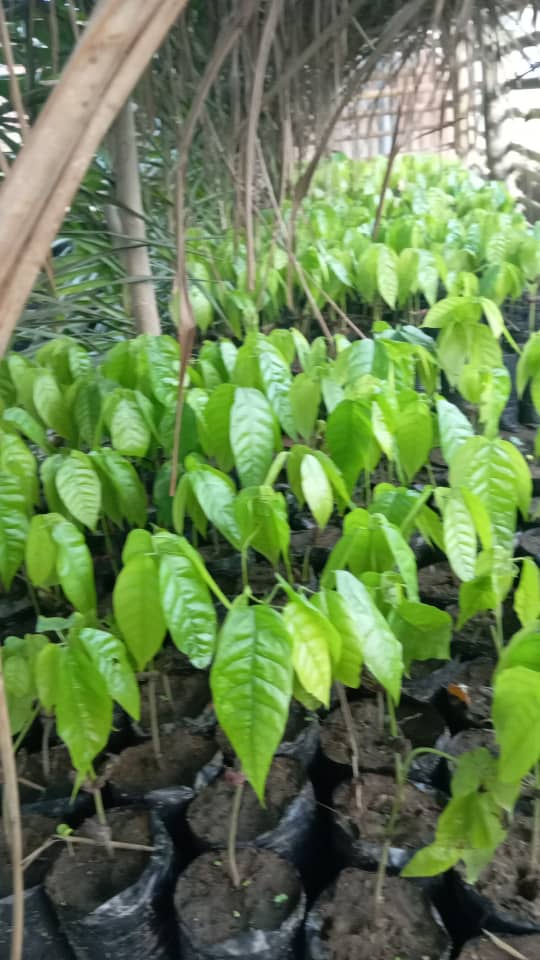
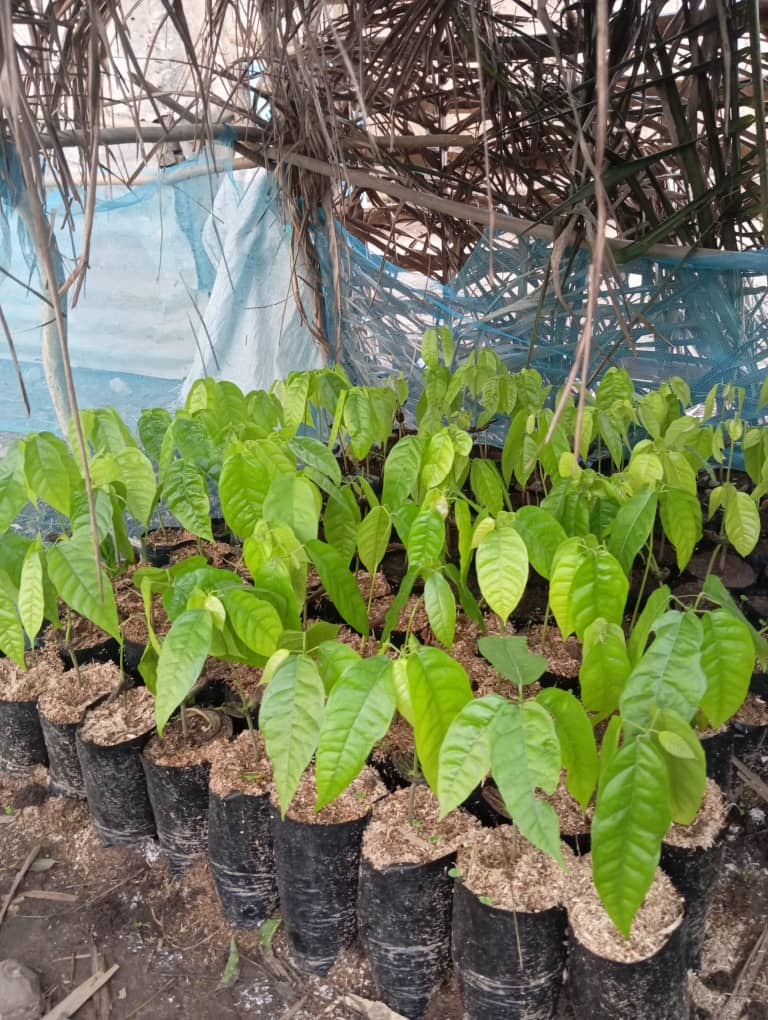
And ofcource after several weeks of hard work here is our cocoa seedlings in a polythene pot and in a week or two it will be ready to be transfered to the farm site for planting
Wow, aren't they beautiful to behold
After several weeks and so much effort put into this the result is quite satisfying.
Thank you all for viewing
If you find this post educative amd enlightening an upvote will be appreciated 🙏🙏
Wow your coco are looking freash
Thank you so much
Congratulations @zion-francis! You have completed the following achievement on the Hive blockchain And have been rewarded with New badge(s)
Your next target is to reach 2500 upvotes.
You can view your badges on your board and compare yourself to others in the Ranking
If you no longer want to receive notifications, reply to this comment with the word
STOP