New Cover for Rebound of Power - Viking Visual Art Tutorial
Following last week's new cover for Friendship on Fire, I got the new cover for Rebound of Power finished today. (As a break from actual writing.) I plan to begin this series on WeKu next week after the whole Nanowrimo thing is done this week. - not sure if I'll make it yet. I still have 11k words to write this week! But I'm getting diverted onto a different train of thought already...
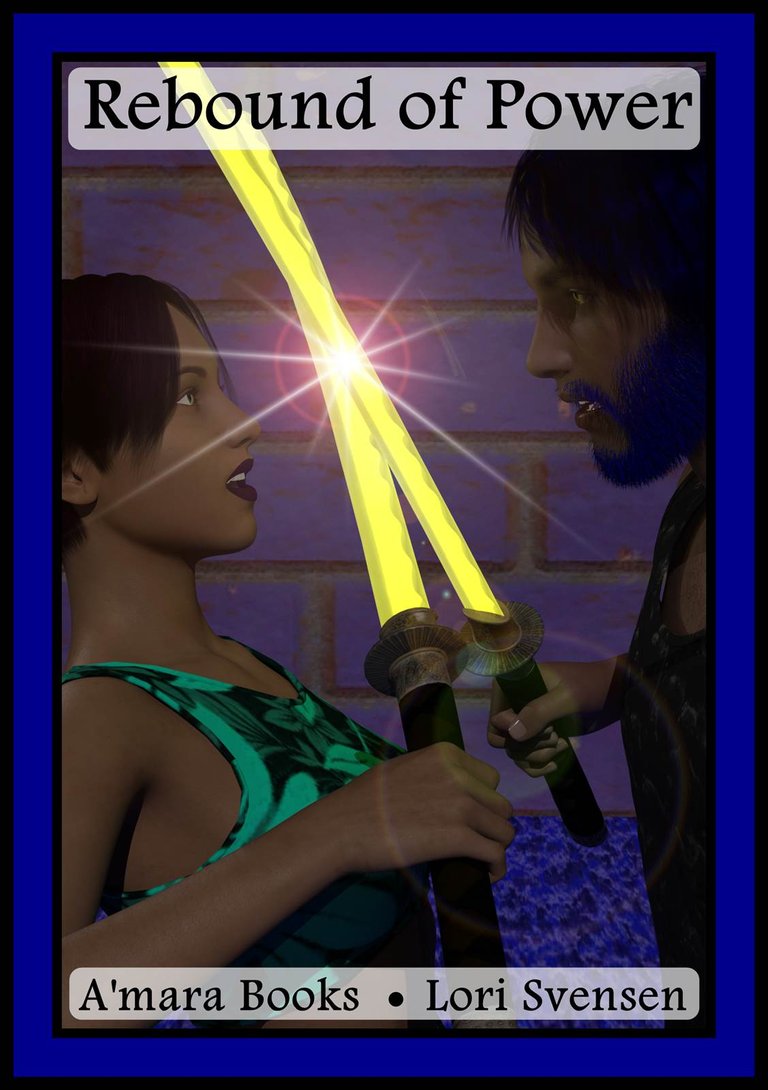
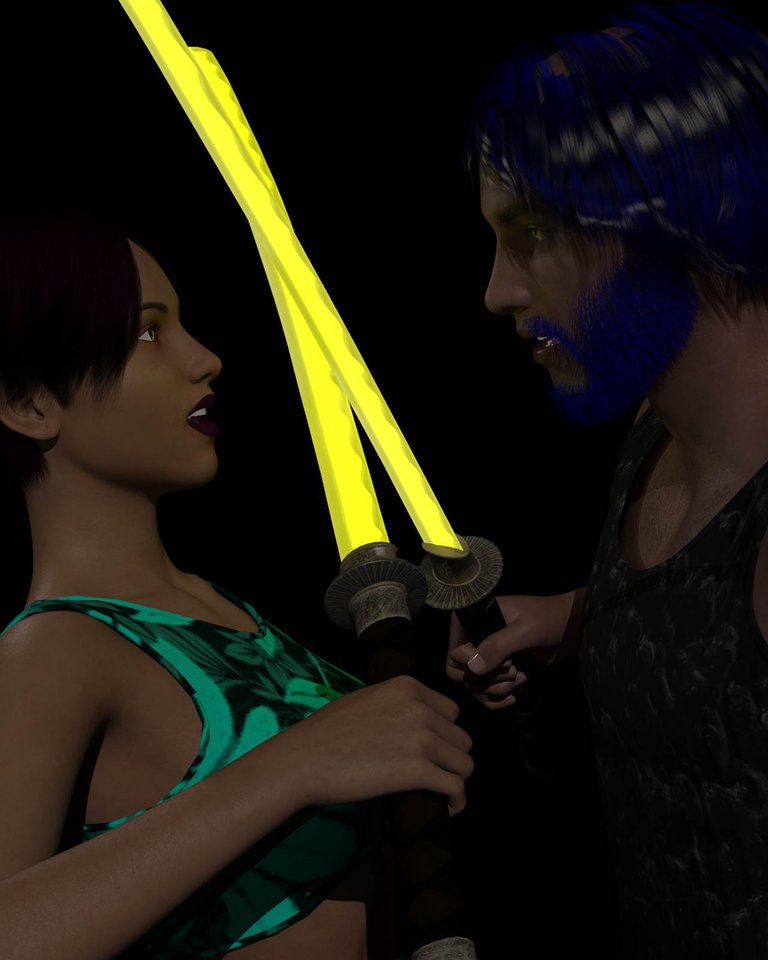
Here is my result:
This time, I didn't record all the steps involved in dressing and posing my characters - though these action poses are really difficult! The hand grips are even harder. I'm sure they're not perfect, but hopefully, they're passable.
Render Fails
At first, I had planned to find an image for the background, so I did renders of my characters by themselves. (Note, these are actual renders, not just the previews - so, figure that each one of these took at least 1/2 hour of render time.)
Render no. 2
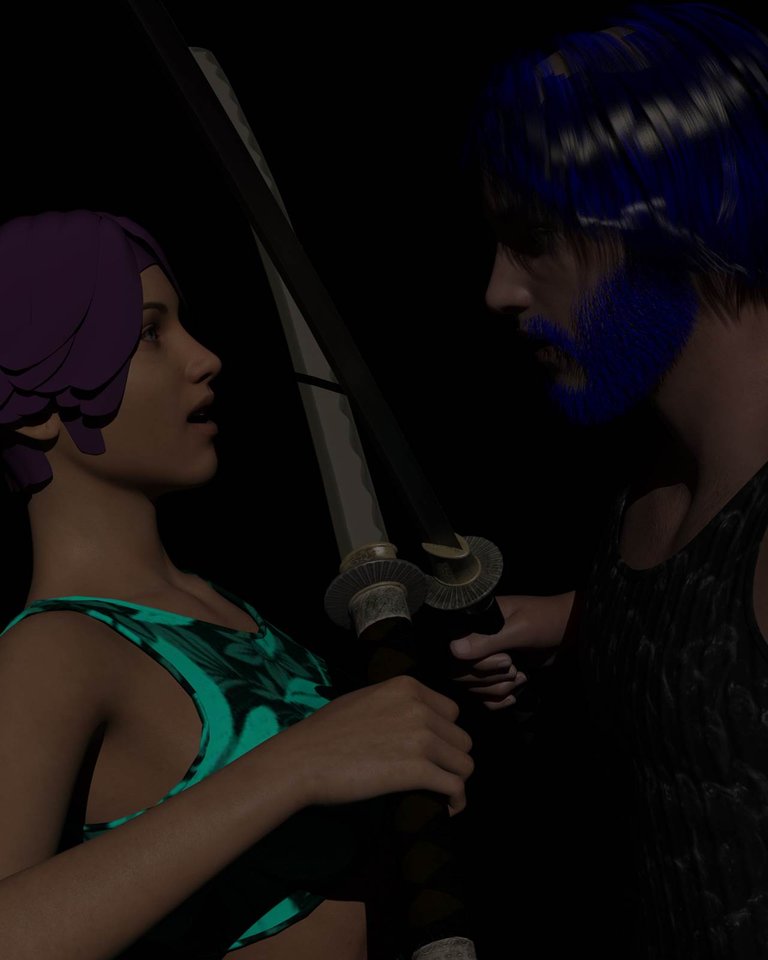
Several problems going on in this one. Here are the two that got fixed before render 3.
Iyva's hair - I had only changed the color, never applied the supplied materials for the hair. (Easy fix.)
I had to look back to my work for Game of the Neví to remember how I went about illuminating an object.
With the item (in this case, the blades of the shazes) selected, I double-clicked on "emissive" (a lighting setting, really) and voilà! The shazes are suddenly glowing!
Render no. 3
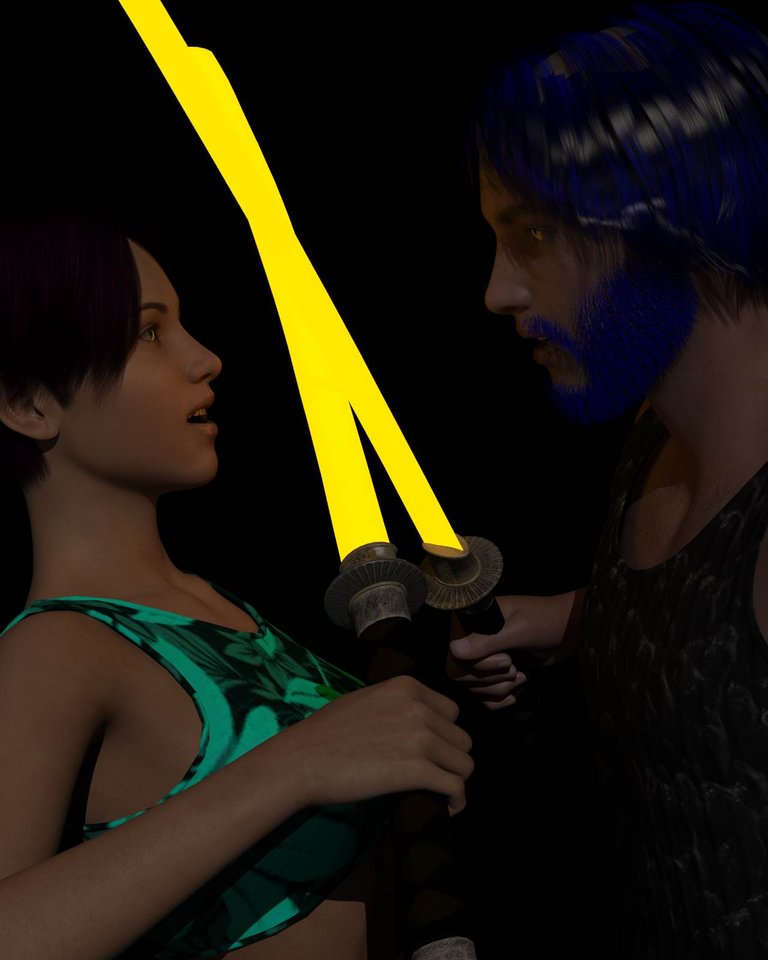
Okay, so now my shazes are lit, but there's no depth to them, no hint to the idea that these are actual blades, not light-sabers! So, the next challenge was to play with the settings to make them emissive, yet still show the surface beneath.
Render no. 4
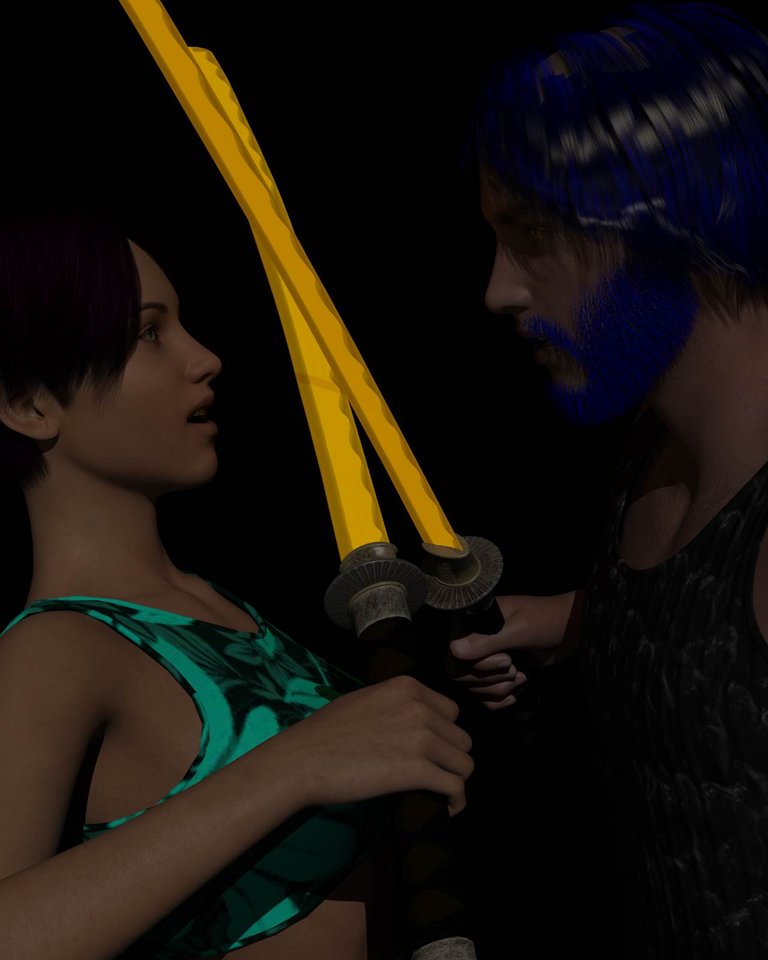
Too dark on the shazes and I've lost all the glow on Iyva and Zilan's faces.
I also realized that there were some color corrections to be made. One of the most annoying faults of the Daz characters is that I always have to correct their teeth and sclera (the whites of the eyes) to be the correct color - rather than skin tone which is the default. Minor irritation, but this is something they really should fix!
Iyva's nails aren't showing, so I don't have to worry about polish, but her lips needed a bit of color. Whether she would normally wear jewelry or not, she certainly wouldn't be during shaze training, so I can ignore that for this picture.
I also corrected the thumb position of Zilan. I actually don't like this position as much, but at least it's not colliding with the hilt of his shaze anymore!
So, now we have...
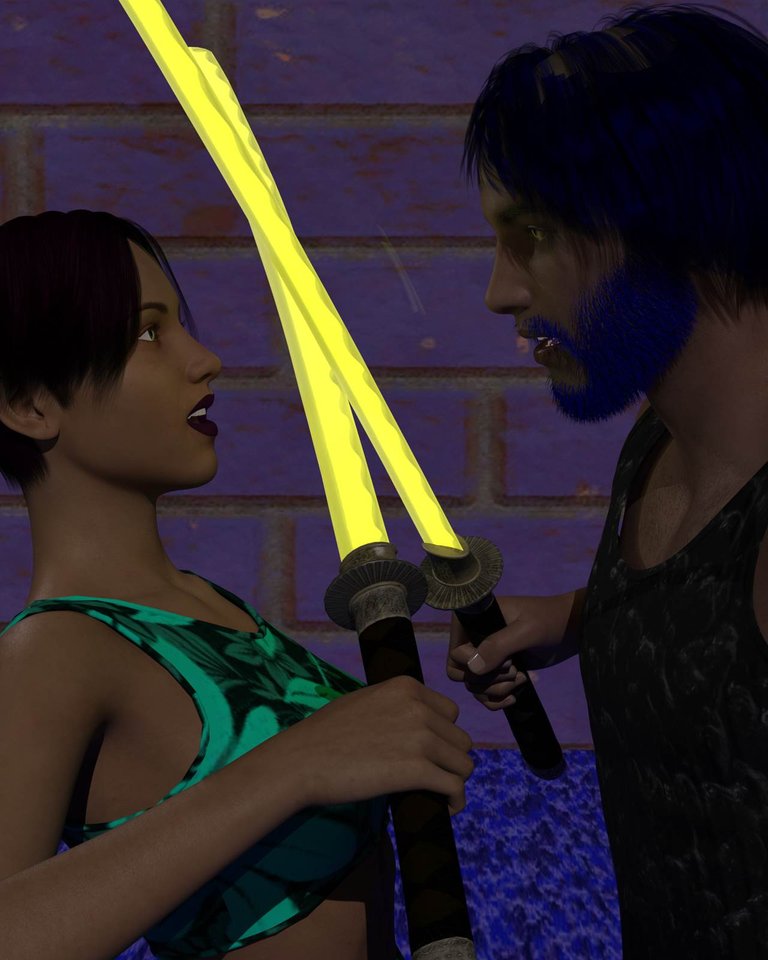
Render no. 6
I was pretty happy with this render, and went to look for a decent background image - but couldn't find one. So, it was back to Daz to create a set with some new textures.
This part was very easy. I just grabbed a floor panel I've used before and a backdrop. I put a texture into each of them (the textures required editing as well) and we were good to go.
Then, I decided that I didn't like the white highlights in Zilan's hair, so I fixed those too.
Render no. 8
This render (two attempts) took about 2 hours to process.
This is the one I went to Gimp with. I really don't like Zilan's hair, but I didn't see anything better.
He looks like he's combing his hair over a bald patch! (He's not that old!) I tried coloring his scalp to match the hair, but that attempt failed - i'll have to try that again in the future.
Gimp/Photoscape Afterwork
In Gimp, however, I used a clone tool to make his hair look a little more full. (Wouldn't you like that to cover your bald patches?!)
In order to emphasize the energy of the blades when they meet, I like to use lens flares. I like the combined effect of the Gimp lens flare (the roundy part) and the Photoscape lens flare (the starry bit) best.
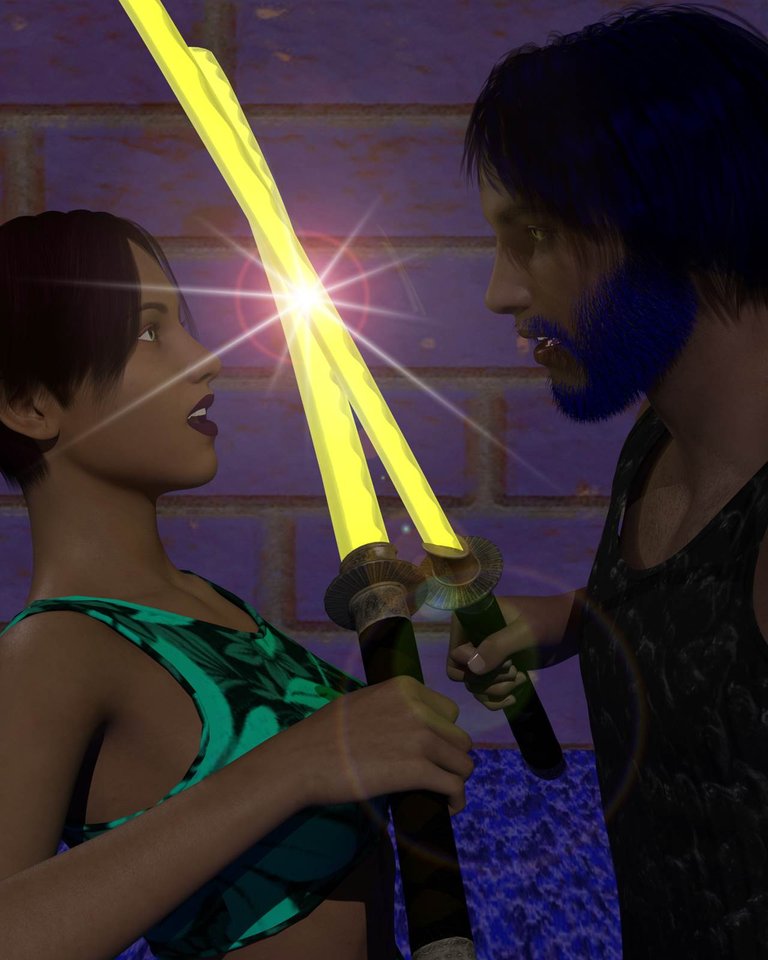
The final steps were to crop the image to 6x9 (for my book), add text and margins to the final cover image.
From my understanding, a good cover image would cost me around $600 to buy - someone else's time, someone else's interpretation of what I want... Designing my own has been a huge challenge, for sure - lots of learning and lots of time. But as I get more experience, the process goes faster and faster. (The renders, however, tend to get longer as I expect them to do more things.)
Image Credits:
(all pieces from Daz 3D studio unless otherwise stated.)
Iyva
- Genesis 8 character
- Basic Hair
- Katana
Zilan
- Genesis 8 character
- Toulouse Hair
- Genie Beard from unknown
- Katana
All work done by myself on: Photoscape, Gimp, Krita, and/or Daz 3D Studio
Cross-posted on: Steem, Whaleshares, WeKu
Past tutorials:
- Map Development for Alacantis (on GIMP), part 1, part 2, part 3, part 4
- Cover image for Acting the Part
- Cover image for Brighid's Blood (part of the update).
- Cover image for Birth of the Neví, part 1, part 2
- Map Development for Velantia, part 1, part 2, part 3, part 4
- Map Development for Kranisis, part 1, part 2, part 3, part 4
- Cover Image for Name of the Neví, part 1, part 2, part 3, part 4, part 5, part 6
- Beginning with Daz 3D Studio - my cover image for Mind of the Neví: part 1, part 2, part 3, part 4, changes
- Cover image for Game of the Neví, part 1, part 2, part 3
- Cover image for Pawn of the Neví, part 1, part 2, part 3, part 4, part 5
Photo salvages:
Droplet, Bellis Daisy, Baby Blue Flowers, version 1, version 2, 2-Spot Ladybug, version 1, version 2, Bridge Over River Kennet
Coloring Tutorials & Mini-tutorials:
Zen colouring #43, Zen colouring #39, Zen colouring #38, Zen colouring #37, Zen colouring #36, Zen colouring #35, Zen colouring #34, Zen colouring #33,
Butterfly Colouring #11, Butterfly Colouring #10
Halloween Artwork:
2018 - Pumpkin Patch Harvest
2019 - Haunted Pumpkin House, Jack-o-Lantern Forest Cemetery, Shadow in a Misty Forest
Miscellaneous Artwork:
Lori Svensen
author/designer at A'mara Books
photographer/graphic artist for Viking Visual
verified author on Goodreads
find me on Twitter
blogging on: Steem, Whaleshares, WeKu

This post has received a 3.13 % upvote from @drotto thanks to: @sbi-booster.
Good
Thanks for stopping by.
I don't know if they are perfect but if you wouldn't have said anything I wouldn't have noticed at all - great job :)
Thanks so much!
Thank you for using the #build-it tag. This post has been manually rewarded with BUILD tokens in the form of an upvote with our @build-it.curator account. You can buy, stake, and exchange our "BUILD" tokens for steem on steem engine and Steem Leo's exchange
Build-it is a central hub for DIY and How-To projects. It's an opportunity to find and share the latest in DIY, and How-To tutorials. The recommended tags required when creating a DIY article are #diy, #build-it. #how-to, or #doityourself.
Chat with us on our discord and telegram channels Discord, Telegram. Are we adding value ? your witness vote will be appreciated! Click here to vote
Thank you!