[ENG/ESP] - Paint Tutorial to save and crop; in images, Pc screenshots/Tutorial Paint para guardar y recortar; en imágenes, capturas de pantalla de Pc
(Edited)
ENGLISH VERSION
[ENG/ESP] - Paint Tutorial to save and crop; in images, Pc screenshots/Tutorial Paint para guardar y recortar; en imágenes, capturas de pantalla de Pc
[ENG/ESP] - Paint Tutorial to save and crop; in images, Pc screenshots/Tutorial Paint para guardar y recortar; en imágenes, capturas de pantalla de Pc
Paint is a simple and practical tool to edit images (Very useful for those of us who publish in #Hive) without so many complications that it is in most of the computers of the world. A few tips for those who are just starting out and a refresher for those who are not so new, let's get started!
We start making a screenshot that we are seeing at this time, we do by pressing the key "ImpPnt Pet Sis" We are going to start in the Windows Logo  which is usually at the bottom left and we click right. There will be displayed (if you have Windows 7. Because for other windows may vary) something more or less like this.
which is usually at the bottom left and we click right. There will be displayed (if you have Windows 7. Because for other windows may vary) something more or less like this. 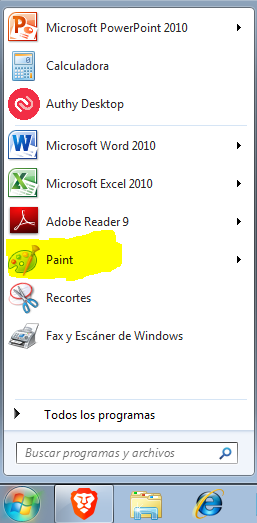
Underlined in Yellow is Paint, we click right on the Paint Program
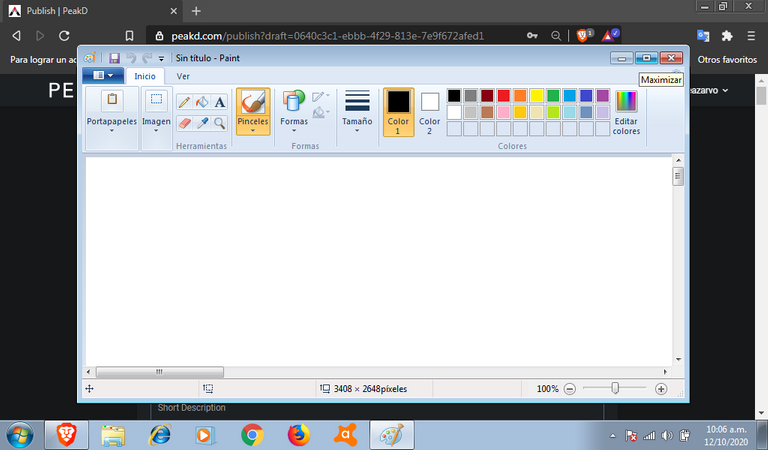
Underlined in Yellow is Paint, we click right on the Paint ProgramThis will appear to us:


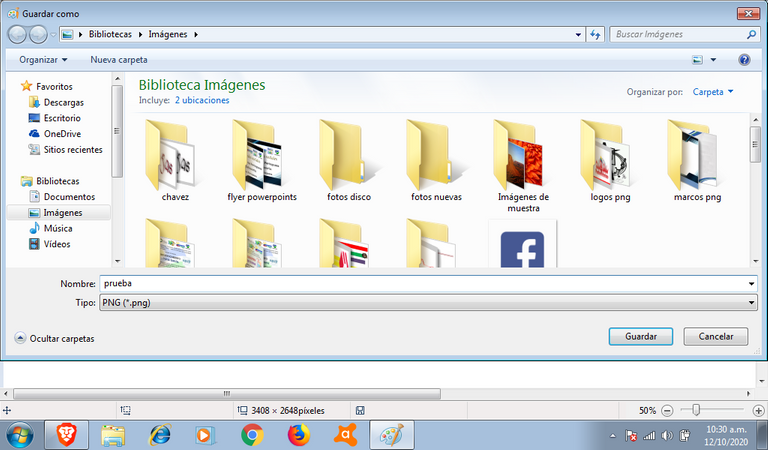
We save the image by right clicking on the diskette (shaded in yellow) from "Save As" on the top right".


Up to this point we have learned how to take a screenshot from the PC. It is important to highlight that the PC screenshots are saved very light in size and with good resolution, as we can see.
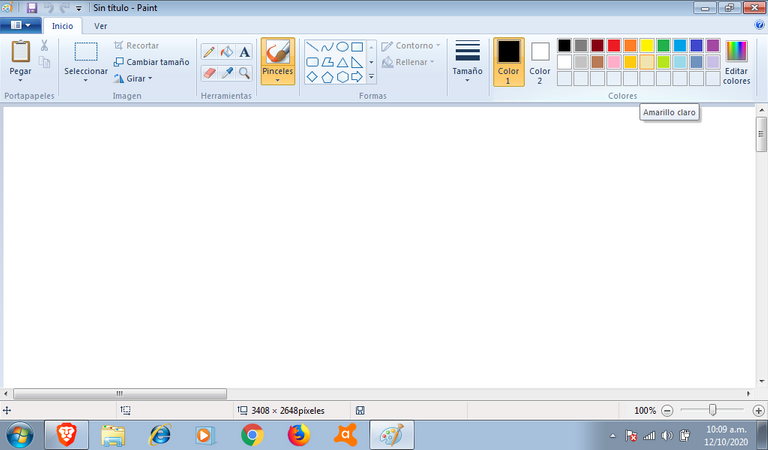
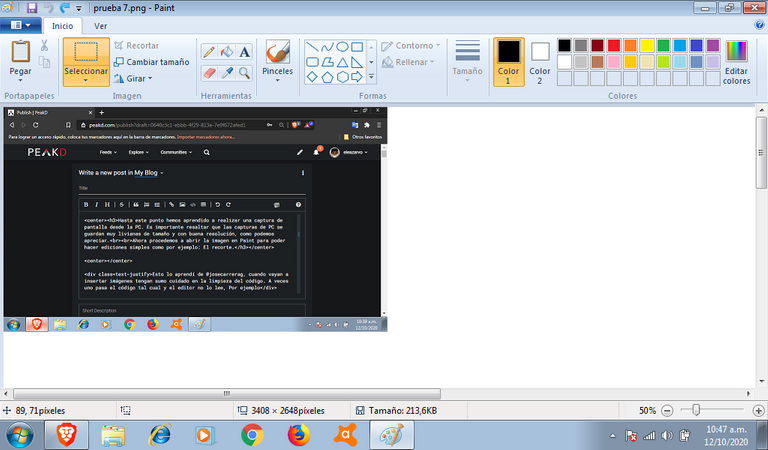
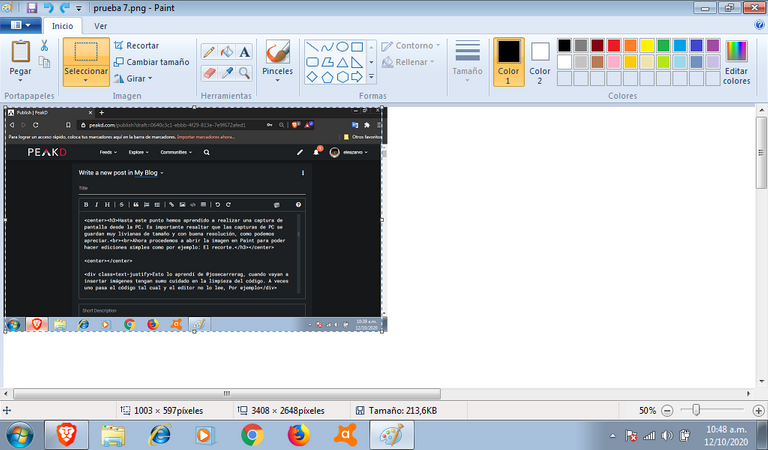
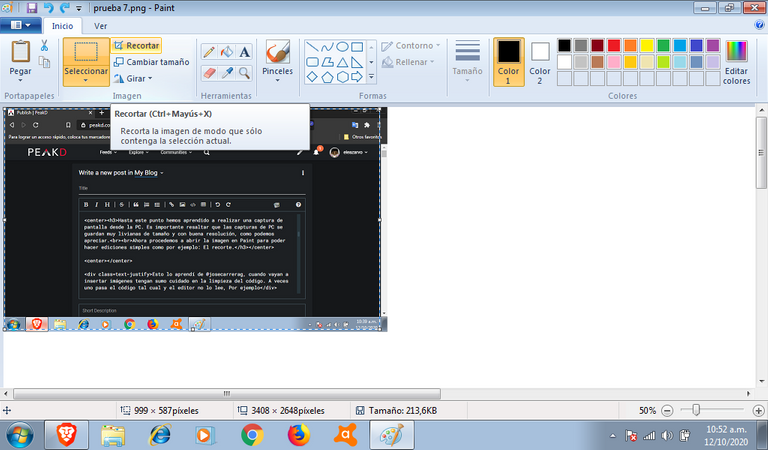
Now we proceed to open the image in Paint to be able to make simple edits like for example: The crop.


It would look like this:

VERSIÓN ESPAÑOL
[ENG/ESP] - Paint Tutorial to save and crop; in images, Pc screenshots/Tutorial Paint para guardar y recortar; en imágenes, capturas de pantalla de Pc
[ENG/ESP] - Paint Tutorial to save and crop; in images, Pc screenshots/Tutorial Paint para guardar y recortar; en imágenes, capturas de pantalla de Pc
Paint es una herramienta sencilla y práctica para editar imágenes (De mucha utilidad para quienes publicamos en #Hive) sin tanta complicaciones que está en la mayoría de las Computadoras del mundo. Unos tips para quienes comienzan y un refrescamiento para quienes no son tan nuevos. ¡Comencemos!
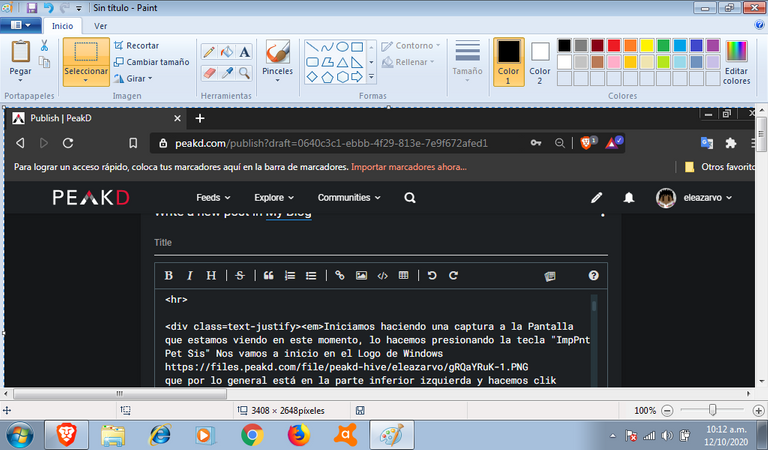
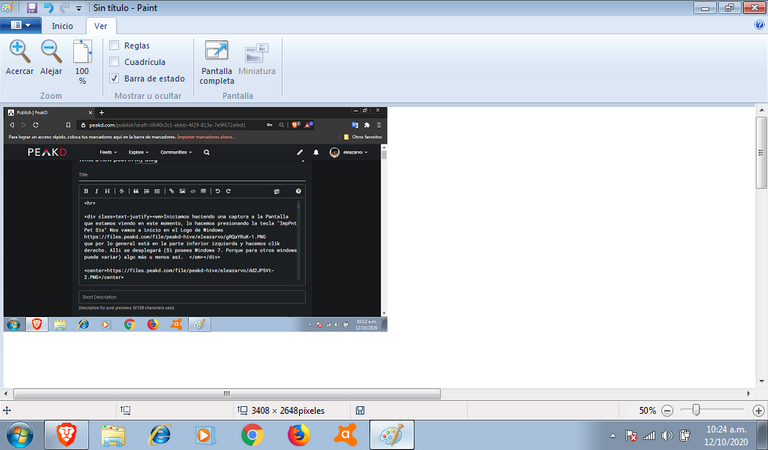
Iniciamos haciendo una captura a la Pantalla que estamos viendo en este momento, lo hacemos presionando la tecla "ImpPnt Pet Sis" Nos vamos a inicio en el Logo de Windows
que por lo general está en la parte inferior izquierda y hacemos clik derecho. Alli se desplegará (Si posees Windows 7. Porque para otros windows puede variar) algo más u menos así.
que por lo general está en la parte inferior izquierda y hacemos clik derecho. Alli se desplegará (Si posees Windows 7. Porque para otros windows puede variar) algo más u menos así. Subrayado en Amarillo está Paint, hacemos clik derecho en el Programa Paint
Subrayado en Amarillo está Paint, hacemos clik derecho en el Programa PaintNos aparecerá esto:
Guardamos la Imagen haciendo clik derecho en el disquete (Sombreado en Amarillo) de "Guardar Como" en la Parte Superior Derecha"
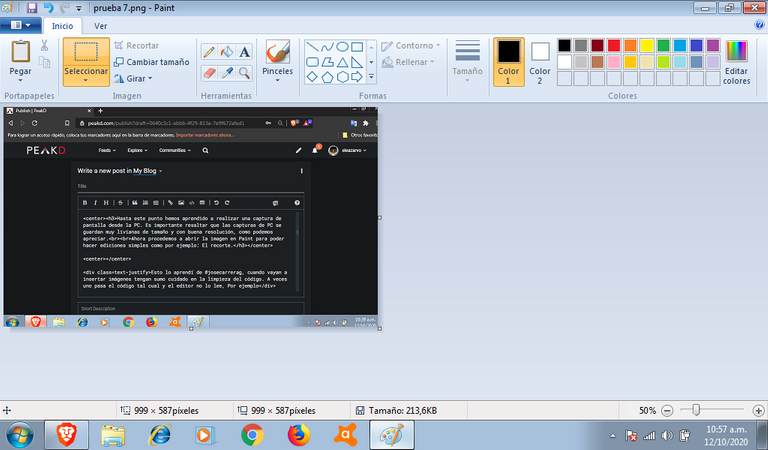
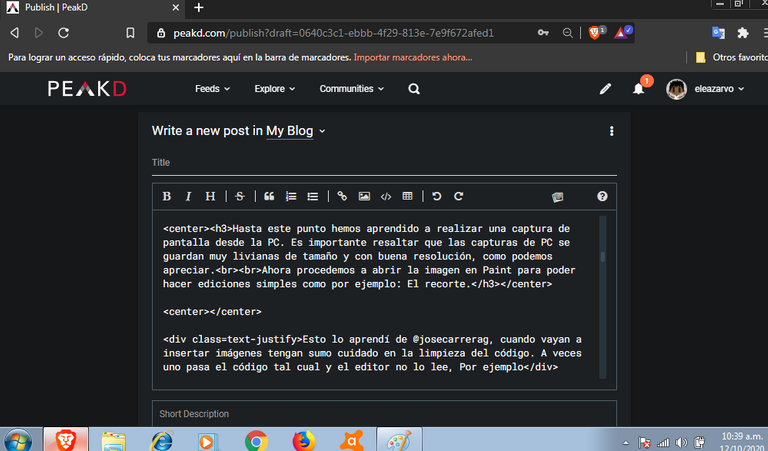
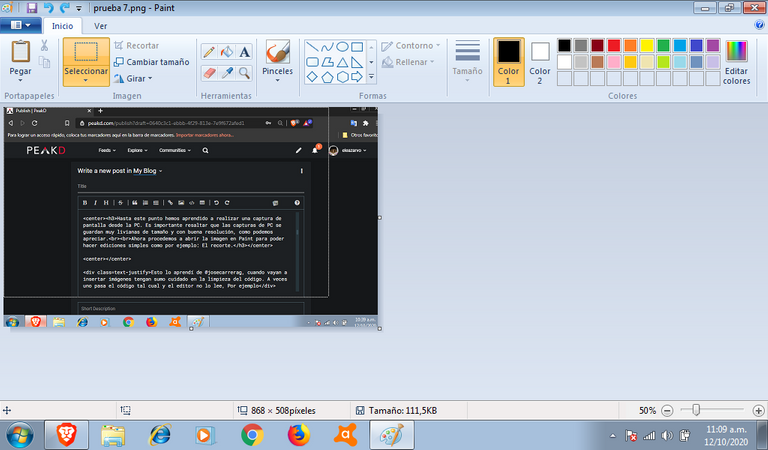
Hasta este punto hemos aprendido a realizar una captura de pantalla desde la PC. Es importante resaltar que las capturas de PC se guardan muy livianas de tamaño y con buena resolución, como podemos apreciar.
Ahora procedemos a abrir la imagen en Paint para poder hacer ediciones simples como por ejemplo: El recorte.
Quedaría así:
Créditos/Credits:
The screenshots are my own. English language is not my native language, so I can have grammatical errors, so I used the translator: https://www.deepl.com/ . God bless you... /Las Capturas de Pantallas son de mi autoría.
El inglés idioma no es mi idioma nativo, por tanto puedo tener errores gramaticales, para ello usé el traductor: https://www.deepl.com/ .. Dios les bendiga...
El inglés idioma no es mi idioma nativo, por tanto puedo tener errores gramaticales, para ello usé el traductor: https://www.deepl.com/ .. Dios les bendiga...

For more information about my universe, you can follow my social networks (click icons)
Para mayor información de mi universo, puedes seguir mis redes sociales (hacer clik iconos)


Discover the new Monetized Social Network that you can use and recommend (only for android phones) by clicking on the icon,  download it and register for free. (If you want to know the LIFETIME PROGRAM you can contact me at Whatssap:
download it and register for free. (If you want to know the LIFETIME PROGRAM you can contact me at Whatssap: Descubre la nueva Red Social Monetizada con la cual ganas por usarla y recomendarla (solo para celulares android) clik en el icono, descárgala y registrate gratis. (Si quieres conocer el PROGRAMA DE GANANCIAS DE POR VIDA puedes comunicarte conmigo al Whatssap:
descárgala y registrate gratis. (Si quieres conocer el PROGRAMA DE GANANCIAS DE POR VIDA puedes comunicarte conmigo al Whatssap: 
For more information about my universe, you can follow my social networks (click icons)
Para mayor información de mi universo, puedes seguir mis redes sociales (hacer clik iconos)
Discover the new Monetized Social Network that you can use and recommend (only for android phones) by clicking on the icon, download it and register for free. (If you want to know the LIFETIME PROGRAM you can contact me at Whatssap:
download it and register for free. (If you want to know the LIFETIME PROGRAM you can contact me at Whatssap: Descubre la nueva Red Social Monetizada con la cual ganas por usarla y recomendarla (solo para celulares android) clik en el icono, descárgala y registrate gratis. (Si quieres conocer el PROGRAMA DE GANANCIAS DE POR VIDA puedes comunicarte conmigo al Whatssap:
descárgala y registrate gratis. (Si quieres conocer el PROGRAMA DE GANANCIAS DE POR VIDA puedes comunicarte conmigo al Whatssap:
0
0
0.000
Gracias por compartir tu contenido con la comunidad de El Arca (@elarca), el mismo ha sido votado por nuestra iniciativa de curación artística @stellae. Si deseas puedes delegar HP al proyecto: Delegate 25 HP Delegate 50 HP Delegate 100 HP Delegate 250HP Delegate 500HP
https://twitter.com/eleazarvho22/status/1315694249371996160
Congratulations, your post has been upvoted by @dsc-r2cornell, which is the curating account for @R2cornell's Discord Community.
Enhorabuena, su "post" ha sido "up-voted" por @dsc-r2cornell, que es la "cuenta curating" de la Comunidad de la Discordia de @R2cornell.