How to make the contours of the face? General techniques!
💕 Hello Hive Community! 💕
Hoy vamos a hablar de contornos 😊 La verdad es que hay muchas formas de hacer los contornos del rostro. Recordemos que bronzer y contorno no es lo mismo, con uno tratas de hacer sombras en el rostro para definir y con el otro darle un poco de calidez. Se pueden llevar tanto juntos como separados, todo dependerá del gusto personal de cada persona.
Today we are going to talk about contours 😊 The truth is that there are many ways to make the contours of the face. Let's remember that bronzing and contouring are not the same, with one you try to make shadows on the face to define and with the other you give it some warmth. They can be worn both together and separately, it all depends on the personal taste of each person.

A mi me gusta usar ambos, juntos o por separados, incluso en algunas ocasiones trato de llevar una combinación de ambos con un solo producto. Con un producto que tenga tono neutro puedo unir ambos pasos y ahorrar tiempo a la hora de maquillarme. Como mi amiga @ambarvegas me había pedido un tutorial de contornos hace bastante tiempo, aproveche la clase y la actividad del curso que tuvimos hoy para tomar algunas fotos y hacer un tutorial bastante sencillo y práctico.
I like to use both, together or separately, sometimes I even try to wear a combination of both with one product. With a product that has a neutral tone I can join both steps and save time when it comes to makeup. As my friend @ambarvegas had asked me for a contour tutorial some time ago, I took advantage of the class and the activity of the course we had today to take some pictures and make a pretty simple and practical tutorial.

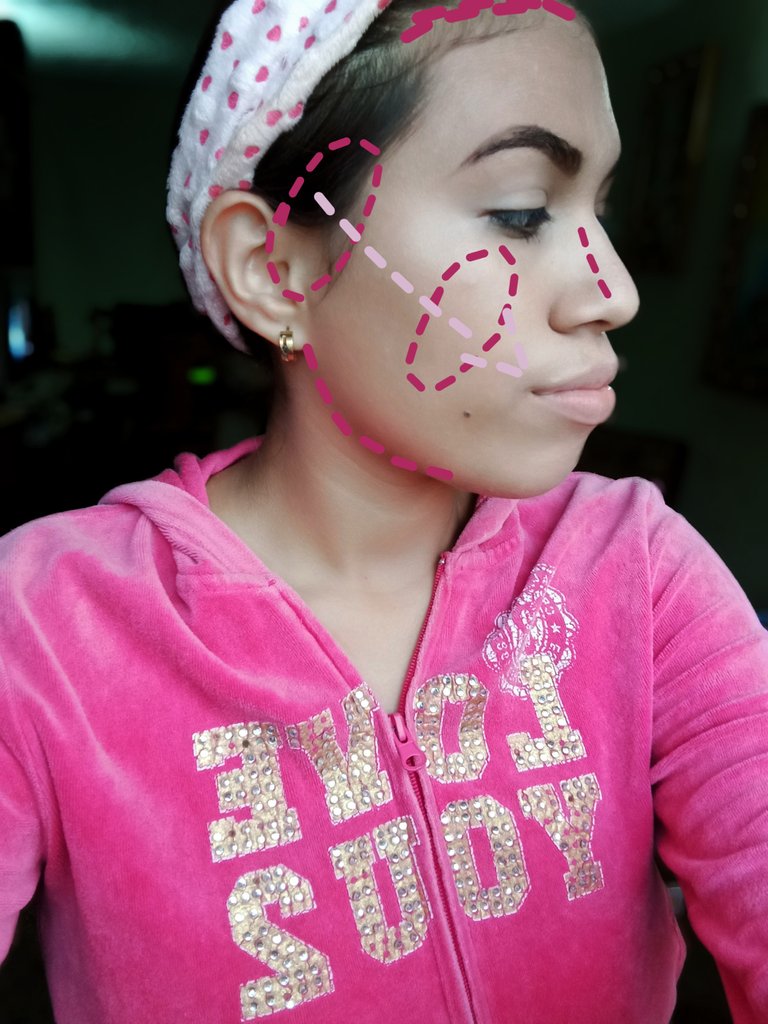
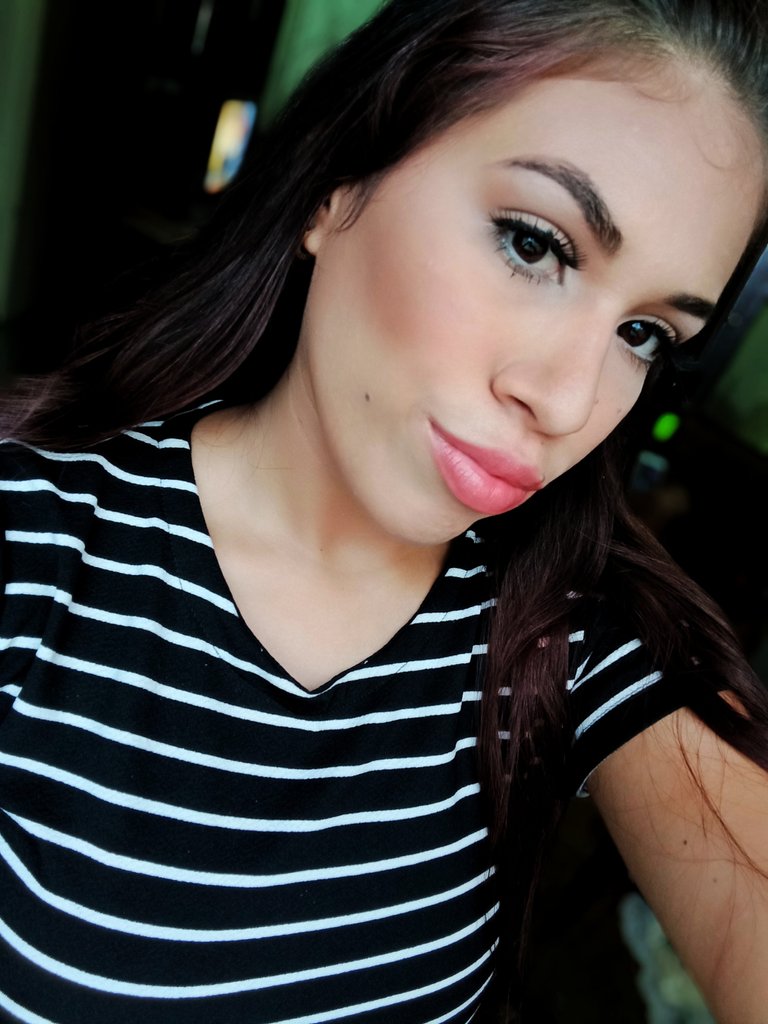
Lo primero es saber donde vamos a colocar el Contorno. Aqui ya tenia mi base, corrector aplicados y habia sellado con polvos solo la zona de las ojeras.
El contorno de las mejillas parte desde la linea del cabello, hasta la mitad del rostro, en dirección de la boca. En mi tipo de rostro lo aplico en la linea de la frente, igual pegado a la linea del cabello. En los laterales de la nariz y en la linea de la mandíbula.
The first thing is to know where we are going to place the Outline. Here I already had my base, concealer applied and had sealed with powder only the area of the dark circles.
The contour of the cheeks starts from the hairline, to the middle of the face, in the direction of the mouth. In my type of face I apply it in the line of the forehead, same stuck to the line of the hair. On the sides of the nose and on the jaw line.
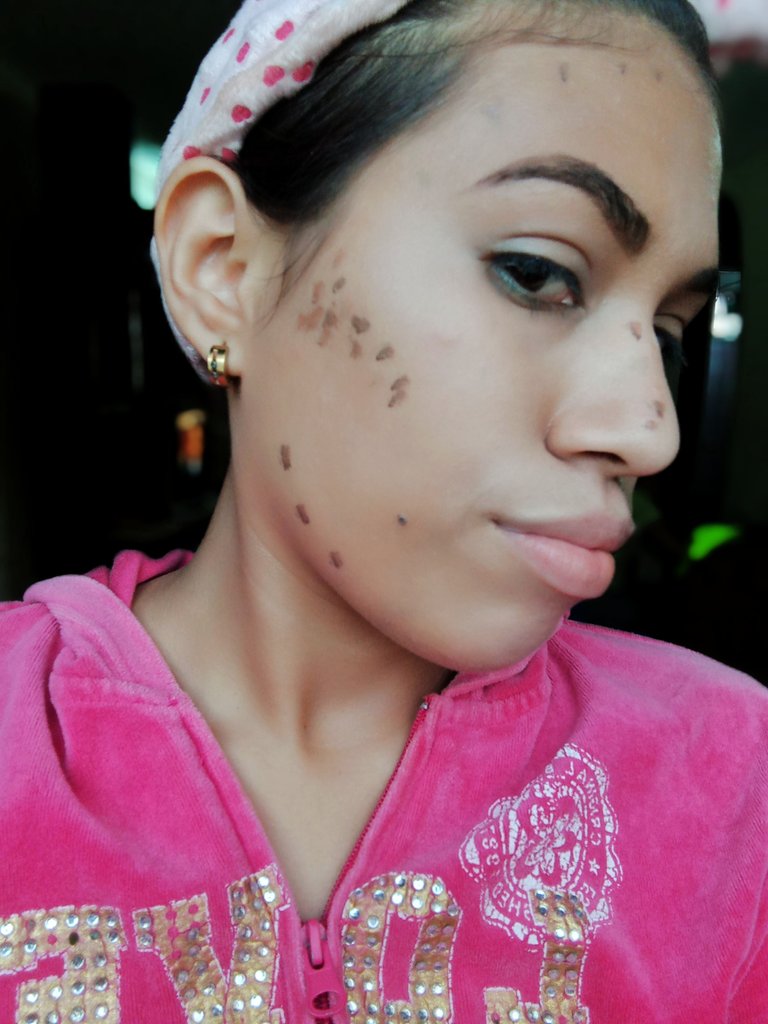
Conociendo mis puntos básicos comienzo a aplicar el contorno en crema con pequeños puntos en los lugares ya mencionados. Es importante conocer la pigmentación del producto para saber cuanta cantidad aplicar. Siempre recomiendo ir de menos a mas.
Este producto lo difumino con una esponja, dando toques por toda la zona. El objetivo de aplicar primero el producto en crema es tener mayor duración a lo largo del día. De todas maneras, a las pieles secas les va mucho mejor los productos en crema. También tiene un aspecto más natural.
Knowing my basic points I start applying the contour cream with small dots in the places already mentioned. It's important to know the pigmentation of the product to know how much to apply. I always recommend going from less to more.
This product I blur with a sponge, giving touches all over the area. The objective of applying the product in cream first is to have a longer duration throughout the day. Anyway, dry skin is better off with cream products. It also looks more natural.
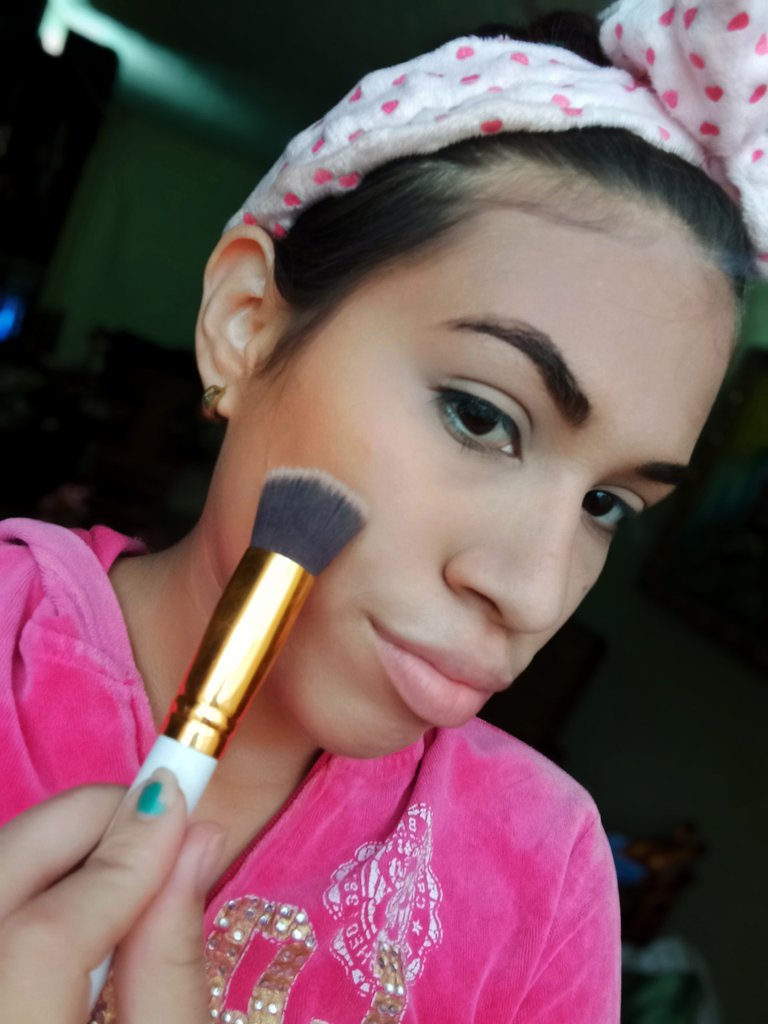
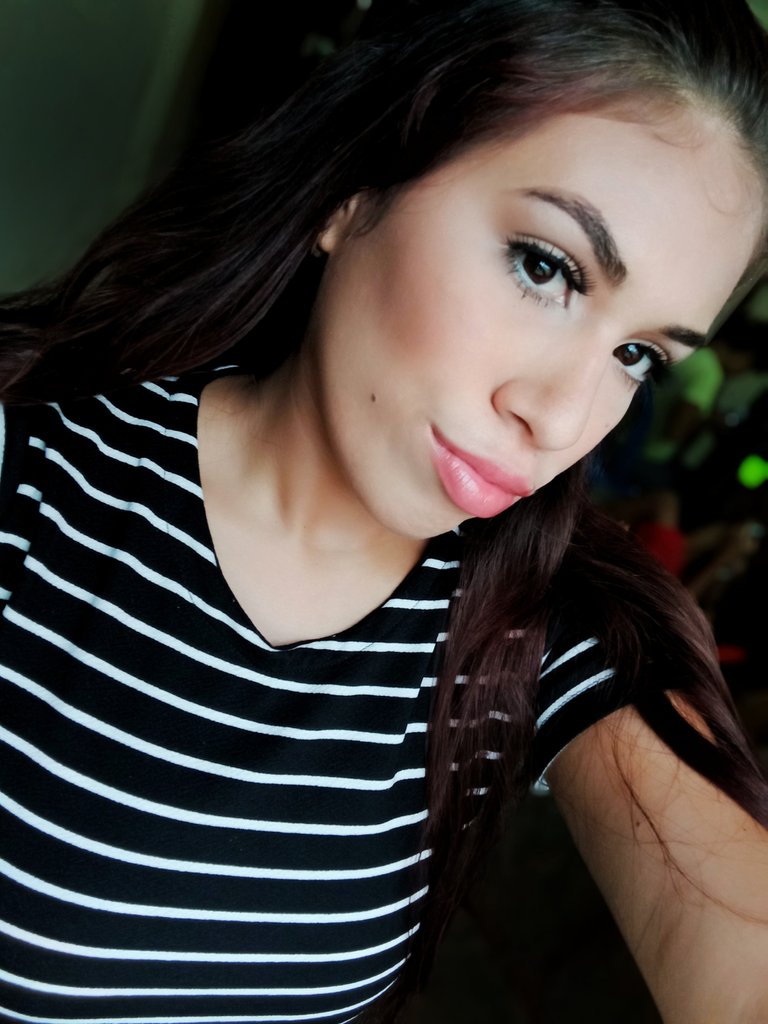
Llega la hora de sellar el producto en crema con polvos. Para esto voy a usar un polvo con tonalidad oscura, preferiblemente del mismo color que el producto que utilicé antes. Si aplican un tono más claro pueden aprovechar y broncear al mismo tiempo.
Mi técnica favorita para hacer este paso es posicionar el producto primero a toques y luego hacer movimientos circulares par difuminar. Siempre en dirección hacia arriba, de lo contrario pueden agregar sombras indeseadas.
It is time to seal the cream product with powder. For this I am going to use a powder with a dark shade, preferably the same color as the product I used before. If you apply a lighter shade you can take advantage and tan at the same time.
My favorite technique to do this step is to position the product first to touch and then make circular movements to blur. Always in an upward direction, otherwise you can add unwanted shadows.

Básicamente estas son unas técnicas muy generales para hacer contornos. Lo ideal es tener en consideración que tipo de rostro tienen para hacer sus respectivos contornos y correcciones. Recordemos que hay rostros cuadrados, redondos, triangulares y ovalados (Si no se me escapa alguno). Para llevar a acabo una mejor aplicación es una gran idea investigar sobre el tipo de rostro que posees y sus contornos adecuados.
Este Tutorial esta destinado las personas que quieran practicar e ir paso a paso incluyendo el Contorno en sus maquillajes, siguiendo esta técnica general. No importa si aplican solo crema, solo polvo o ambos, estas fueron algunas de mis recomendaciones. 😊
Basically these are very general techniques for making outlines. The ideal is to take into consideration what type of face they have to make their respective outlines and corrections. Remember that there are square, round, triangular and oval faces (if I don't miss any). To carry out a better application is a great idea to investigate on the type of face you have and its appropriate contours.
This Tutorial is intended for people who want to practice and go step by step including the outline in their makeup, following this general technique. It doesn't matter if you apply only cream, only powder or both, these were some of my recommendations. 😊
Pictures of my property. Camera: CellPhone Xiaomi Redmi 9.
https://twitter.com/lucianahurtado_/status/1306045159558336512
No sé que es contorneishon ni rabor pero luces hermosa.
JJAJAJAJA Ay te adoro demás❤️. Cuando te maquille vas a saber que tan bonito queda eso😍
Hermoso, gracias por ese tutorial. Cada día aprendo cosas nuevas en esta comunidad, me encantó tu post😌🙌
Graciaaaas! Esa es la idea, que todas aprendamos juntas 😄 Trato de compartir la mayor parte de mi conocimiento con ustedes ❤️
Me encantan tus tutoriales. Siempre se aprende algo nuevo. Excelente!
Gracias! Así mismo es, siempre se aprende 😊😊
No me maquillo ni nada por el estilo, pero reconozco que tu contenido es brutal, felicidades @lucianav
JAJAJAJA Ayy gracias gracias, eres un Solecito ✨
Cuando comience a maquillarme voy a practicar con todos estos post, amo tu contenido.
El conocimiento es poder jajajaja de tantos tutoriales que has visto no dudo que puedas maquillarte excelente cuando empieces ✨
Congratulations @lucianav! You have completed the following achievement on the Hive blockchain and have been rewarded with new badge(s) :
You can view your badges on your board and compare yourself to others in the Ranking
If you no longer want to receive notifications, reply to this comment with the word
STOP