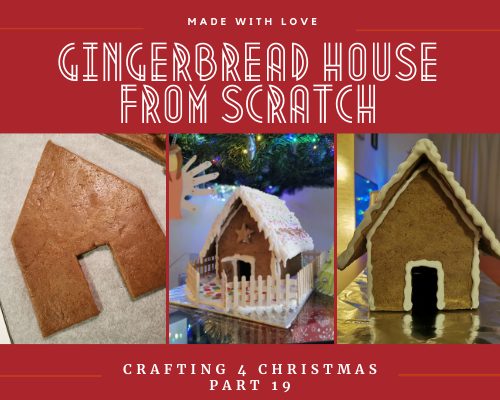
Crafting 4 Christmas | Part 19 | Baking and decorating our own Gingerbread House | DIY
 Our family's very first Gingerbread house
Introduction
I've been wanting to bake our own gingerbread house for years, but I've never done so because this is the first year that we actually have room for a 150cm sized tree and also room to place a gingerbread house underneath the tree. For a few weeks, I've been browsing the web for inspiration looking at the most gorgeous Gingerbread houses and comparing recipes as well. The task seems quite huge (at least until we get to the decorating part) and therefore I've been postponing it constantly.
But halfway through December, I have to start hurrying with this task, because I'm absolutely sure that once it's done, we will be so happy that it's finished as I imagine it will be THE Christmas decoration of the year in our home.
As it's a multi-day task (unless you have time to spend a full day on it lol), it's going to be a long post, but it should be a really fun one as well, and worth the read! I'm also including this in my "Crafting 4 Christmas" series as it's both food and craft at the same time.
Preparations
As mentioned above, you should probably divide the dough making/baking and decorating over separate parts of the day and preferably two days, but that also depends a bit on your own enthusiasm and time you are able to spend on it.
In my case, I really enjoy the decorating part of baked goodies, but the dough making isn't the most fun task for me personally because of a few body aches when I'm making the dough by hand. I need the rest in between to be able to proceed with a good spirit and no pain. If you don't have any of these things, these tips are not really needed.
Let's start with the Gingerbread house template
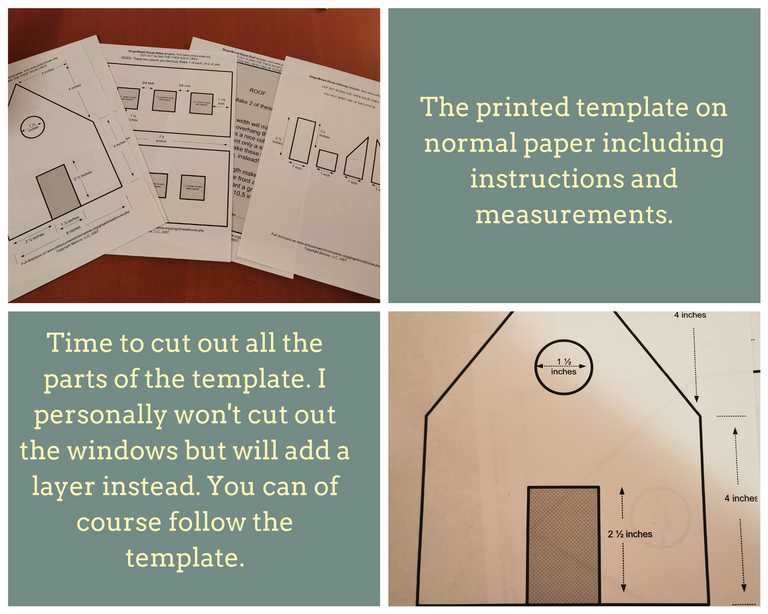
You will need a template for the Gingerbread house, there are plenty to be found online and it depends on your wishes which one you prefer to use. I personally went for this Gingerbread house template because it also has all the measurements there, making it easy for me to decide what parts to place on which baking tray.
If you follow this step, you will need:
- printer
- print paper and/or cardboard
- scissors
- glue
If you only follow the instructions because you don't want to print or don't have a printer, you can just use a linear to measure and cut the dough later and skip this step completely. It's just what you prefer.

I did this step the evening before I made the dough so that I could do this in my own pace and without interference. I also placed the butter and eggs that I needed for the dough the next day out of the fridge. I often plan on baking something the next day, but then I forget to take out the butter, that's why I mention it here so you won't forget that the butter needs to be room temperature.
Total time I've spent on this is about 30 minutes.
Preparation of the dough
I did this part in the morning because the dough will need to rest in the fridge to make it firm so that you can cut out the parts before baking them. On top of this, I don't have a stand mixer and because normally I already have some trouble kneading dough when it's only half the amount of this recipe, I chose to make the dough in 2 badges to make sure everything is mixed well enough.
If you have a standing mixer, you won't have to worry about this and just let the mixer do the work :)
I found the instructions coming with the Gingerbread house template a bit overwhelming and hard to read as the instructions were written down for the complete process from start to the end (decorating). I broke down the instructions and also changed the ingredients slightly because f.e. molasses is nowhere to be found here. Our house will be a bit lighter in color, which is fine.
List of ingredients:
- 1.1 kg flour
- 17 teaspoons Gingerbread spices
- 1 teaspoon baking soda
- 1 teaspoon of salt
- 285 grams of unsalted butter, make sure it's at room temperature
- 255 grams of light brown sugar (dark is better for the color)
- 3 large eggs (4 smaller ones will be easier if you make two batches of dough)
- 2 teaspoons pure vanilla extract
I've simplified the spicing part as I already have a Gingerbread spice jar in the house, and these can be bought mixed as well. If you don't have them, you can easily make the spice mix yourself by searching online. I have a full jar of this mix every holiday season ready to use when I feel like baking Gingerbread cookies, so this year it's extra handy for the Gingerbread house.
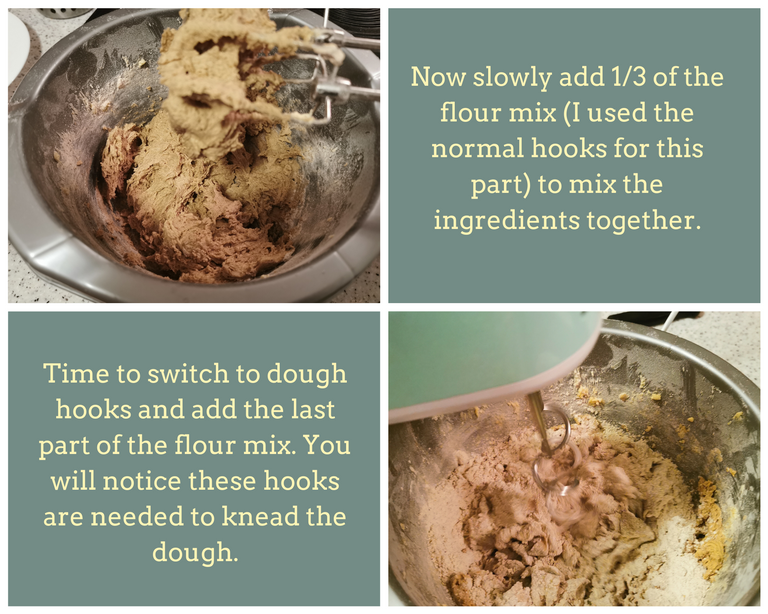
Instructions dough
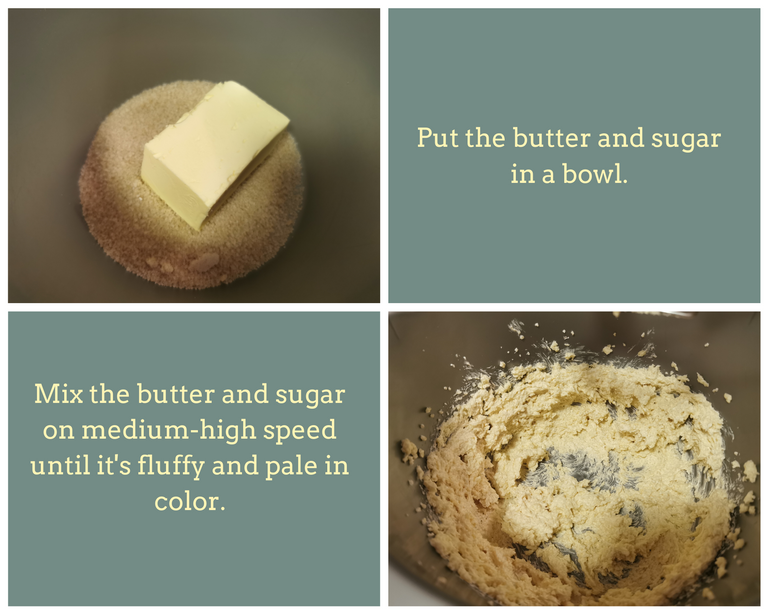
As 1 kg of flour alone wasn't going to fit in any of my bowls, I divided the ingredients into exactly 2 parts so what you'll see in the images below is only half of the ingredients (but double the amount of processing time lol). In the instructions, I'm going to refer to the ingredients as if they are all used at once and forget about the double batch part to avoid confusion.
I didn't use a standing mixer myself, as I don't have one, BUT I have to say that a hand mixer using both types of hooks, will not bring any problems if you divide the batch of ingredients in 2. I was a bit worried about this, thinking I may not be able to pull it off without good equipment, but the dough came out great!
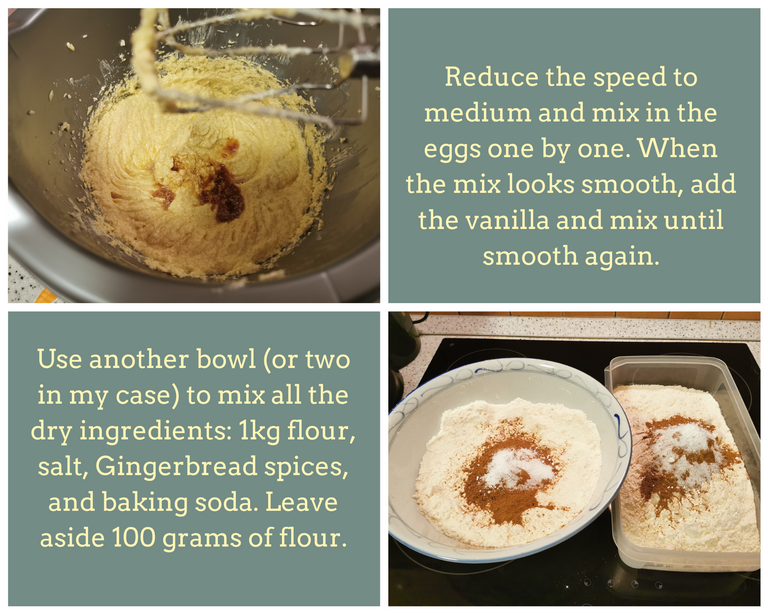
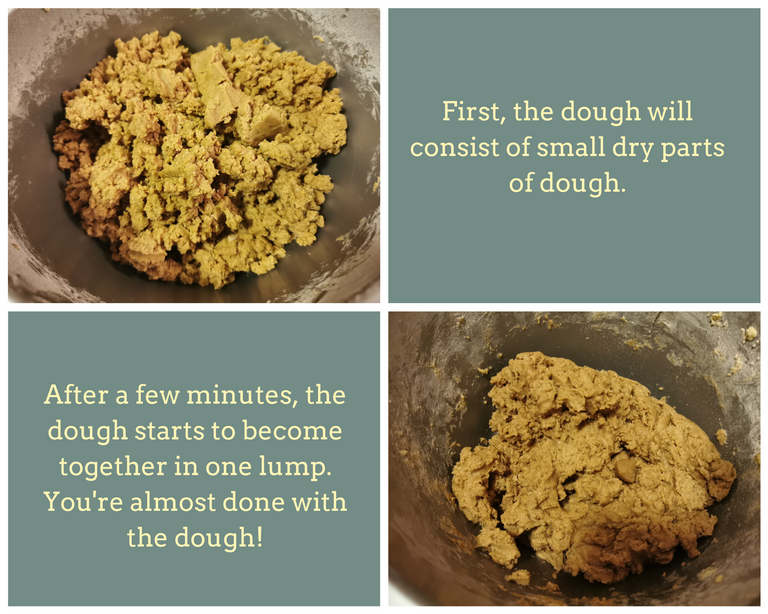
The 100 grams of flour that we set aside earlier, can be used in the last steps where you start kneading the dough by hand if you notice that the dough is a bit too sticky. My first part of the dough was perfect, the second one needed just a little bit of flour to make it less sticky. I probably made a small error in dividing the ingredients. Which is fine, the dough looks great now.
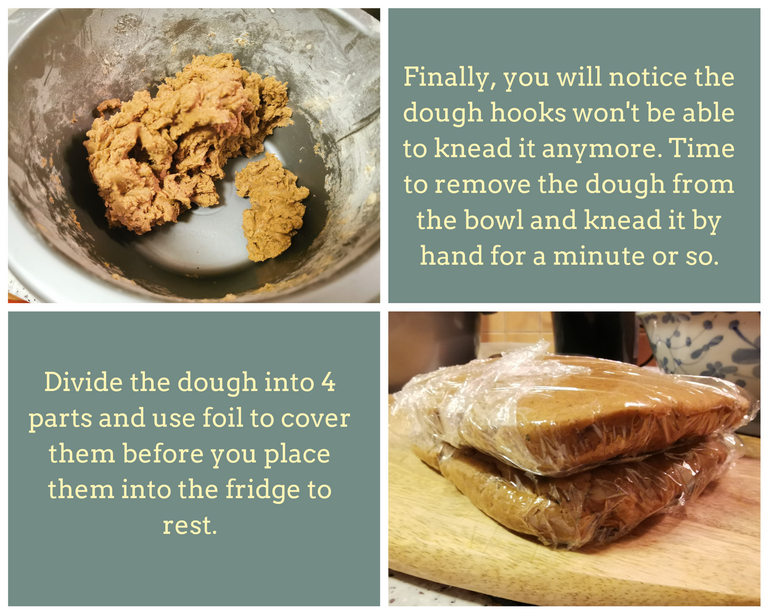
The dough should rest in the fridge for at least two hours now, but you could also leave it there longer, or even overnight.
Total time I've spent making the dough was about 1 hour
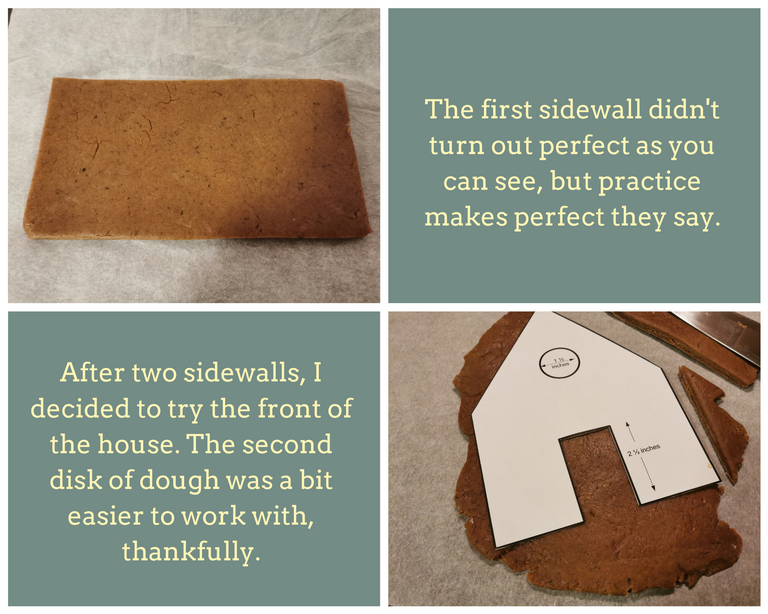
Preparing the Gingerbread house parts
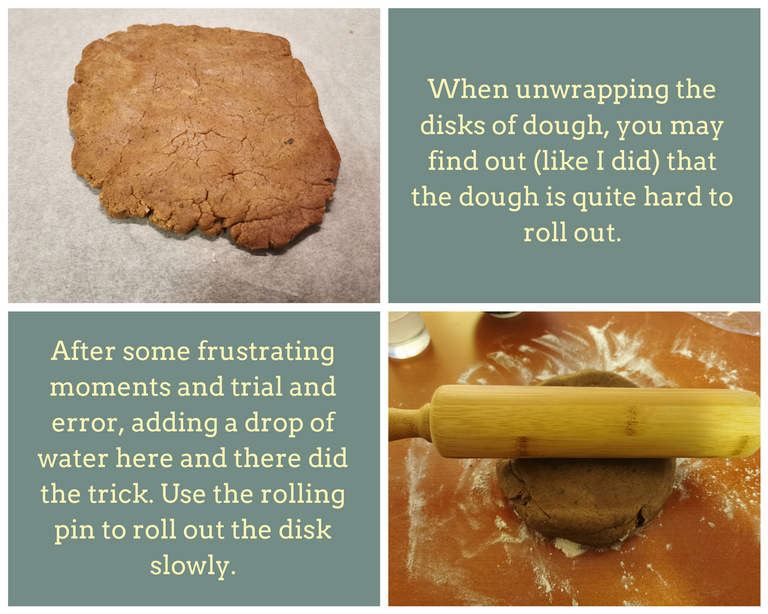
I have to admit that I didn't follow the instructions 100% as this was simply not possible (so it turned out). I will share with you my personal experience, thankfully, with the help of my other half, all the parts came out of the oven and were good enough to build the house.
(TIP!)Mind you, it may take a bit longer and be more complicated as described, simply because you can't know for sure upfront how your dough turns out. It depends on the kneading process but also how long it chilled in the fridge. In my case, this was about 10 to 11 hours and I wish I left it there for only two hours instead.
I'm hoping that my simplified instruction template with images and instructions in one is making it easier for others to walk through than reading two pages with instructions without seeing what's done. At least, that was my idea behind it so hopefully, I'm making it a bit easier for you!
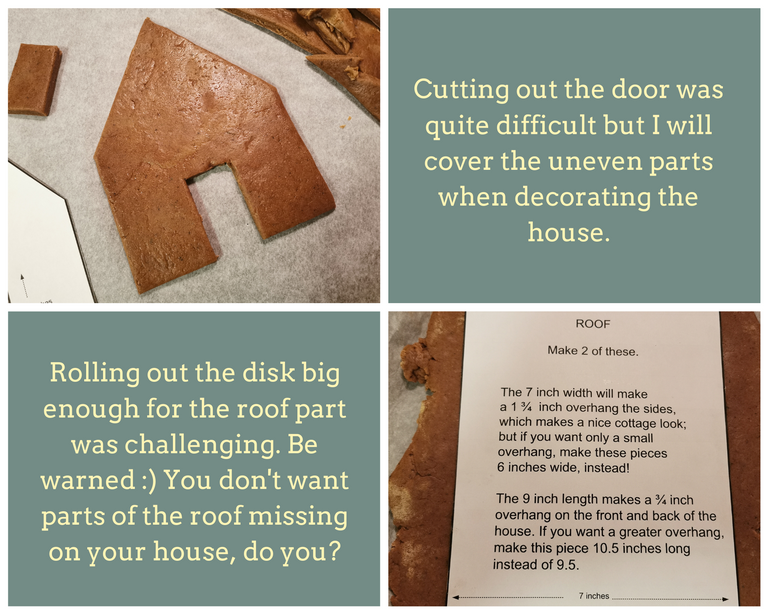
Pre-heat the oven at 170 degrees Celcius before placing the parts in the oven. The different parts of the house have these advised baking times:
Front and back of the house + walls: 10 - 12 minutes
Roof: 15 - 18 minutes
Smaller cookies: 7 minutes
I advise checking every part a few minutes before the end of baking time to make sure the parts won't burn. Sometimes you will need to add a few minutes (for example for the thicker parts).
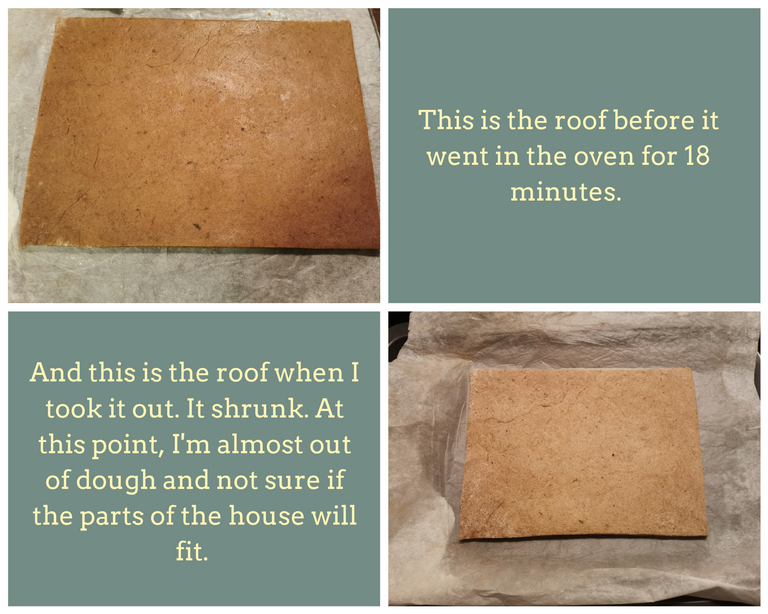
At this point, I started to panic slightly (the control freak inside wanted to take over) because I had no idea if the second part of the roof would end up being about the same size and if I would have enough dough left for the back of the house. Quitting was not an option, though! So let's see how this went. Worst case scenario would be making another badge of dough tomorrow. Which I can hopefully avoid!
Time spent on this part was at least 3 hours, but that's probably easy to avoid by not letting your dough dry out too much, beginner's mistake probably.
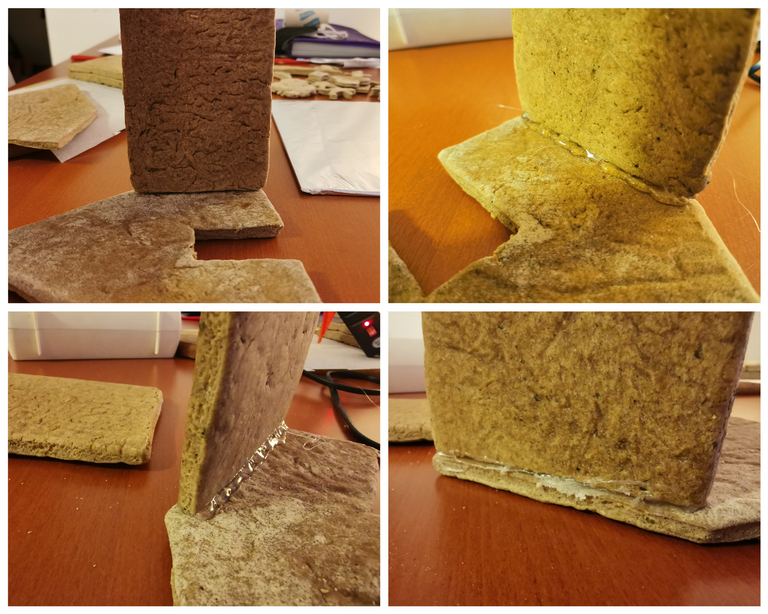
Let's build a house!
I had a sleep on it and decided not to worry about the house falling apart but focus on how to prevent this worst-case scenario. The conclusion was very simple honestly: use a glue gun to build the house instead of the cute looking royal icing that needs a ton of time to harden and may cause the heavy roof (in my case) to slide off or worse: let the house collapse.
We have spent quite some hours building this house now, so we really really want it to bring in some holiday cheer in the next weeks. No room for failure now, so a glue gun it is. I will add the cute looking icing once it's all safe and sound!
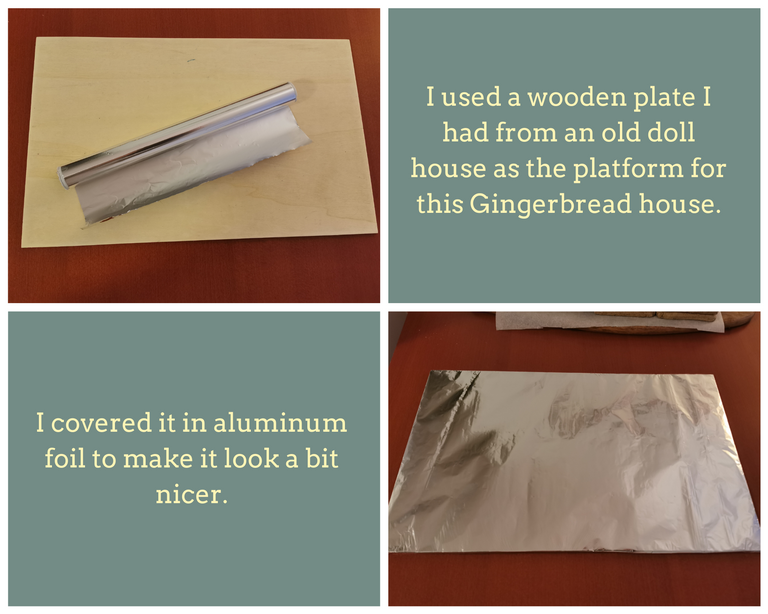
You need a platform to start building the house on, this can be very simple:
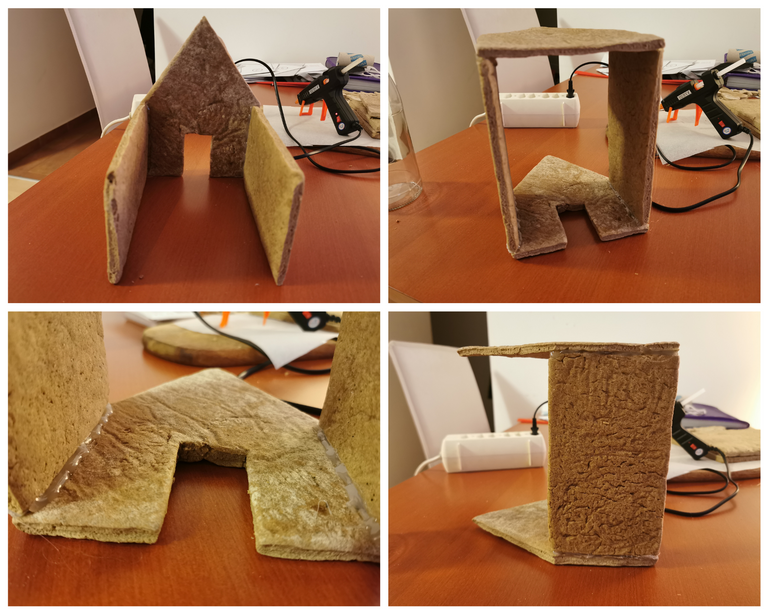
Time to start building.

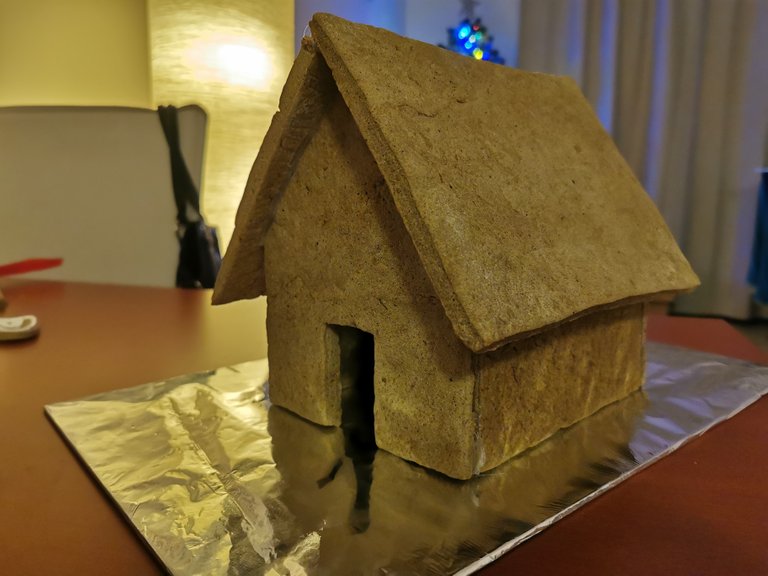
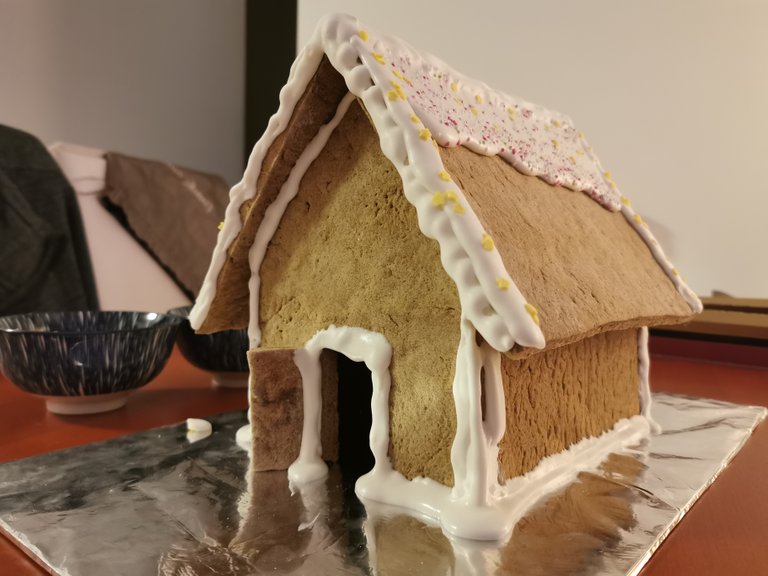
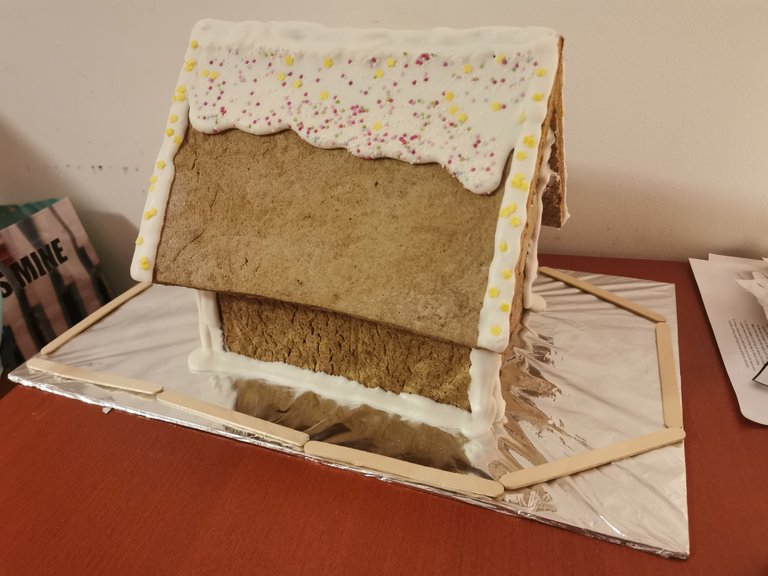
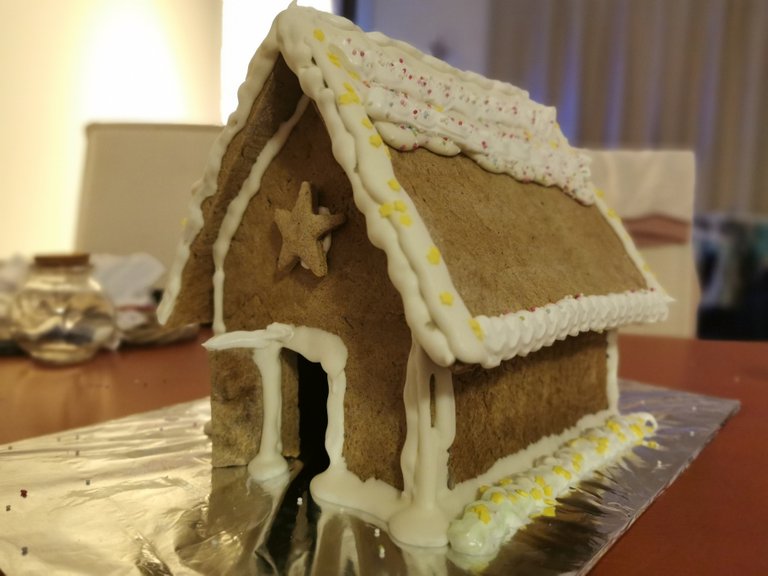
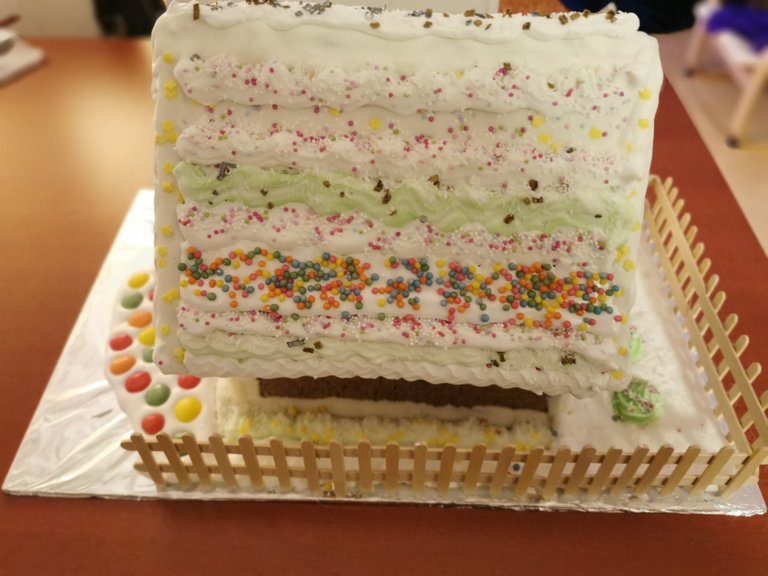
The next pictures are just for fun, as I want to show you how horrible it looked with all the glue spots, and how this can be covered up later on easily using icing and other candy to decorate the house.
I know, it looks ugly, just wait.. :)
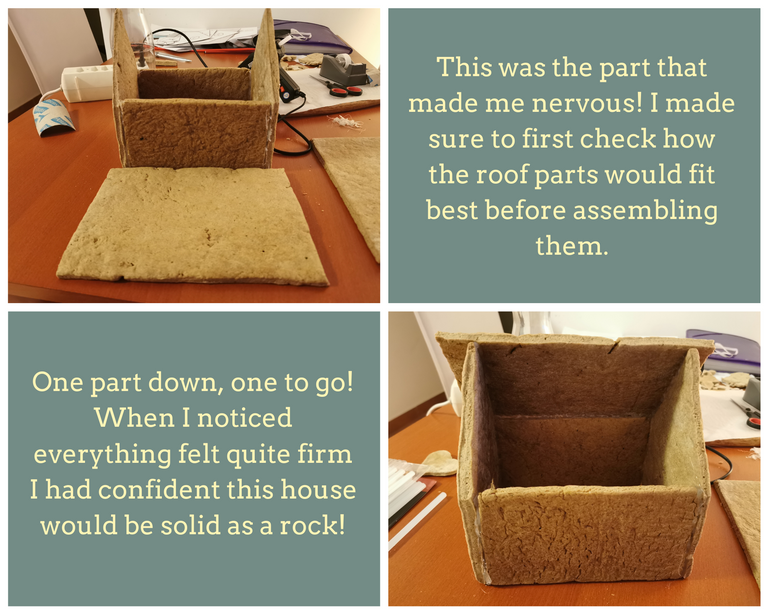
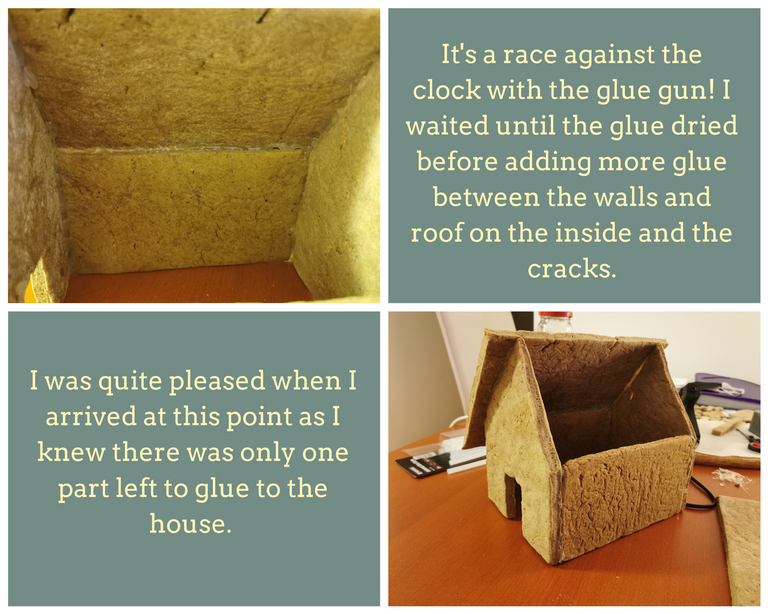
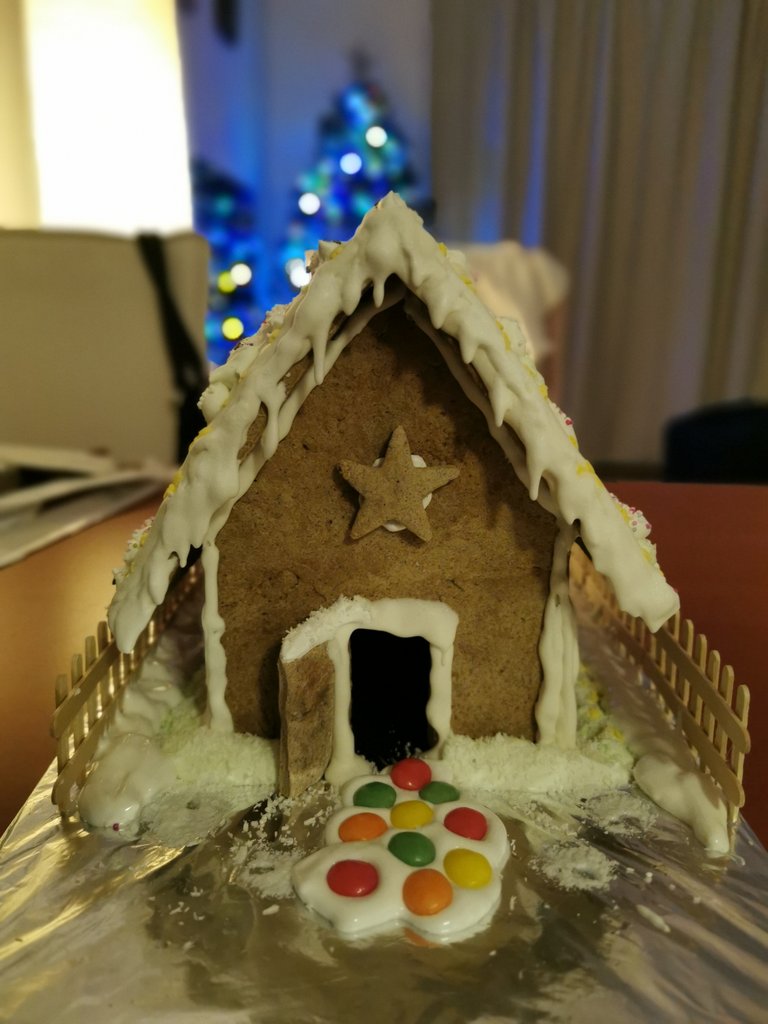
I can't believe it, my very first Gingerbread house:
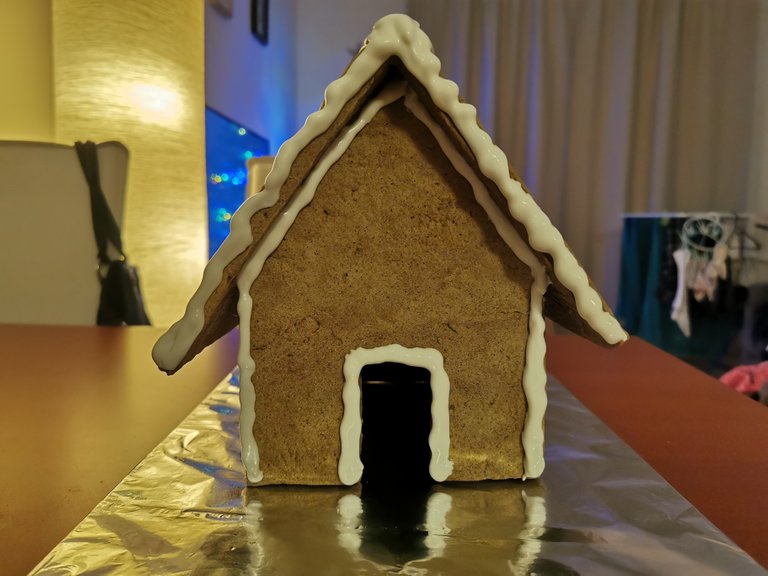
Let the fun part begin! I will now first add royal icing as if you'd normally do to stick the parts together.
Time spent on this was probably between 30 and 60 minutes but that's because I wanted to let the glue dry well before going to the next part. If your house is cut well and has no shrunken parts, you are done probably in 15 to 20 minutes max.
Decorating [The best part!]
Royal Icing
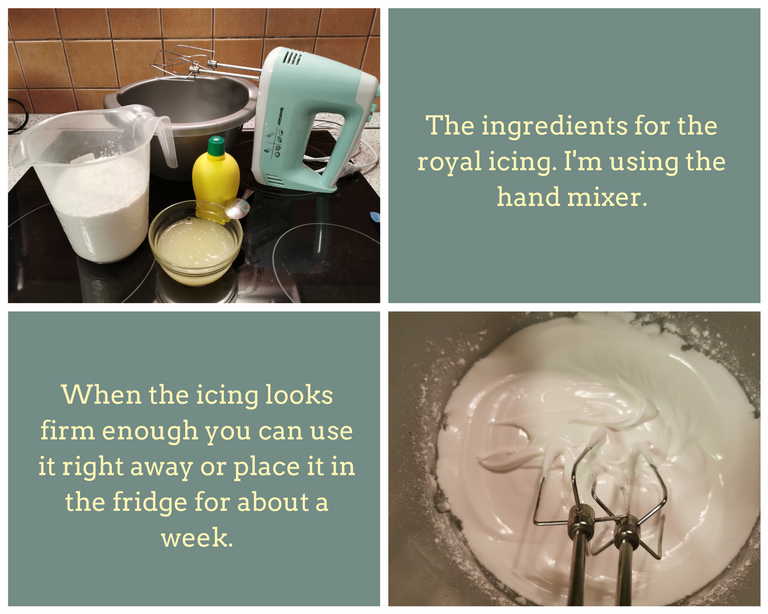
First, we need to make royal icing. There are so many recipes available for this, I used a simple one, which actually worked out great. These are the ingredients:
- 450 grams of powdered sugar
- 8 tablespoons of liquid egg whites
- 1 teaspoon of lemon juice
Beat the egg whites on high speed until they're foamy. Switch to low speed to mix in the powdered sugar gradually until completely incorporated. Add the lemon juice and beat on high speed until the icing is very thick for 5 to 10 minutes. You will see when the icing is ready as stiff peaks will appear.
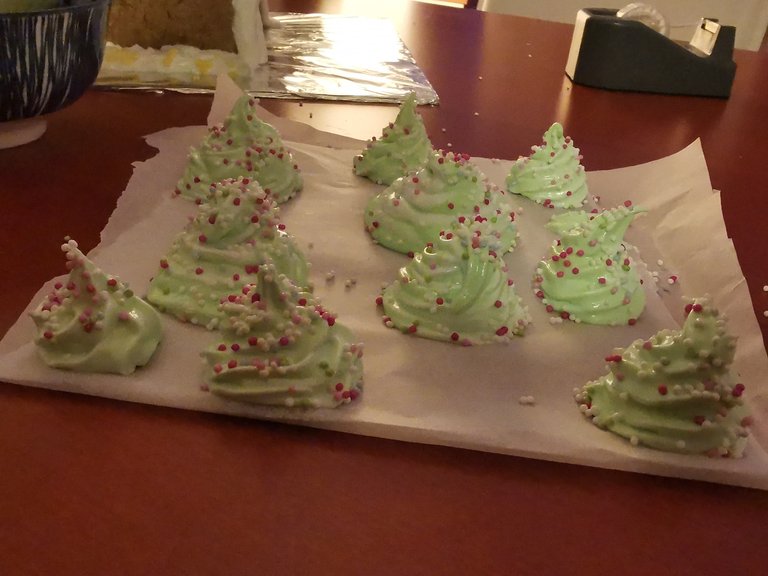
If desired, you can now add food coloring to the icing to give it some color:
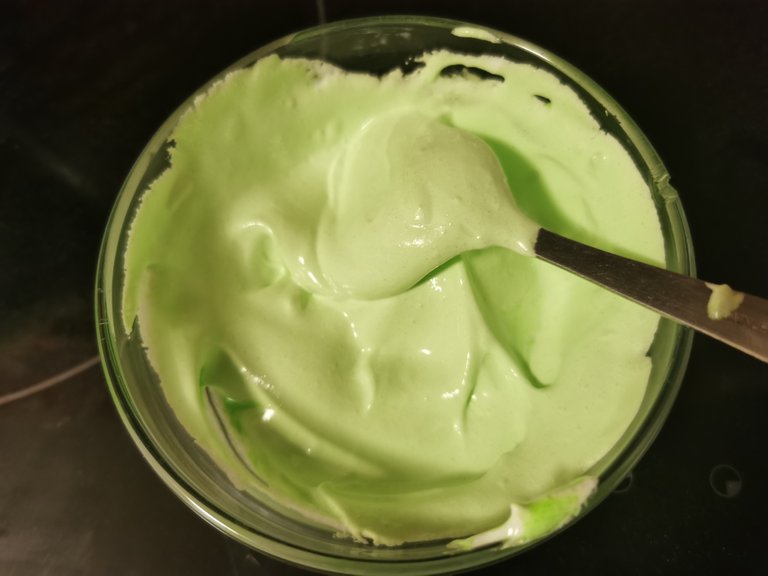
I used this color for the bushes behind the house.
ngerbread house royal icing 1.png](https://images.hive.blog/768x0/https://files.peakd.com/file/peakd-hive/thisismylife/7IhfikKE-Crafting20420Christmas20Gingerbread20house20-20royal20icing201.png)
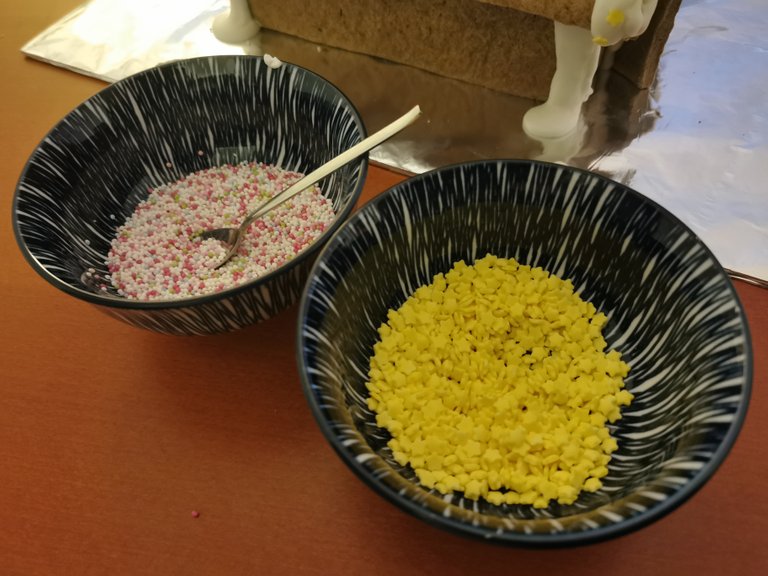
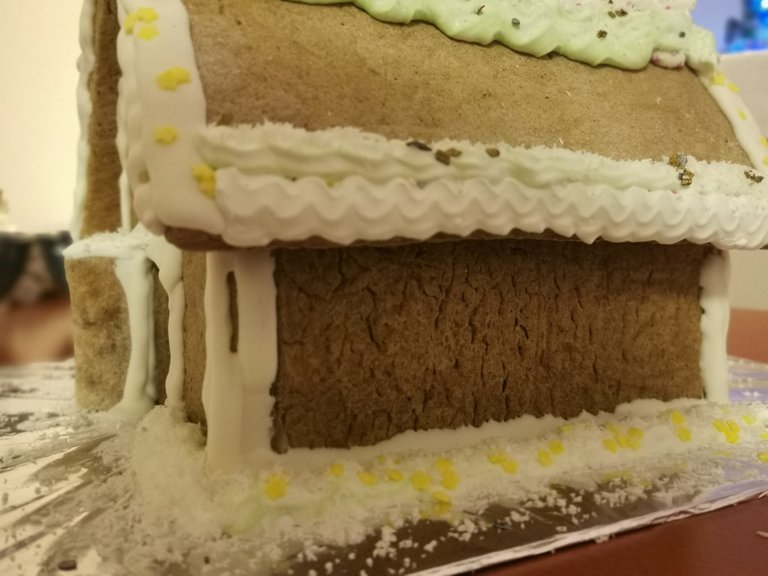
Photo collage of the decorating
The decorating part took so much more time than expected, as sometimes the icing heated up too quickly, and other times, time was the issue. Therefore, I will just show you a bunch of pictures of the decorating part. It's not like you're going to copy my decorations anyway, right? Below the pictures of the house until I finished it:


center>
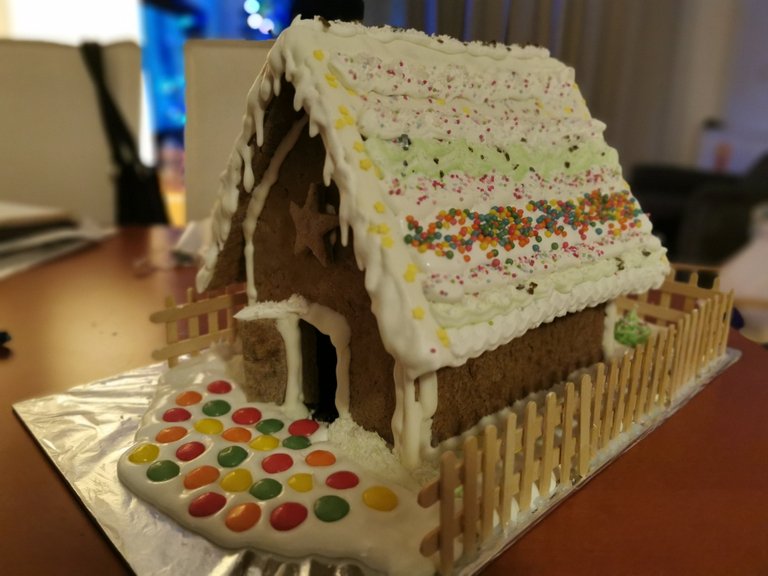
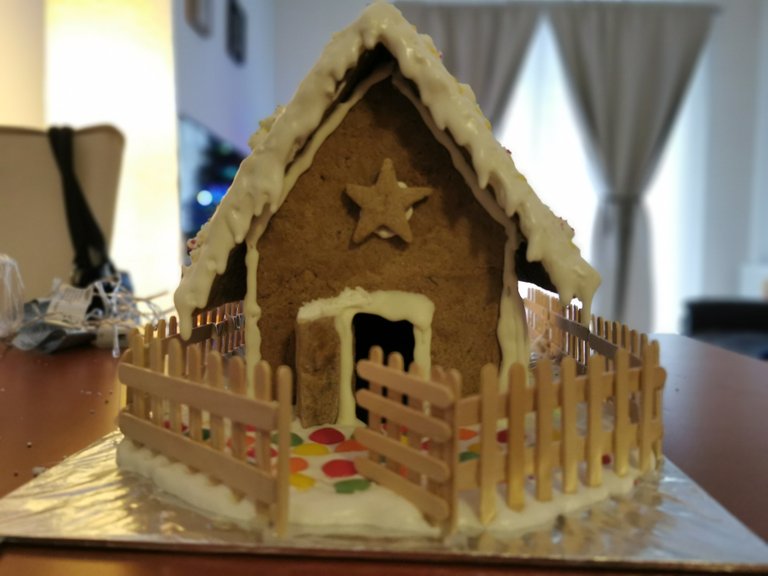
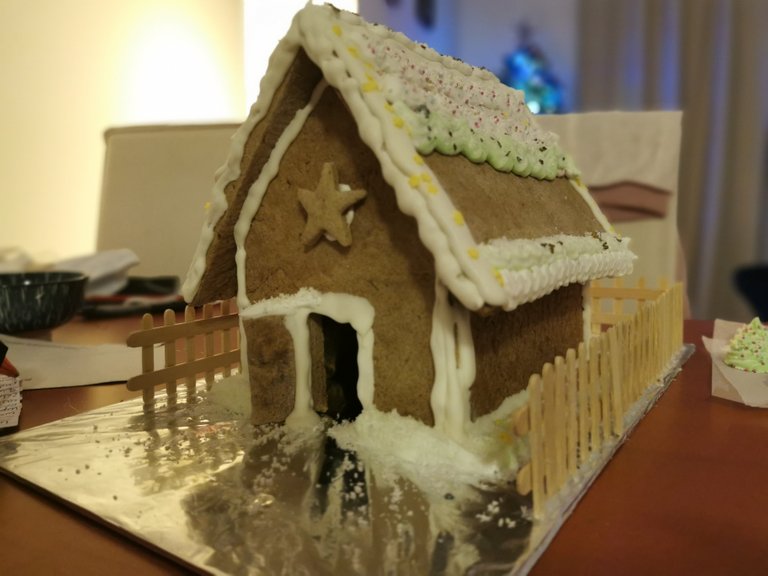
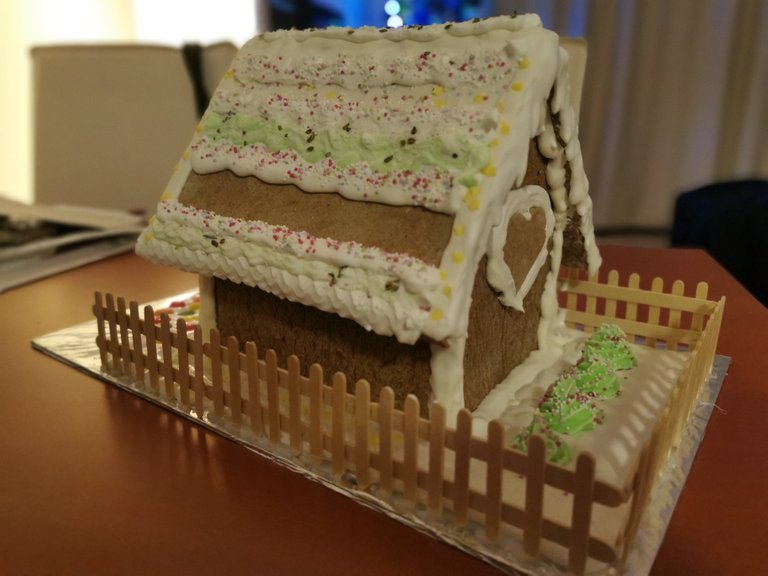
The end result
And last, but not least, the final result of our very first Gingerbread house, which was a family effort for sure!
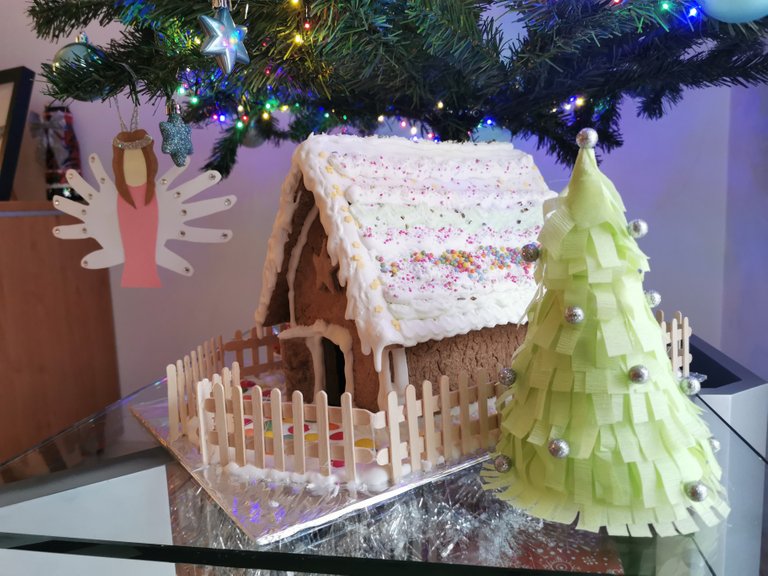
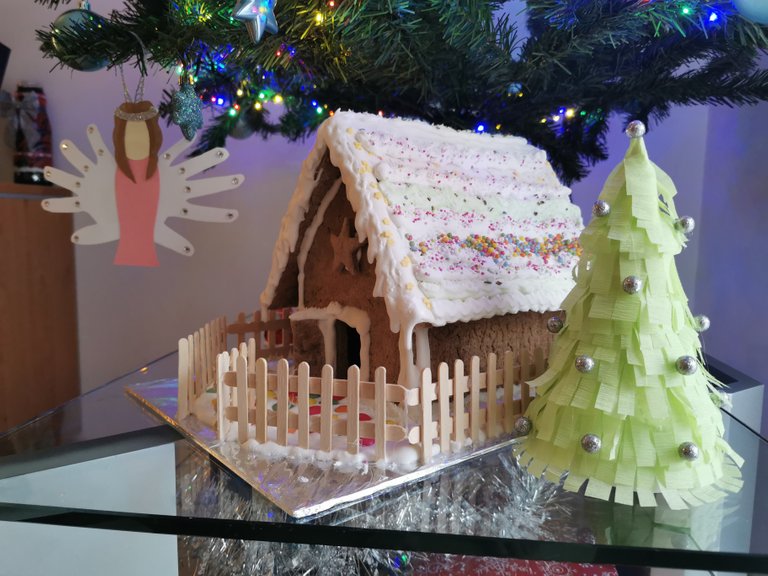
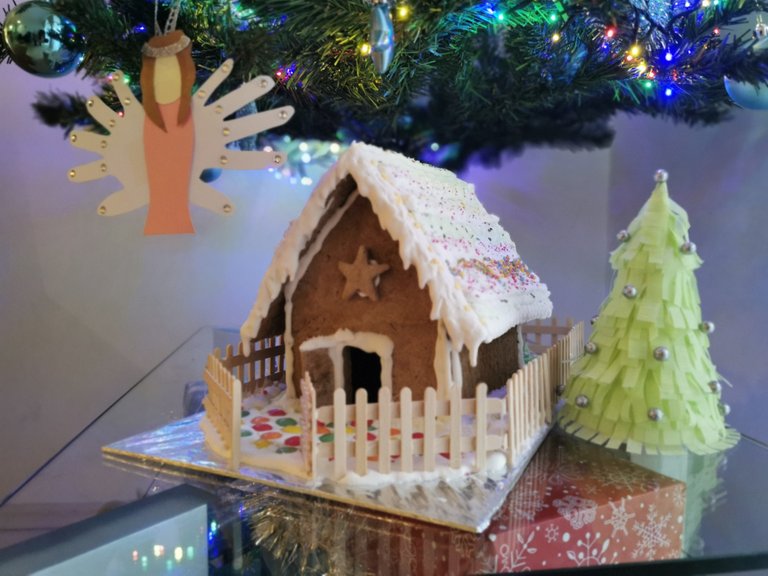
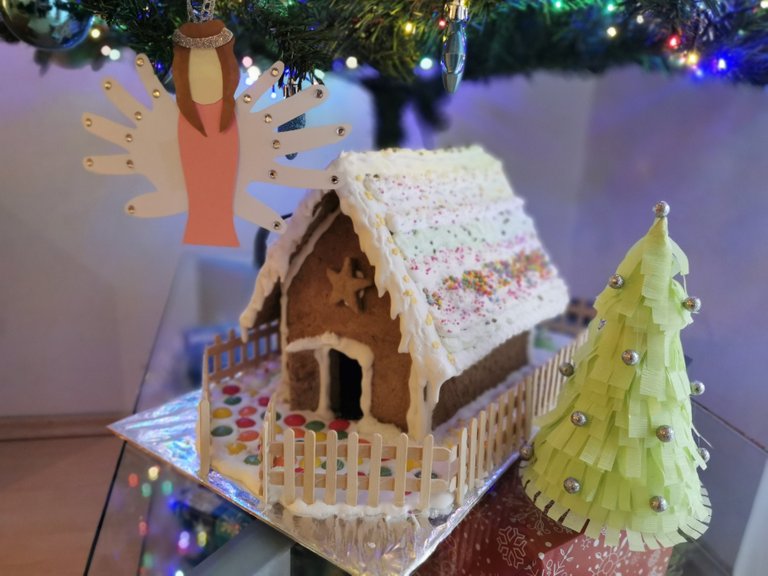
I truly hope you enjoyed walking through this process with me, it was a lot of fun, but also frustrating and a learning process for next year. Stay tuned, as I will share a few more parts of this series before Christmas.
Previous Parts Of Crafting 4 Christmas
Part 1: Christmas tree from cardboard
Part 2: Felt Christmas tree ornament
Part 3: Christmas Card from cardboard and foam
Part 4: Felt Gingerbread man Ornament
Part 5: 3x Cinnamon Tree Christmas Ornament Tutorial
Part 6: Felt Elf Christmas Hat Ornament
Part 7: Sledge From Wooden Sticks
Part 8: Personalized Felt Star Ornament
Part 9: Owl Ornament
Part 10: Personalized Felt Star Ornament 2
Part 11: Santa Napkin Holder
Part 12: Upcycling a failed Craft Project
Part 13: 3x Cinnamon Santa Ornament
Part 14: Paper Mache Christmas Wreath
Part 15: Decorating a Christmas wreath made from scratch
Part 16: Upcycling a can to Santa style
Part 17: Crafting an angel ornament
Part 18: Make your own gift box
https://twitter.com/makehivethrive/status/1341766418870792192
https://twitter.com/makehivethrive/status/1341766962339311617
Yum! Your post is awesome! You have been curated by @jasonbu on behalf of @FoodiesUnite. @jasonbu has also recommended your post for our weekly Foodie Truck curation post. Keep an eye out for it each Monday.
Thanks for joining the foodie fun! We've given you a FOODIE boost. Thanks for spreading your gastronomic delights!
Join and Post through the Community and you can earn a FOODIE reward.
You did a great job! That is so cute.
I've enjoyed seeing all the fun things you have been making this year.
Thanks @jacey.boldart :)
I think it turned out cute as well, and I'm glad I could finally place the house under the tree, as it has been standing on our dinner table until today until I was done.
Thanks for the compliment, stay tuned, I have 6 more parts coming up, trying to push them out today, tomorrow, and during Chrismas :)
Merry Christmas!
This is incredibly beautiful, what if am tempted to have a bite of the house since it was a baked dough anyway😂😋...
Thank you @monica-ene :) I can tell you that someone else was tempted as well, I leave that for another post in a few days haha :)
Thanks for the tip, so sweet of you! <3
Merry Christmas !!
Thanks @qurator & @goldendawne <3 Merry Christmas!
Cool house, maybe next Christmas I could make one if I have time. 😂
Thanks, and you should, but take the time you need lol, don't stress yourself out :)
Okay, I will take the info and I will try not to. 😊
So this is the result of all the family effort made for this incredible nice gingerbread house. Very beautiful ... and I believe it looked TOO YUMMY with those decorations.
Yes, this was it, and indeed a family effort (building as well as demolishing and restoring it, lol) I'm very happy I followed my gut feeling of using glue (and not eating it afterwards) because the little lady's morning naughtiness yesterday probably would have made it collapse if I used icing only :) next year going for an authentic one though :D
I'm sure it will be something that the little lady will remember for the whole year ... and when the time is there, it will be an even more amazing gingerbread house, with effort of the whole family again!
Yes, we will all remember it .. I have said several times during the baking process: never again. My boyfriend same story.. (Next year: forget it!) lol.. now we all think it was worth it :)
Hi thisismylife,
Visit curiehive.com or join the Curie Discord community to learn more.
Thanks for the support @curie <3
The house looks really great, I could bite off a piece of it.
Only the glue I would have omitted. We are always use sugar icing and i works good.
Thanks! My daughter felt the same haha. The pieces of gingerbread seemed to be tricky to rely upon the icing. I was too afraid it would have collapsed otherwise, and in all honestly, it's good that I didn't take the risk as my daughter would have probably made it collapse indeed yesterday. She couldn't resist grabbing parts of the candy (we had that coming leaving the house on the dinner table lol) Next year I will make sure the parts are thinner (this was the first time I made it) and with thinner walls I will defo stick to the icing because now I know how well it sticks.. In the end, I'm still happy how it turned out, and next year my goal is to make one that we could actually eat after Christmas :) (it will probably be a smaller one though haha)