Needlework Monday: Crocheted Slippers (Take 2)
More Slippers!
Hmmm, this is starting to look like it's going to be a project for the whole family. You would remember last week when I shared about the crocheted sandals I made for my youngest son. I was so happy with the result and apparently, so was my husband. He asked If I could also make one for him. Who am I to say "no", right?

While I was working on the project, my girl asked her Kuya (elder brother) if he'd also like similar slippers. My son said, "why not?" so I guess that means "yes". Haha. And since one for my eldest is already in the pipeline, it would just be right that I also made for my girl else she'd be the one who won't have handmade slippers from mommy. And if all of them had their own crocheted slippers, shouldn't mommy have one for herself as well?
So yeah, this is going to be interesting!
The Soles
For this project, I could not find any soles I can re-use so I had to make everything from scratch. I made use of this pattern to create the soles.
The last project I created was fairly fast to make since I made use of the rubber soles from one of my son's old sandals and I only had to work on the sides and the flaps (or is that how you really call it).
Anyway, I actually started to make crocheted soles a few weeks before but it didn't turn out well because the yarn I used, was well, not thick enough.
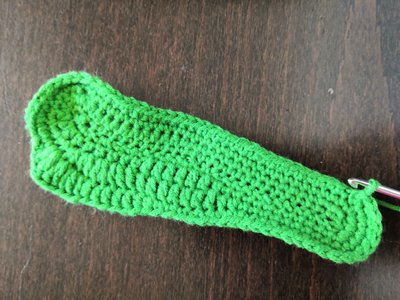
Using the leftover chunky yarn from the previous sandals project, I started working on the soles for hub's would-be slippers. I messaged him to send me the measurements of his feet, length and width. I was concerned that I won't have enough yarn so from the 3rd to 5th rounds I used the green acrylic yarn that I bought specifically for this project. I had to work with double yarn because this was only 4-ply.
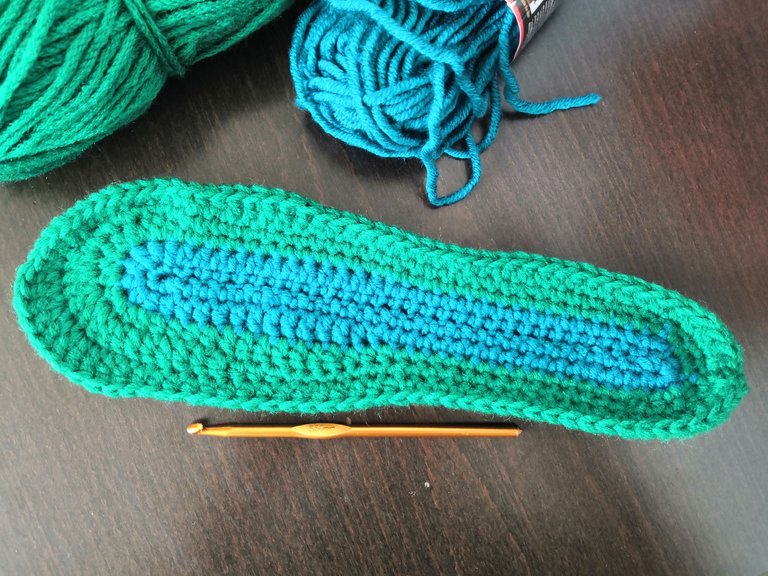
The left sole would be just a mirror image of the right sole.
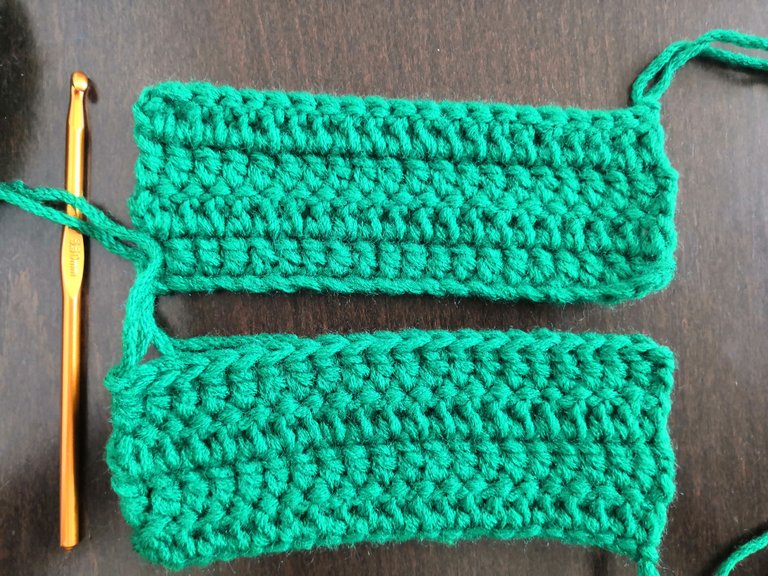
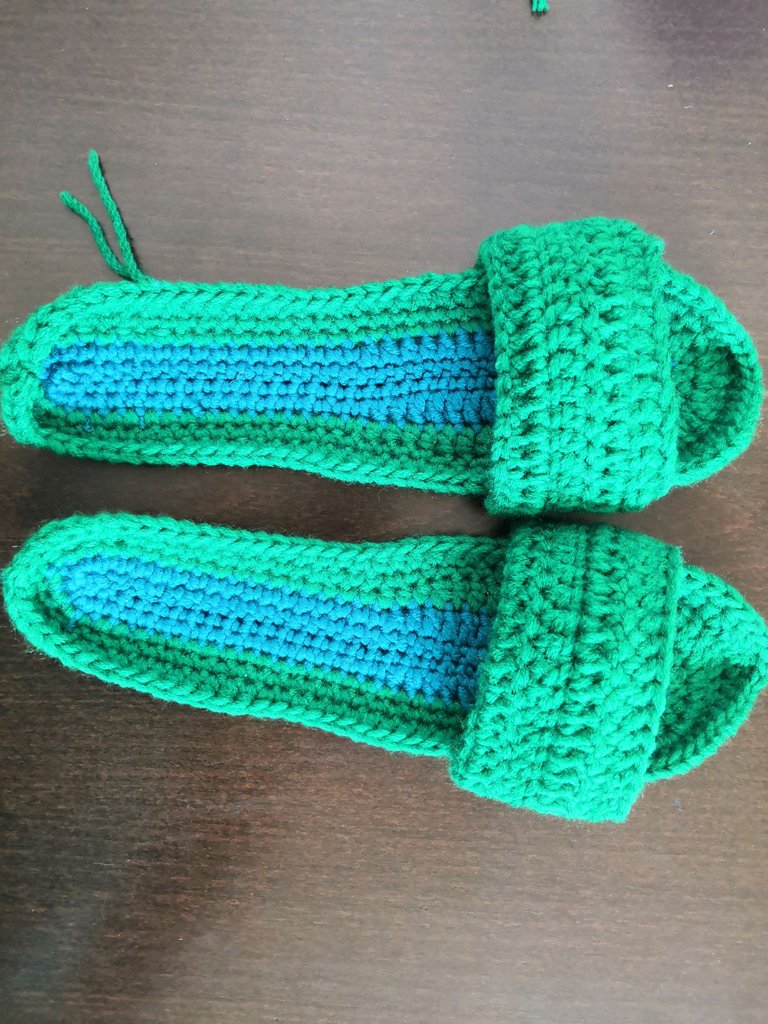
Toe Tops and Stuffing
Time to make the flaps (or toe tops...) While I wanted to be a daredevil and try the dome-shaped toe tops again, hub was not there for me to fit it and I didn't want to risk making it too big or too small. So again, I made it simple and the flaps were just 4 rows of double crochets.
 |  |
|---|
Looking good so far. I think I'm getting the hang of this. LOL.

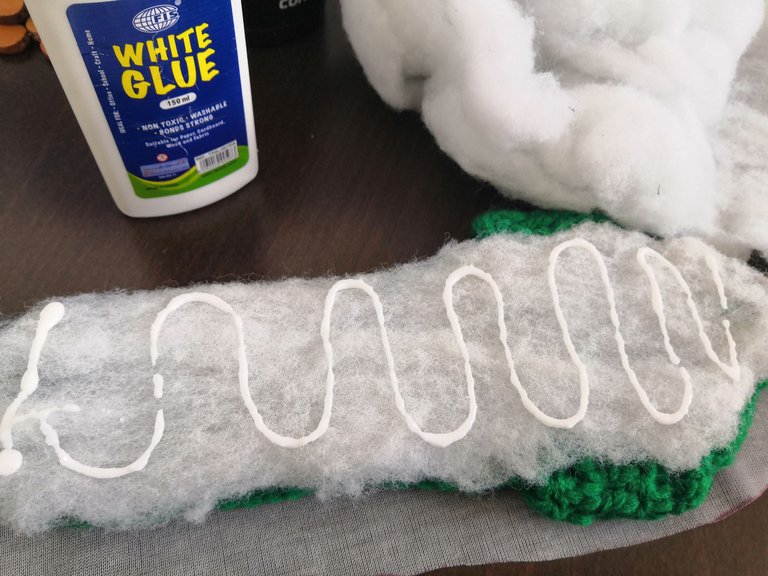
Anyway, I knew I had to still put something on the underside of the soles. The original pattern I was following actually suggested making 2 layers of soles and put stuffing between them to make it feel comfortable. Lazy me didn't want to make a new set of soles so I just made use of the leather from our old bean bag. This would be the underside of the slippers.
I traced around the crocheted soles and cut.

The next step would be to attach the leather side to the crocheted soles and put the stuffing in between.
Finally, I stitched around the slippers and secured the leather underneath.
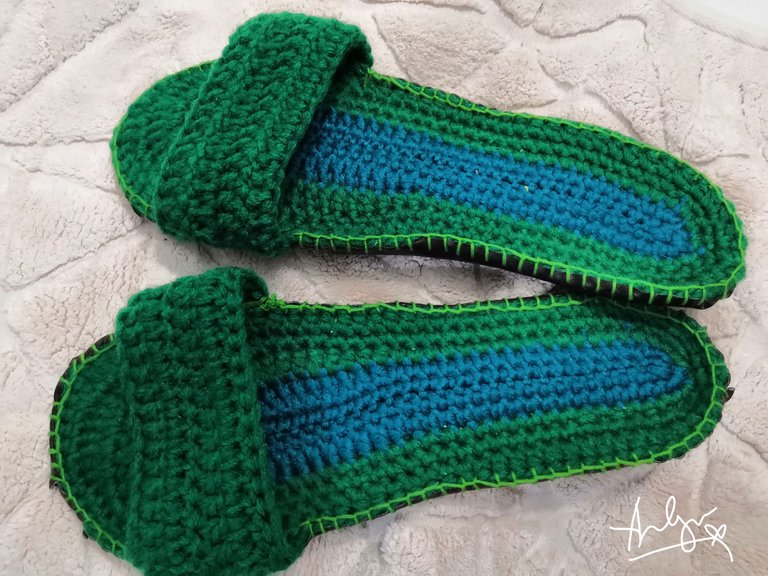
Two of five done! Now it's time to plan for the next slippers project. I think I'd finish for the boys first then I will start working for my girl and mine.


WOW, that is a great idea. I don't know how to do that but it sound great.
Thanks! Crocheting is a nice craft to learn. You can create many things using crochet. <3