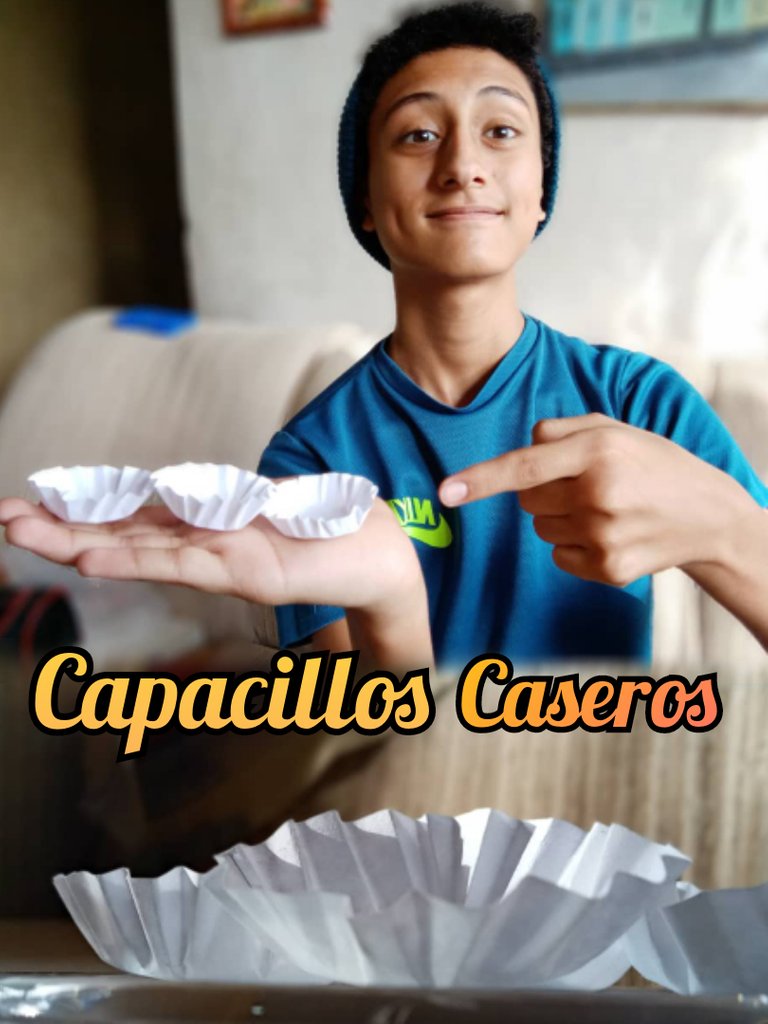
[ING-ESP] Capacillos Caseros Para Ponquesitos Paso a Paso // Step by Step Homemade Cupcake Tumblers
Hola amigos de hive Espero se encuentren increíble.
Hello friends of hive I hope you find it incredible.
El día de hoy Quiero compartir con ustedes este tutorial de cómo elaborar de manera fácil nuestros propios capacillos para ponquesitos paso a paso Espero les guste.
Today I would like to share with you this tutorial on how to easily build our own step-by-step punching bag training. I hope you like it.
Los materiales que vamos a necesitar para elaborar los son:
The materials that we are going to need to elaborate them are:
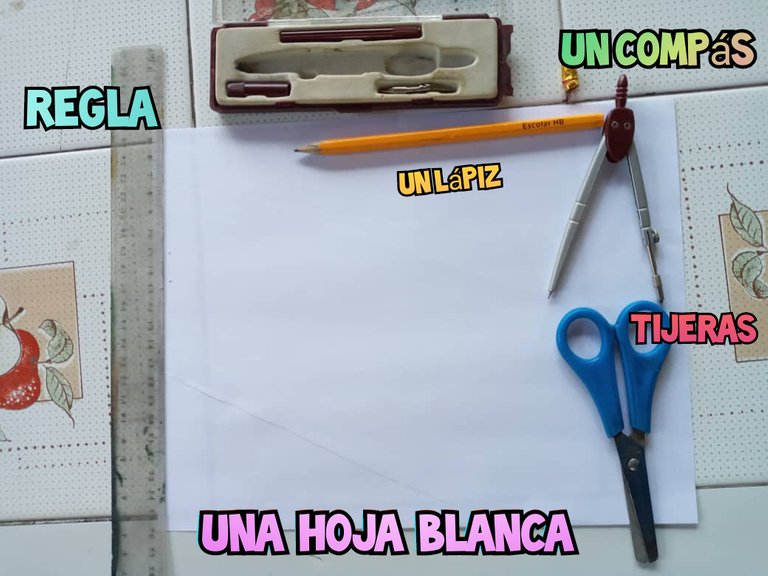
1.- una hoja blanca.
2.- un compás.
3.- una regla.
4.- unas tijeras.
5.- un lápiz.
1.- a white sheet.
2.- a bar.
3 .- a rule.
4 .- a pair of scissors.
5.- a pencil.
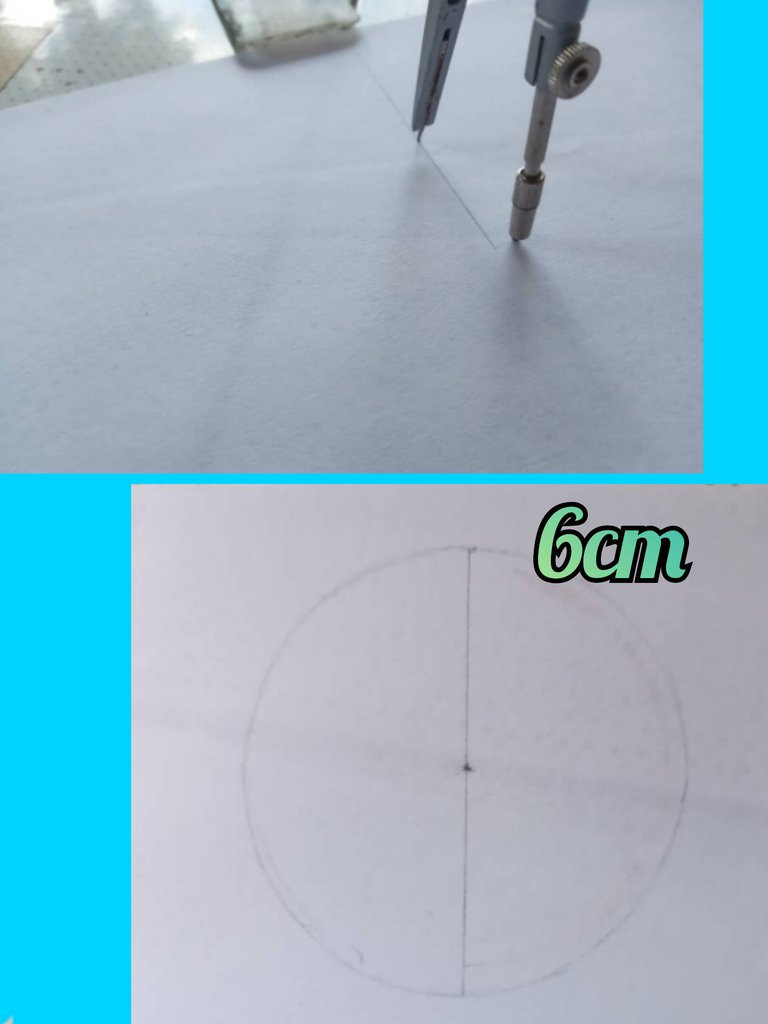
Primero con la regla trazamos en la hoja una línea de 6 cm luego colocamos el compás en el centímetro número 3 y hacemos un círculo de 6 cm de ancho y 6 cm de largo.
First with the ruler we draw a line of 6 cm on the sheet, then we place the compass on the centimeter number 3 and make a circle of 6 cm wide and 6 cm long.
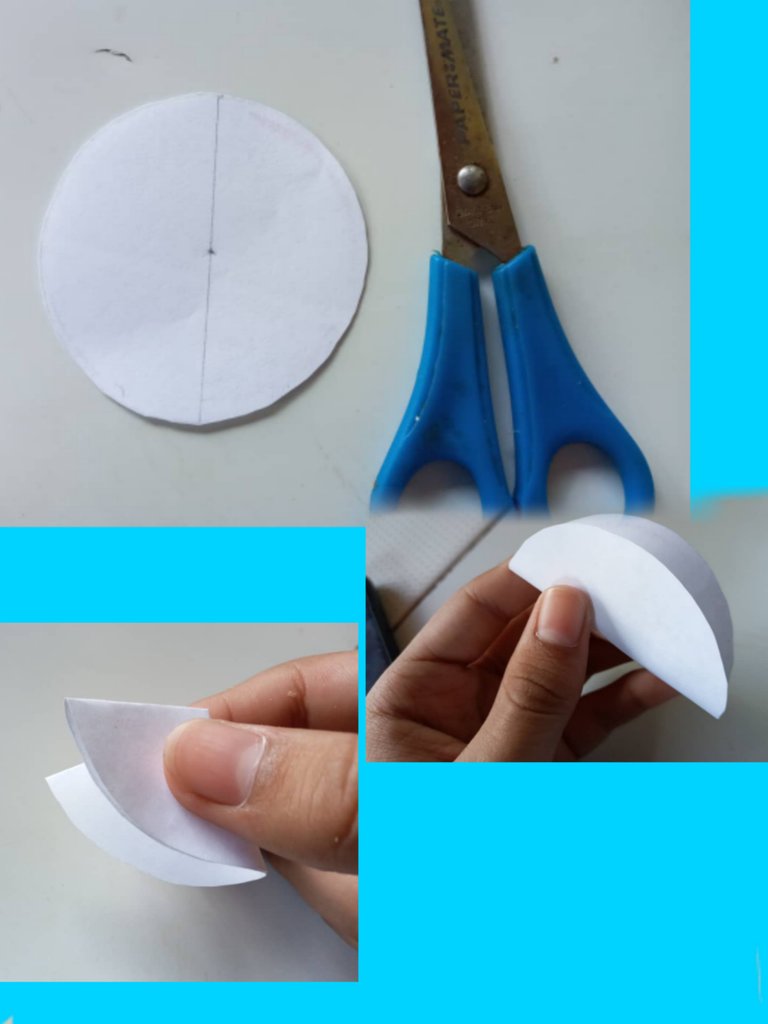
Luego que tengamos el círculo con la tijera lo cortamos lo doblamos por la mitad y de nuevo otra vez por la mitad.
After we have the circle with the scissors we cut it in half and again in half.
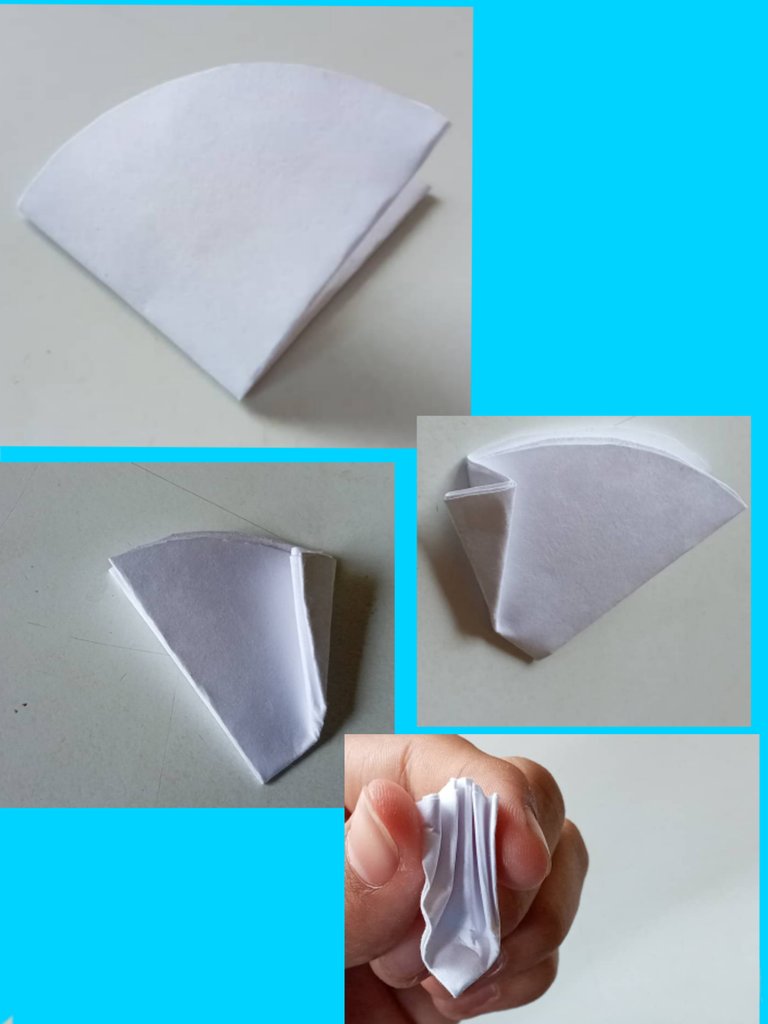
luego que tengamos nuestro papel doblado en forma de abanico lo tomamos por la parte que no se abre y le doblamos el borde un poquito hacia la derecha luego hacemos lo mismo otra vez hacia la izquierda y así sucesivamente dejando espacio de abajo que no llegue hasta el fondo, hasta llegar hasta el otro lado, nos tiene que quedar Cómo pueden apreciar en las fotografías.
after we have our paper folded in the form of a fan we take it by the part that does not open and we fold the edge a little to the right then we do the same again to the left and so on leaving space below that does not reach the bottom, until we get to the other side, it has to be as you can see in the photographs.
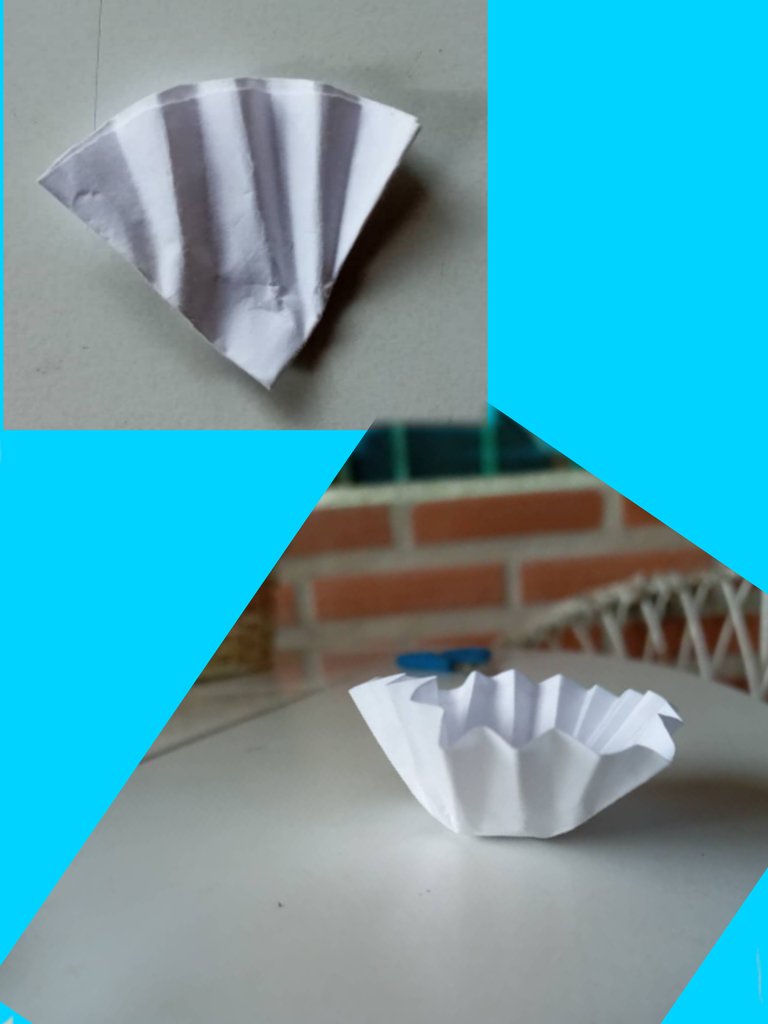
Y Listo ya tenemos listos nuestros capacillos caseros elaborados por nosotros mismos.
And ready we have our own homemade capacillos.
Bueno amigos de Hive esto a sido todo mi por el día de hoy Espero les haya encantado nos vemos en un próximo post adiós.
Well friends of Hive this has been all me for today I hope you have loved it see you in a next post goodbye.
Todas las fotografías fueron tomadas con mi teléfono celular.
All pictures were taken with my cell phone.
Congratulations @alejandroxg! You have completed the following achievement on the Hive blockchain and have been rewarded with new badge(s) :
You can view your badges on your board and compare yourself to others in the Ranking
If you no longer want to receive notifications, reply to this comment with the word
STOPDo not miss the last post from @hivebuzz:
Congratulations @alejandroxg! You received a personal badge!
Wait until the end of Power Up Day to find out the size of your Power-Bee.
May the Hive Power be with you!
You can view your badges on your board and compare yourself to others in the Ranking
Do not miss the last post from @hivebuzz: