Cómo realizar un Carro con Materiales Reusables -Concurso semanal Build-It [ESP/ENG] /How to make a Cart with Reusable Materials-Build-It Weekly Contest
Greetings dear community today I am going to share with you how to make a car with reusable materials, as a participation in the weekly Build-It Contest, I want to emphasize that my publications have been mostly design tutorials, but thanks to my son who was motivating me Since he wanted me to make the car for him, so I started researching and learned how to make them thanks to some publications that I saw on the YouTube social network. Without further ado, below I present the steps
Cómo realizar un Carro con Materiales Reusables -Concurso semanal Build-It [ESP/ENG] /How to make a Cart with Reusable Materials-Build-It Weekly Contest:
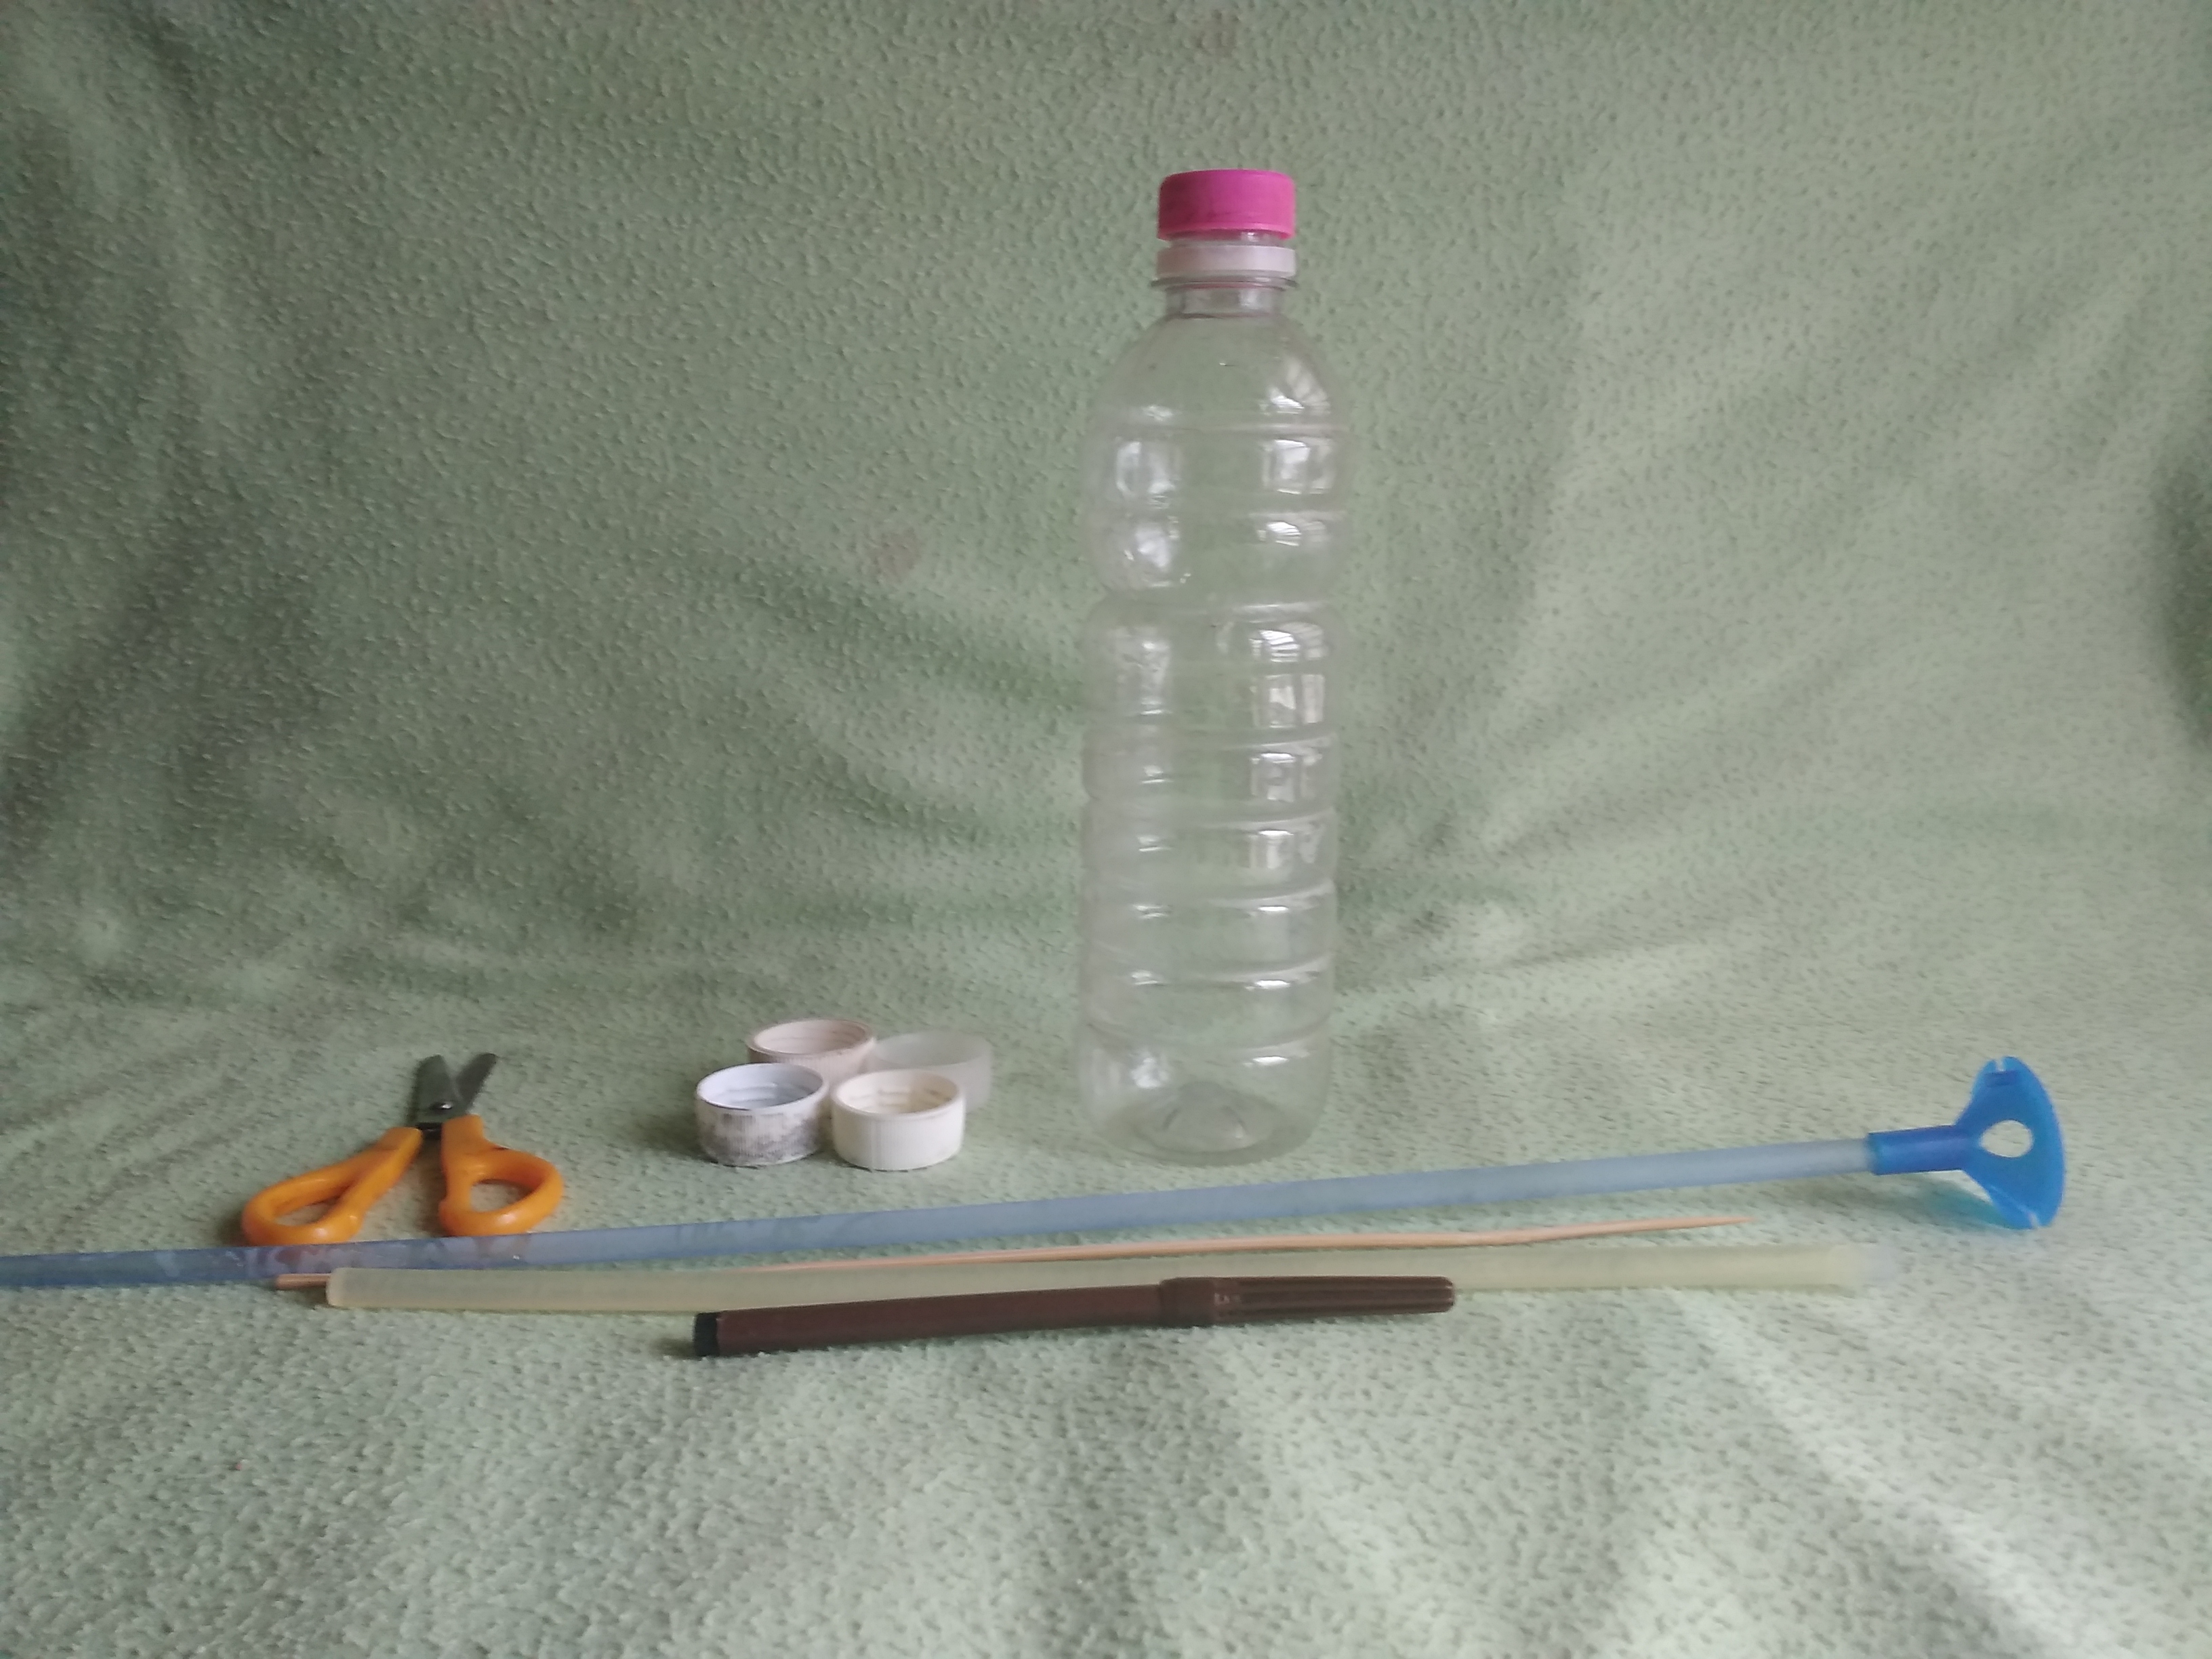
Para la elaboración de este carro utilice los siguientes:
Materiales:
- Un Pote de plastico de agua mineral
- 5 Tapas plasticas
- Palitos de altura
- Palito para globo
- Tijera
- Cartón
- Silicón
- Marcador negro
- Un clavo
To make this cart use the following:
Materials:
- A plastic pot of mineral water
- 5 plastic lids
- Height sticks
- Balloon stick
- Scissors
- Paperboard
- Silicone
- Black marker
- A nail
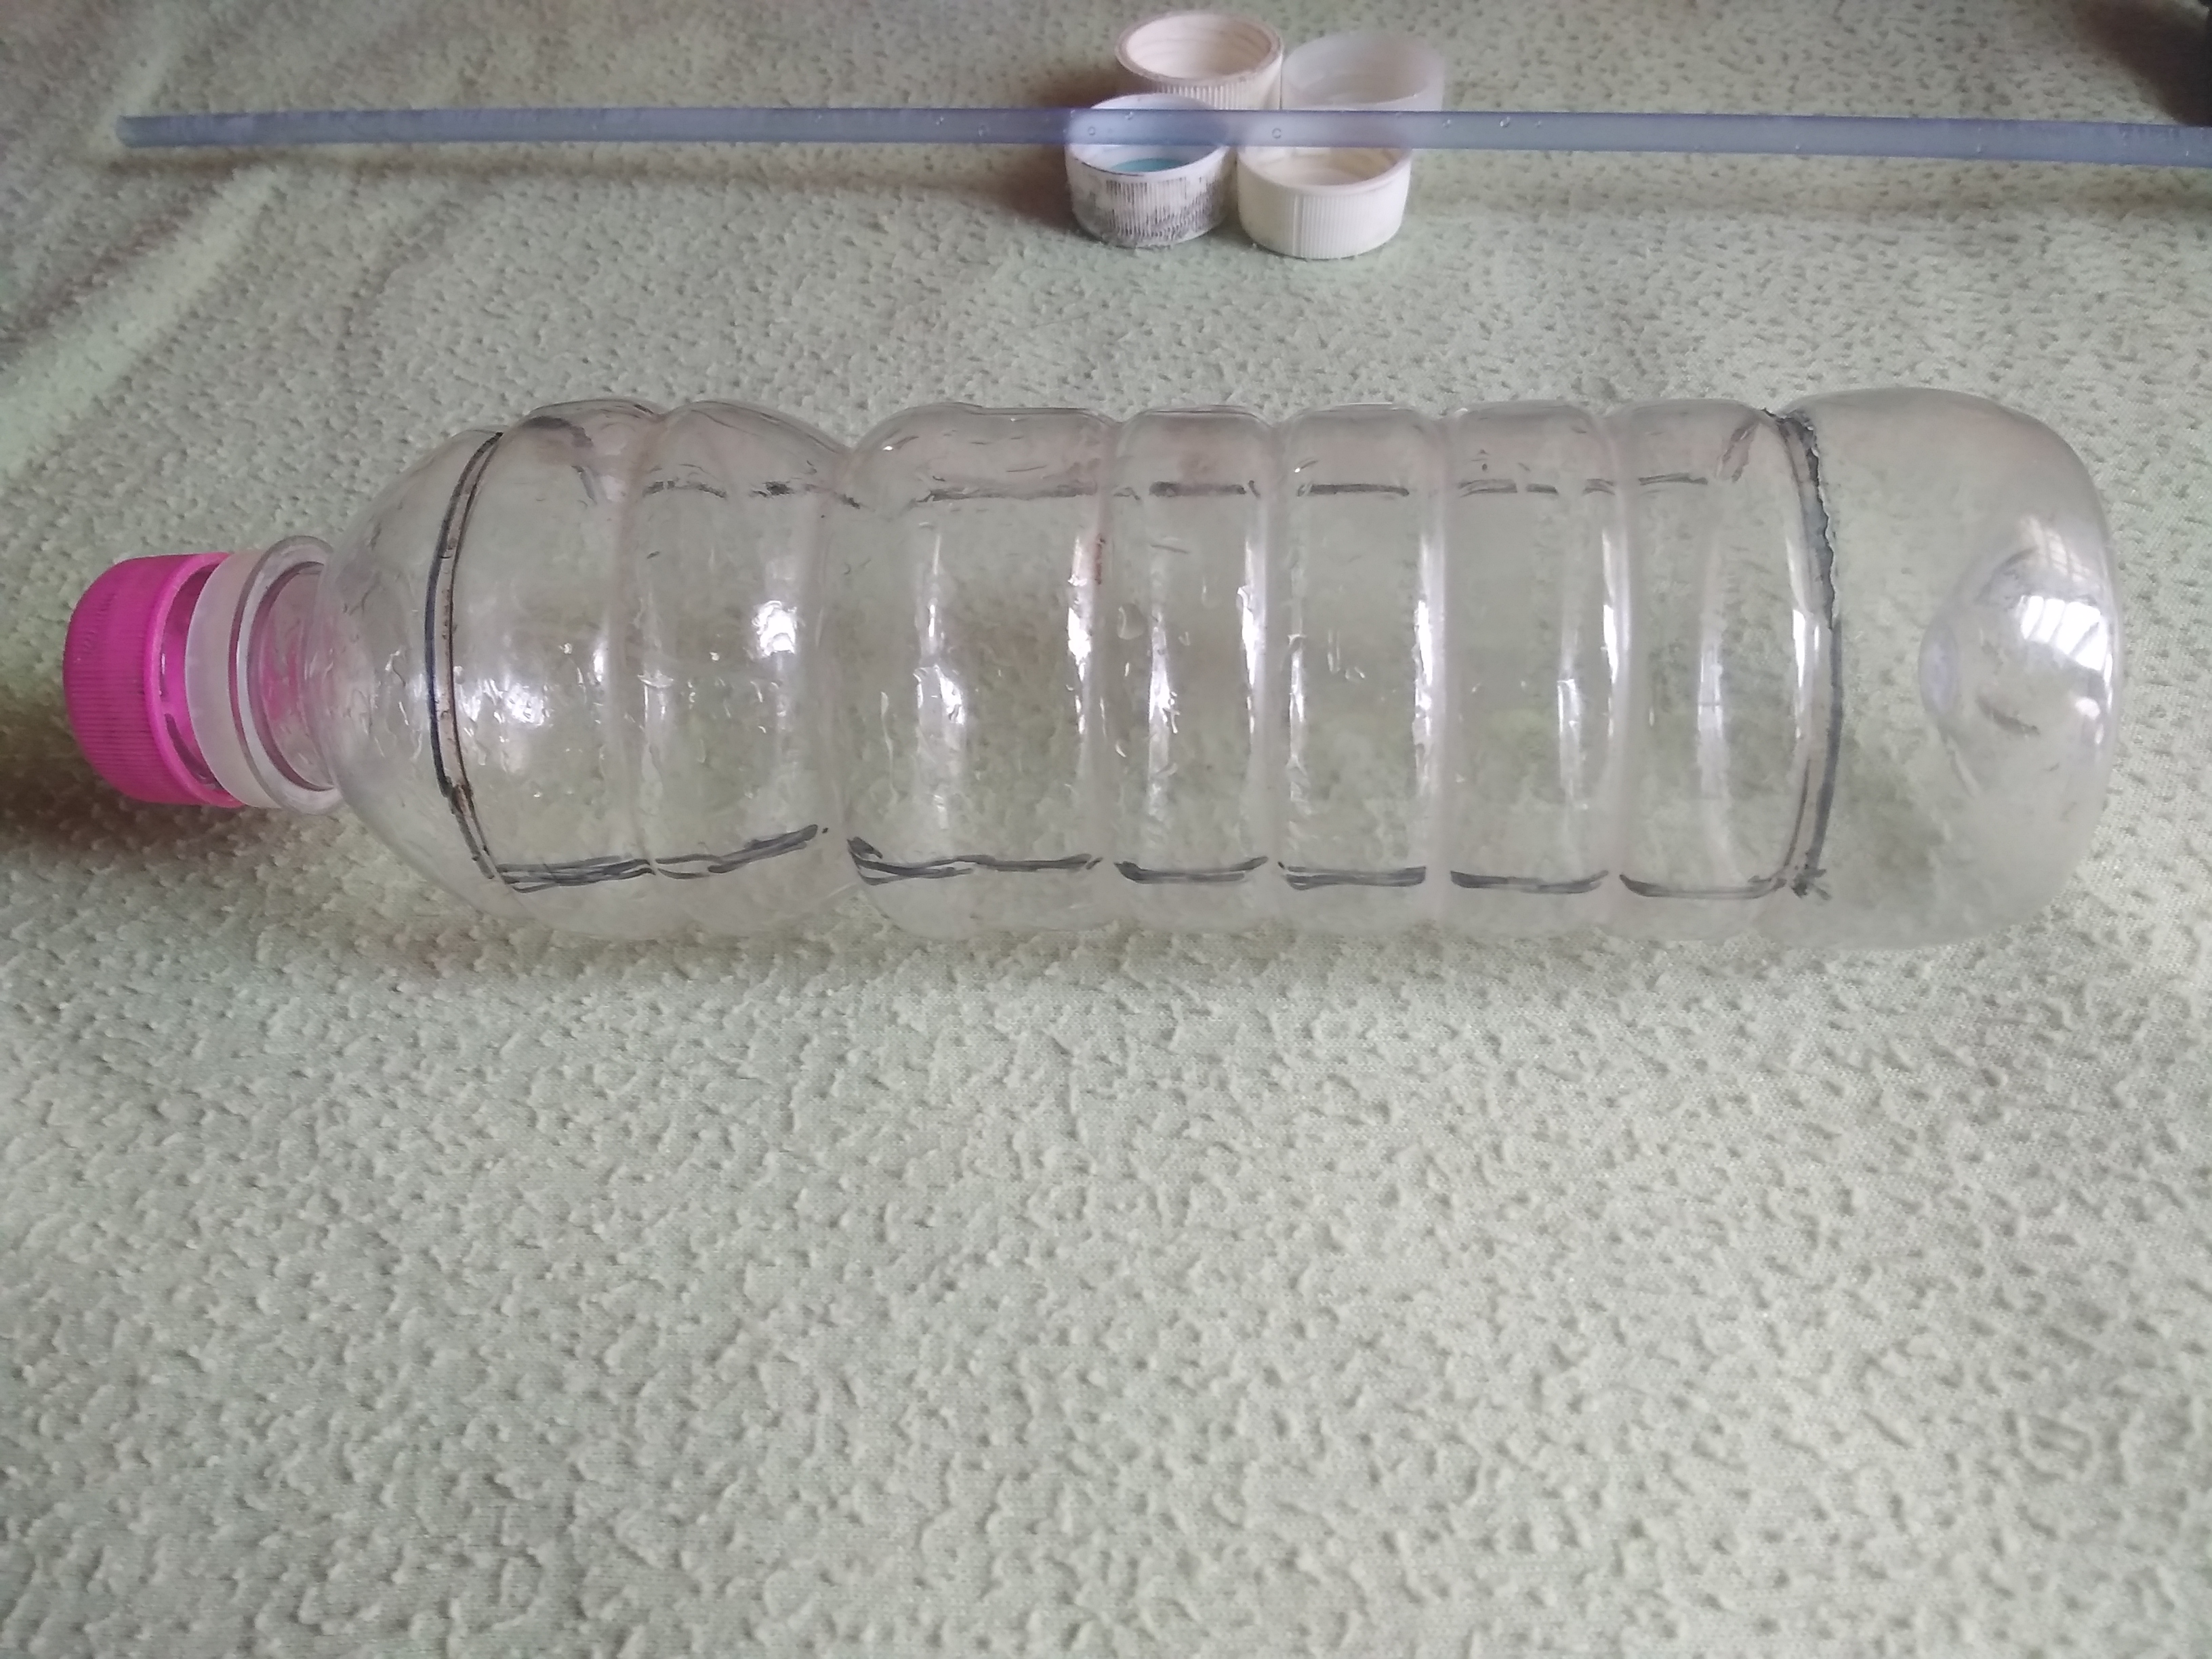
Paso 1/ Step 1:
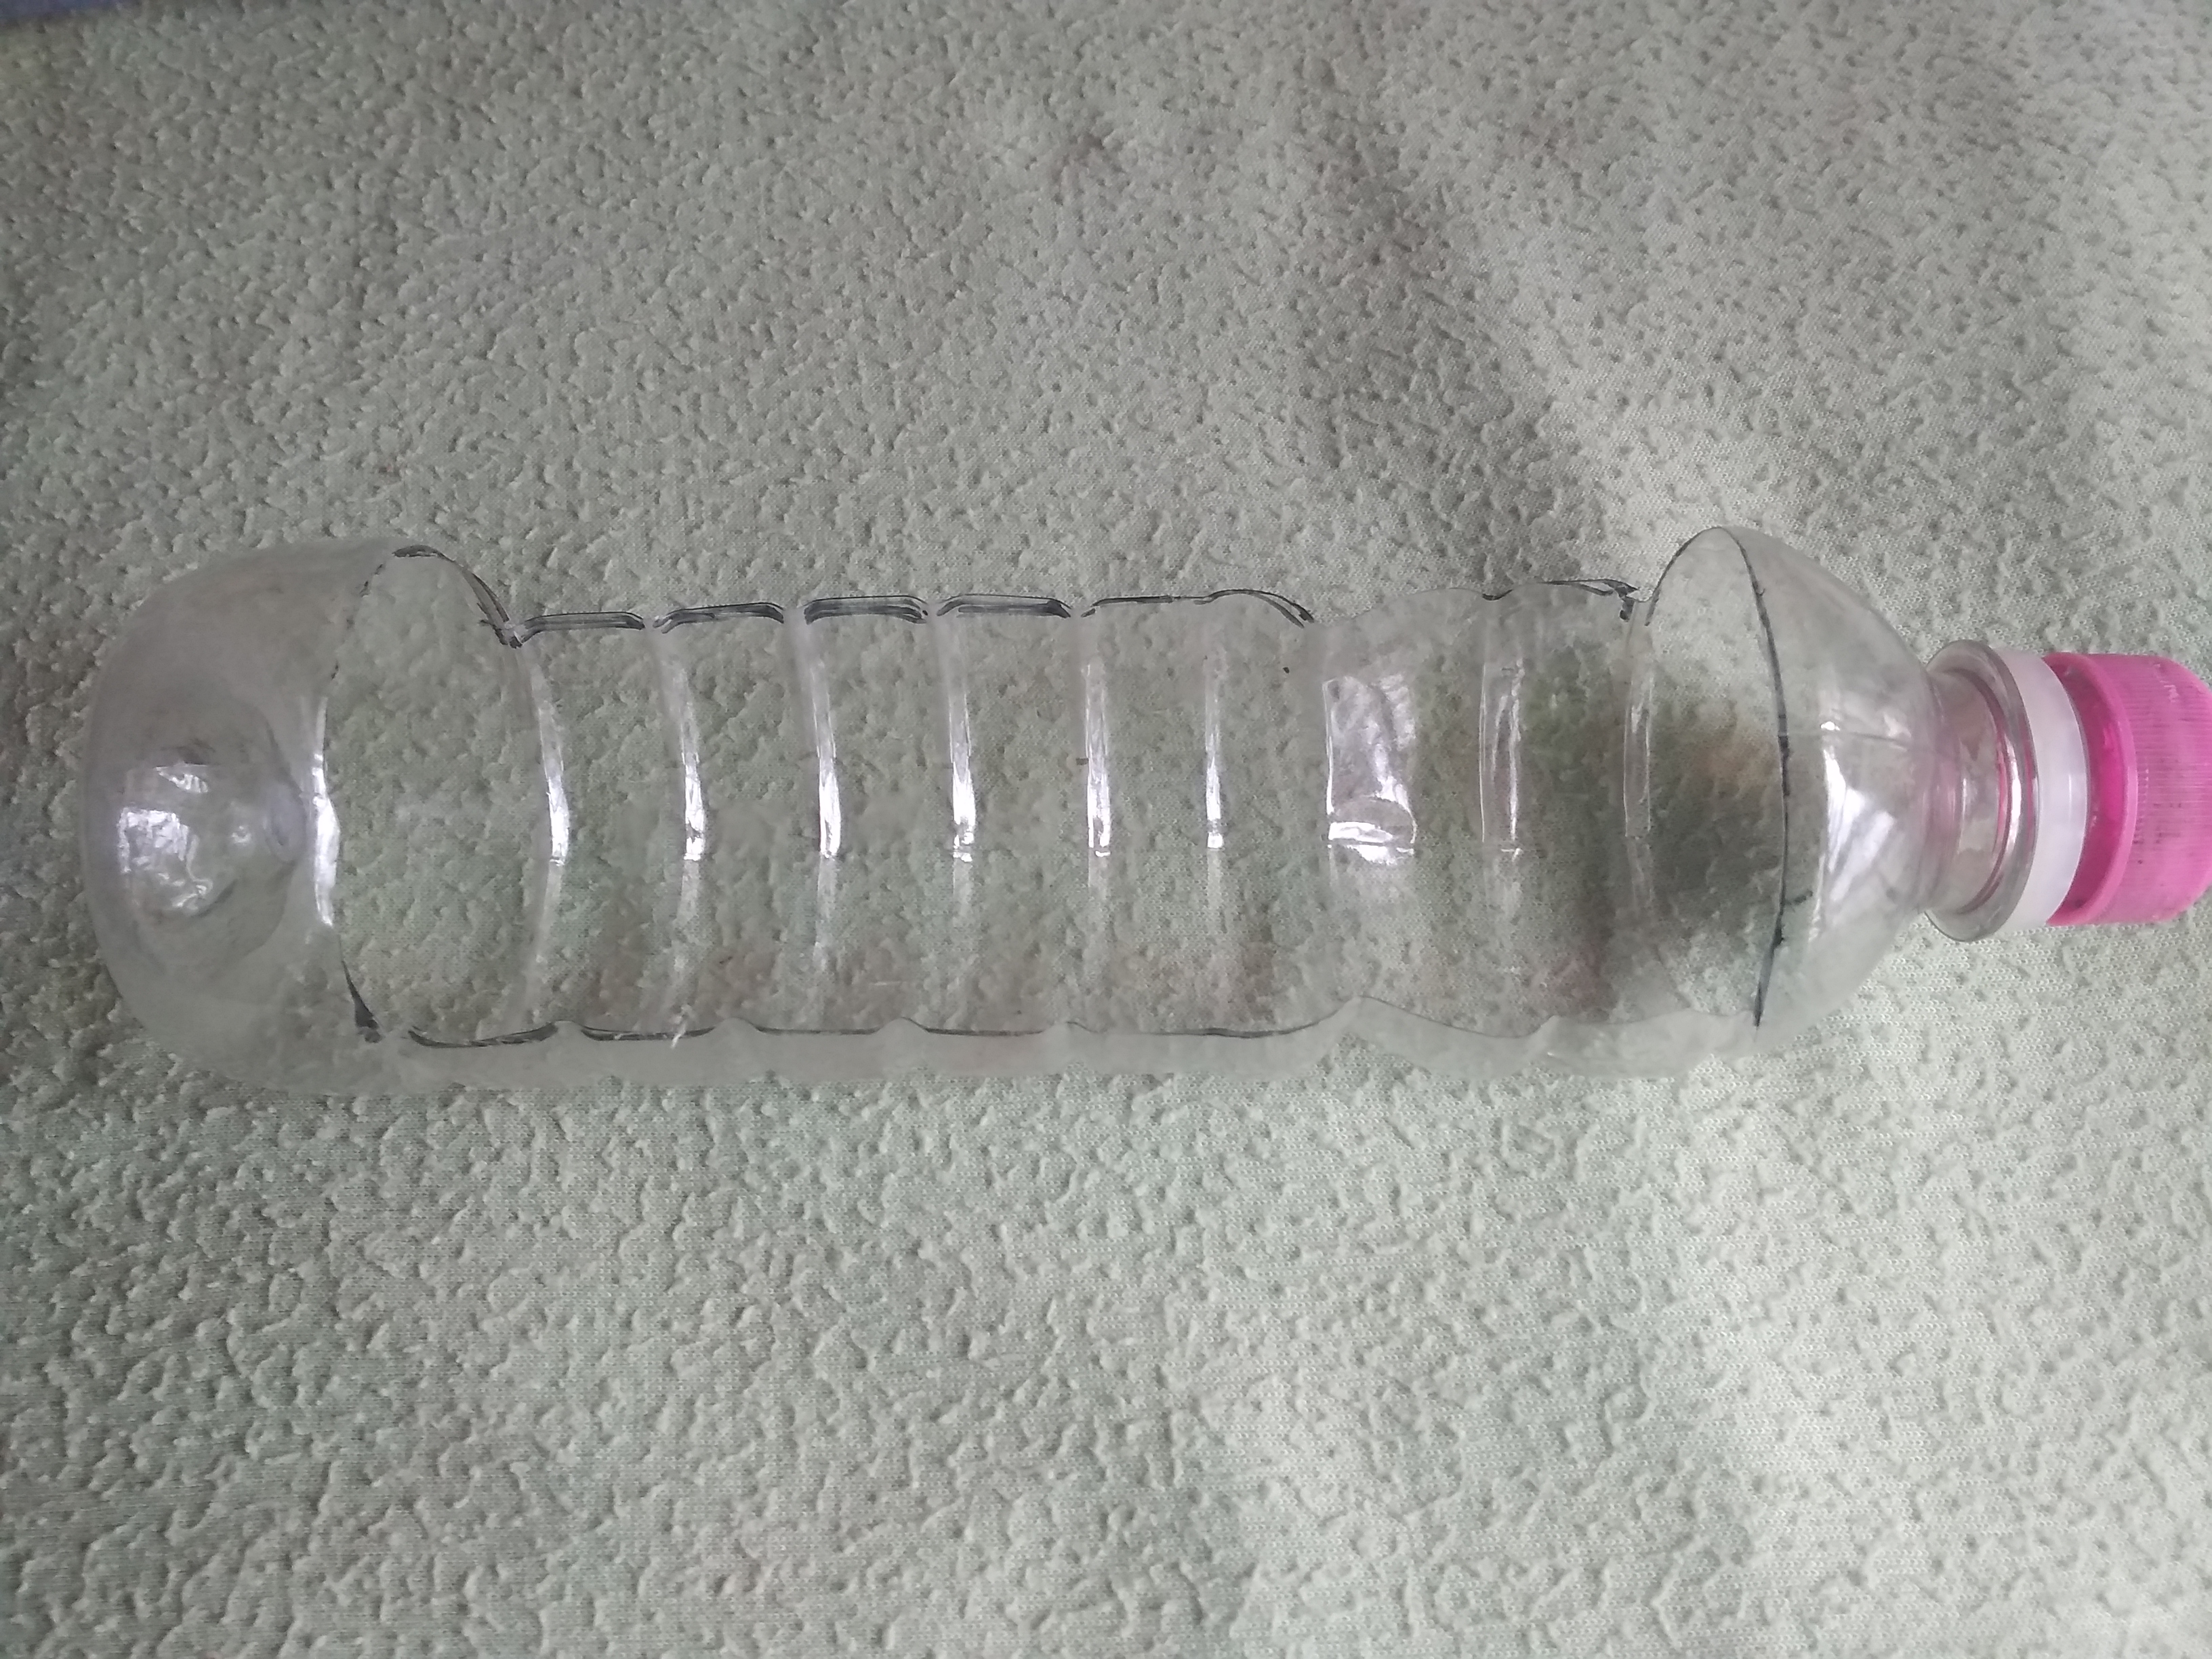
Con un marcador negro procedemos a marcar el área en el pote.
With a black marker we proceed to mark the area on the pot.
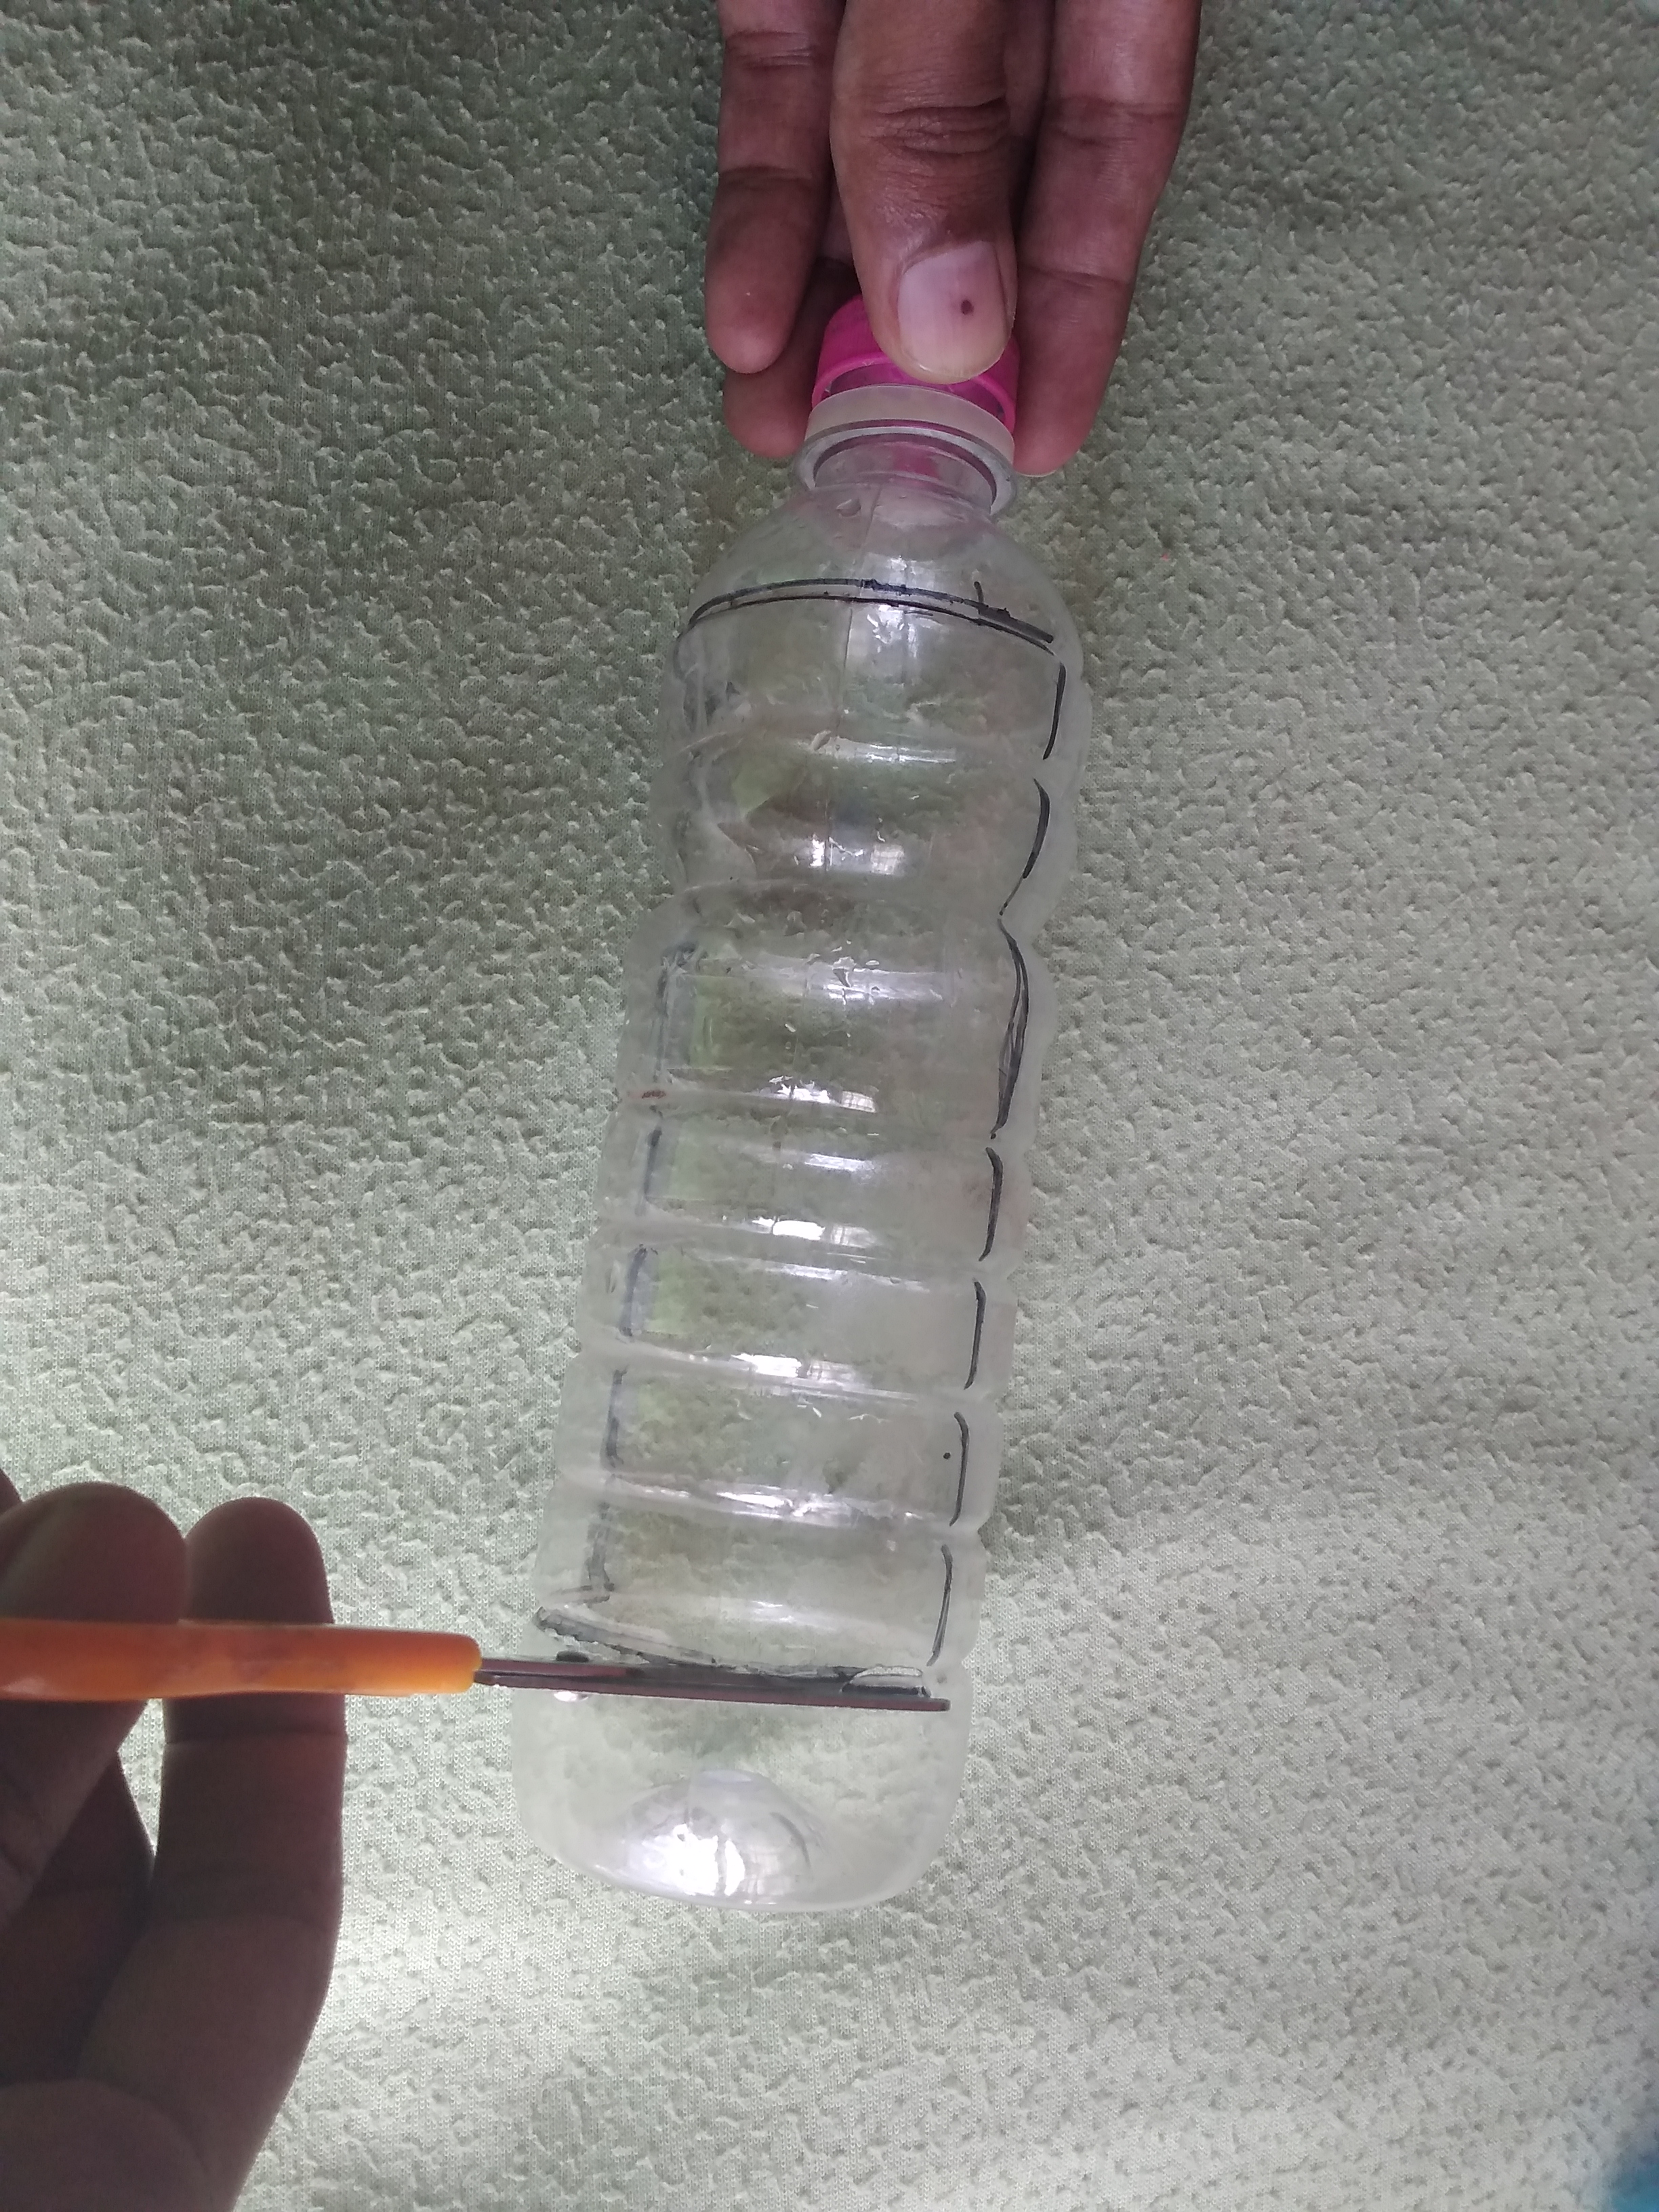
Paso 2 /Step 2:
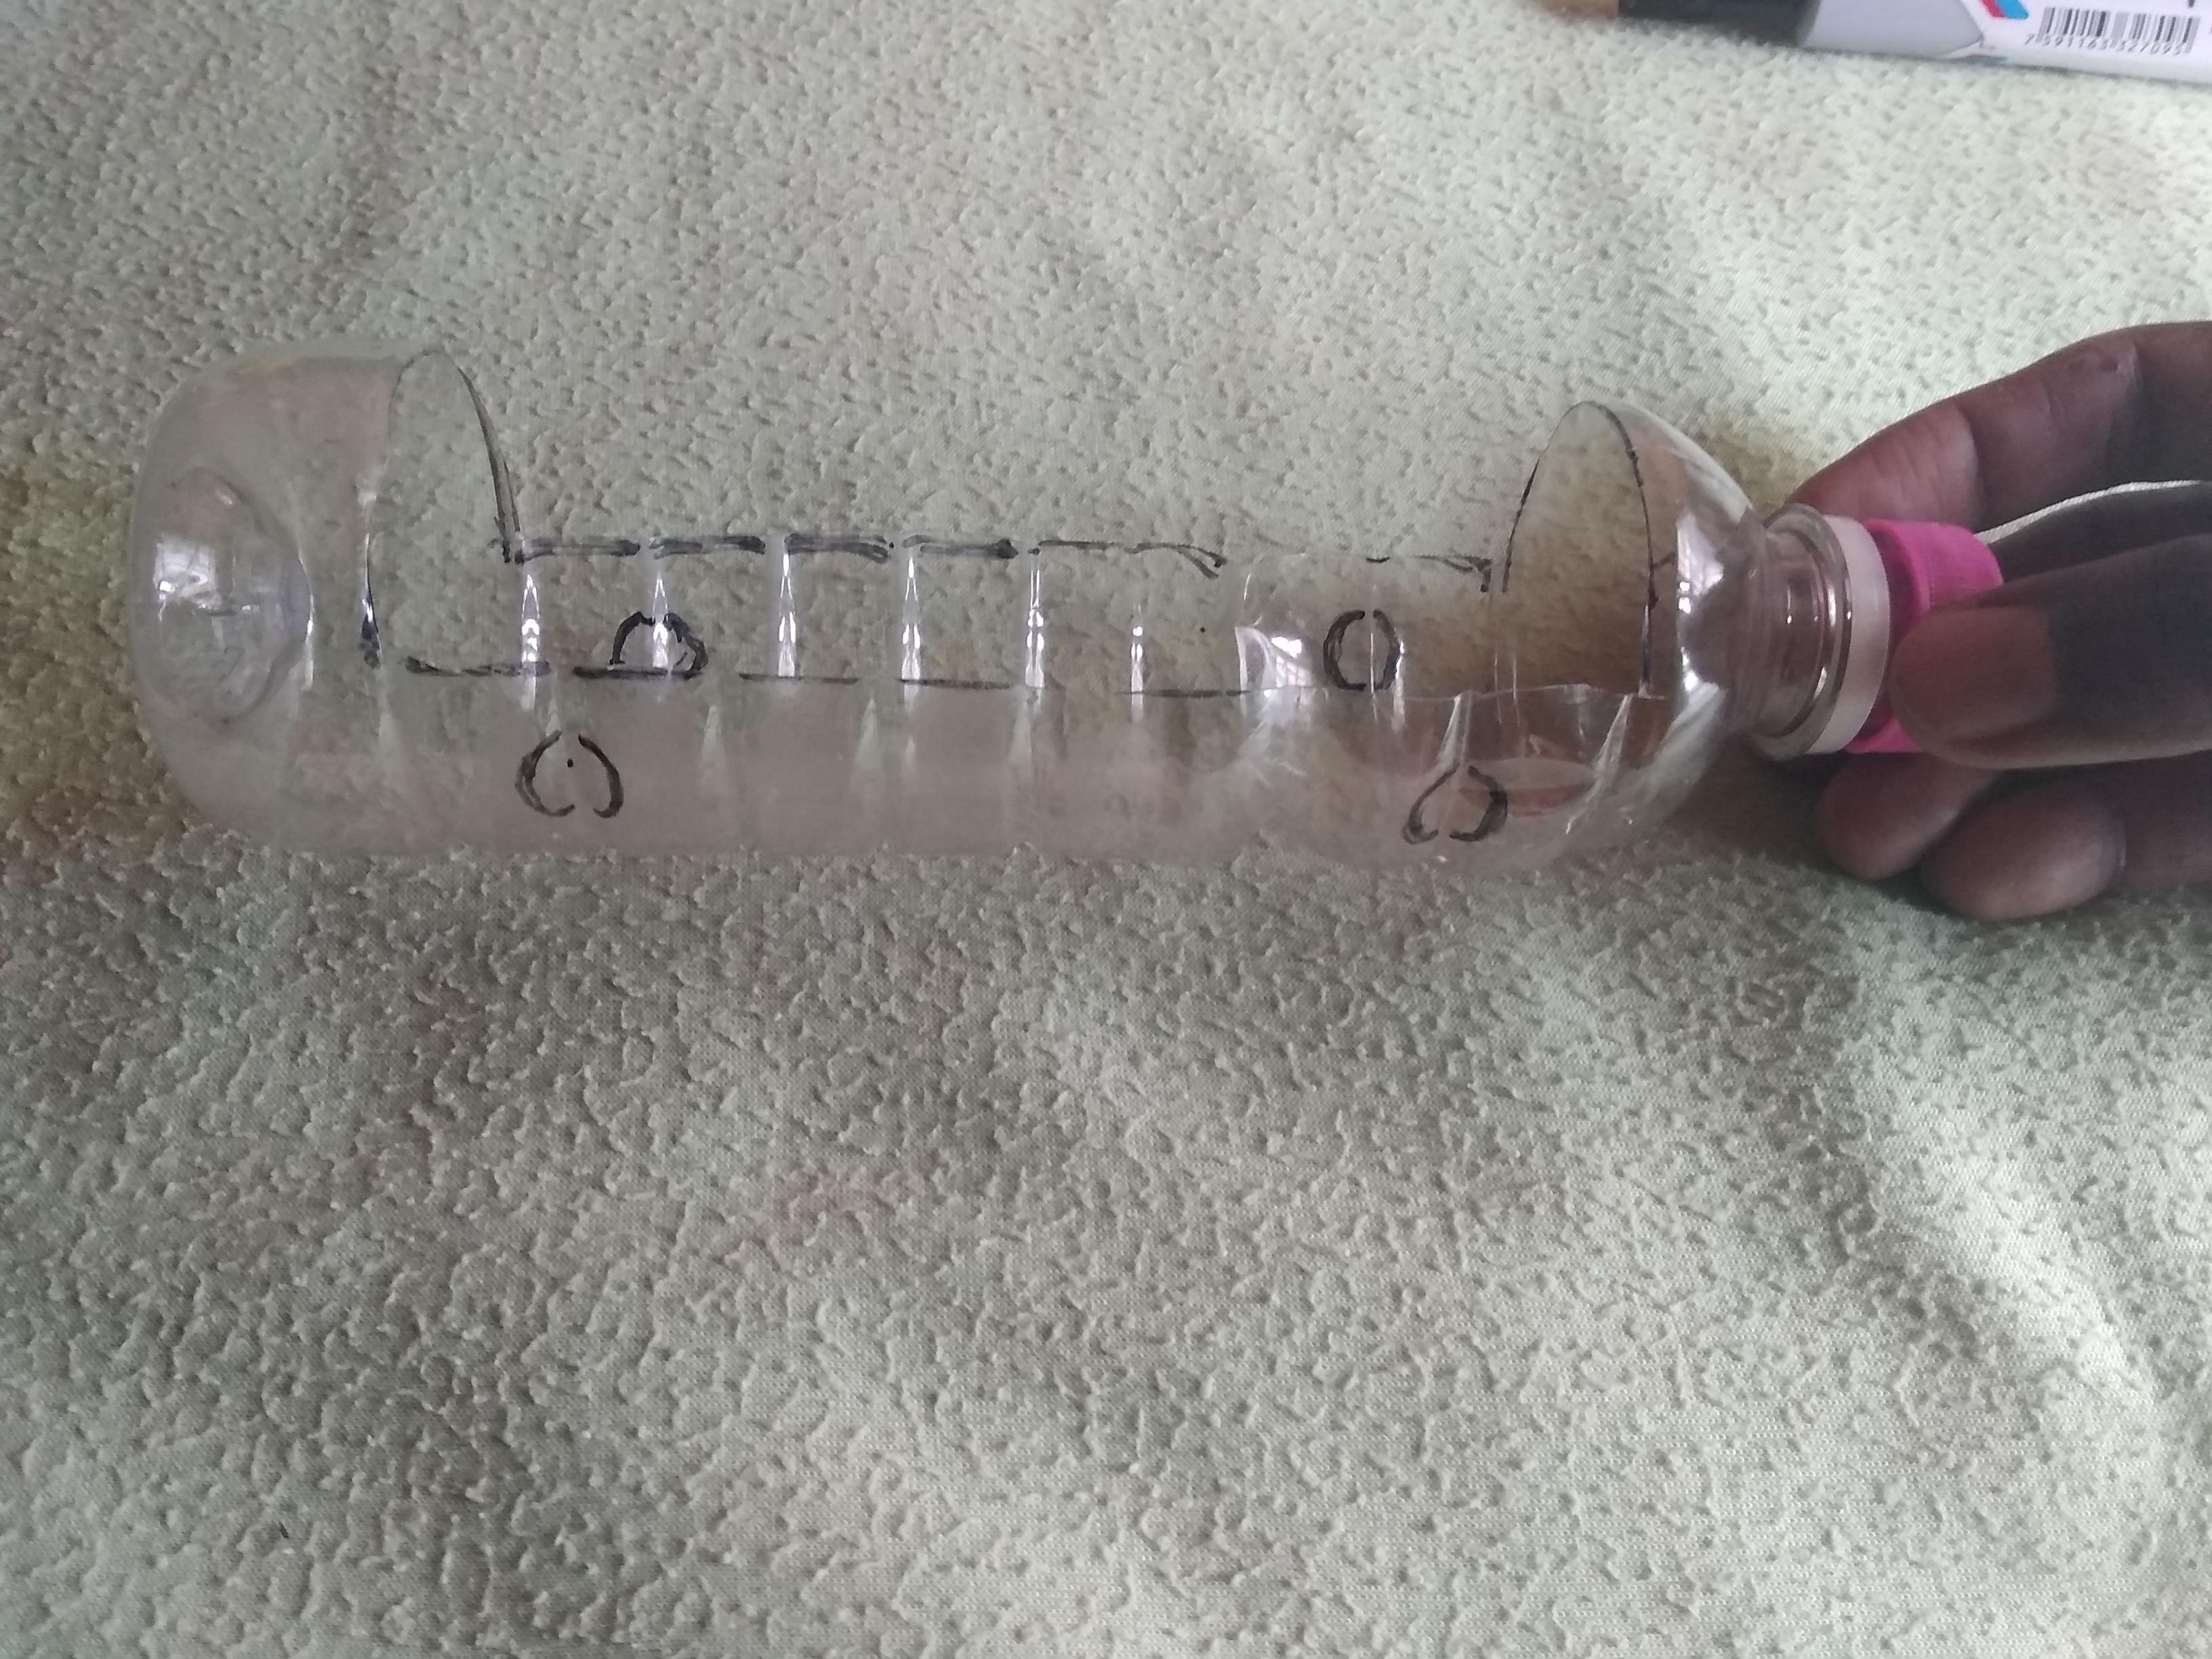
Con la tijera recortamos el plastico en el área marcada.
With the scissors we cut the plastic in the marked area.
Así queda ya listo.
So it is ready.
Paso 3 /Step 3:
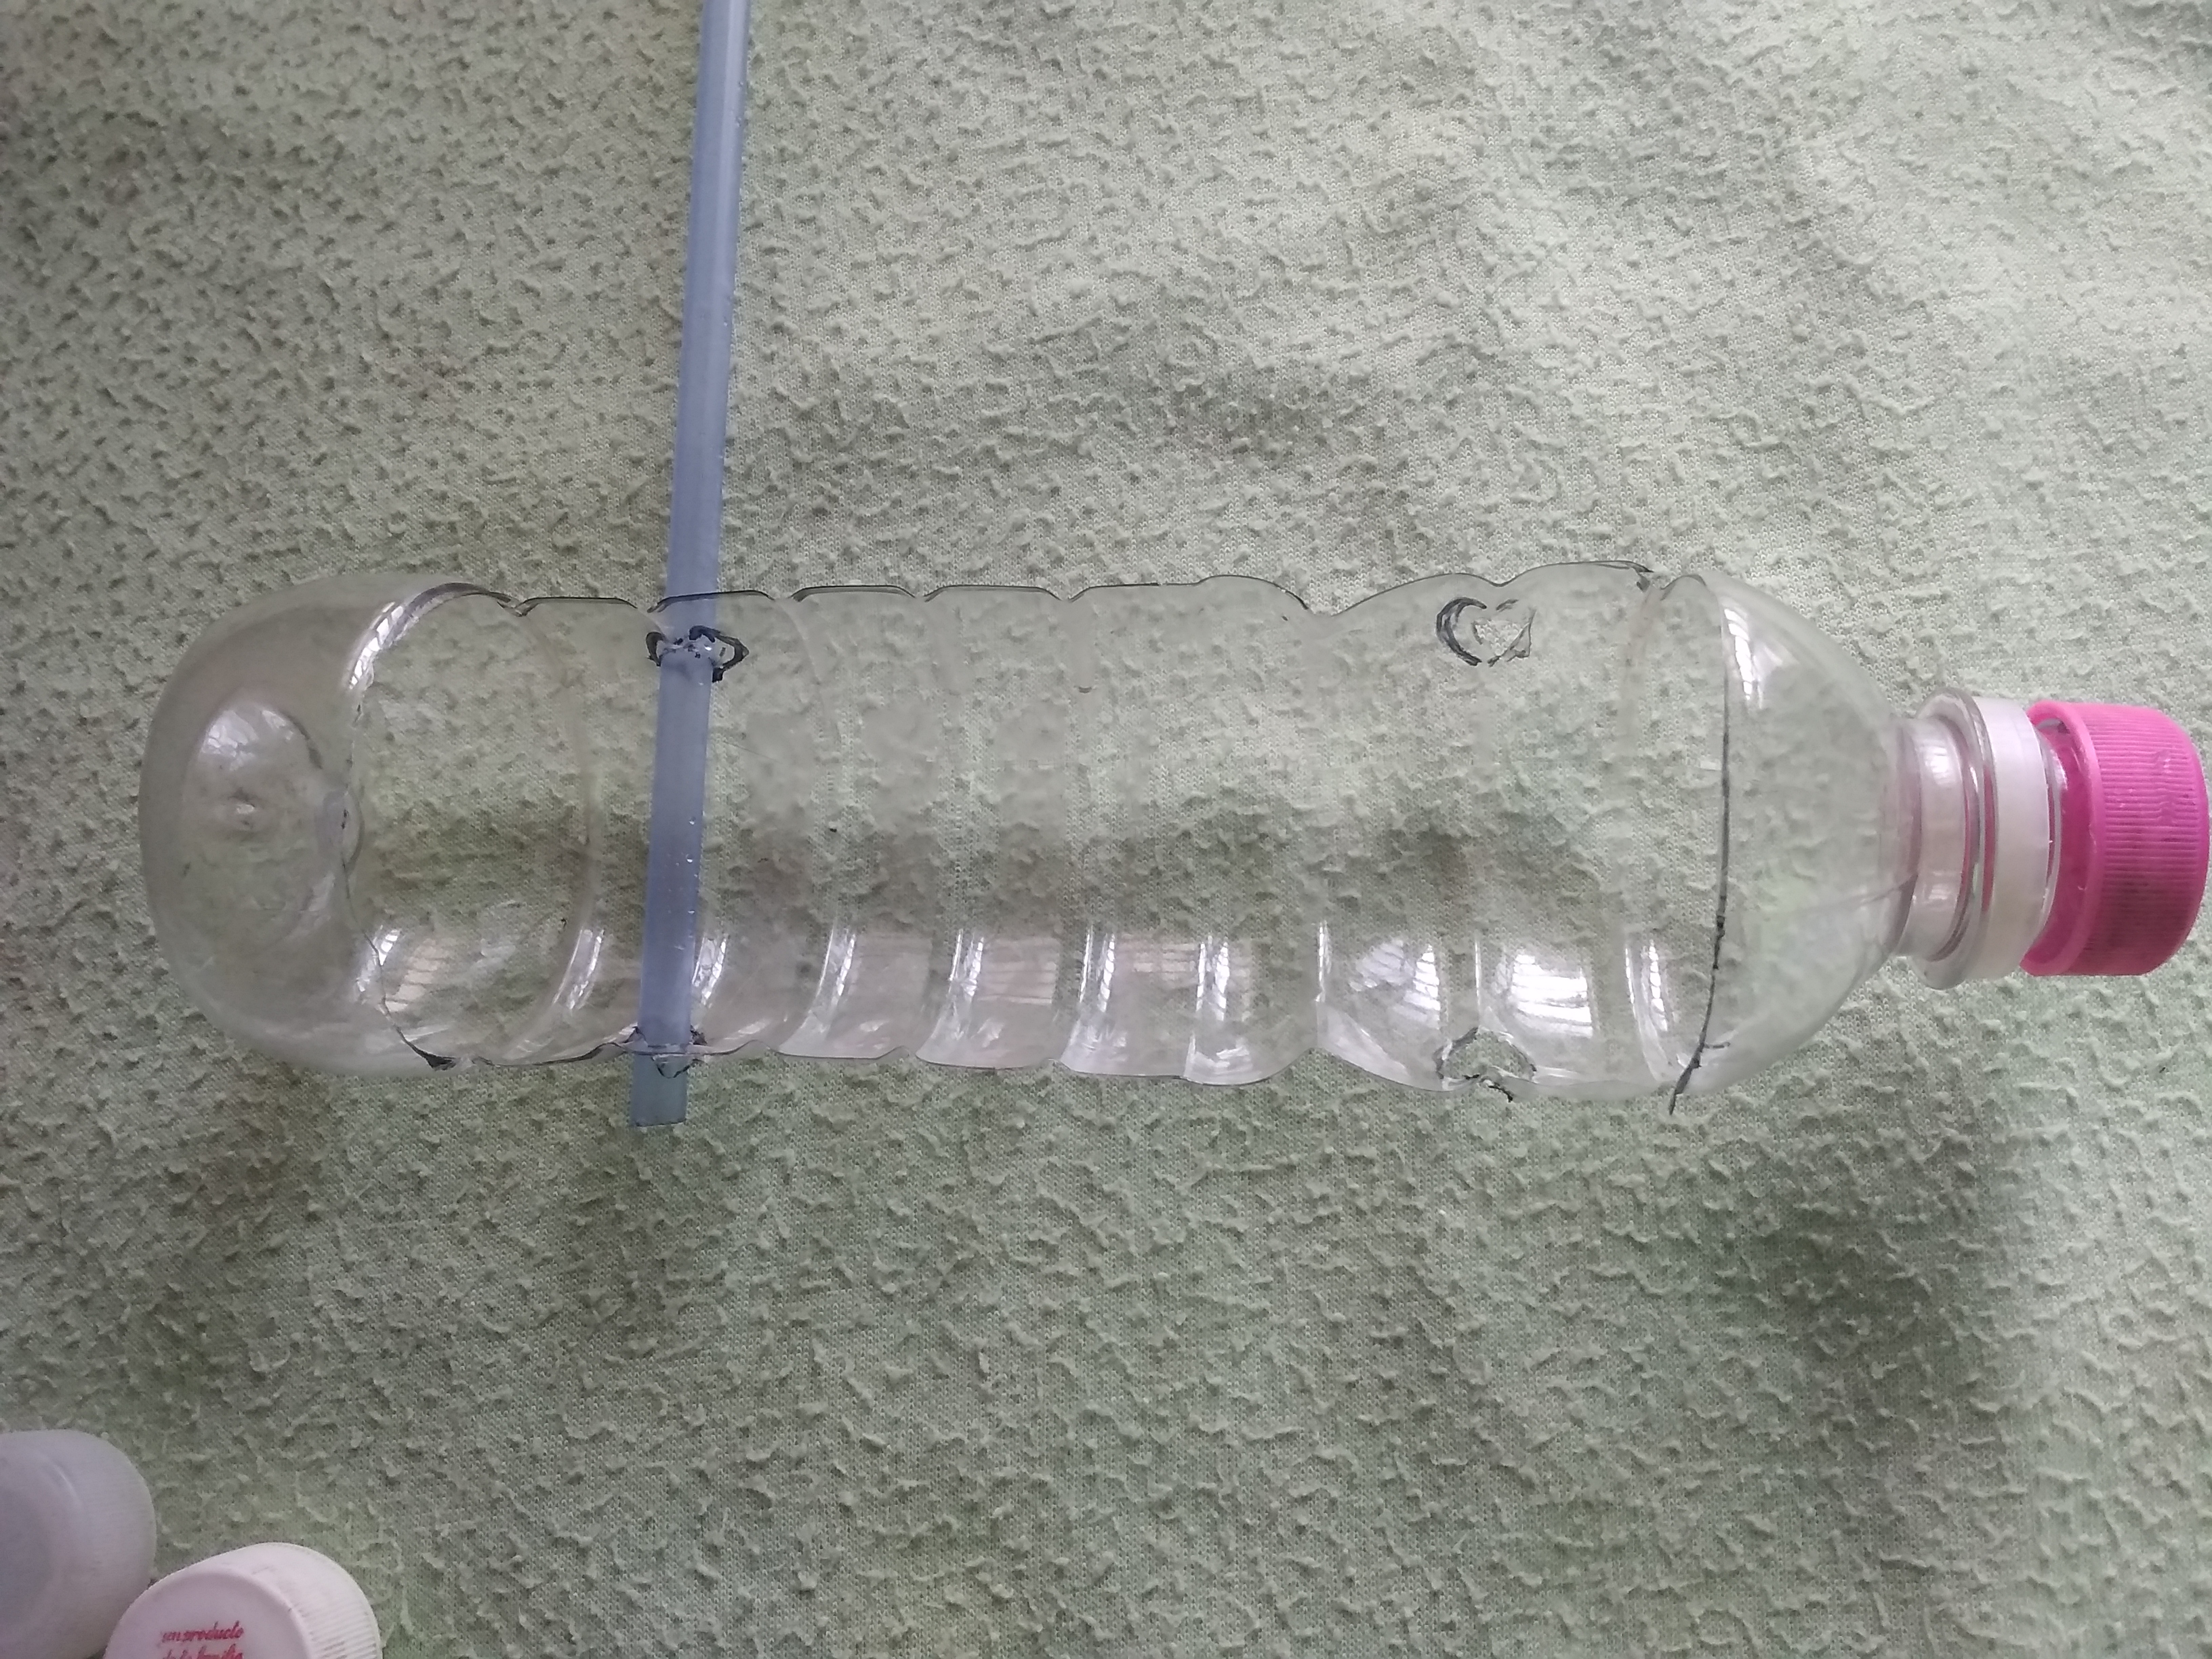
Se dibujan cuatro círculos con un marcador en la siguientes posiciones.
Four circles are drawn with a marker in the following positions.
Paso 4 /Step 4:
Cortamos con un cuchillo la parte marcada.
We cut the marked part with a knife.

Paso 5 /Step 5:
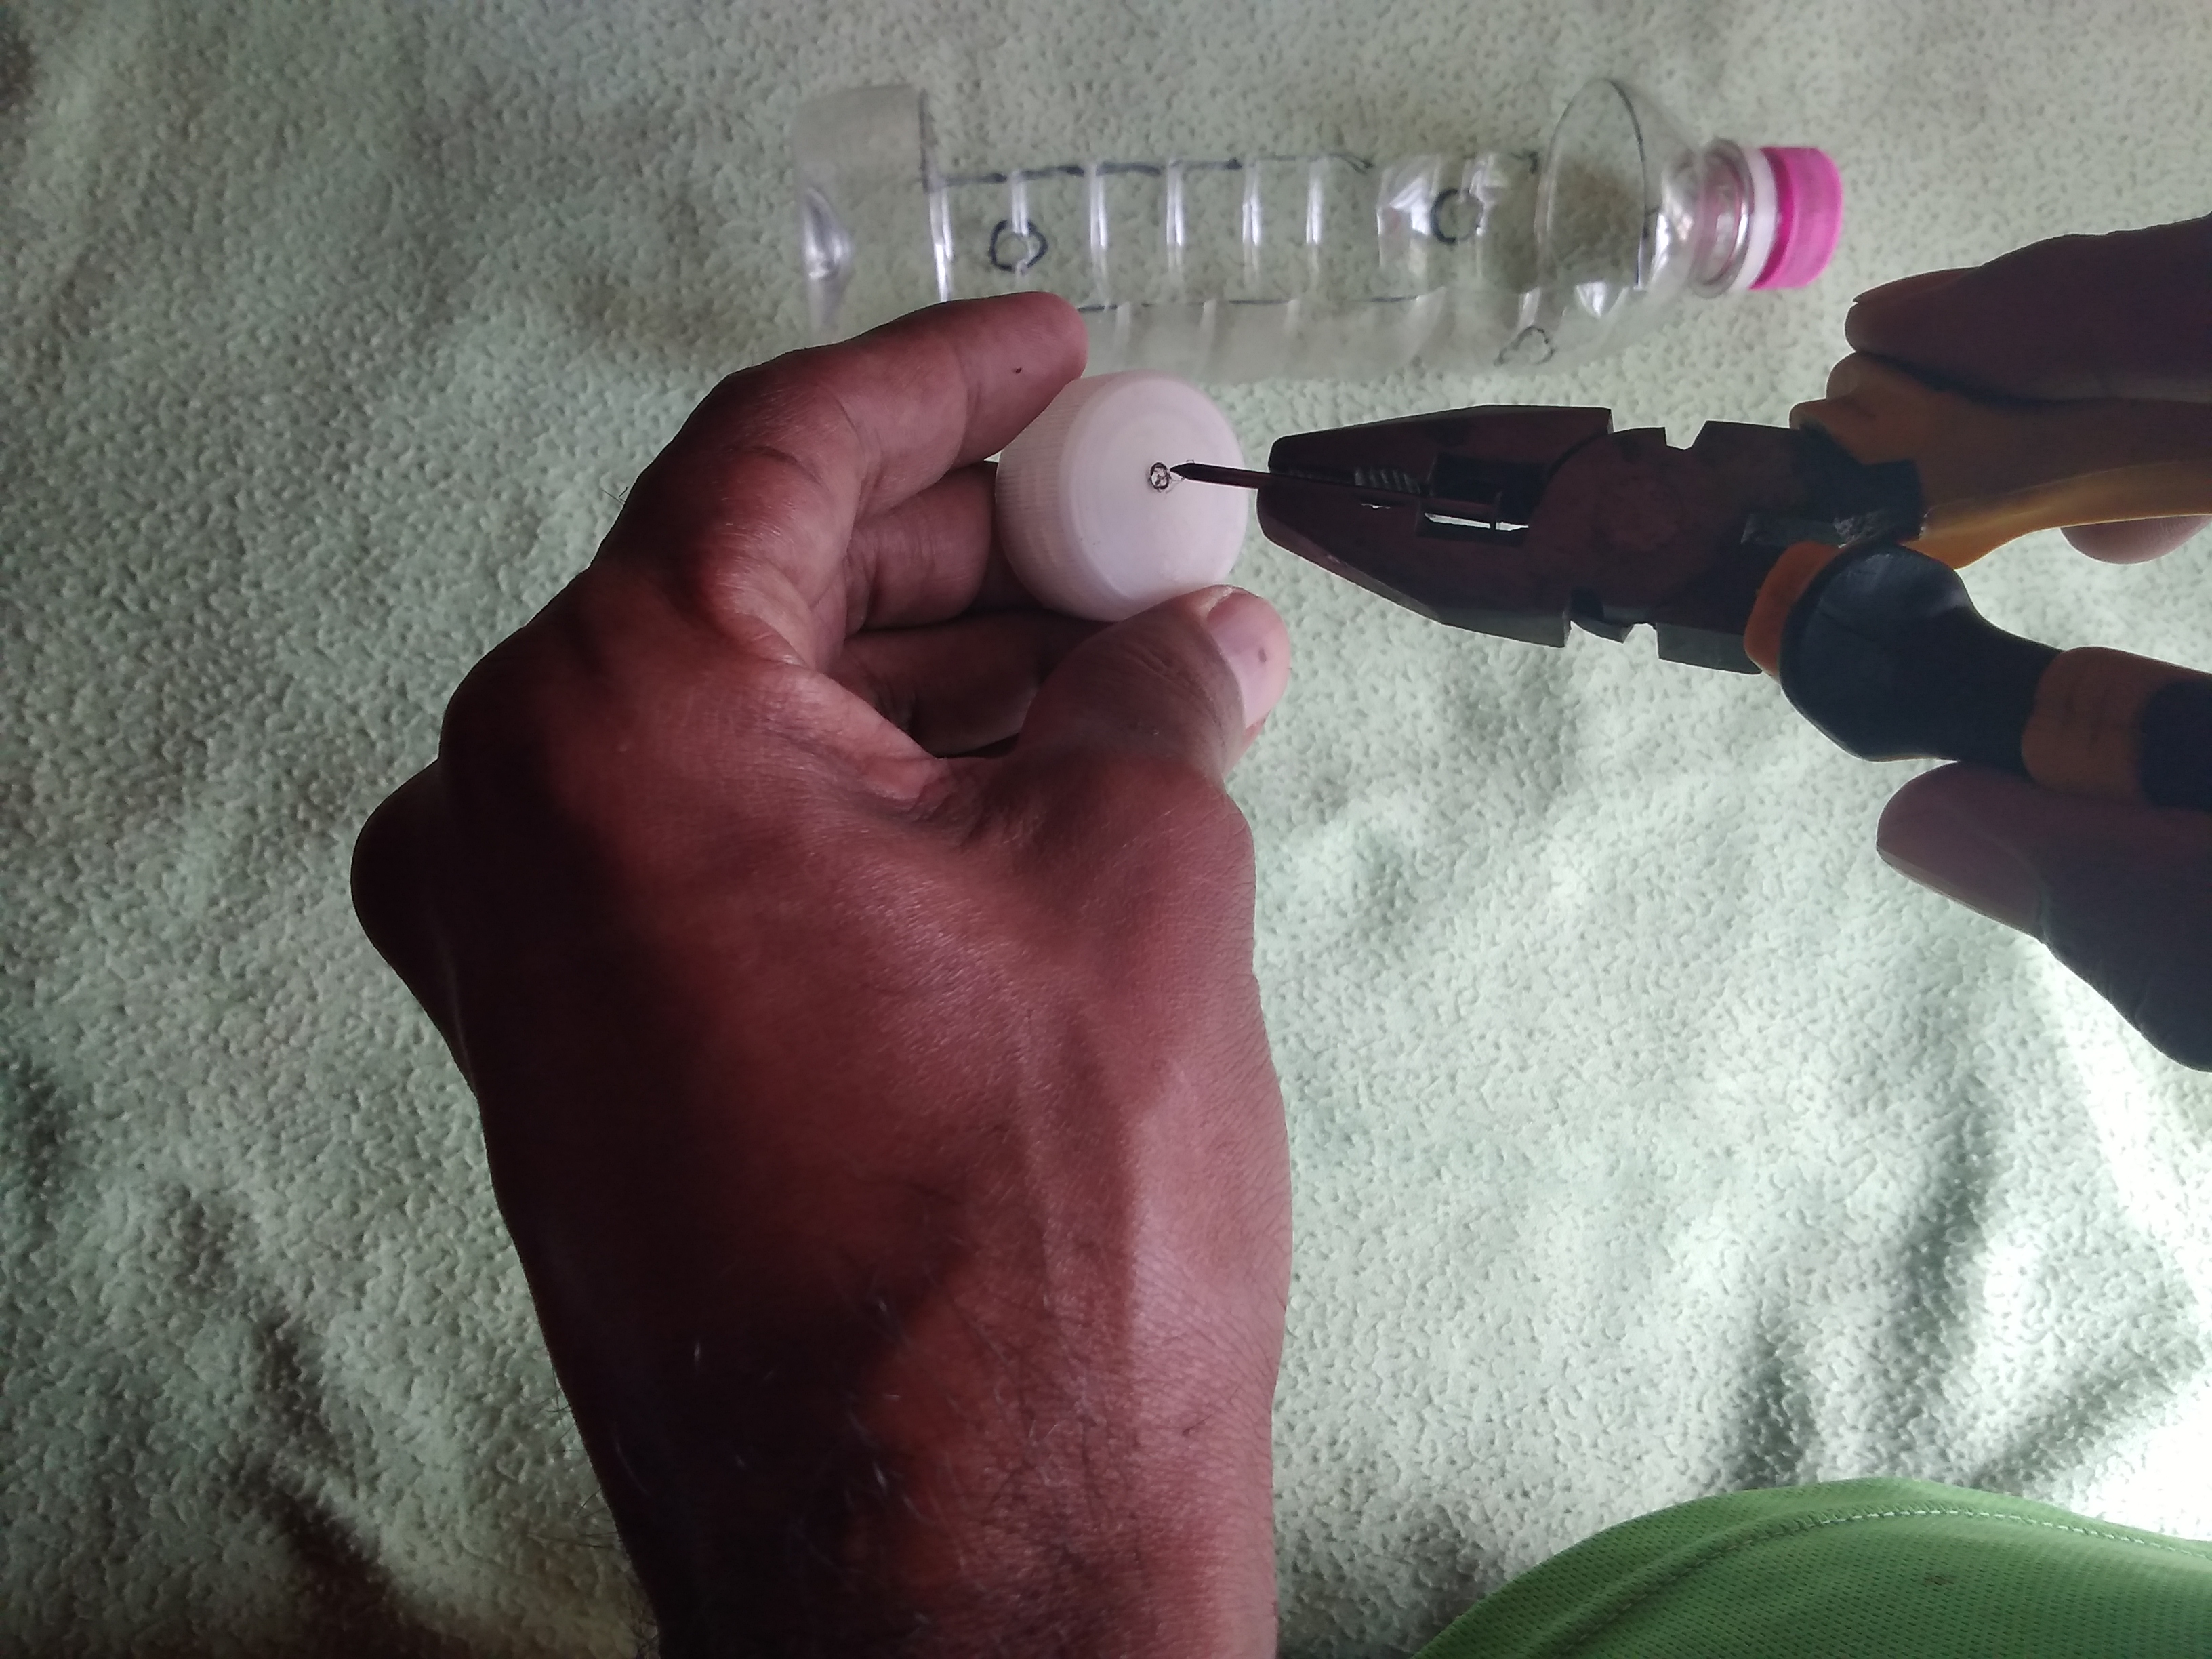
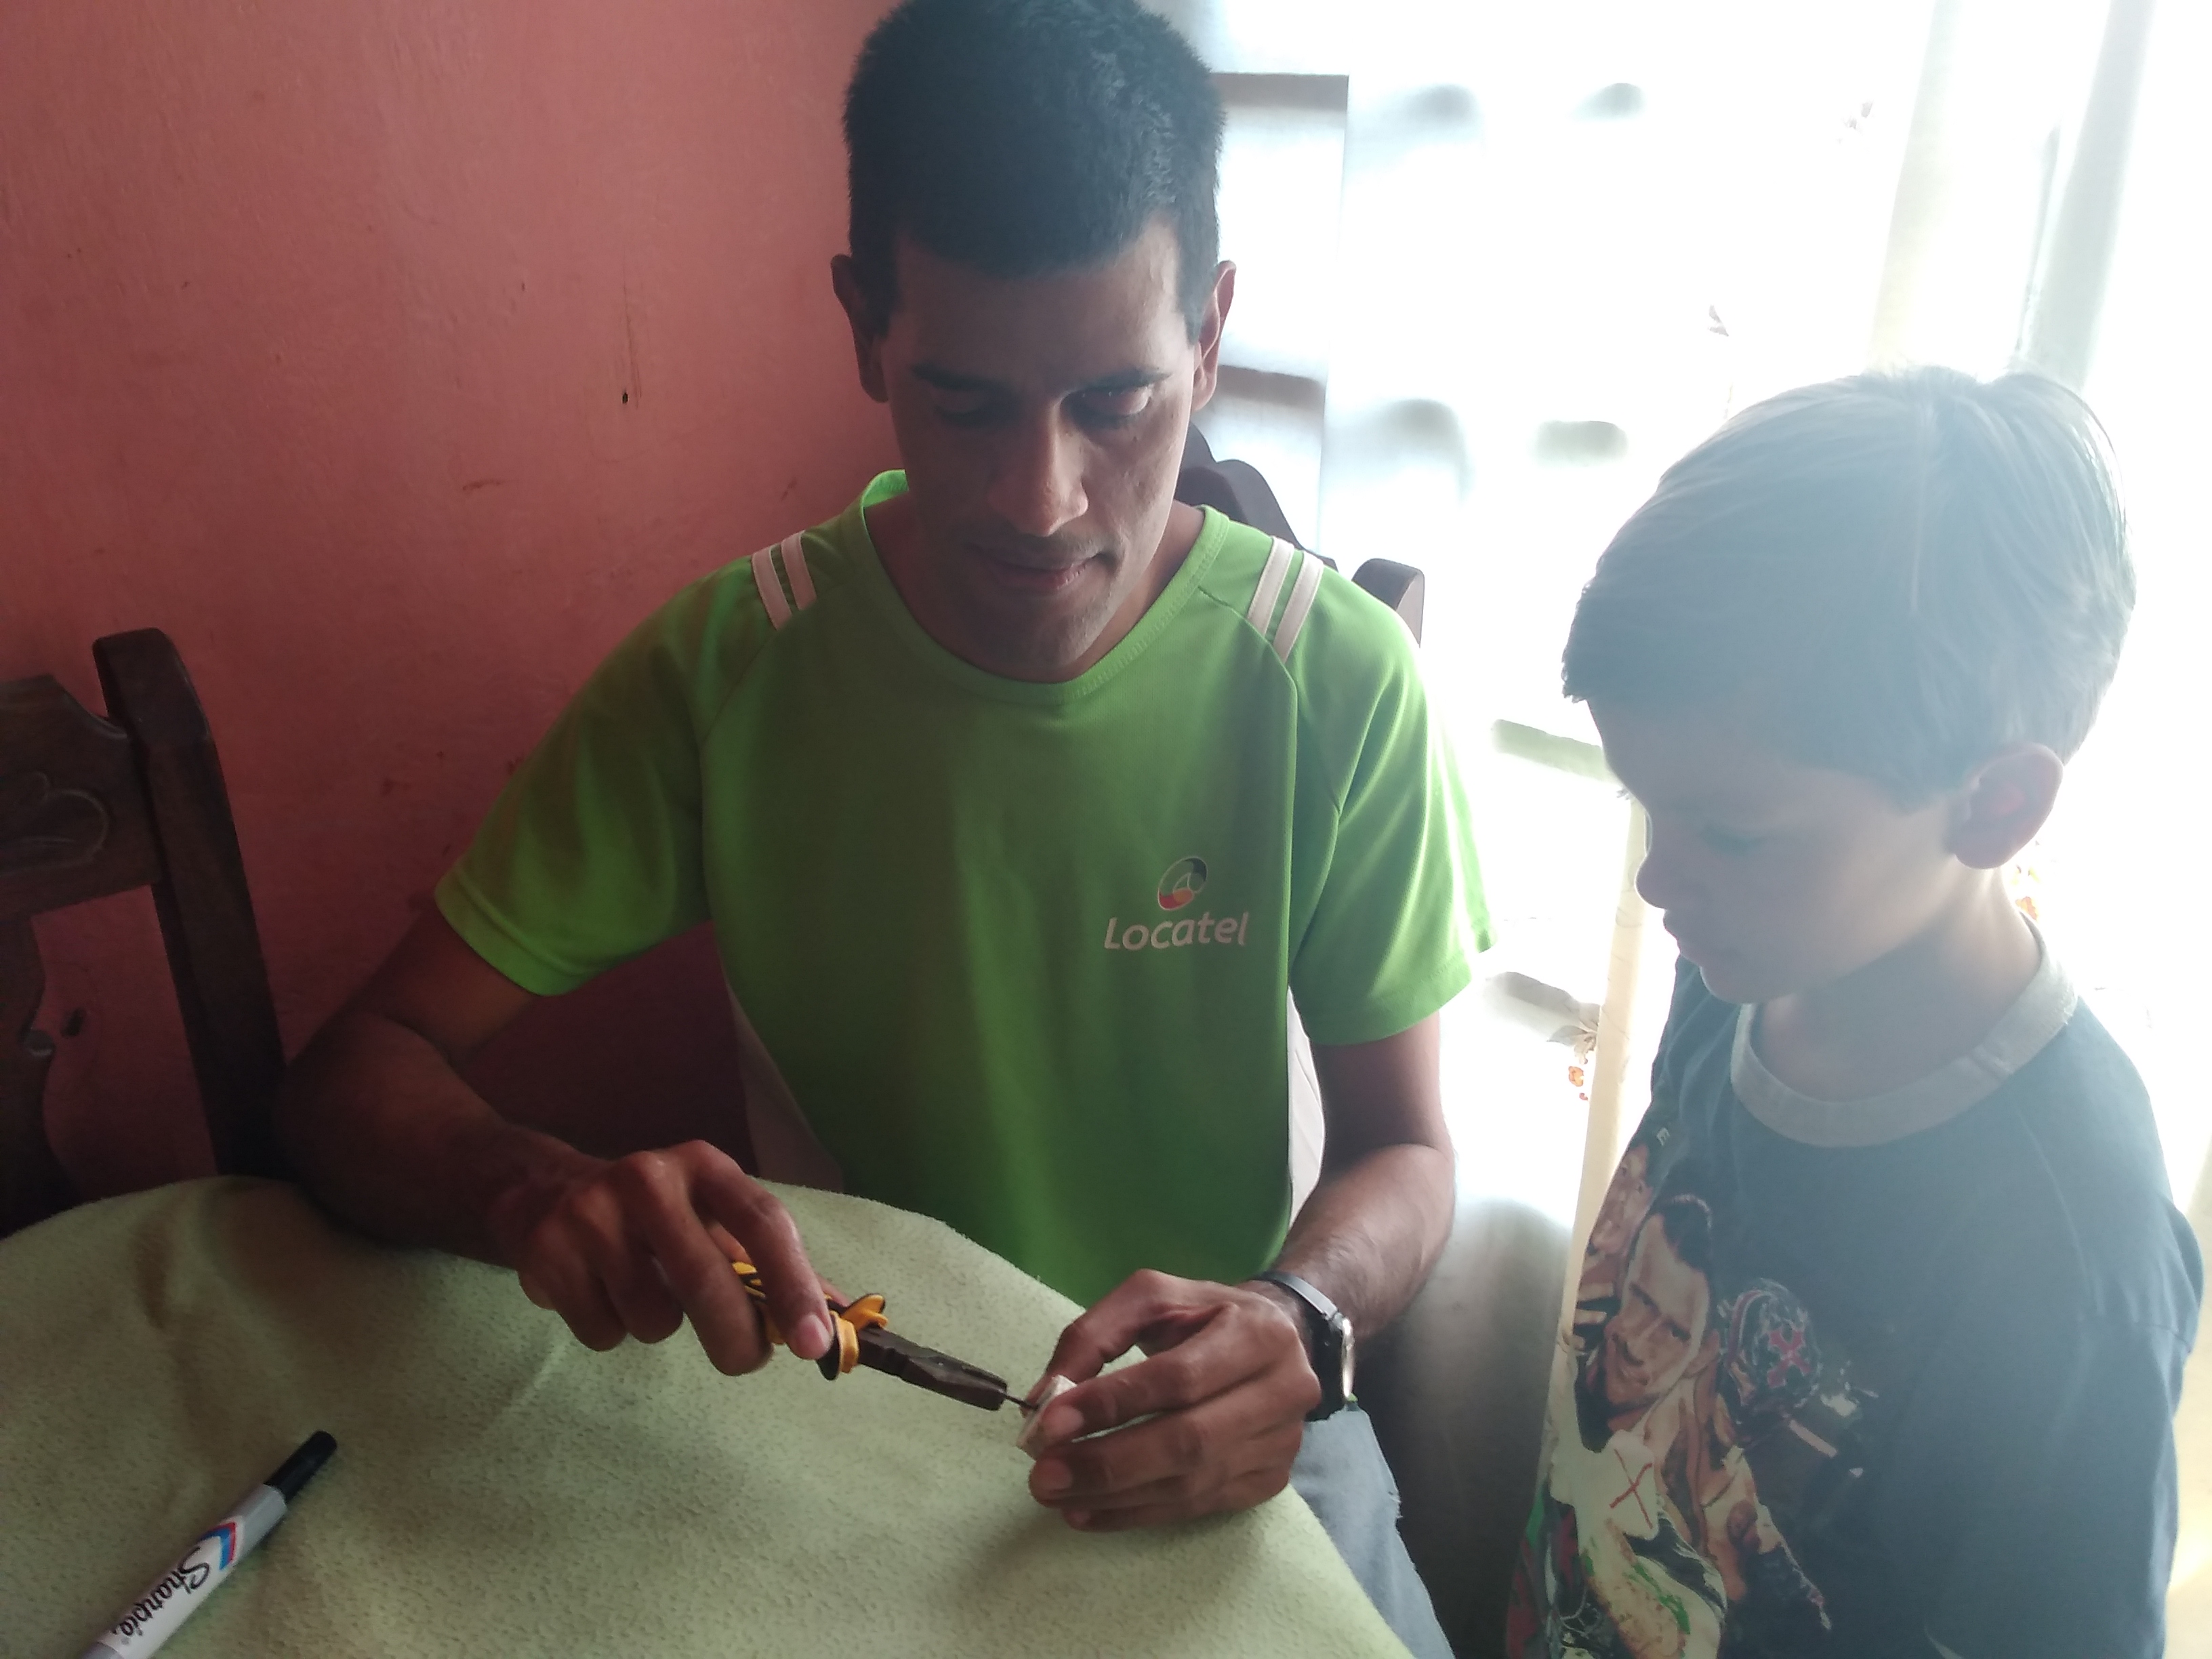
Perforamos cada una de las tapas de plastico utilizando un clavo previamente calentado.
We pierce each of the plastic caps using a previously heated nail.
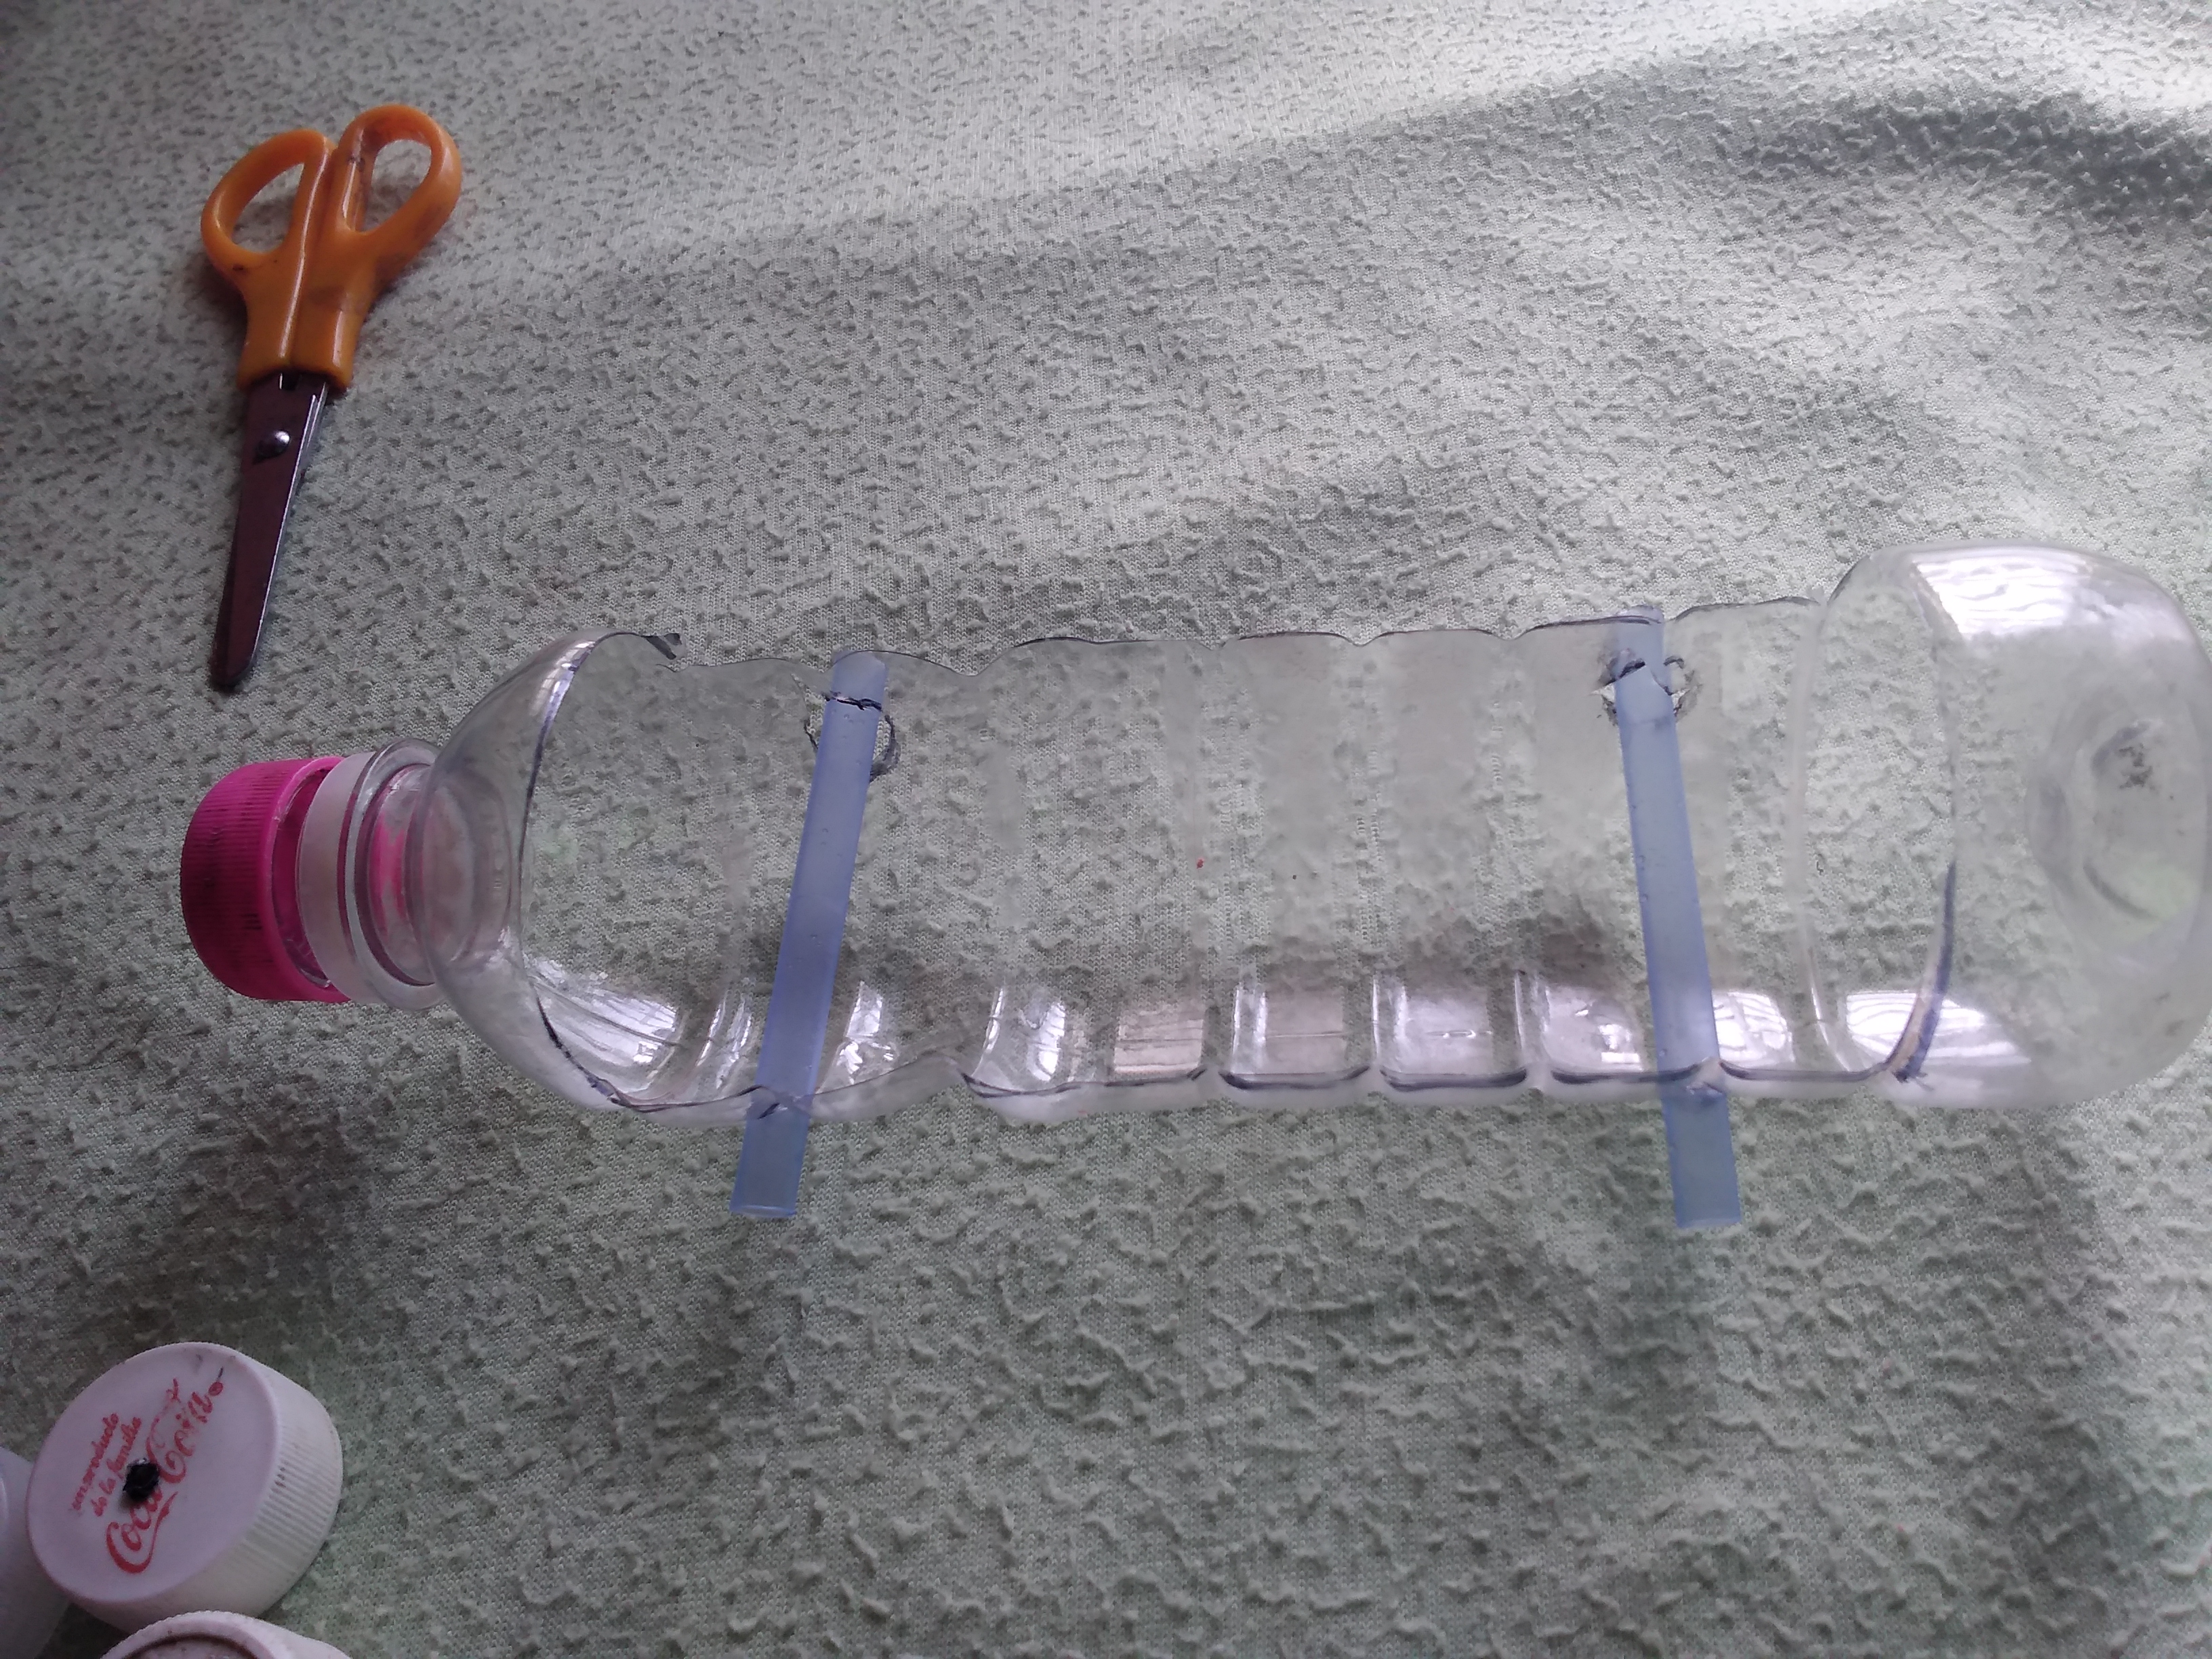
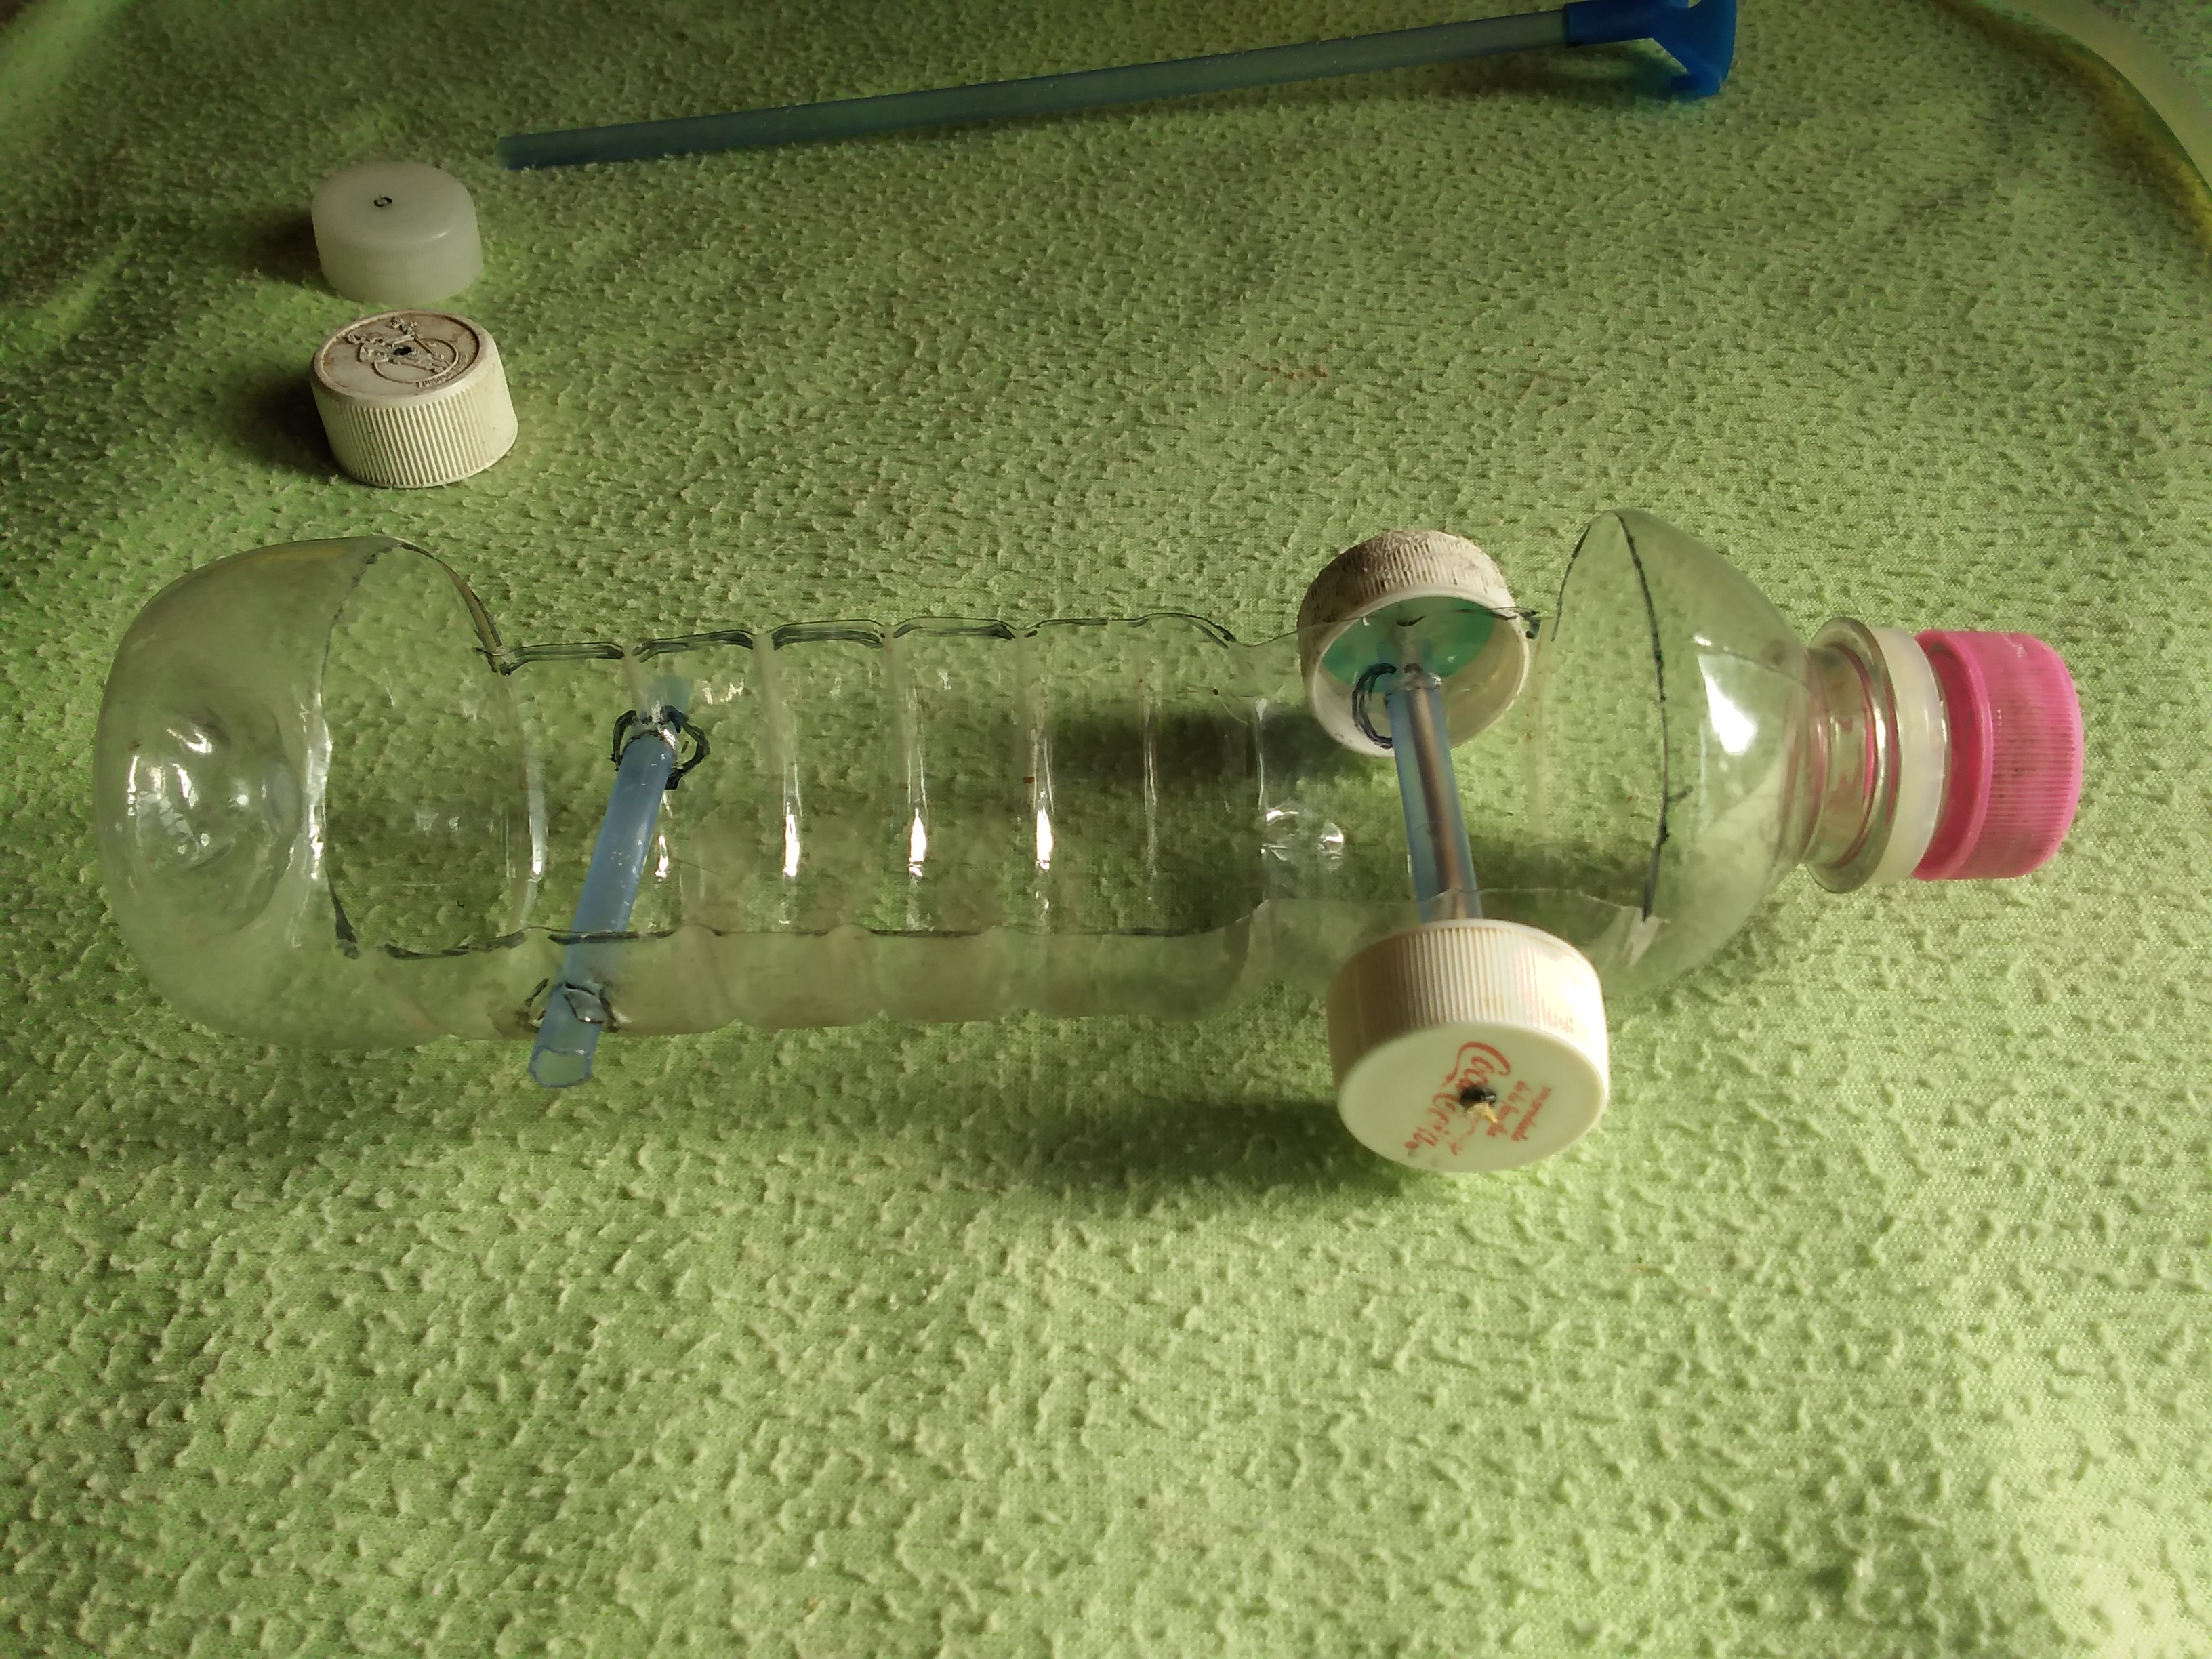
Paso 6 /Step 6:
Introducimos el palito de globos en las aberturas realizadas anteriormente.
We introduce the balloon stick in the openings made previously.
Continuamos en las otras aberturas.
We continue on the other openings.
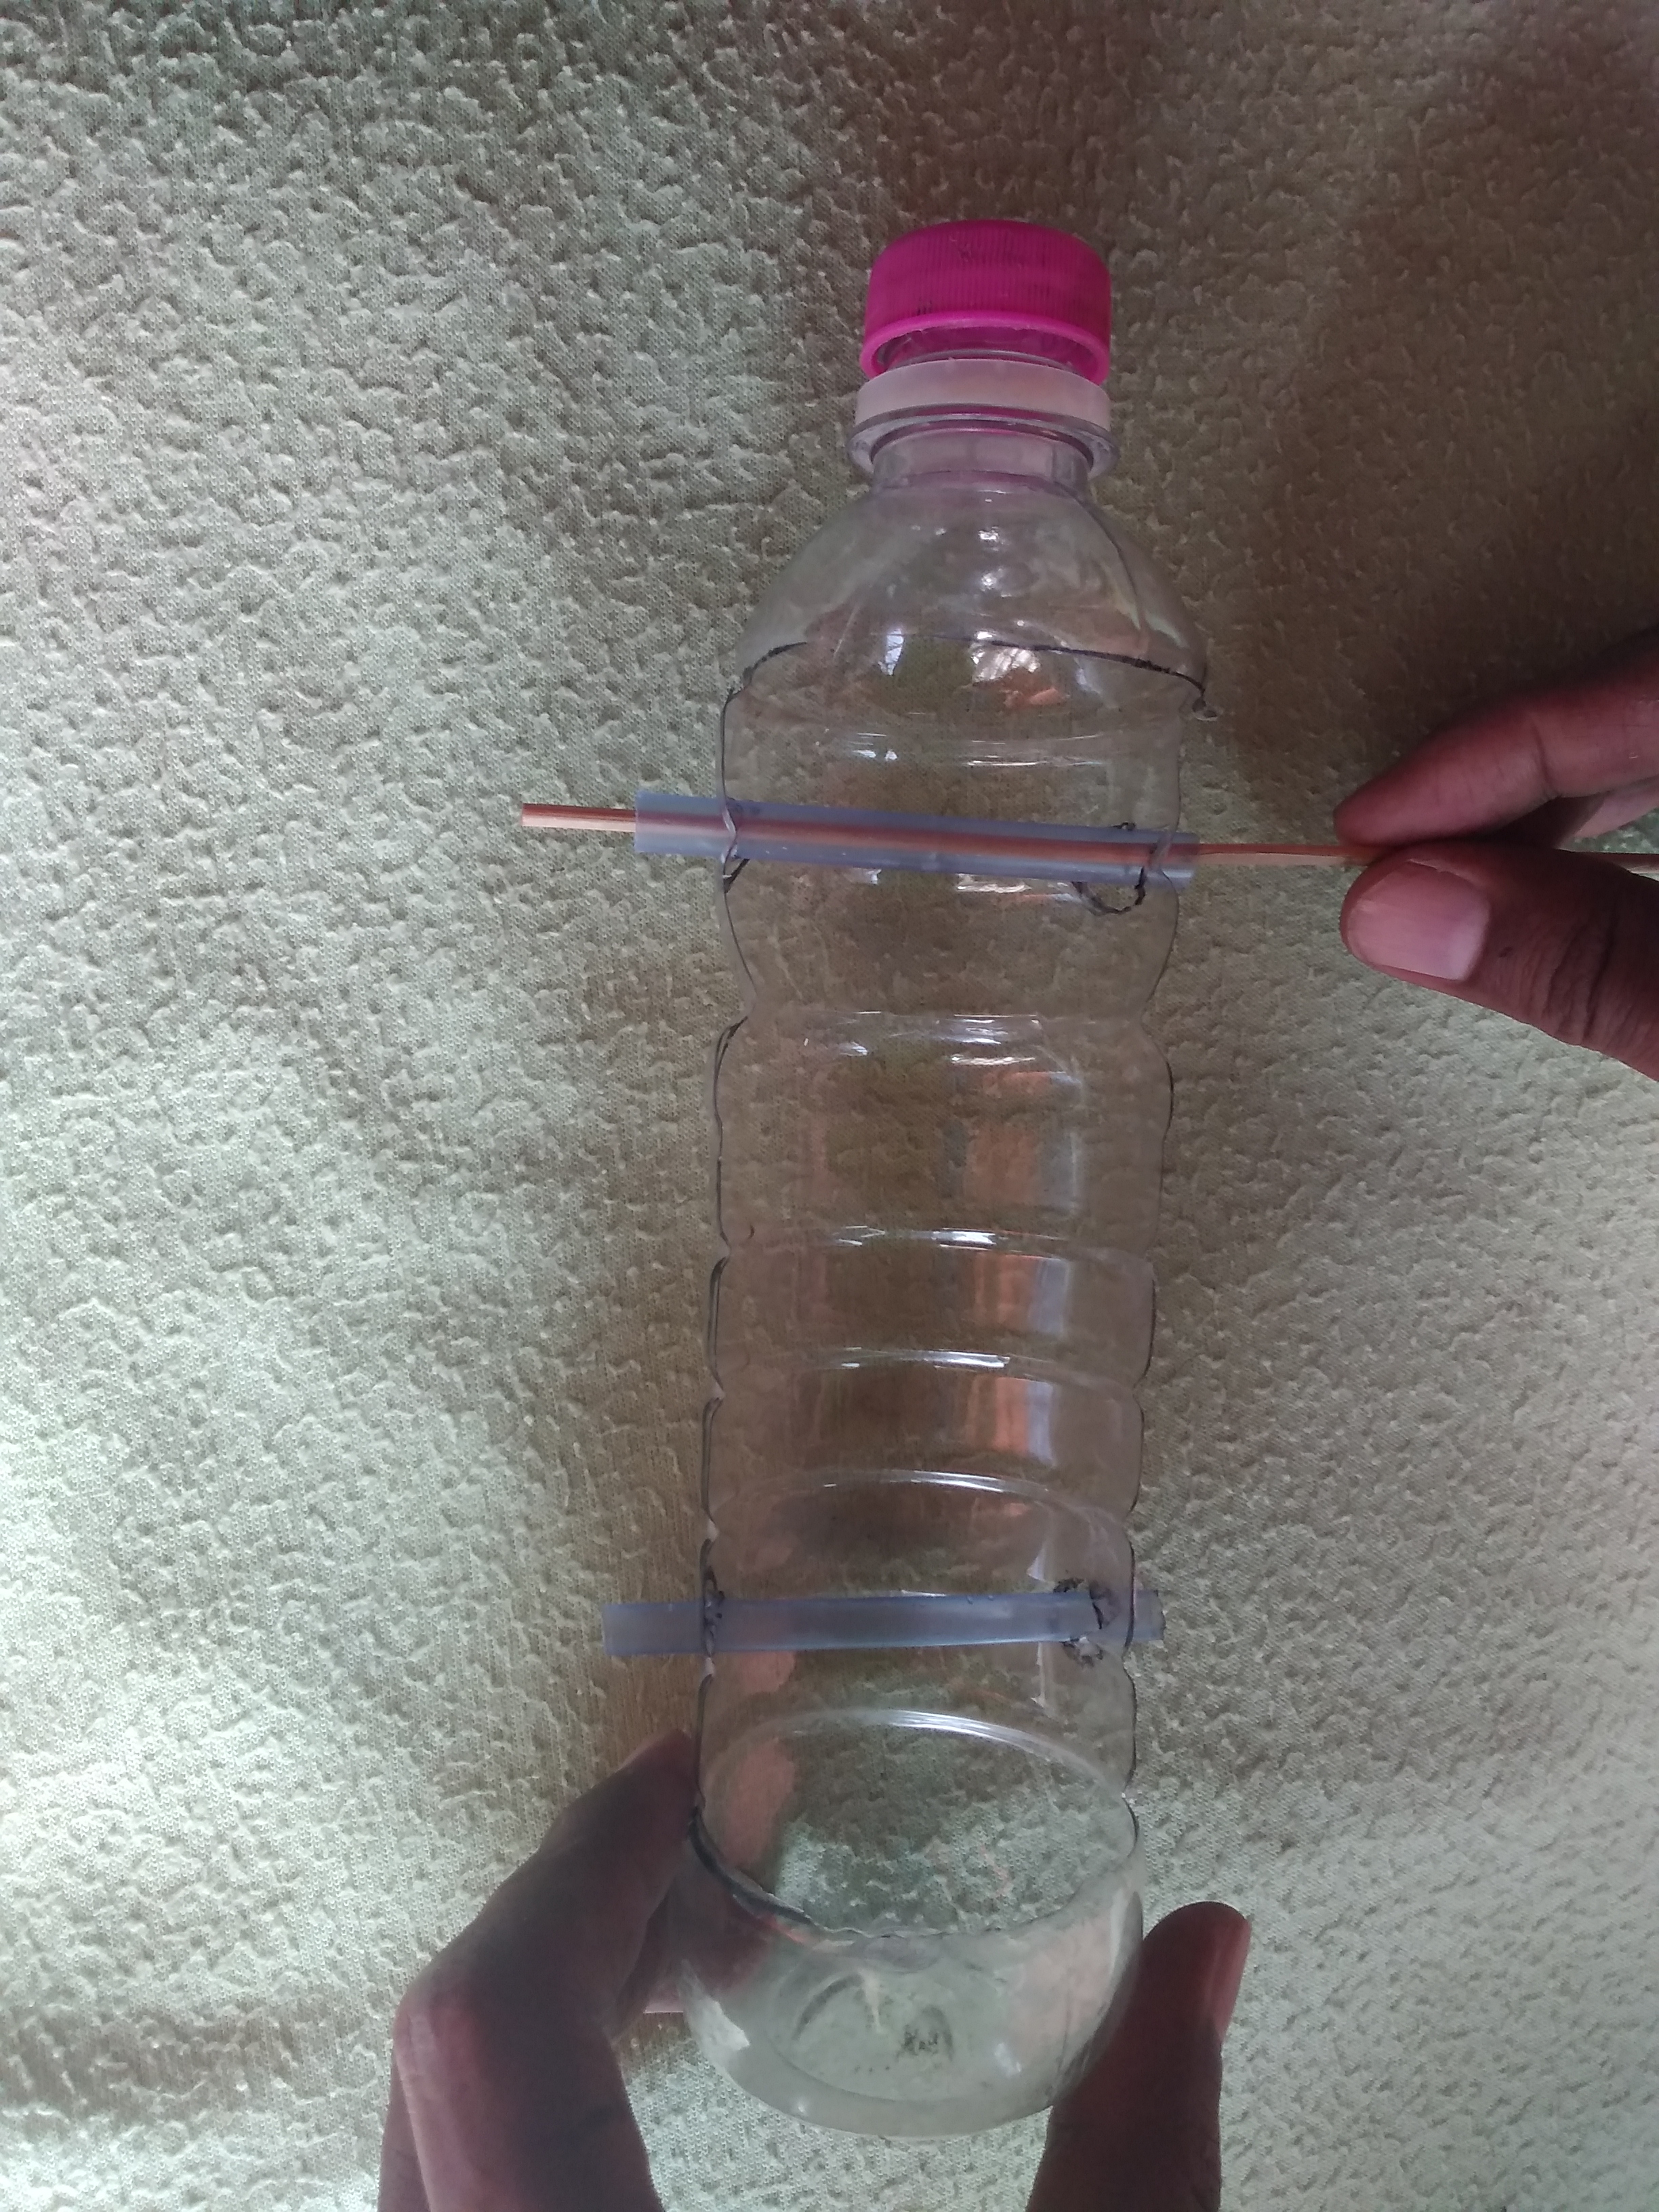
Paso 7 /Step 7:
Ahora colocamos el palito de altura dentro del palito de globos.
Now we place the tall stick inside the balloon stick.
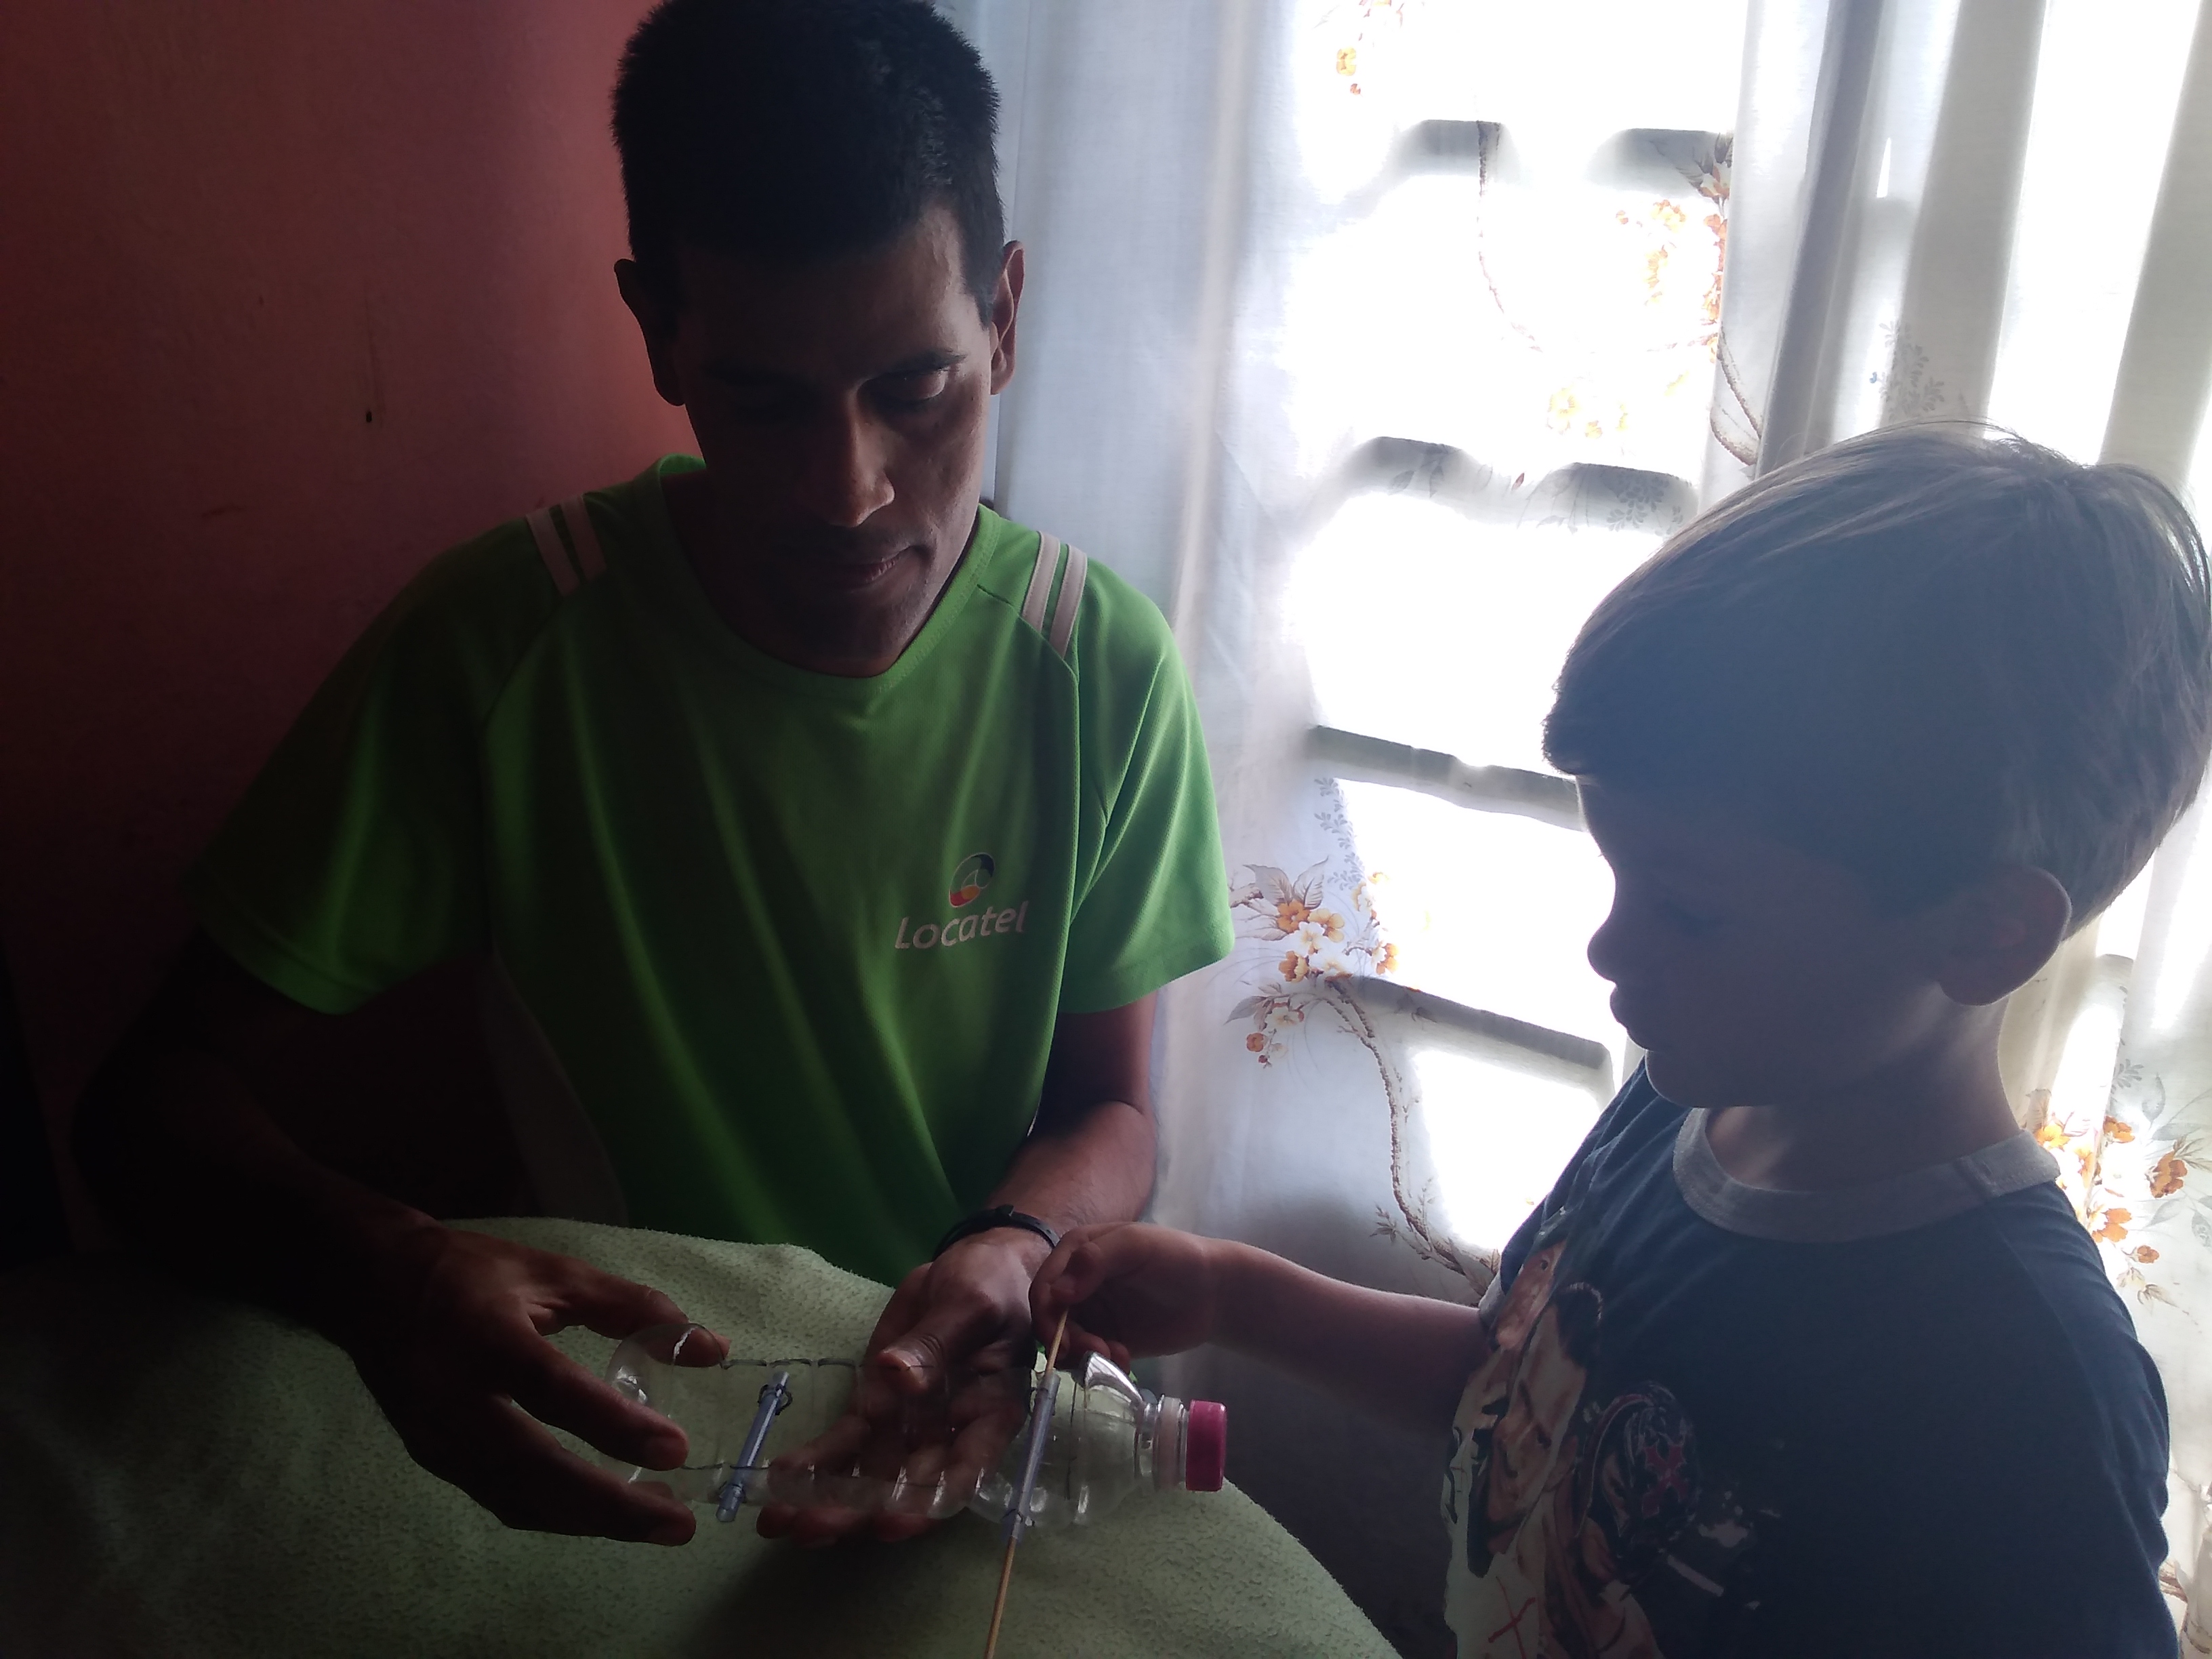
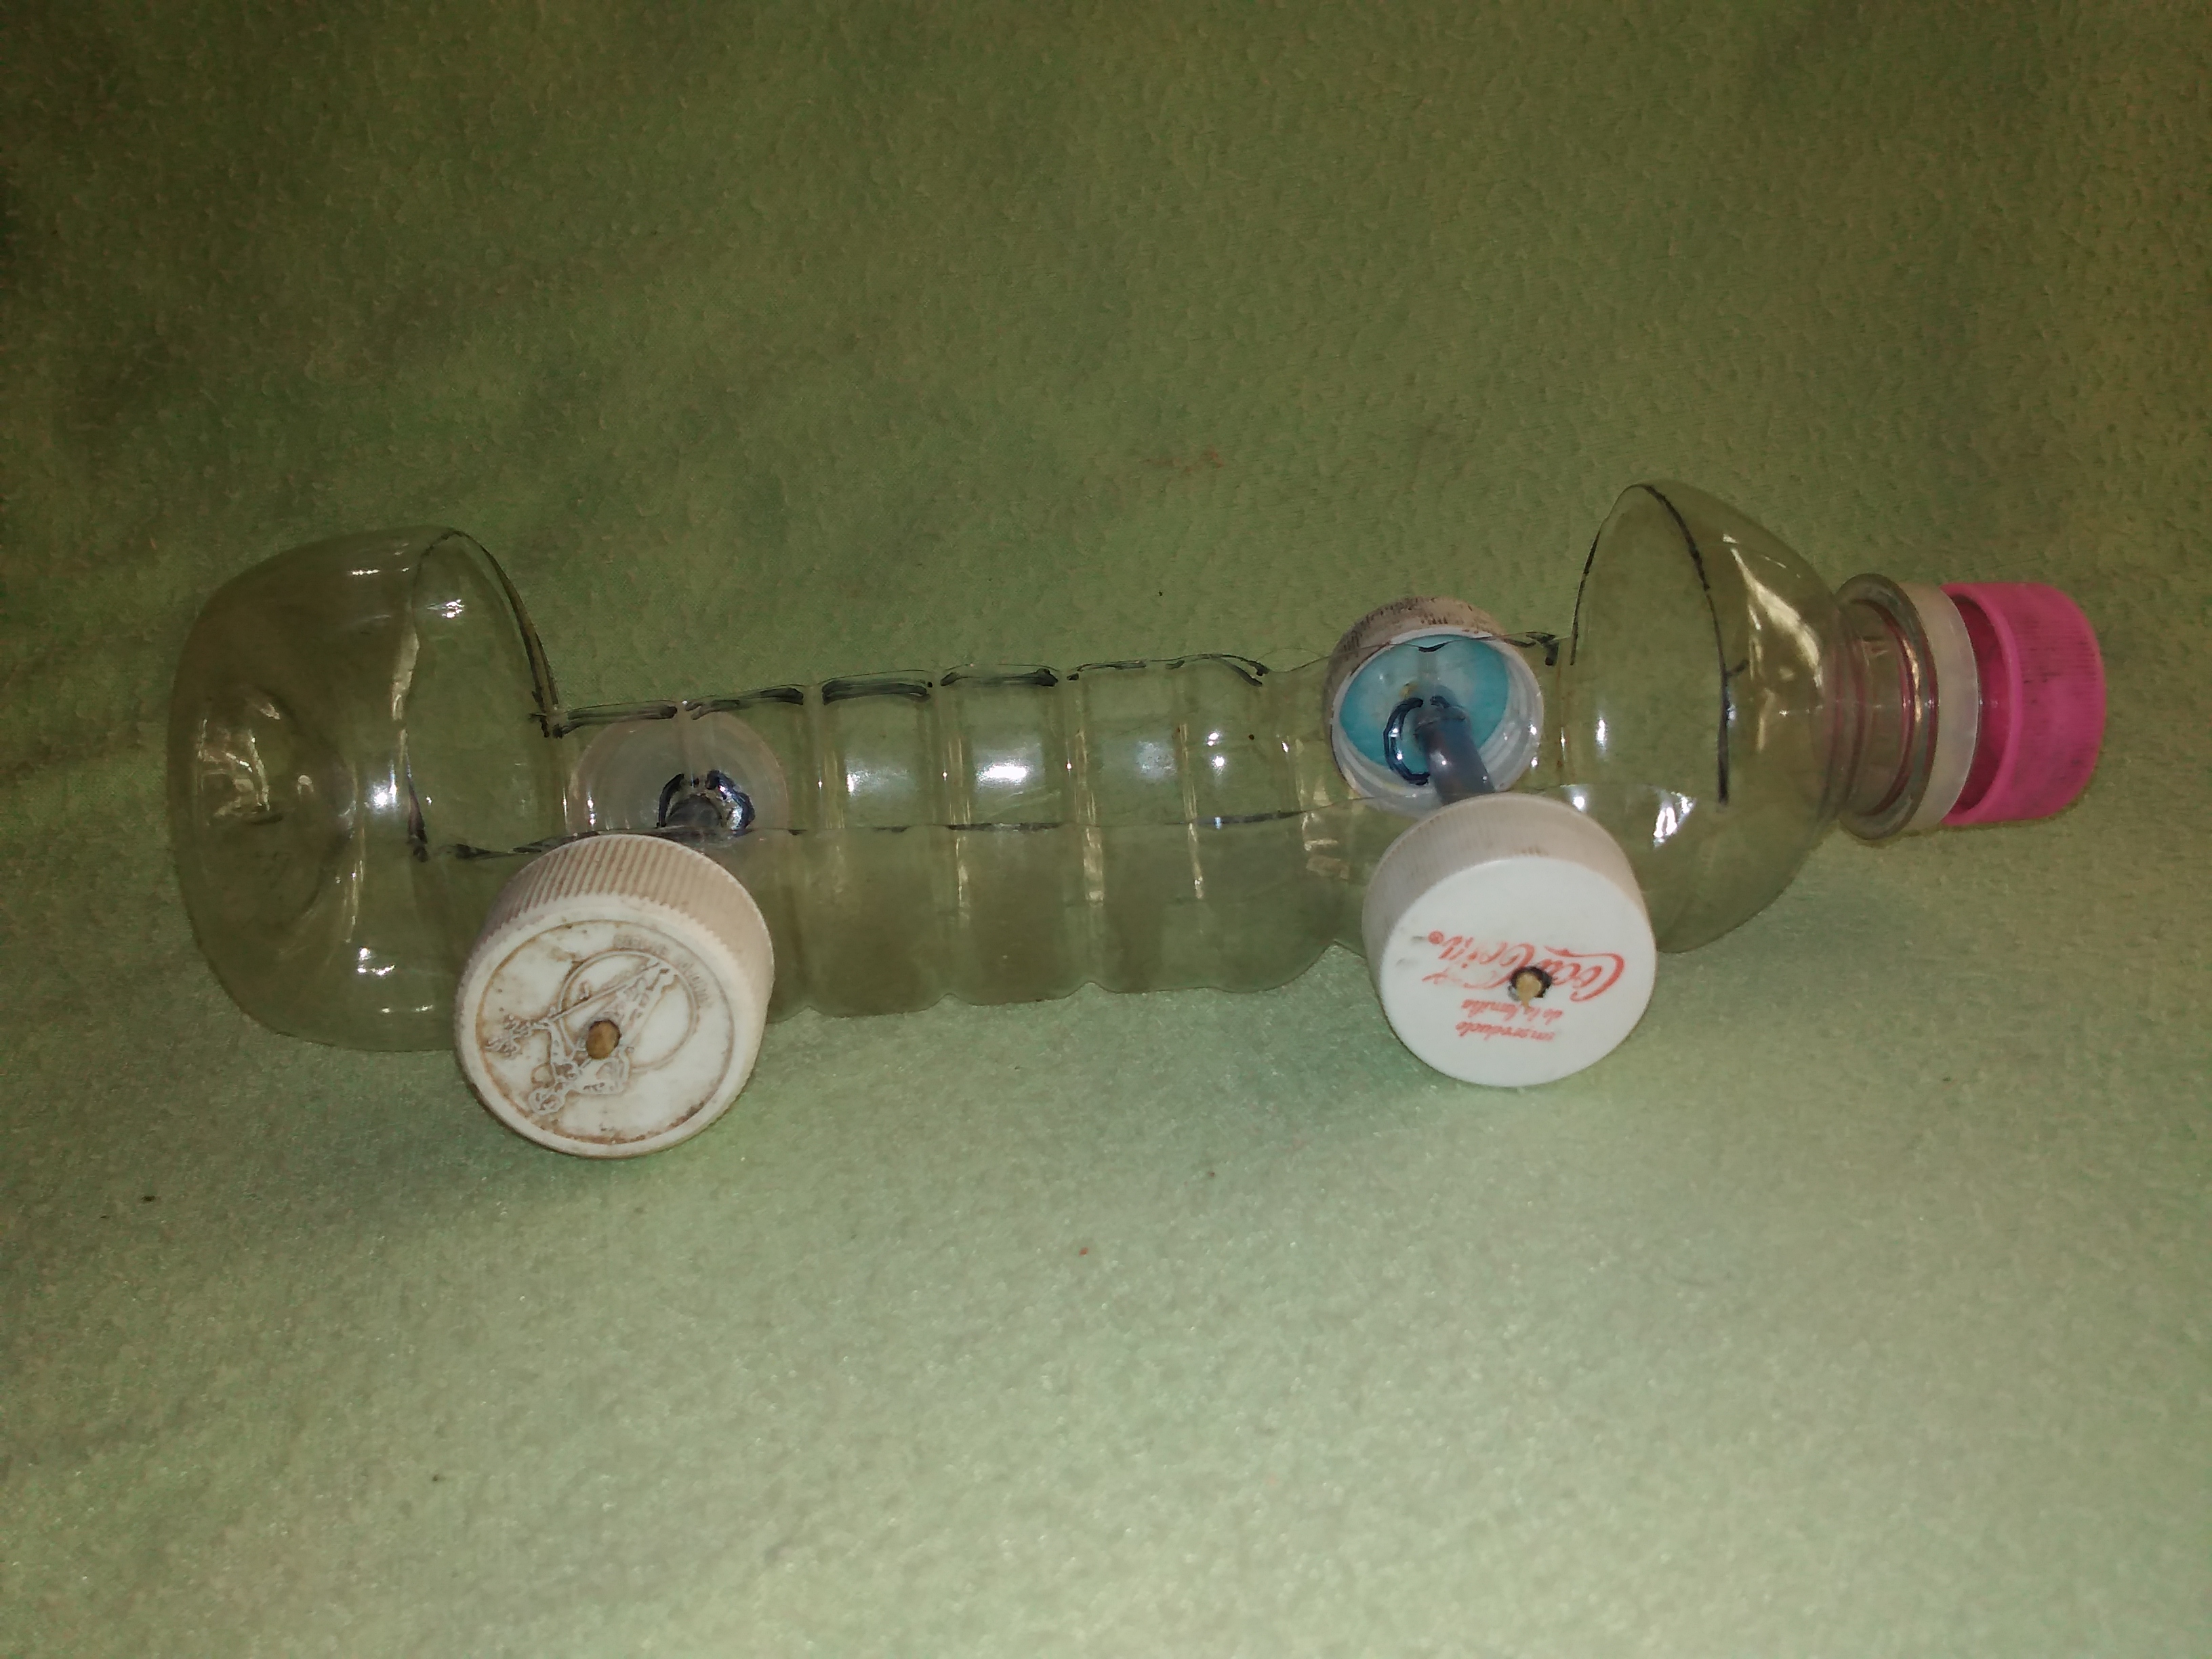
Paso 8 /Step 8:
Se corta el palito de altura, en cada una de las puntas se colocan las tapas y las sellamos como silicón.
The stick is cut high, the lids are placed on each of the ends and we seal them as silicone.
Aqui continuamos con la parte de atras.
Here we continue with the back part.
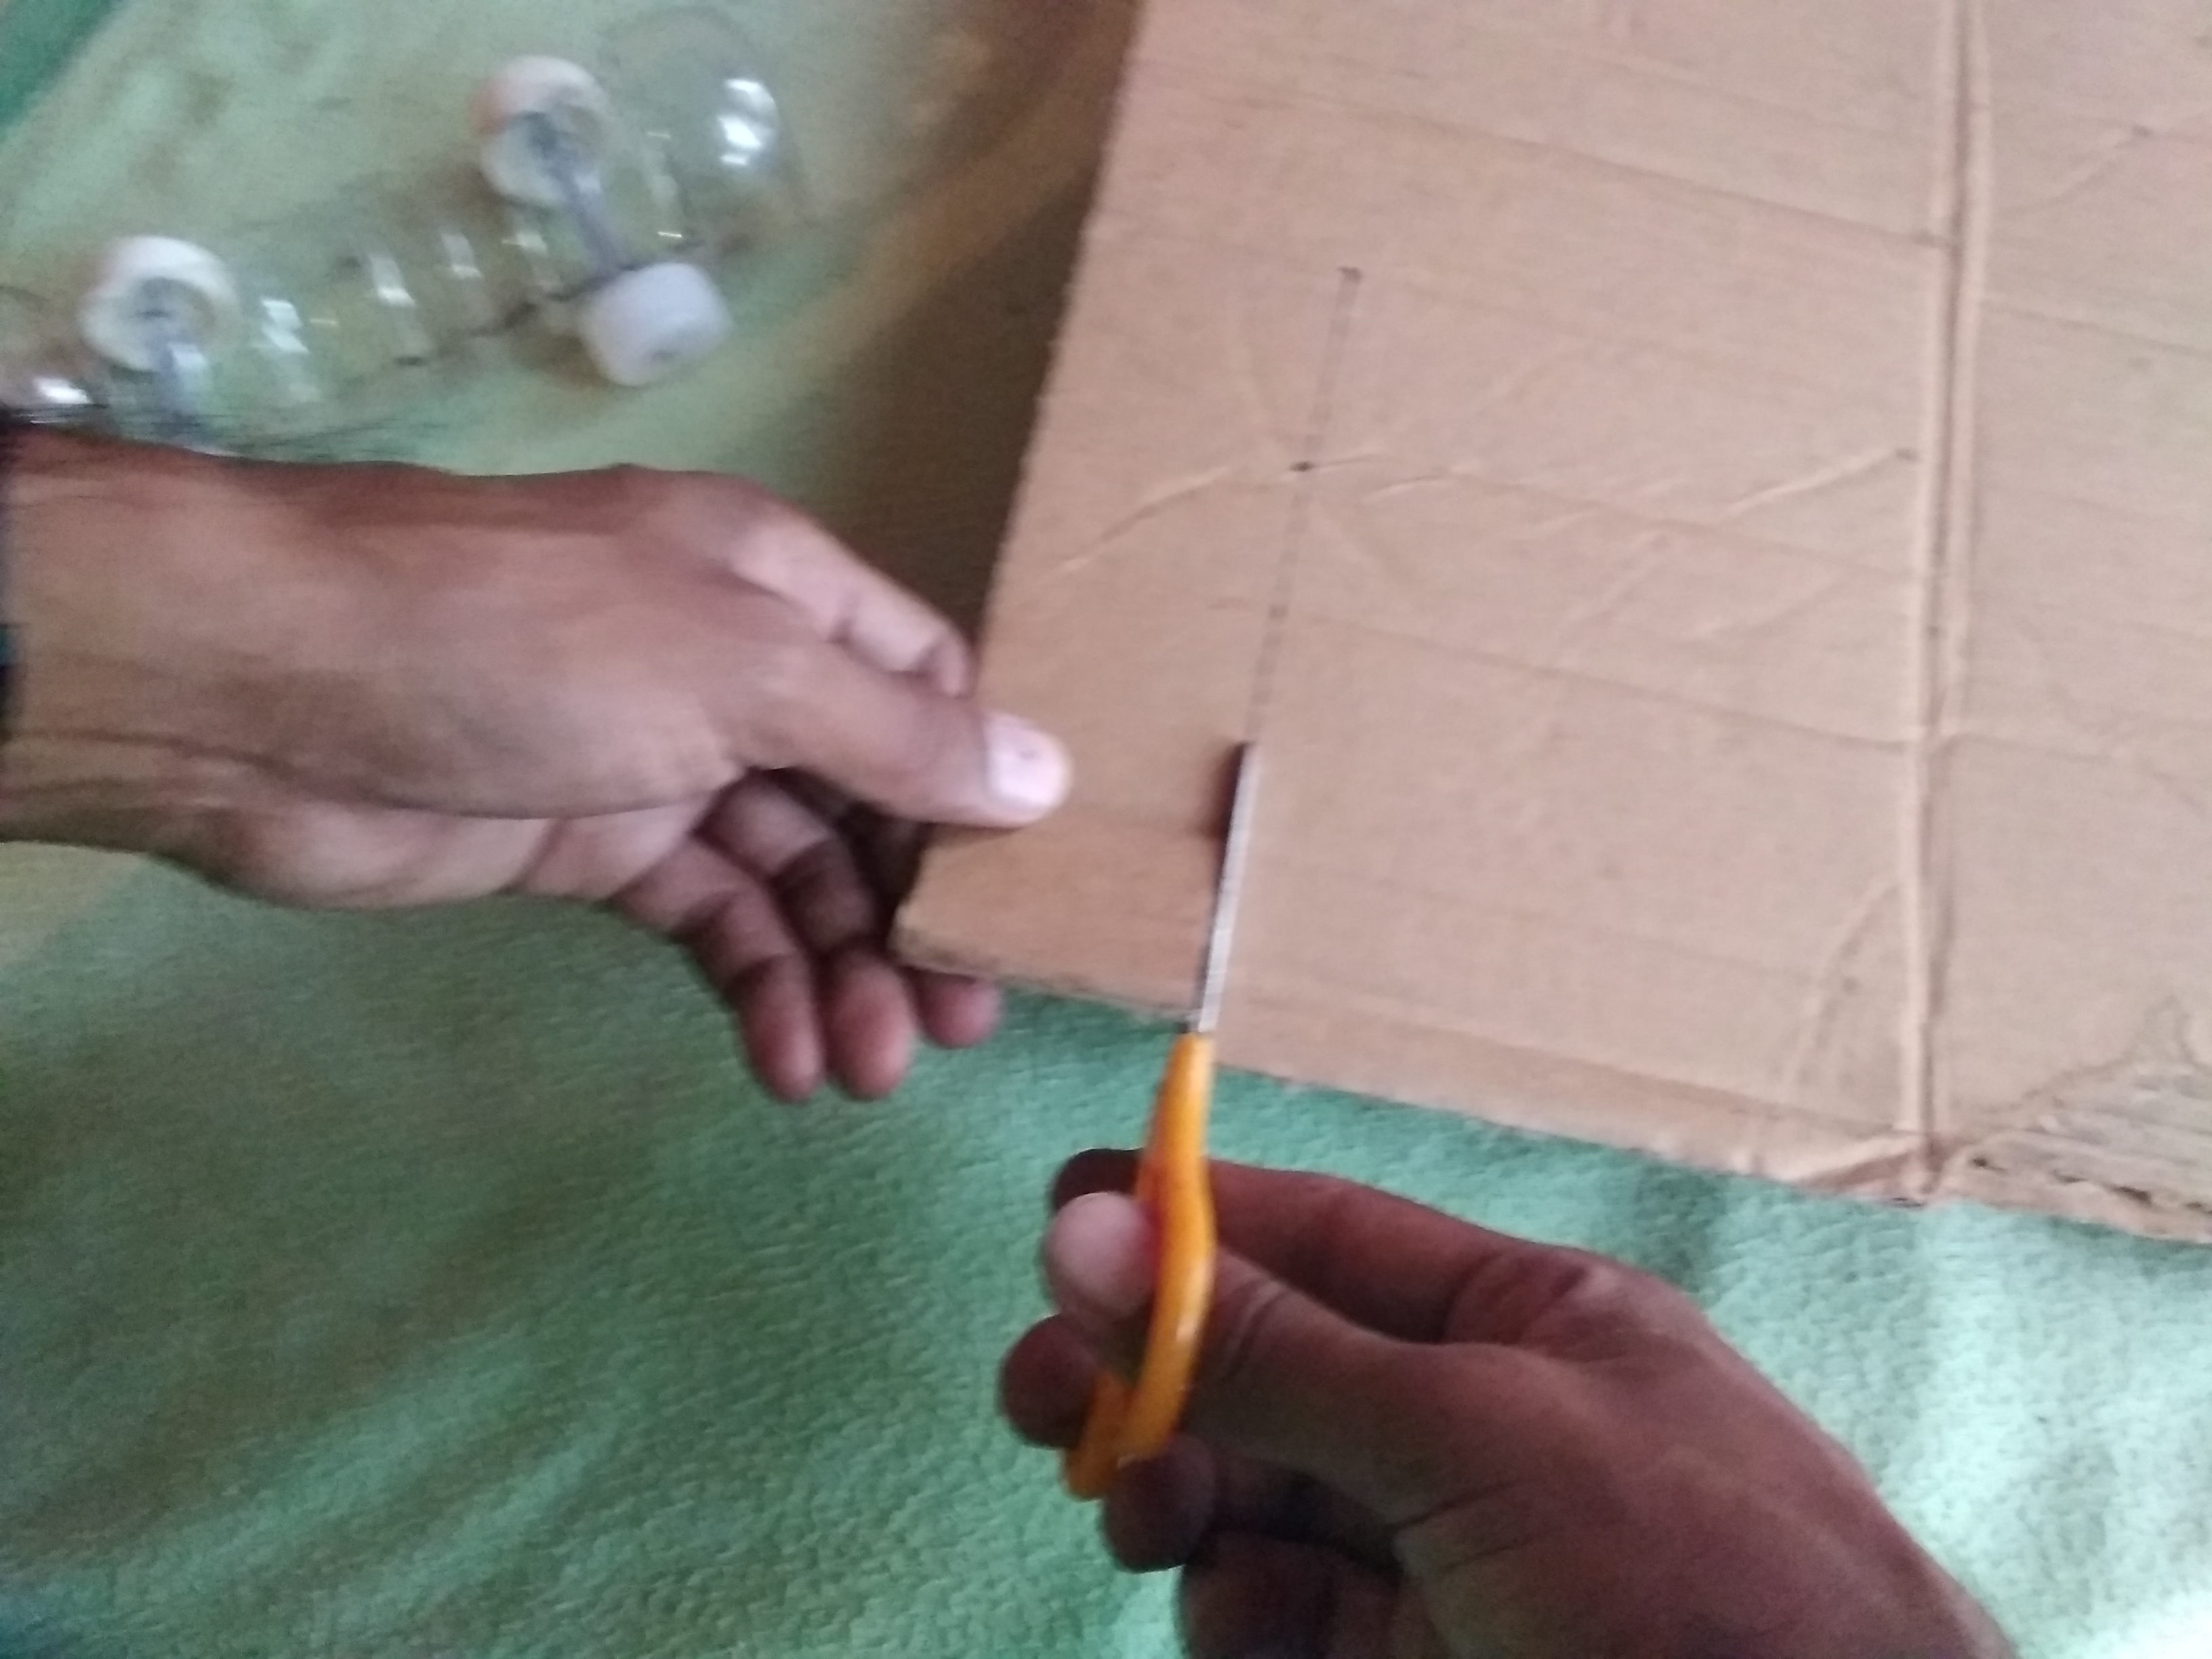
Paso 9 /Step 9:
Recortamos dos veces la siguiente figura en un cartón para realizar los asientos del carro.
We cut the following figure out of cardboard twice to make the car seats.
Paso 10 /Step 10:
El cartón se dobla, luego lo insertamos dentro del carro y lo fijamos con silicón.
The cardboard is folded, then we insert it inside the cart and fix it with silicone.
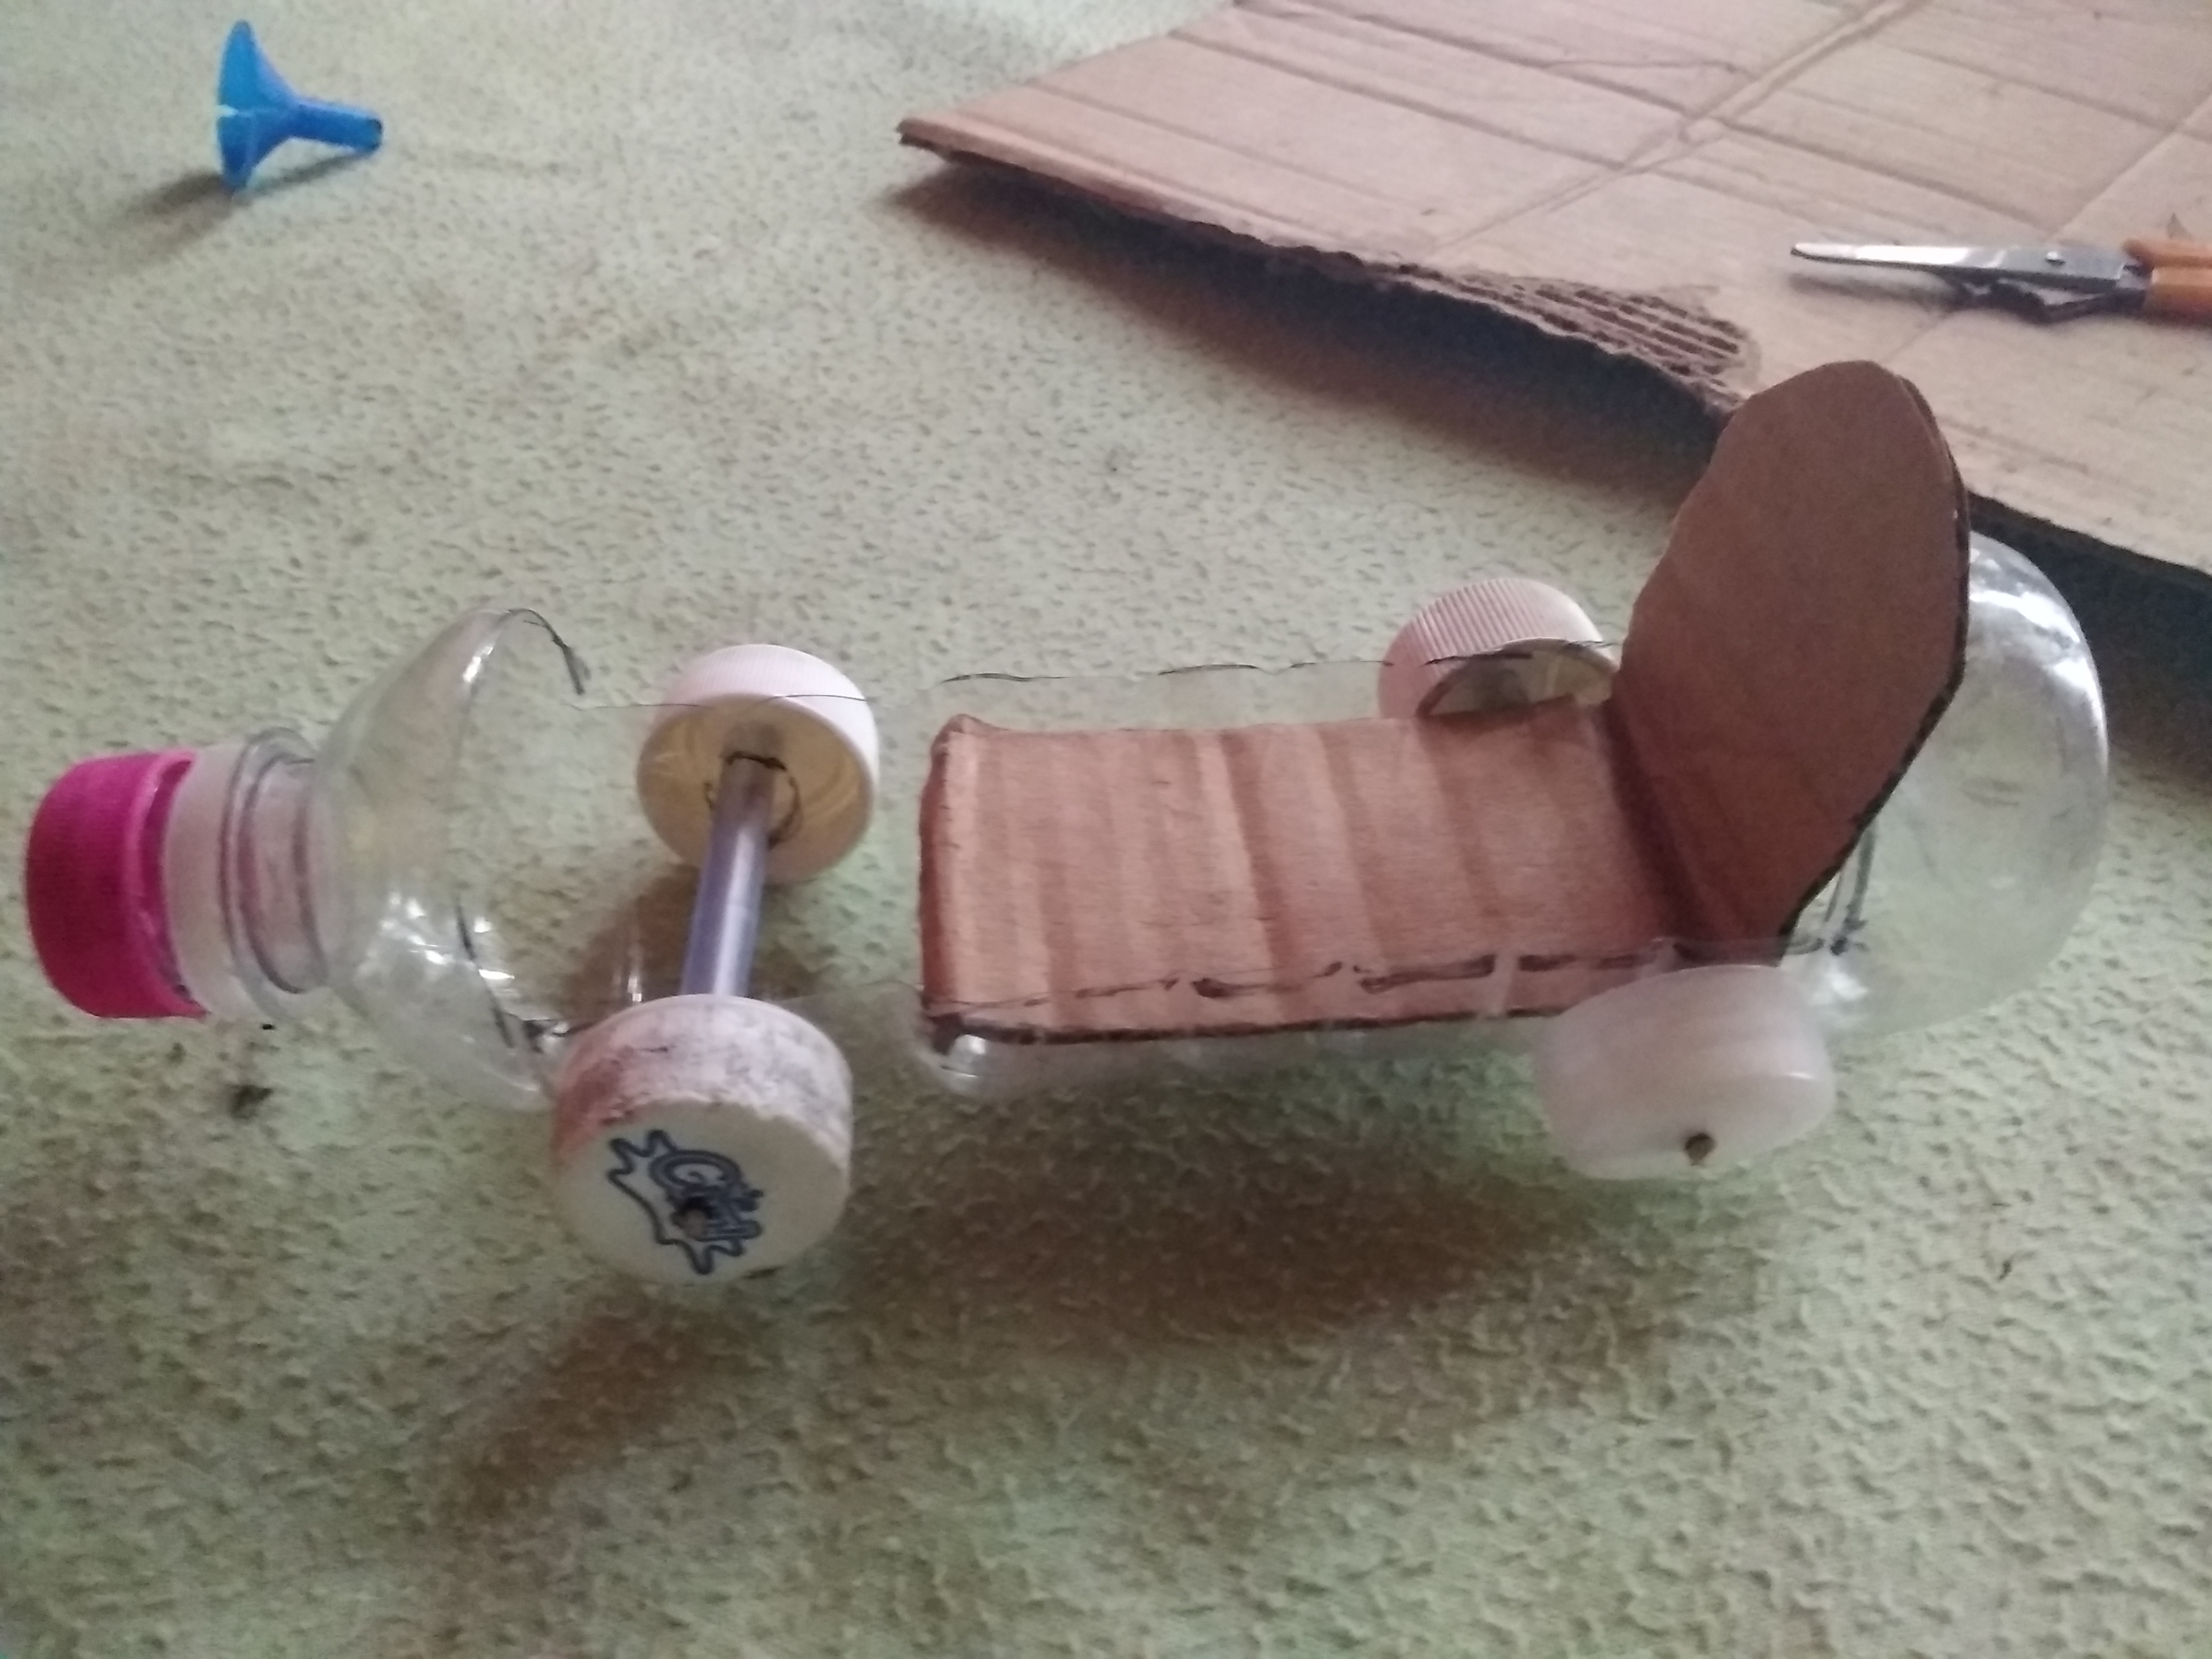
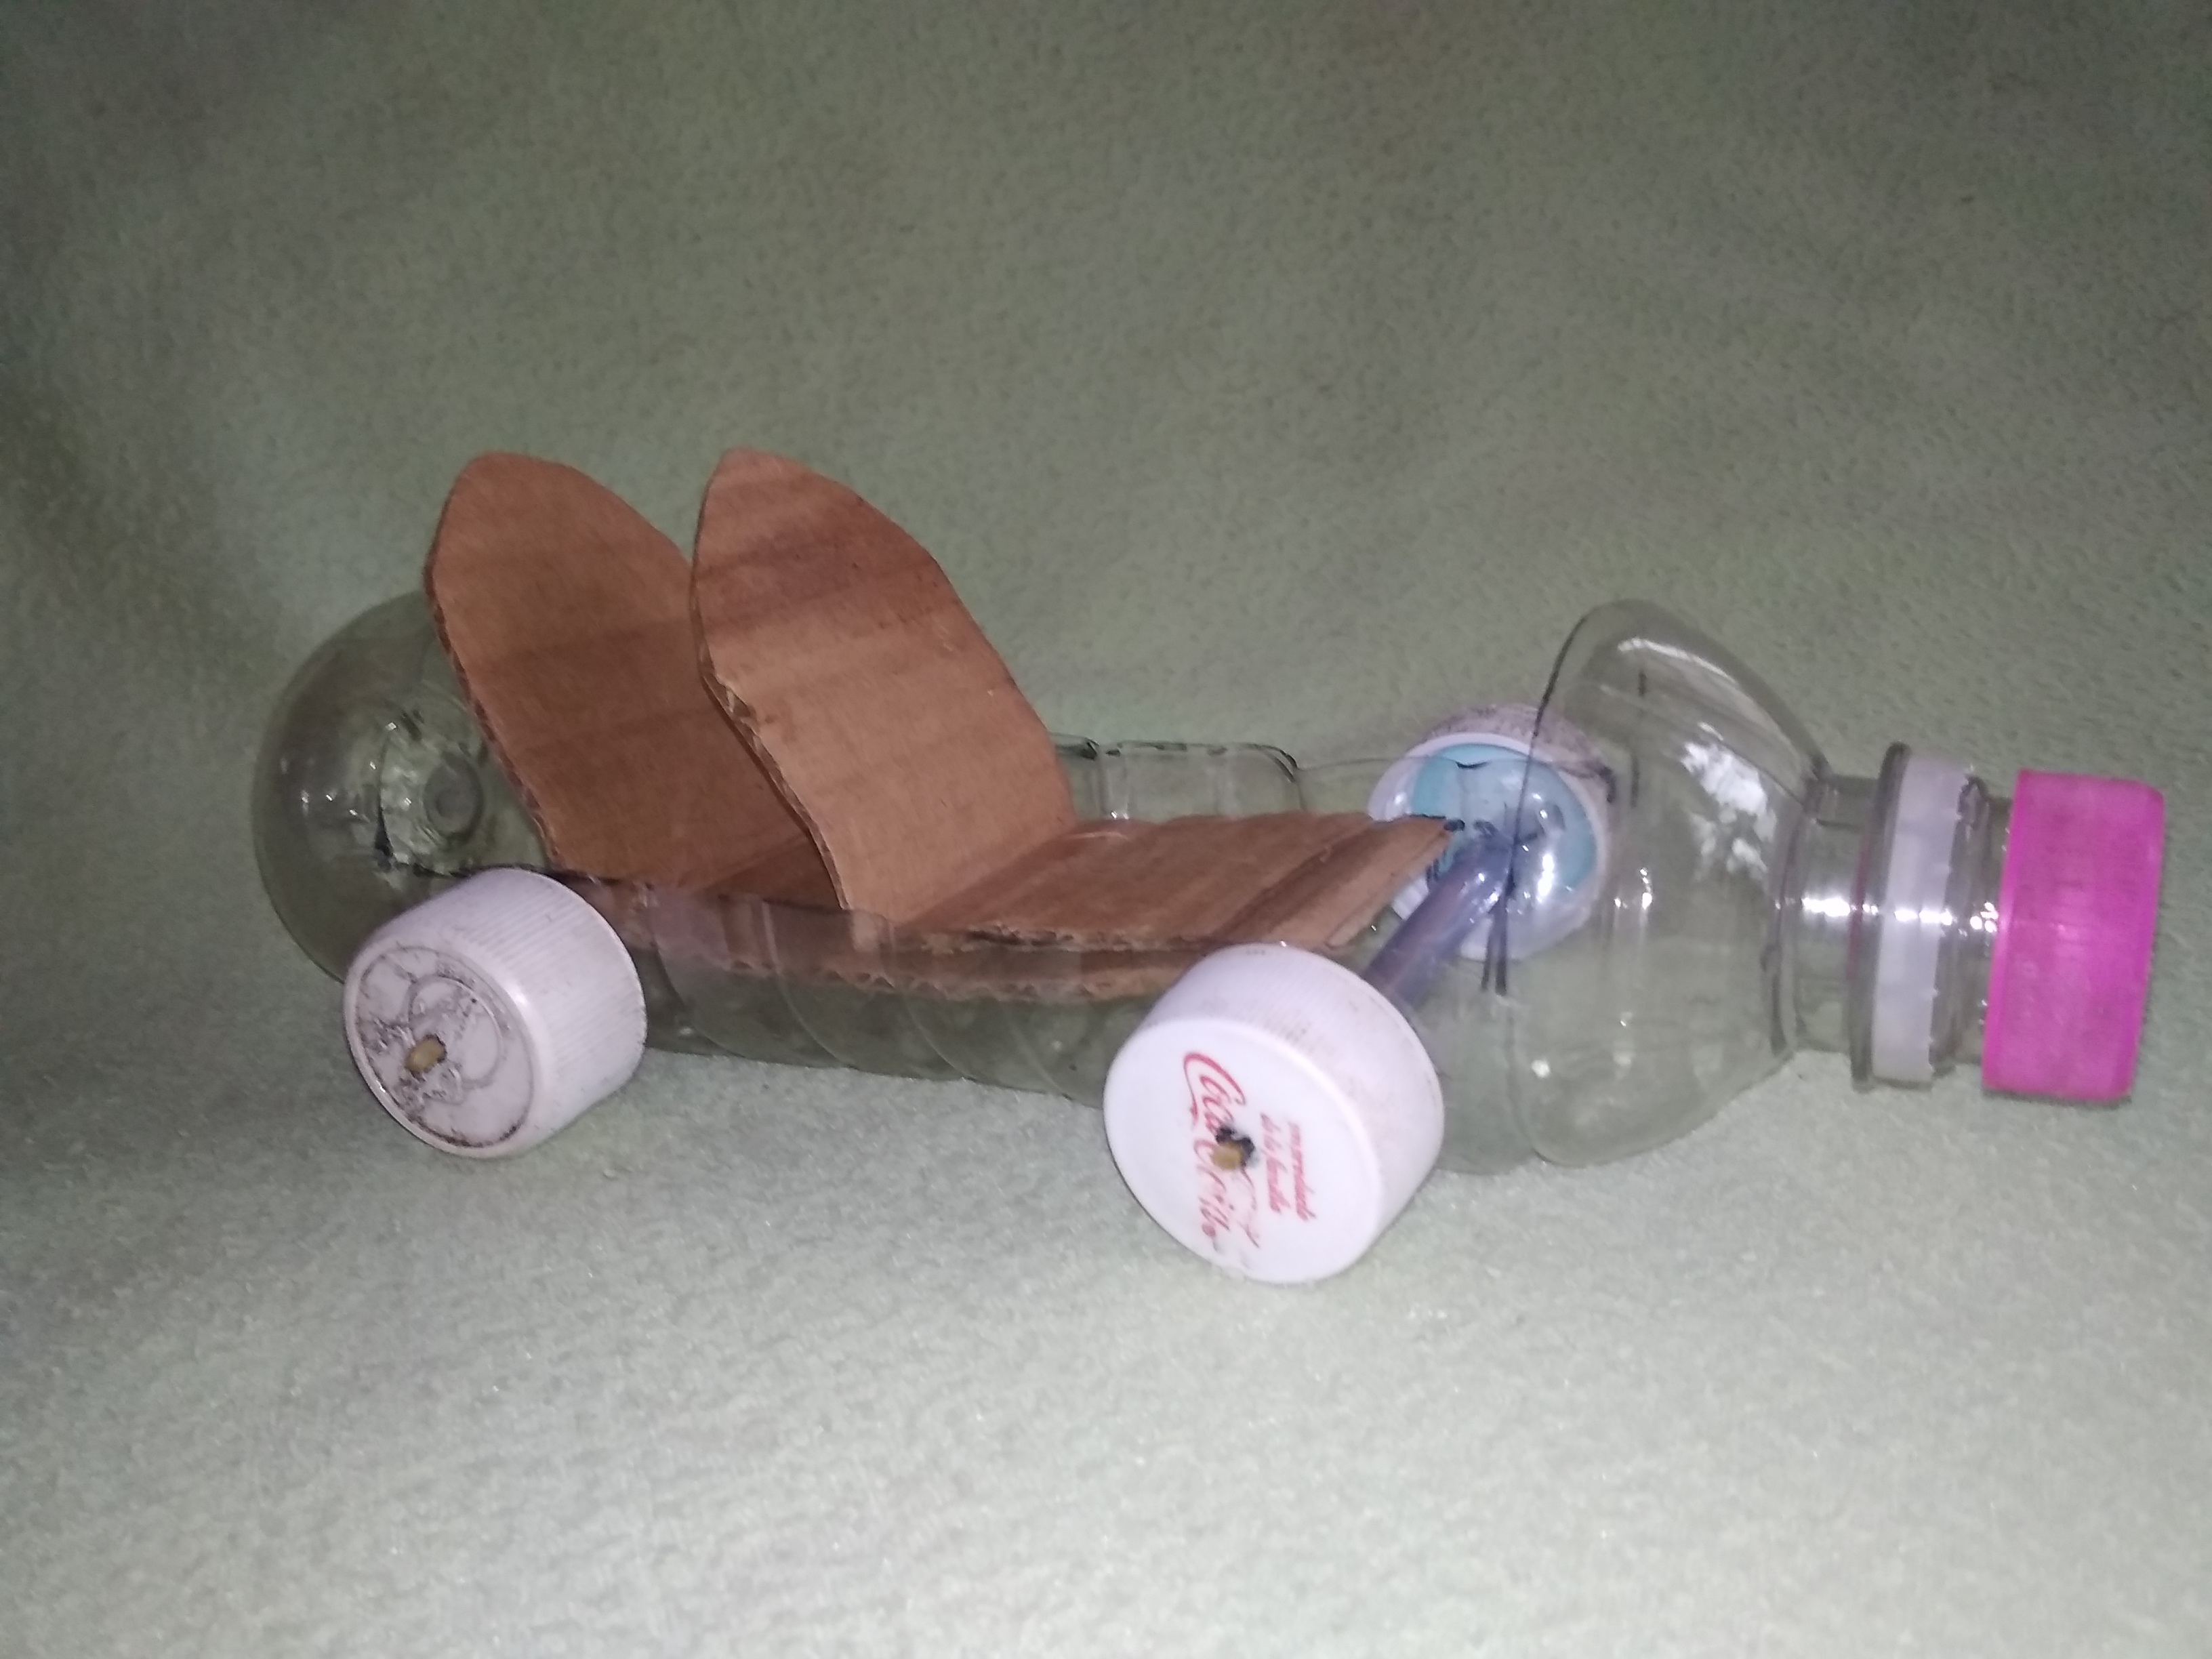
Este es el resultado final.
This is the final result.
Mi hijo quedo bastante contento con su carro, listo para ir a jugar.
My son was quite happy with his car, ready to go play.

Gracias por leer mi publicación, nos vemos en el próximo post.
Thanks for reading my post, see you in the next post.
https://twitter.com/cbit_roxana_mdh/status/1304569204218052608
lo que uno hace por sus hijos, muy bien @cetb2008
Saludos @lisbethseijas gracias por comentar mi blog.
¡QUÉ ORIGINAL! Me encantó tu trabajo. Felicitaciones @cetb2008
Saludos amiga @marciabon, muchas gracias