DIY Washing Machine Repair
Hi Hiveians and fellow DIY enthusiasts,
Today I'm going to be sharing part 1 of a 2 part series: dismantling a front load washing machine to try to correct a spin issue, the drum was grinding on spin cycle. The post ended up getting very long, so I apologize but bear with me! We can get through it!
So I’m going to preface this with a disclaimer. The washing machine was broken.....by me. I got a little too aggressive with some loads of laundry and overloaded the poor thing. Much to much chagrin, I came to the conclusion once I was done with the job. Thankfully I don’t have an ego or pride thing going on so I told my wife, @ssiena, and that she was right, yet again lol that I needed to not put so many things in to wash at once. I tried to wash two medium sized blankets. The ol’ Amana didn’t like that and let us know. Bad timing too, in the midst of the isolation and stuff. Gave me at least an excuse to tinker around with something though so that was fun at least! I learned quite a bit from it so it was a lot of fun, though it took many hours.
Tools Needed
There are a few key things you need to take on this type of job.
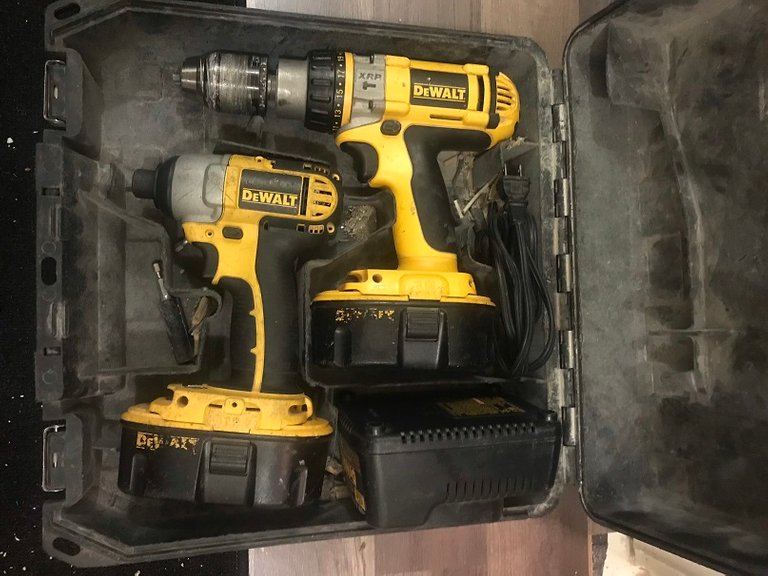
Everyone needs to have a good set of drills! I didn't need the big drill but the smaller cordless impact driver was key and one of my favorite tools to have!
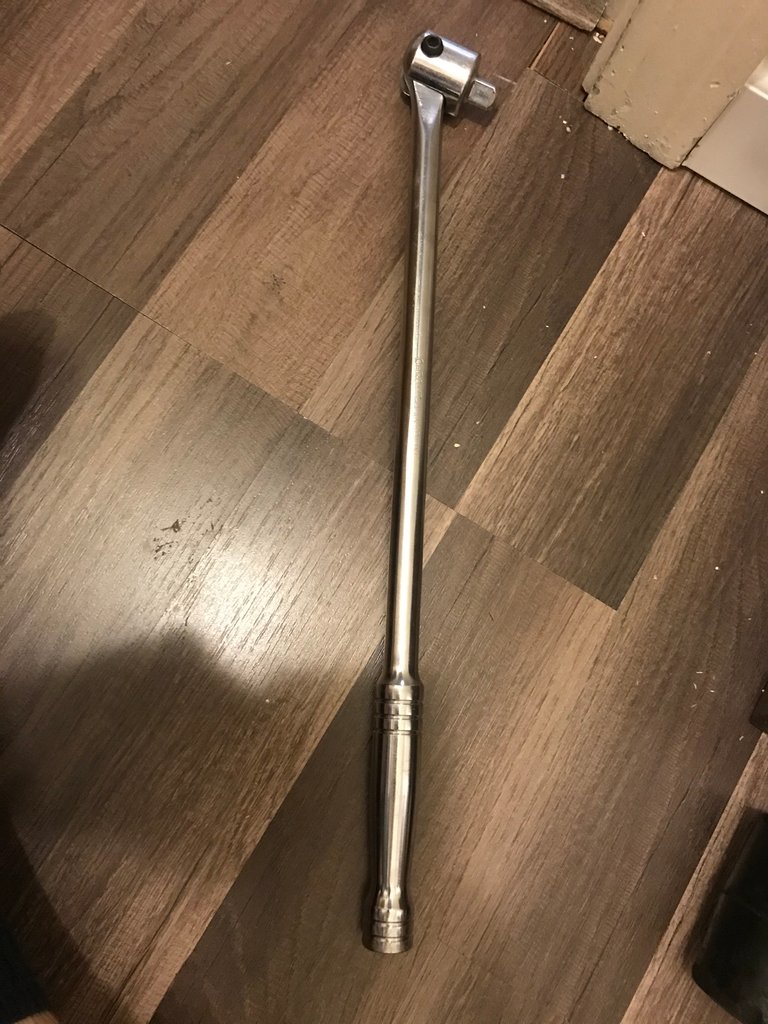
Above is a 1/2 inch socket 18 inch breaker bar. I didn’t think I would need it but I’ll explain later in the post where it was absolutely necessary.
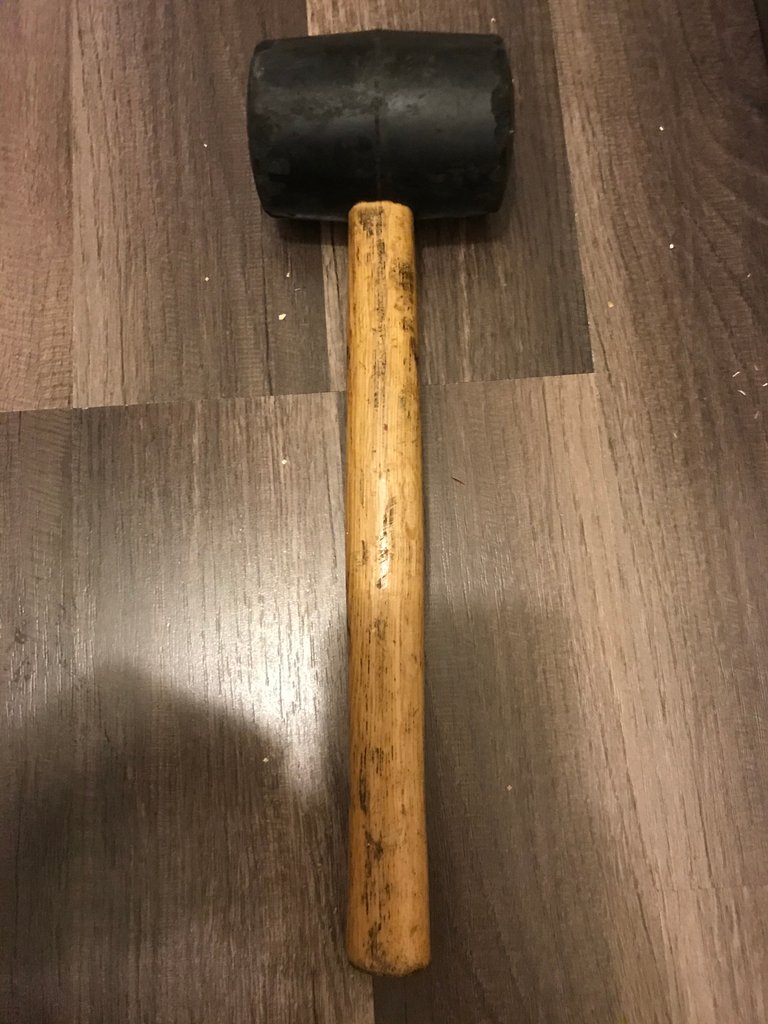
Above is a rubber mallet. These things come in handy so often because they give you a good hammer strength for some things but they are made of rubber so you don’t destroy the thing you need to hit with it (in most scenarios of course lol).
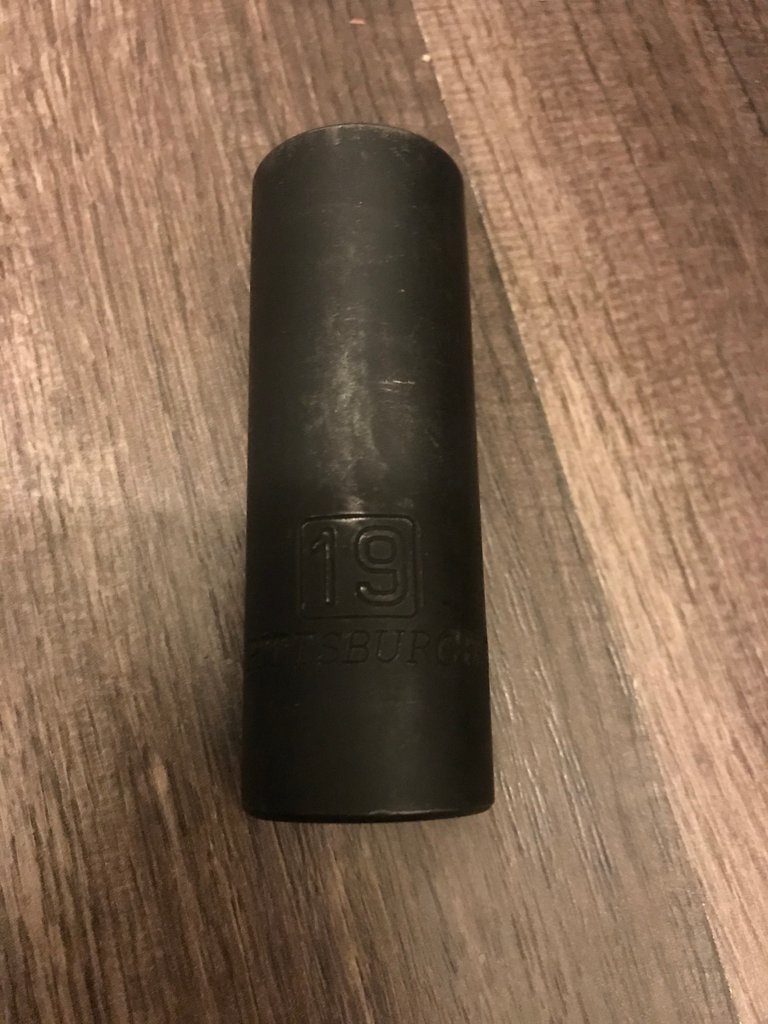
Next up, above, is a deep 1/2 inch size, 19mm diameter socket. This was used with the breaker bar.
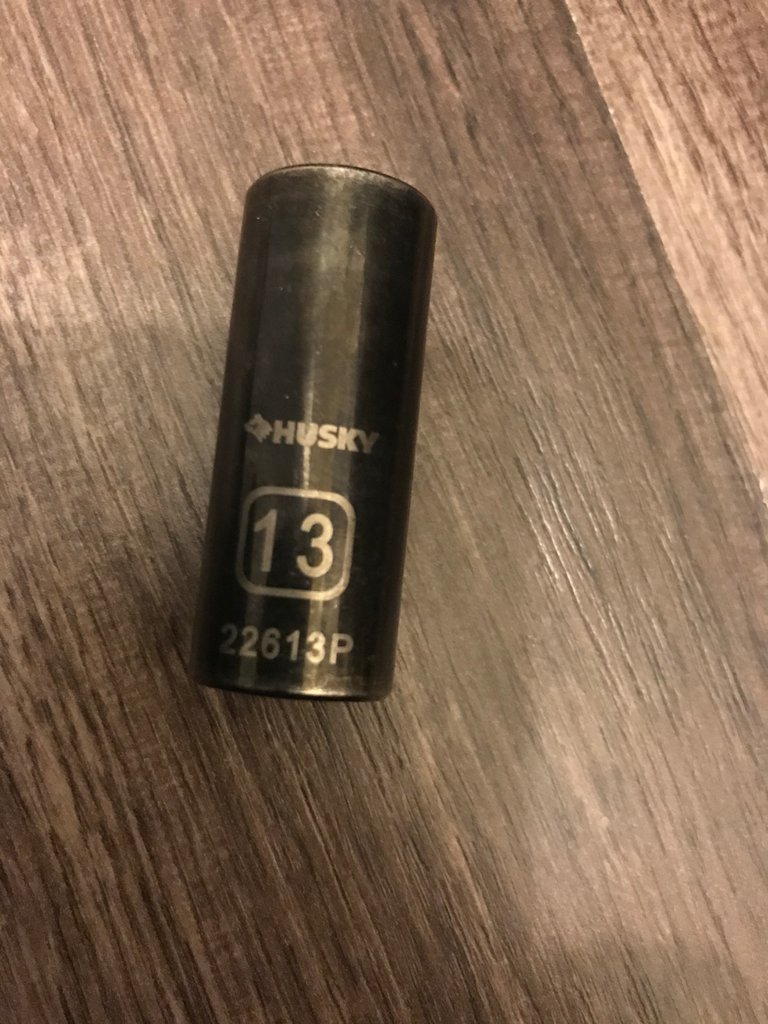
Next we’ve got a deep 3/8 inch size, 13mm diameter socket.
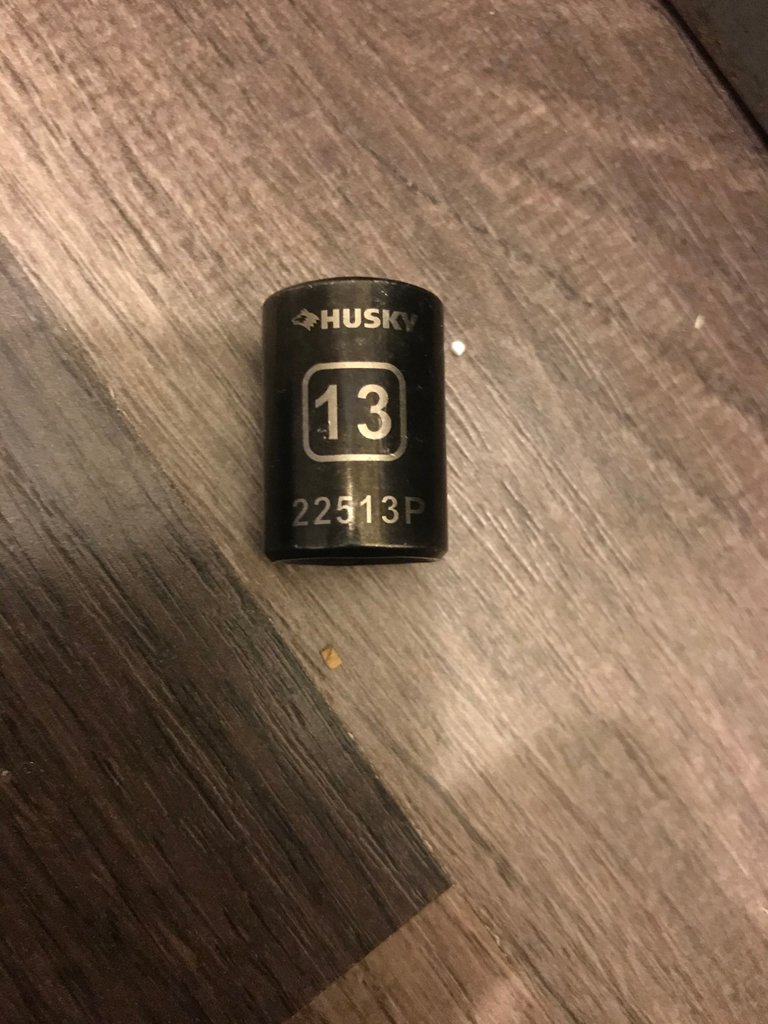
To go along with times when the deep one is too big, we’ve got a shallow 3/8 size 13mm diameter socket.
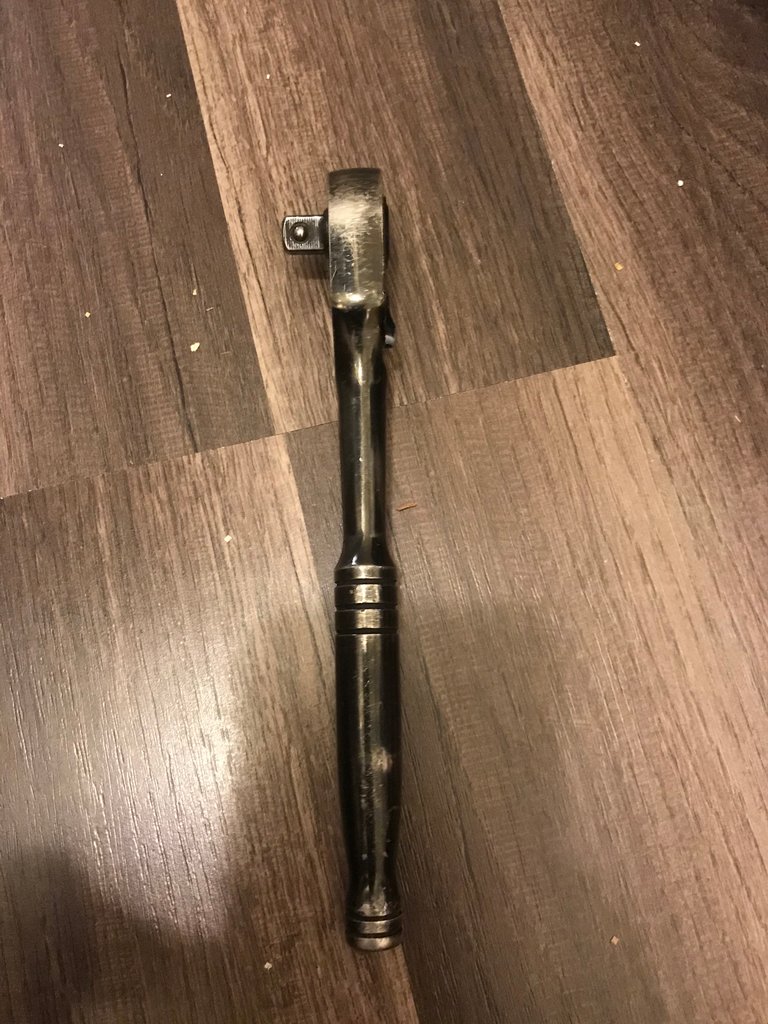
Of course sockets are no good without the right socket wrench. This one has been with me for years, evidence of the wear and tear on the paint on the head of it. Always love a good socket set!
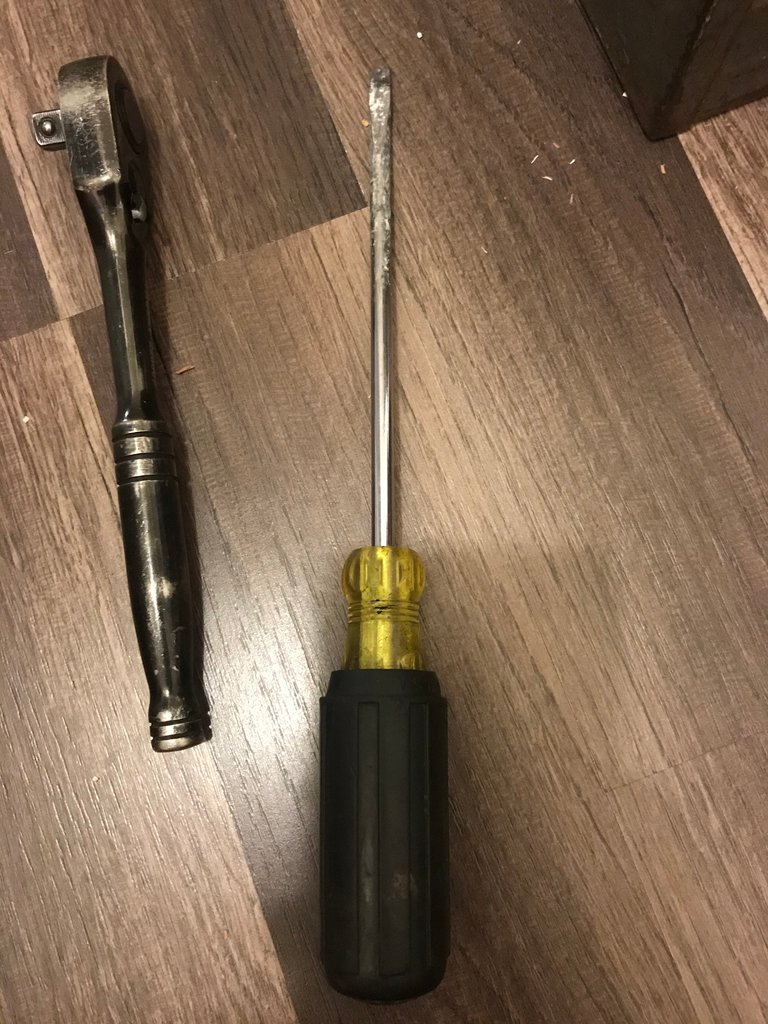
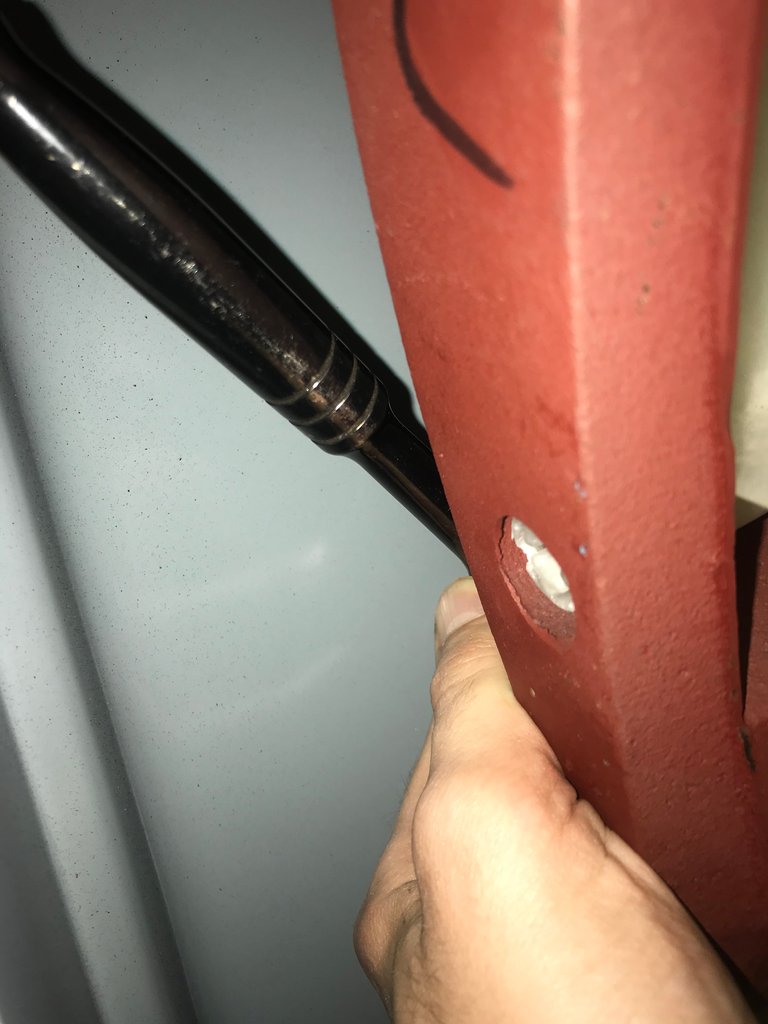
Next up is a flat head screw driver. This one isn’t necessarily used for what it seems, so I’ll explain it when the time comes.
Diagnosing The Issue
So how does one figure out what they’ve got going on? For starters, giving credit where it’s due, I watched this great couple of videos from a couple of British guys and their repair business eSpares. source They really helped me figure out what I was doing so props to them!
So what was happening with our washer id I would spin the drum when I did laundry to catch any things that were stuck to the sides. Being a front load washer, that happens quite a bit. When I spun the drum I heard this awful grinding sound and knew that I messed something up big time lol. So after watching those eSpares guys videos, I got to work. I ruled out the common causes.
Common causes of spin issues:
- Bra or other metal wire stuck between the inner and outer drum.
- Face cloth or small sock got wedged between the two drums and is now stuck, causing a grinding noise when spinning.
- Something caught in the drain hose and hitting the inner drum while spinning.
Unfortunately for me, none of those were the culprit. I spent an hour just doing those in hopes it would be that. You can watch the eSpares videos if you'd like to determine how they saw those.
Preliminary visual cues:
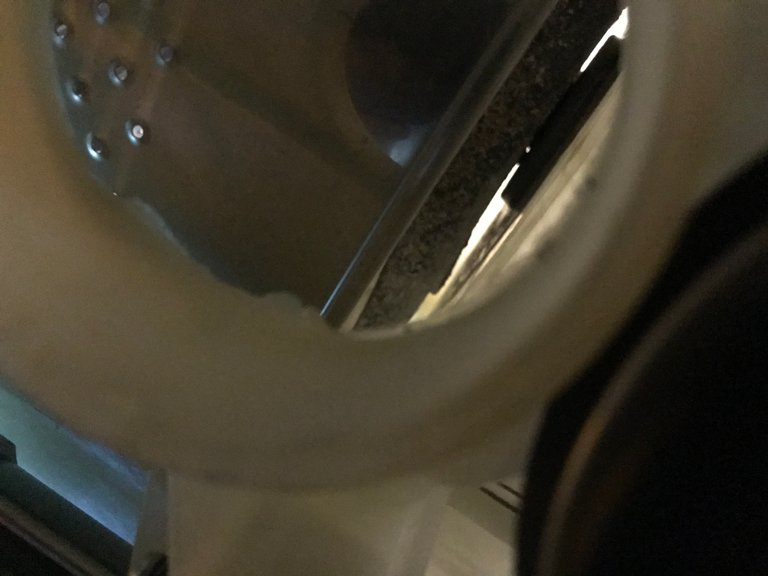
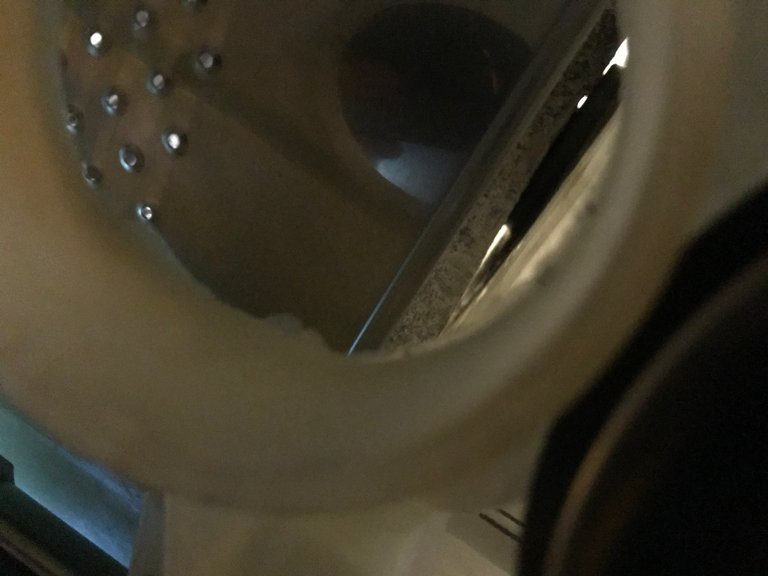
So what I saw when I was doing my pre-analysis was that the spin was off kilter. When the inner drum spins, it’s supposed to be even all the way around. This allows it to spin freely and not break or ruin the ball bearings.
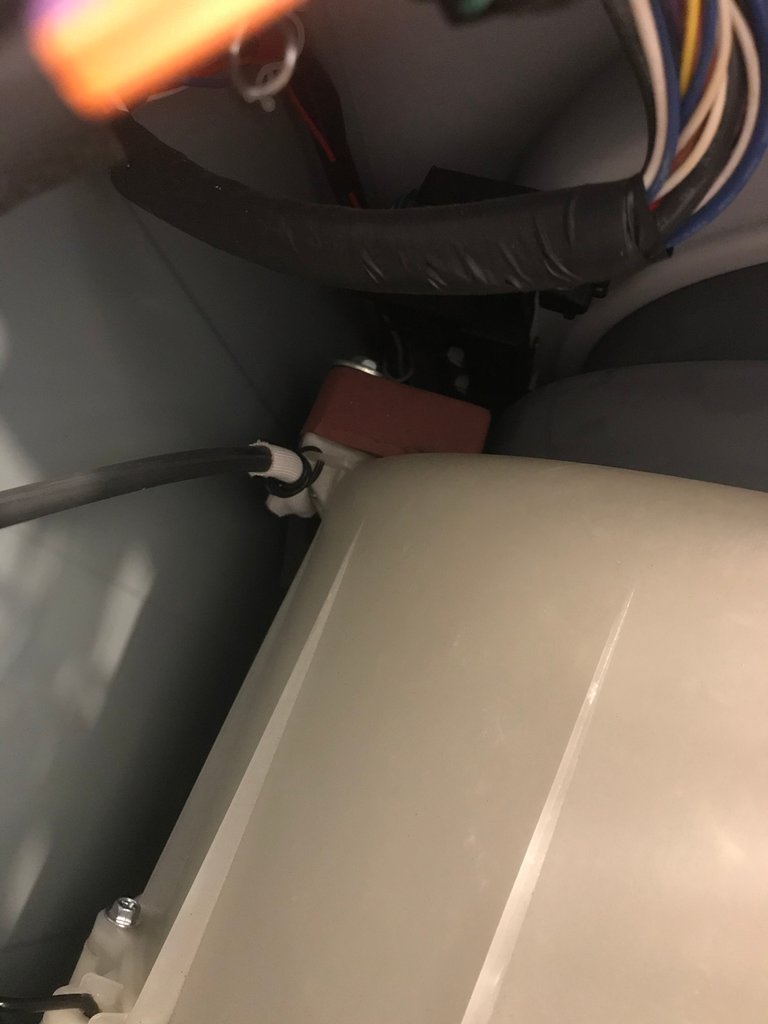
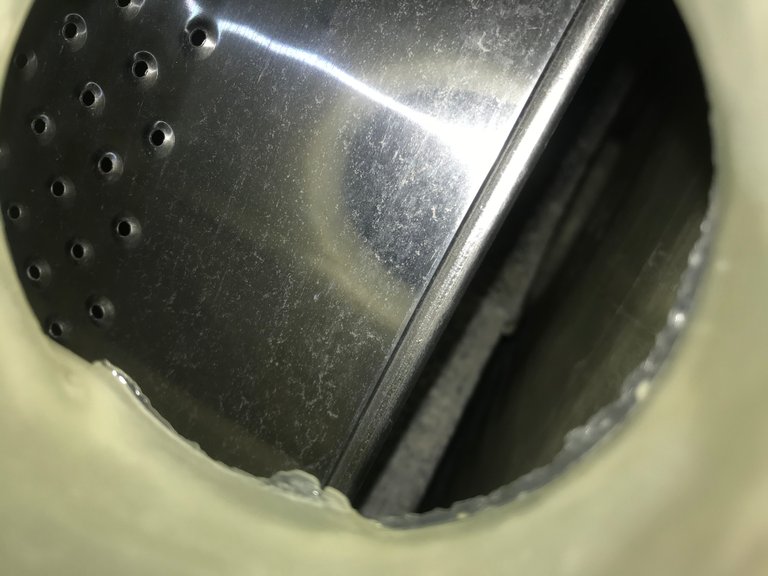
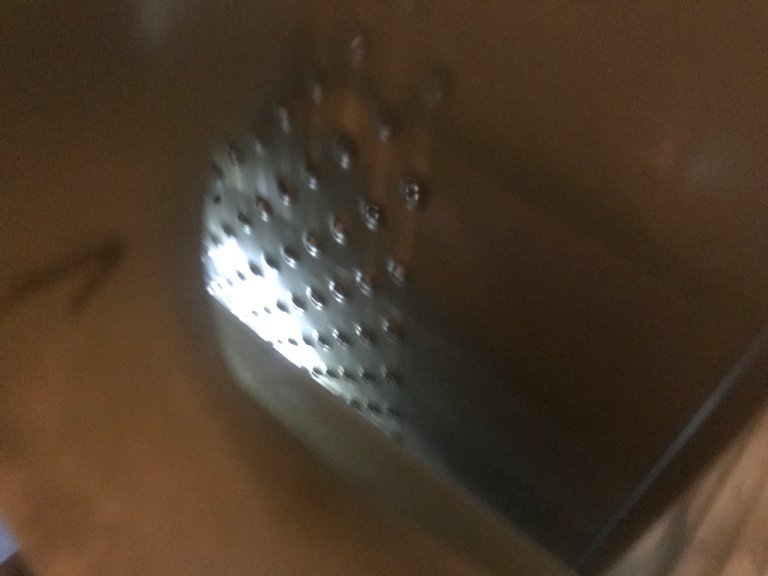
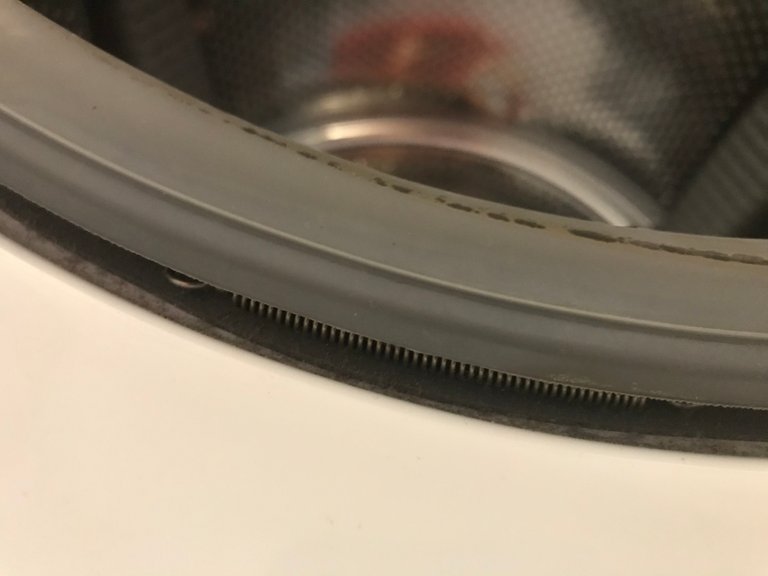
As you can see in the two pictures below,
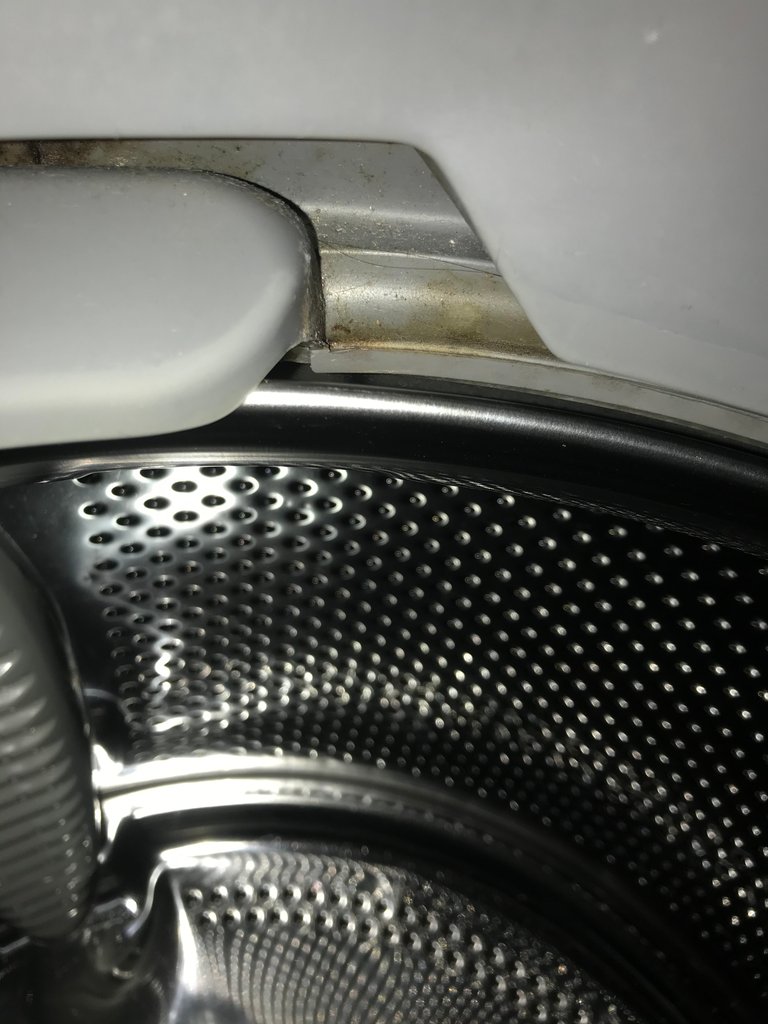
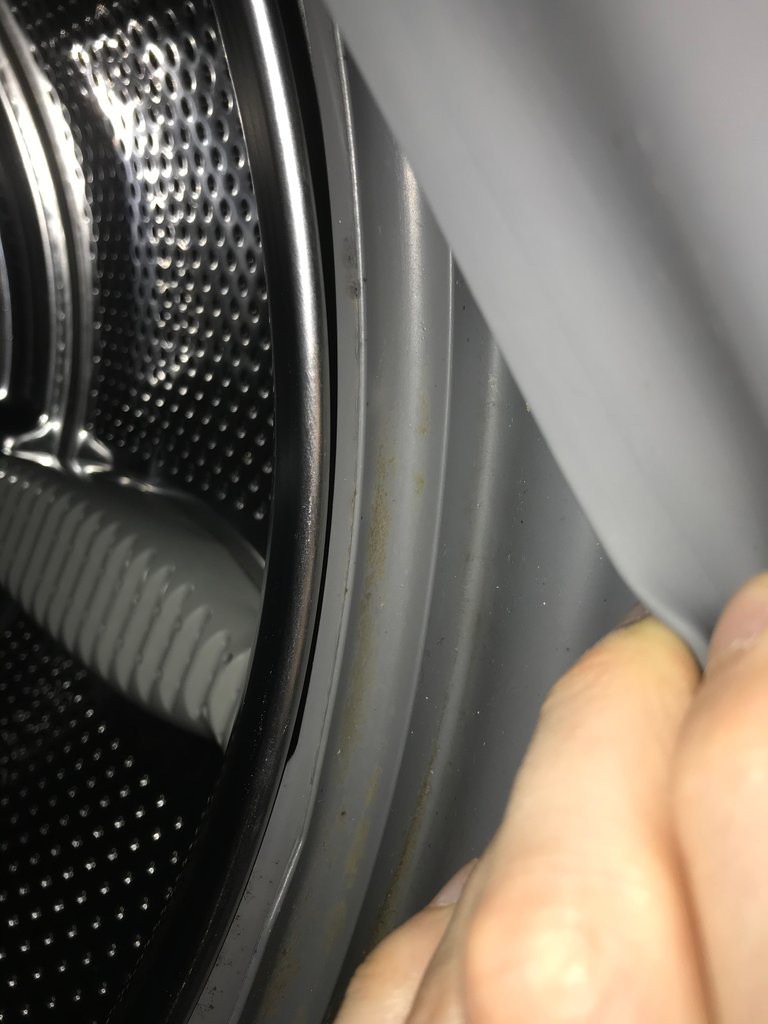
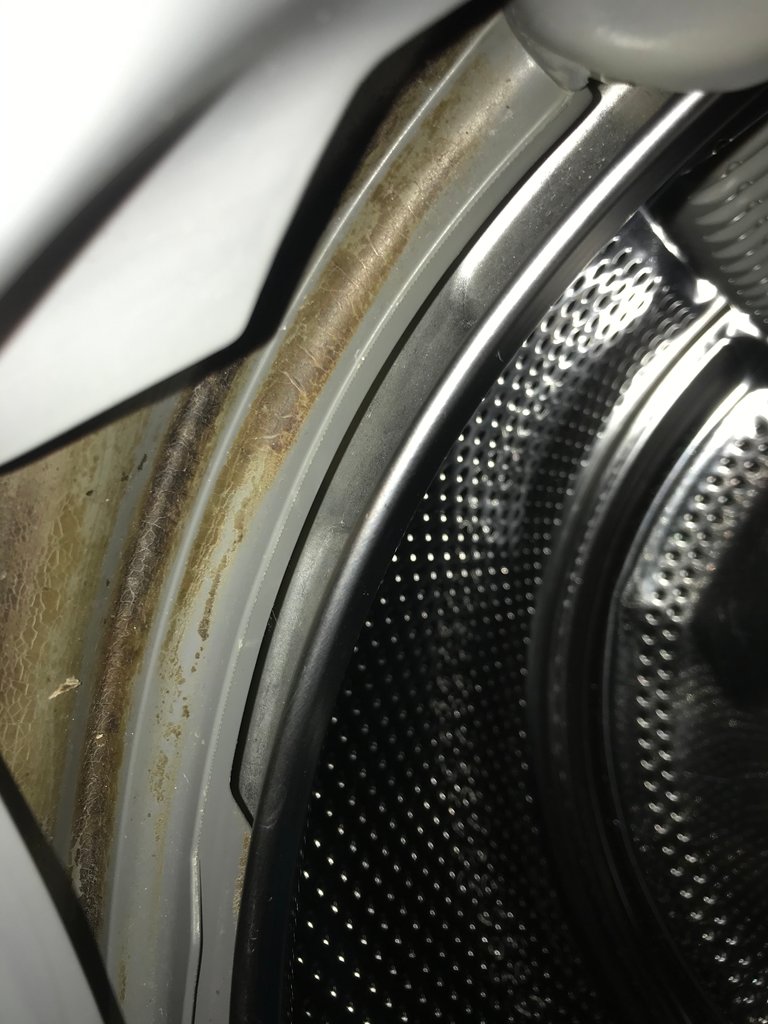
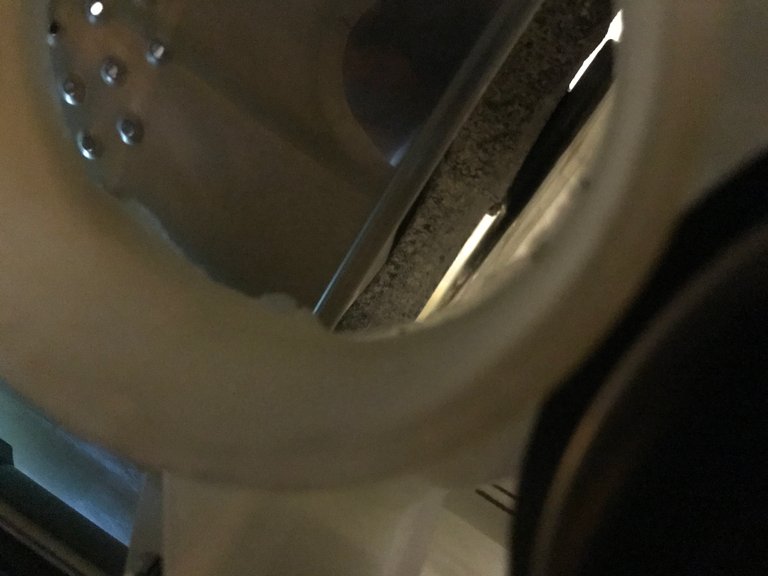
As you can see in the above two images, the inner drum and the rubber housing are very close together. Below is a picture of what it should almost be for distance. The drum was off so the gap was a bit too wide than what it should be, but it was closer to normal there. It would normally be about 4-5 mm closer to the rubber lining than it is now.
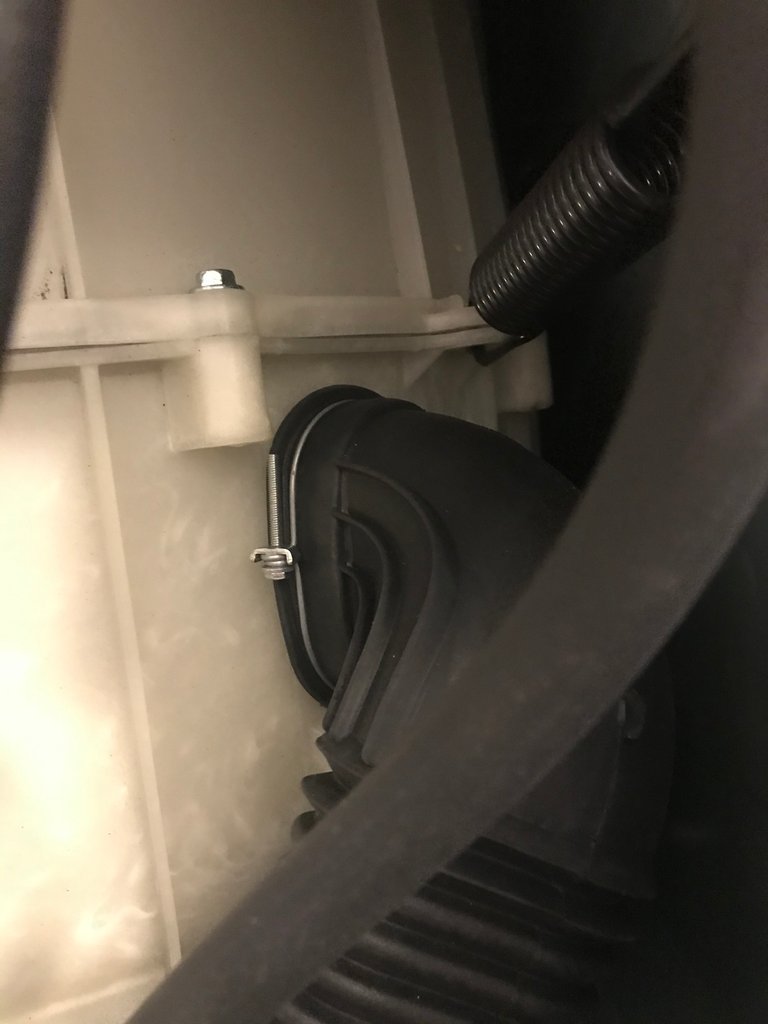
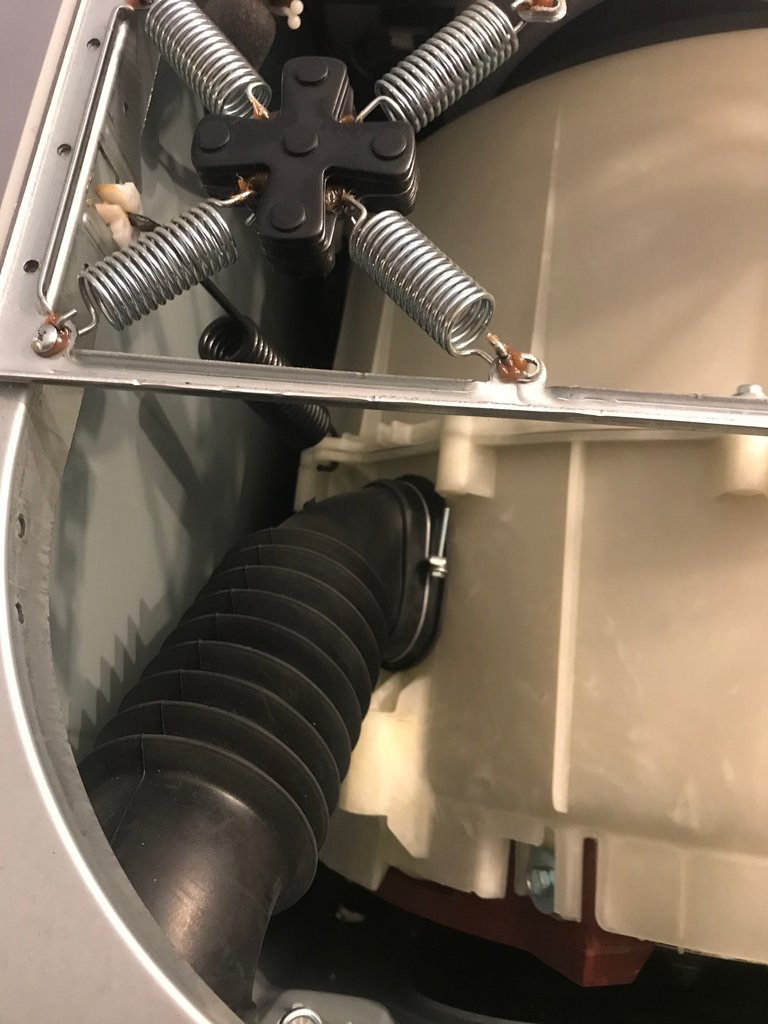
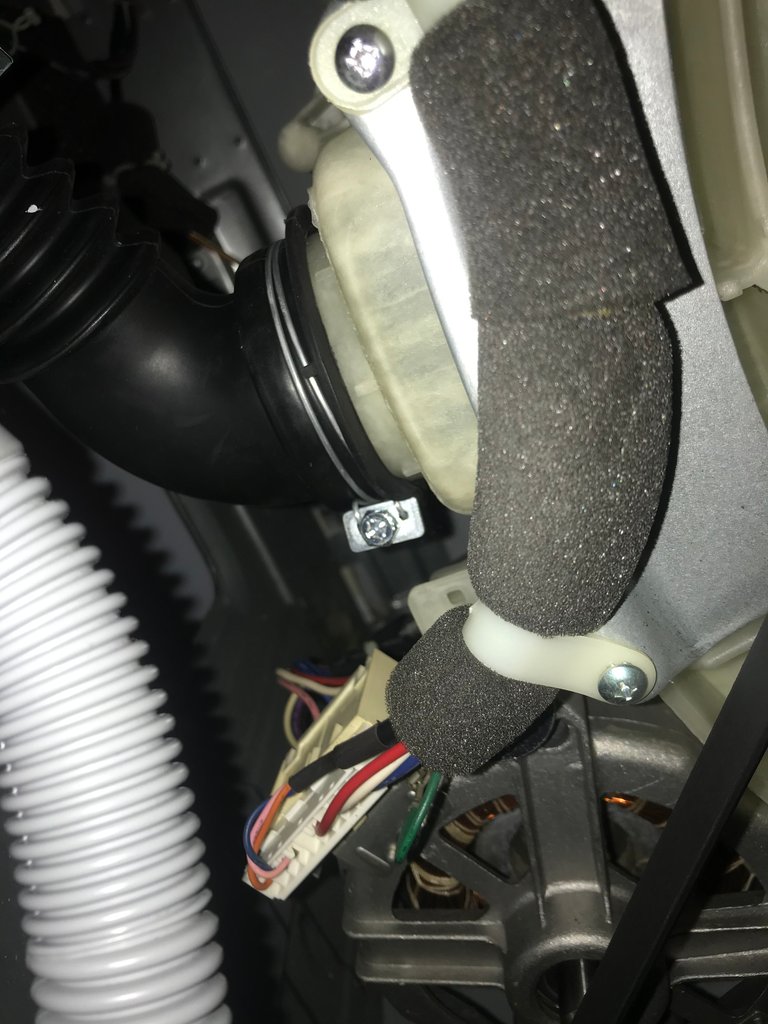
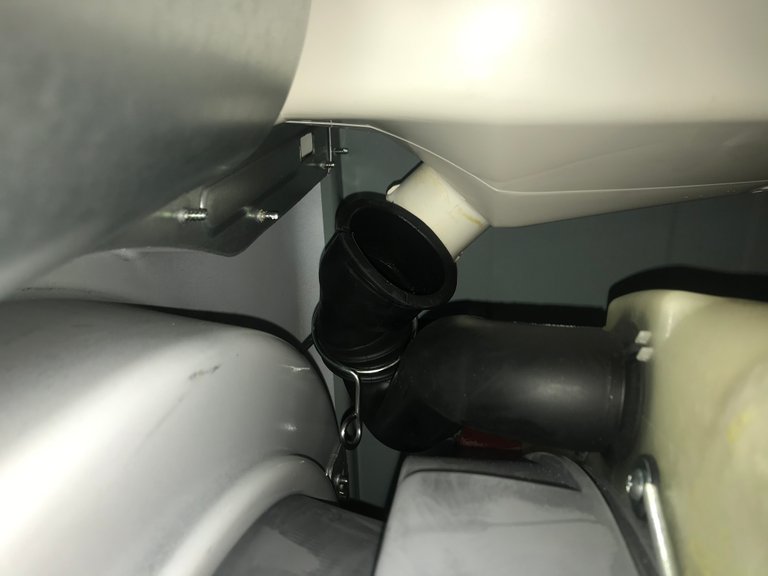
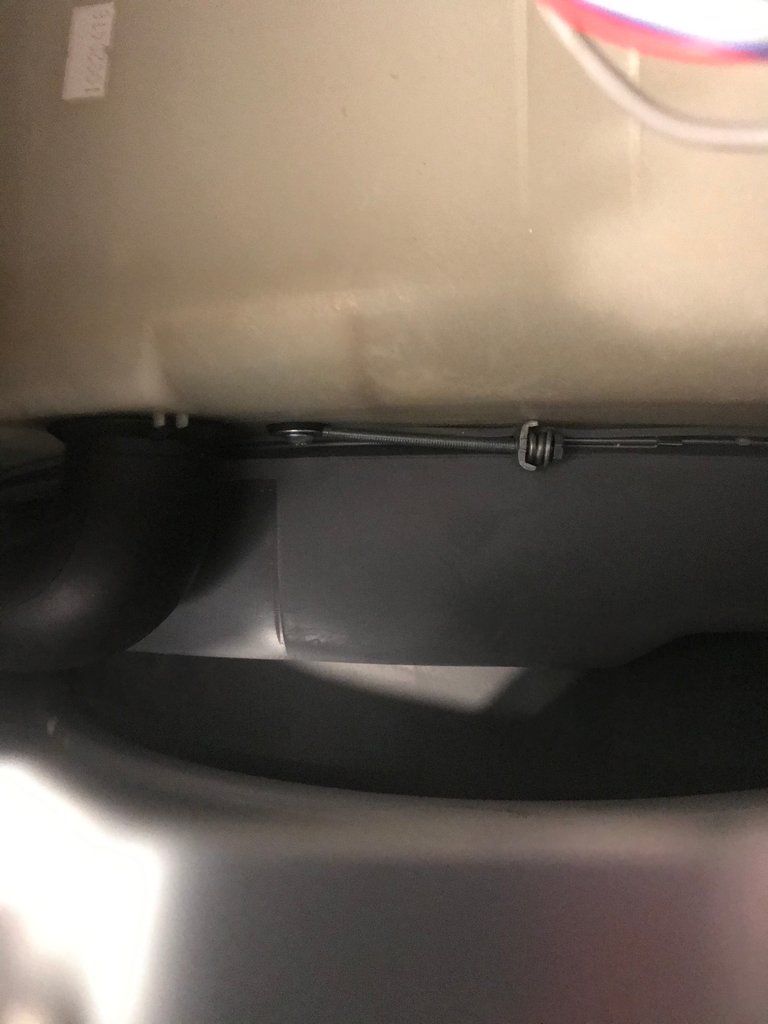
So now below, I took off the top cover of the washing machine and started to document things that I knew I would be taking off. Below is one of the vents that releases hot air and moisture during the wash cycle. This connected on the right side of the machine, when looking at it from the back. You can also see one of the hanging springs near it. This is part of the mechanism that keeps the washer balanced while spinning at crazy speeds.
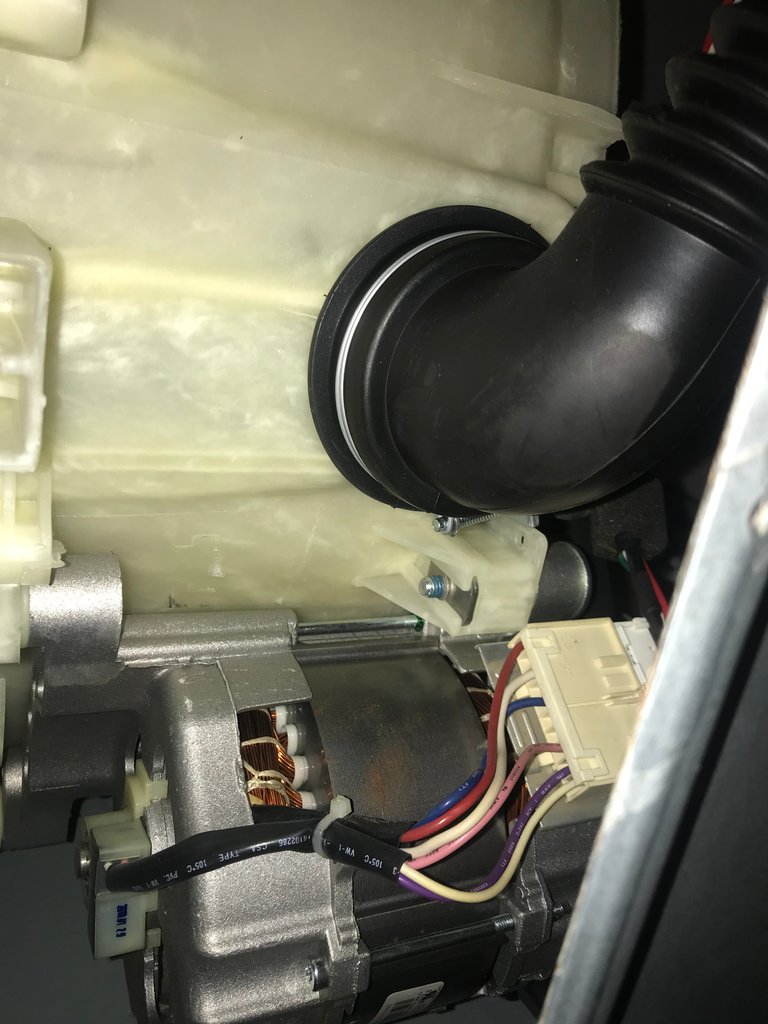
This picture is of the left side, front of the washer when looking at it from the back. The big red thing is a balance weight. There are 3 balance weights on each side. The fourth balance weight is the really heavy motor which you will see in a later image.
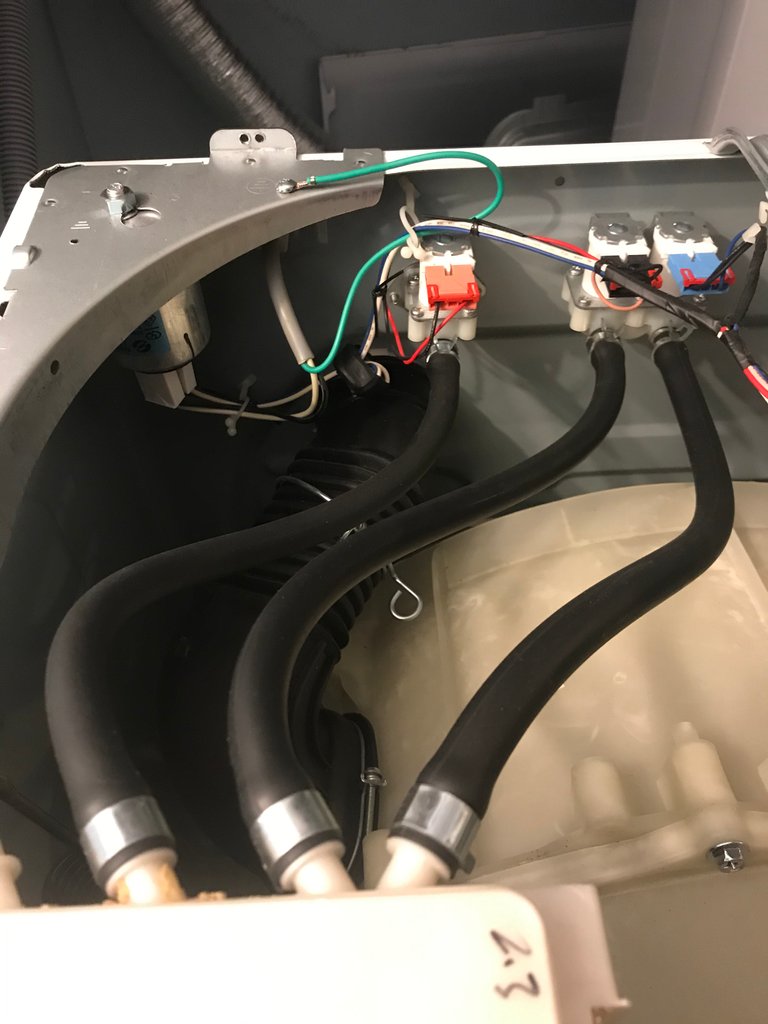
This is that same back right vent but seen from the front. I was being careful in documenting the various hoses that connected in case I had to disconnect them. If you are looking at the end of the hose on the back there, on the left side is the hot water and on the right side is the cold water. Thankfully it was easily discernible with them color coding it, but just in case I forgot.
Below is an image of one of the various balancers that are on the washer. This is on the left side when looking at it from the back. It's pretty cool the engineering that goes into making something we take advantage of so easily. There is an almost equal weight component on the other side. What you can also see on the bottom of the picture is one of the other of the 3 weights. This weight is on the back left of the washer, when looking at it from the back. This one is the most easily accessed, so this is what I started with to take off. I unfortunately did not take a good picture from the back of the washer of where this is, so my apologies!
So you can see in the image above that one bolt on the weight. That is the first to loosen because it is by far the easiest to get to.
This bolt below was a real pain in the ass to get to. I had to use the shallow 13mm socket to get to it, the deep one was a little too big. This meant that I was ratcheting two clicks before I hit the limit of my ability. If you've used a ratchet socket, 2 clicks is next to nothing! Was easily 90 seconds to get off this bolt lol
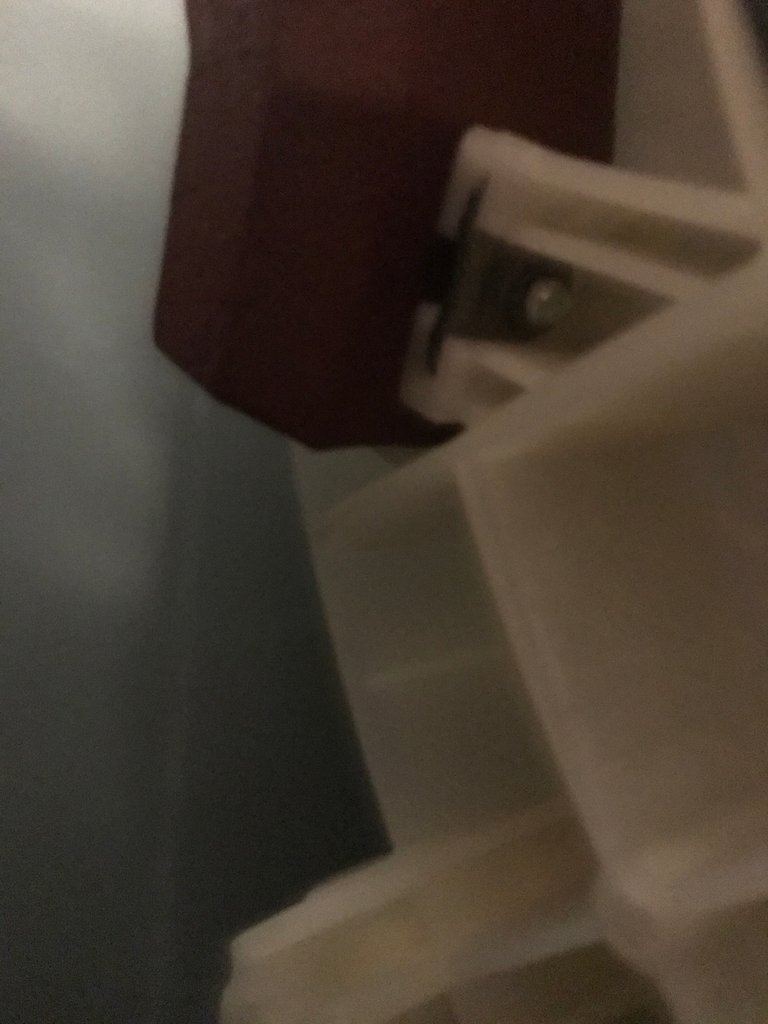
The picture below shows you the difficulty in how much space I had. Fun times! At least the washer wasn't hot so I didn't get burned or anything.
Now that the weight is taken off, I set it aside with the bolts that go to it so I don't lose them. Keeping all of the various bolts and washers with the hardware is important!!
Now that the weight was taken off, we need to make sure the washer is completely empty of water. You don't want to tip the thing over and get water all over the floor. To do this, we have to drain the pump.
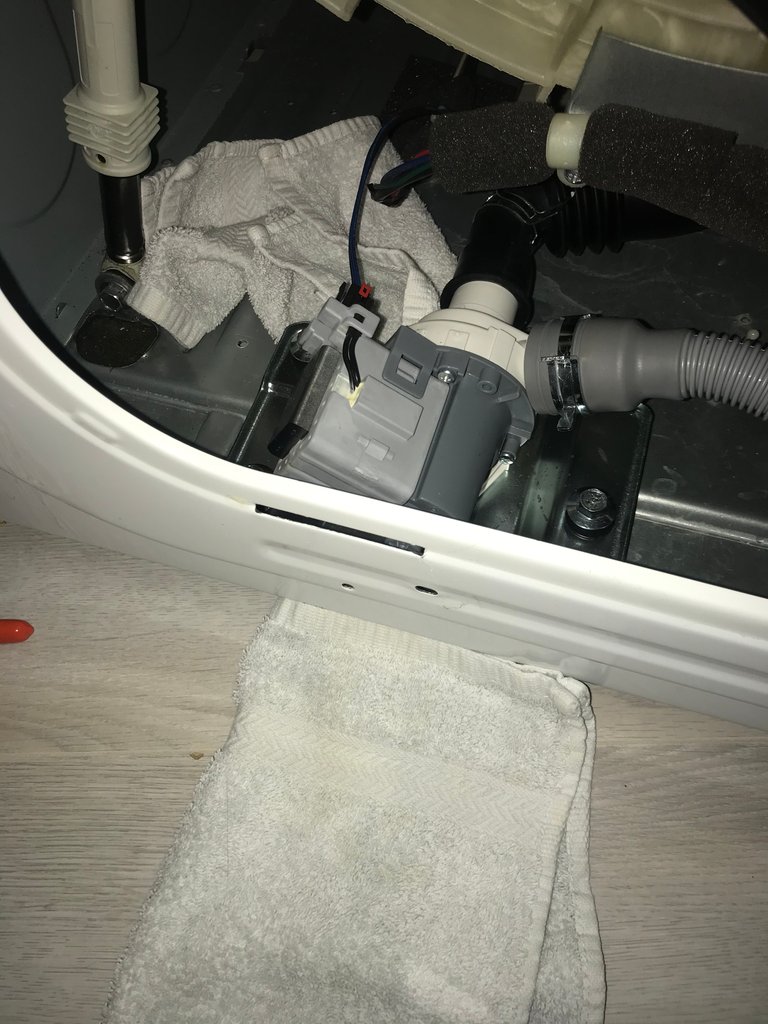
The pump is located on the bottom of the washing machine. The hose is right in the middle, to catch the most amount of water as it is sloshing around in the tub. There will be a fair amount of water in the pump and there is no easy way to drain it. What I ended up having to do was slowly open the pump hose seen below, letting the water drain out and clean it up. Not very glamorous or clean but it gets the job done.
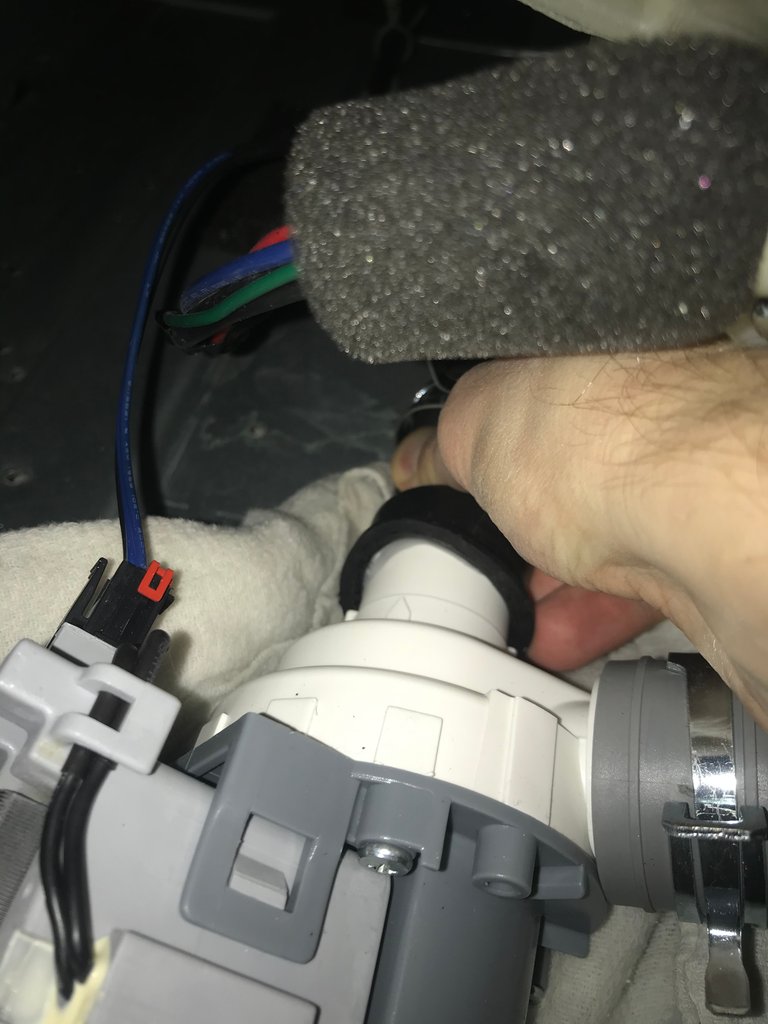
As you can see, I have several cloths around to catch the water. To note, the back left weight is positioned above that piston seen below on the left. I'm a very visual person, so knowing where it is helps more than describing it.
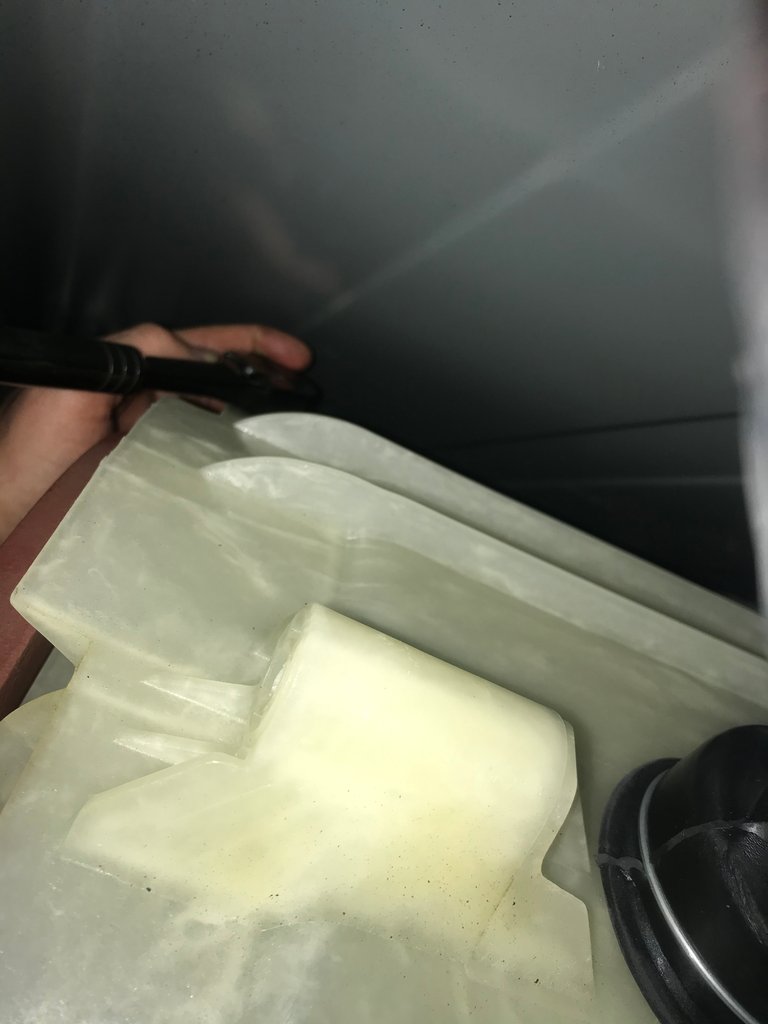
Once you drain all of the water out of both ends of the pump, you should also drain the water out of the soap dispenser. I did not realize this step when I was doing it! I will highlight the soap dispenser when it comes up later but that made a mess I realized after.
Now that the pump is drained and the weight is taken off the back, the time has come to flip the washer on its side to have a look through the drain.
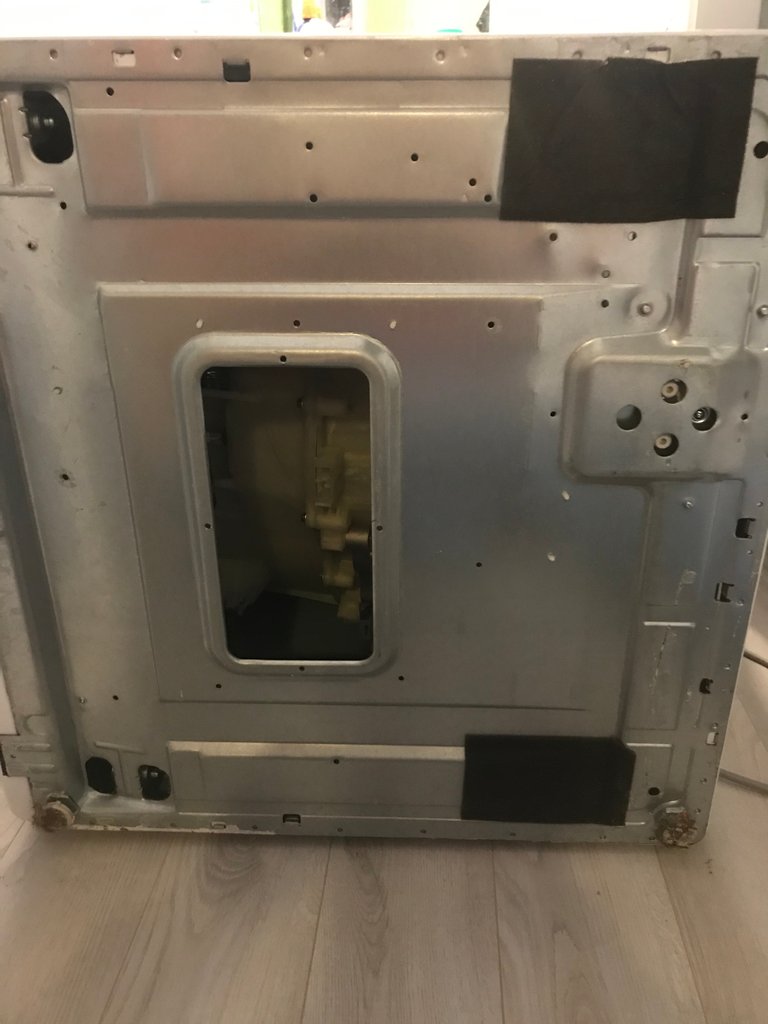
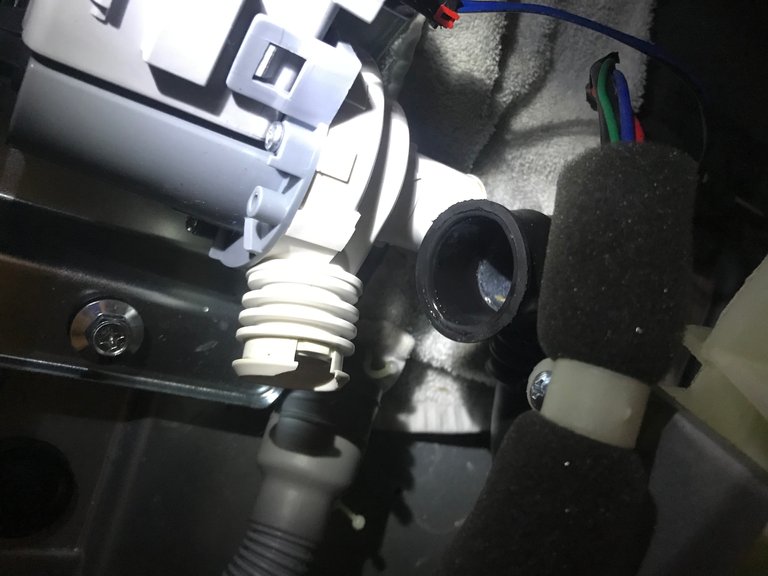
Looking at the bottom of the tub through the access hole seen above, you can see the big black drain hose. You have to undo the clamp that keeps it in place.
Going back to the back side of the washer, you can see the one bolt that is keeping the clamp in place. I removed the bolt and loosened the hose so now it is free and we can get the first look at the actual inner tub to see what's going on.
The view of the inner tub through the bottom drain hole in the outer tub that the hose and clamp were formerly attached to.
Looking towards the front as far as I can to make sure there is no debris stuck between the two. Nothing that I can see.
This is looking towards the back of the tub where the spindle attaches to the bearing through the post. It may be a little hard to see but unfortunately, you can see that the spindle is a bit off kilter, which I unfortunately suspected.
Rotated the drum a bit and you can see that this side looks fairly normal thankfully.
Now here is where you can really see it being off. Comparing the image above with this below, there is a big difference between the two. The drum is angled downwards, which is why it's grinding, it isn't smooth somewhere.
Problem Identified, Dismantle Process
Now that I've got the problem identified, I unfortunately now know that I have to dismantle it all to see exactly what I can do to adjust it and hopefully get it back to normal, or as close to normal as can be.
So now I have to dismantle most of the machine in order to get the tub out so I can take the tub apart. First part here we have to do is disconnect the soap dispenser from the tub.
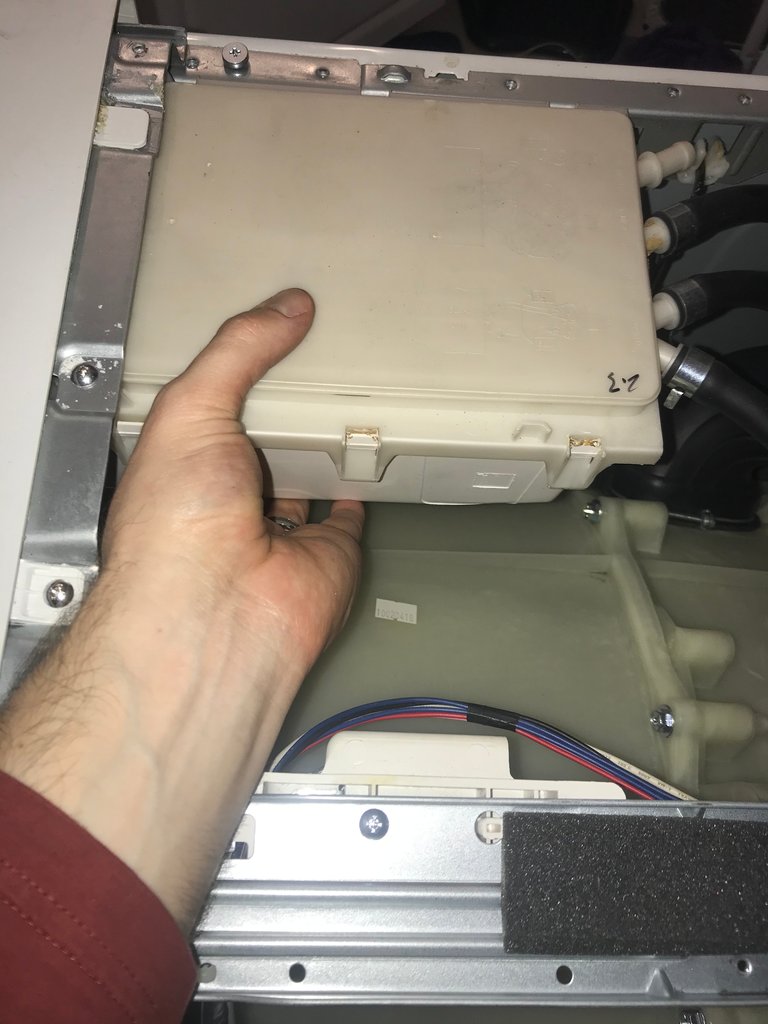
Once we disconnect the soap dispenser and have it free, I put the screws back into place so that they remain with what they are supposed to be screwed into. These are fairly common screws but no sense in losing anything if you can prevent it.
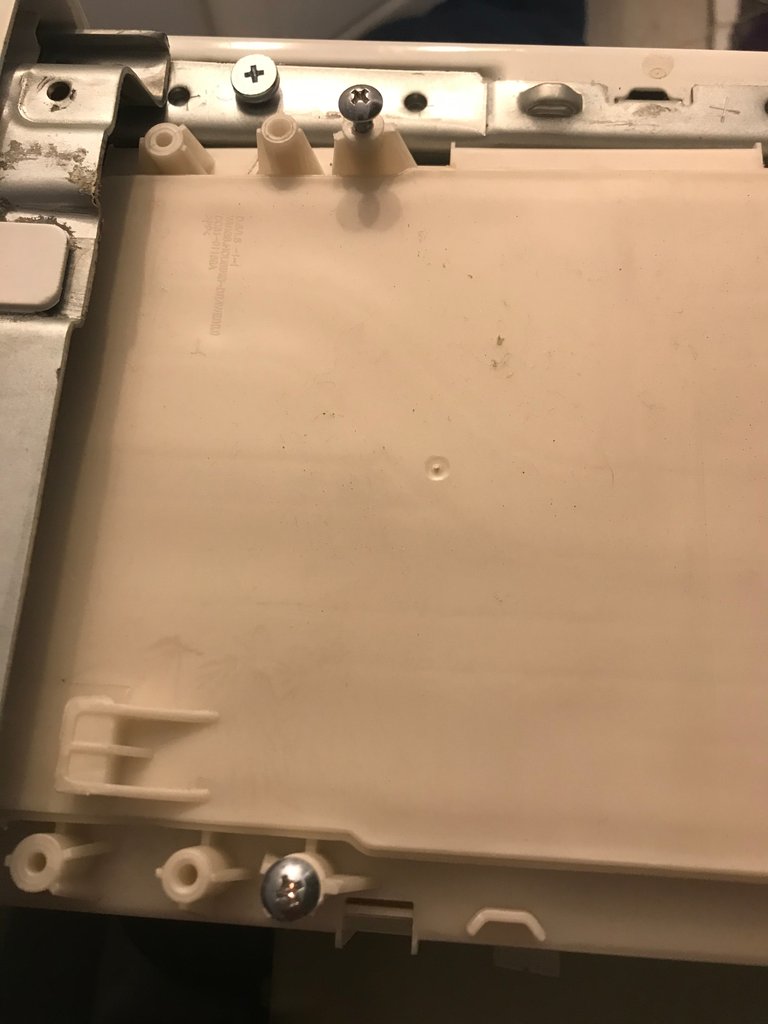
There was a hidden little screw on the front of the soap dispenser that took me a bit to find. Once I found it, the dispenser came free and it allowed the front faceplate that contains all of the buttons to come loose.
Another method I did was hold the screws up to where they came out of. Since there are so many screws and so many pieces that I was taking apart, I was thinking taking a picture where they go is a useful and easy method to keep track.
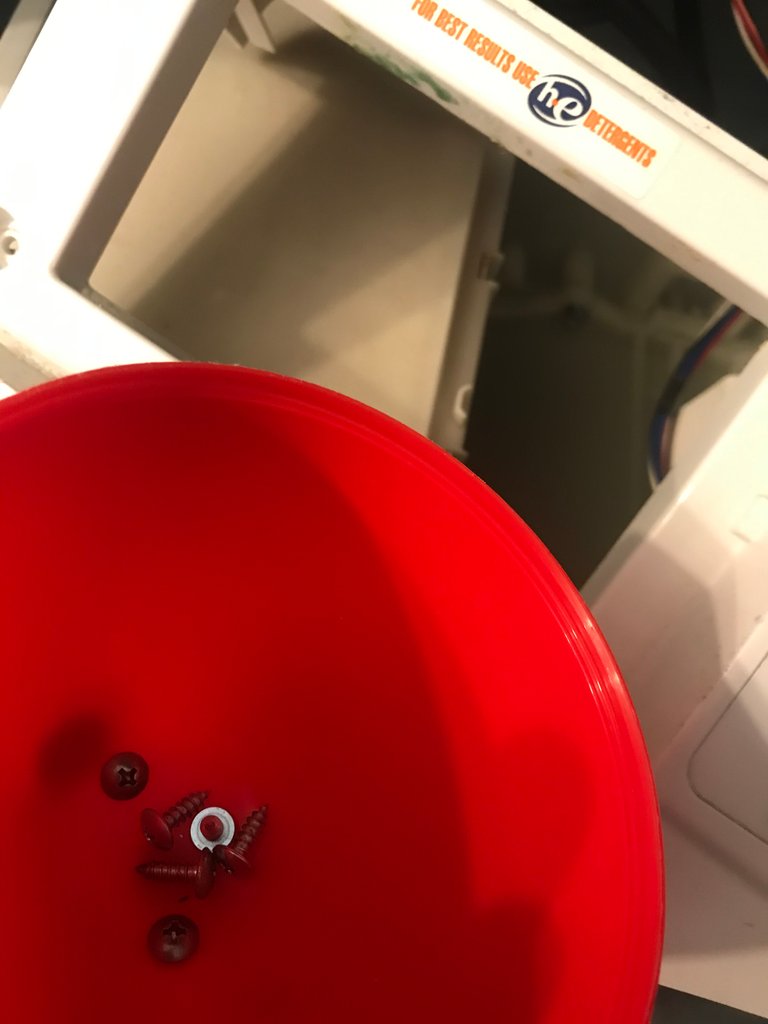
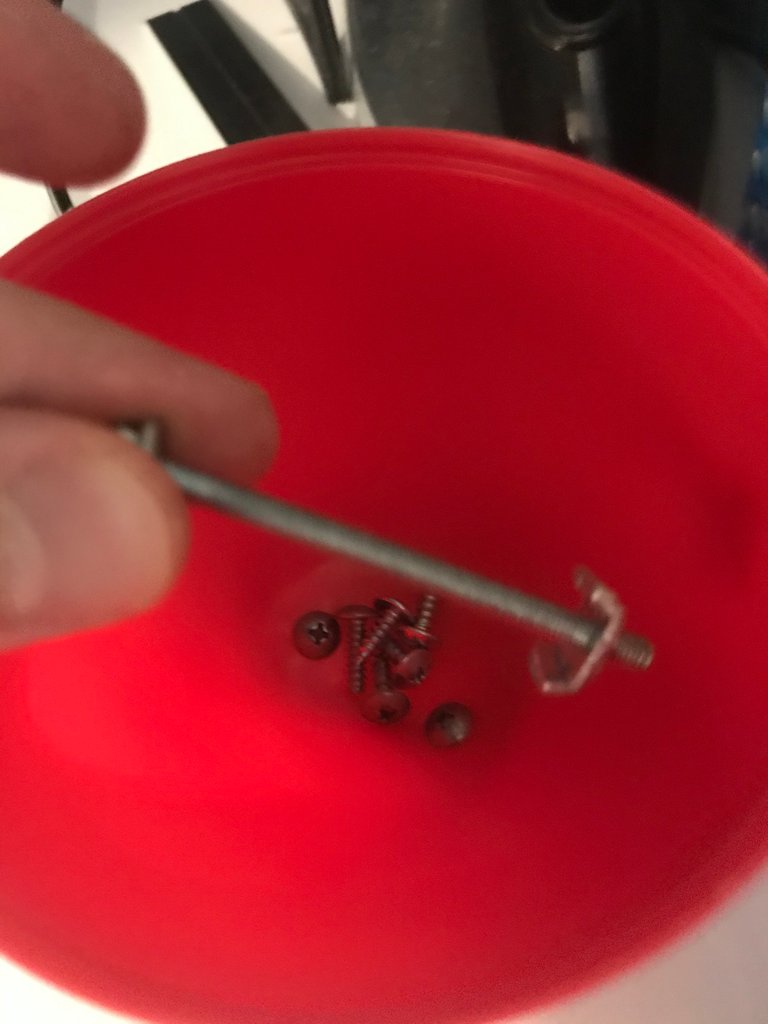
Same theory here but I used the little bucket since I had numerous screws. Most of the screws I couldn't put back into the space so I ended up using this little bucket to keep them all in one place.
Same theory here, all of the screws from the front faceplate went in here so I didn't lose it. There were several for the faceplate itself. For those who like to read, here is a fun little contest. The first person that notices this section and tells me how many small screws are in that bucket and leaves me a comment will win 0.5 Hive! Not a lot but it's a token of appreciation.
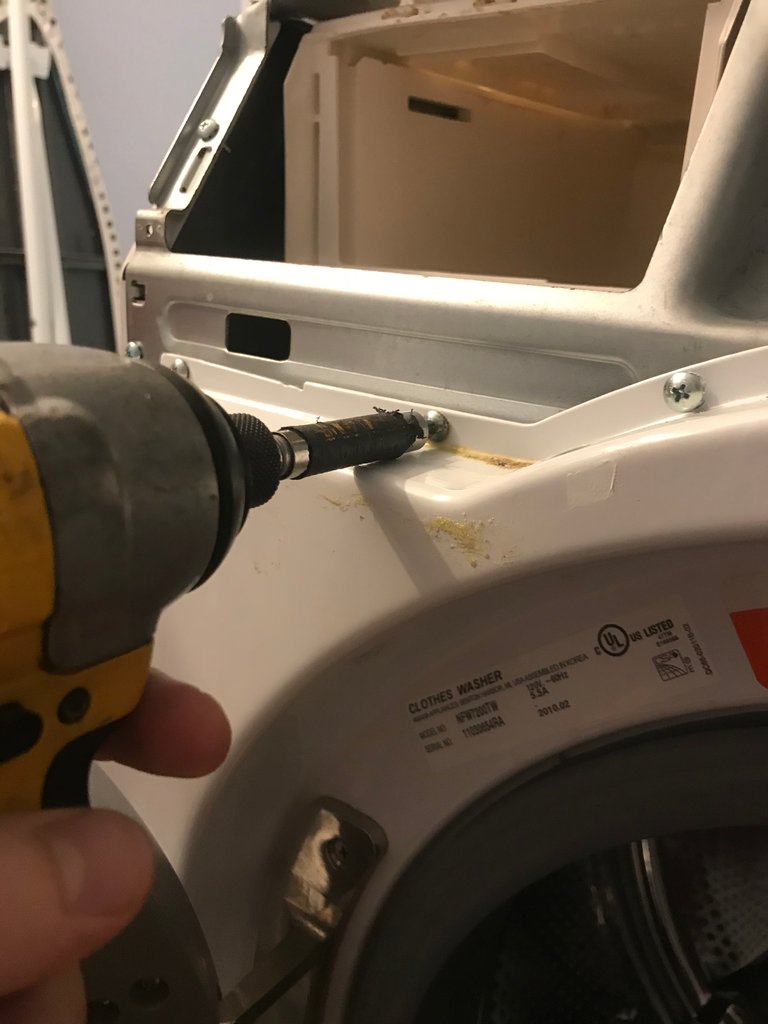
The drill really helped take all of the screws off easily. There's plenty of space so I absolutely used this impact drill.
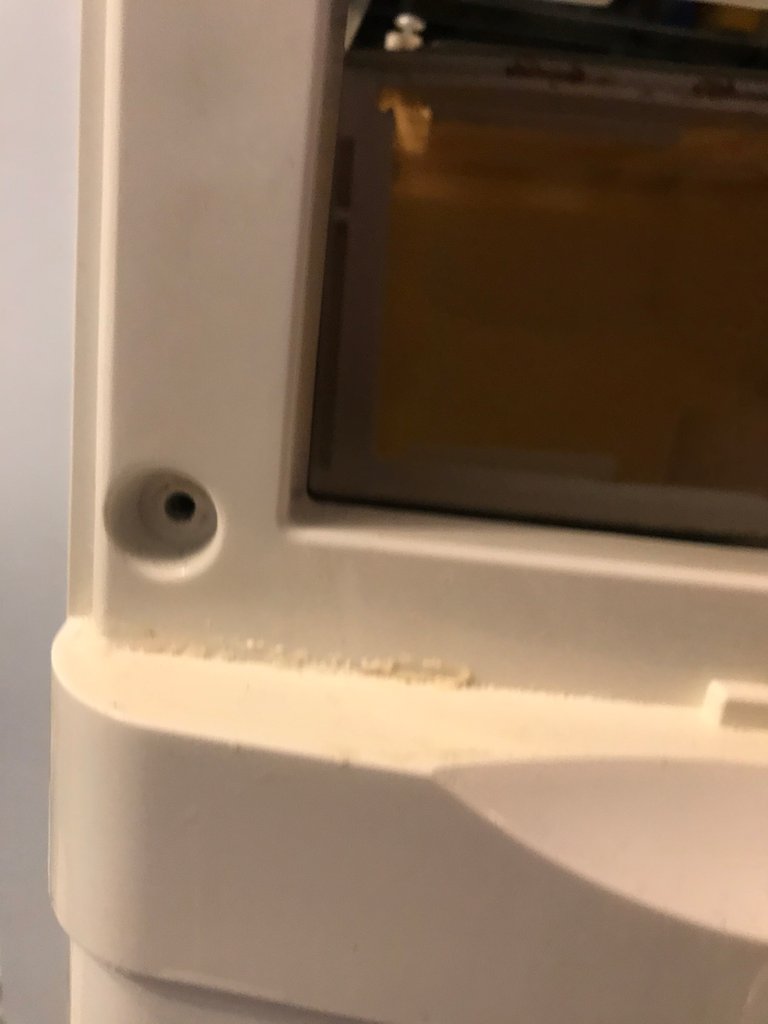
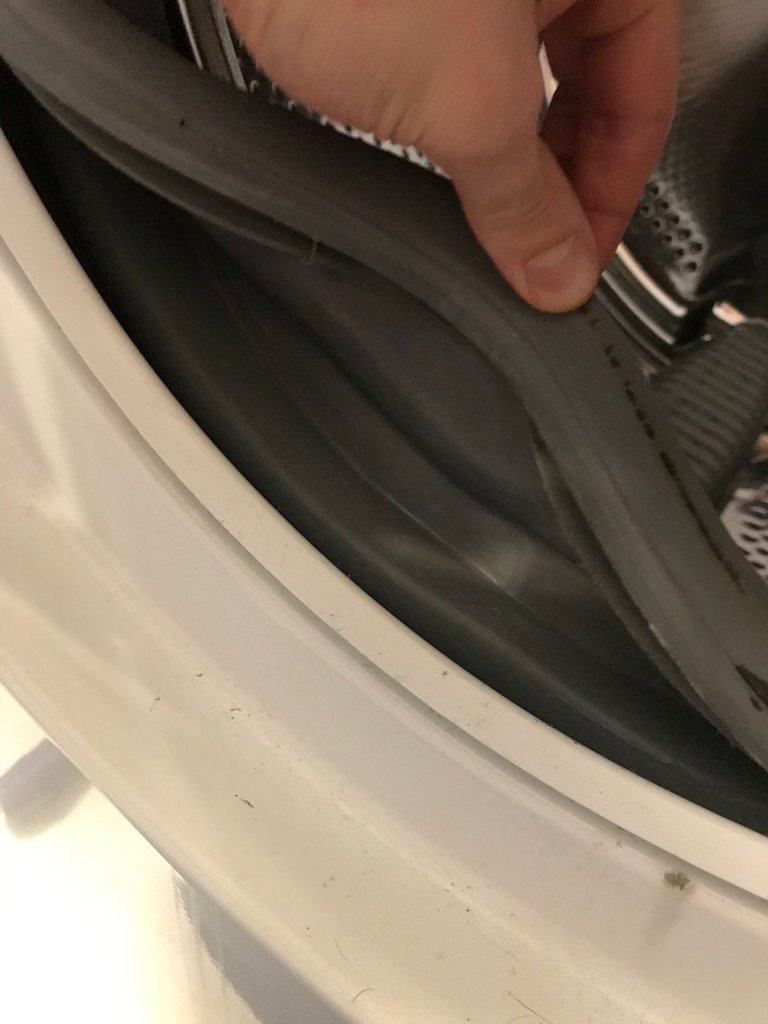
Now that all of the screws were taken off, the last thing that I needed to take off was the rubber boot around the door opening that seals it preventing water from leaking out. There were a few components to this, it was pretty cool to figure it out. I didn't know it had so many pieces. Seen below is the view from the top looking down onto the front of the washer. The black hose is where the soap dispenser dumps water into the tub. Next to that hose is where the first bolt comes off from the rubber housing.
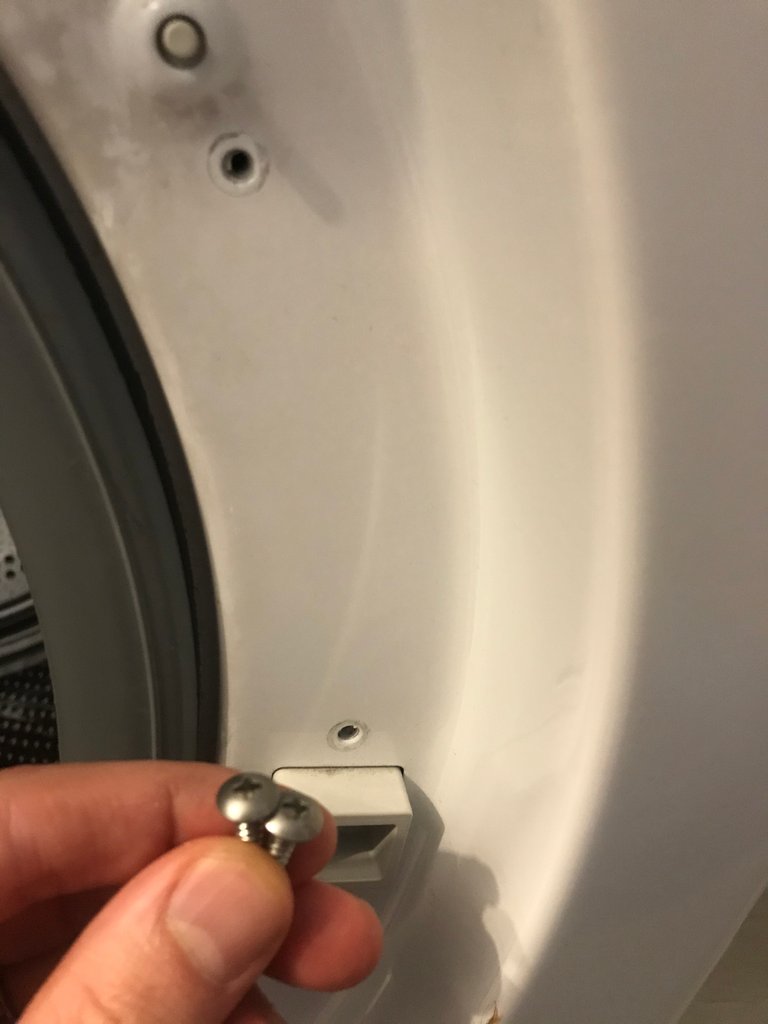
Took the screw off and took a picture of it so I didn't forget where it went.
Added the screw to the bucket with everything else!
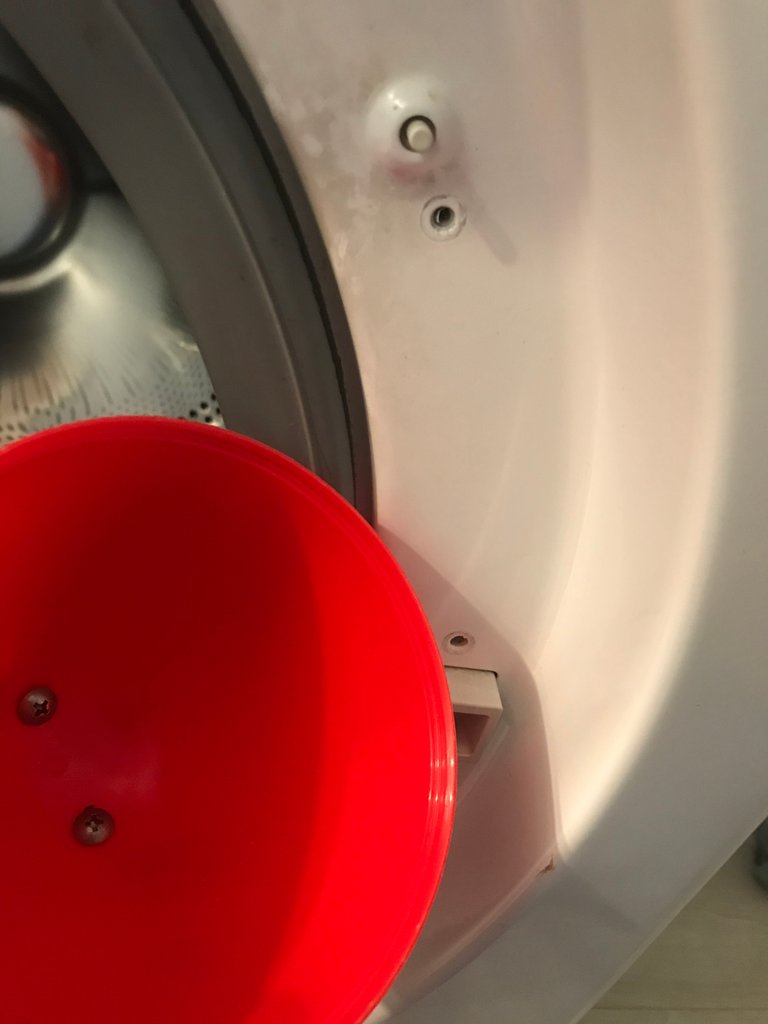
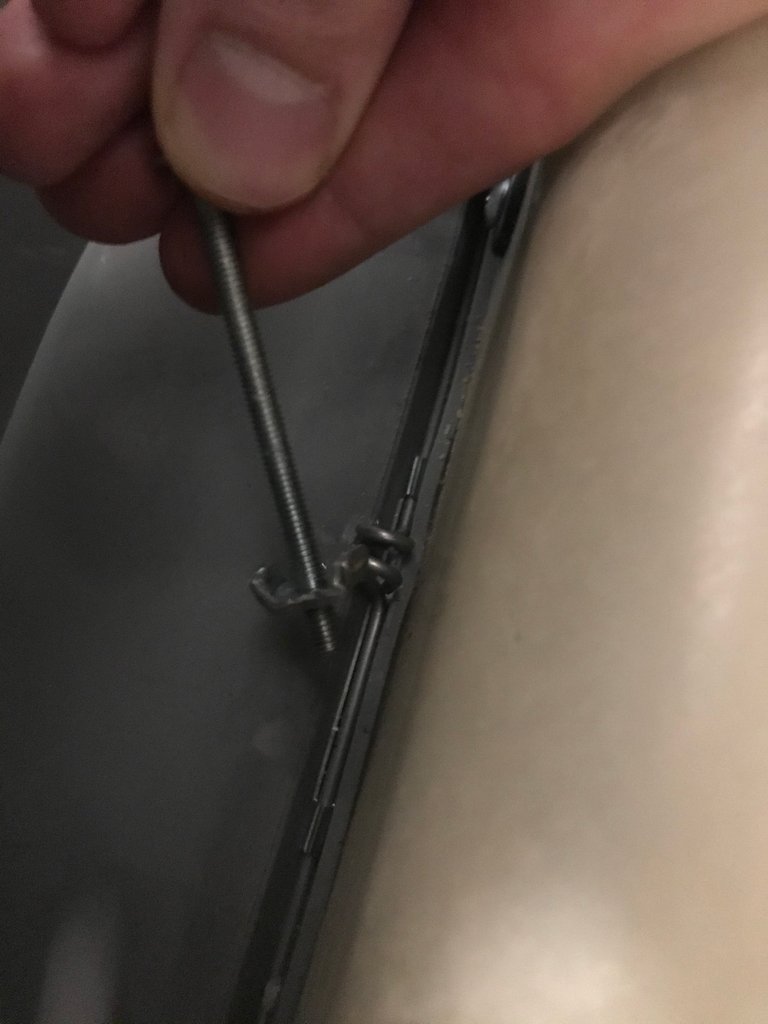
Now that the inner spring was removed, we have to remove the outer spring that keeps the rubber housing attached to the outer rim. I found the connector of the spring at the very bottom, which wasn't the best location since it was a challenge to get something in there.
Once the spring is removed, I set it aside somewhere I would remember where it was. It ended up getting covered up by something else anyways lol but nice try.

Now the front of the washer was completely free! I removed the rubber housing and put that aside as well. I wish I took an overall picture but alas I did not.
Tune in soon for the next edition of this post! I didn't want to make it 100 images and 5,000 words long so I broke it up into two. If you've made it this far, hopefully you've enjoyed it and thank you!
If you'd like to check out some of my other DIY posts, please click on the links below! I try to be as detailed as possible. If you enjoy the content, please give an upvote but also I would really love some comments! Engaging with others is one of the best parts of the platform, so let's keep it up!
This is my entry for the @build-it DIY challenge, you can find the post here if you'd like to enter with one of your own! Would love to see more DIY posts happening. There is already a solid DIY community, always on the lookout for more!
Focaccia Bread ; Sink Pop-Up Assembly Repair ;
Bathroom floor washer dryer ;
DIY bathroom floor near a toilet ;
DIY 2011 Nissan Sentra spark plugs ; DIY Tomago Cages ; Securely Hanging a Cabinet ;
Joint Compound on Ceiling ; Washing Machine Drain Pump ; Bubble wrap insulation on a wall ; Finish work in the bathroom ; Bubble wrap on windows ; Laminate floors in a bathroom ; Ball joints on a car
Connect with me!
Did you enjoy this post or my other posts? Please consider following me for more! @cmplxty
Do you want to get paid, in crypto, for searching the internet? Try using and signing up for Presearch to earn some great crypto! I've currently got 1,224 PRE tokens, with a market value of $19.33. It doesn't sound like a lot but when you search using sites like Google you get paid $0! Join Presearch to break Google's stranglehold on the internet searches. If you'd like to sign up, use my referral link below and spread the word!
https://www.presearch.org/signup?rid=513043

Still using hive.blog? Upgrade! PeakD is a much better user-interface, gives loads more information at your fingertips and has some of the best developers behind it. Give it a try, go to www.peakd.com and see how much easier it is. You just need to use Hivesigner or Peaklock some of the most secure ways to log into other Hive frontends.


Shared on Twitter!
https://twitter.com/XtyCmpl/status/1250875624442519553?s=20
2! Hehehee
Oh man, I think that I really suck at DIY. Every time I read posts like this I keep thinking that my brain does not work that way! Hahaha.
Great blog man and awesome repair!
Really enjoyed reading it.
P.S 2 medium sized blankets? C'mon man! Chill! HAHAHA
What is 2 in reference to? 😉
Honestly dude, YouTube is an awesome place to start with these things. I've worked with my hands for years doing this type of stuff but any time I look for something new, which I did in this scenario. YouTube had results that I needed!
Thanks for checking it out my man! It was a lot of fun doing it, this is only half the post lol my hands are cramped from writing this one nevermind number 2!
You know where number 2 is referred to ;) 2 S-C-R-E-W-S
Hahaha!
I did a couple of plumbing stuff at the past with youtube's help and it sure is the best place to search. I am so useless in DIY for real though. I had to switch the power supply of my computer and it took me like a day! Hahahaha
Look the other direction! You looked up, look down lol
Oh my god! 6
I feel stupid! Hahahaha.
I guess I had to stop drinking a couple of hours ago! Enough drinks and Hive for today!
Hahah good job dude, you win. Sending the hive in a little bit!
You had me at DeWalt bro...Despite the fact all of my stuff is Ryobi One+ because I can't afford the DeWalt stuff and am loathe to swap over now considering how much One+ stuff I have.
A pretty comprehensive post here... feel like I could fix a washing machine...If I was stupid enough to use one and break it in the first place. Fortunately the last time I used on I turned white stuff pink and my wife won't let me near it again...Yay.
Lol.