[Esp-Eng] Bricolaje: Aprende y realiza un creativo ratón con cartulina. 🐀 by: @efrenjose
Hoy les voy a compartir un divertido y creativo ratón realizada con cartulina es súper fácil y rápido de hacer espero les guste y se diviertan en el proceso.
Hello my dear #Hivers I wish you a great Sunday with your family.
Today I am going to share with you a fun and creative mouse made with cardboard is super easy and quick to make I hope you like it and have fun in the process.
Realicemos un ratón con cartulina
Let's make a mouse out of cardboard
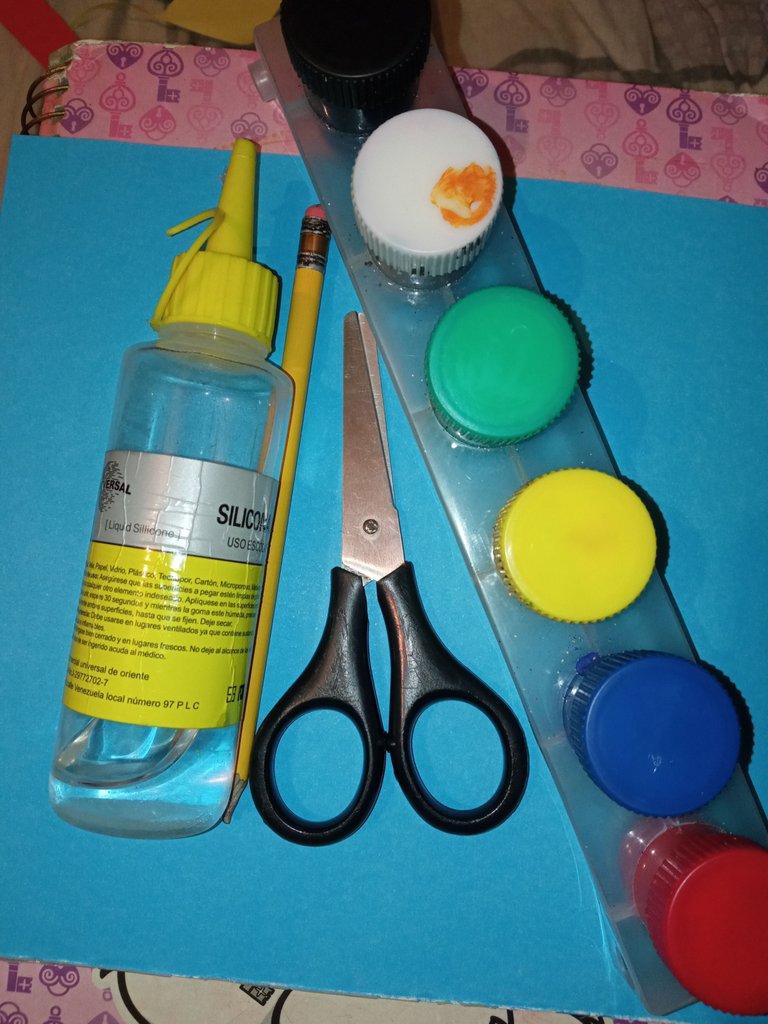
Los materiales utilizados en el proceso fueron estos:
Cartulina
Pegamento
Lápiz
Tijera
Pinturas
Pincel
Materials used in the process were as follows:
Cardboard
Glue
Pencil
Scissors
Paints
Brush
Pasos a realizar | Steps to make
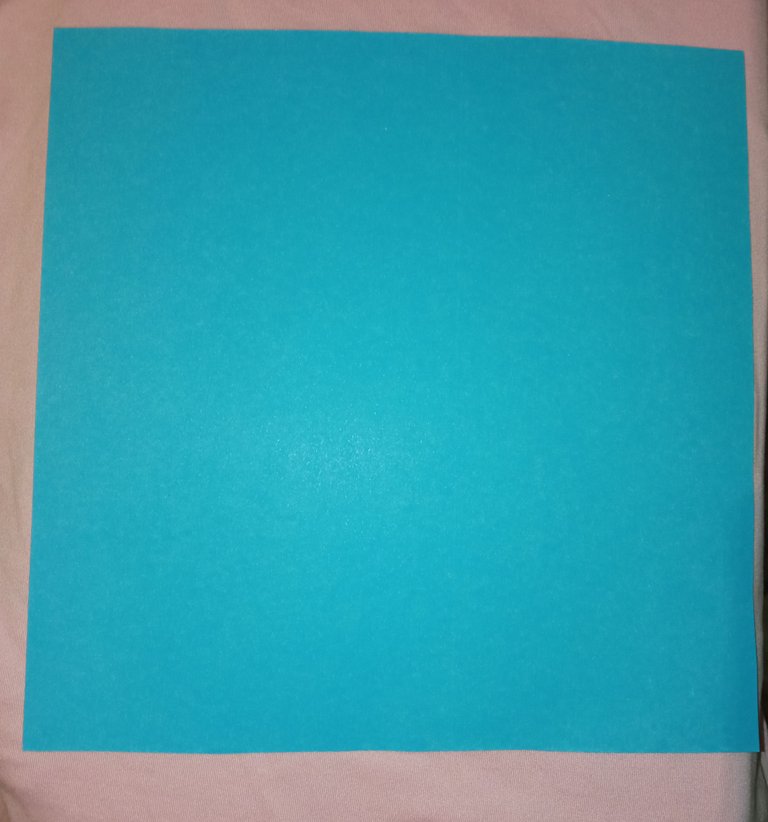
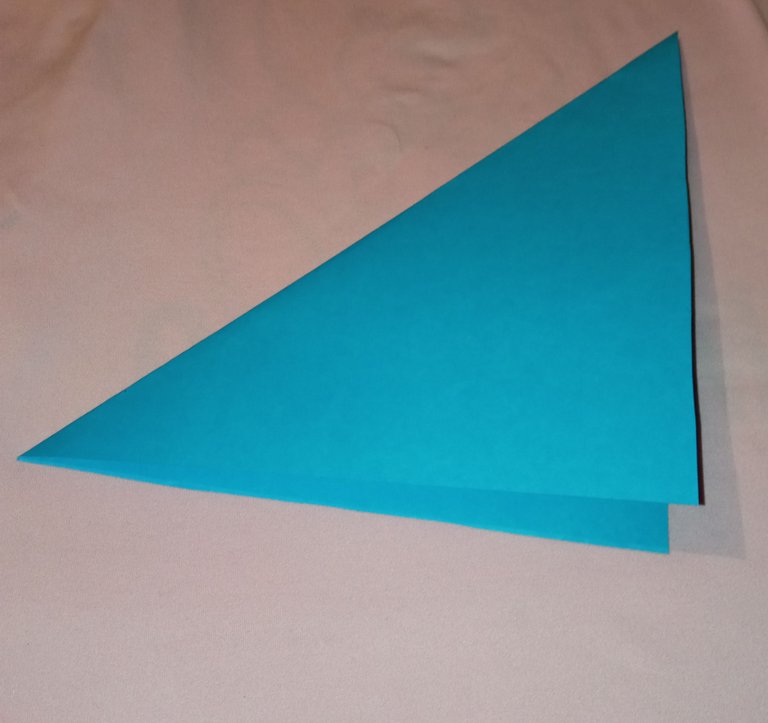
Primero recortamos un cuadrado de cartulina.
First we cut out a square of cardboard.
Doblamos el cuadrado formando una especie de triángulo.
We fold the square forming a kind of triangle.
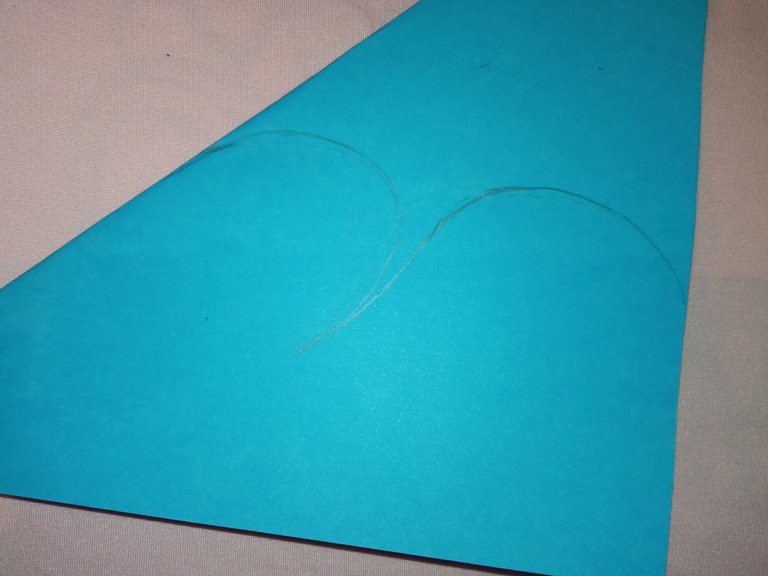
Marcamos en el triángulo lo que será el cuerpo del ratón.
We mark in the triangle what will be the body of the mouse.
Recortamos el trazado marcado en la cartulina.
We cut out the line marked on the cardboard.
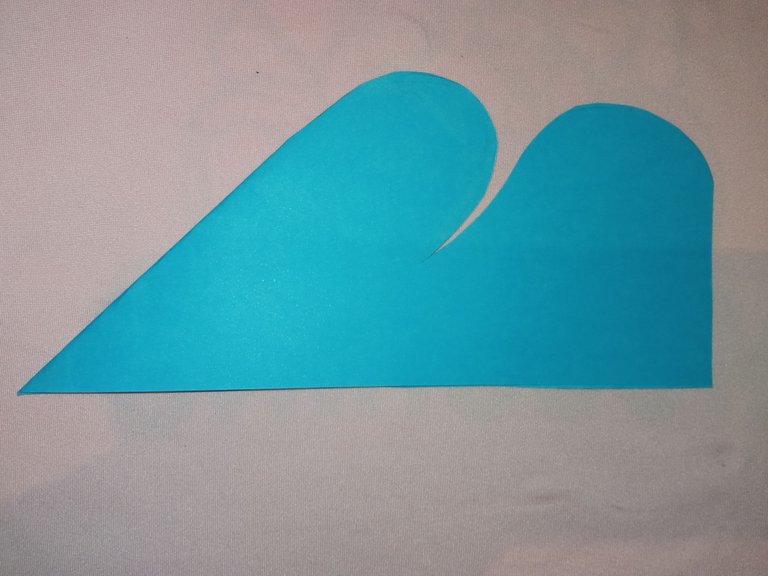
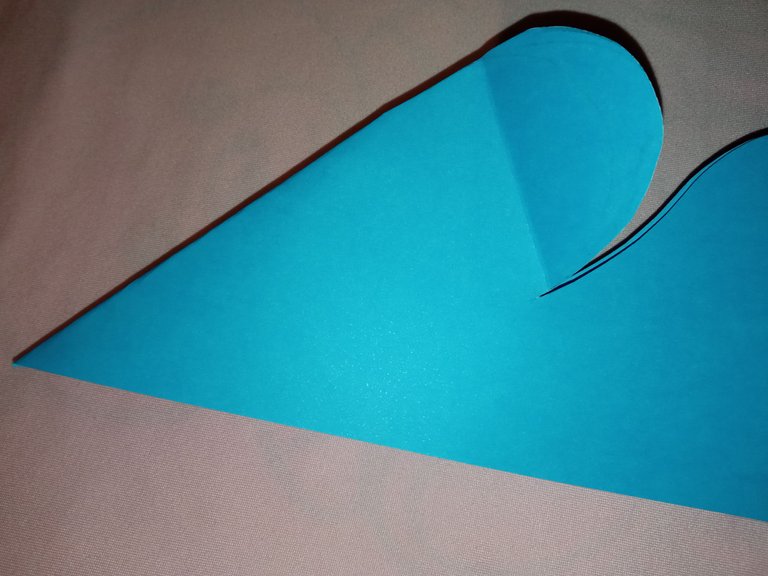
Doblamos las orejas del ratón.
We fold the mouse ears.
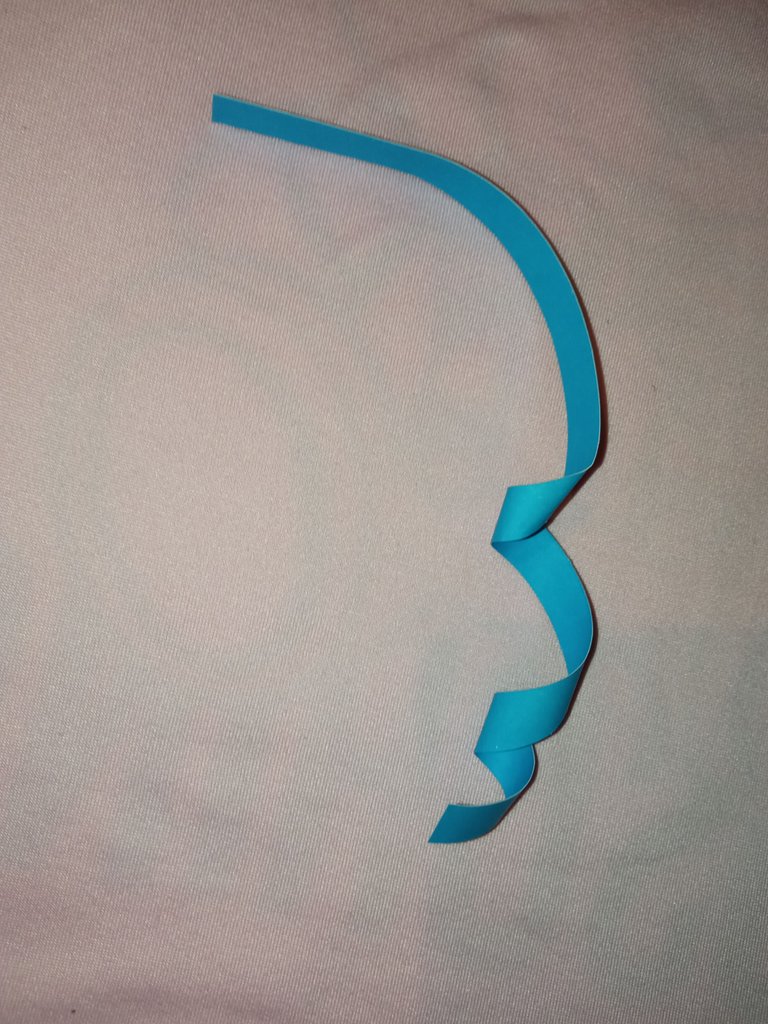
Recortamos una tira delgada de cartulina y enrollamos con ayuda de la tijera.
We cut a thin strip of cardboard and roll it up with the help of the scissors.
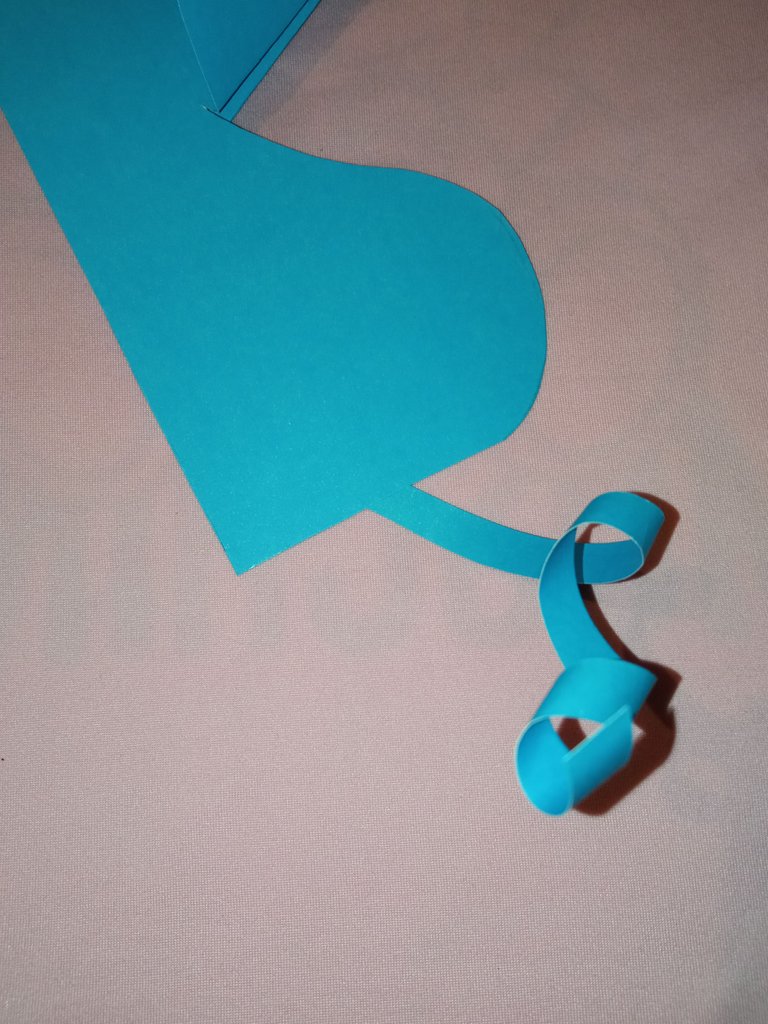
Pegamos la cola en la parte de atrás y unimos ambos lados.
We glue the tail on the back and join both sides.
Luego pintamos los ojos y las orejas.
Then we paint the eyes and ears.
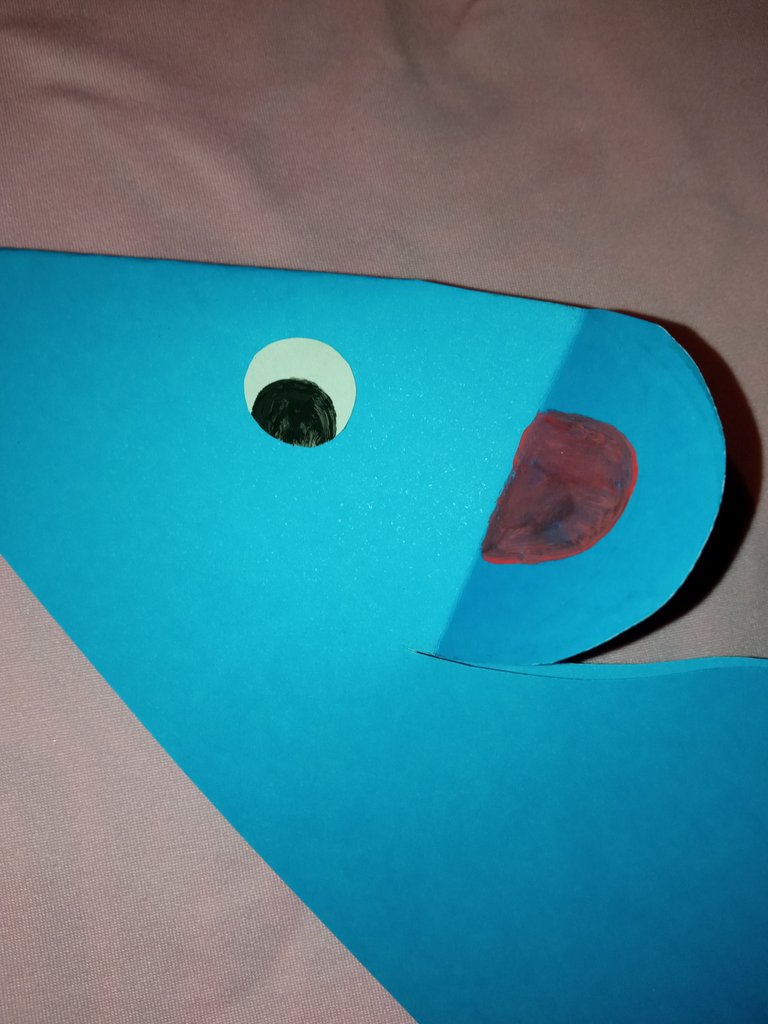
Para finalizar recortamos un círculo de cartulina y pequeñas tiras lo pintamos de negro y los pegamos en el ratón.
Finally, we cut out a circle of cardboard and small strips, paint it black and glue them on the mouse.
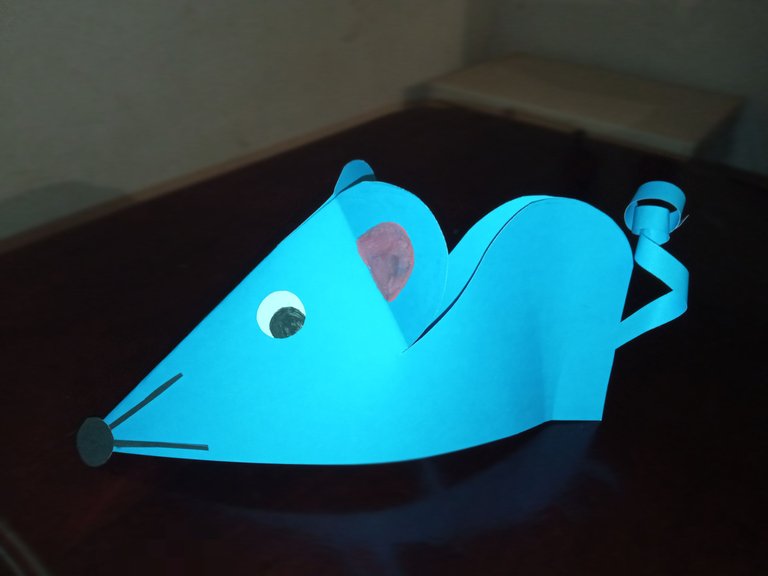
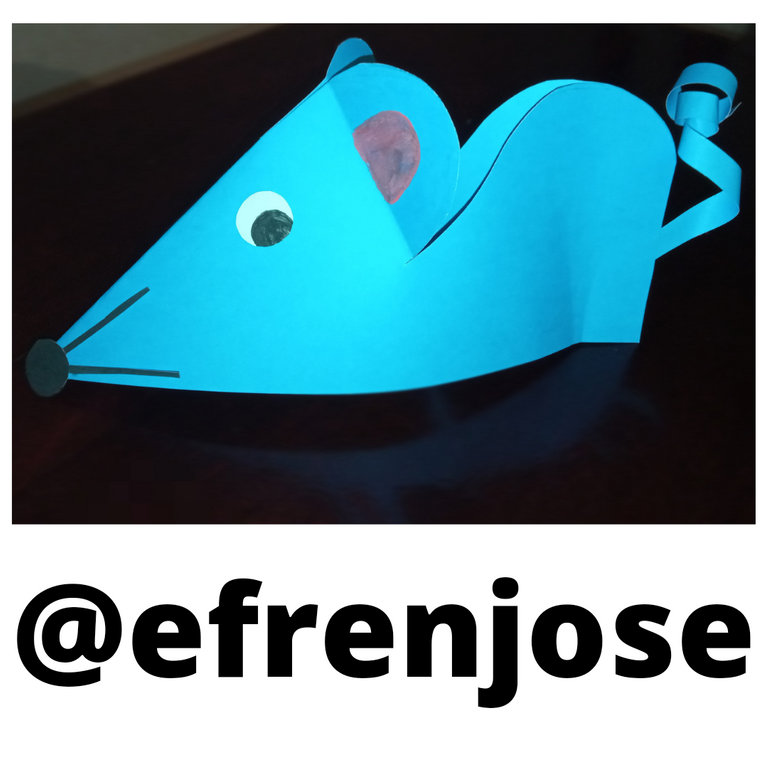
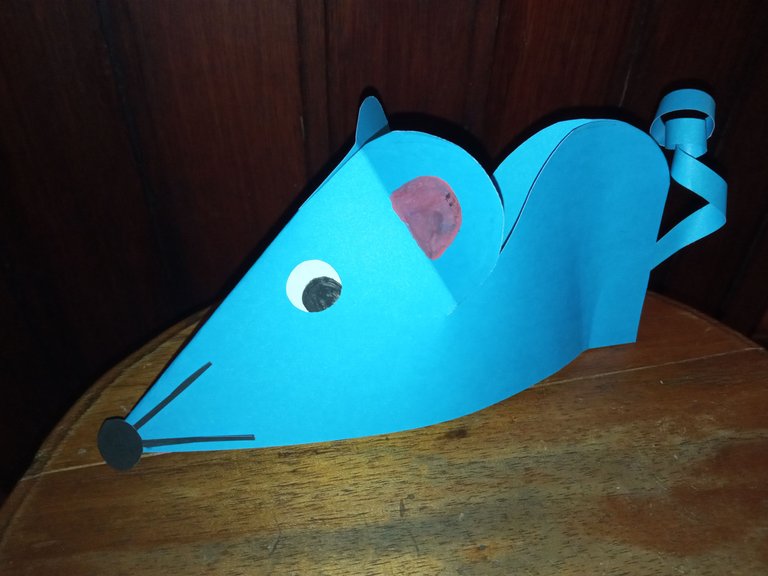
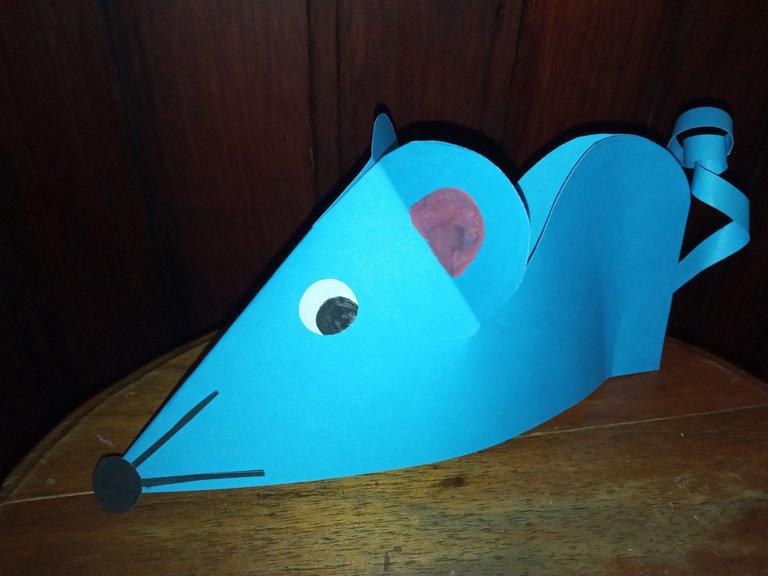
Este es el resultado de este creativo ratón que realizamos en los pasos anteriores:
This is the result of this creative mouse that we made in the previous steps:
Espero les guste y se diviertan creando este ratón.
I hope you like it and have fun creating this mouse.
Me despido hasta un próximo post, saludos.
I will say goodbye until a future post, greetings.