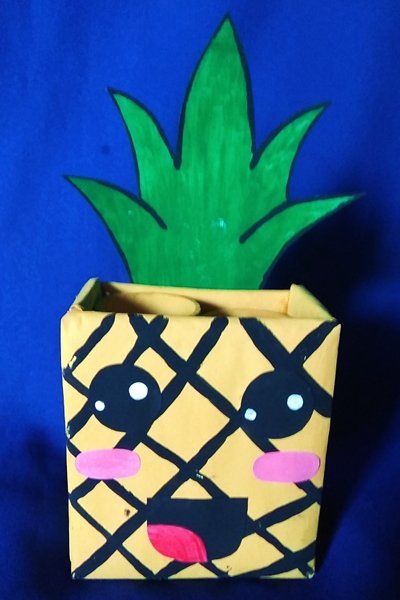
Portabrochas con forma de piña. 🍍 || Pineapple shaped brush holder. 🍍
(Edited)
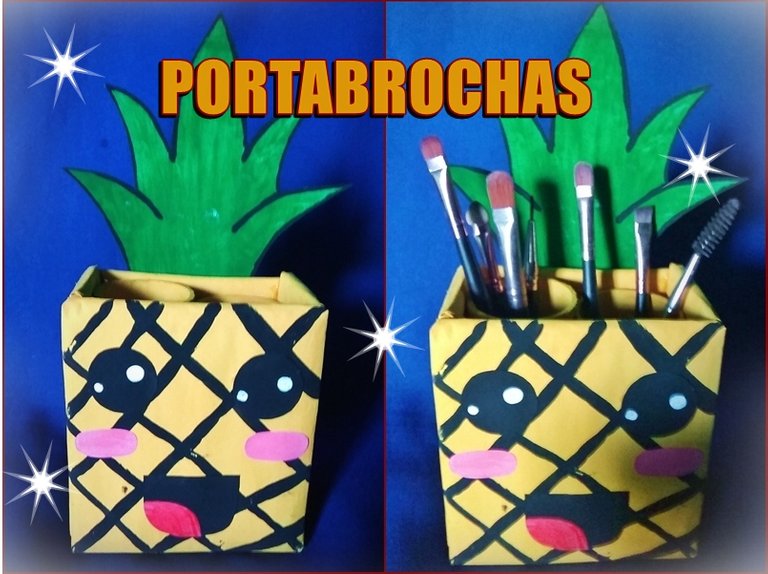
I hope you had a happy weekend, but it's time to publish again in #hive, it fills me with emotion to share again in the construction community, my favorite activities to do are crafts, I love to create new and useful things with recycled materials. In this opportunity I made a brush holder with a cartoon look, not only can it be used to store our brushes, but it can also be used to organize pencils and other school materials.

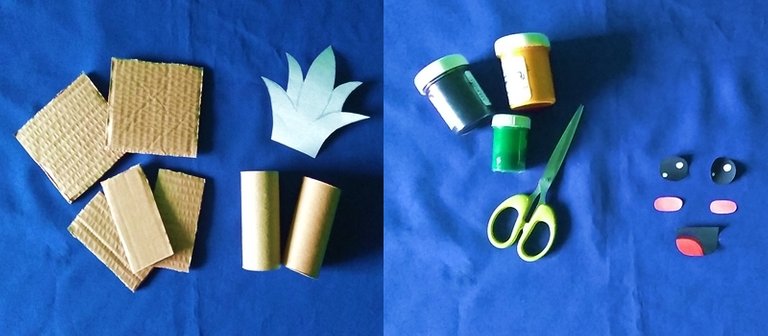
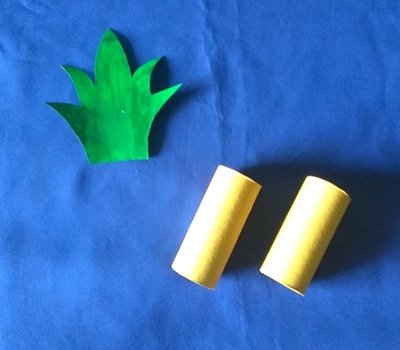
2 cuadrados de 10cm x 10cm, 3 rectángulos de 10cm x 5cm, 2 rollos de papel higiénico, cartón para realizar la corona de la piña, pinturas (colores variados), tijeras, pegamento, papel (para dibujar rasgos de la cara).
2 squares of 10cm x 10cm, 3 rectangles of 10cm x 5cm, 2 rolls of toilet paper, cardboard to make the crown of the pineapple, paints (assorted colors), scissors, glue, paper (to draw features of the face).
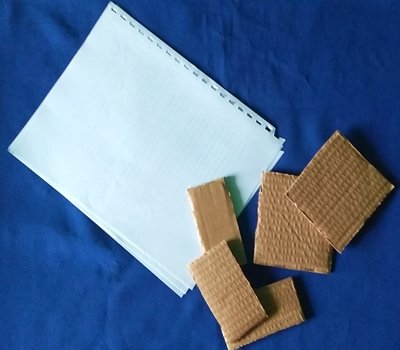
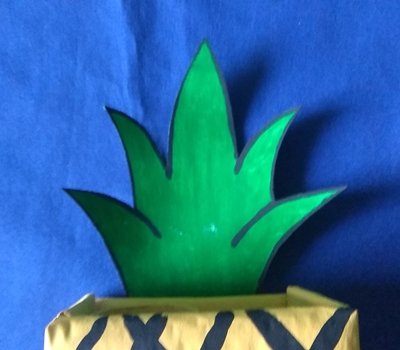
▪️ El primer paso es envolver en hojas de papel cada pedazo de cartón, y pintar en color amarillo los rollos de papel higiénico y la corona en color verde.
▪️ The first step is to wrap each piece of cardboard in sheets of paper, and paint the rolls of toilet paper in yellow and the crown in green.
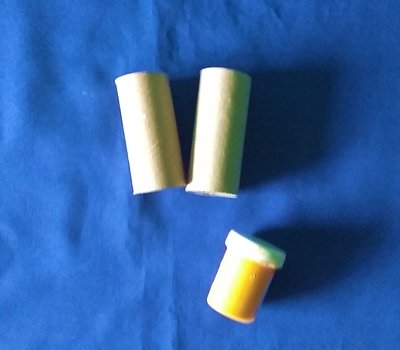

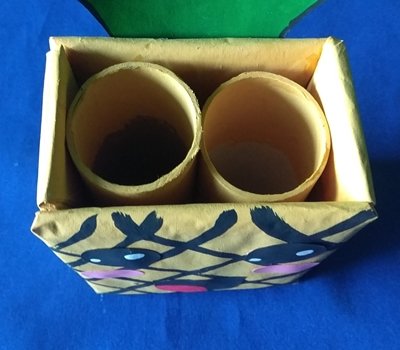
▪️ Al secar la corona la delineé con pintura negra, y pinté la parte interna de los rollos de papel higiénico.
▪️ When the crown dried I lined it up with black paint, and painted the inside of the toilet paper rolls.

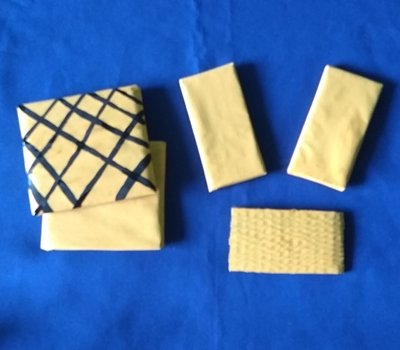
▪️ Una vez envueltos los cartones los pinté en color amarillo, luego tracé líneas en uno de los cuadrados, el siguiente paso fue crear la estructura uniendo cada pedazo de cartón, y pegando en el centro los rollos de papel higiénico.
▪️ Once the cardboards were wrapped I painted them in yellow, then I drew lines on one of the squares. The next step was to create the structure by joining each piece of cardboard, and gluing the rolls of toilet paper in the middle.
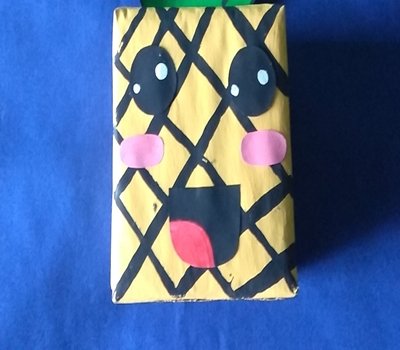
▪️ Luego dibujé los rasgos de la cara en un papel, recorte y pegue en la parte delantera de la estructura, finalmente pegué la corona en la parte trasera.
▪️ Then I drew the features of the face on a paper, cut and paste on the front of the frame, finally I glued the crown on the back.


Thank you for reading this publication!
mágenes tomadas desde mi Alcatel One Touch Idol 4. || Images taken from my Alcatel One Touch Idol 4.
Separadores hechos en PhotoScape. || Dividers made in PhotoScape.
Ediciones hechas en PhotoScape. || Editions made in PhotoScape.
Translator Deepl.
Imagen incrustada || Embedded image 1
0
0
0.000
Chama, esta muy kawaii! 💠
Gracias por el comentario karito!
https://twitter.com/Jenny_Zerpa/status/1328846360234299396
https://twitter.com/Jenny_Zerpa/status/1328846360234299396
¡Felicitaciones!
1. Invierte en el PROYECTO ENTROPÍA y recibe ganancias semanalmente. Entra aquí para más información.
3. Suscríbete a nuestra COMUNIDAD, apoya al trail de @Entropia y así podrás ganar recompensas de curación de forma automática. Entra aquí para más información sobre nuestro trail.
4. Creación de cuentas nuevas de Hive aquí.
5. Visita nuestro canal de Youtube.
Atentamente
El equipo de curación del PROYECTO ENTROPÍA
Gracias por el apoyo!
Gracias por el apoyo!
De nada bella.
This post has been rewarded with an upvote from city trail as part of Neoxian City Curation program
 . We are glad to see you using #neoxian tag in your posts. If you still not in our discord, you can join our Discord Server for more goodies and giveaways.
Do you know that you can earn NEOXAG tokens as passive income by delegating to @neoxiancityvb. Here are some handy links for delegations: 100HP, 250HP, 500HP, 1000HP. Read more about the bot in this post. Note: The liquid neoxag reward of this comment will be burned and stake will be used for curation.
Thank you for your support!