DIY: Rompecabezas deslizante (Paso a paso) | DIY: Sliding puzzle (Step by step)

Español | English
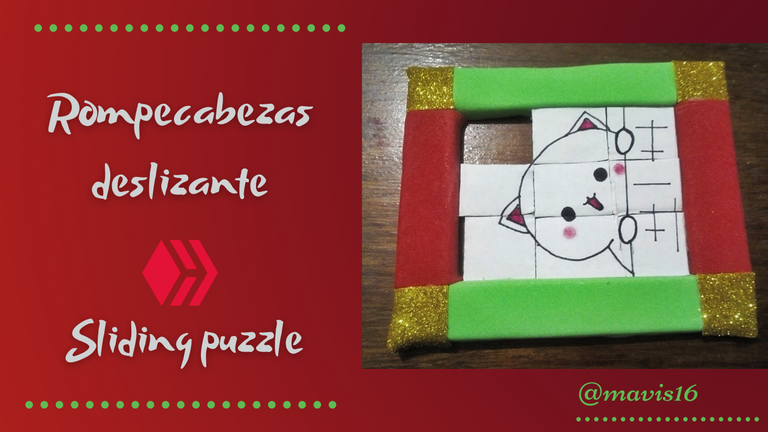
Hola comunidad♡ Espero que se encuentren muy bien. Hoy les traigo un paso a paso de como hacer un rompecabezas deslizante, este bricolaje lo realice con materiales reciclados. Este juego es perfecto para los pequeños de la casa.
Hello community ♡ I hope you are feeling well. Today I bring you a step by step on how to make a sliding puzzle, this DIY I made with recycled materials. This game is perfect for the little ones at home.
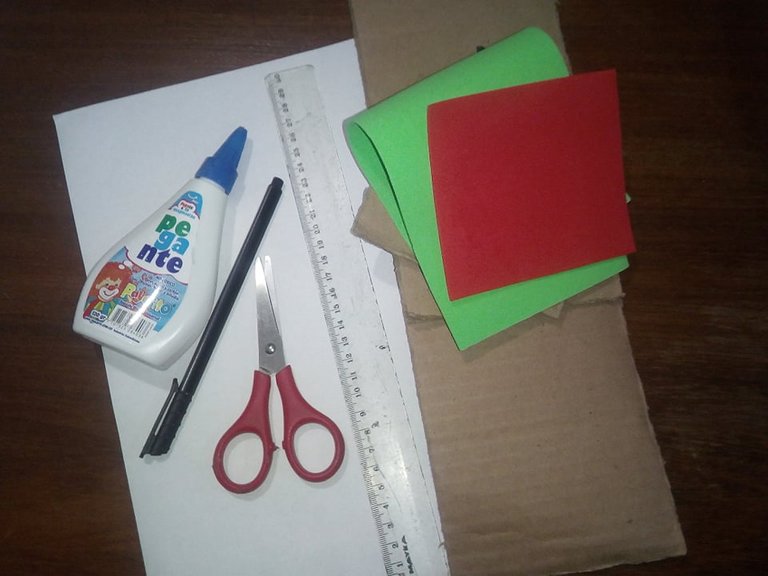
Materiales | Materials
| Foamy | Foamy |
|---|---|
| Cartón | Cardboard |
| Marcador | Marker |
| Tijera | Scissors |
| Hoja blanca | White sheet |
| Regla | Rule |
Paso a paso | Step by step
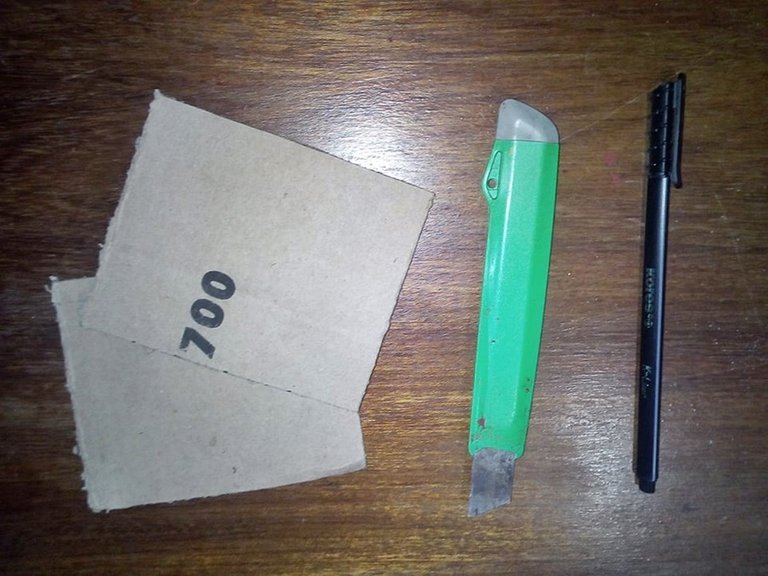
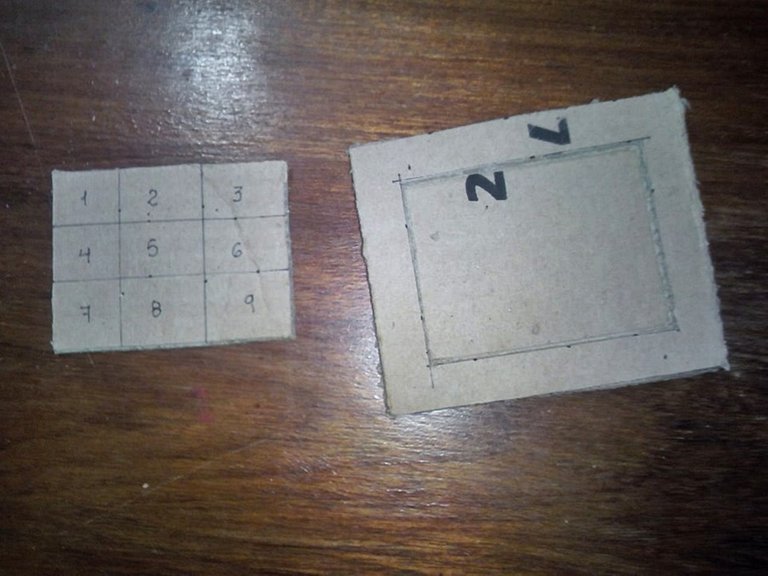
El primer paso es recortar el cartón con medidas de 13 cm por 13 cm. De este tamaño se recortan dos piezas.
The first step is to cut out cardboard measuring 13 cm by 13 cm. Two pieces are cut out of this size.
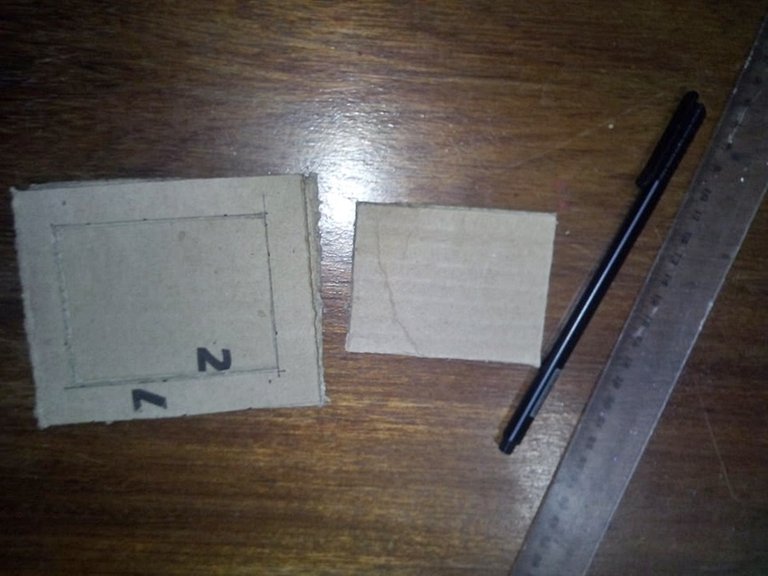
Luego a una de las piezas se recortan en forma de cuadro dejando 2 cm de ancho, después la pieza restante se divide en 9 cuadrados iguales, así como se observa en la imagen.
Then one of the pieces is cut in the shape of a square leaving 2 cm wide, then the remaining piece is divided into 9 equal squares, as shown in the image.
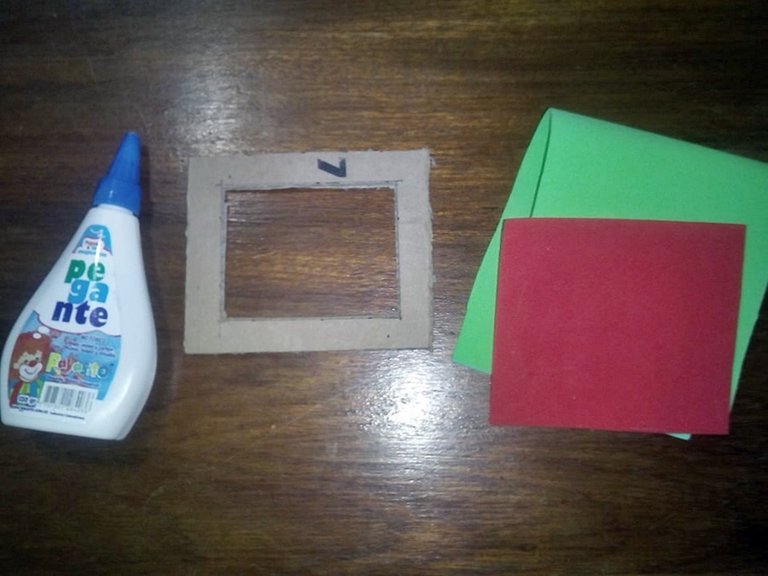
El siguiente paso es decorar la pieza principal, en esta ocasión le coloque foamy alrededor.
The next step is to decorate the main piece, this time I put foamy around it.

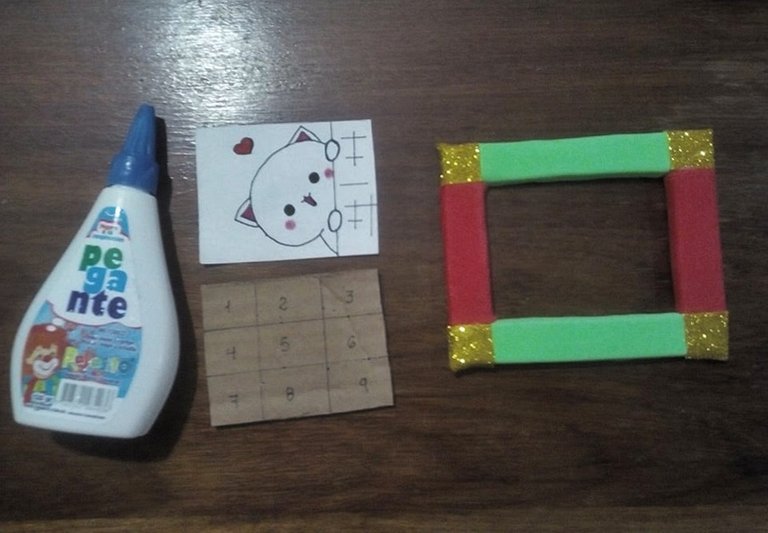
Para seleccionar el tema del rompecabezas dibuje un gato al estilo kawaii y luego se pega en la pieza central.
To select the theme of the puzzle draw a kawaii-style cat and then glue it to the center piece.
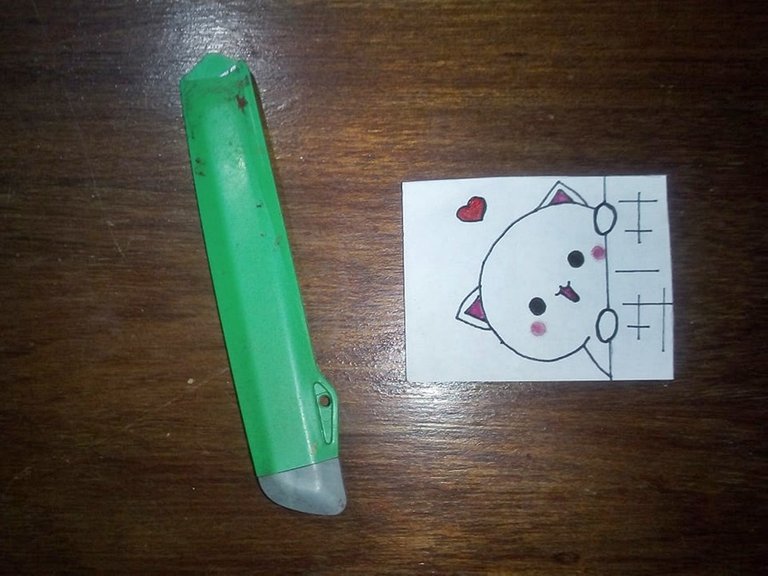
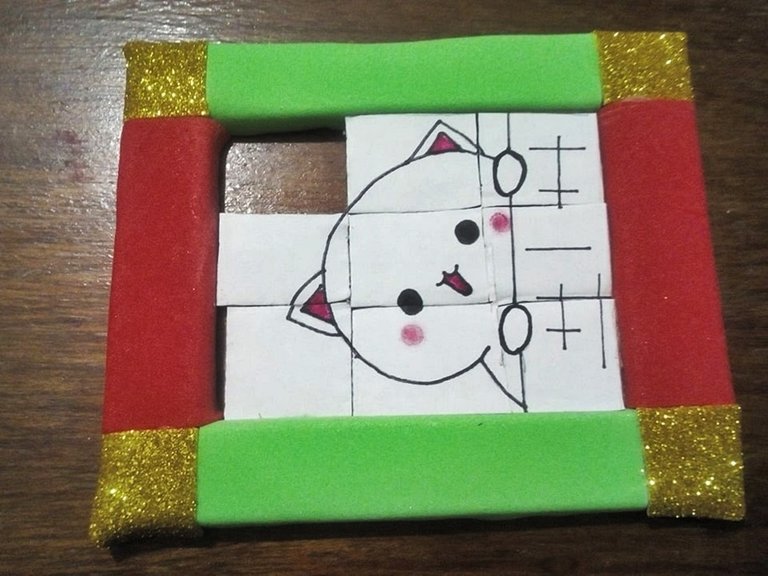
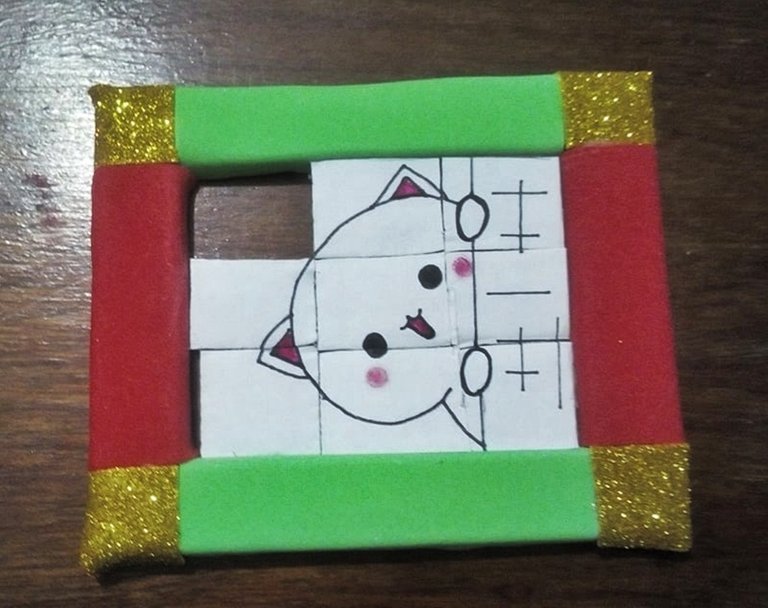
Para finalizar este bricolaje se recorta el dibujo en nueve piezas y se arma en la base que se realizo anteriormente.
To finish this DIY, the drawing is cut into nine pieces and assembled on the base previously made.
Resultado | Result

0
0
0.000
https://twitter.com/BuildIt_DIY/status/1362860988505198596
Very cool! I played with this kind of puzzles when I was a child, never even considered that it would be possible to create one myself. Will give that a try one day!
I hope that someday you will have the courage to make one. Thanks for visiting. Cheers!