[Eng-Esp] Let's learn how to make a gift bow -- Aprendamos como hacer un lazo para regalo
Let's learn how to make a gift bow
Aprendamos como hacer un lazo para regalo
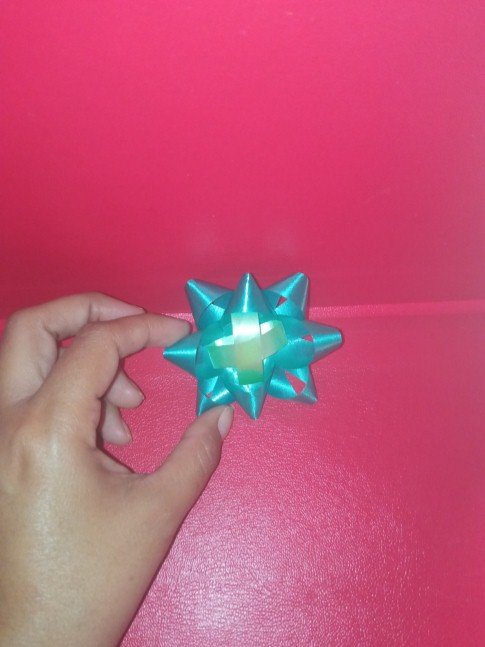
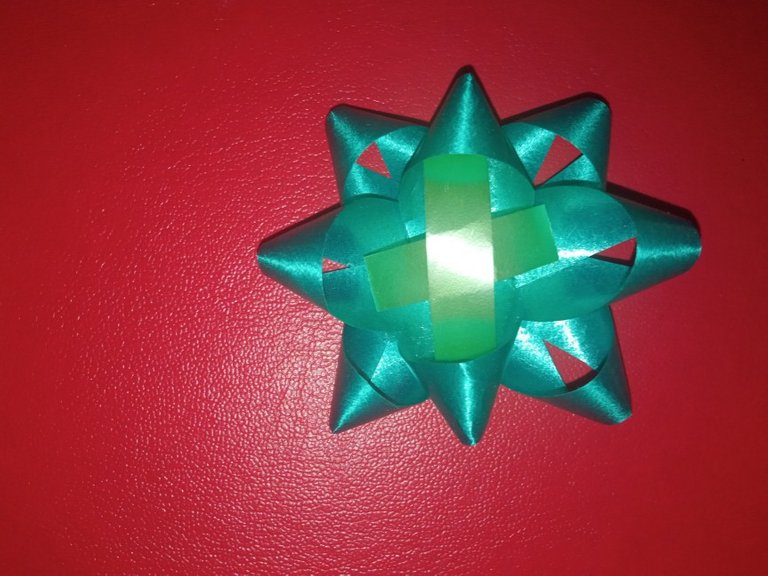
Hello friends of hive I hope this day will be of great blessings and family harmony, today I will be showing you how to make a nice bow to decorate a box or gift bag, do not miss it stay with me until the end and enjoy every step I take to get to have this beautiful bow.
Hola amigos de hive espero que este día sea de grandes bendiciones y armonía familiar, el día de hoy les estaré mostrando como realizar un lindo lazo para decorar una caja o bolsa de regalo, no te lo pierdas quédate conmigo hasta el final y disfruta de cada paso que doy para llegar a tener este hermoso lazo.
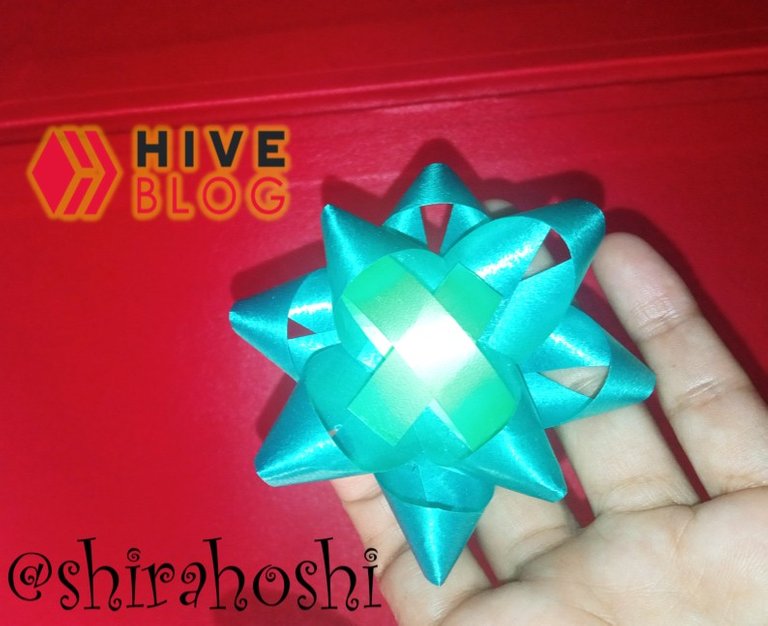

Searching among my things I found a piece of plastic ribbon and I wanted to give it a necessary use and make a nice ribbon for any occasion of a gift, as you know I always like to reuse things that no longer have a useful life and give it a new life, today this piece of ribbon became a beautiful gift ribbon.
Buscando entre mis cosas me encontré un pedazo de cinta plástica y quise darle un uso necesario y realice un lindo lazo para cualquier ocasión de un regalo, como saben siempre me gusta reutilizar las cosas que ya no tienen vida útil y darle una nueva vida, hoy este pedazo de cinta se convirtió en un hermoso lazo para regalo.
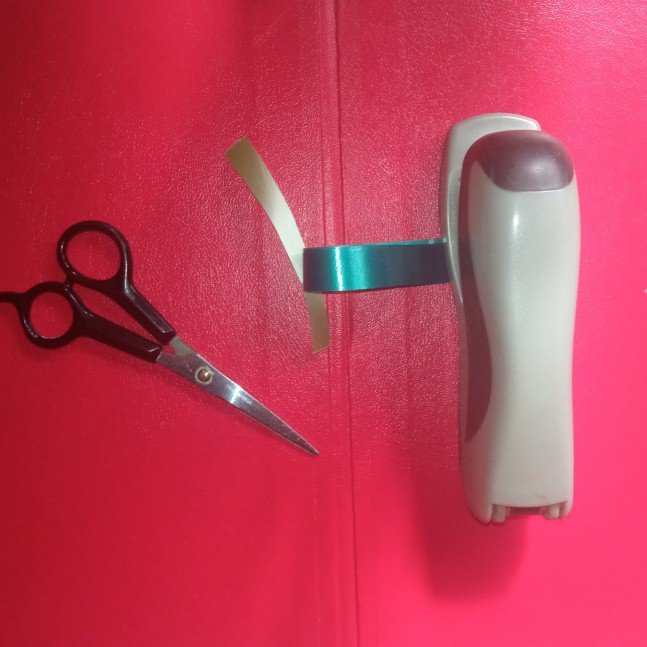
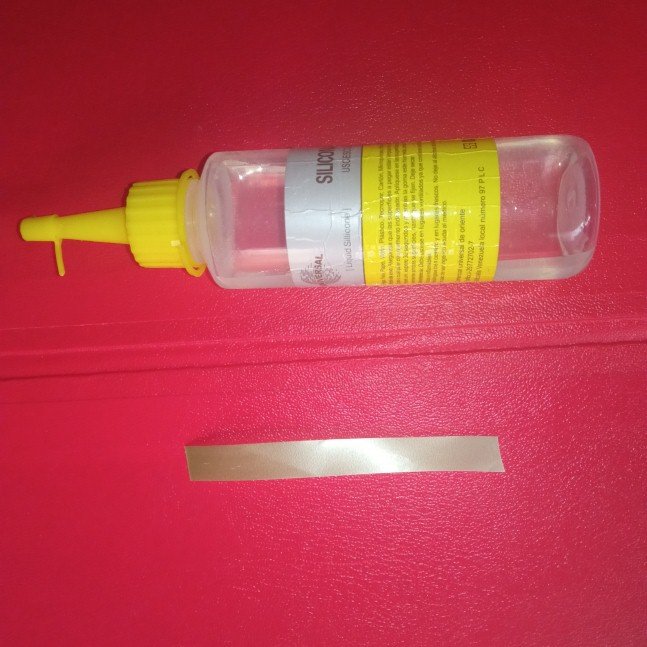
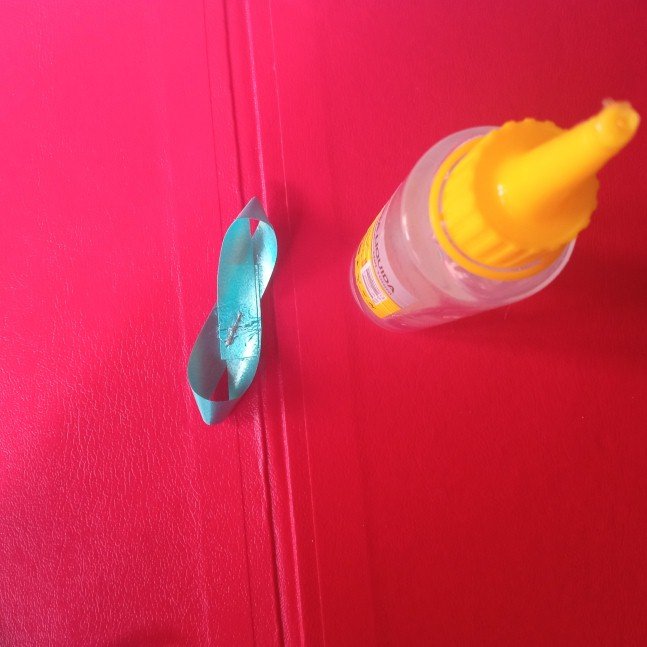
The materials to be used for this craft are plastic tape, scissors, silicone and stapler.
Los materiales a utilizar para esta manualidad son cinta plástica, tijera, silicón y grapadora.
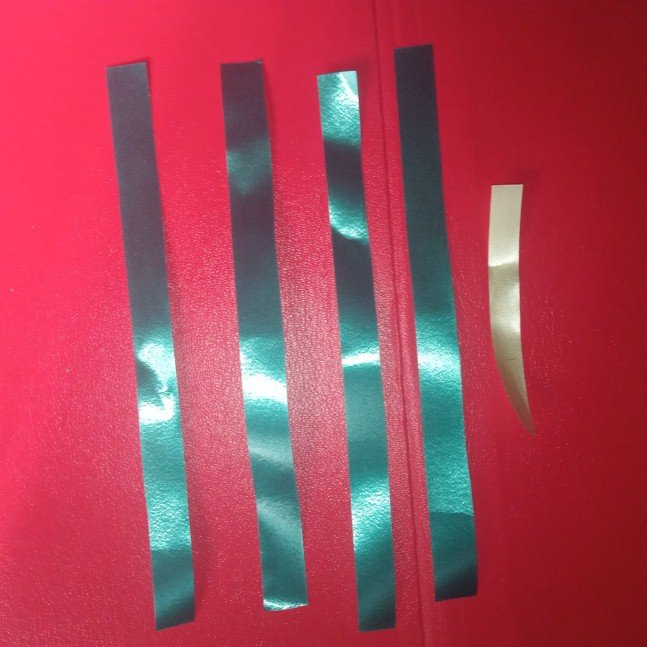
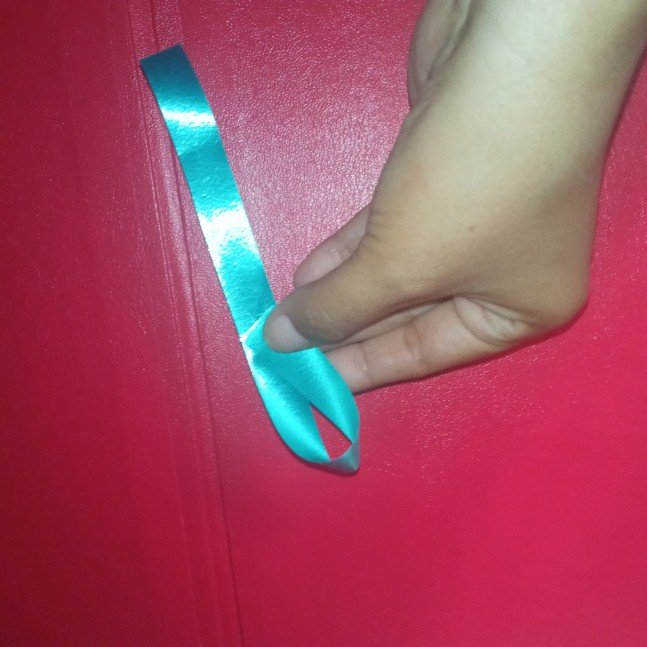
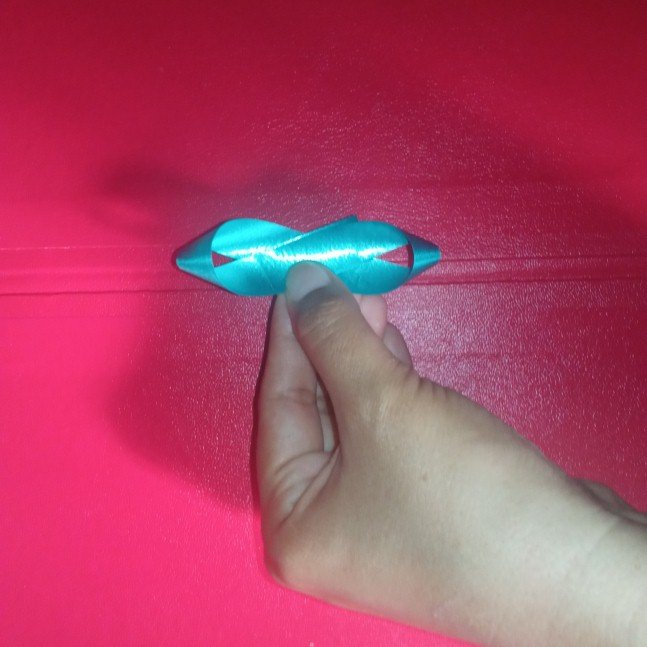
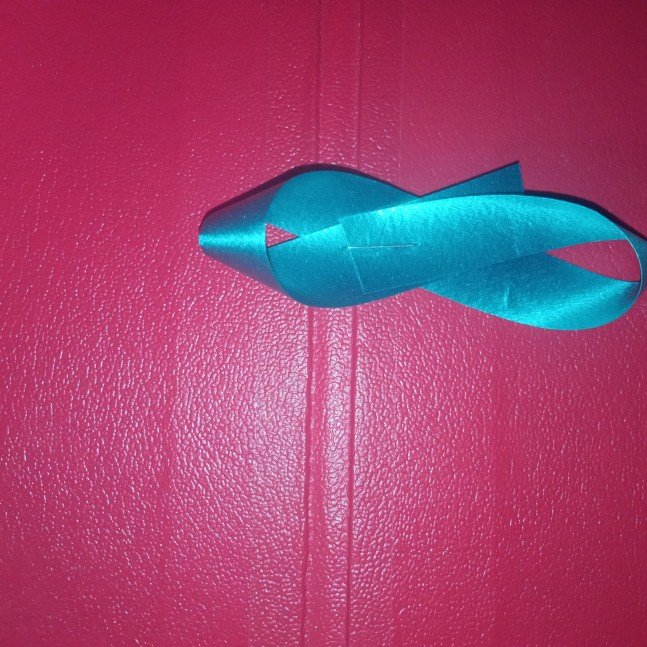
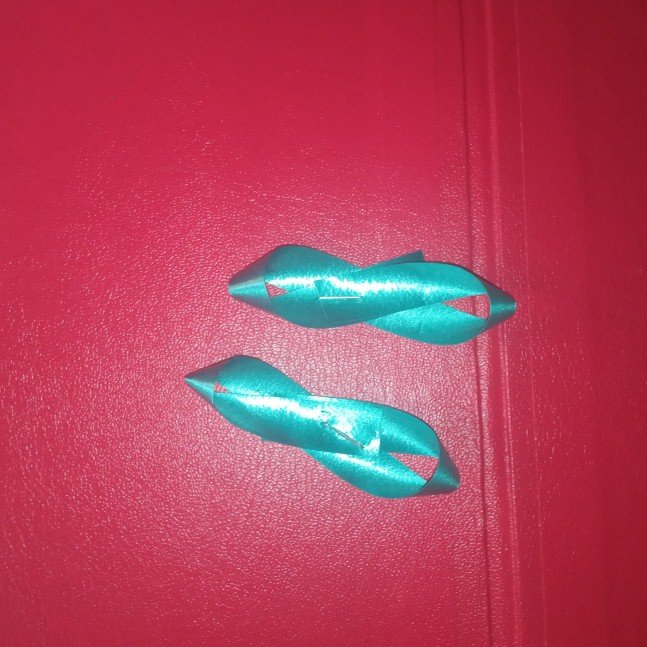
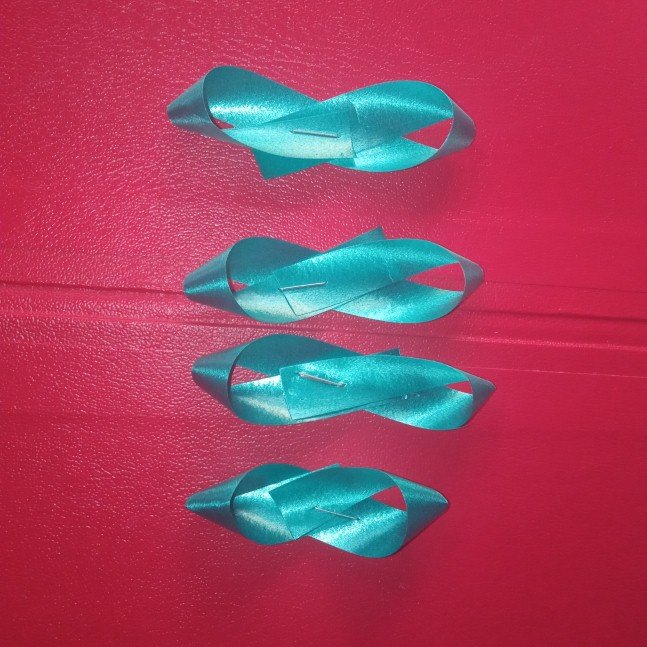
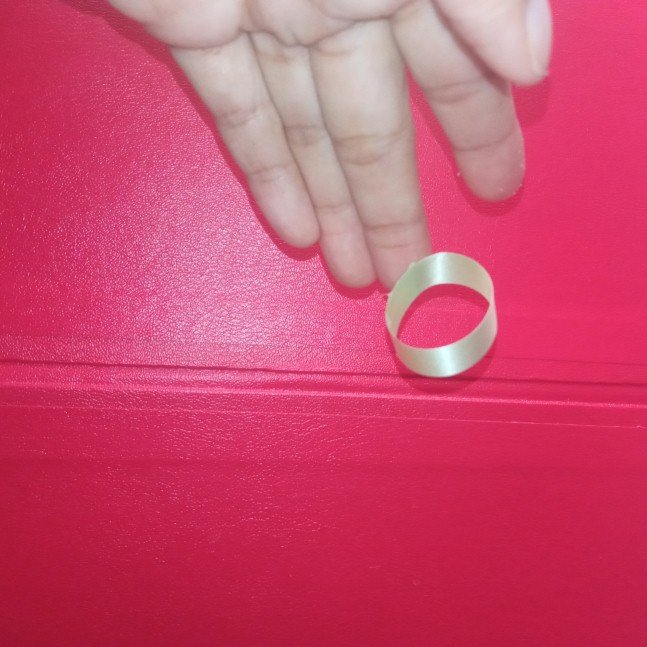
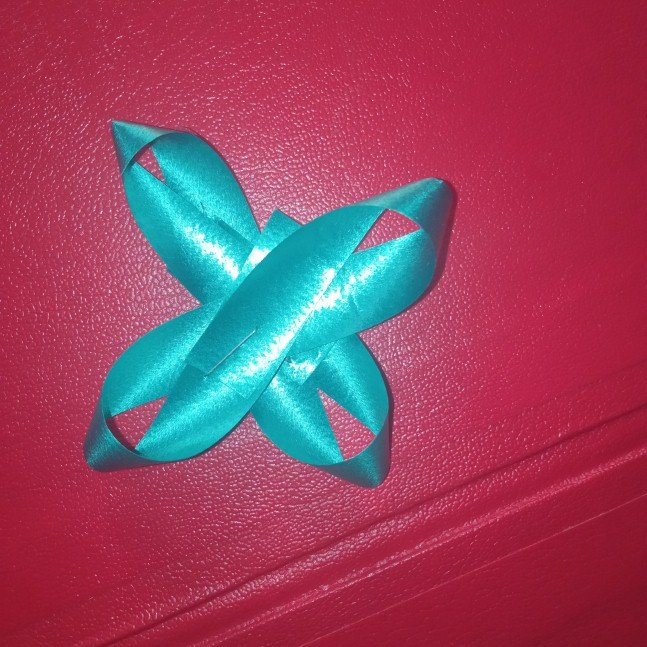
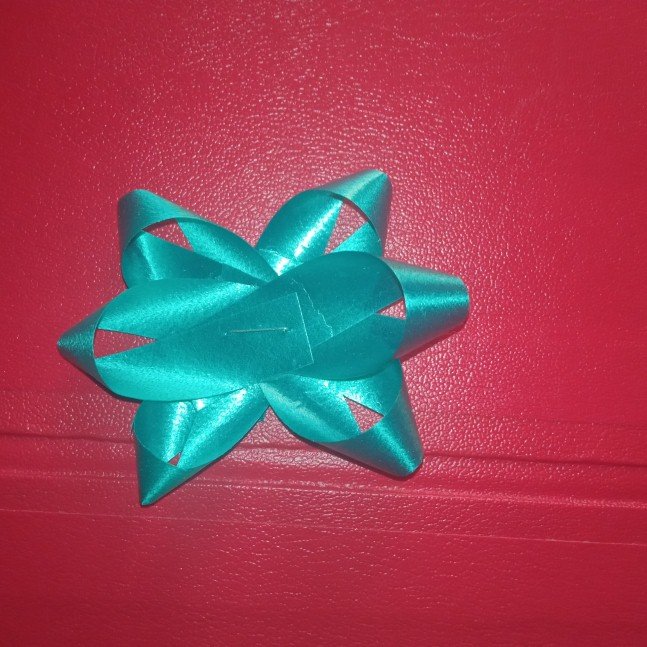
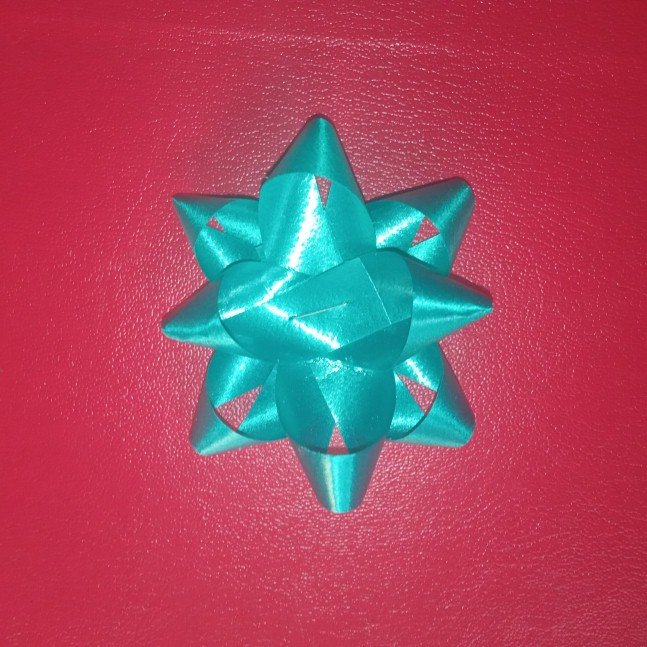
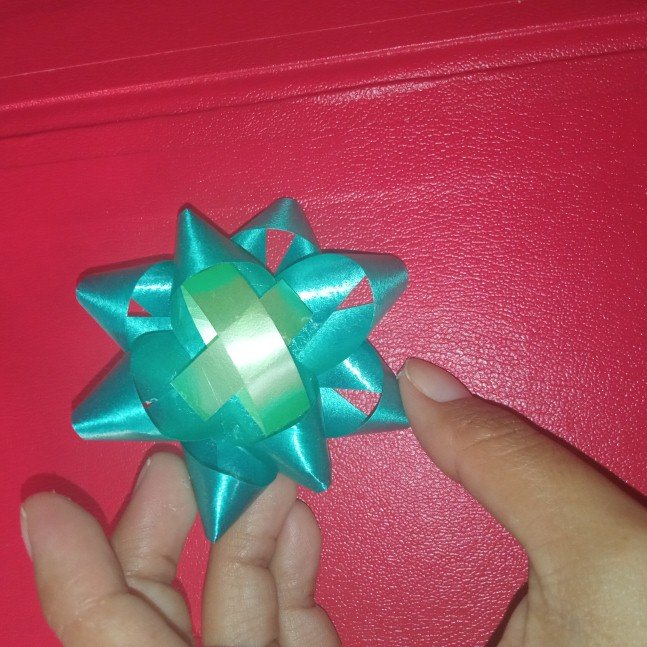
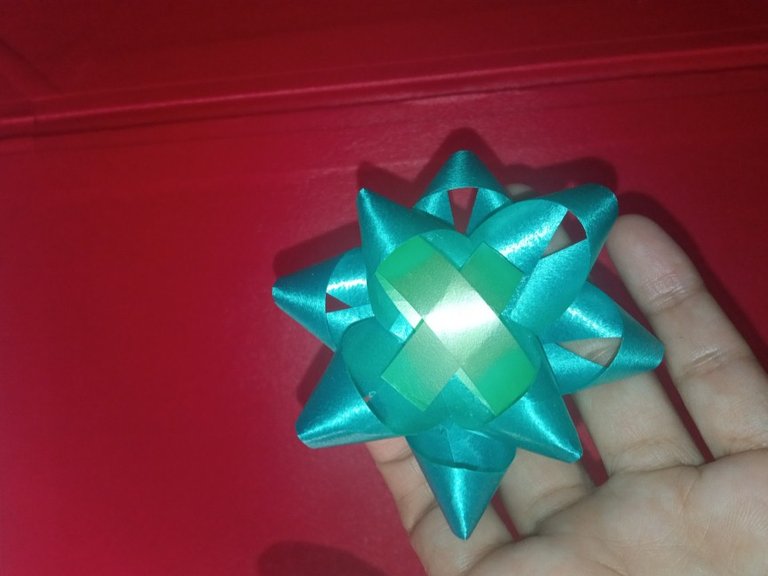
Here we begin the explanation of how we are going to make the gift ribbon, first we measure the size we want of the ribbon, that is if we want it small or big, we cut in 4 parts 3 of the same size and a smaller one that will be the one that I will put in the top part when I manage to organize each one where it corresponds, once the ribbon strips are ready we begin to fold and make the form that we want for the ribbon as you will observe in the images, Then we will cut the green ribbon in two pieces to form a circle and then it will have an X shape that I will put on top to finish the job and to glue it we will put silicone, also we will begin to order the ribbon and place the ribbons with the doubles one on top of the other as you will see in the images leaving a beautiful end.
Aquí comenzamos la explicación de cómo vamos hacer el lazo de regalo, primero medimos el tamaño que deseamos del lazo, es decir si lo queremos pequeño o grande, cortamos en 4 partes 3 del mismo tamaño y una más pequeña que será la que pondré en la parte de arriba cuando se logre organizar cada una dónde corresponda, ya lista las tiras de cinta comenzamos a doblar y hacer la forma que deseamos para el lazo así como observarán en las imágenes, Luego la cinta verde la vamos a cortar en dos pedazos para formar un círculo y luego tendrá una forma de X que será la que pondré en la parte de arriba para finalizar el trabajo y para pegar le colocaremos silicón, así mismo comenzaremos a ordenar el lazo y colocaremos las cintas ya con los dobles una encima de otra como observarán en las imágenes quedando un final hermoso.

Without further input I say goodbye with a big hug and I hope that this craft is to the liking of each reader wants them @shirahoshi, see you in a next post.
Sin más que aportar me despido con un gran abrazo y espero que está manualidad sea del agrado de cada lector los quiere @shirahoshi, nos vemos en un próximo post.
Las fotografías son de mi autoría y fueron tomadas por mí con un Redmi 9 y se editaron en powerpoint.
Language corrector used Deepl.
The Step by Step Gif was made by me in AdobePhotoshop CC2014.
El Gif de Paso a Paso fue realizado por mi en AdobePhotoshop CC2014.
The image of HIVE used on the cover (initial image) was taken from here:
La imagen de HIVE usada en la portada (imagen inicial) fue tomada de acá:

Me encantó la facilidad con la que se hace ese lazo, gracias por compartir.
Realmente es muy simple de hacer y lo mejor de todo es que resulta muy útil para decorar cualquier tipo de regalo, me alegra que te gustara, gracias por visitar ;)
This looks quite easy to make. I hope to try it. Keep it up!
Nice work