[Eng-Esp] Making a cute tendril organizer. --Haciendo un lindo organizador de zarcillos.

avatar

Making a cute tendril organizer.

Haciendo un lindo organizador de zarcillos.


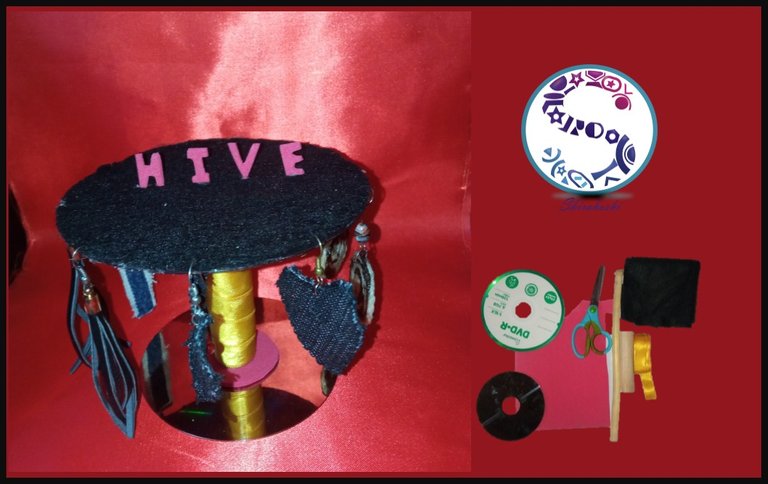
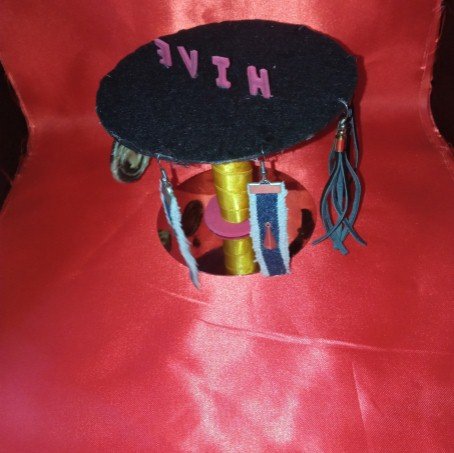
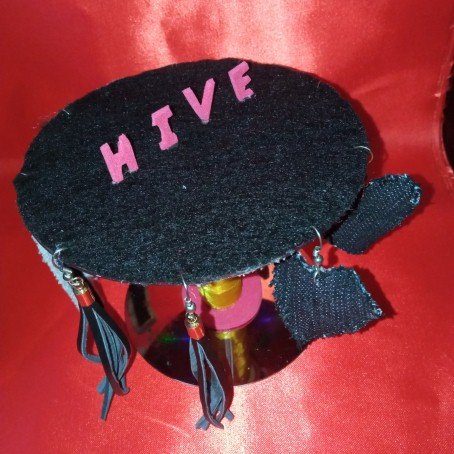
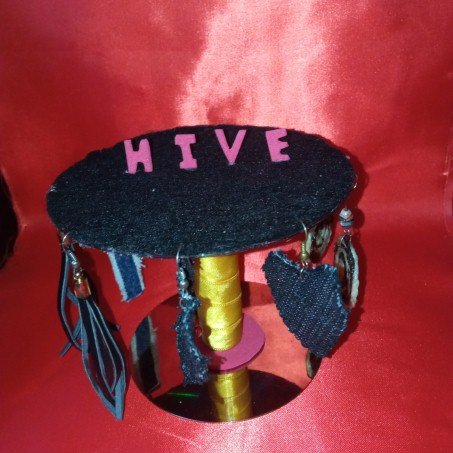
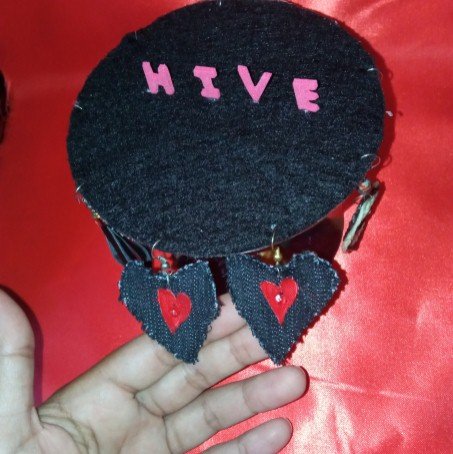
Greetings reader friends, today I will be presenting you a cute and very useful tendril organizer, it is very easy to make and almost all with reusable material.

Saludos amigos lectores, el día de hoy les estaré presentando un lindo y muy útil organizador de zarcillos, es muy fácil de hacer y casi todo con material reutilizable.

portada.jpg


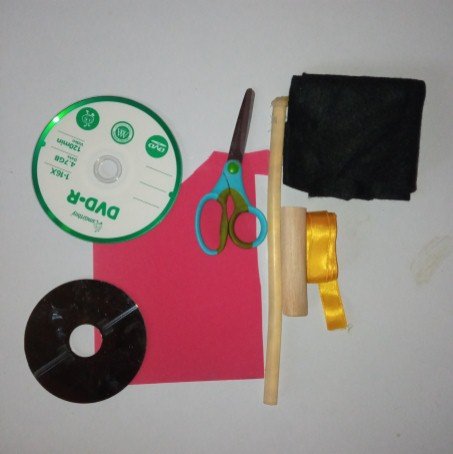
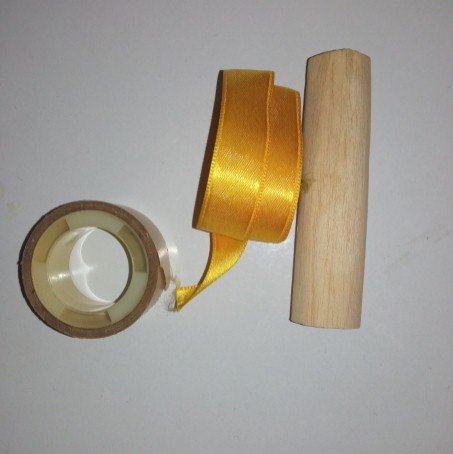
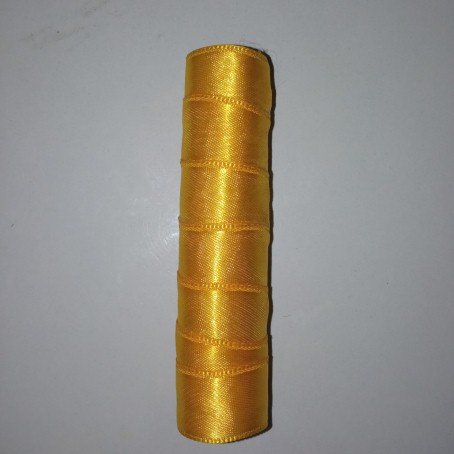
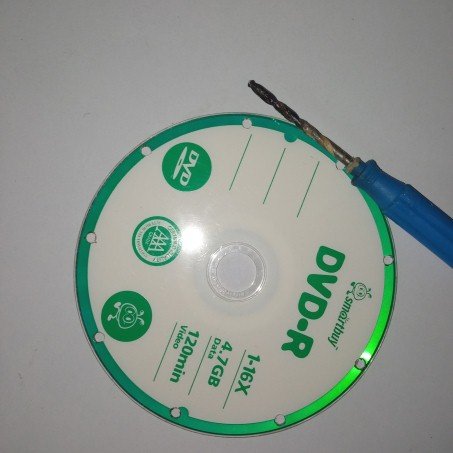
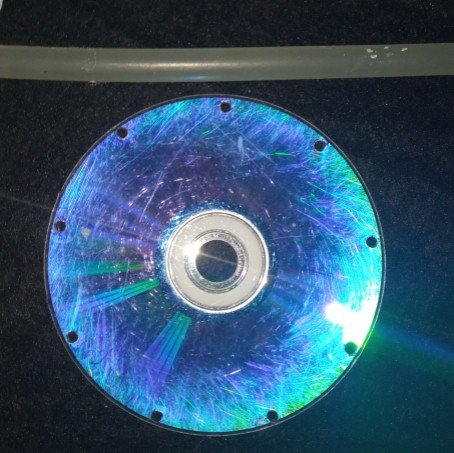
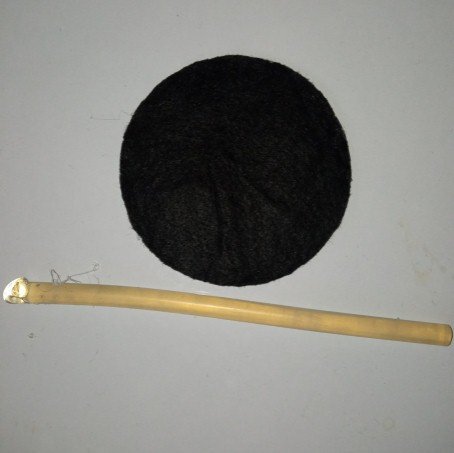
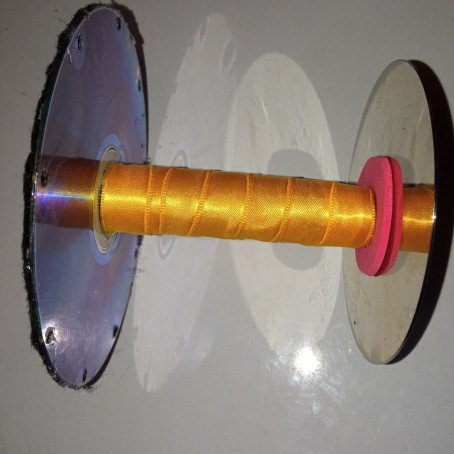
The various materials I used were a piece of black felt, a CD, a hard disk, eva rubber, yellow tape, a piece of wooden stick, scissors, silicone, tape, and a hand drill to make the holes.

Los diversos materiales que utilice fueron un pedazo de fieltro negro, un CD, un disco de disco duro, goma eva, cinta amarilla, un trozo de palo de madera, tijeras, silicón, cinta adhesiva, y una broca de mano para abrirle los agujeros.

Imagen1.jpg


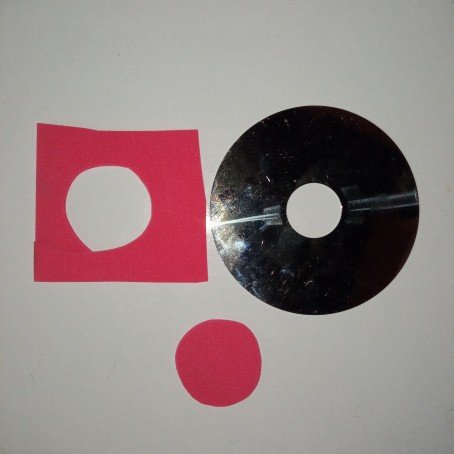
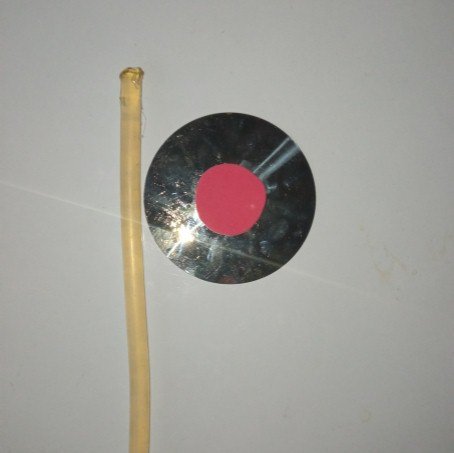
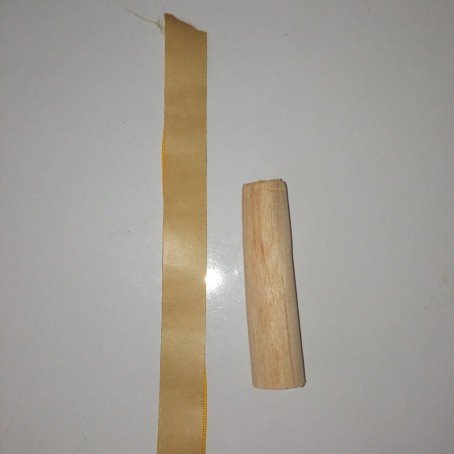
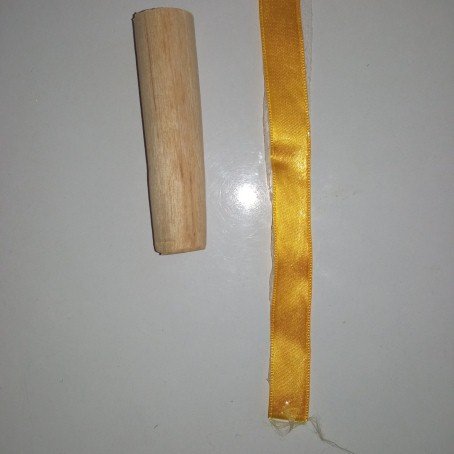
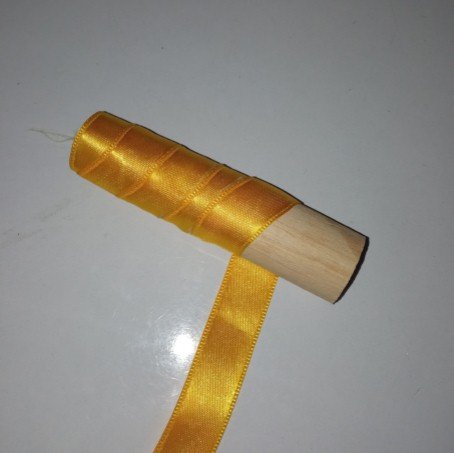
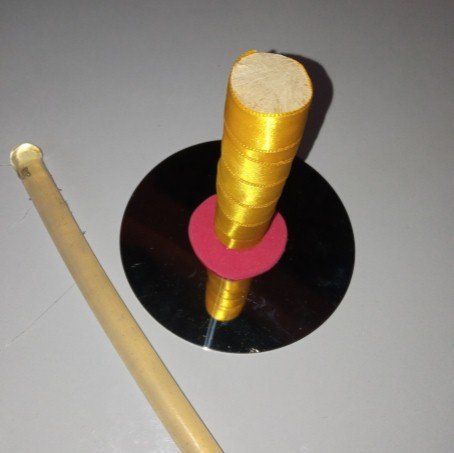
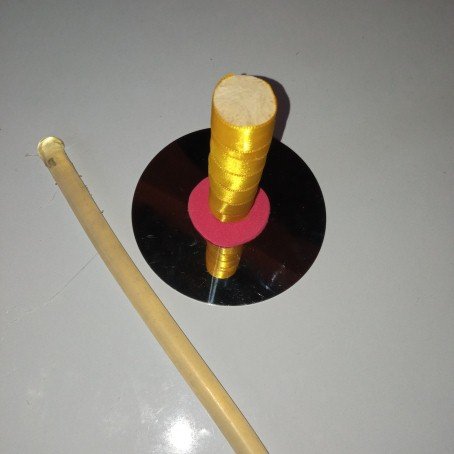
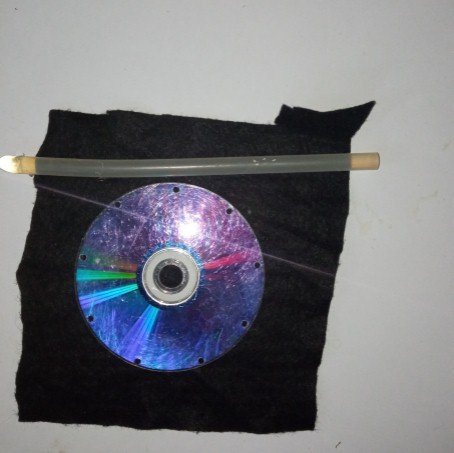
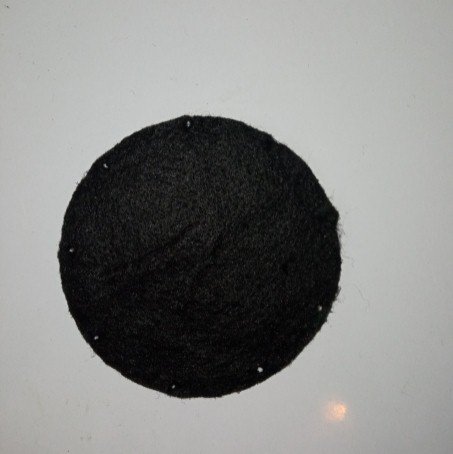
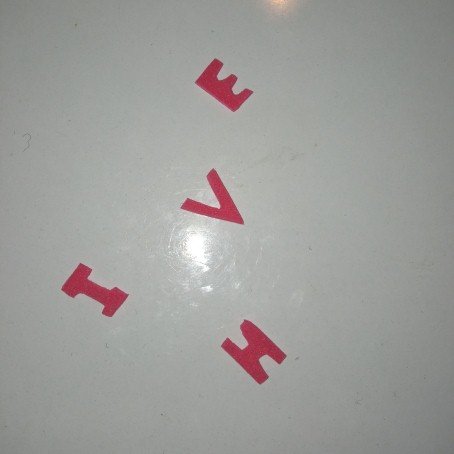
Here I will begin the procedure to make this spectacular organizer, it looks super cool and is extremely easy, it has no complications, it really looks super cute, enjoy and comment what you think.

Aquí comenzaré el procedimiento de hacer este espectacular organizador, queda super cool y es sumamente fácil, no tiene complicación, realmente queda súper lindo, disfrútenlos y comenten que tal les pareció.


First I take the Eva rubber and cut out a circle, cut it out and with silicone I proceed to glue all around the center of the hard disk CD.
Primero agarro la goma Eva y saco un círculo, lo recortó y con silicón procedo a pegar en todo el centro del CD del disco duro.

Imagen2.jpg

Imagen3.jpg


First I take the Eva rubber and cut out a circle, cut it out and with silicone I proceed to glue all around the center of the hard disk CD.
En el siguiente paso agarro palo de madera y con la cinta amarilla se forra, debes colocarle cinta adhesiva para pegar la cinta amarilla y así evitaremos que se suelte.

Imagen4.jpg

Imagen5.jpg

Imagen6.jpg

Imagen7.jpg

Imagen8.jpg


At the bottom we put silicone on the wooden stick and proceed to place it all around the center of the hard disk CD.
En la parte de abajo se le coloca silicón al palo de madera y procedemos a colocarlo en todo el centro del CD del disco duro.

Imagen9.jpg

Imagen10.jpg


Then with a hand drill we put it on the fire and in all the edge of the large CD we make several holes.
Luego con una broca de mano la ponemos al fuego y en toda la orilla del CD grande se hacen varios agujeros.

Imagen11.jpg

Imagen12.jpg


Once the holes where the tendrils will be attached are ready, I proceed to place silicone on the CD and glue the felt and then cut out and give it a circular shape, with the help of a knitting needle I open the holes in the felt.
Ya listo los agujeros dónde irán los zarcillos guindado, procedo a colocarle silicón al CD y pegar el fieltro para luego recortar y darle la forma circular, con la ayuda de una aguja de tejer se abren los agujeros en el fieltro.

Imagen13.jpg

Imagen14.jpg

Imagen15.jpg


Almost to finish the organizer I proceed to put silicone all over the tip of the wooden stick and quickly glue it on the bottom.
Casi para culminar el organizador procedo a colocarle en toda la punta del palo de madera silicón y rápidamente pego por la parte de abajo.

Imagen16.jpg

Imagen17.jpg


With the remnants of the eva rubber I made some hive letters to decorate my beautiful organizer, making it extremely beautiful.
Con el retazo que me quedo de la goma eva realice unas letras de hive para adornar mi precioso organizador, quedando sumamente hermoso.

Imagen18.jpg


Here as always I leave you the final result of this cute tendril organizer.
Aquí como siempre les dejo el resultado final de este lindo organizador de zarcillos.

Imagen19.jpg

Imagen20.jpg

Imagen21.jpg

Imagen22.jpg

Imagen23.jpg


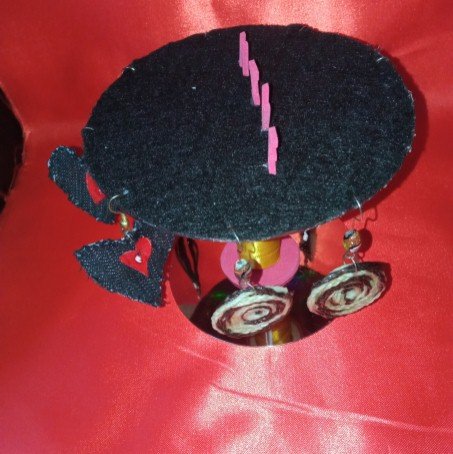
Without more to say and hoping that this craft post is to the liking of every reader I say goodbye with a big hug, love you @shirahoshi.

Sin más que decir y esperando que este post de manualidad sea del agrado de cada lector me despido con un gran abrazo, los quiere @shirahoshi.

Logo sin sombra.gif


The photographs are my own and were taken by me with a Redmi 9 and were edited in powerpoint.

Las fotografías son de mi autoría y fueron tomadas por mí con un Redmi 9 y se editaron en powerpoint.


The Step by Step Gif was made by me in AdobePhotoshop CC2014.

El Gif de Paso a Paso fue realizado por mi en AdobePhotoshop CC2014.


The logo was designed by me in Adobe Illustrator CC 2015 and its animated version was made in After Effects CC 2017.

El logo fue diseñado por mí en Adobe Illustrator CC 2015 y su versión animada la realice en After Effects CC 2017.


Language corrector used Deepl.

Corrector de idioma utilizado Deepl.

My social networks-Mis redes sociales


0
0
0.000
0 comments