DIY: Cute and creative picture frame with recycled material || step by step
❣️¡Hola amigos de hive!❣️
❣️Hello friends of hive!❣️
Hoy les muestro cómo hacer un bonito y sencillo portarretrato con material reciclado. Este proyecto es útil para la decoración del hogar, lo más importante es que se hace muy rápido, también con materiales que tenemos en casa.
Today I show you how to make a beautiful and simple picture frame with recycled material. This project is useful for home decoration, the most important thing is that it is done very quickly, also with materials that we have at home.
.jpg)
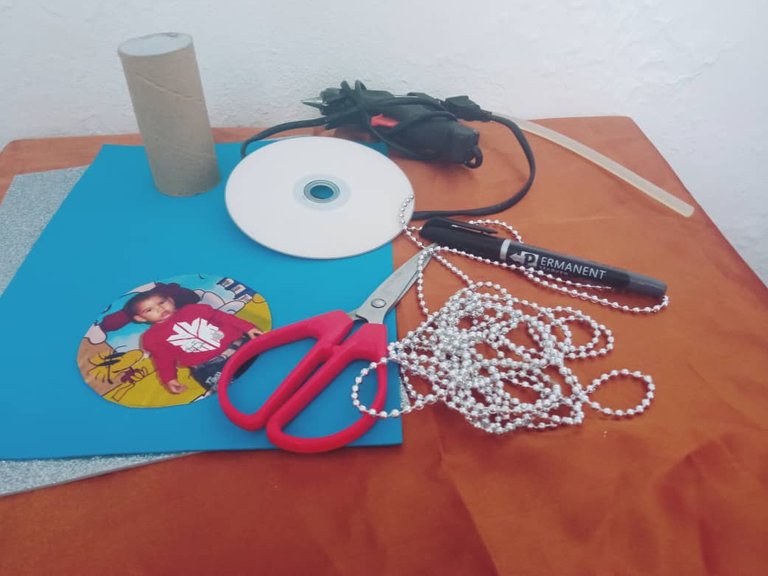
Materiales || Materials
- Foami
- CD
- Rollo de papel higiénico
- Tijera
- Pegamento
- Fotografía
- Collares
- Foami
- CD
- Toilet paper roll
- Scissors
- Glue
- Photograph
- Necklaces
Paso a paso de este sencillo portarretrato ||Step by step of this simple picture frame
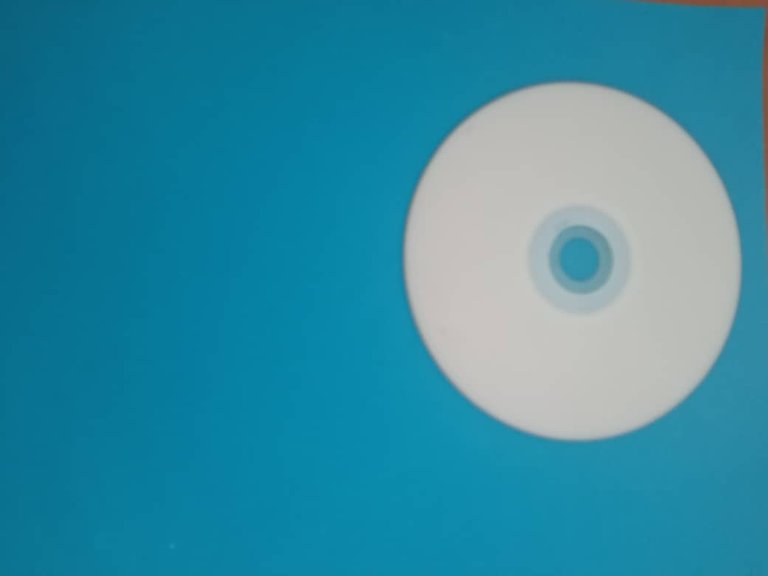
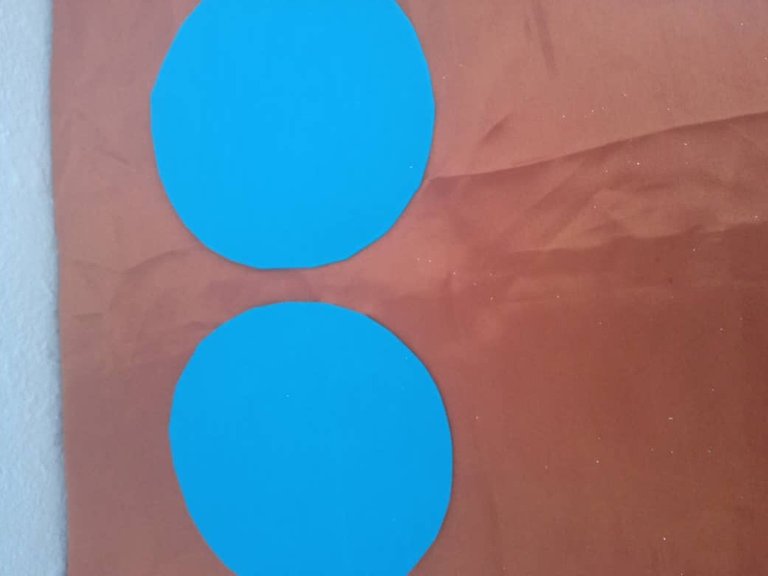
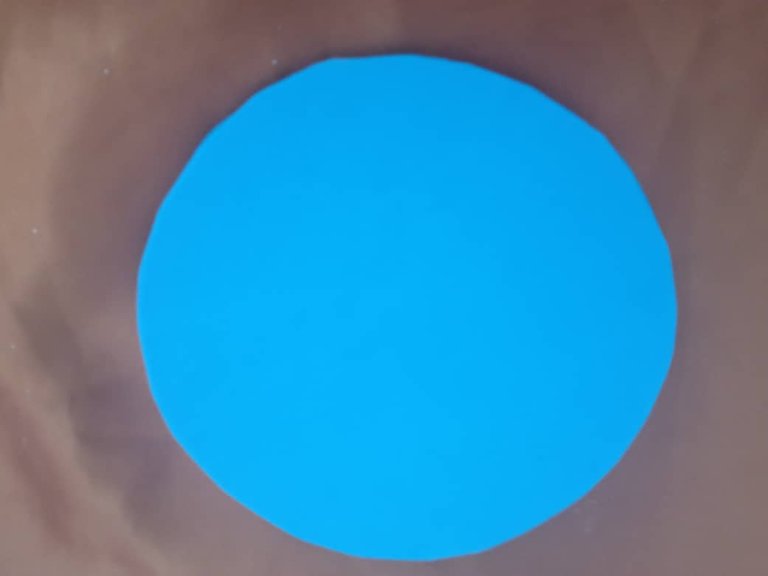
Paso Nº 1:
Marcamos el CD en el foami, recortamos, colocar pegamento en el CD y lo pegamos en el foami eso lo hacemos por ambos lados.
Step #1:
We mark the CD on the foami, cut it out, place glue on the CD and stick it on the foami that we do it on both sides.
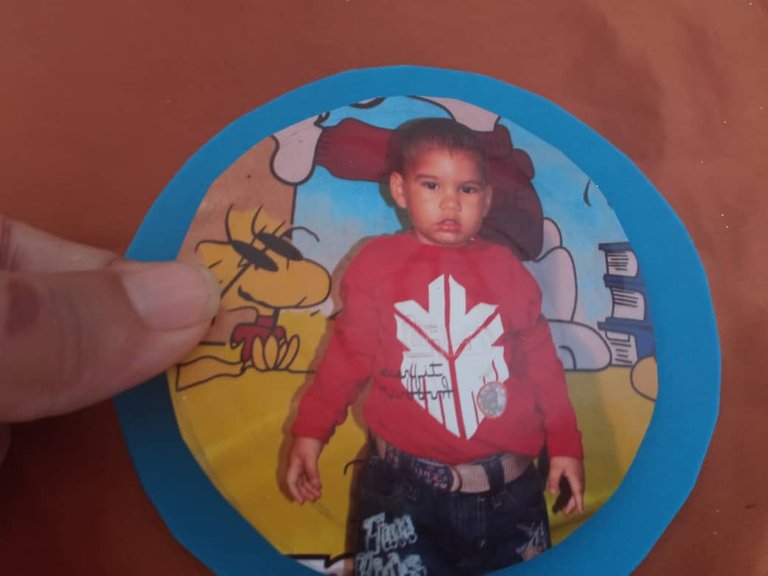
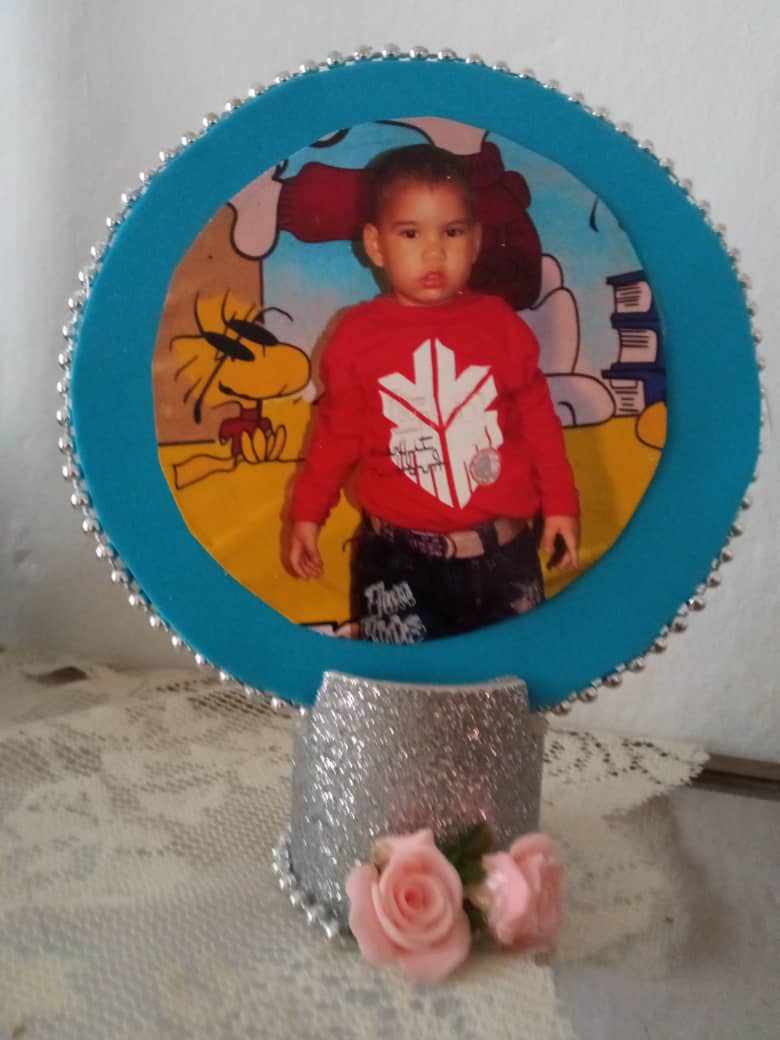
Paso Nº 2:
Ahora pegamos la fotografía en una de las caras del CD.
Step #2:
Now we paste the photograph on one side of the CD.
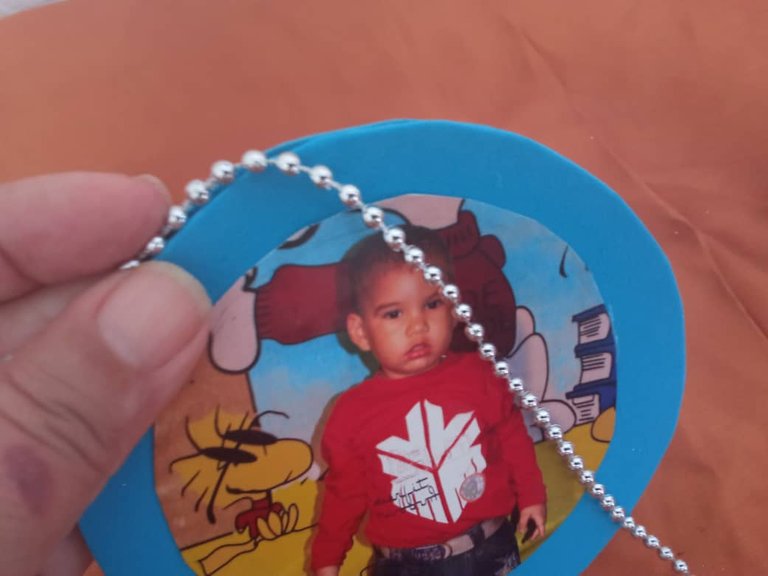
Paso Nº 3:
Luego le colocamos el collar alrededor del CD.
Step #3:
Then we place the necklace around the CD.

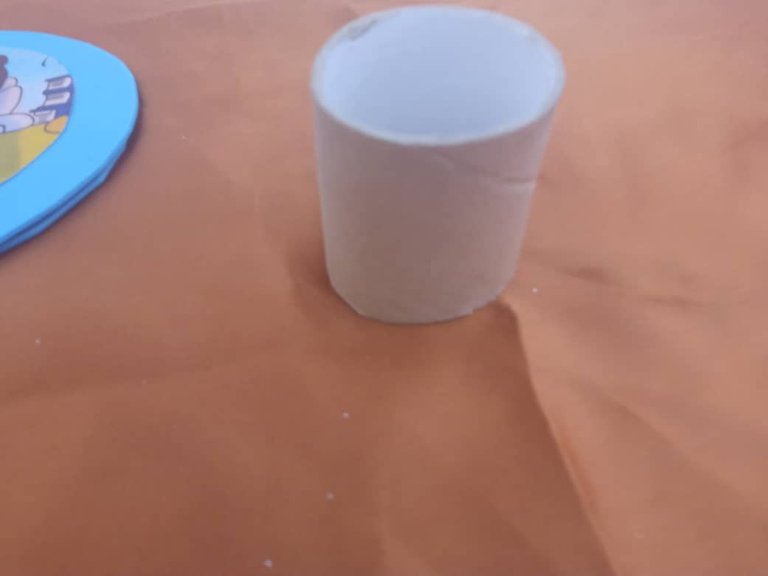
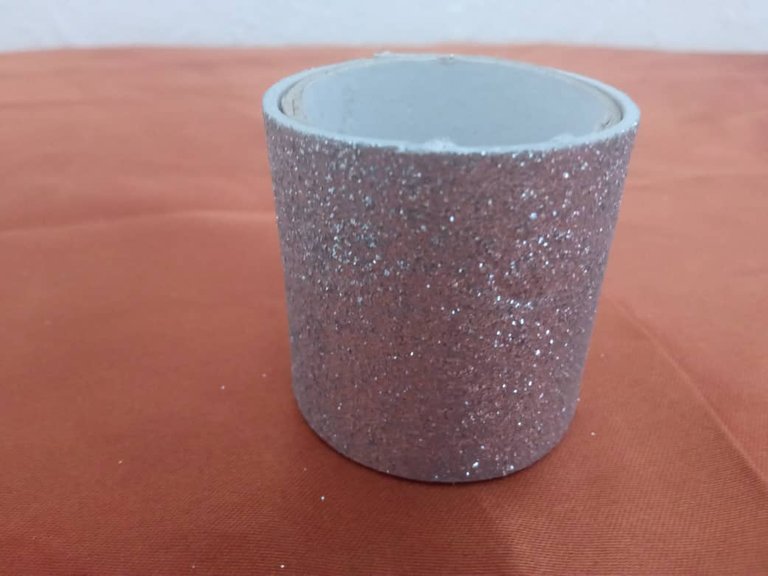
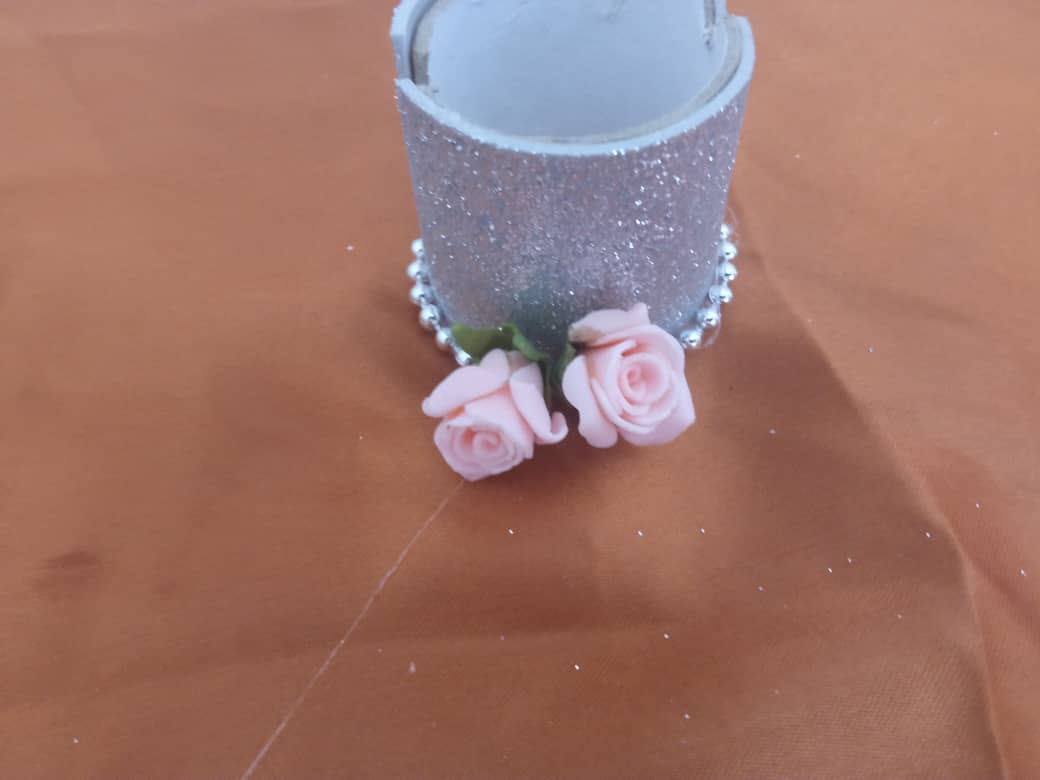
Paso Nº 4:
Luego cortamos el rollo de papel por la mitad, esta va a hacer la base del portarretrato, seguido cortamos una tira de foami y pegamos.
Step No. 4:
Then we cut the paper roll in half, this is going to make the base of the picture frame, then we cut a strip of foami and glue.
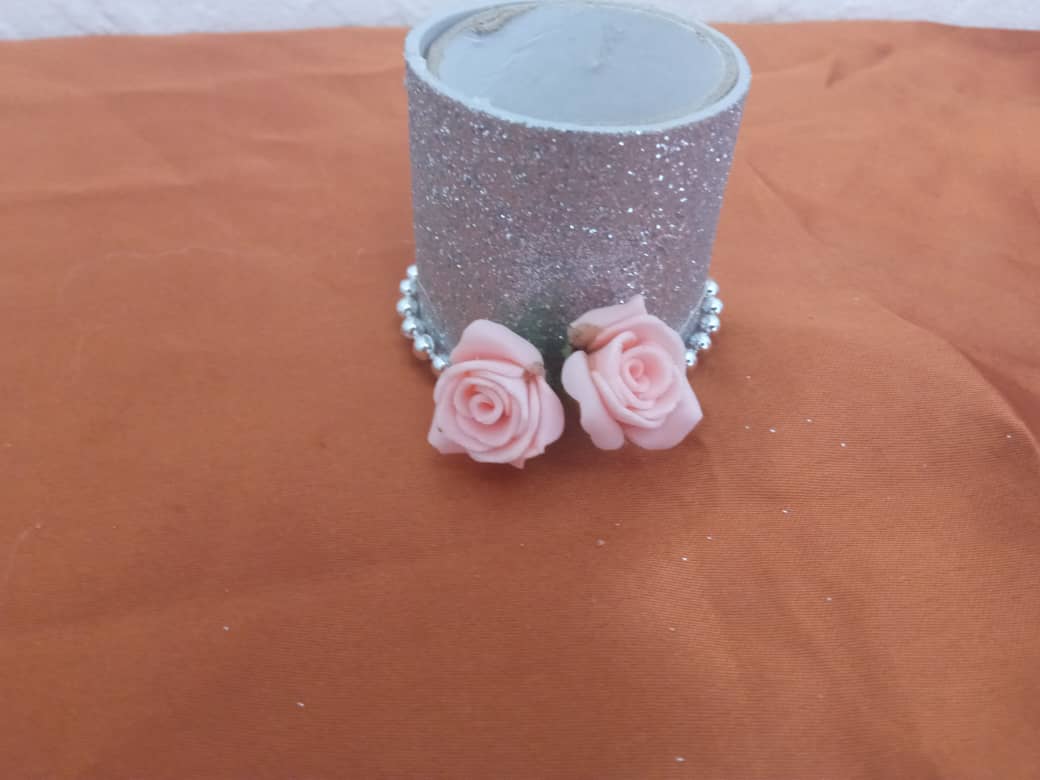
Paso Nº 5:
Luego pegamos una decoración en la parte de abajo de la base del portarretrato. Utilicé collares y dos flores. Seguido hacemos el corte recto y luego otro corte inclinado, por ambos lados, aquí es donde vamos a poner nuestra fotografía
Step #5:
Then we glued a decoration on the bottom of the base of the picture frame. I used necklaces and two flowers. Next we make the straight cut and then another slanted cut, on both sides, this is where we are going to put our photograph.

Así de lindo queda nuestro portarretrato para adornar un rinconcito de nuestro hogar.
This is how nice is our picture frame to decorate a corner of our home.
¡Hasta la próxima! || See you next time! .


0
0
0.000
Hey mam you really creative artist . I appreciate you . Keep Make more item