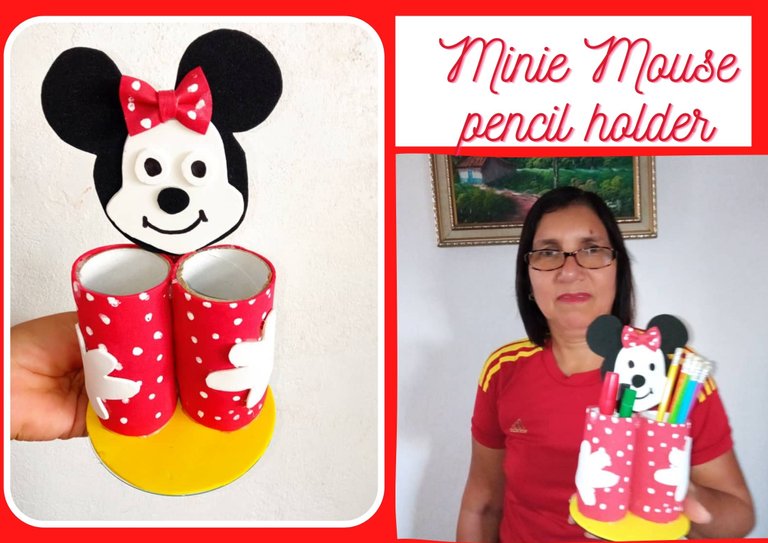
DIY: Cute pencil holder with Minie Mouse design [Esp-Eng]
❣️¡Hola amigos de hive!❣️
❣️Hello friends of hive!❣️
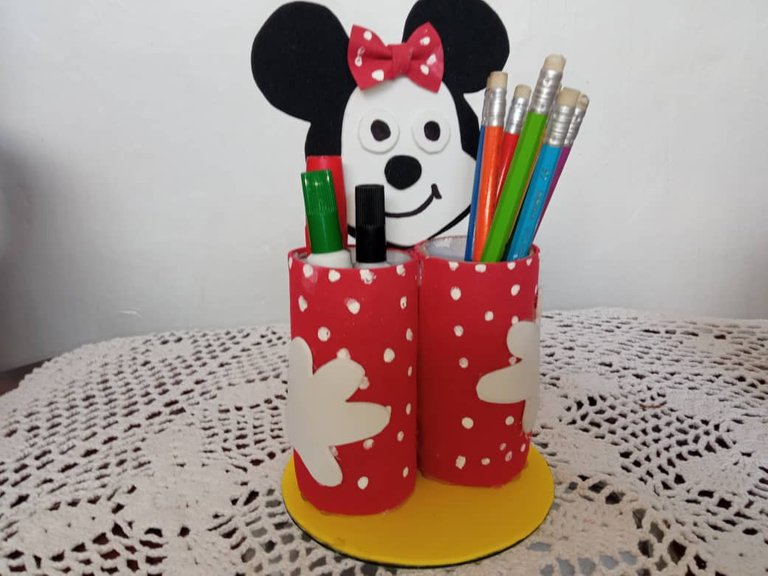
This time I bring you a simple tutorial of a cute pencil holder inspired by Minnie Mouse, a beloved comic book character that never goes out of fashion, with materials that we have at home and that can be reused. Ideal for sorting and classifying our children's pencils and crayons. Besides being a very cheap and simple method, it is also very useful for us.
Materiales - Materials
- Foami rojo, blanco, amarillo y negro
- Tubo de papel de cartón
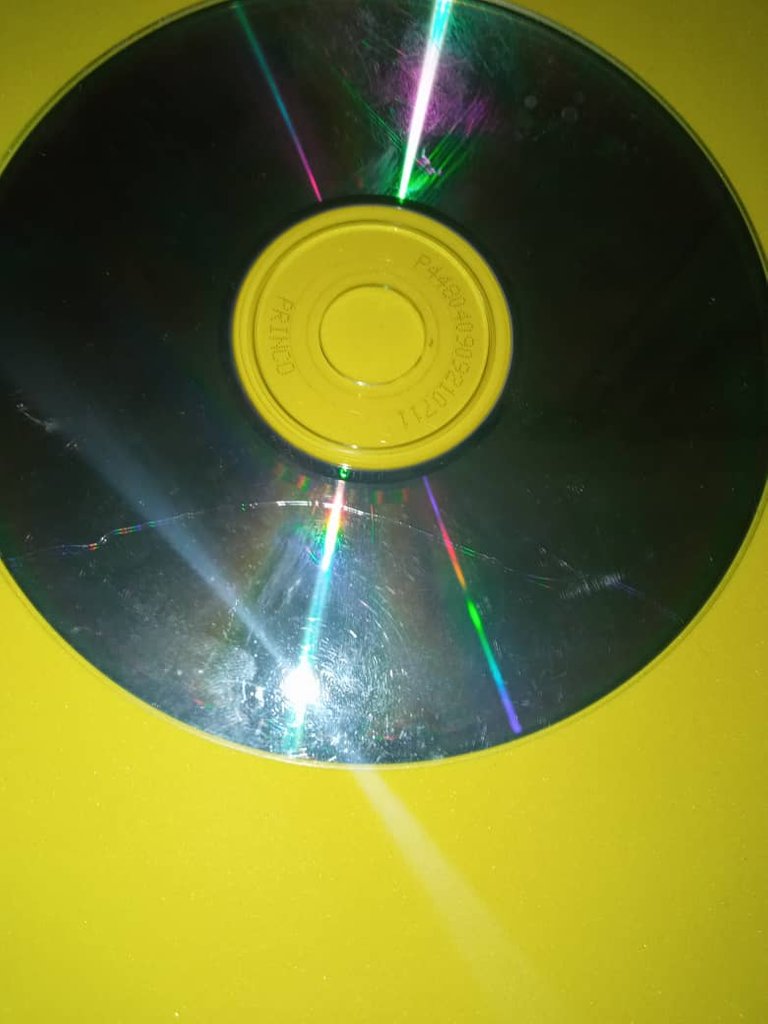
- Cd usado
- Tijera
- Silicón
- Molde
- Marcador negro
- Pintura blanca
- Pincel
- Red, white, yellow and black Foami
- Cardboard paper tube
- Used CD
- Scissors
- Silicone
- Mold
- Black marker
- White paint
- Brush

Paso a paso - Step by step
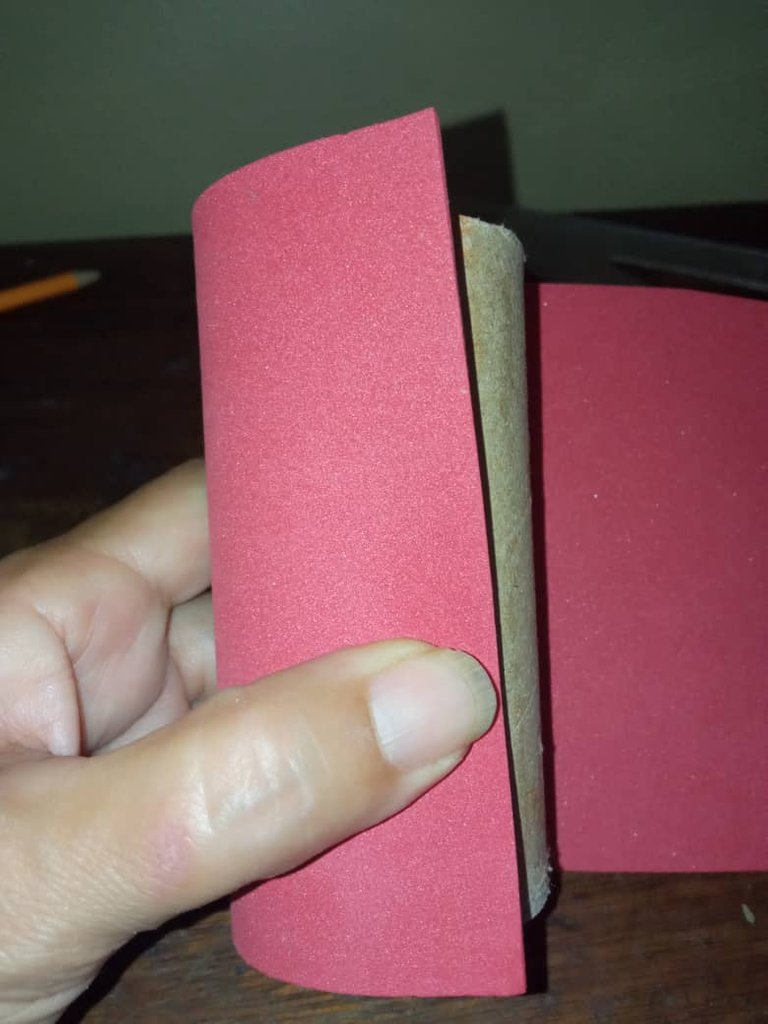
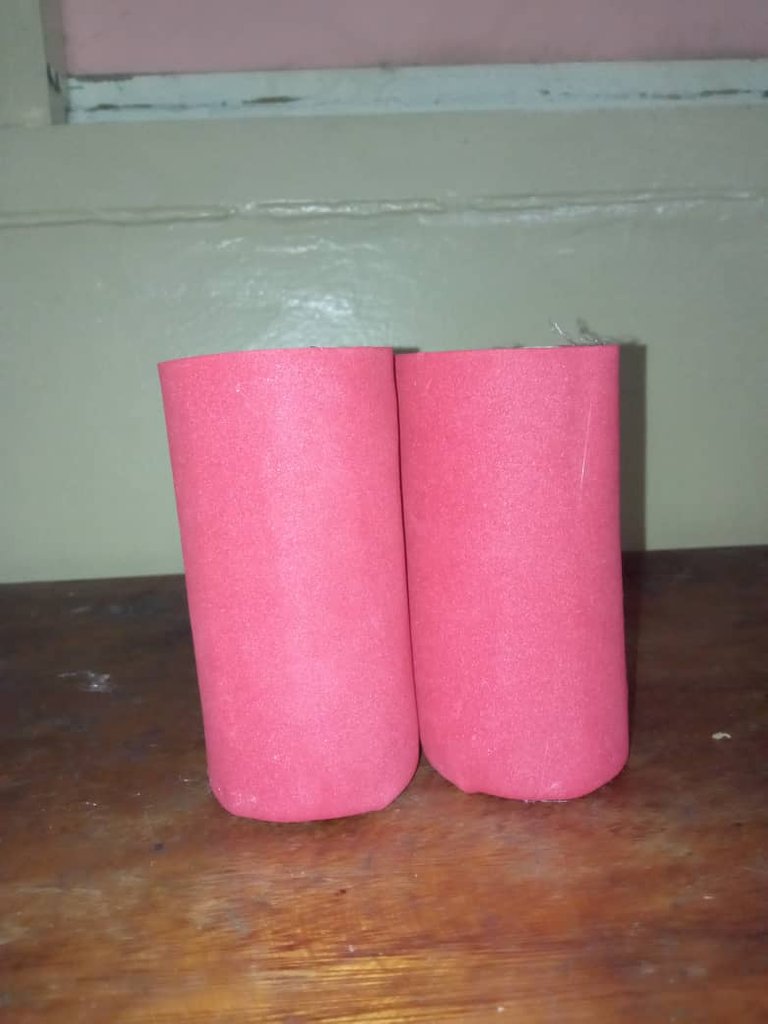
Paso # 1:
Primero medimos el foami para forrar el tubo de cartón, recortamos y pegamos.
Step # 1:
First we measure the foami to line the cardboard tube, cut and glue..
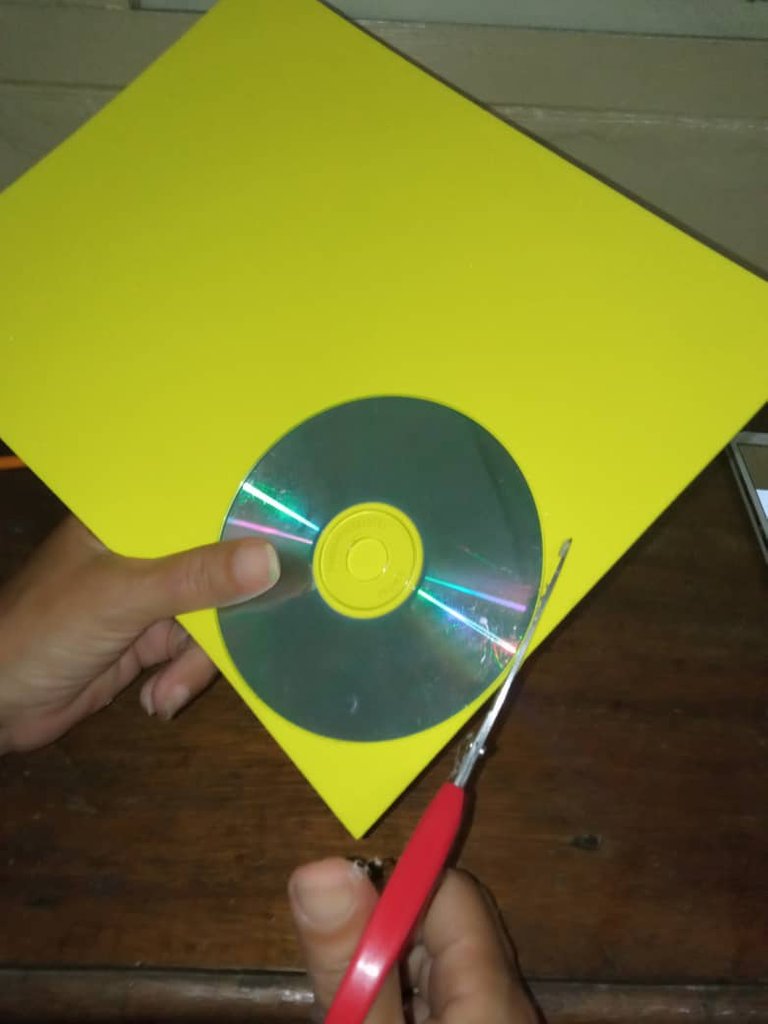
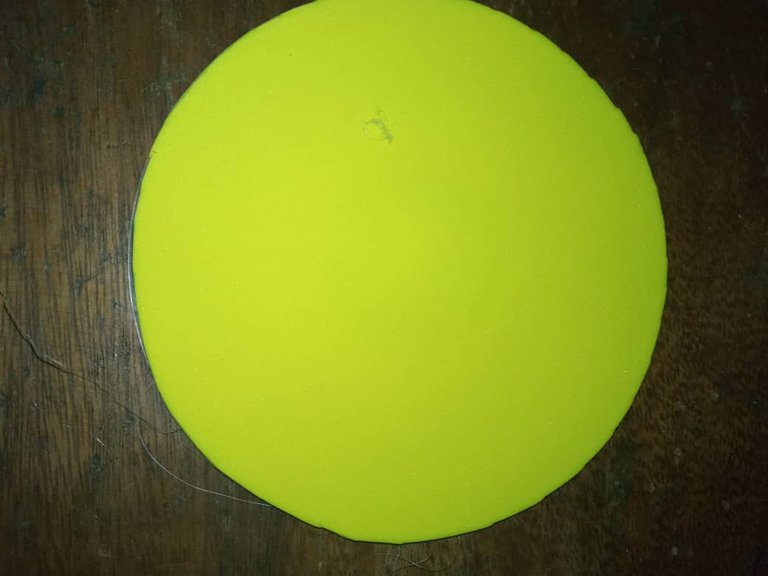
Paso # 2:
Ahora pegamos el cd en el foami y recortamos.
Step #2:
Now we glue the cd on the foami and cut it out.
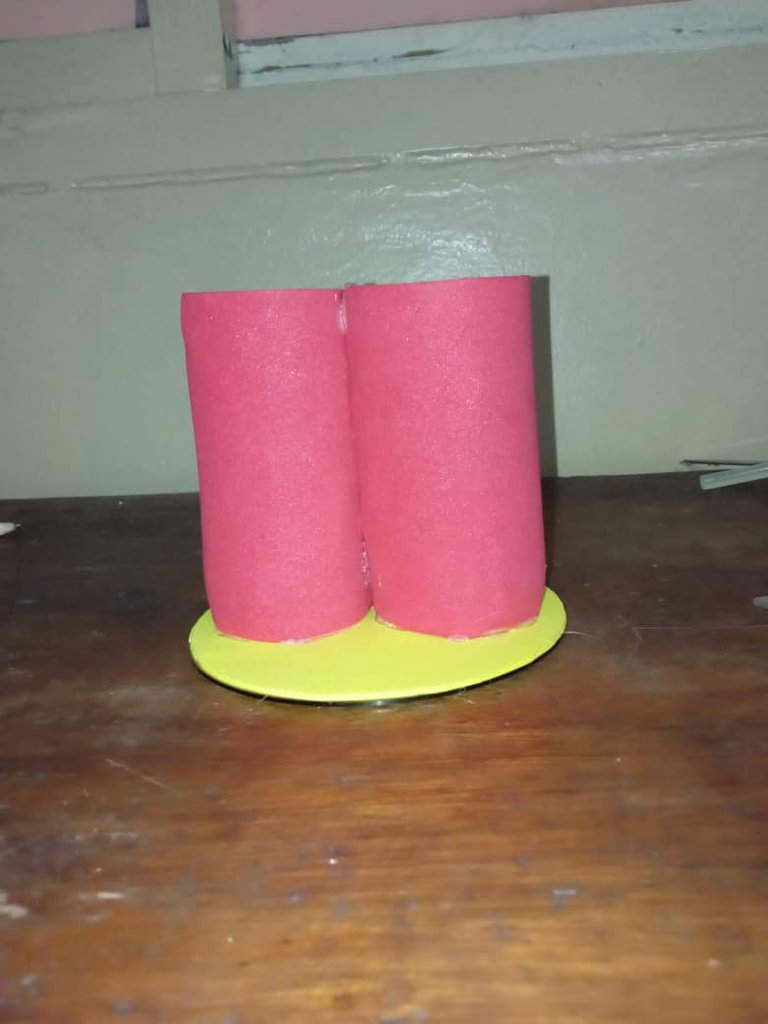
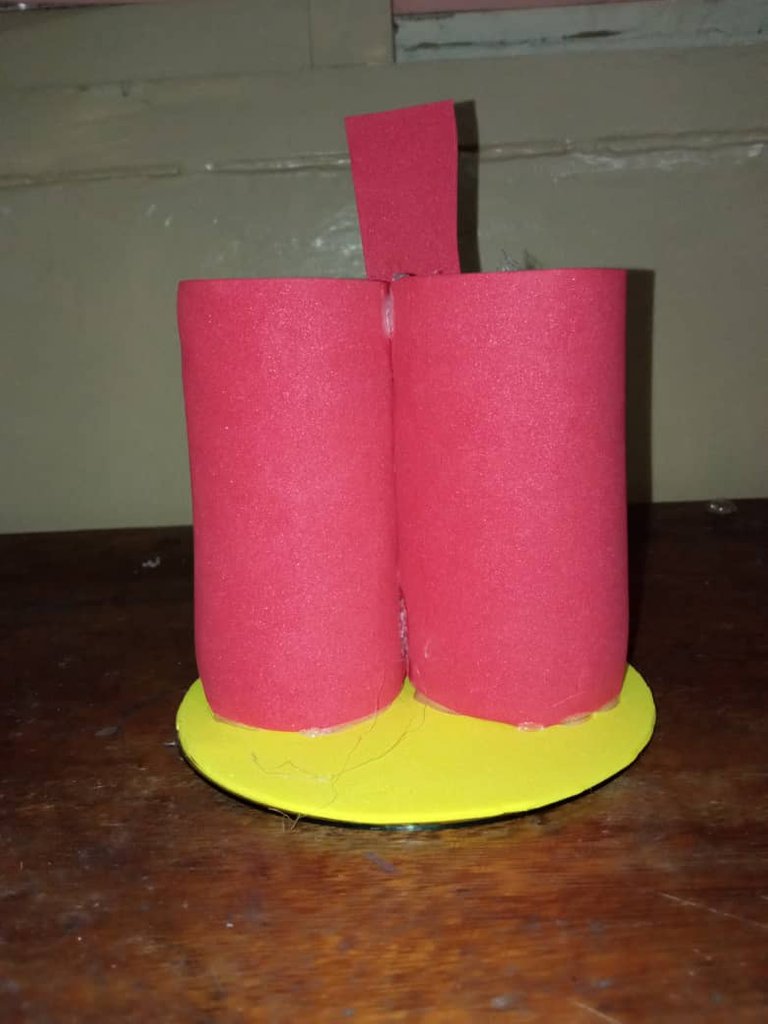
Paso # 3:
Seguido pegamos los tubos de cartón en el cd forrado que es la base del porta lápiz..
Step #3:
Then we glue the cardboard tubes on the lined CD which is the base of the pencil holder.
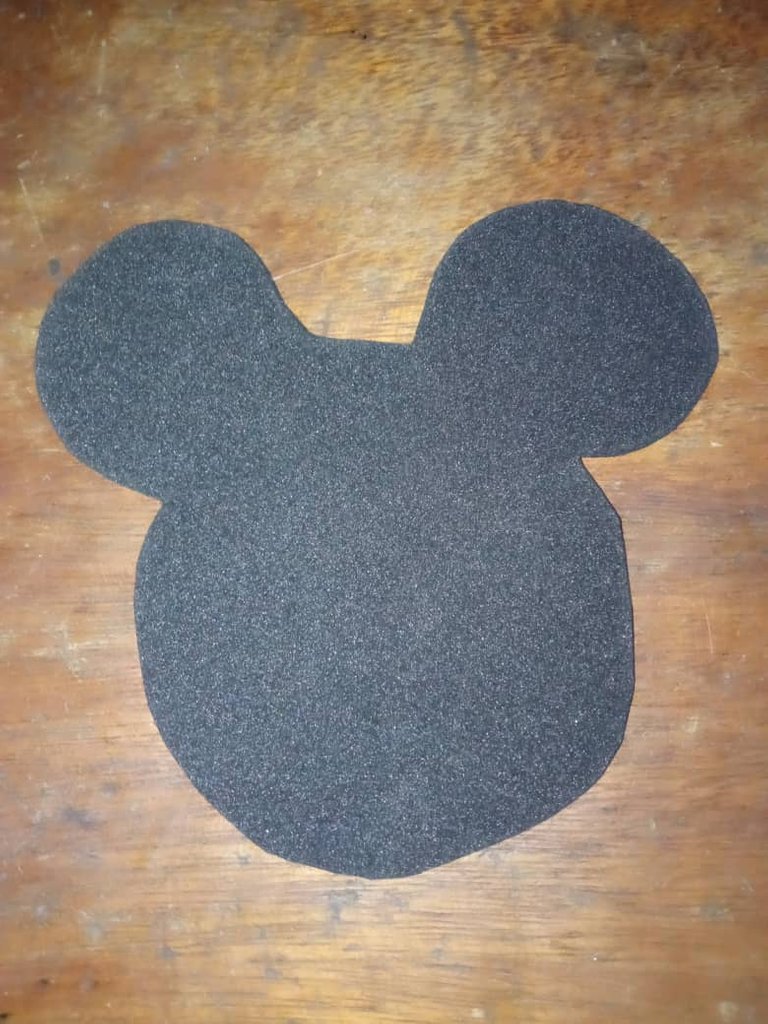
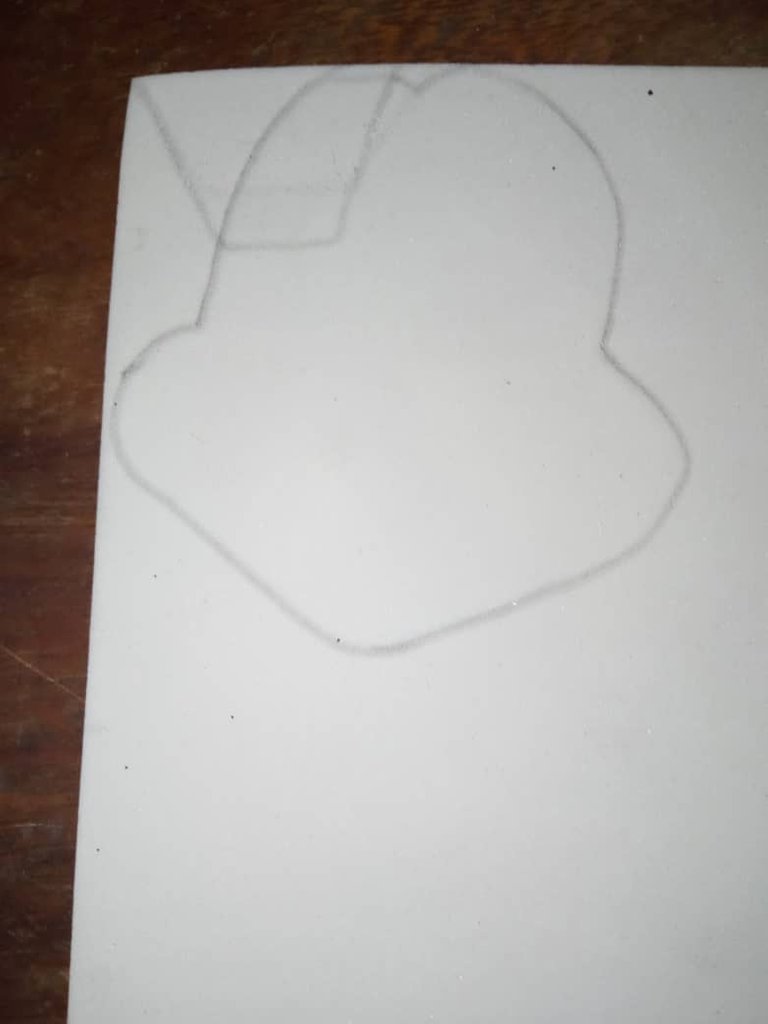
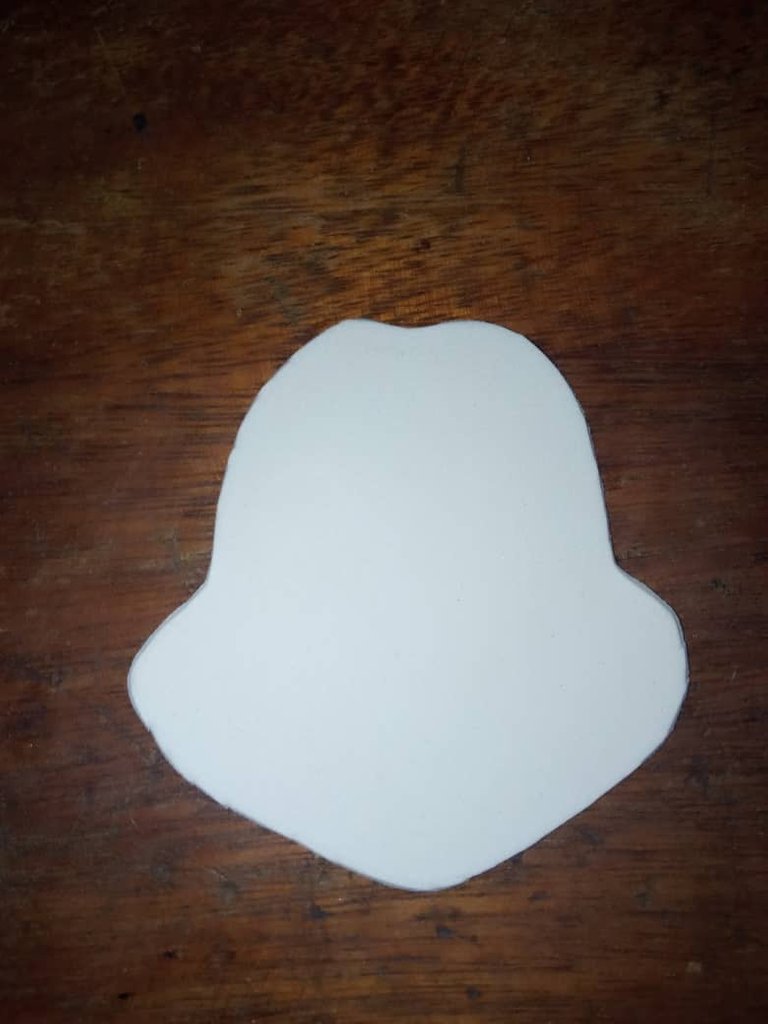
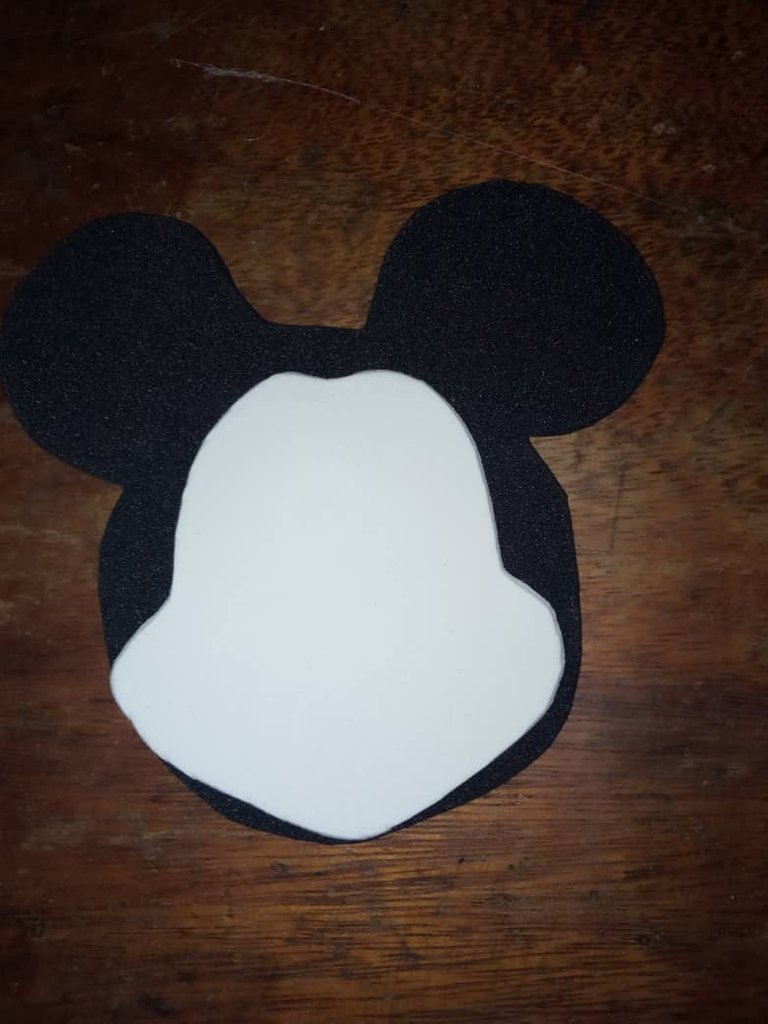
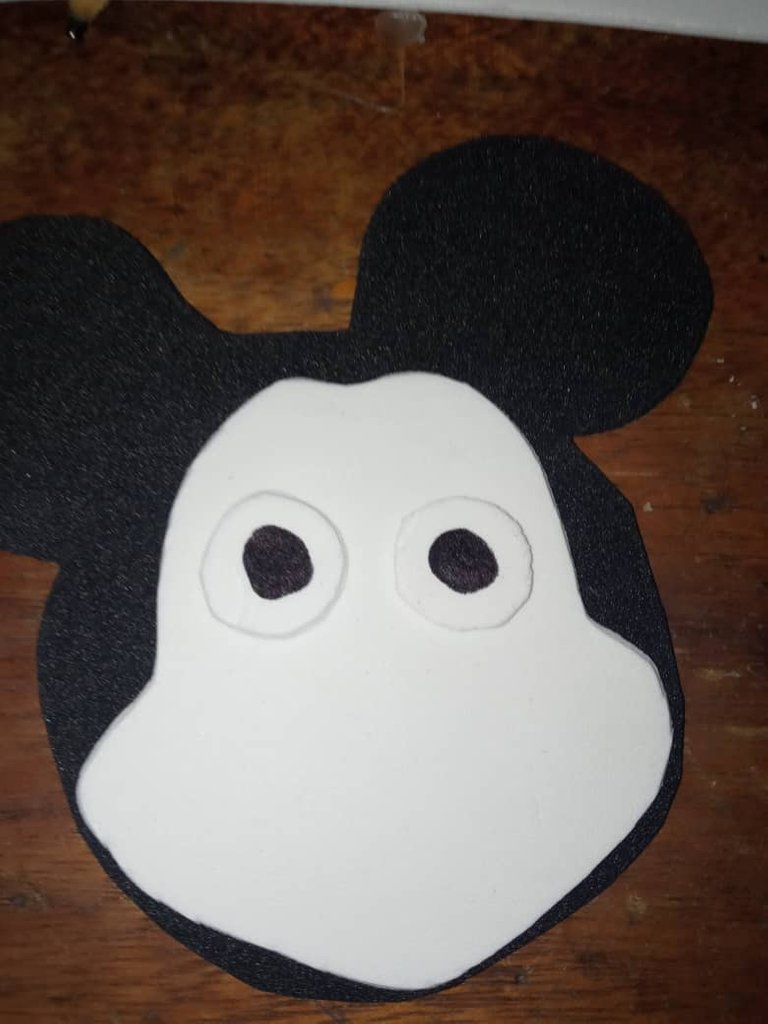
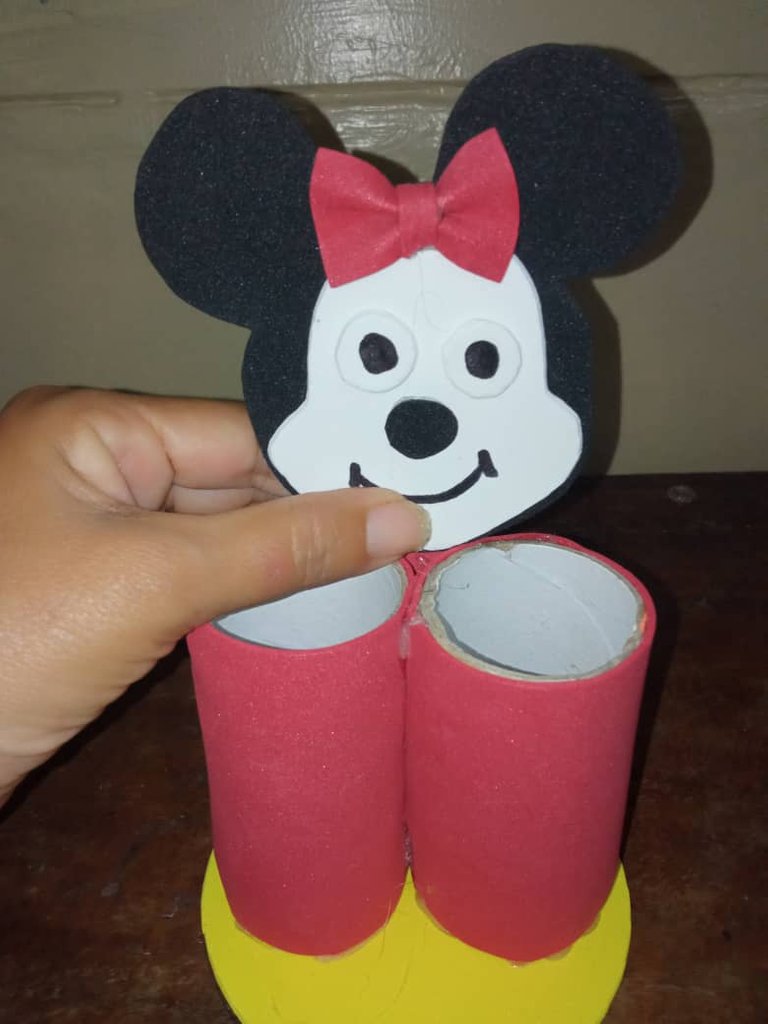
Paso # 4:
Ahora sacamos los moldes de la cabeza y la cara de Minie y la pegamos.
Step #4:
Now we take out the molds of Minie's head and face and glue them together.

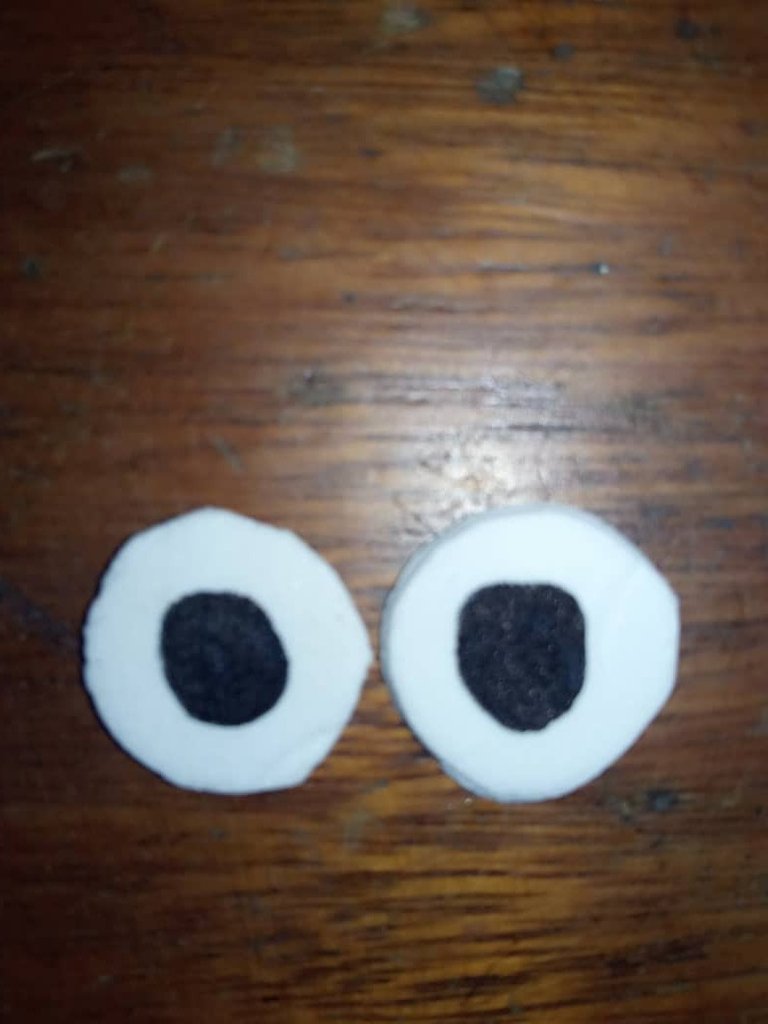
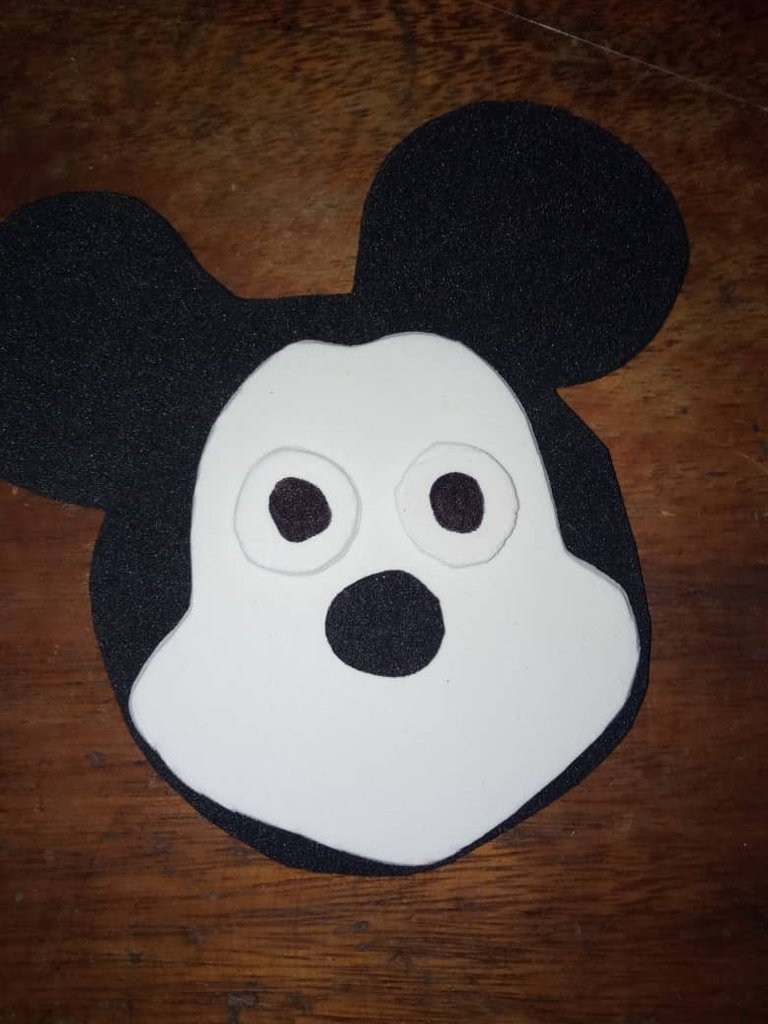
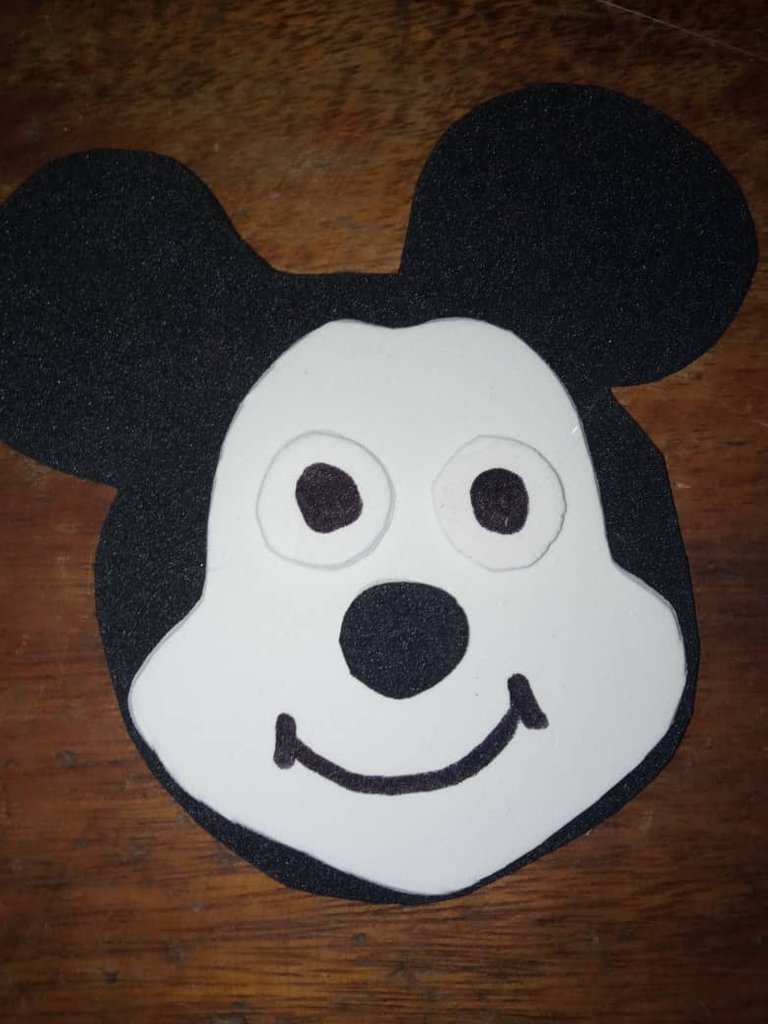
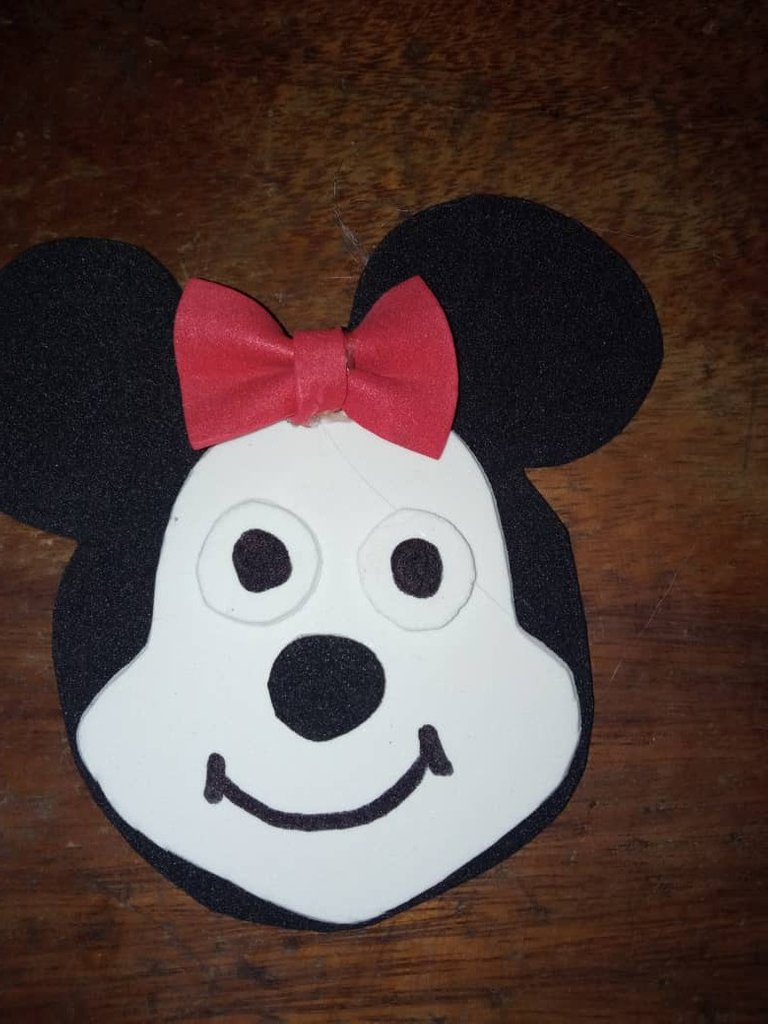
Paso # 5:
Continuamos con los ojos, la nariz y la boca, para eso recortamos dos círculos del foami blanco y con el marcador le hacemos los pupilas, seguido recortamos un círculo negro que va a hacer la nariz y por último dibujamos con el marcador negro la boca.
Step #5:
We continue with the eyes, nose and mouth, for that we cut two circles from the white foami and with the marker we make the pupils, then we cut a black circle that will make the nose and finally we draw with the black marker the mouth.
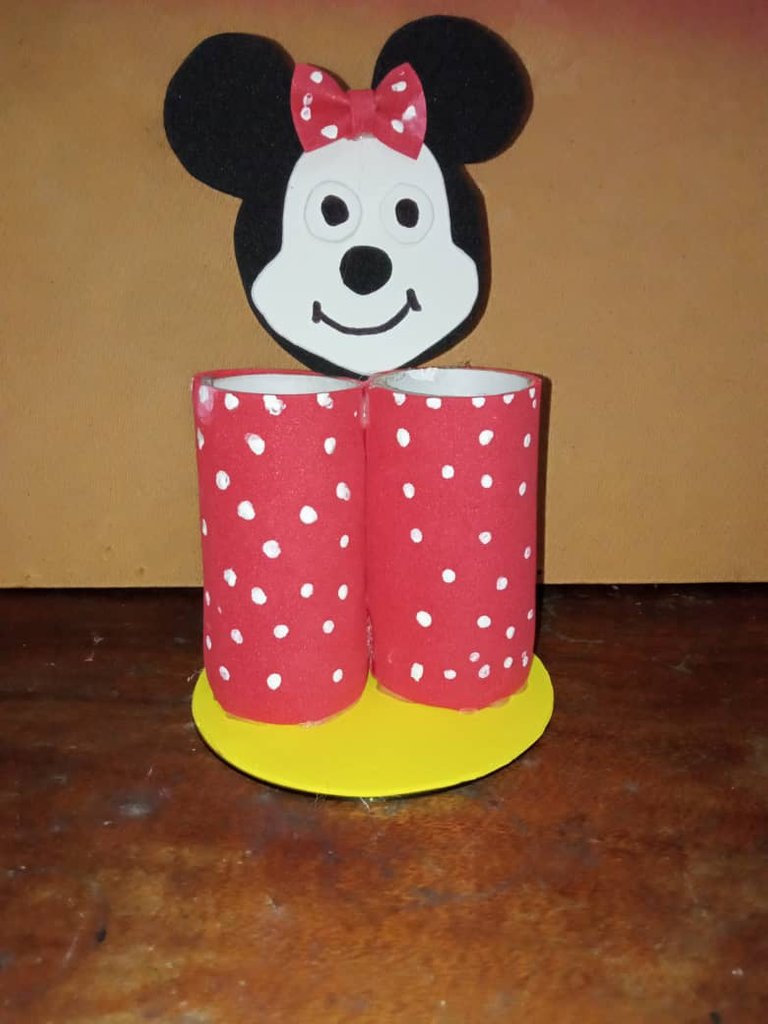
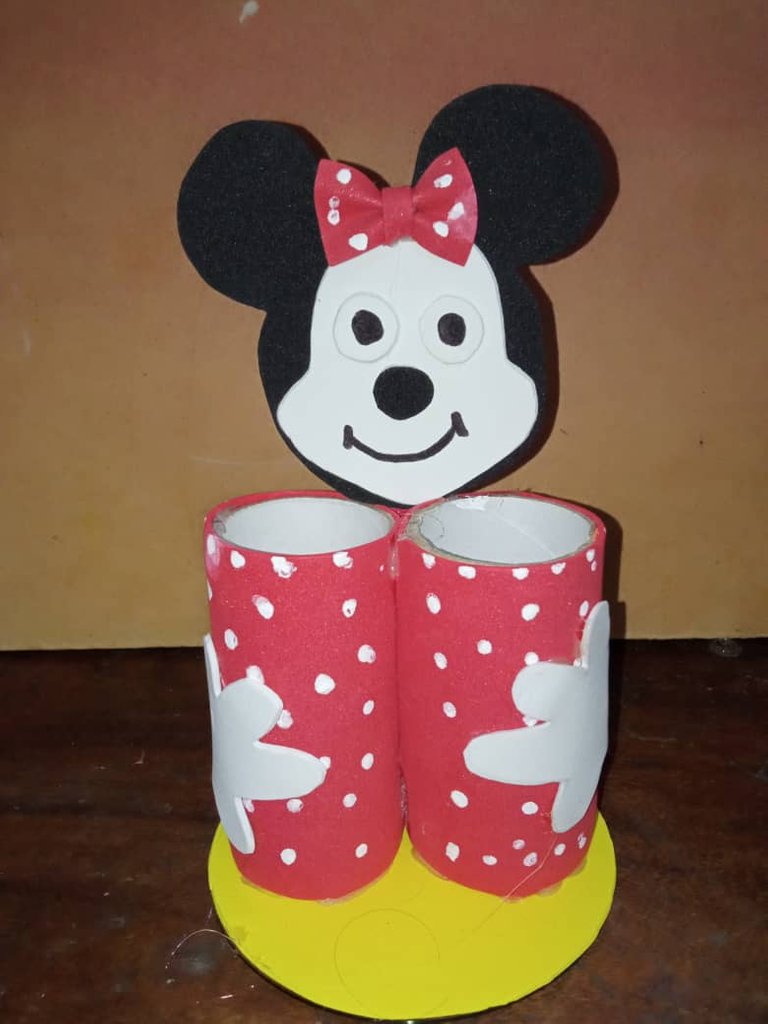
Paso # 6:
Continuamos con el lazo, cortamos un rectángulo de 3, 50 cm x 3 cms. Luego lo pegamos en la cabeza de nuestra Minie. Vamos ahora a colocar la cabeza en el porta lápiz, primero pegamos atrás un soporte yo corte un rectangulo de 3 cm x 5 cm y lo pegue entre los tubos y luego le pegamos la cabeza de la minie, y seguido le colocamos puntos blancos en el lazo y los tubos de cartón para decorar, eso lo hacemos con la punta del pincel y la pintura blanca.
Step # 6:
We continue with the bow, cut a rectangle of 3, 50 cm x 3 cms. Then we glue it on the head of our Minie. Now let's put the head on the pencil holder, first we glue a support on the back, I cut a 3 cm x 5 cm rectangle and glued it between the tubes and then we glue the head of the minie, and then we put white dots on the ribbon and the cardboard tubes to decorate, we do that with the tip of the brush and white paint.
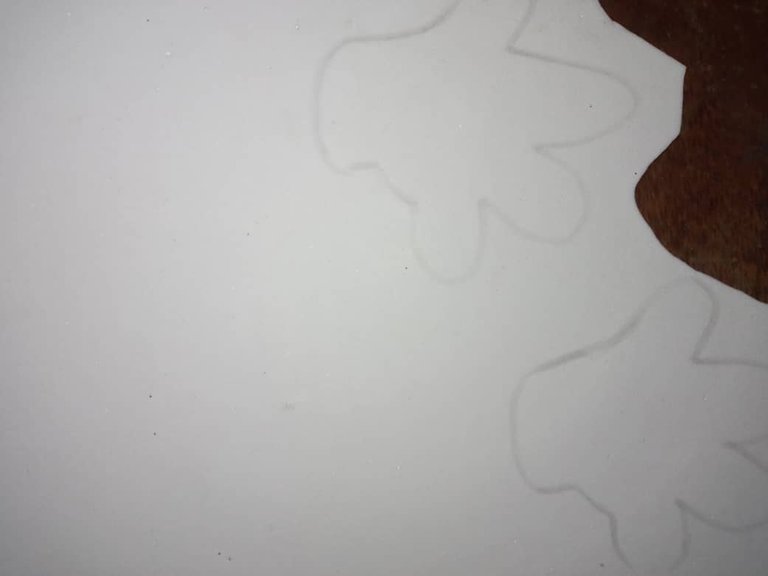
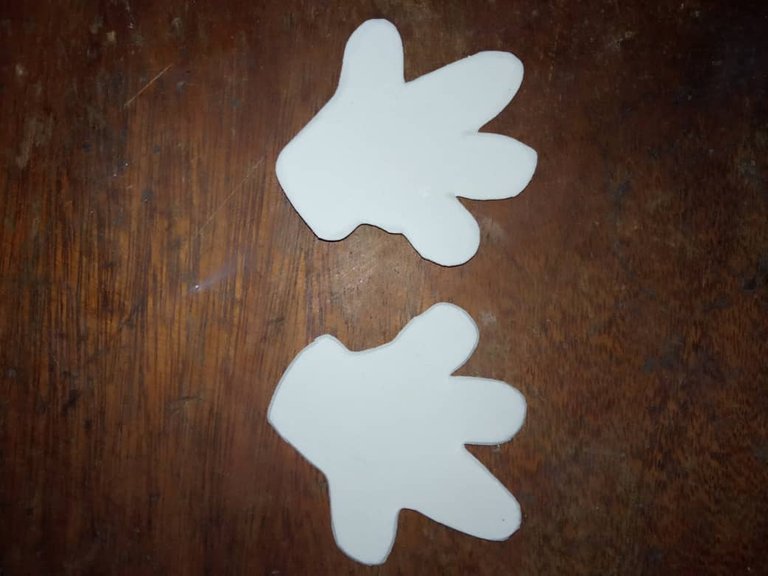
Paso # 7:
Para finalizar dibujamos las manos de nuestra Minie en el foami blanco, recortamos y pegamos.
Step # 7:
Finally, we draw our Minie's hands on the white foami, cut them out and glue them.
With this we have created a cute, quick and very easy pencil holder inspired by the Minie Mouse comics, for our children to keep their crayons organized. .

<center