[ESP-ENG] ✂️🦄¡Cómo hacer una Piñata con Materiales Reciclados! / How to make a Piñata with Recycled Materials!🦄✂️
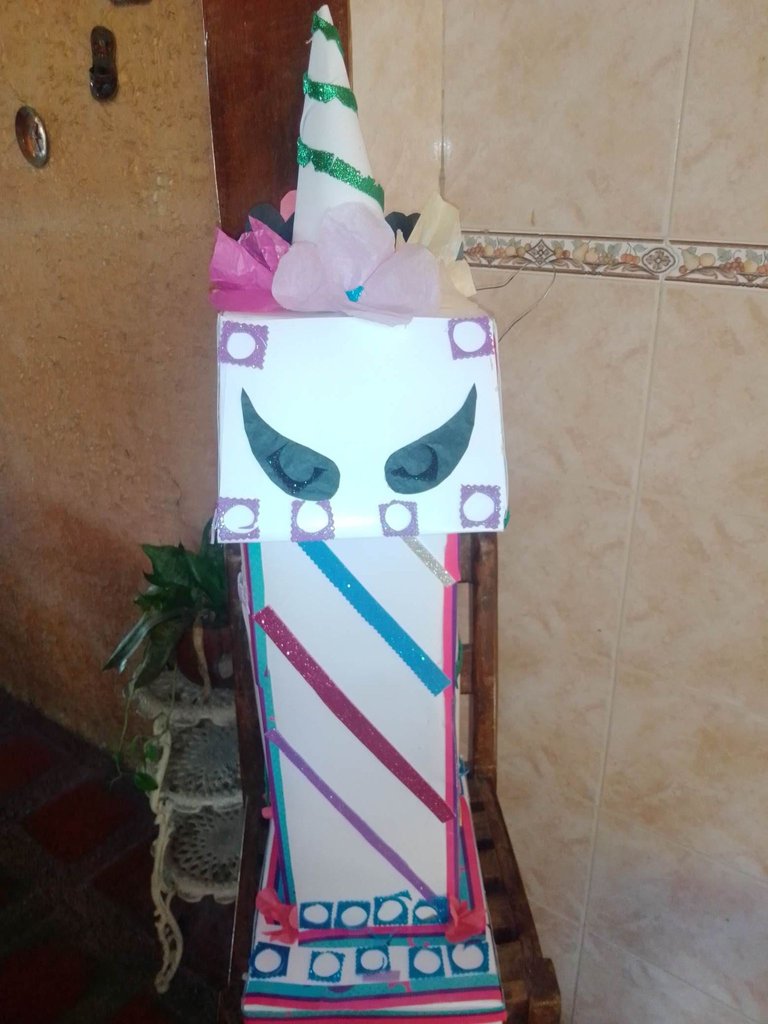

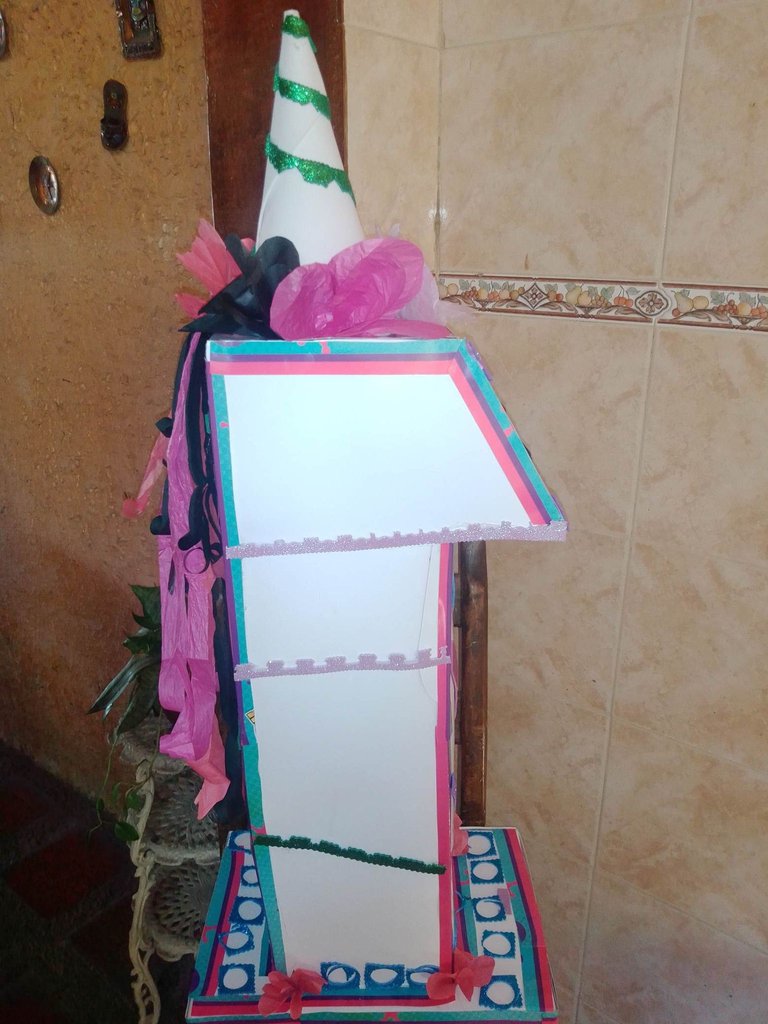
Hive friends, greetings!. In my family we have a tradition to celebrate the first year of life of all nephews, and we are already preparing. In view of the high costs, I invented making the piñata with cardboard boxes, if possible, everything consists of putting a little creativity in it. I made a combination of the unicorn with the number 1, here I explain the simple steps to make the piñata. I hope you like it!.
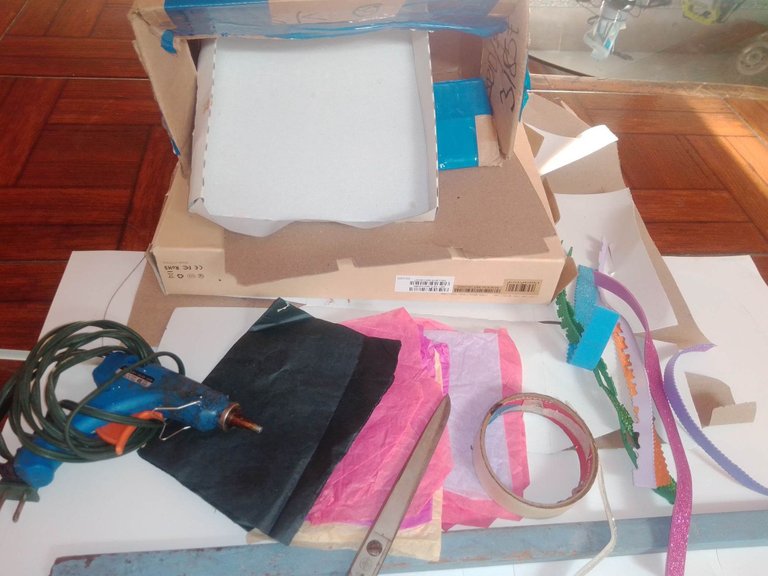
Materiales:✂️🖌📄📐
- Utilicé 3 cajas,1 cuadrada plana para la base, otra rectangular que me sirvió para la altura y otra cuadrada para darle la forma a la parte alta, 4 barras de silicón, recortes de papel de seda para las flores, recortes de foami escarchado, afiches de cartulina blanca.
Materials: ✂️🖌📄📐
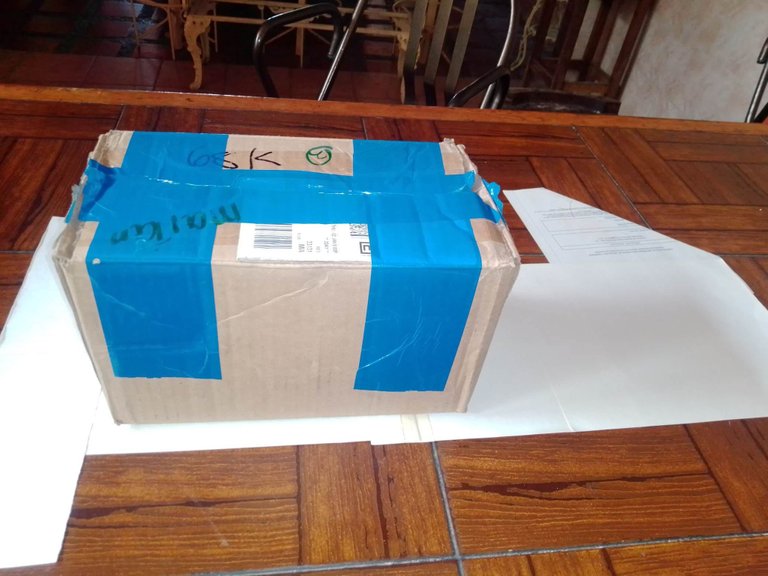
- I used 3 boxes, 1 flat square for the base, another rectangular that served me for the height and another square to give the shape to the top, 4 silicone bars, tissue paper cutouts for the flowers, frosted foami cutouts , white cardboard posters.
Procedimiento:✂️🦄
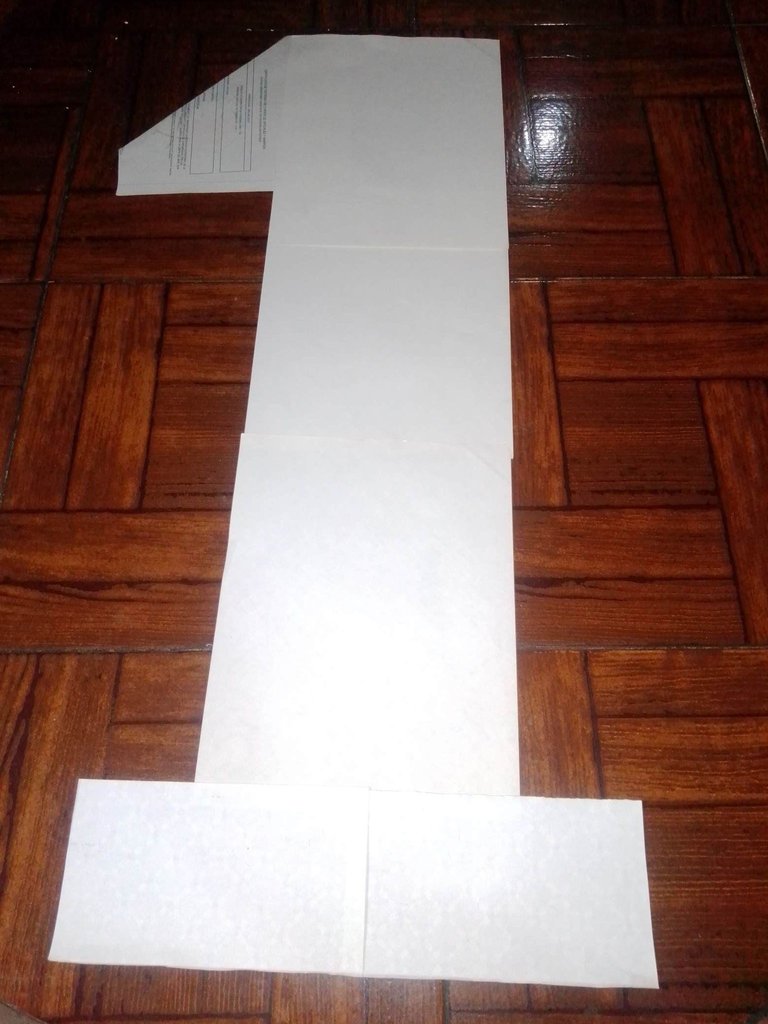
PASO 1:
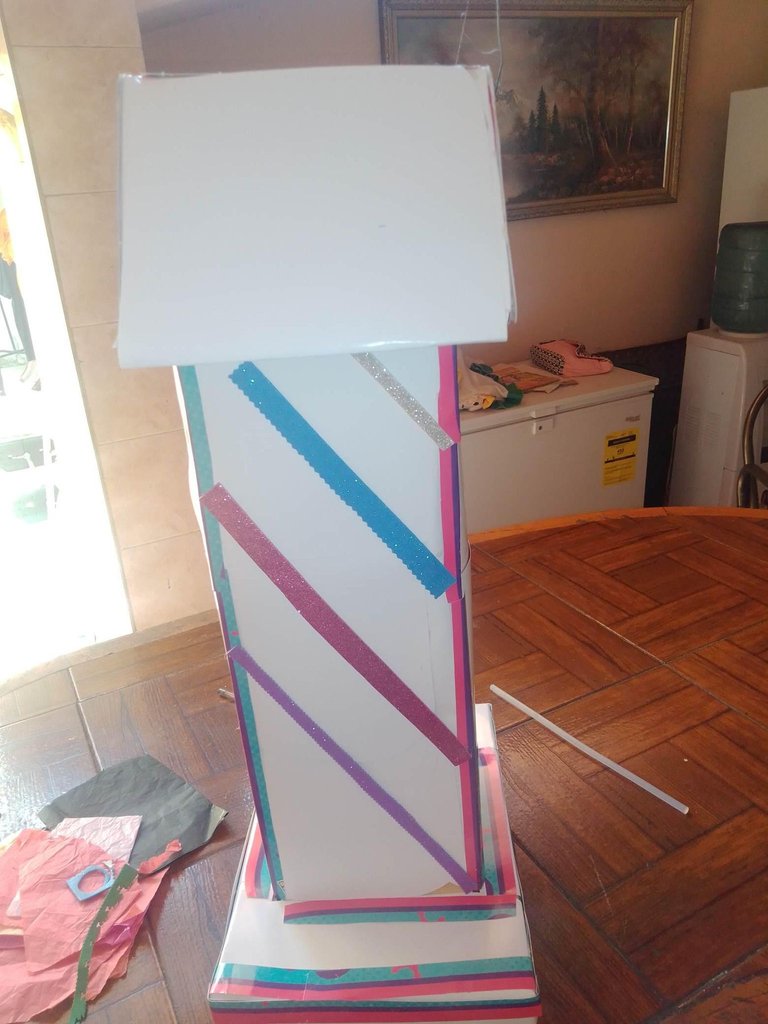
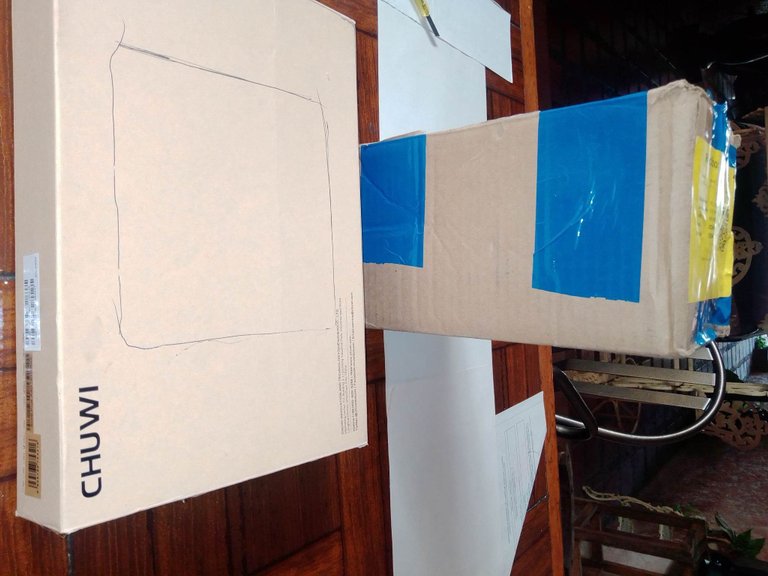
- Saqué el patrón del número 1 del tamaño que quería, fui cuadrando el tamaño de acuerdo al patrón, con ayuda del silicón y la cuchilla corté dónde era necesario.
Procedure: ✂️🦄
STEP 1:
- I took the pattern of the number 1 of the size I wanted, I was squaring the size according to the pattern, with the help of the silicone and the blade I cut where it was necessary.
PASO 2:
- Tenía unos afiches viejos de reverso blanco y los utilicé para forrar y la orilla del afiche en fucsia y verde lo utilice para adornar los bordes.
STEP 2:
- I had some old posters with a white back and I used them for lining and the edge of the poster in fuchsia and green I used to decorate the edges.
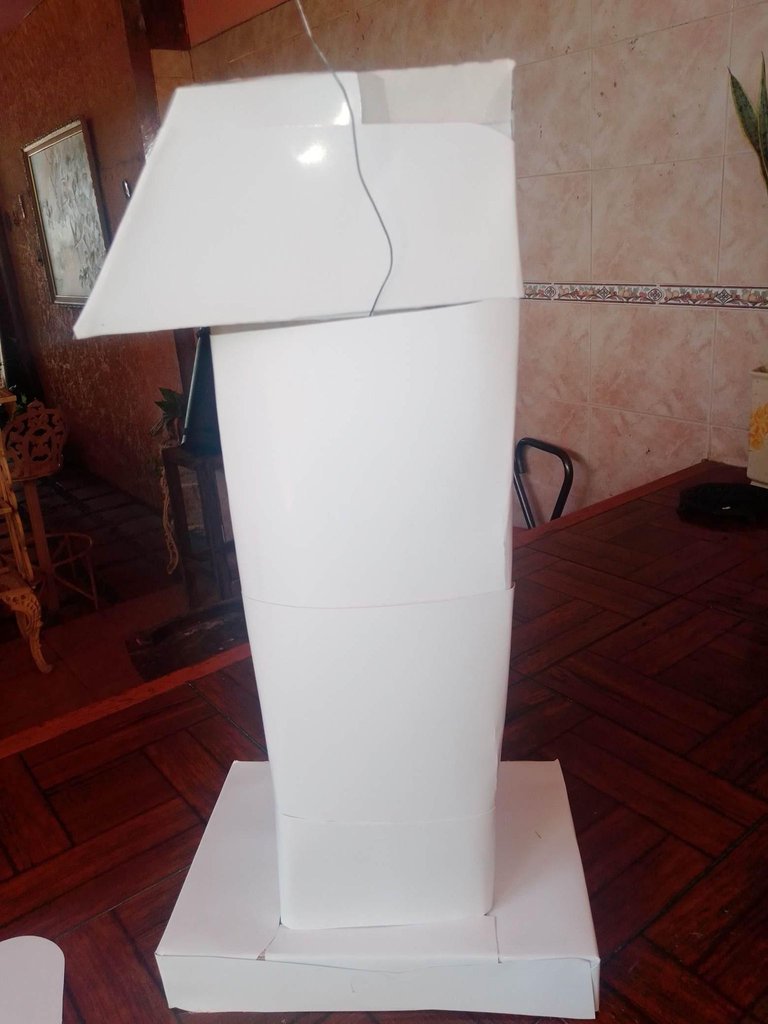
PASO 3:
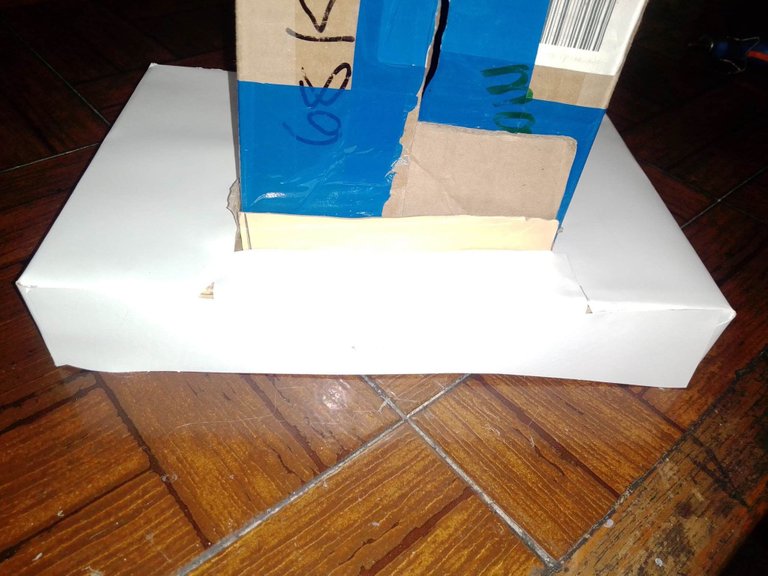
- Con las cajas fui armando la base y forré con el papel blanco.
STEP 3:
- With the boxes I was assembling the base and lined with white paper.

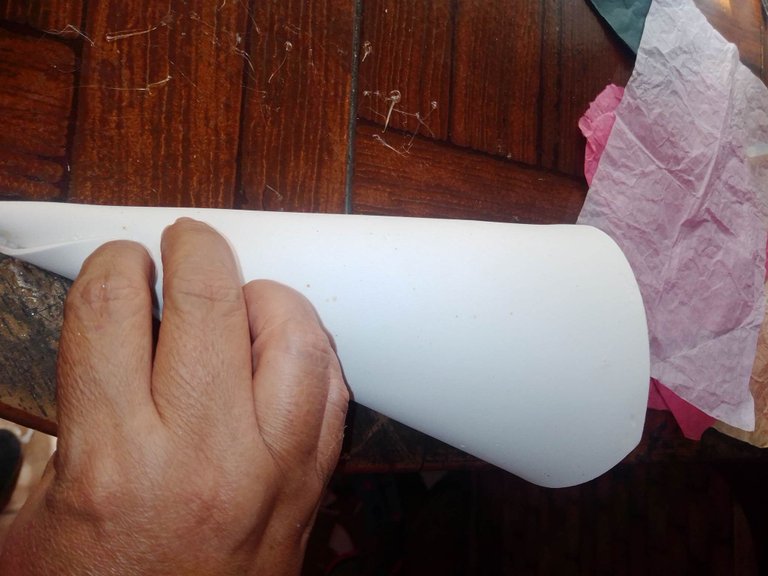
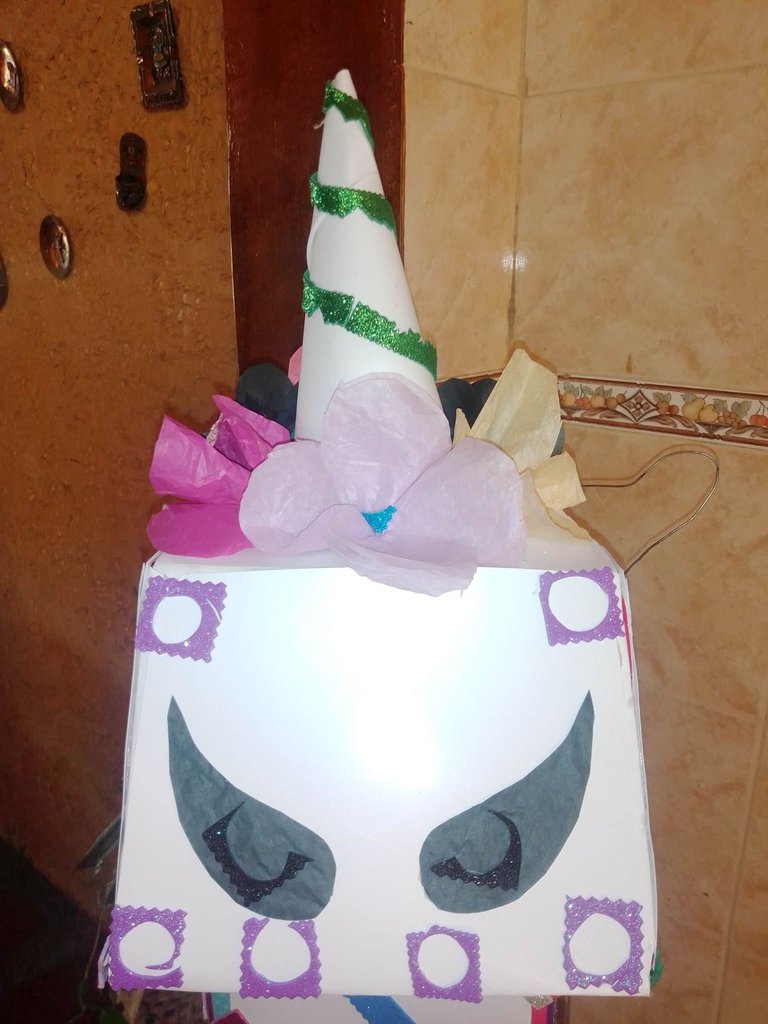
PASO 4:
- Le hice el cuerno con foami blanco y lo entorché con foami Verde.
STEP 4:
- I made the horn with white foam and wound it with green foam.

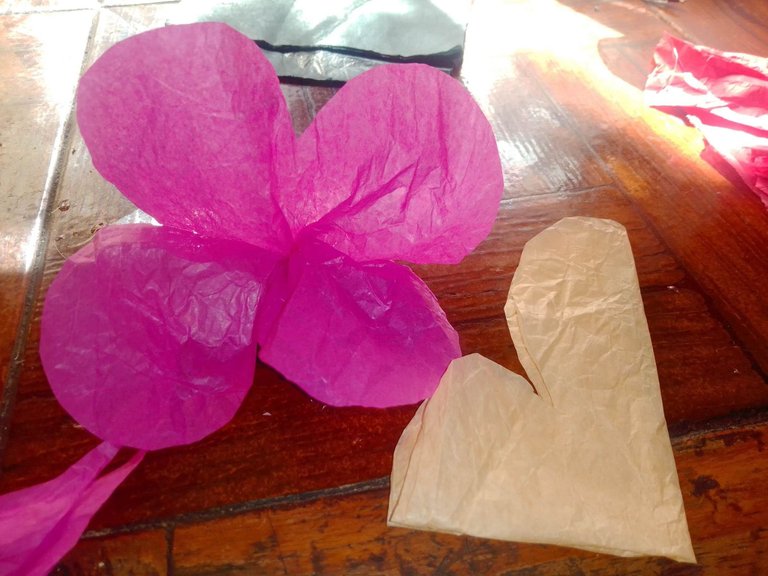
PASO 5:
- Le hice las flores en papel de seda y las coloque alrededor del cuerno, los ojos en papel negro.
STEP 5:
- I made the flowers in tissue paper and placed them around the horn, the eyes in black paper.
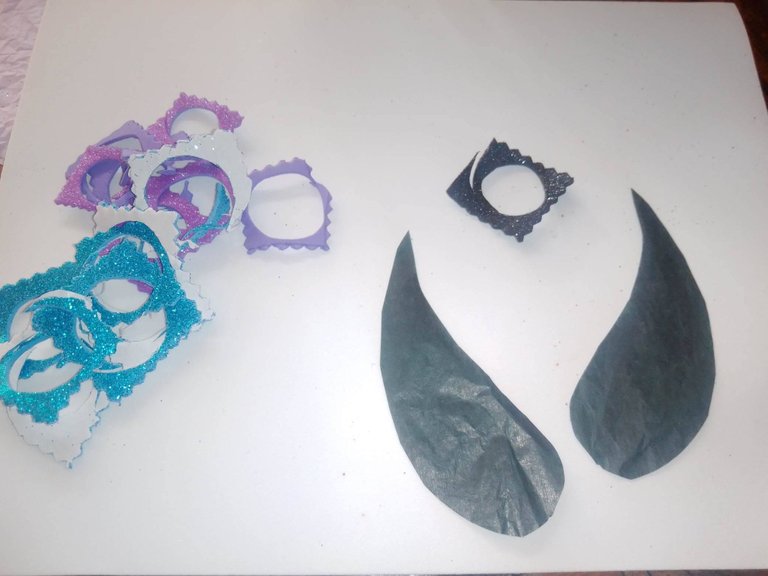
PASO 6:
- La parte baja la decore con recortes de foami.
- Le hice la cola con tiritas de papel de seda.
STEP 6:
- Decorate the lower part with foam cutouts.
- I made the tail with strips of tissue paper.
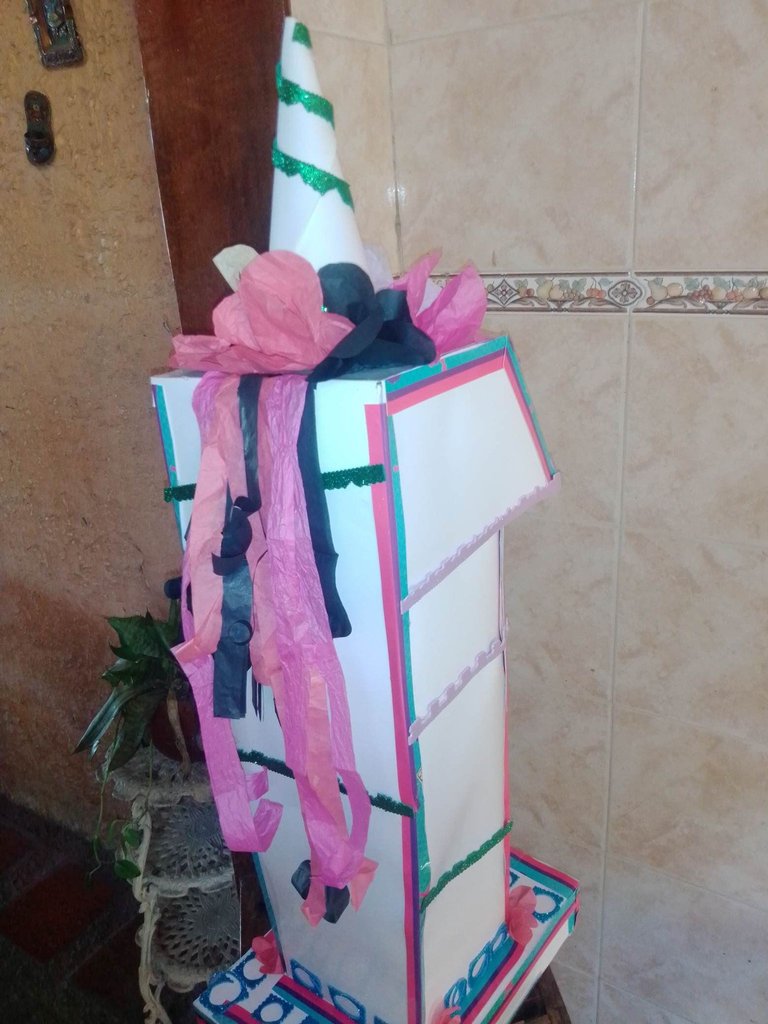
✂️🦄¡Vean como se pueden aprovechar las cajas que botamos, y economizar!✂️🦄
✂️🦄 See how you can take advantage of the boxes that we throw away, and save!✂️🦄
The photos are my property taken with my Blu Advance L4 A350a Dual Sim Quad Core cell phone
100% ORIGINAL CONTENT
@yiobri
.gif)
The gifs were created by the ToonMe.app program and EzGifMaker

https://twitter.com/yiobri/status/1298775569014886401?s=20
Thank you for sharing this amazing post on HIVE!
Your content got selected by our fellow curator @hafizullah & you just received a little thank you via an upvote from our non-profit curation initiative!
You will be featured in one of our recurring curation compilations and on our pinterest boards! Both are aiming to offer you a stage to widen your audience within and outside of the DIY scene of hive.
Join the official DIYHub community on HIVE and show us more of your amazing work and feel free to connect with us and other DIYers via our discord server!
If you want to support our goal to motivate other DIY/art/music/homesteading/... creators just delegate to us and earn 100% of your curation rewards!
Stay creative & hive on!