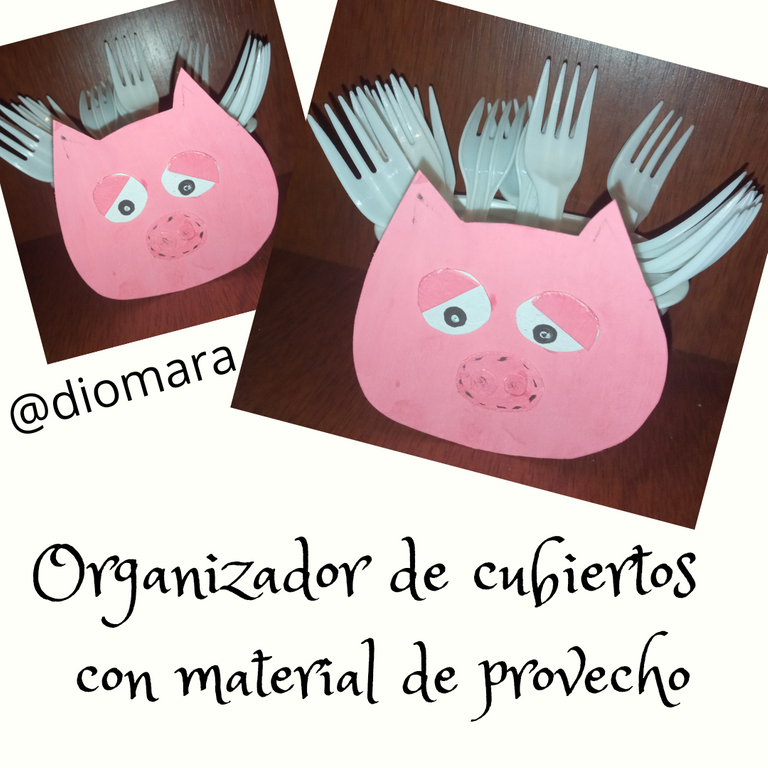
[Esp-Eng] Tutorial: Realiza un hermoso organizador de cubiertos DIY con material de provecho. 🍴🐷 @diomara
Hoy quiero compartir con ustedes cómo hacer un práctico organizador de cubiertos usando materiales de provecho es muy fácil y rápido de elaborar, espero les guste y se animen a reciclar para cuidar nuestro planeta.
Hello friends of this beautiful Hive, happy and blessed start of the week for all of you I hope you can enjoy this day and have a lot of fun.
Today I want to share with you how to make a practical cutlery organizer using waste materials is very easy and quick to make, I hope you like it and encourage you to recycle to take care of our planet.
Cerdito organizador de cubiertos DIY
DIY cutlery organizer piggy
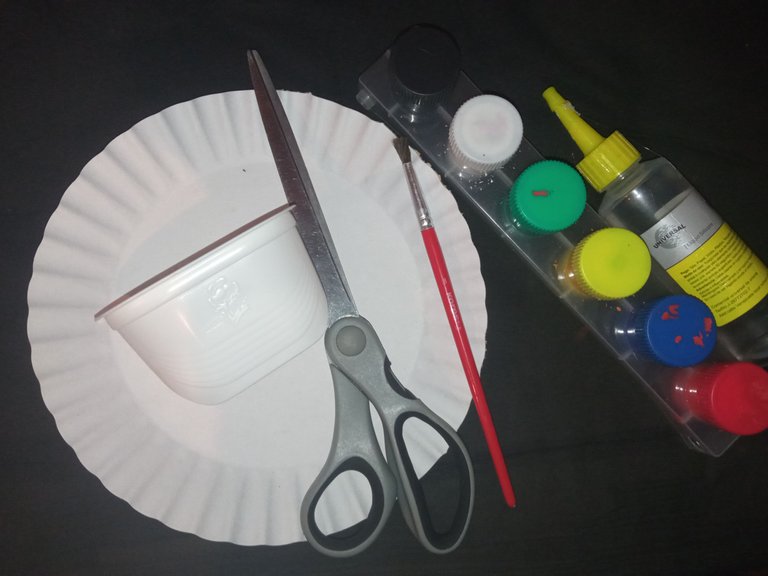
Materiales utilizados en el proceso:
Plato desechable
Envase plástico reciclado
Tijera
Pinturas
Pegamento
Pincel
Lápiz
Materials used in the process:
Disposable plate
Recycled plastic container
Scissors
Paints
Glue
Brush
Pencil
*Manos a la obra | Let's get to work
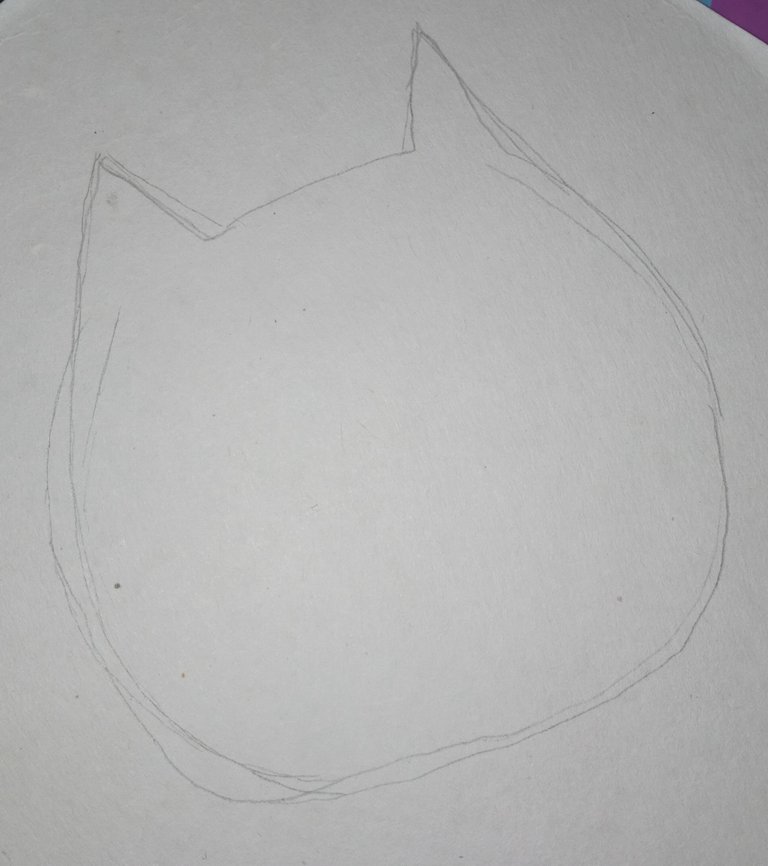
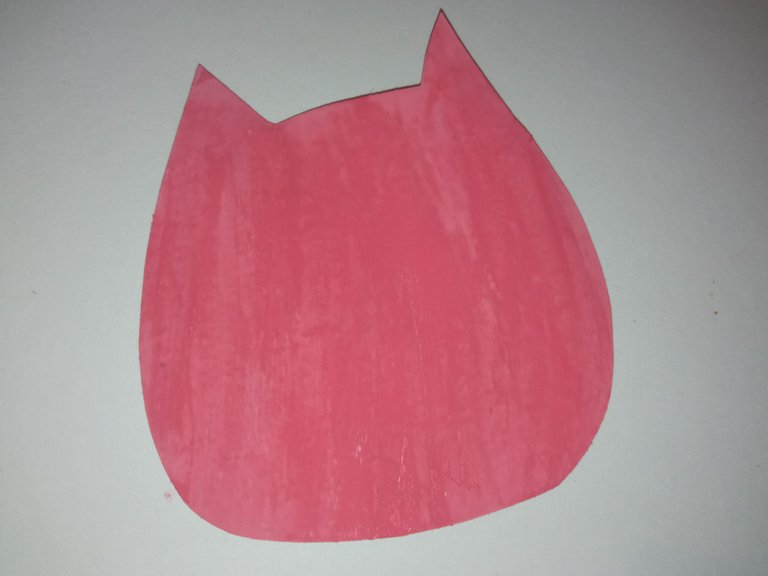
En el primero lugar comenzamos marcando en el plato desechable la forma de la cara de un cerdito.
In the first place we start by marking on the disposable plate the shape of a pig's face.
Recortamos la cabeza marcada en el plato desechable y la pintamos de rosado.
Cut out the head marked on the disposable plate and paint it pink.
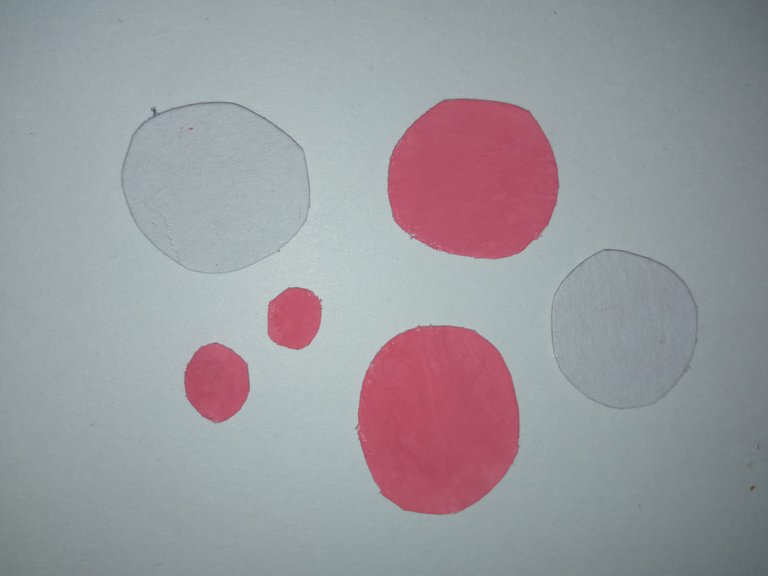
Recortamos círculos de diferentes tamaños dos los dejamos blanco y los otros de rosado que serán los párpados, y la nariz.
We cut out circles of different sizes, two of them in white and the others in pink, which will be the eyelids and the nose.
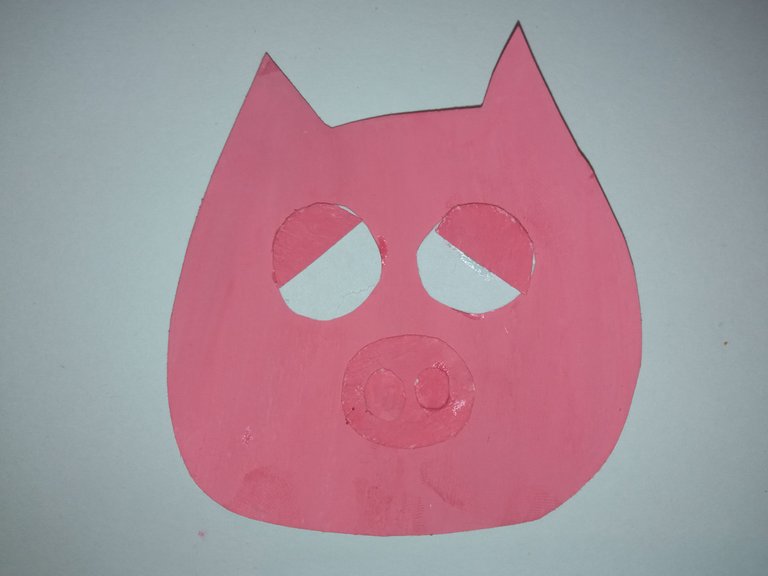
Pegamos los círculos que hicimos anteriormente.
We glue the circles we made earlier.
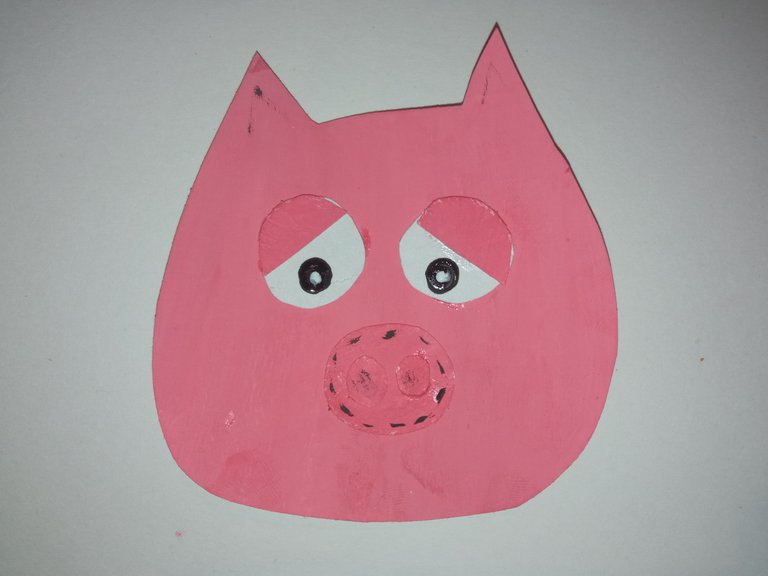
Luego pintamos los ojos y la cara de nuestro Cerdito.
Then we painted the eyes and face of our Piggy.
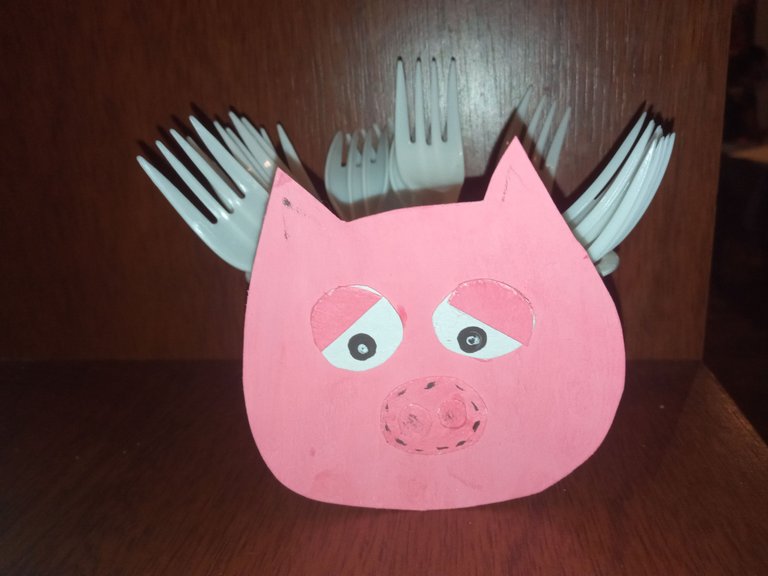
Para el paso final pegamos el cerdita en el envase plástico reciclado y estará listo para utilizar.
For the final step we glue the piggy into the recycled plastic container and it will be ready to use.
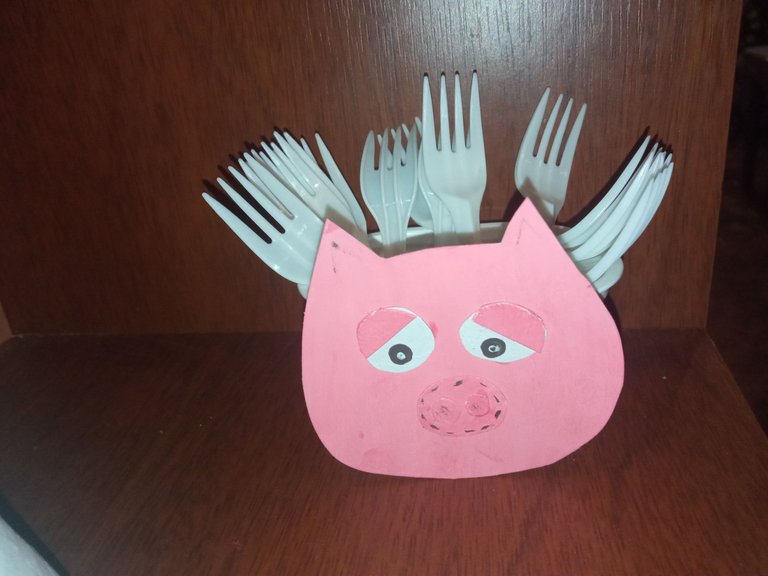
Aquí les enseñaré como quedó el práctico organizador DIY de cubiertos decorado con un cerdito:
Here I will show you how the practical DIY cutlery organizer decorated with a little piggy turned out:
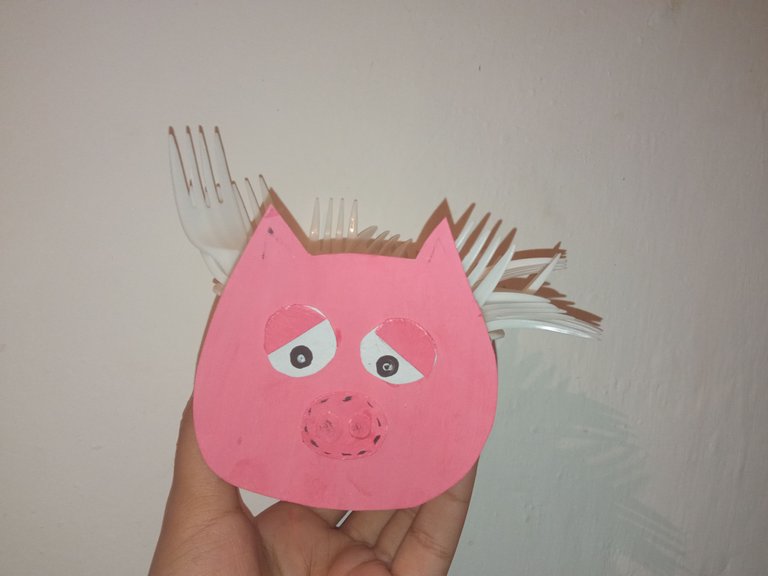
Está creación quedará hermosa decorando nuestra cocina y lo mejor es que lo podemos crear con material que conseguimos fácilmente en casa y con unos pasos rápidos. Espero les guste y se animen a realizarlo.
This creation will be beautiful decorating our kitchen and the best thing is that we can create it with material that we can easily get at home and with a few quick steps. I hope you like it and encourage you to do it.
Me despido hasta un próximo post, nos vemos.
I'll say goodbye until a future post, see you.
@diomara
Your content has been voted as a part of Encouragement program. Keep up the good work!
Use Ecency daily to boost your growth on platform!
Support Ecency
Vote for Proposal
Delegate HP and earn more