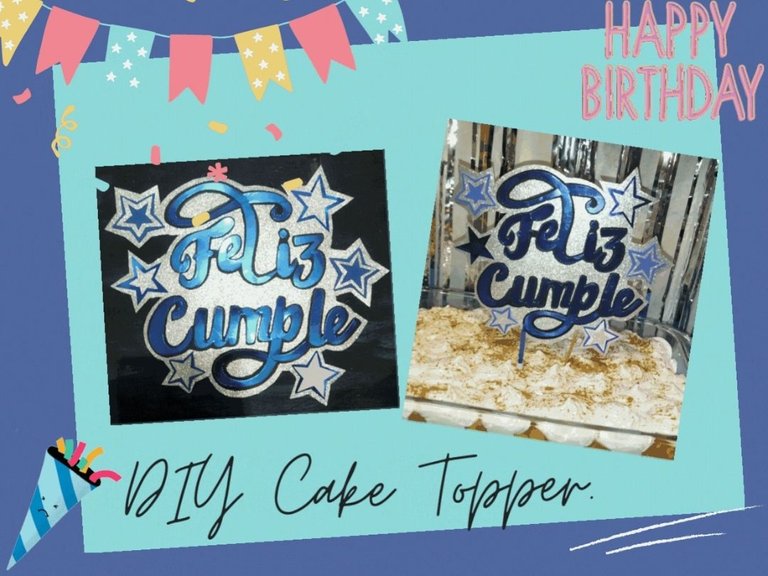
[ESP-ING] Topper para torta con decorado de estrellas. || Cake topper with star decoration.
¡Hola comunidad de Hive!
Hello Hive community!
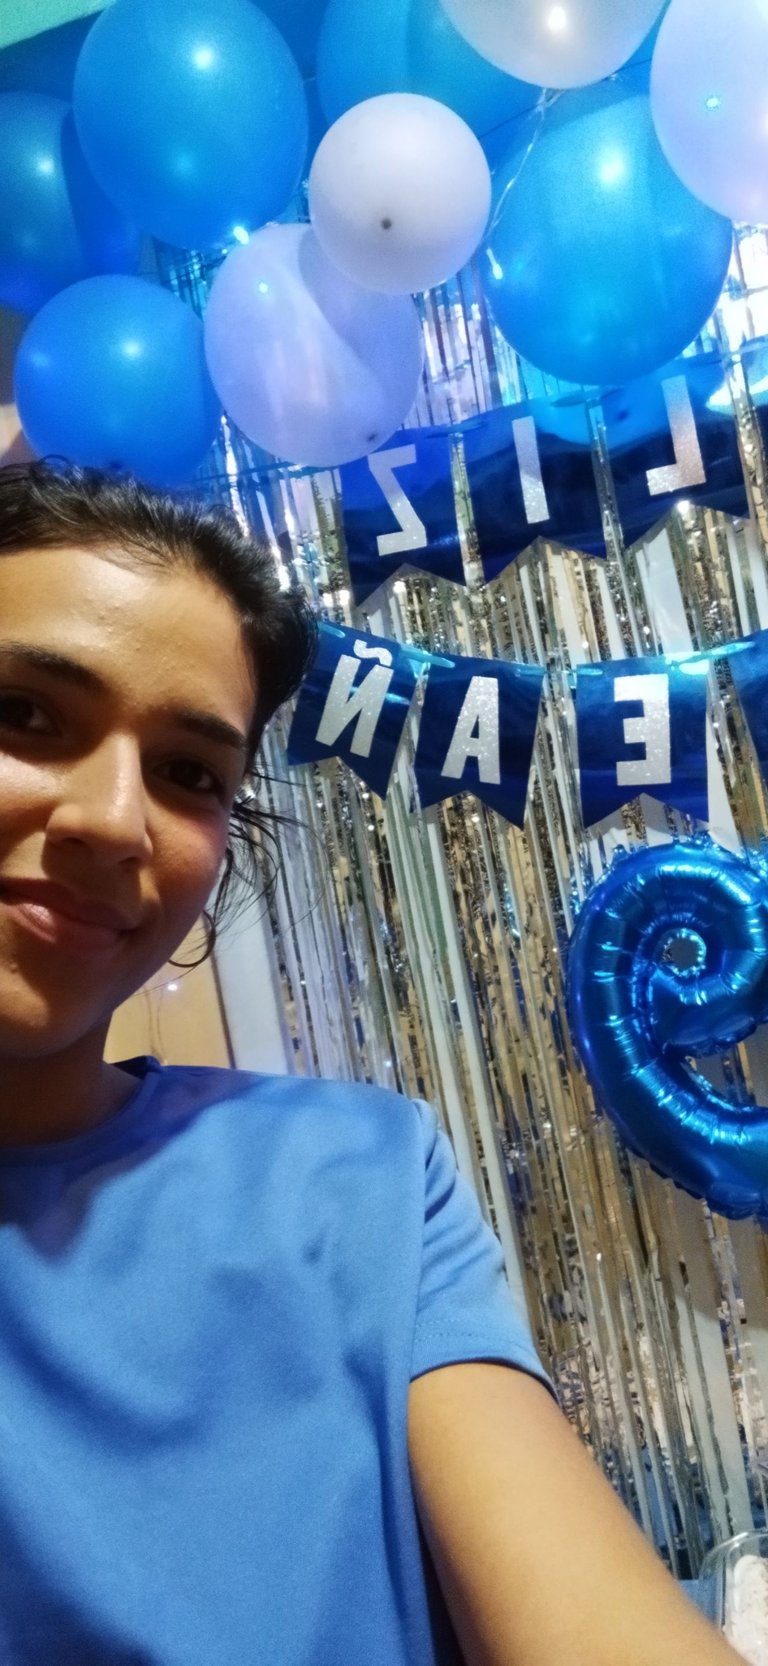
Hola linda gente de Hive! bienvenidos a mi blog, hoy quiero compartir con ustedes la realización de un Topper sencillo con un decorado de estrellas, este Topper fue un encargo junto con un banderín de feliz cumpleaños para decorar la fiesta de cumpleaños número 19 de mi primo Raúl. Como hacer el banderín. Sin más que decir... Comencemos.
Hello beautiful people of Hive! welcome to my blog, today I want to share with you the realization of a simple Topper with cut stars, this Topper was an order along with a happy birthday banner to decorate the 19th birthday party of my cousin Raul How to make the pennant
Without more to say... Let's begin.
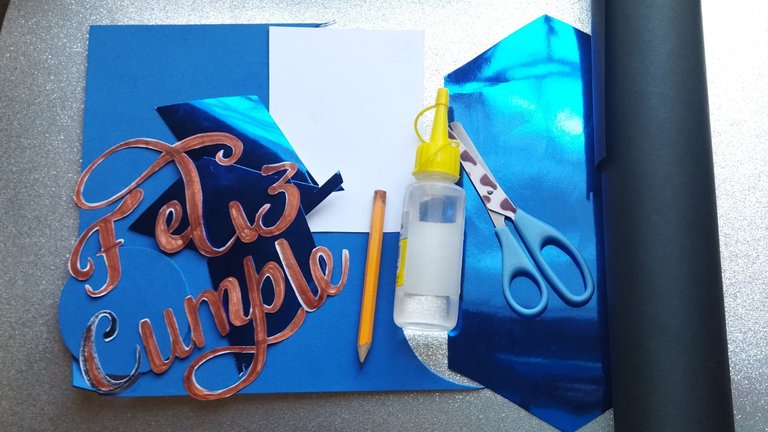
Materiales:
- Cartulina escarchada plateada
- Cartulina espejo azul
- Cartulina negra
- Tijera
- Lápiz
- Molde de letras
- foami azul
- Silicón al frio o caliente
- bisturí
Materials:
- Silver frosted cardboard
- Blue mirror cardboard
- Black cardboard
- Scissors
- Pencil
- Letter mold
- blue foami
- Hot or cold glue
- scalpel
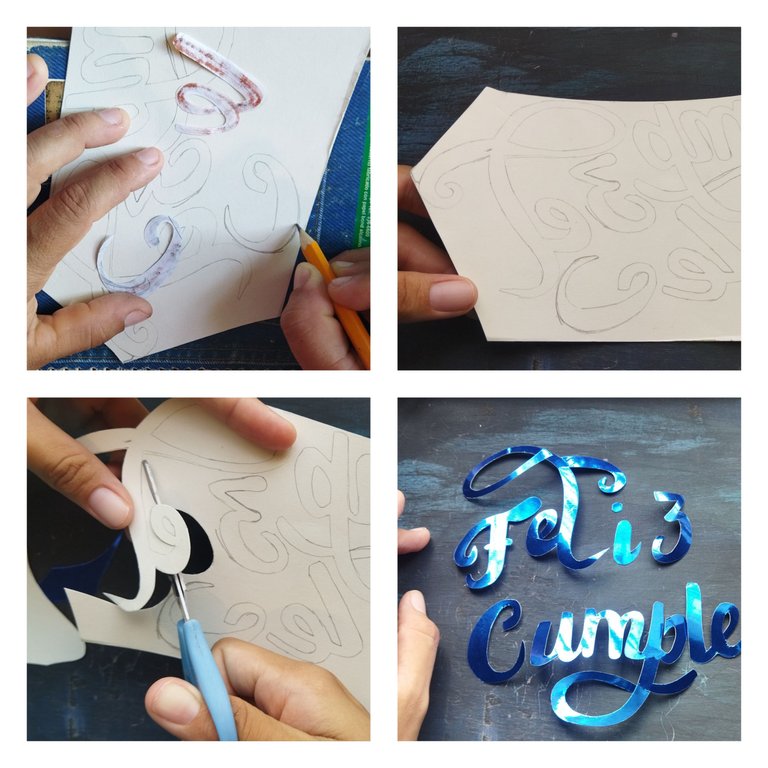
EL primer paso es marcar las letras, en este caso "Feliz Cumple" estás letra las saque impresas.
Luego de tener marcado todo Parla parte trasera de la cartulina espejo, cortamos utilice la tijera y el bisturí para cortes más precisos.
The first step is to mark the letters, in this case "Happy Birthday" these letters are printed.
After we have marked everything on the back of the mirror cardboard, we cut using the scissors and the scalpel for more precise cuts.
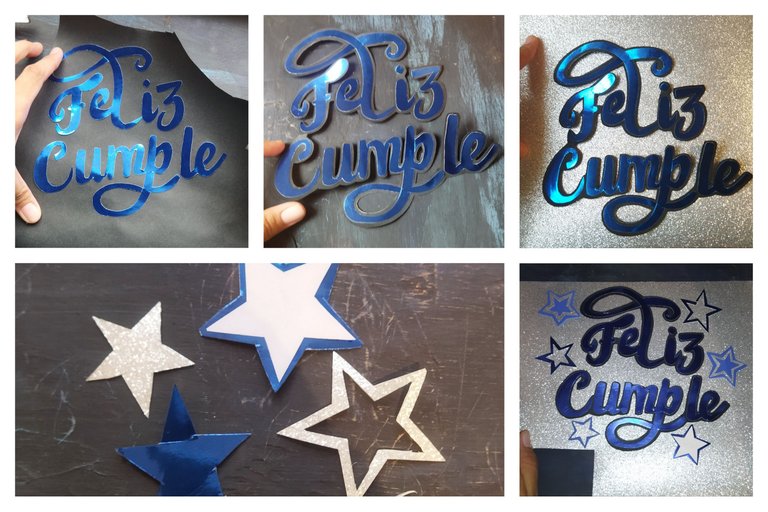
Pegamos las letras en la cartulina negra, ordenando muy bien las palabras, colo que un palabra sobre la otra cómo puedes ver en la imagen.
Luego corte dejando un contorno sobre las palabras, así que cortamos dejando 0,50 cm de margen.
Para adornar el Topper realicé algunas estrella de distintos tamaños, y con retazos de las distintas cartulinas.
Acomodé todo sobre la cartulina escarchada y fui pegando pieza por pieza. Corte igualmente dejando un borde.
We glue the letters on the black cardboard, arranging the words very well, placing one word on top of the other as you can see in the image.
Then cut leaving an outline over the words, so we cut leaving 0.50 cm margin.
To decorate the Topper I made some stars of different sizes, and with scraps of different cardboard.
I placed everything on the frosted cardboard and glued it piece by piece. I also cut leaving a border.
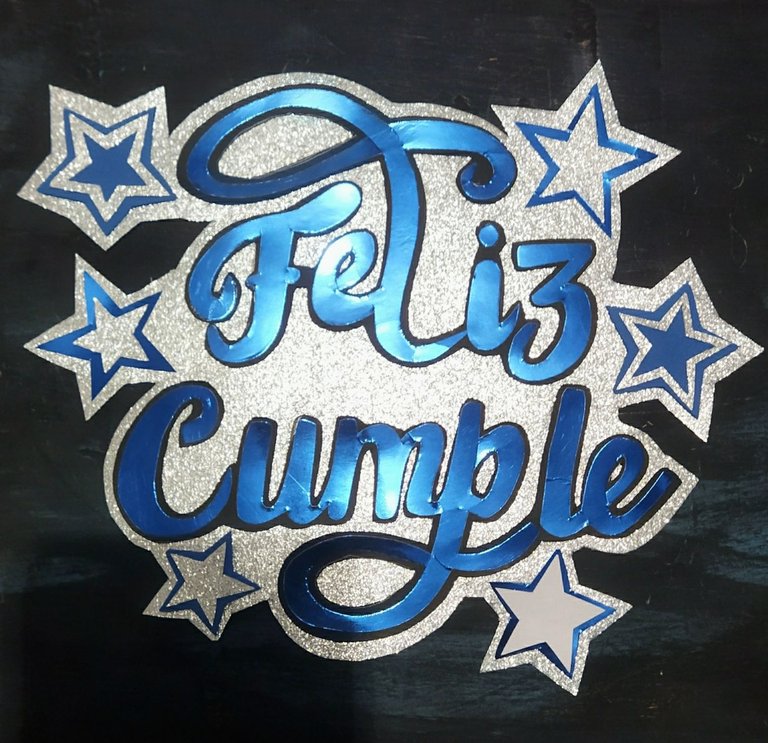
Para finalizar pegamos dos palillos de altura en la parte trasera, esto será el
Resultado final.
Final result.


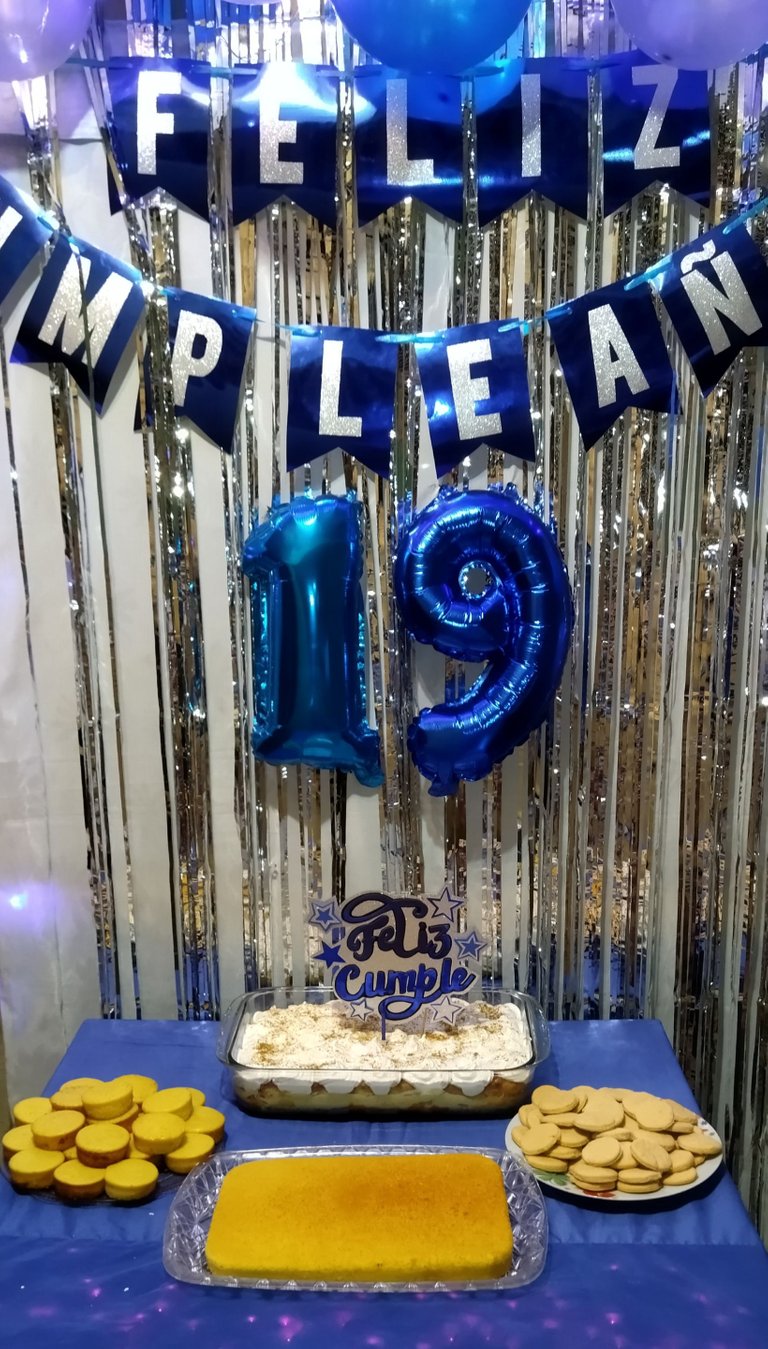
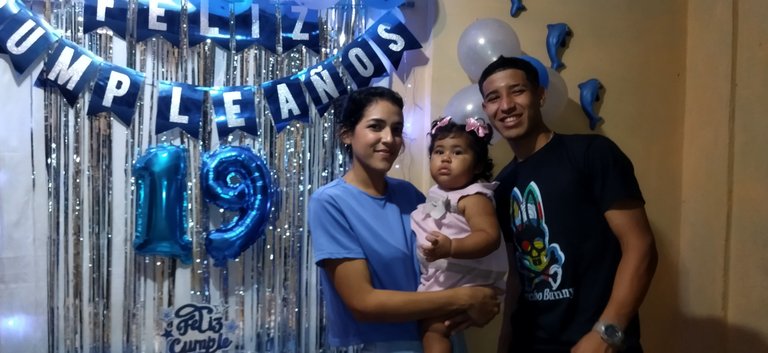
Me encantó el resultado final del Topper, quedé muy complacida y mi primo estuvo muy contento. Si llegaste hasta aquí gracias infinitas por leer mi post.
I loved the final result of the Topper, I was very pleased and my cousin was very happy. If you made it this far, thank you for reading my post.
All images are my property / Todas las imágenes son de mi propiedad
Camera: Xiaomi Redmi 9T.
Translation: Deepl.com