PROCESS OF HOW I MADE A FOUR COMPARTMENT PURSE.

Good morning everyone,
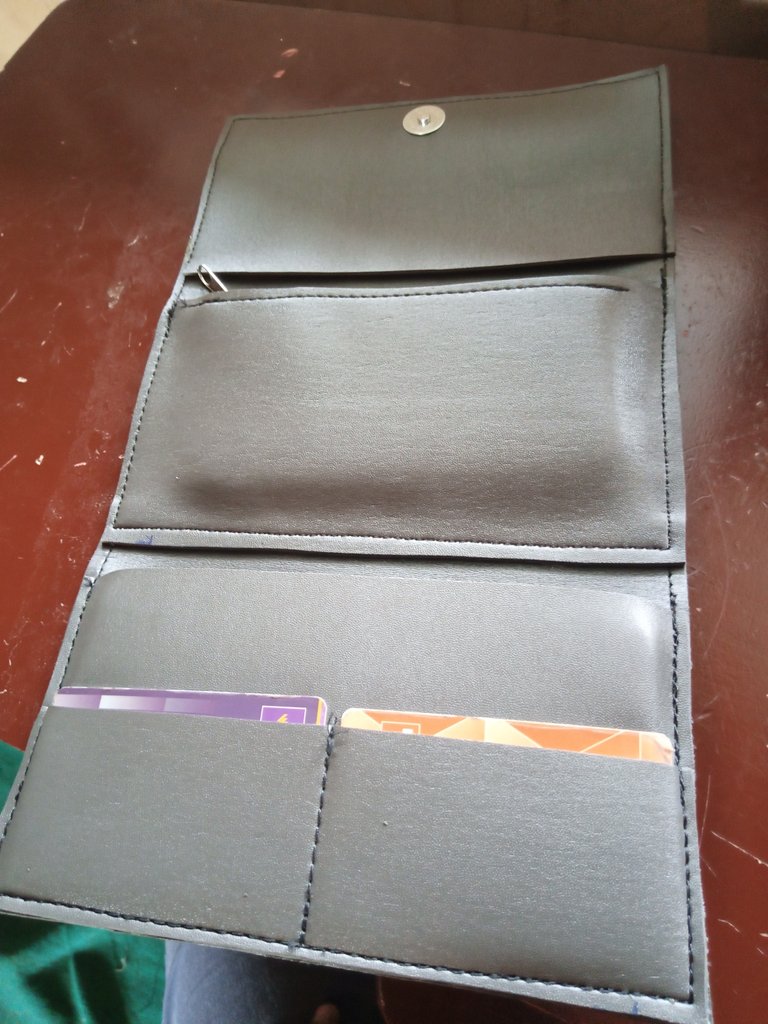
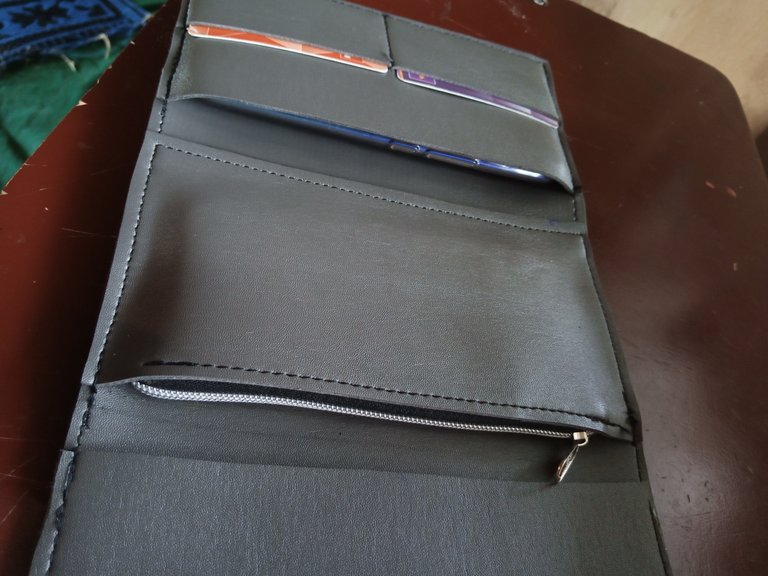
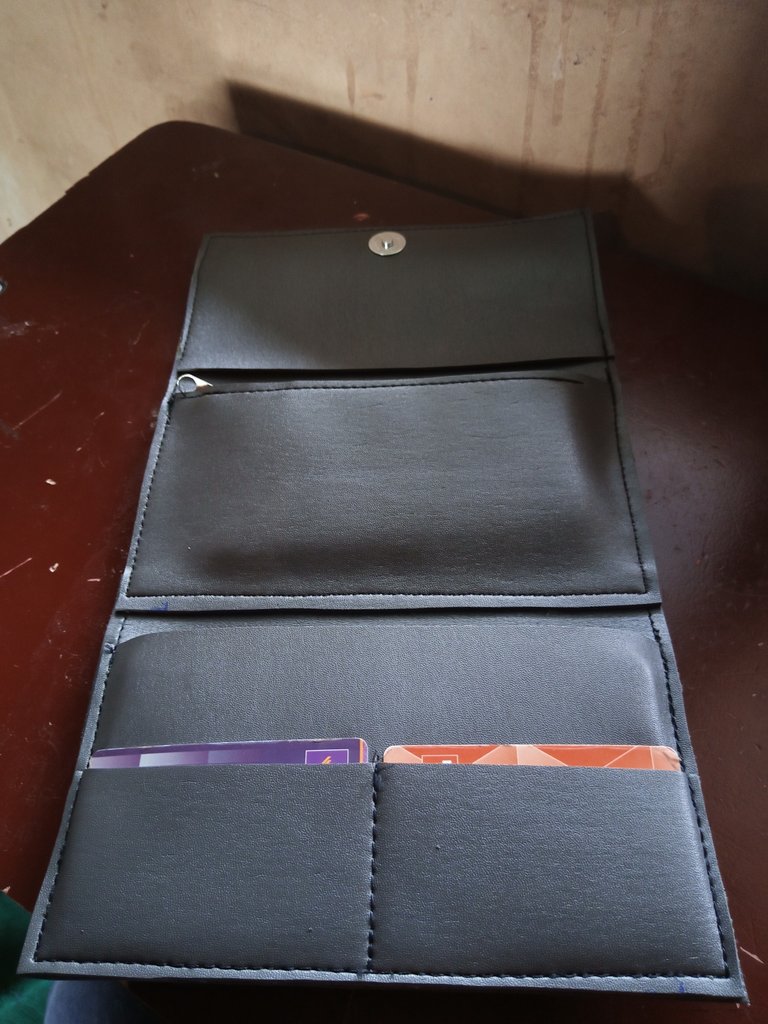
This morning I'll be sharing the process of how I made a four compartment purse. The idea behind this purse is to make a purse in a wallet for which means it will be able to contain more stuffs than an ordinary wallet. So when I designed the purse, I was sure to include four compartment in it. One of it even has a zip to keep the things kept inside intact. It also has a space for cards and it can conveniently contain two phones, cards, and money in the other space. Below I'll be giving a pictorial process of how I got it done inside the pictures, I also include the measurements I used.
MATERIALS USED
- Leather of choice
- A magnet
- Gum
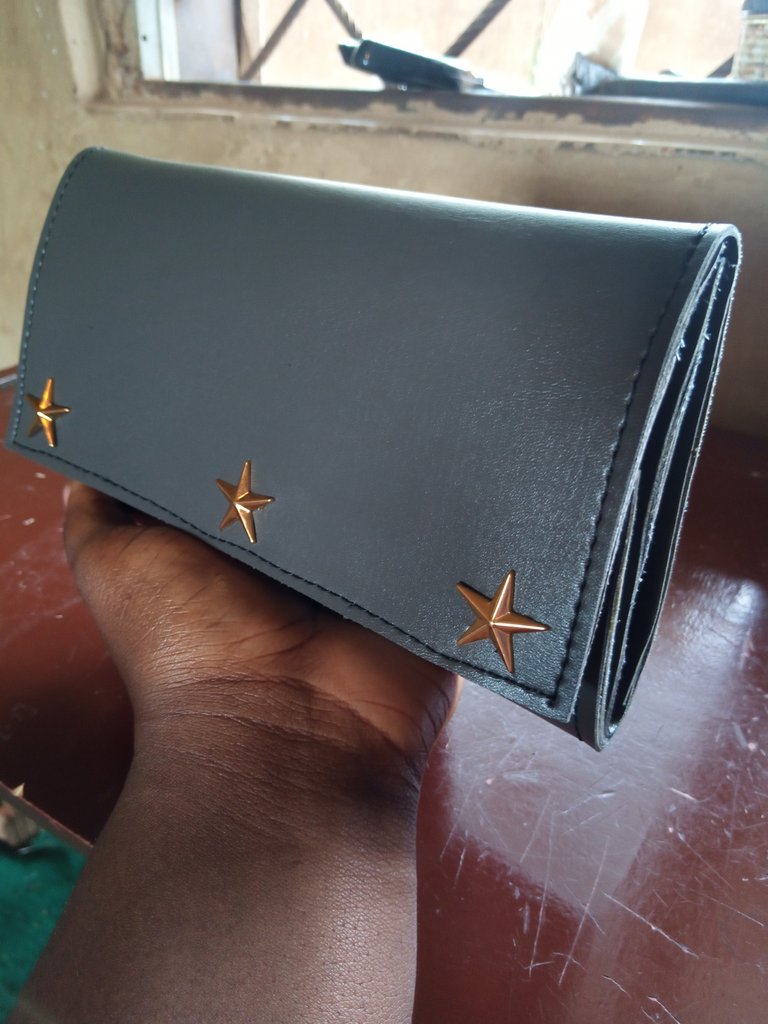
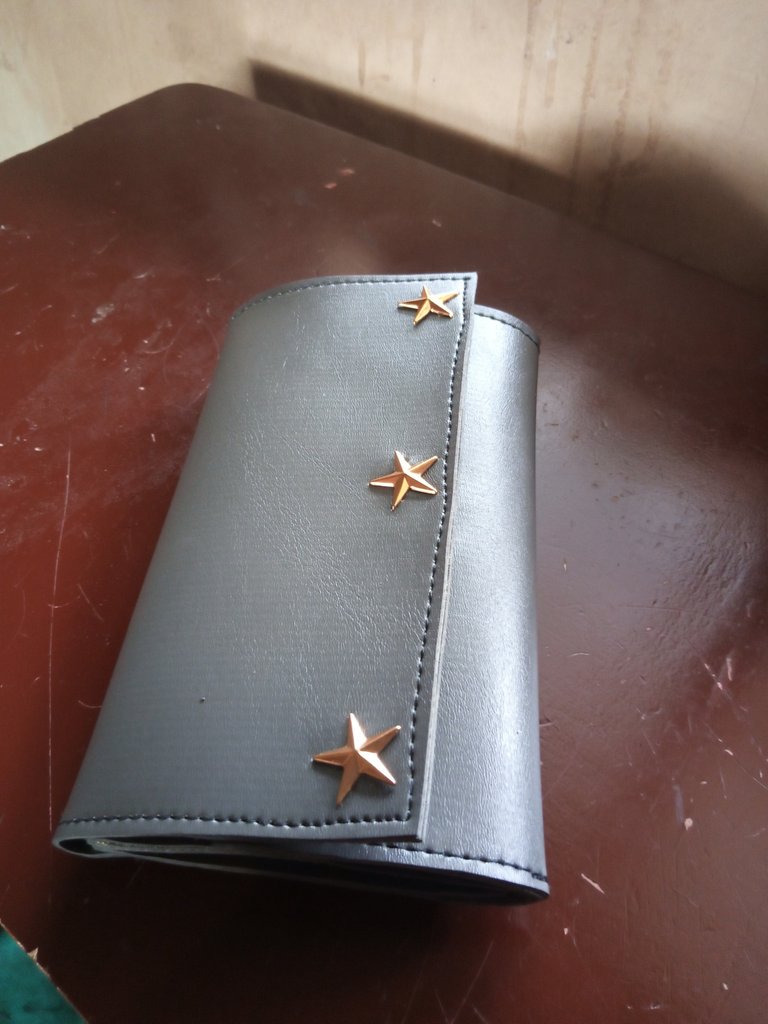
- Design pins (optional)
PROCESS
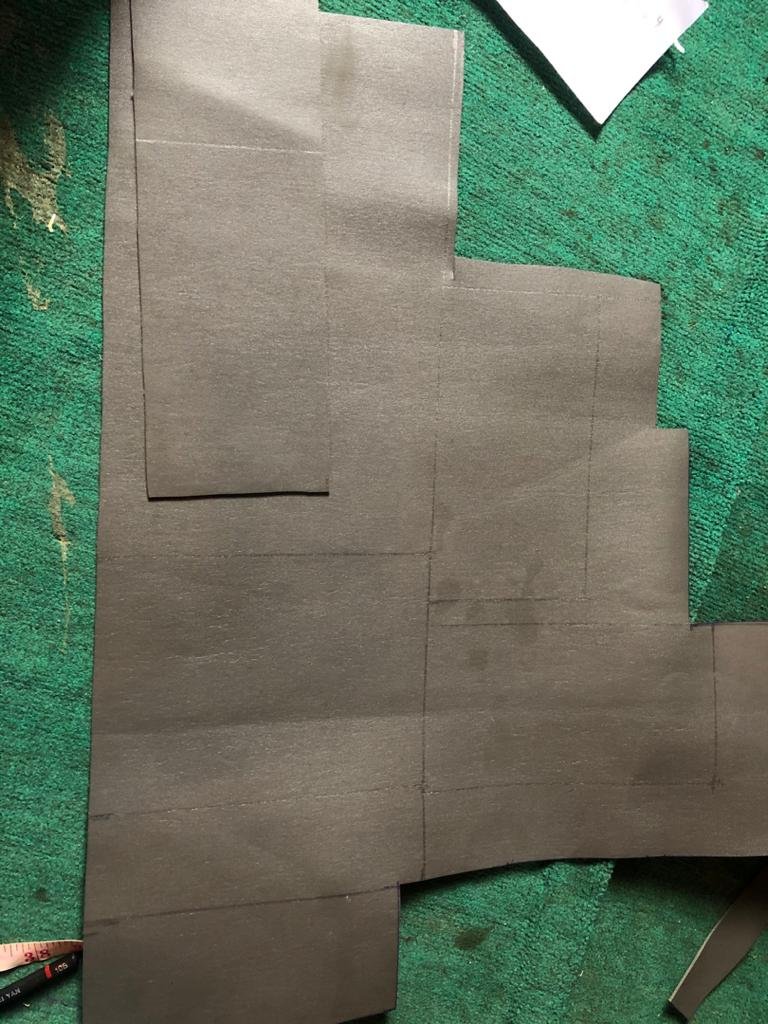
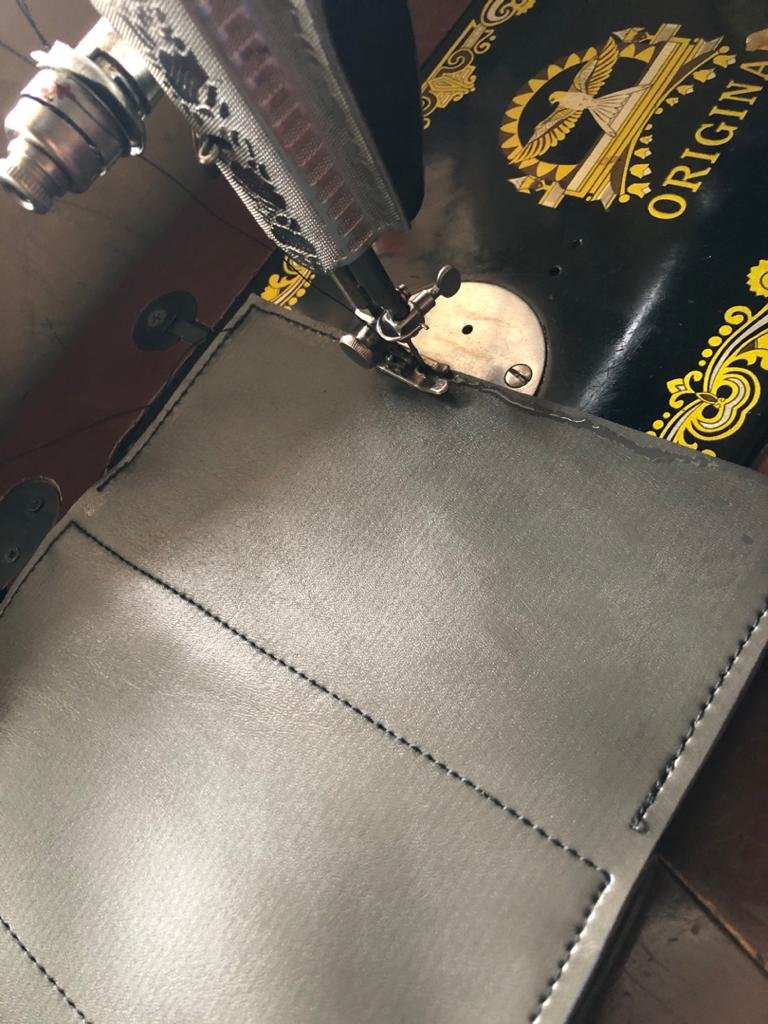
- First I mark and cut out the measurements on the leather.
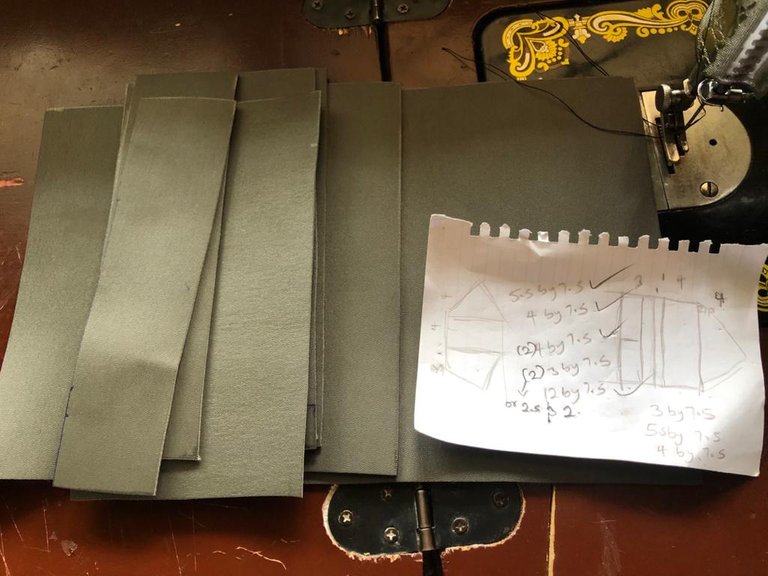
- First I stitch the 2.5 by 7.5 together as seen below.
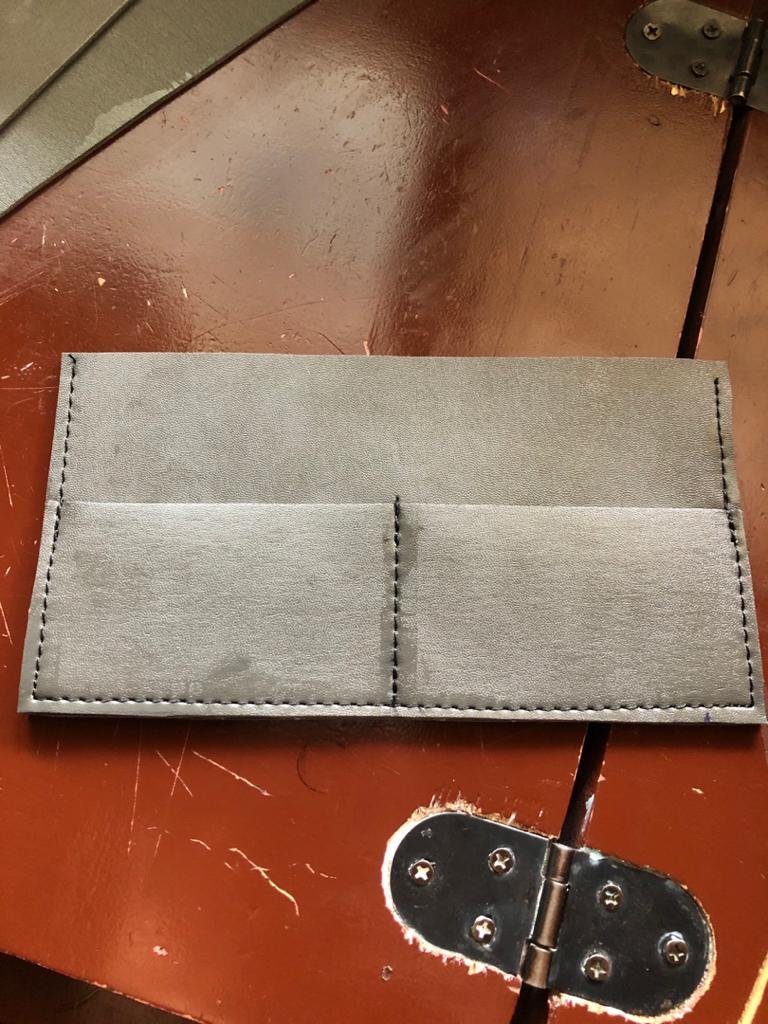
- Then I later stitch what I got from above with the 5 by 7.5 inches leather.
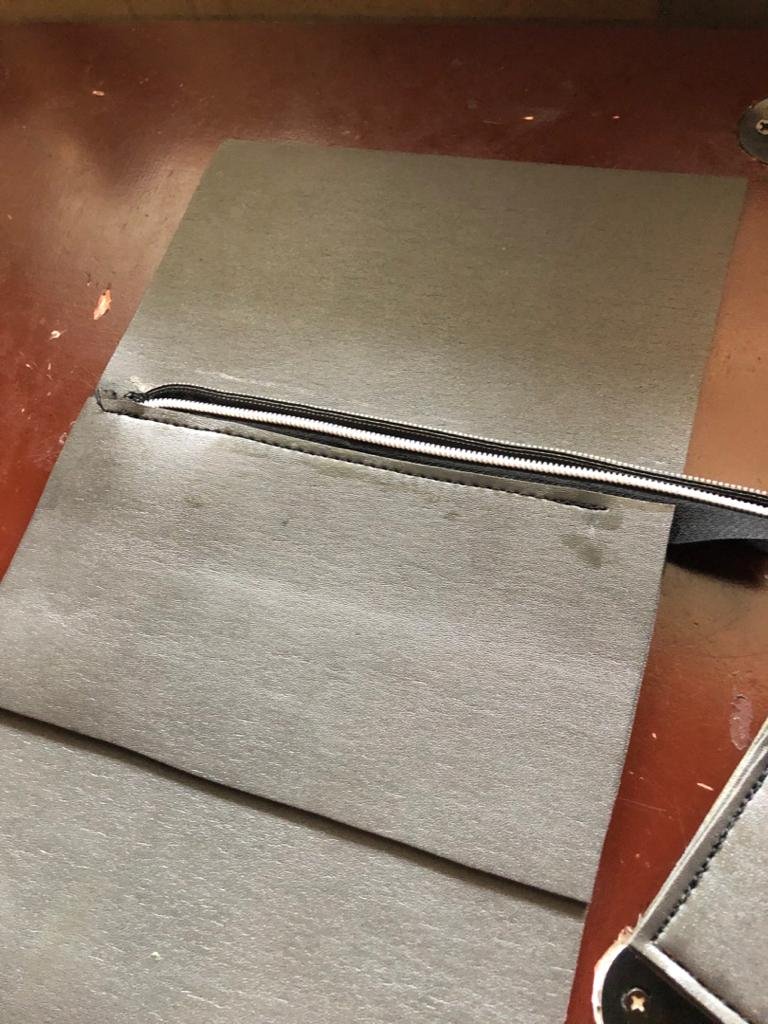
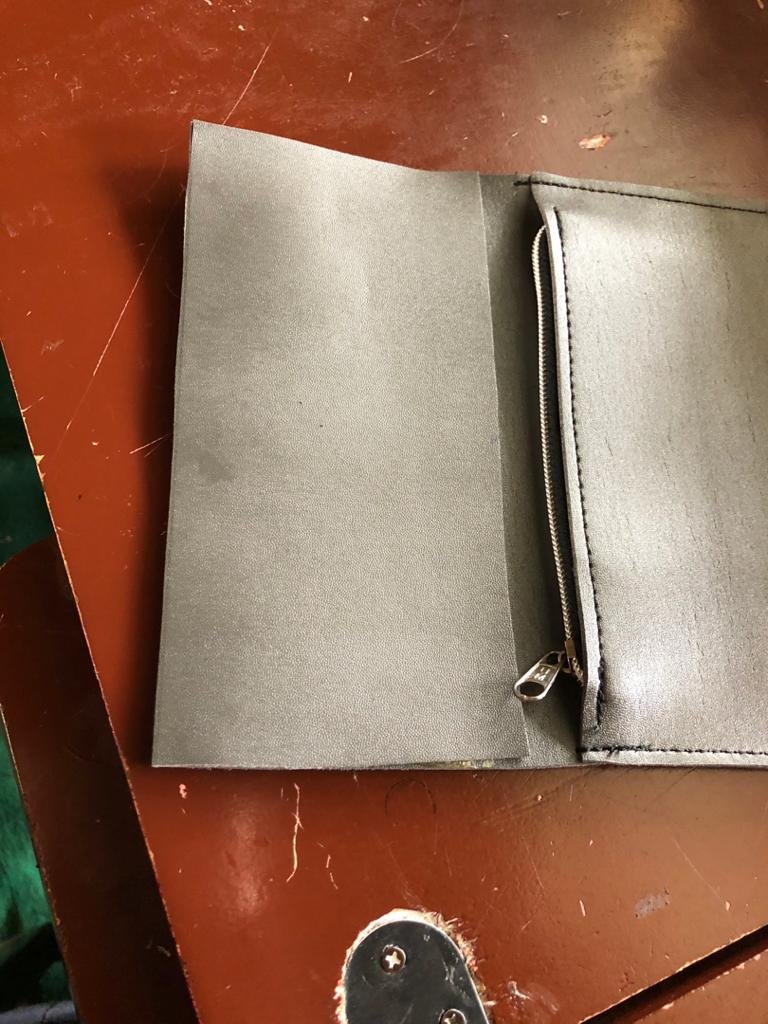
- Next thing was I fixed one part of the zip on a line drawn 4.5inches from the top of the main leather purse (12 by 7.5 inches)

- Then I fixed the second end of the zip to another 4by 7.5 inches leather I've previously cut as seen below.
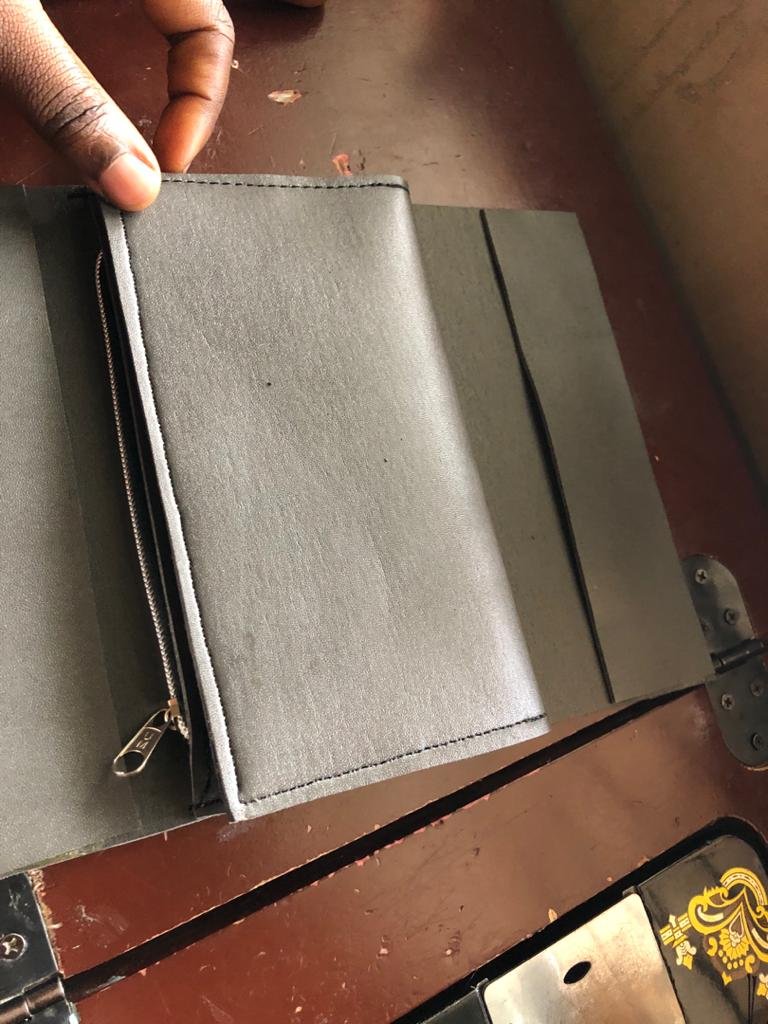
- Then I open it up and added gum to the sides plus the leather I made at step 4.
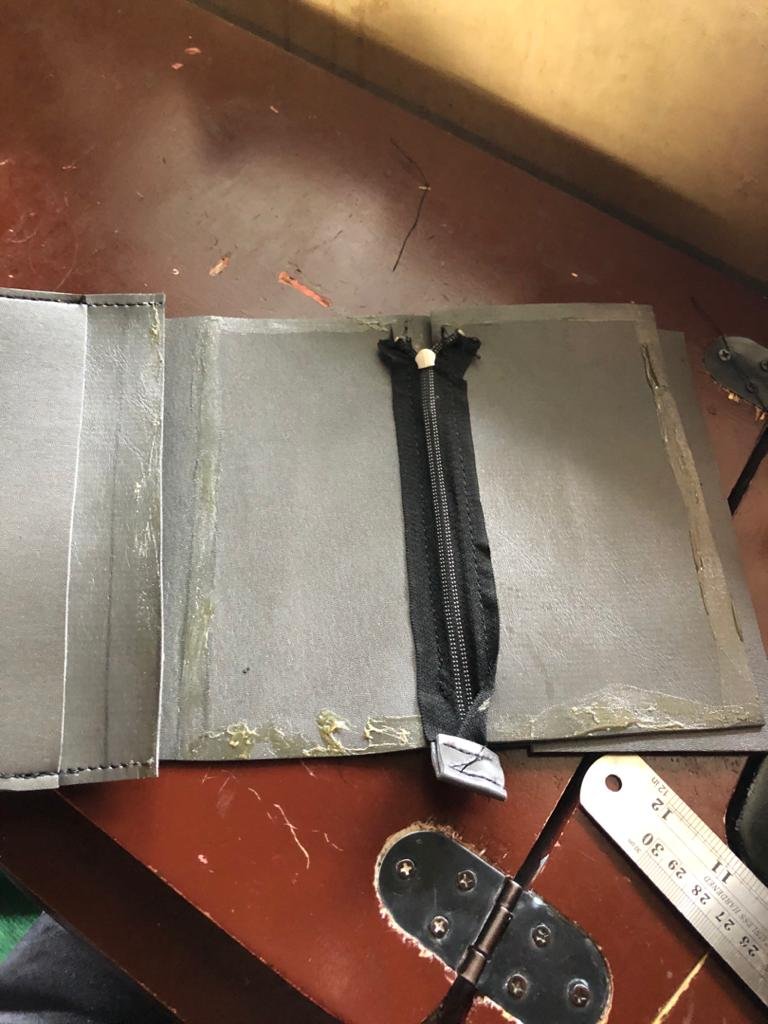
- After gumming, I stitched it together as seen below.
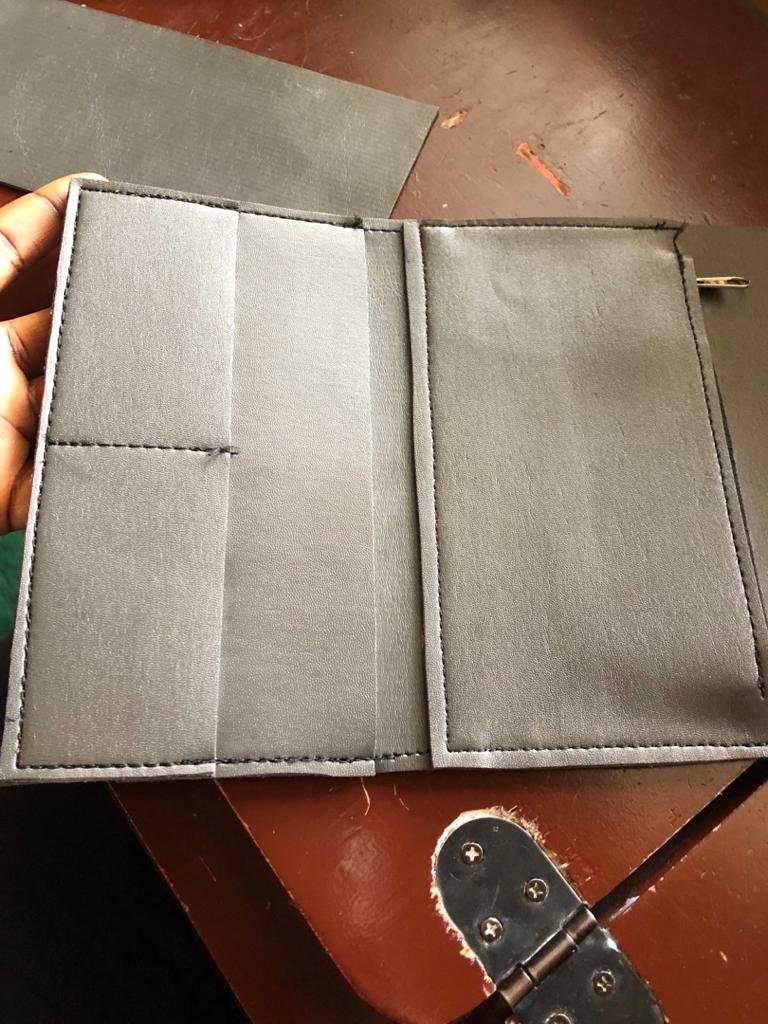
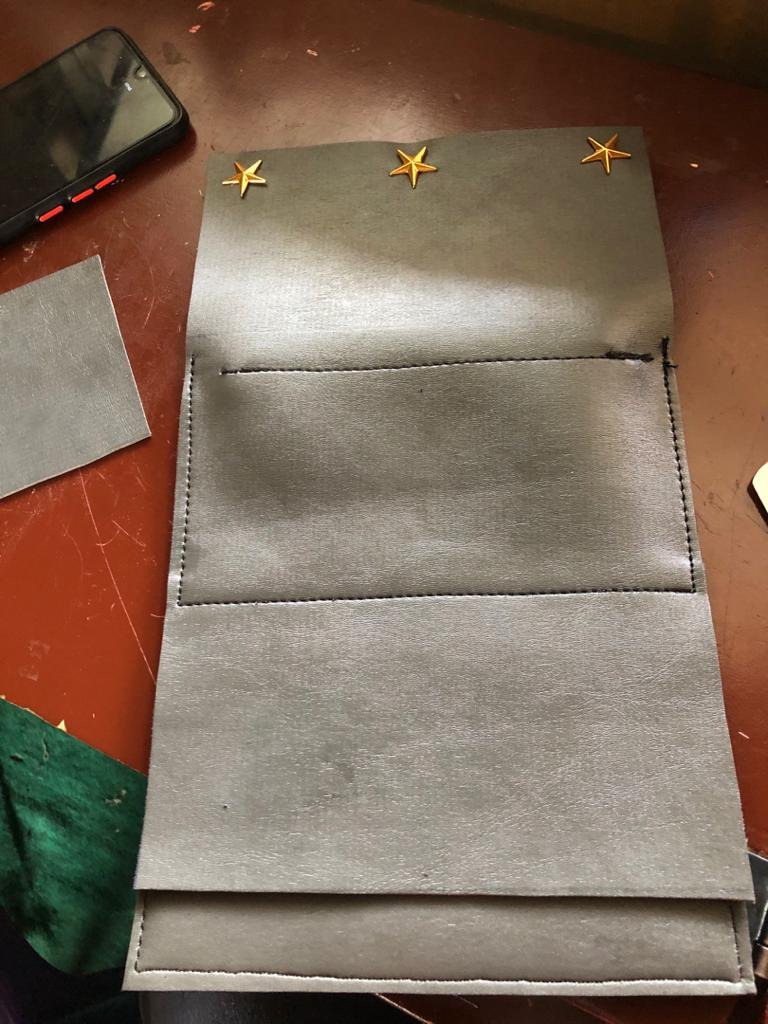

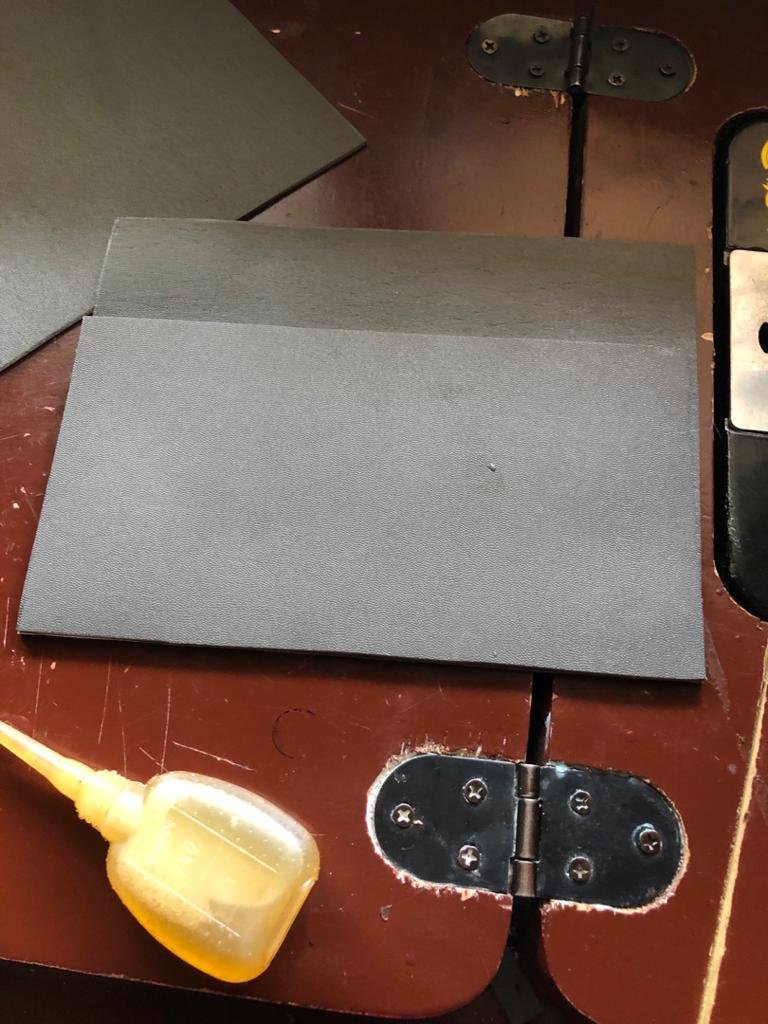
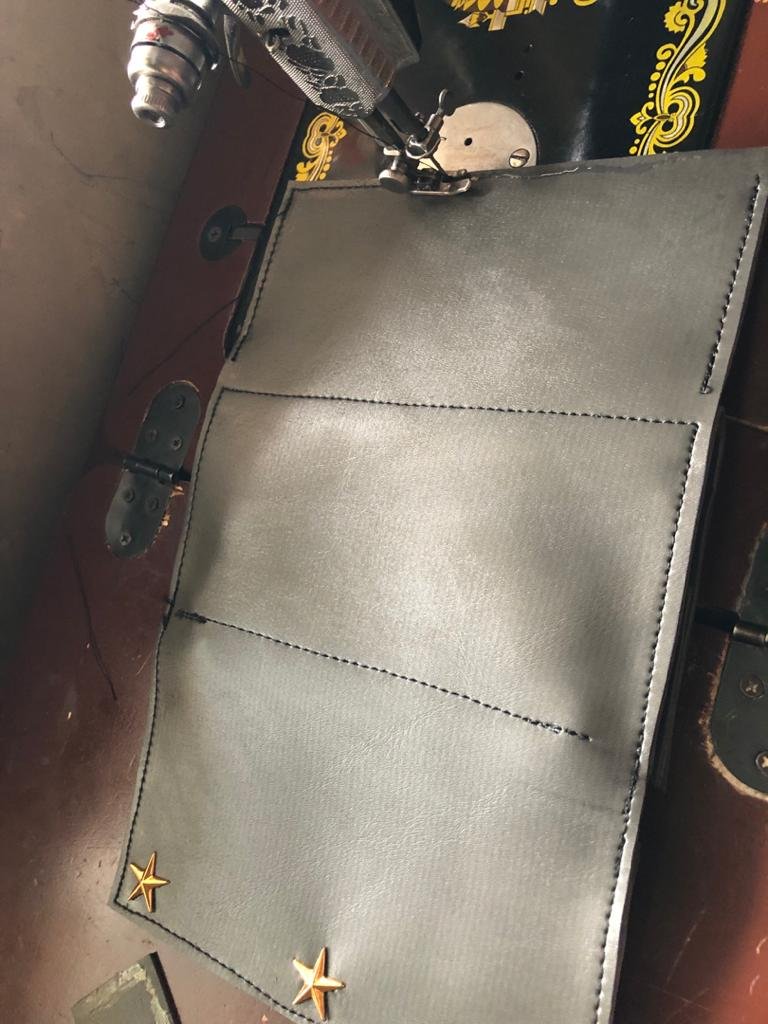
- To the last two ends of the main leather material(12by 7.5 inches) I gummed its respective compartment leather. 4by 7.5imches to the top and 3by 7.5inches to the down part.
- Then I stitched everything together from the back as seen below.
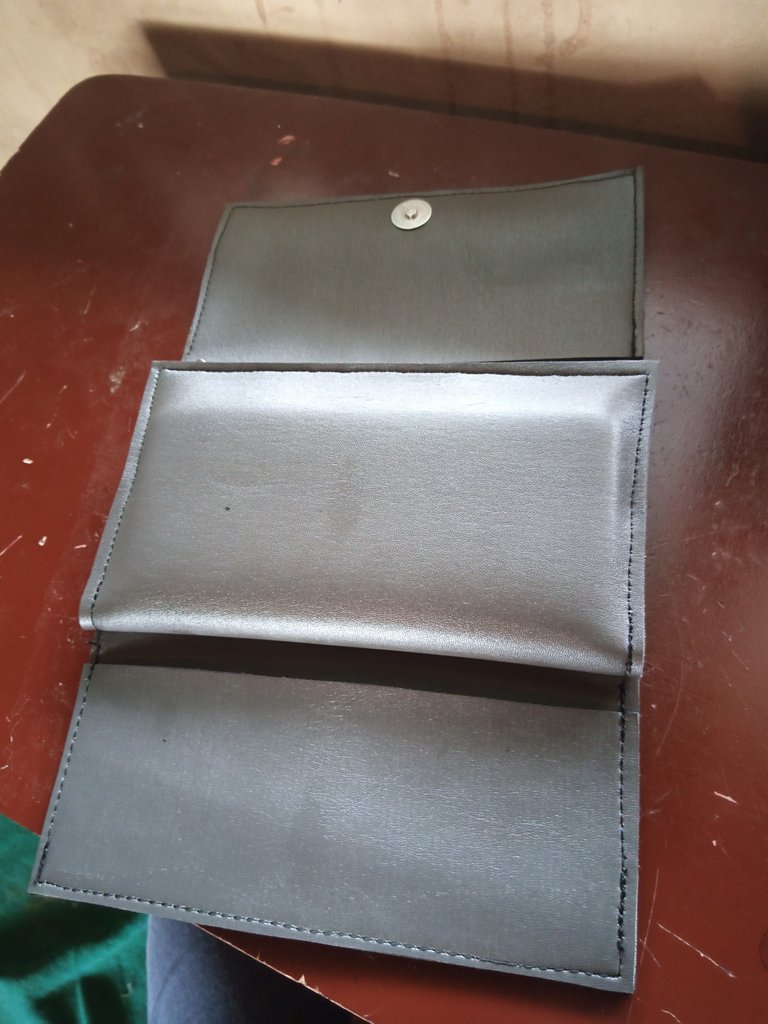
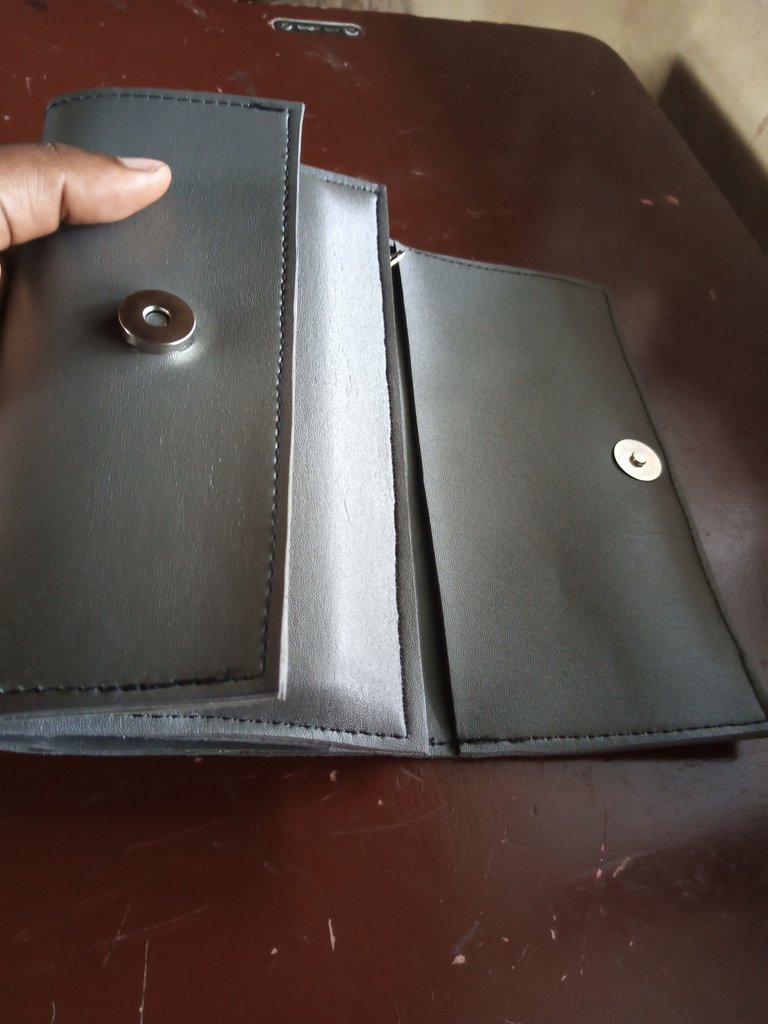
- The final step was I fixed the magnet by locating the middle.
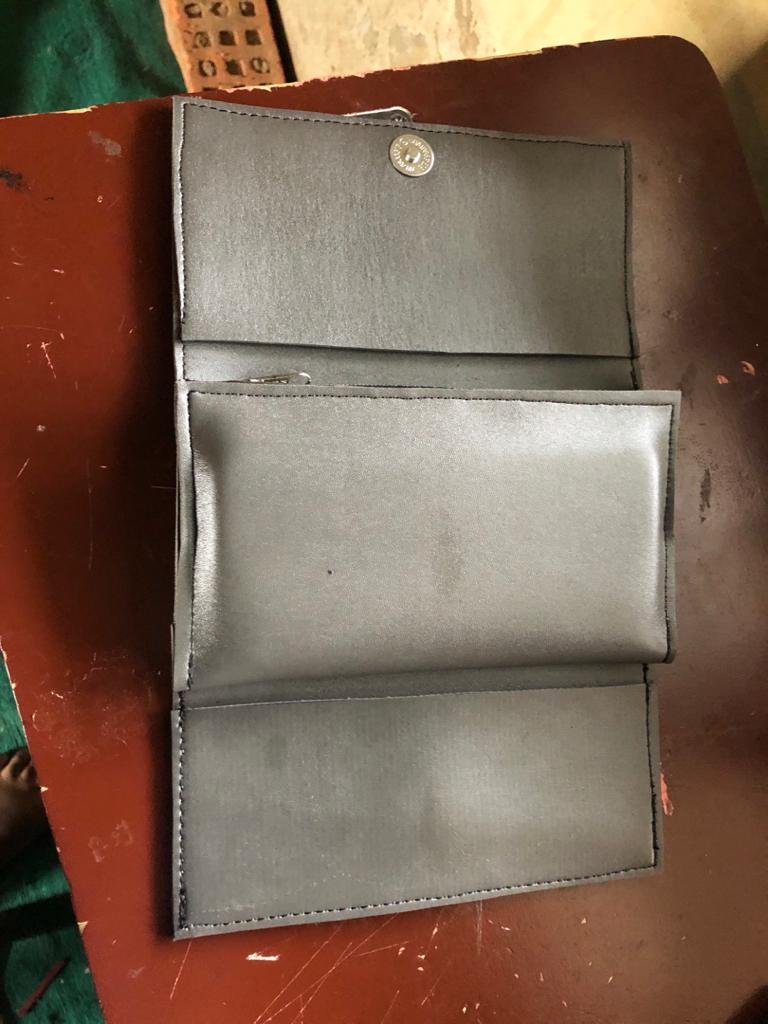
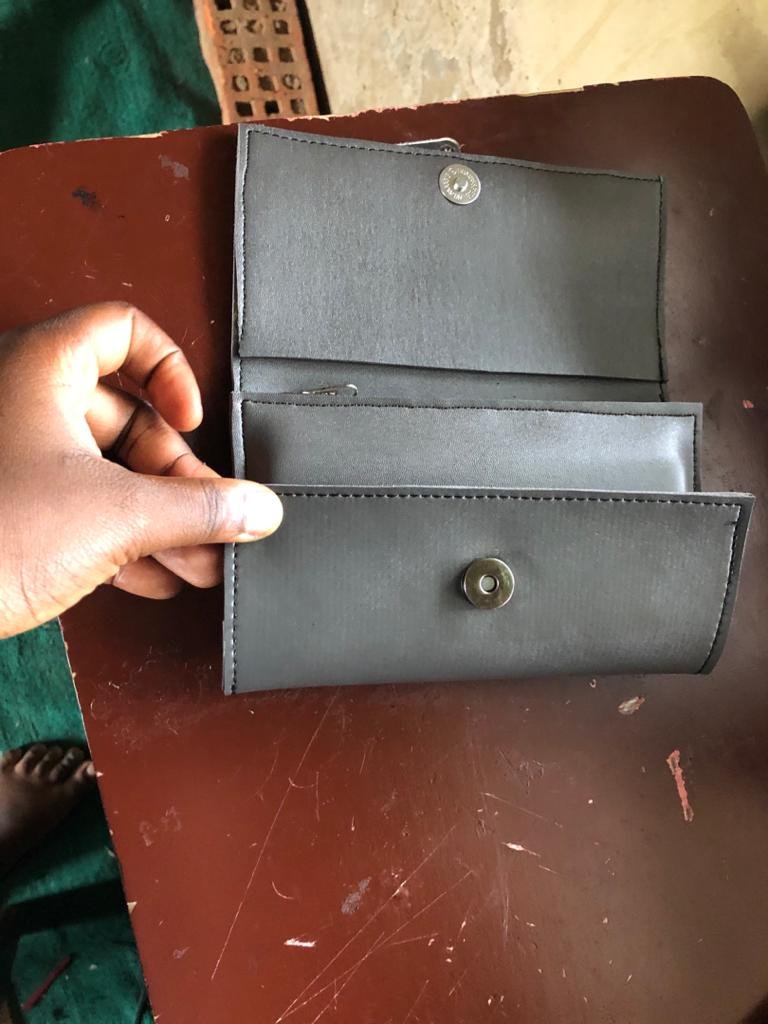
FINAL LOOKS.


THANK YOU FOR VIEWING MY BLOG AND HAVE A WONDERFUL DAY.
0
0
0.000
Awesome work.
This looks simple following your processes but believe me, it is not!
Thank you so much.
This post has been rewarded with an upvote from city trail as part of Neoxian City Curation program
 . We are glad to see you using #neoxian tag in your posts. If you still not in our discord, you can join our Discord Server for more goodies and giveaways.
Do you know that you can earn NEOXAG tokens as passive income by delegating to @neoxiancityvb. Here are some handy links for delegations: 100HP, 250HP, 500HP, 1000HP. Read more about the bot in this post. Note: The liquid neoxag reward of this comment will be burned and stake will be used for curation.