How I made a native trouser with rope (elastic can also be used).
Good morning everyone,
This beautiful morning I'll be sharing with us how I made a native trouser step by step. One thing you should know about making this trouser is you can use either rope or elastic depending on the customer's choice. In this post I used a rope and I'll be taking is through the process of how I got it done.
The Materials I used include:
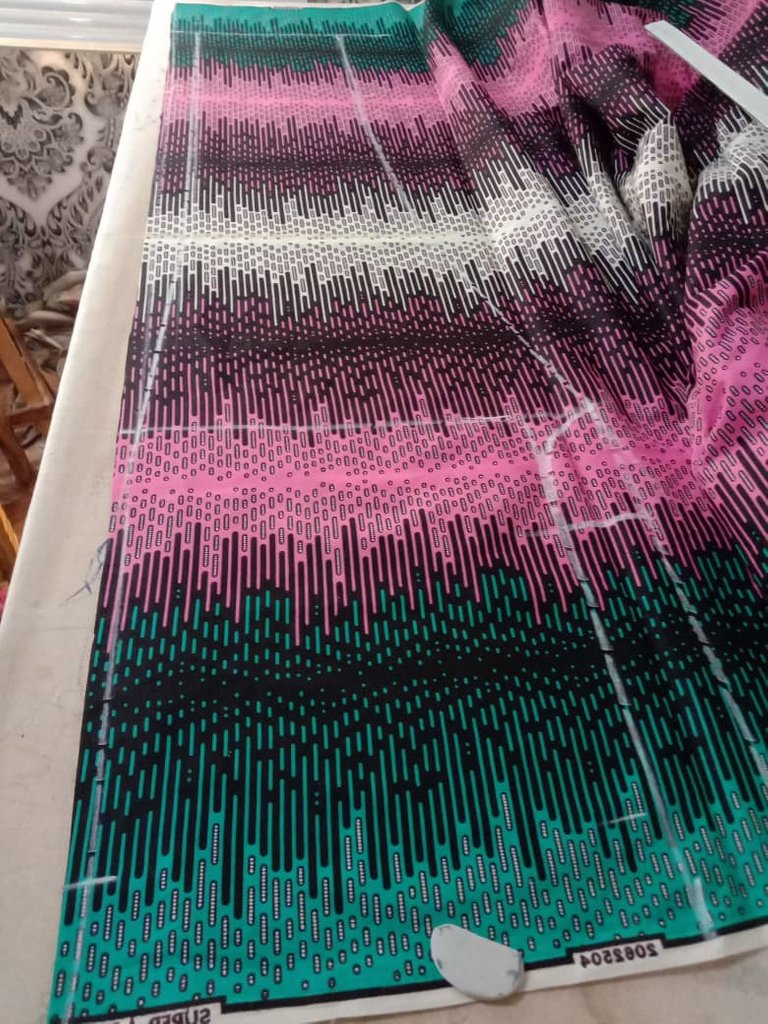
- fabric (ankara)
- thread
- pocketine
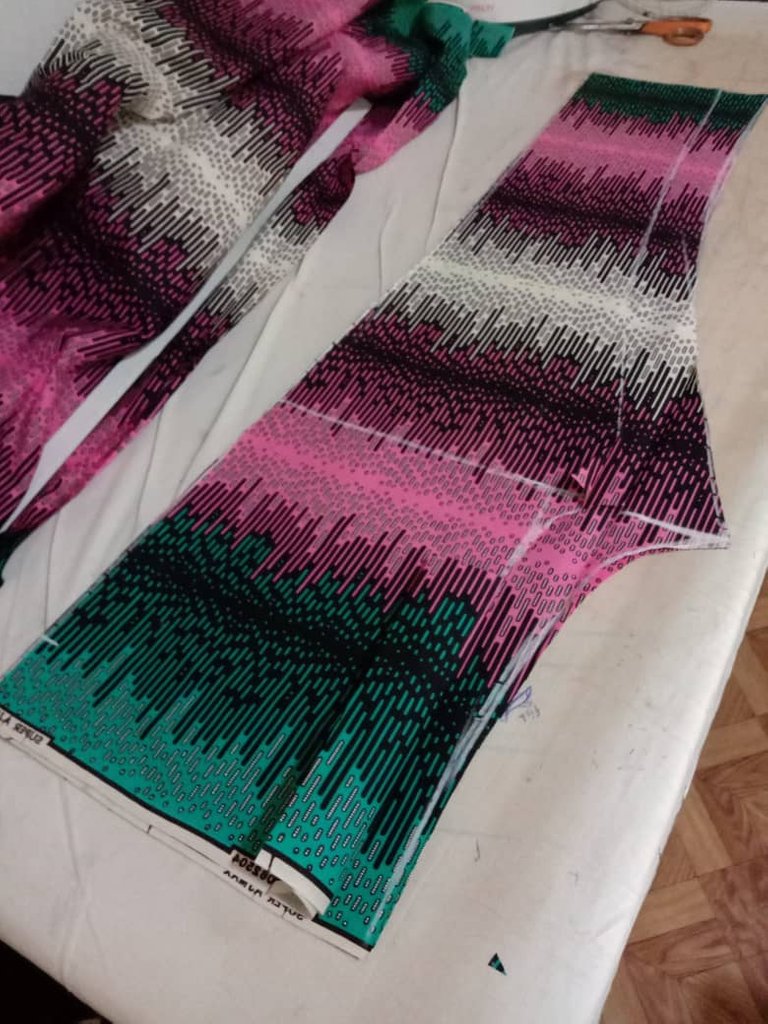
The cutting process
- Cutting a native trouser with rope or elastic, there are 3 parts that are essential for measurements which are :
- the crotch
- the knee
- the total length
The crotch is determined by the body size of the person you are seeing for.
The get the knee point, you divide the total length by 2 then add 2 inches to give us the knee point.
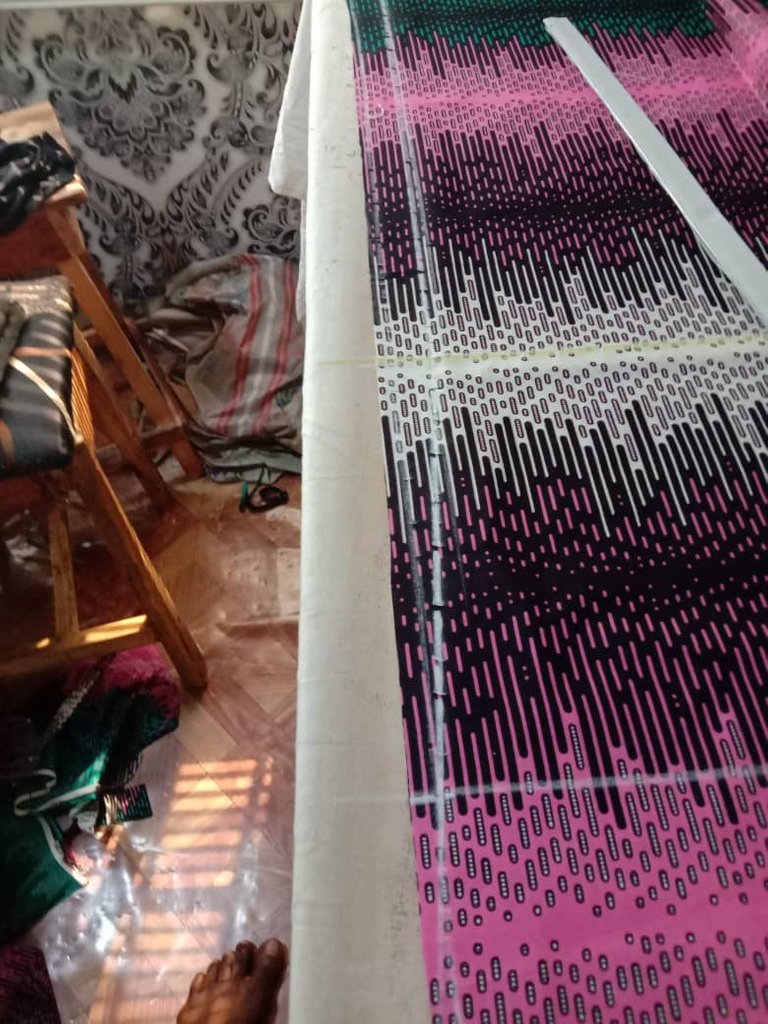
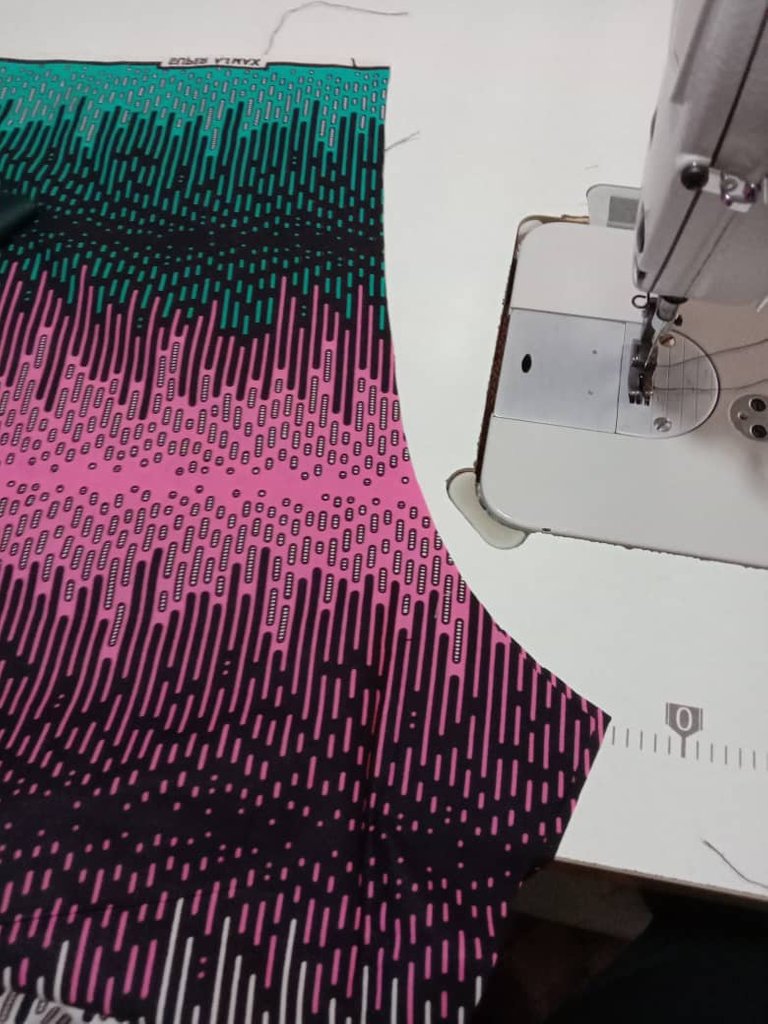
So in cutting a native trouser with rope or elastic, firstly you put ur fabrics together, draw a straight line at the edge of the fabric then take ur measurements.
- Measure 2.5 inches for your rope and elastic allowance then measure the crotch, the knee, the length and adding 2 inches to the length.

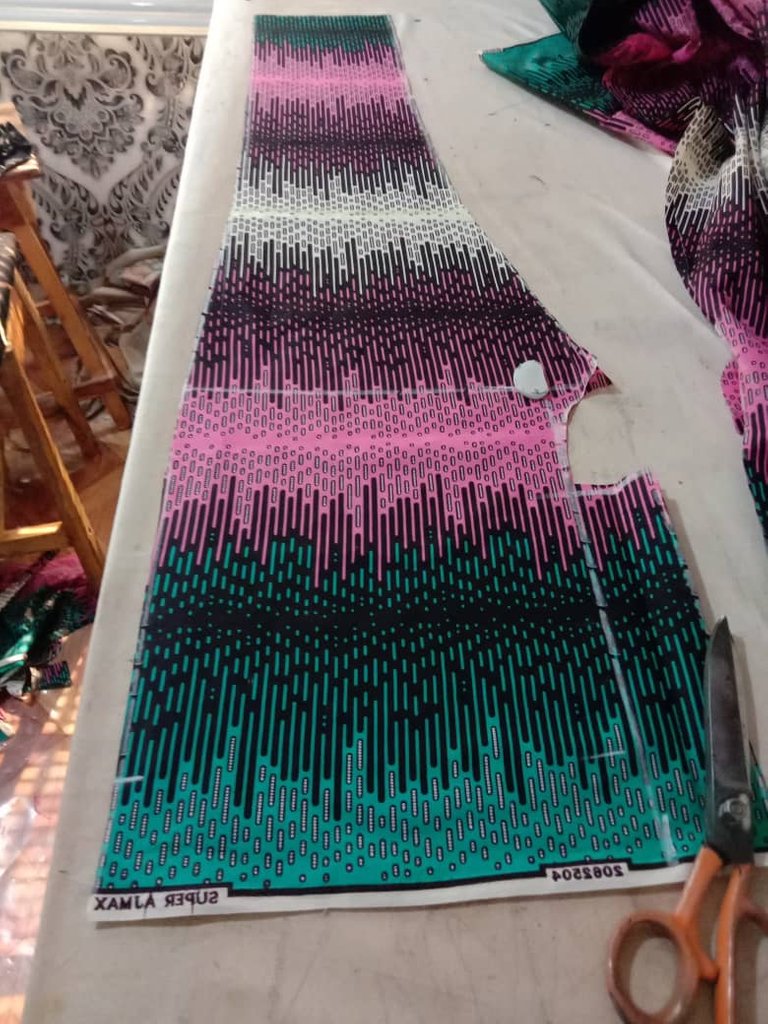
- After the dotted line had been joined, measure an inch at the knee point, bring it out to join the crotch line and take it downward to the length
- Thereafter you measure the waist, to get the exact measurements for waist of a native trouser, you add additional 6 inches to the normal waist measurement so that it can be free since we r using rope or elastic.
- After adding extra 6 inches, you now divide by 4 to take measurements.
- Take your waist measurement, come down to your crotch point and measure the lap then the knee measurement and down to the ankle, taking into consideration how big or tiny you want it to be, join the dotted line and cut out.
- After the fronts part had been cut, you cut the back placing the front on the fabrics, add 1 inch to the waist, come down to the crotch where you measure your lap and extend it forward by 3 inches and your knee, you add 2 inches down to the ankle and cut out the fabrics

Sewing process
- What to do first is fixing the pockets, so get your pocketing and the fixed measurements for pocket is 14 by 14 inches.
Fix ur pocket to the front part of the trouser.
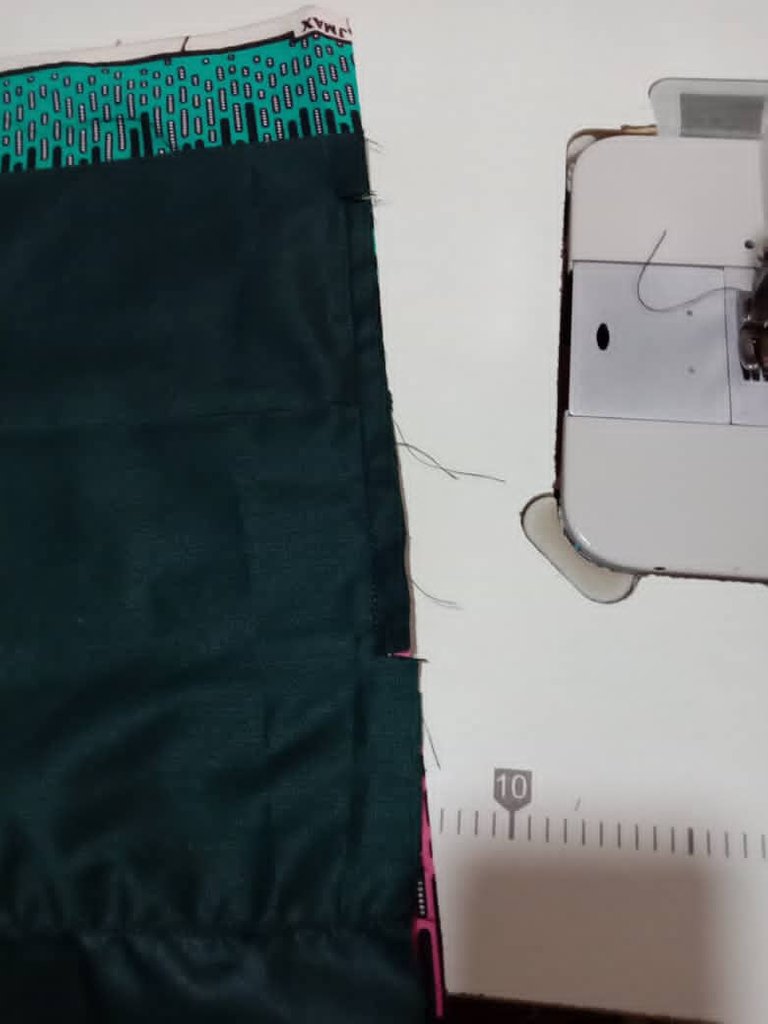

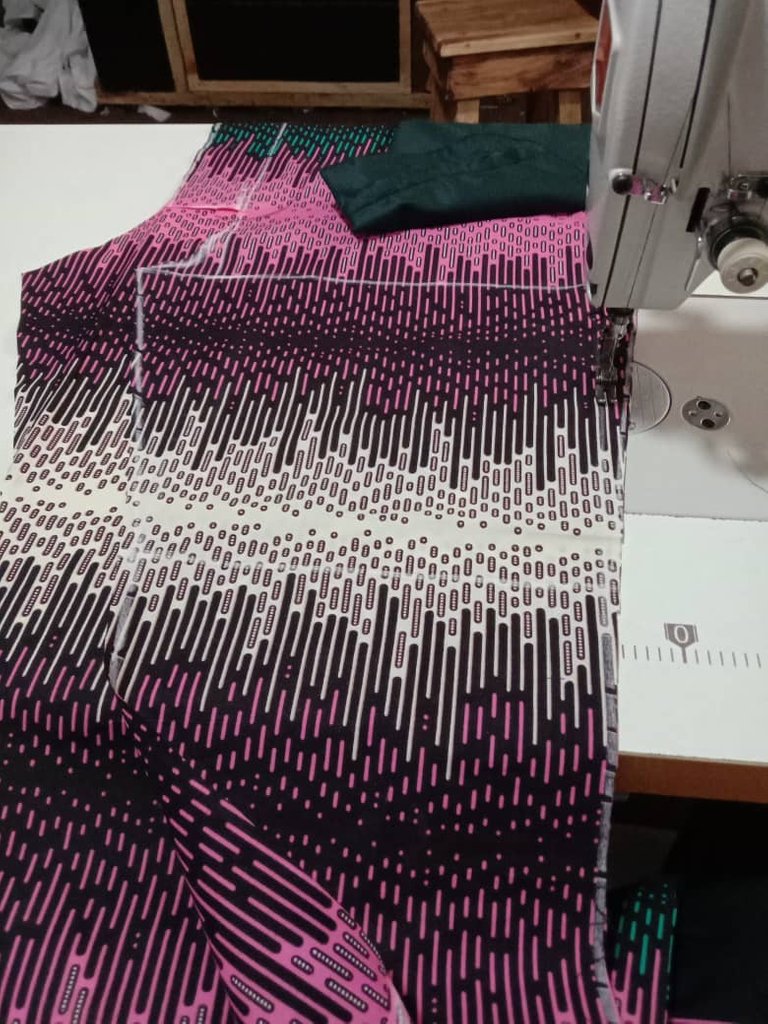
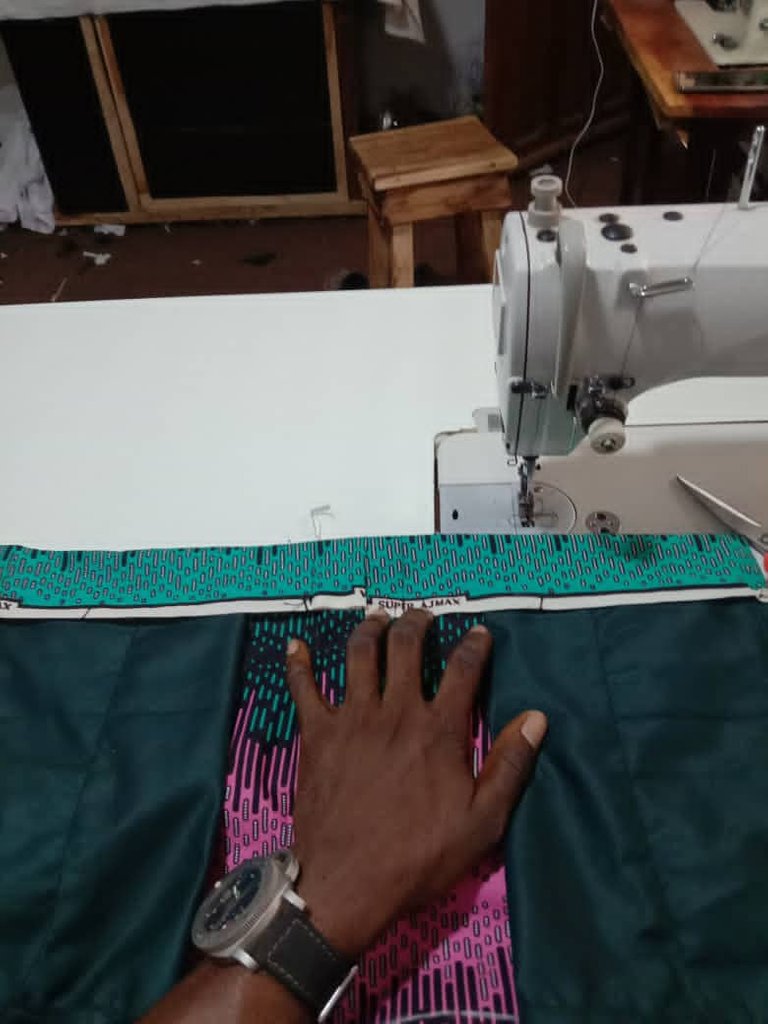
- After that had been done, you join the back taking 0.5 inch as sewing allowance
- Join the crotch together
- Thereafter you fold the waist by 2.5 inches as explained earlier sew
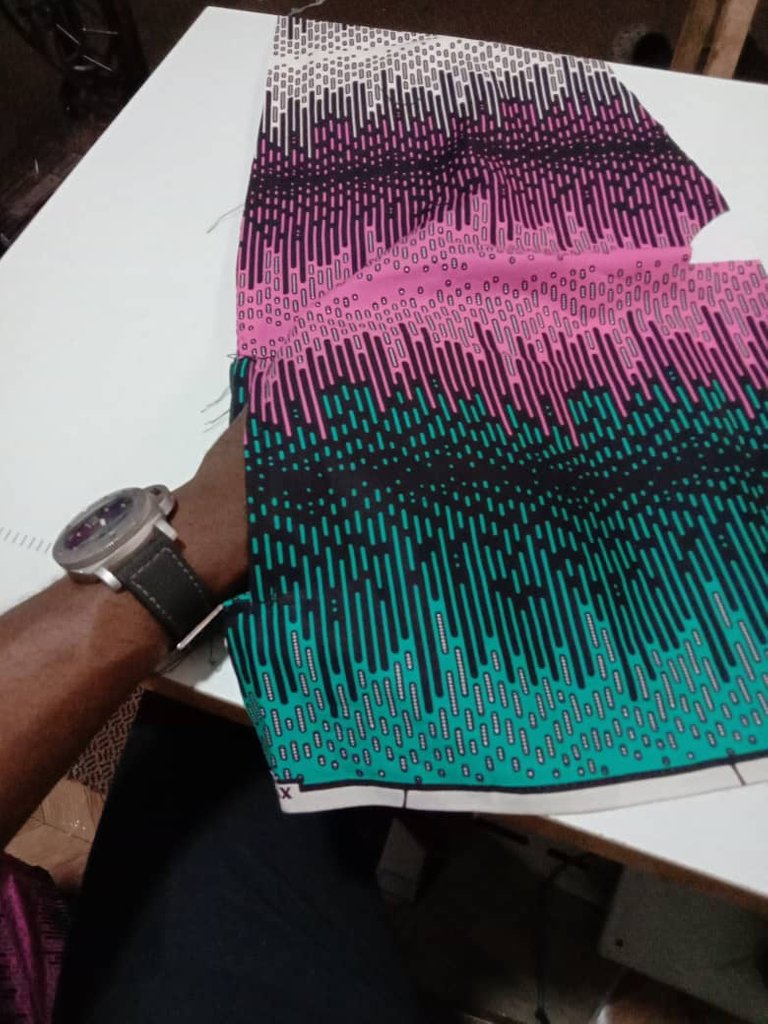
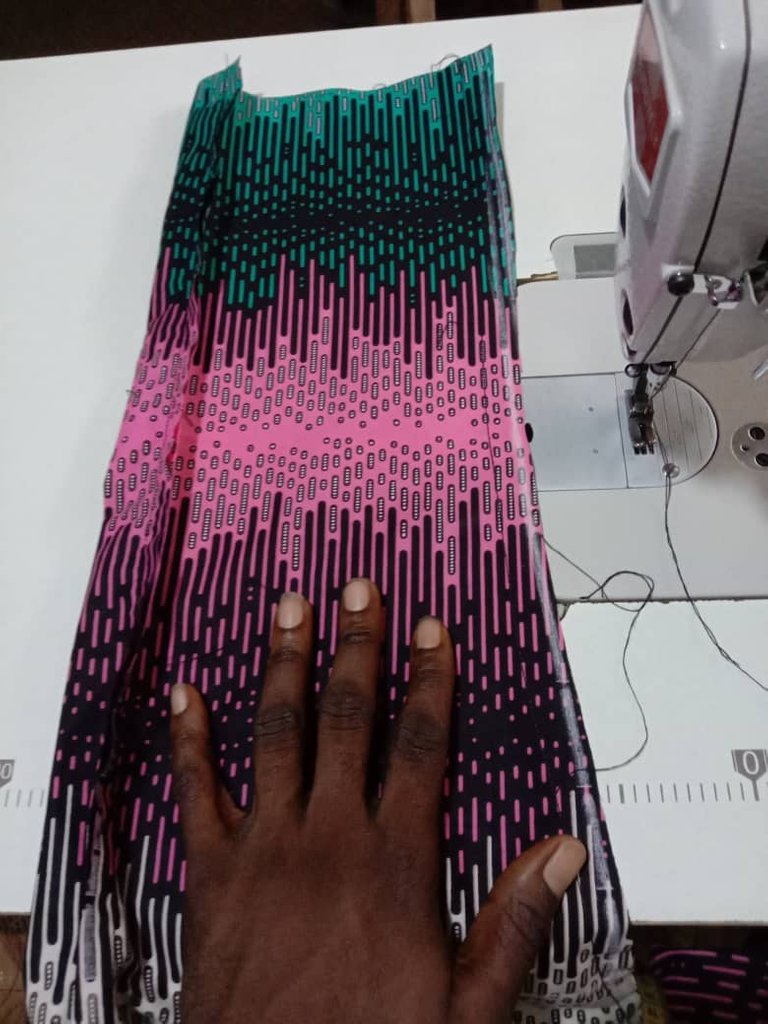
- Then join the ankle down to the crotch and fold the ankle by 2 inches as it was the allowance given then sew
- Sew the rope, fix it in and iron
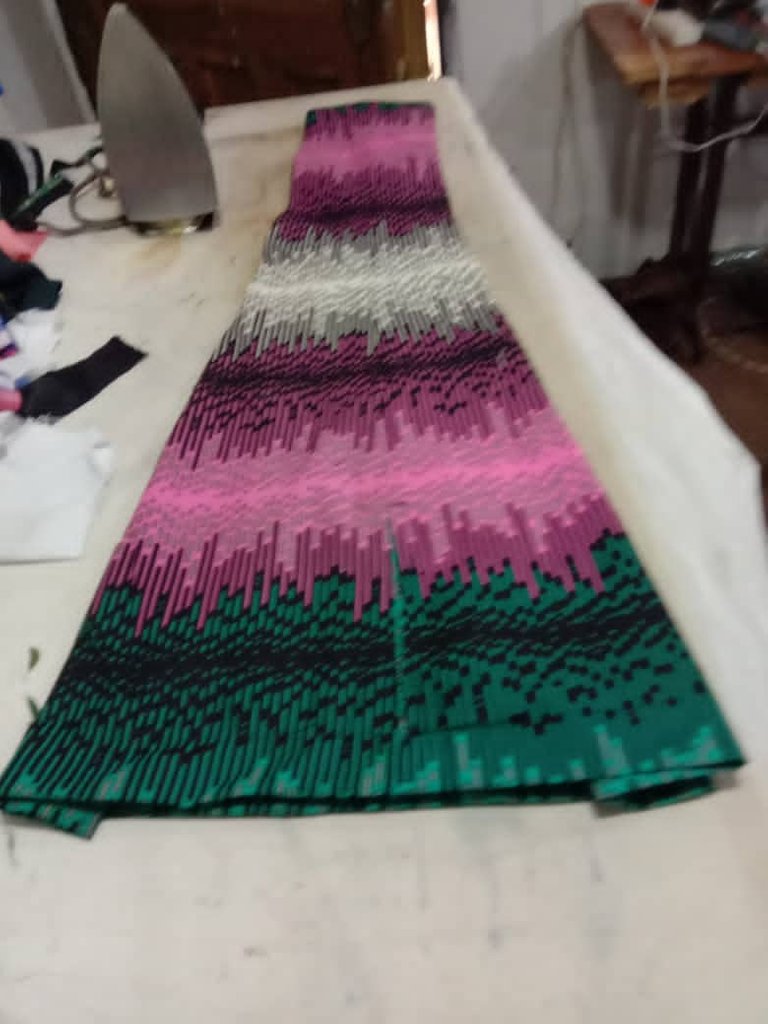
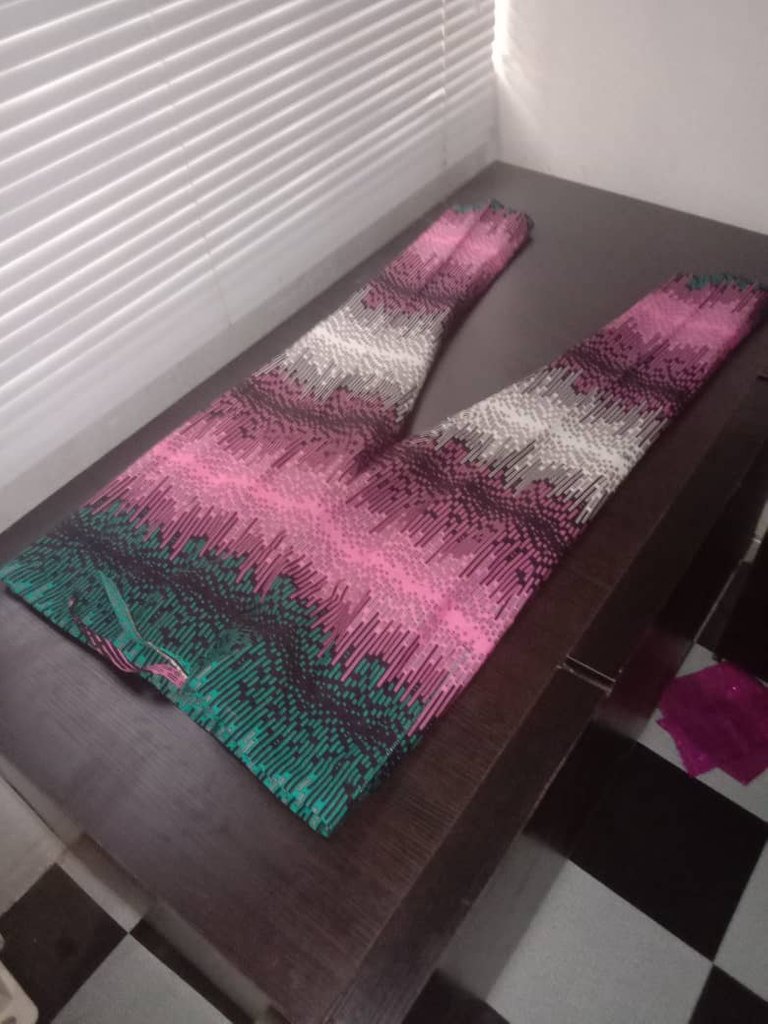
- Finally here is the result.

Thank you for viewing my blog.
Have a fulfilling day.
0
0
0.000
Thank you so much
Congratulations @olubato! You have completed the following achievement on the Hive blockchain and have been rewarded with new badge(s) :
Your next target is to reach 50 comments.
You can view your badges on your board and compare yourself to others in the Ranking
If you no longer want to receive notifications, reply to this comment with the word
STOPCheck out the last post from @hivebuzz:
Congratulations, your post has been selected to be included in my weekly Sustainability Curation Digest for the Minnow Support Project.
This is very ingenious, good job on that!
Thank you
What a pleasure to see true tailoring! I have only sewed using paper patterns but I may have to try your method. Thank you for the instruction! Welcome to Hive and I wish you much success!