[Eng-Esp]:Tutorial How To Make An Organizer With Simple Materials
Hello hive, I hope you are well. Today I bring you a new creation, It's about a:
Nice recyclable organizer
Hola colmena espero que se encuentren bien. Hoy les traigo una nueva creación, Se trata de un:
Bonito organizador reciclable

We must have the following materials:
Debenos tener los siguientes materiales:
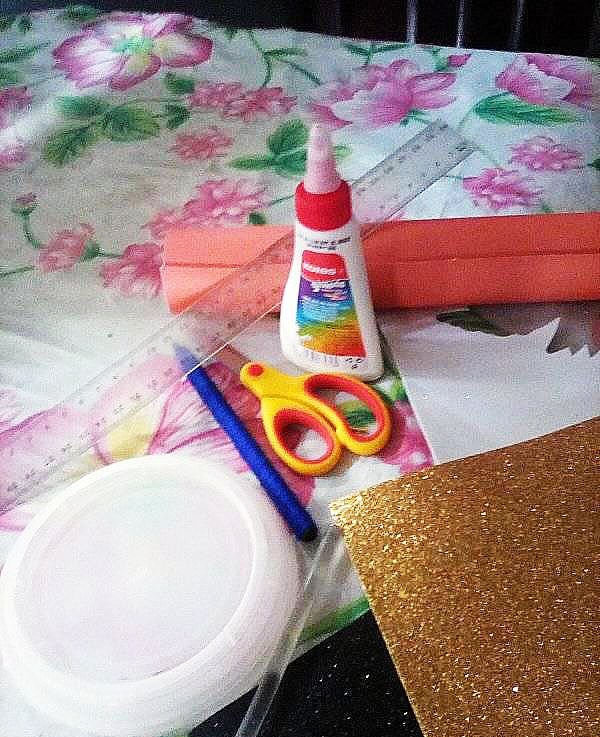
- Job
- Rules
- Foami
- Butter container lid
- silicone
- Pair of scissors
- Colour cardboard
- Pega
- Reglas
- Foami
- Tapa de envase de mantequilla
- Silicona
- Tijeras
- Cartulina de colores
Let's get started // Empezemos:
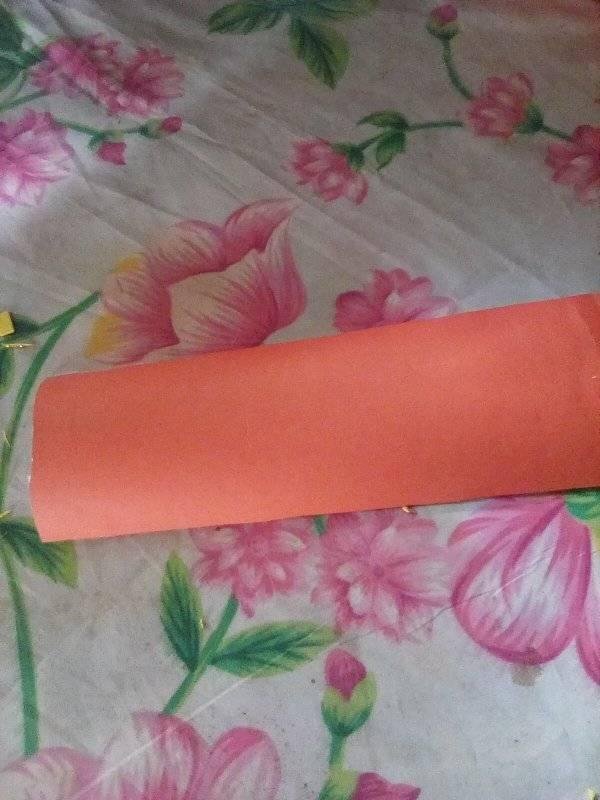
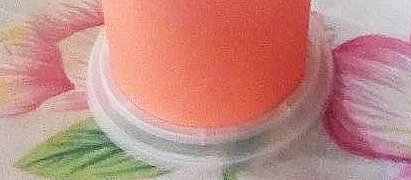
The first step is to take the colored cardboard and roll it up as follows.
El primer paso es tomar la cartulina de colores y enrollarla de la siguiente manera.
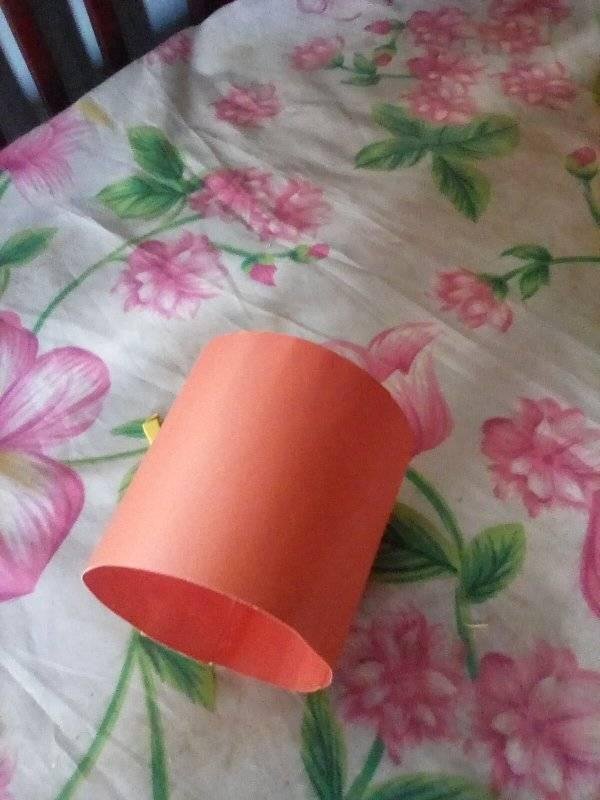
After we have finished rolling the cardboard, we will continue to cut with the scissors to obtain a beautiful shape like this.
Después de haber terminado de enrollar la cartulina, proseguiremos a cortarla con la tijera para obtener una bonita forma como esta.
Now we are going to take a butter container lid and glue it to the bottom in the way we obtained in the previous cutout.
Ahora vamos a tomar una tapa de envase de mantequilla y la pegaremos en la parte inferior de la forma que obtuvimos en el recorte de la cartulina anterior.

Now we are going to take the other remaining lid and we are going to decorate it with the two foami of different colors (Black white).
Ahora vamos a tomar la otra tapa restante y vamos a decorarla con los dos foami de diferentes colores (Gris y negro).
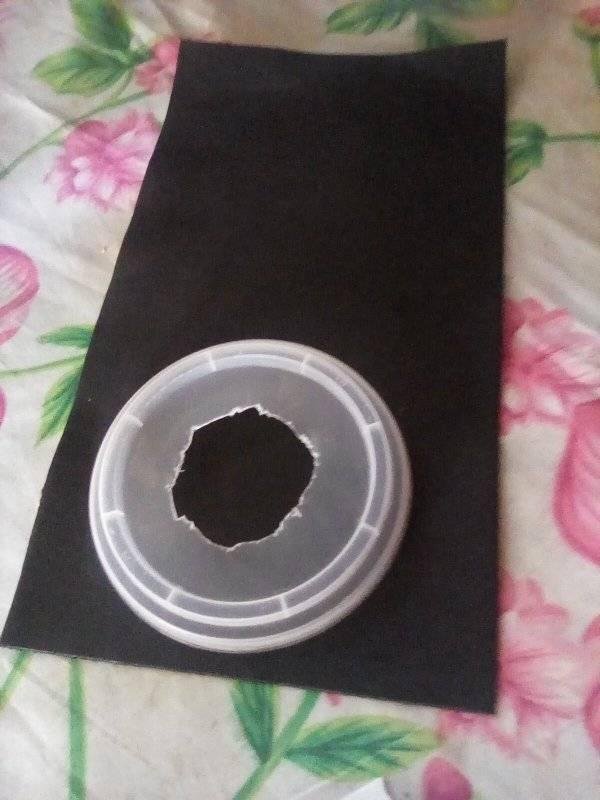
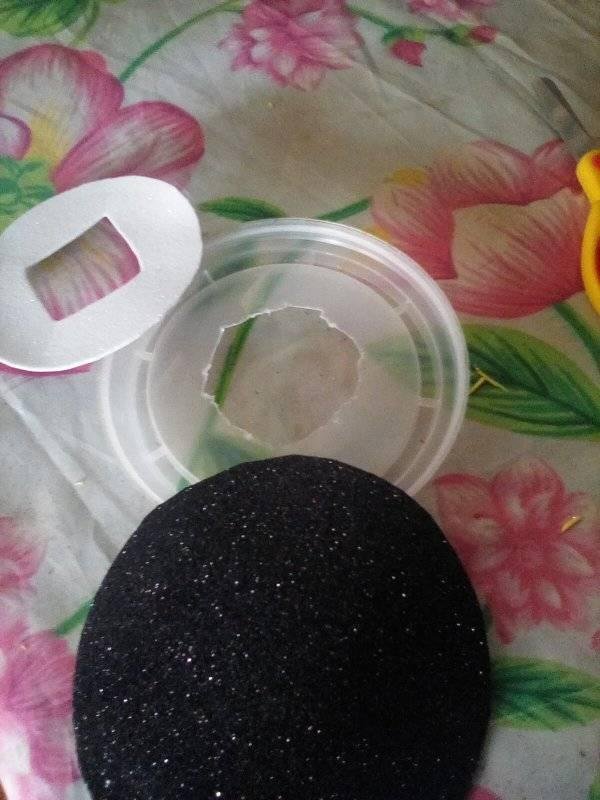
We have to cut the black foam first and then the gray one.
Now we glue the cutout that we got from the black foam into the butter cap and then we continue gluing the cutout that we got from the gray foam.
Tenemos que recortar primeramente el foami negro y después el gris.
Ahora pegamos el recorte que obtuvimos del foami negro en la tapa de mantequilla y después continuamos pegando el recorte que obtuvimos del foami gris.
It will look like this:
Nos quedará así:
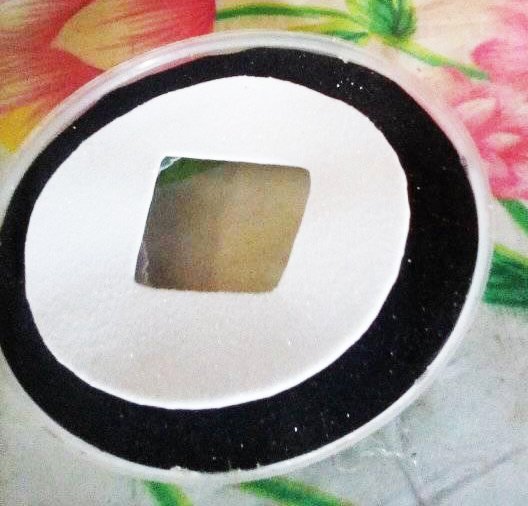
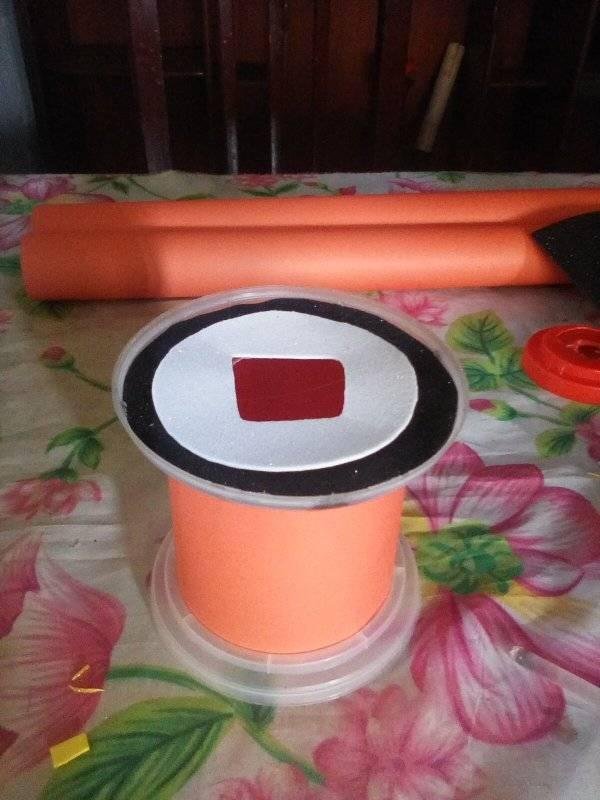
Now we are going to take our newly decorated lid and transport it to the cardboard with the other lid that we previously glued to the bottom.
Ahora vamos a tomar nuestra tapa recién decorada y la transportaremos a la cartulina con la otra tapa que pegamos anteriormente en la parte inferior.
We are going to stick the newly decorated cover on the upper wall.
La tapa recién decorada la vamos a pegar en la parte superior.
Once we have glued our newly decorated cover.The next step will be to take the golden foami and cut out the word "Dad".
Una vez pegada nuestra tapa recién decorada, el siguiente paso sera tomar el foami dorado y recortar la palabra ''Papá''.
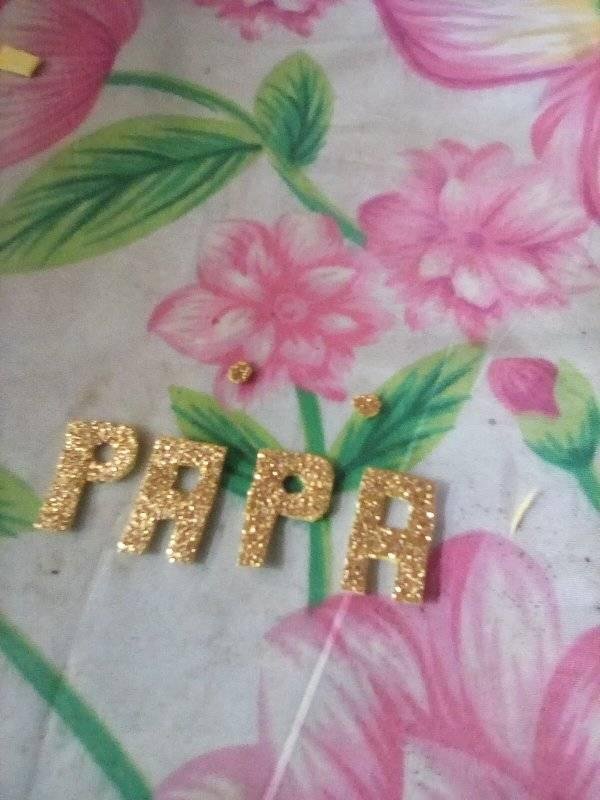
We are going to take these letters and we will paste them in our organizer so that it does not go so simple.
Vamos a tomar estas letras y la pegaremos en nuestro organizador para que no se va tan simple.
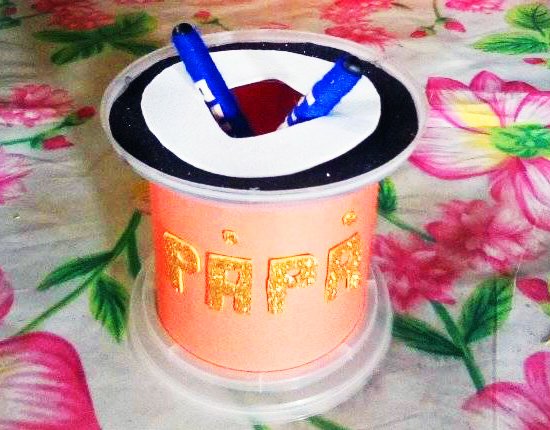
After having done that last step mentioned, our Organizer would be ready for its first use.
Después de haber hecho ese último paso mencionado nuestro organizador estaría listo para su primer uso.
This was my result:
Así fue mi resultado:
I hope you liked my organizer.
Espero que le haya gustado mi organizador.
Thanks for reading my post, see you soon
Gracias por leer mi pubicación. Hasta pronto.
!discovery 10 bonito trabajo muestra tu talento en nuestro concurso! https://peakd.com/hive-193212/@apeboy/espeng-por-que-me-gusta-discovery-it-antes-de-irme-oror-why-i-like-discovery-it-before-leaving
This post was shared and voted inside the discord by the curators team of discovery-it
Join our community! hive-193212
Discovery-it is also a Witness, vote for us here
Delegate to us for passive income. Check our 80% fee-back Program
Congratulations @oscarfernandez! You have completed the following achievement on the Hive blockchain and have been rewarded with new badge(s) :
Your next target is to reach 300 upvotes.
You can view your badges on your board and compare yourself to others in the Ranking
If you no longer want to receive notifications, reply to this comment with the word
STOPCheck out the last post from @hivebuzz:
Support the HiveBuzz project. Vote for our proposal!
Muy Buen Trabajo
Gracias por compartir tu post.
Saludos