Replacing Plucker Fingers On Freestanding Plucker - DIY
The Pickwick Freestanding Plucker was given to us by my mother in law about 10 years ago. She had it for at least 20 years and never changed the fingers on it. With regular use the fingers should maintain a nice coating of oils from the birds which will keep the fingers supple and soft. We have not used the plucker in about 5 years and in that time the fingers hardened which makes them far less effective and gentle at pulling the feathers. The stiffer fingers will also rip the skin of the birds, especially soft skinned birds.
Yesterday afternoon I finally broke into it and replaced the old fingers with brand new Kent C-25 plucker fingers. The machine is not exactly meant to be taken apart but it was the easiest way I could come up with initially.
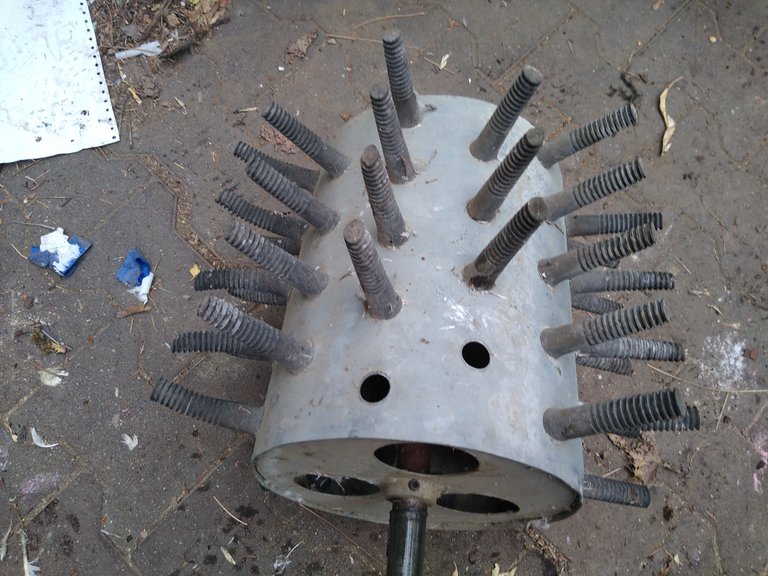
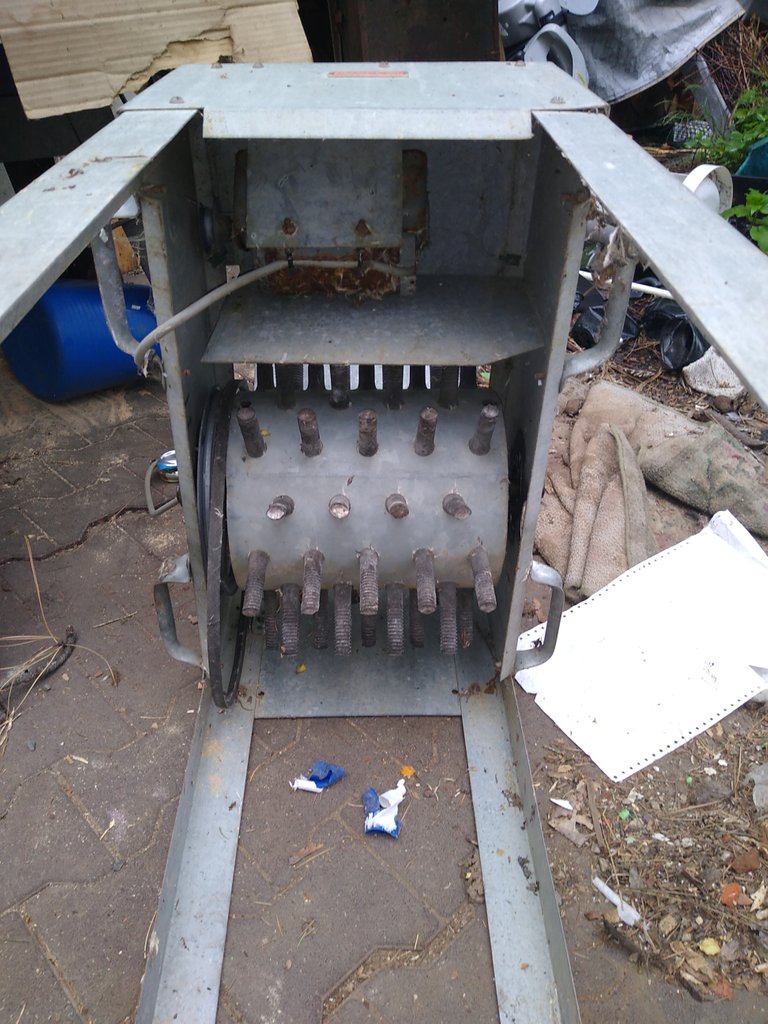
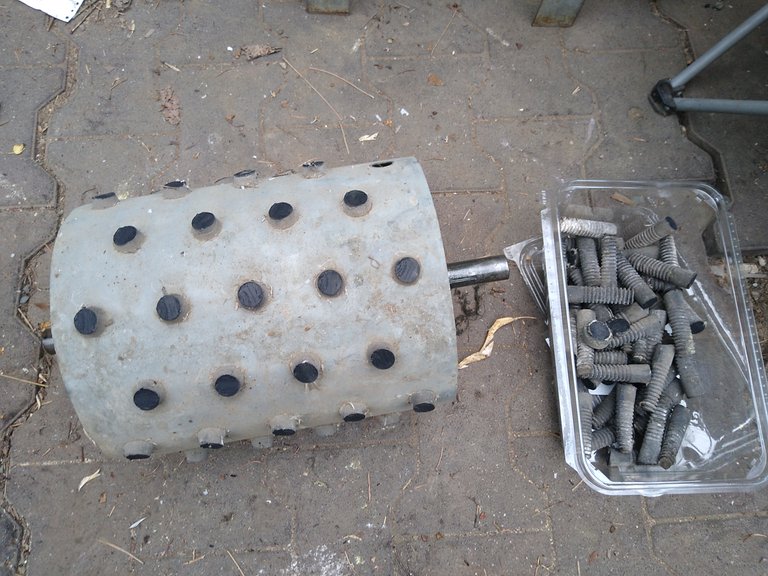
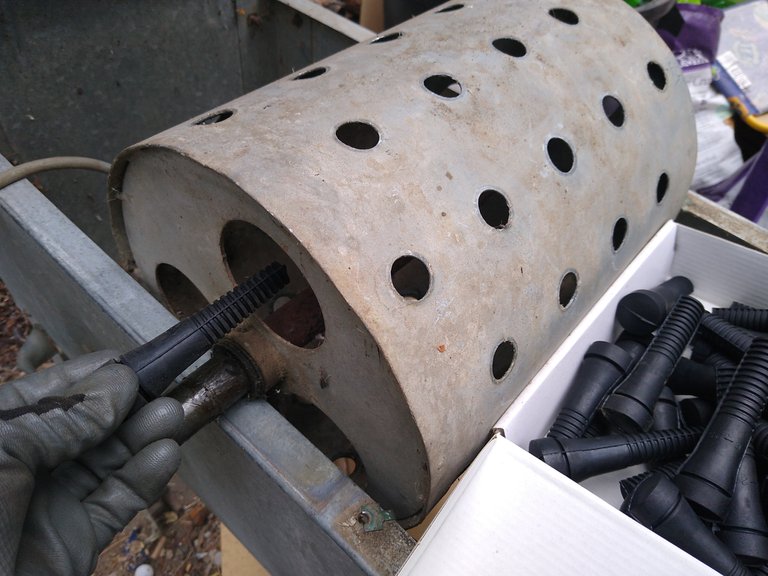
First step was to remove any panels, the bearings, then split the back of the stand and remove the drum of fingers, then the large pulley from the drum. The plucker is made of galvanized metal so it is weather proof and can handle the wet birds getting plucked.
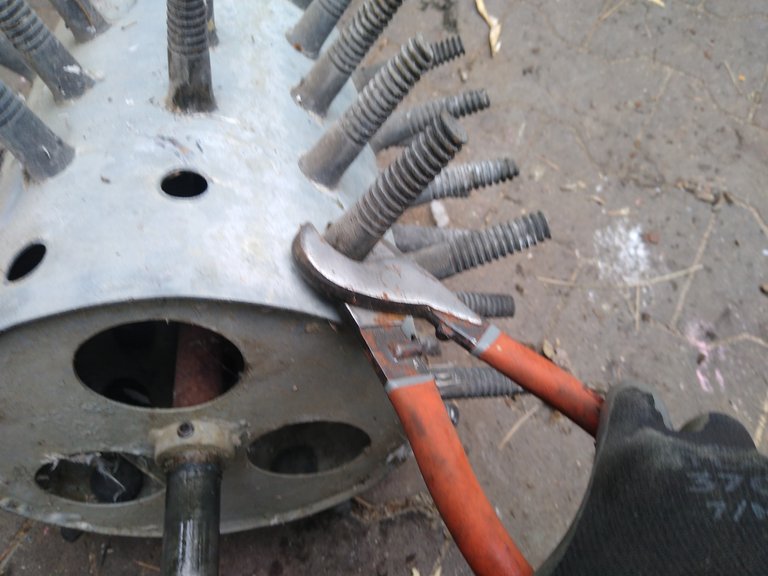
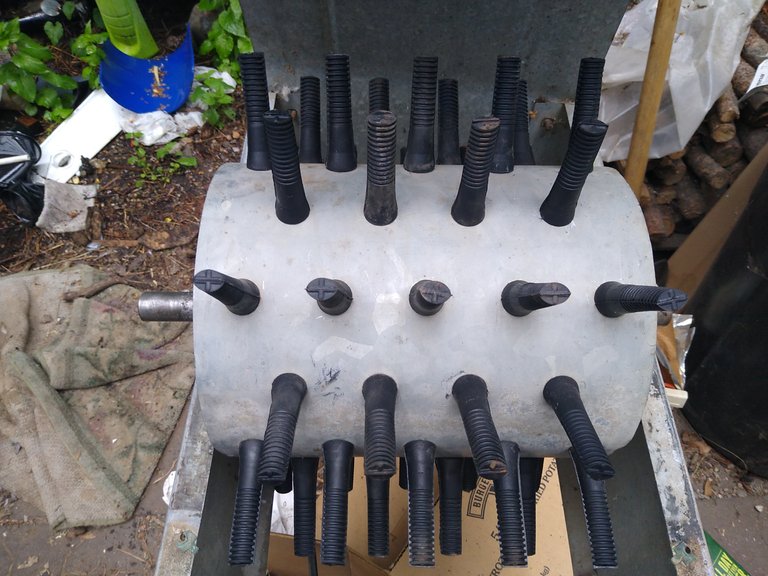
Once the drum was out I had to figure out how to remove all the old fingers. They have a thin groove that seats into the metal and makes them impossible to pull outward. The only thing I could do was to cut the fingers off. I used my cable cutters to cut each one down to within an inch of the drum.
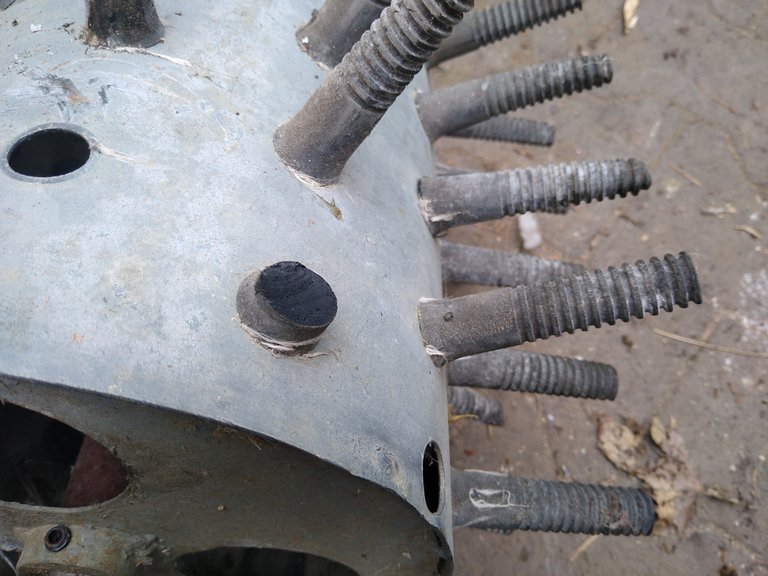
The stub left after cutting with the cable cutters.
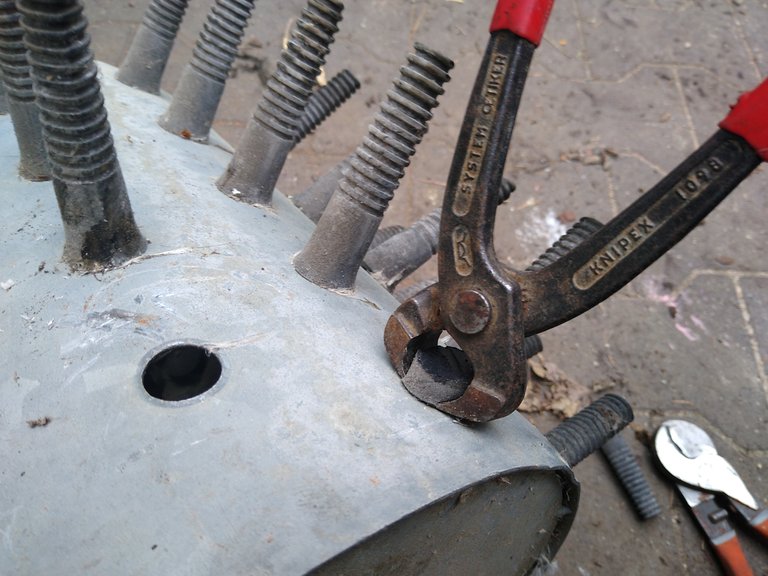
After cutting the fingers down I used my nippers to flush cut each of the stubs. This was NOT easy as the rubber is hard to cut. I ended up cutting each finger a few times to make it easier on my hands.
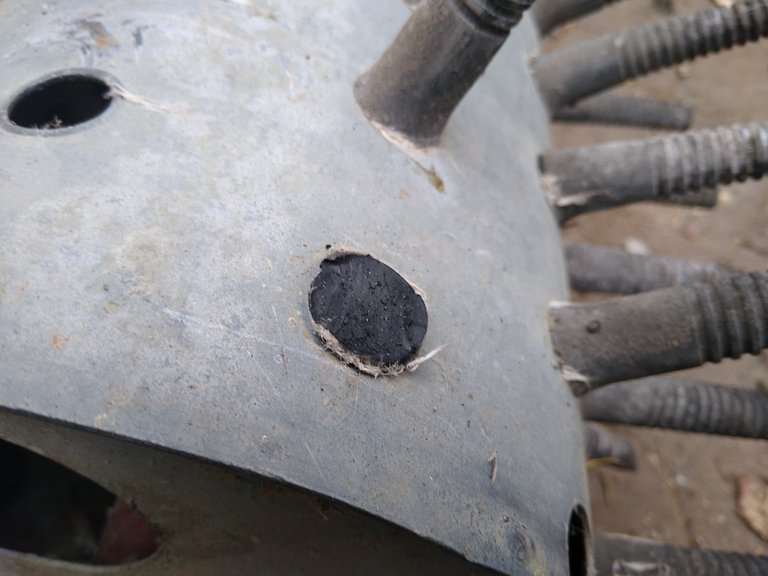
While not perfect the nippers made each plug small enough that it could be pushed through into the inside of the drum.
It only took a few minutes to hack each finger down to a stub and the cutters did great.
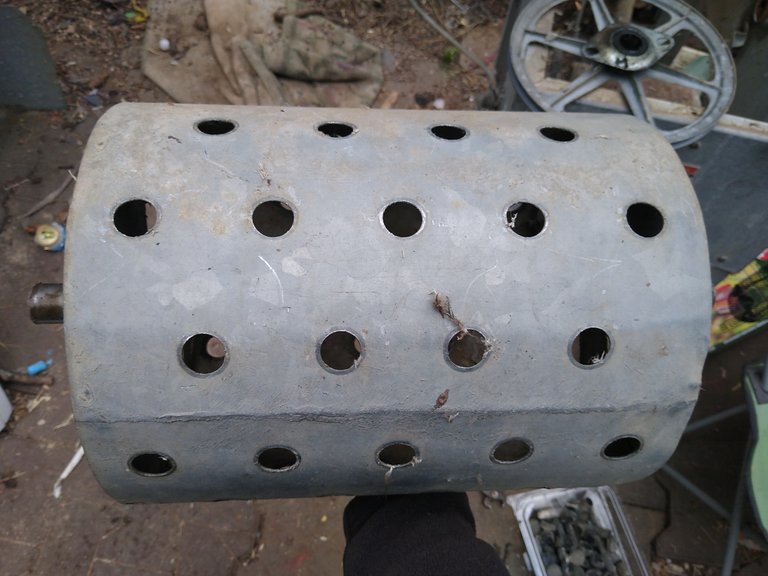
The nipping took me a bit longer but even that went FAR faster than I was expecting. After only about 15 minutes of work I had the drum empty of all the old fingers.
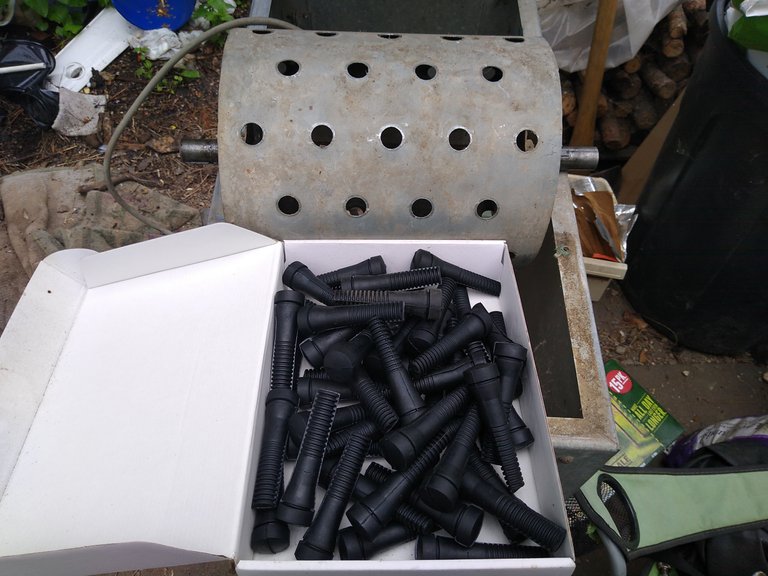
I emptied a couple packages of new fingers into a box to make them easier to grab as I installed each one.
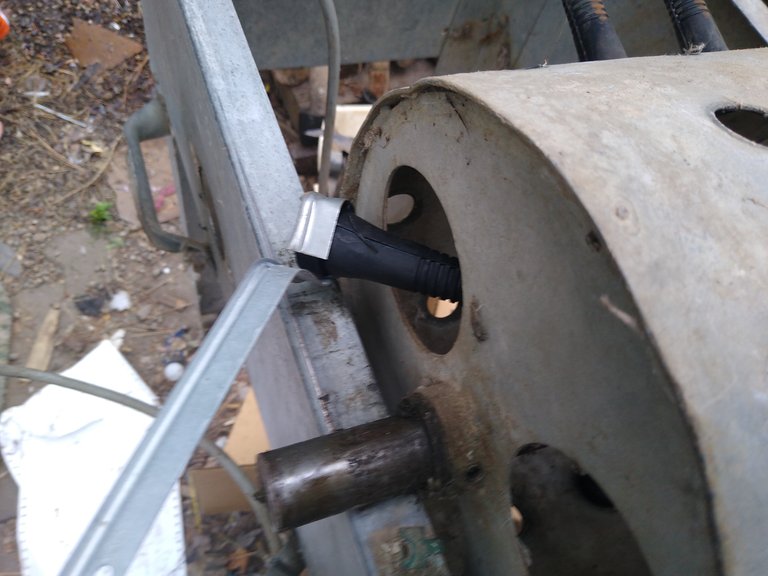
My first couple were put in with my fingers. I had to slide them through the holes in the end of the drum then up into each hole. Once the finger was in the hole it had to be pulled through to get the groove to seat on the metal and lock the finger in place.
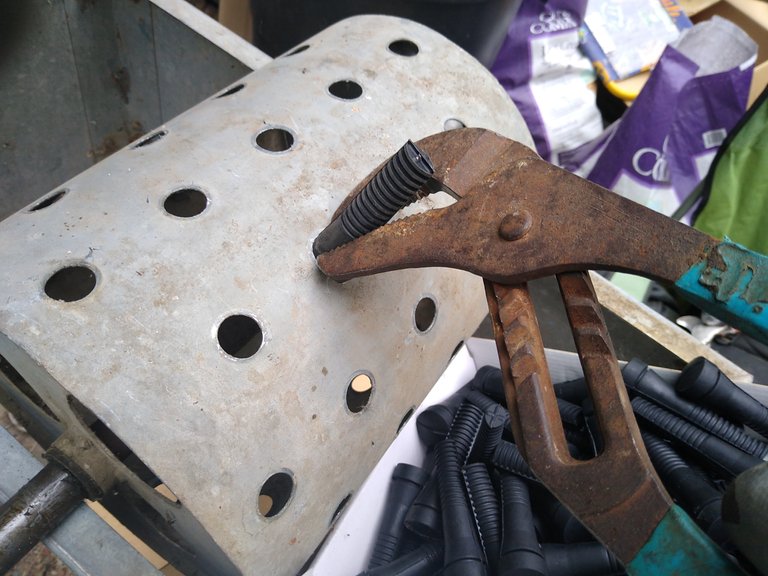
My first attempts were using the pliers to pull and yank on the fingers. This proved to be more work and troublesome than I had thought it would be. The fingers stretch and are pliable but it was just too hard to use the pliers.
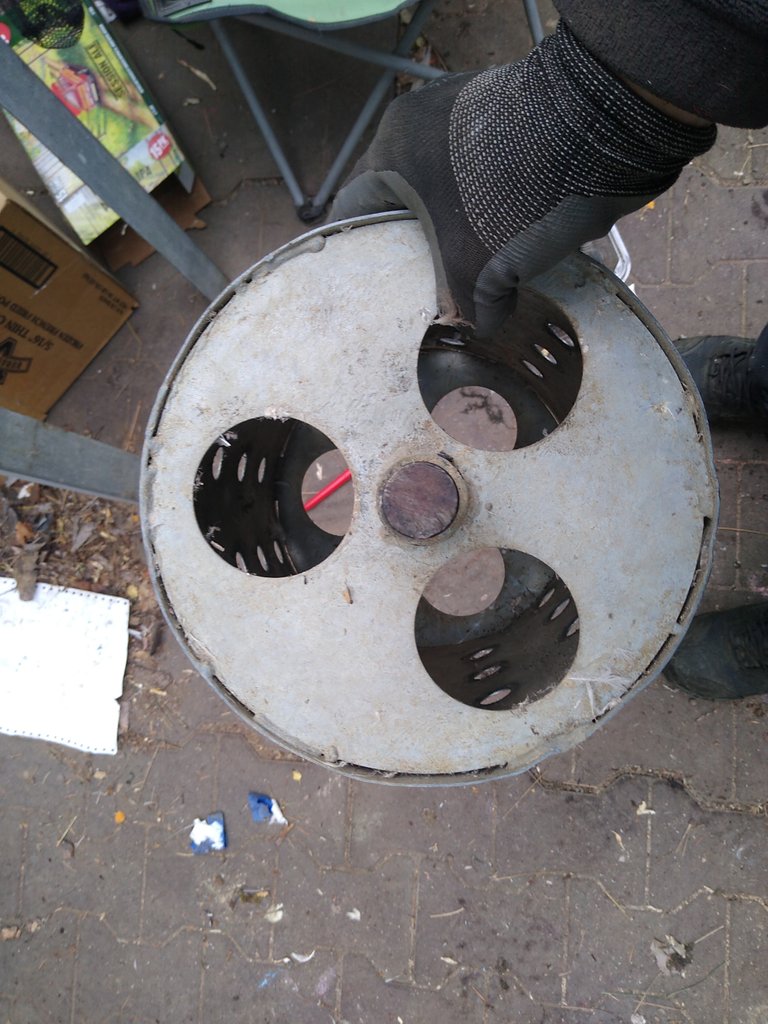
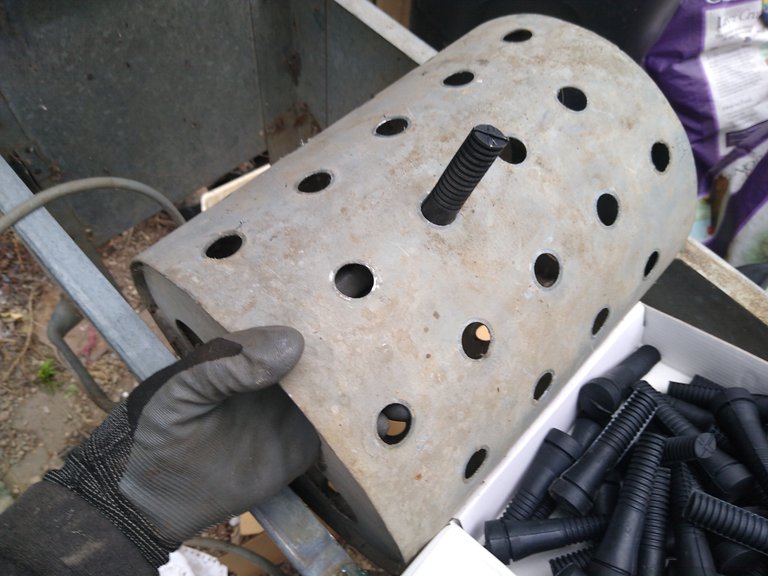
Inserting the fingers by hand instantly proved to be a major pain so I went to the tool shed to devise a tool to hold the fingers that would pop off once in the holes. I found a piece of stripping and bent into a perfect holder for the fingers.
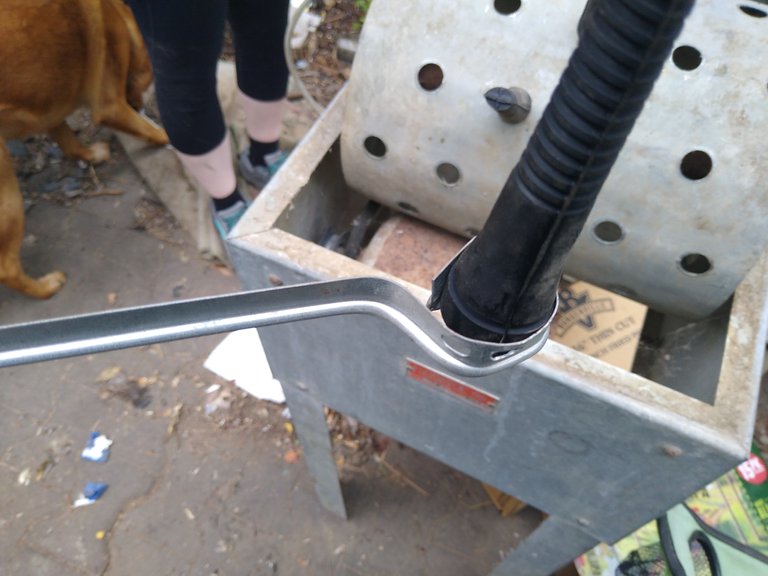
This made the install go MUCH smoother. Just pop the tool and finger through the end of the drum and pull it into the holes. It got the finger held enough that I could remove the tool and then pull each finger into locked by hand.
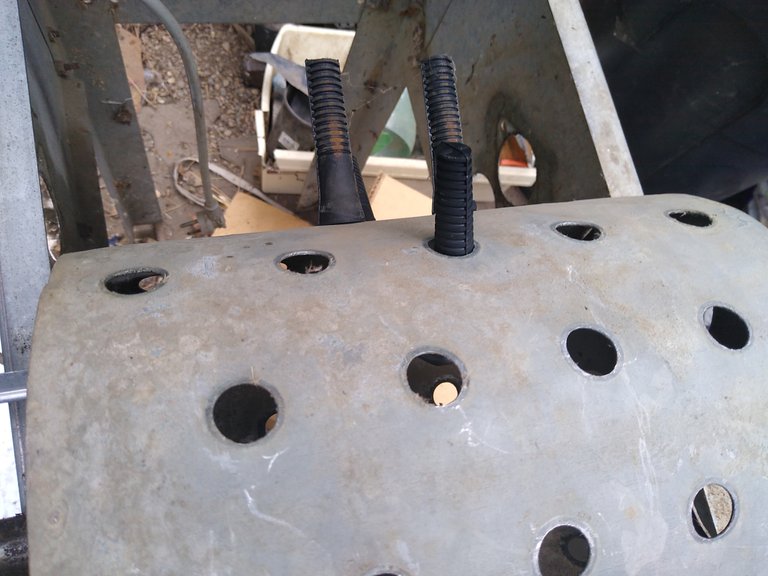
They went in pretty quickly but the forearm burn and the strain on the hands was very noticeable.
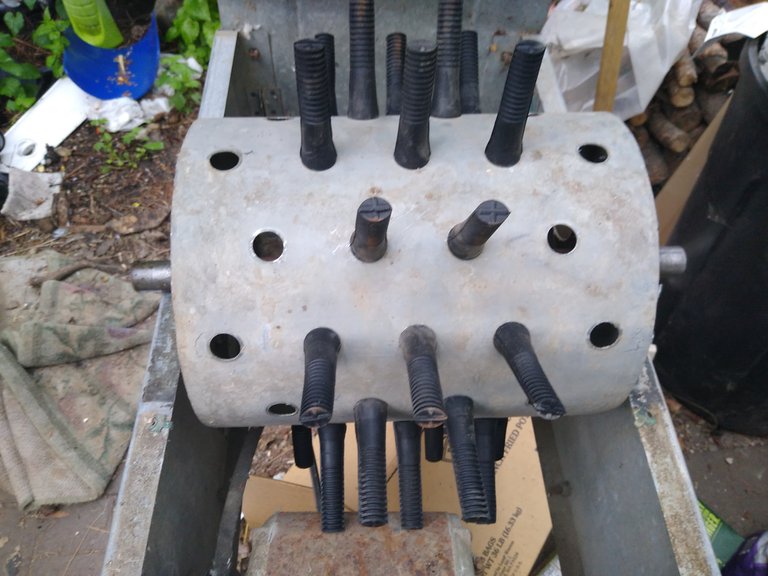
It took me all of an hour to fully replace all the 54 fingers in the drum and get the plucker back together. Each finger costs $1 and is made by the same business for 3 generations now.
The last thing for me to do now to have the plucker back to solid working order is I need a new pulley for the motor as it has a large chunk missing from one lobe of the pulley. It would likely cut the belt at some point so I want to get a new one on before buttoning the plucker back up.
We get our order of broiler chicks in the mail tomorrow and by about July 20th we they should be ready to start butchering. That will be a whole nother lengthy post on how to butcher/process chickens with our type of setup.
Planet WhizBang
The Kent C-25 was developed by Kent Tomlinson in the 1940s. It is renowned in the poultry processing industry for it's durability, longevity, and plucking ability. Amazingly, this finger has been made by the same small family business in Chicago for three generations.
The C-25 is unique among plucker fingers for two very big reasons. First, and most importantly, it's made with natural latex rubber. No synthetic rubber can match natural rubber when it comes to durability. CLICK HERE for a testimonial and more information about natural rubber's durability. The C-25 fingers in my original Whizbang plucker are now nearly 20 years old and not one has broken. They will eventually start to break, but it hasn't happened yet!
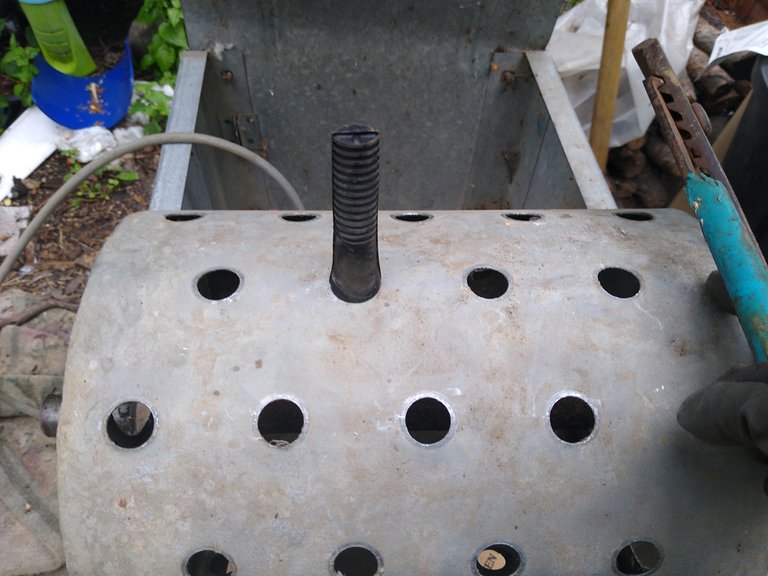
The C-25 is also unique in its shape. It tapers from round in cross section at the base to elliptical at the tip, and the tip has a distinctive raised crisscross.
Another important factor... Kent C-25 plucker fingers are USDA approved for use in food processing equipment (documentation can be sent upon request).
Specifications: Kent C-25 plucker fingers are designed to fit through a 3/4" diameter hole. The insertion groove around the base of the finger is 1/16" wide, but the finger will stretch to fit though and grip onto material up to 1/4" thick. Once installed, the finger stands 3-1/8" high.

Fleming Family Farm
FLEMING FAMILY FARM, LLC
Sustainable & Organic Methods | Heirloom Produce
All images are original works of Fleming Family Farm unless otherwise notated and credited.
If you find this post useful or entertaining, your support is greatly appreciated by upvoting, following, and sharing!


![]()
Posh #proofofshare
This is an interesting post about changing the fingers on this model plucker. I like how you sometimes fashion a tool to get a specific job done.